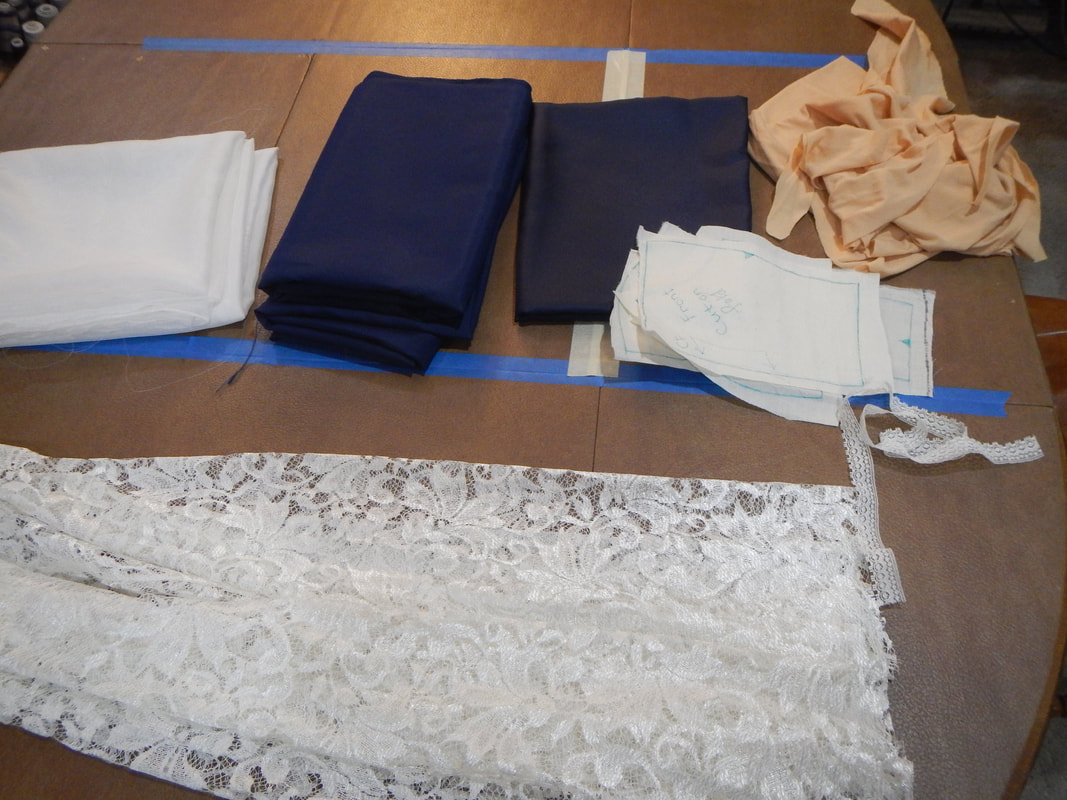
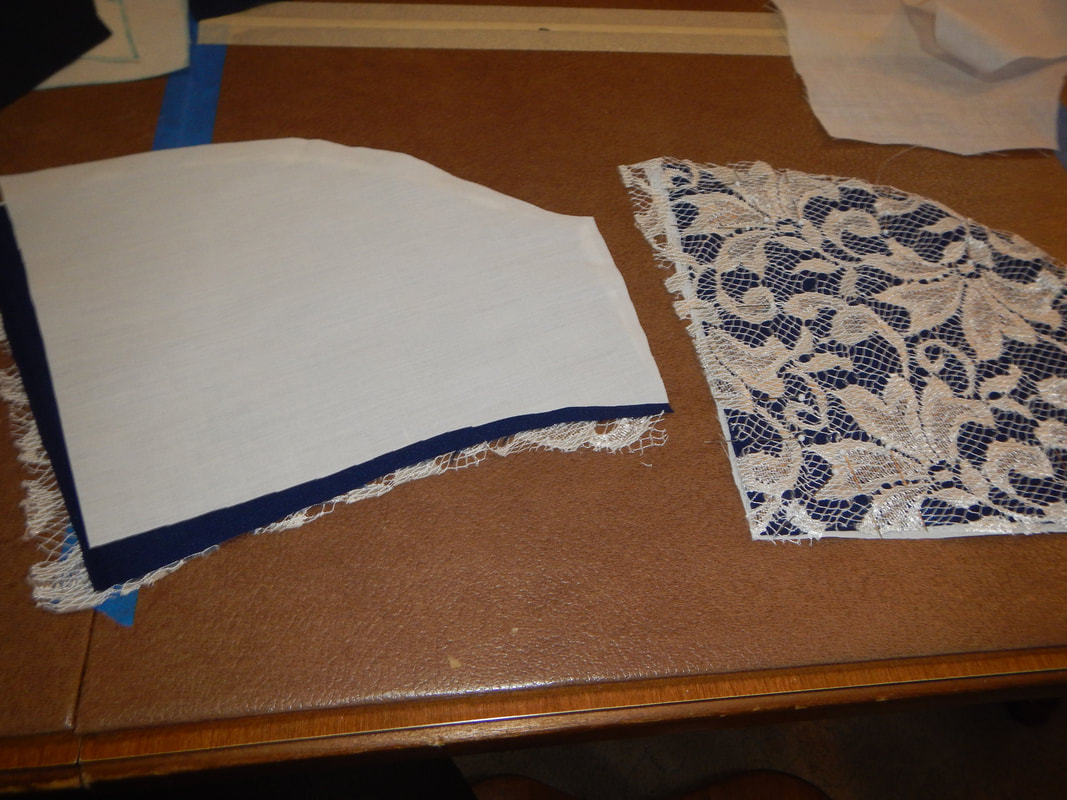
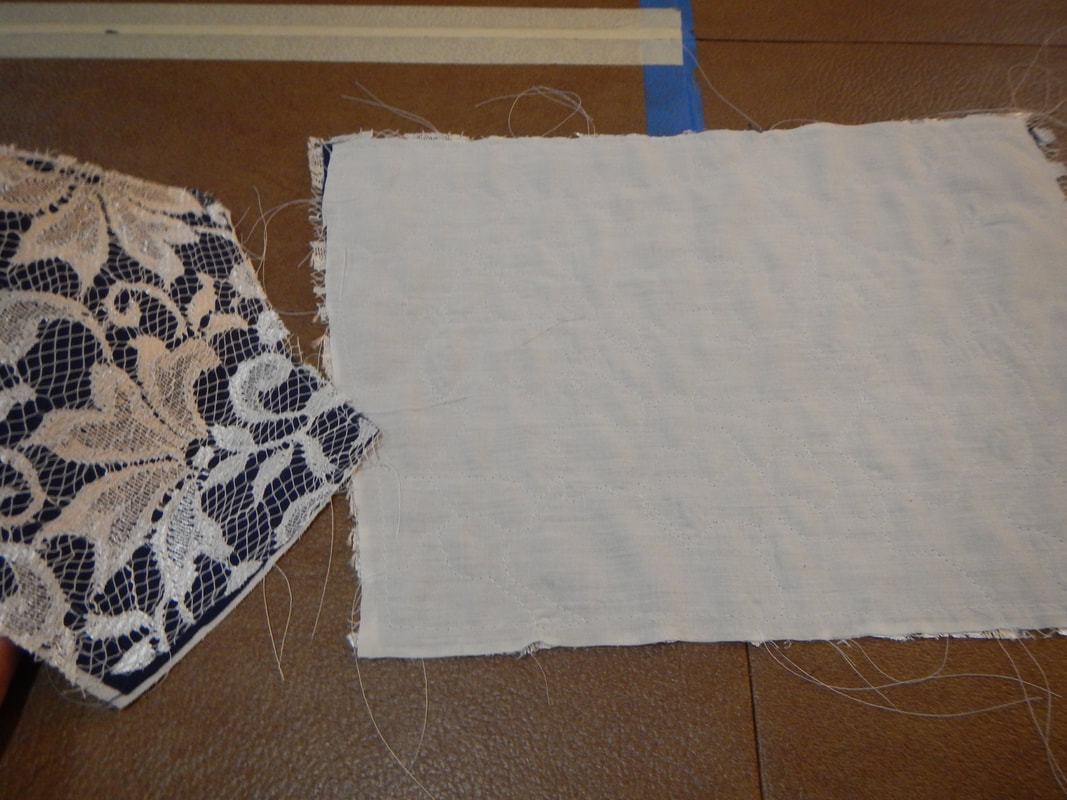
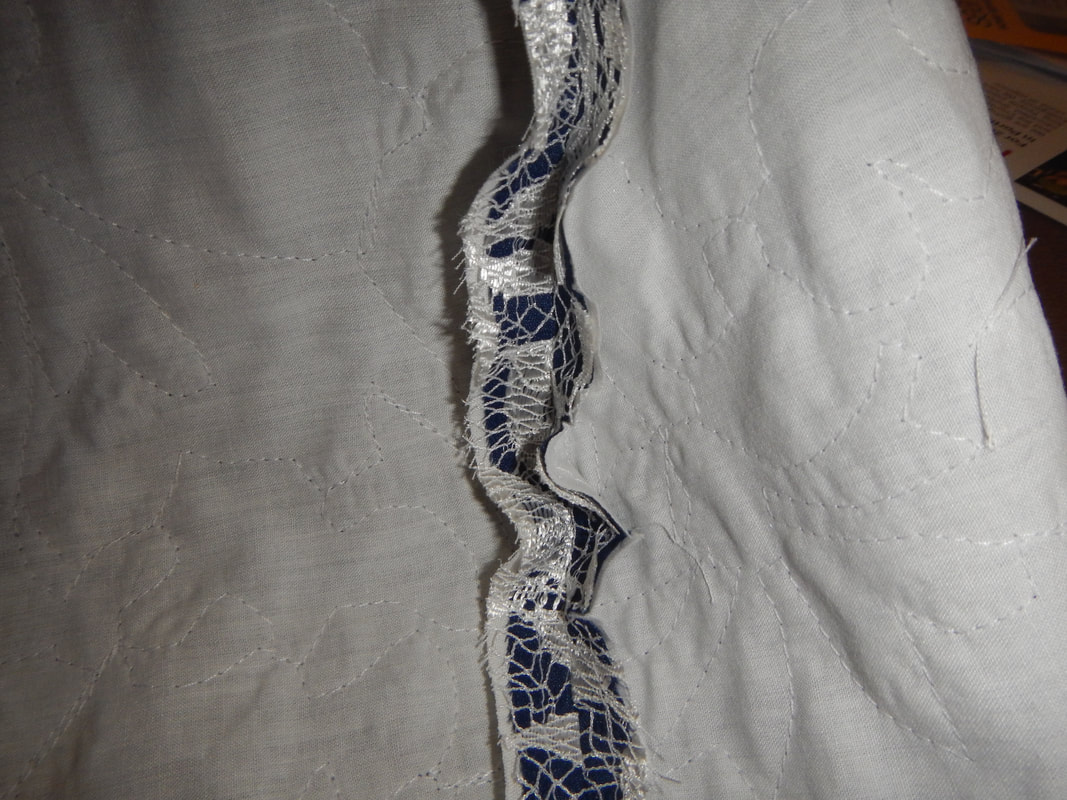
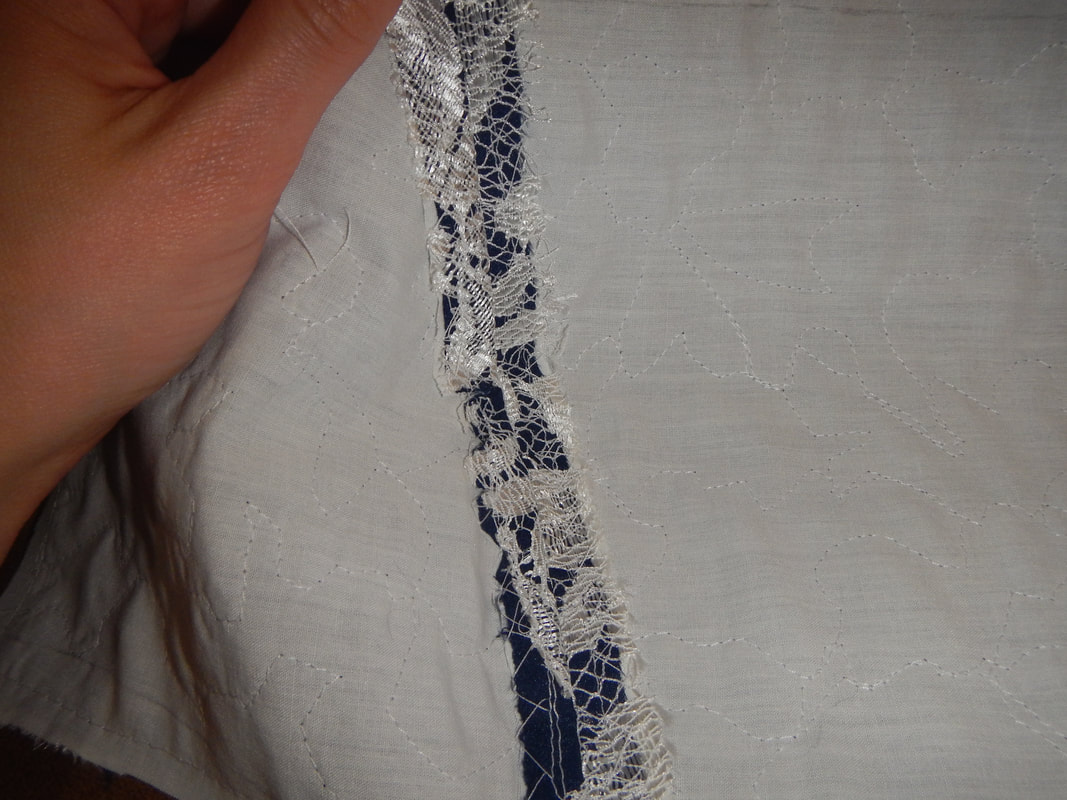
The fabrics for the dress feel quite nice. The main blue fabric is some kind of georgette: crepey and semi-sheer. The lining fabric is darker in color and opaque, but otherwise a similar weight and drape. I have decided it's more elegant to have the waistband be the same blue as the rest, instead of black. The lingerie fabric is there in case I decide I want its softness during construction. The most likely use would be in the bust area, to pad the area around the nipples so the seams don't irritate the wearer. I'd rather not sew foam cups in if I can help it, because I want the unstructured look of the avant garde Teens fashion. The first thing I do is cut out the bodice pieces. The pattern pieces don't have seam allowances, so I add them as I cut the main fabric. Then I pin the larger pieces to the lining fabric and cut them the same. Then the same in lace and the same in some plain cotton (an old sheet) for interlining. 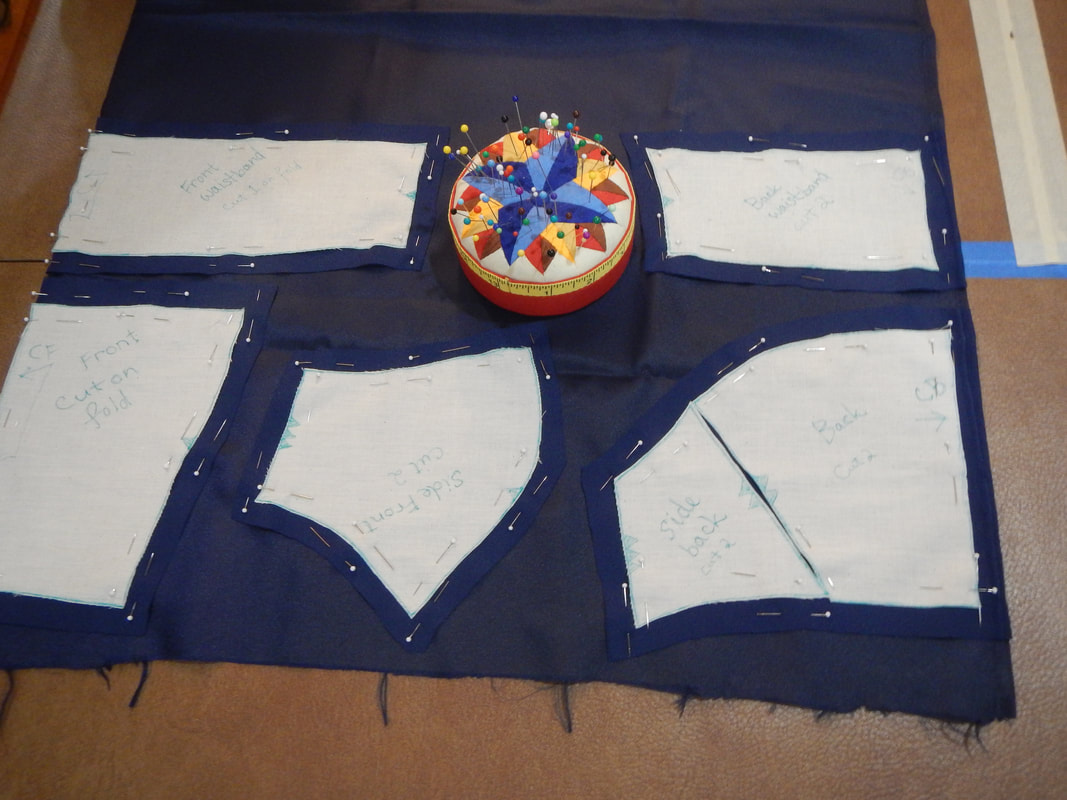 As you can see, I did after all merge the back pieces into one. I have several very thin layers to work with now! I want to make the exterior just a bit firmer so it will hold the bosom instead of being wrinkled and pushed around by it. Setting the lining fabric aside, therefore, I layer the lace, georgette, and cotton together and sew around the perimeter of each piece. But I'm concerned that the lace layer is still a bit floppy, ballooning outward when I move the fabric, so I go one step further and quilt it into place by making a rough cross-hatch of stitching through all the layers, following the lines of the lace design so my stitches do not show on the outside.
Will this quilting affect the laundering instructions? I do not think so: the cotton interlining is an old bedsheet, so it's been washed and dried too many times to shrink any more! The dress when done will be a hand-wash/hang-dry thing/cool-iron thing, but none of the fabrics will shrink, so there won't be puckering from that.
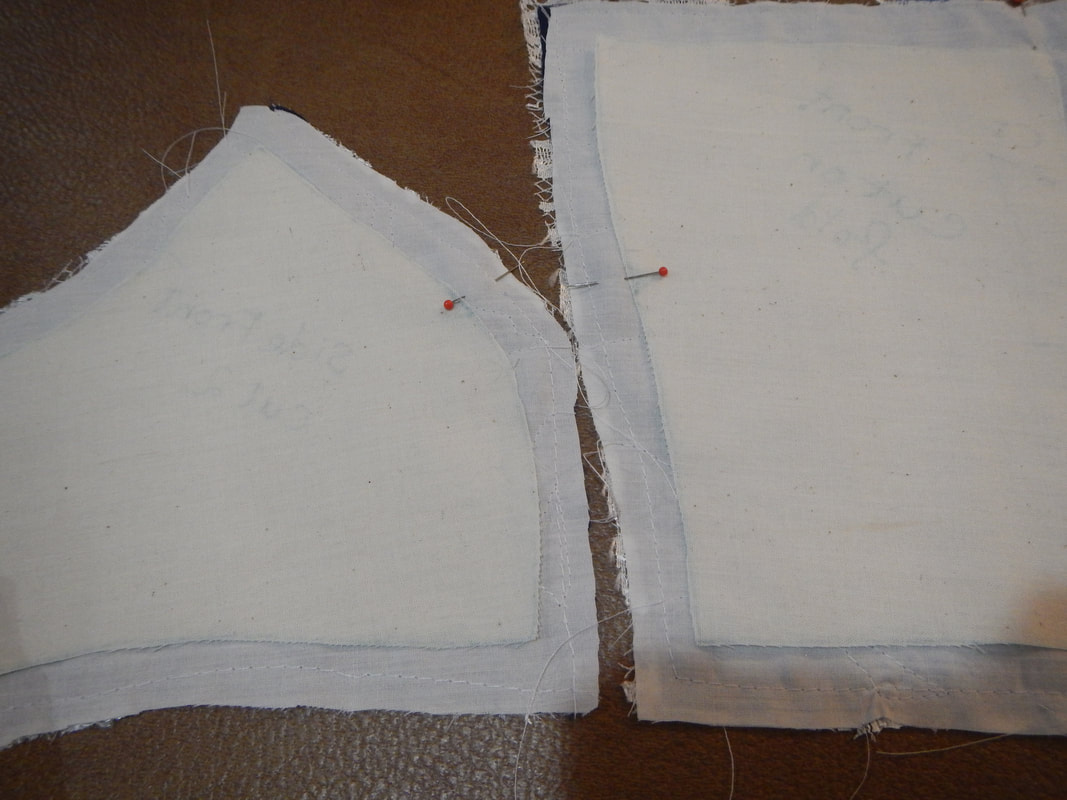
Below, you can see the princess seam after I've sewn it. It's puckering a bit, so I cut out little triangles of it to make the seam lie flat inside the curve of the bosom; then I hand-tack the seam allowances to the cotton interlining so the seam allowances will stay neatly open. I press the bosom's curve over a tailor's ham to reinforce the shape.
The next step is to make the sleeves. Kimono sleeves were popular in the Teens... in sewing parlance, kimono sleeves are sleeves with no shoulder seam, which are cut of the same fabric as the bodice pieces. There will be no armscye seam; the seams will be on the top or bottom (or both) of the sleeve. Imagine if you lay down on a piece of paper and had someone trace your outline, then cut the fabric like that, with a front piece for your front and a back piece for your back... that paper-doll style outfit would have kimono sleeves. In the nineteen-teens, fashion borrowed from Japan, India, and the Middle East, without fully understanding or truly reproducing any of those cultures. This was called Orientalism, the "romance" and exoticism of the east. For instance, the pink fashion plate that I based my own Teens era dress on (in this post) looks like a sari. The classic kimono-sleeves, waistband, and layered bottom look that I made for my sister and that I'm making here is a mix of a kimono top and a fantasy "harem girl" bottom inspired by the Ballets Russes, the artsy-exotic costumes of which were wildly popular. But I digress. Here's how I trace out the kimono sleeves for this dress, using a tee-shirt of mine as the guide: 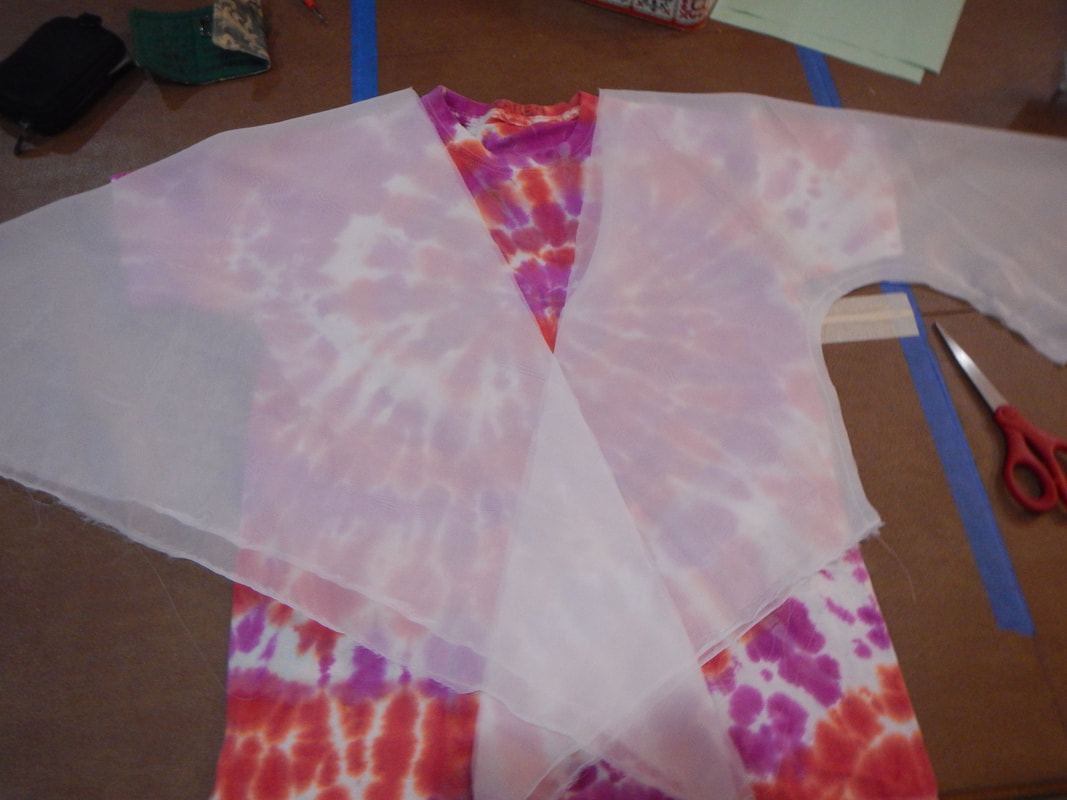 On the left, a triangle of organza, folded in half. On the right side, the U-shaped cut-out that forms the underarm seam. As I work with it, I quickly decide that I really dislike synthetic organza. Irritating material... all slippery, more prone to rolling than folding, fraying if you so much as look at it... grrr... So annoyed am I that I alter my original plan: originally, I wanted to have the organza from the top continue below the waistline as a peplum, but now I don't want to fuss with hemming all the edges, so I decide to use the organza for sleeves only, and let the ends disappear into the waistband never to be seen again. To accent the bodice top, I baste some lace trim up-side-down just at the seamline, so when I sew the bodice to the bodice lining and turn the thing right side out, the lace will turn up and out. Notice in the picture below how I've basted the lace and how the edges of the lace are folded neatly into the seam allowance.  The next step is to bag-line the bodice: the bodice and the lining are pinned right-sides-together, matching the seam lines to each other, and then sewn all along the top edge. I do not sew the vertical line of the Center Back, because I know I'll want it open later for zipper installation. I do not sew the bottom edge because that'll get enclosed in the waistband. 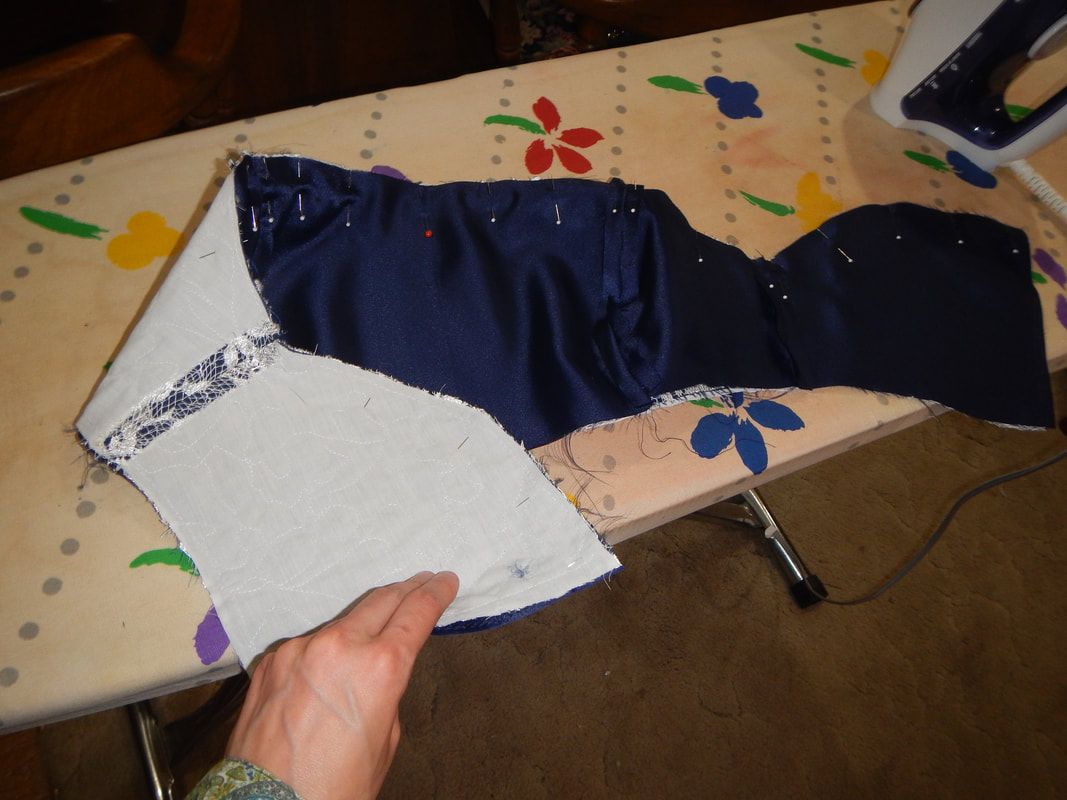 Bodice and lining pinned RST along their upper edge. Now, when I first started sewing clothes, I sometimes made an embarrassing error in this step... my horizontal seam would waver in some way, and the CB line on one side would end up longer that my CB line on the other side! This would show when I installed the zipper, because when the dress was closed one side would be a few millimeters taller than the other! So sloppy-looking! The same problem could occur when attaching the waistband. The obvious way to avoid this problem is to measure and cut neatly, then sew with an even seam allowance. But I've also found a neat, more visual, trick to help out: as I near the end of my horizontal seam (in this case the top seam of garment to lining), I pull the start of the seam up and align it so I can "aim" my stitching at the start line, thus ensuring that even if my seam line wavered, it's back on track where it counts! The picture below shows me doing that... see how I can end my seam perfectly in line with the start? 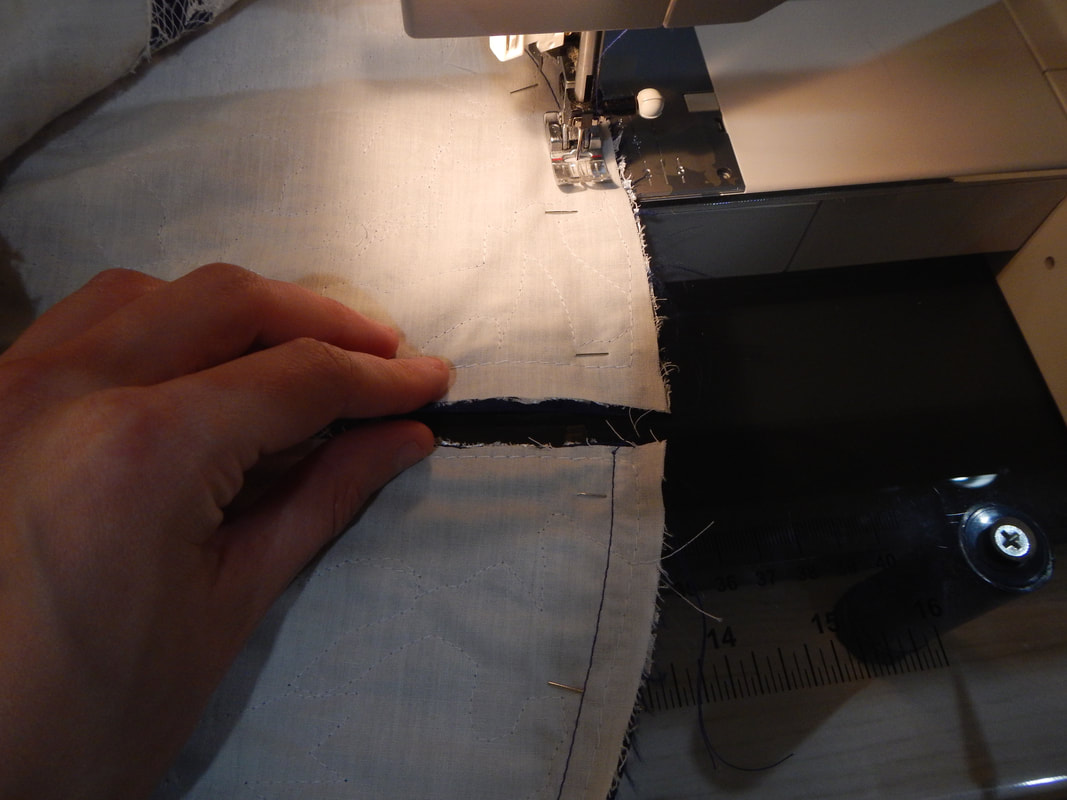 Sewing the top edge. When I iron it, I favor the seam to pull the lining a wee bit shorter, so it won't be visible when the dress is worn.
1 Comment
The Sister
6/2/2018 11:54:16 am
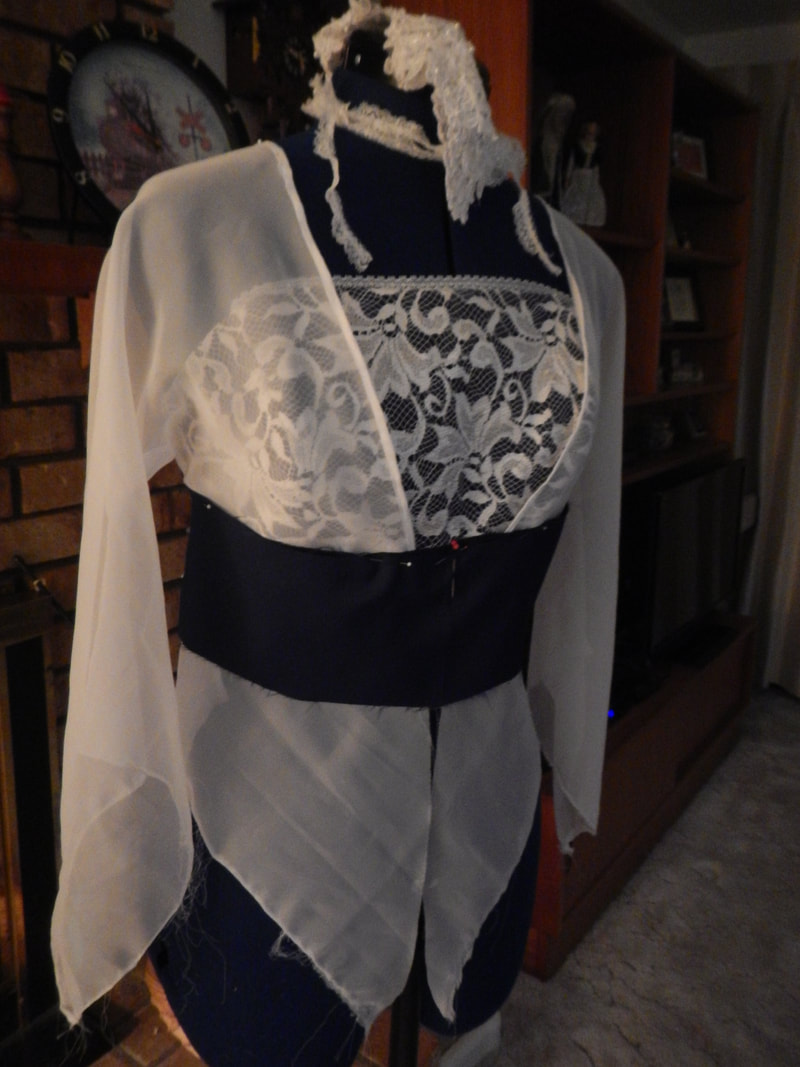
This is coming together very prettily! I like the color scheme. Leave a Reply. |
Karen Roy
Quilting, dressmaking, and history plied with the needle... Sites I EnjoyThe Quilt Index Categories
All
Archives
March 2024
|
 RSS Feed