|
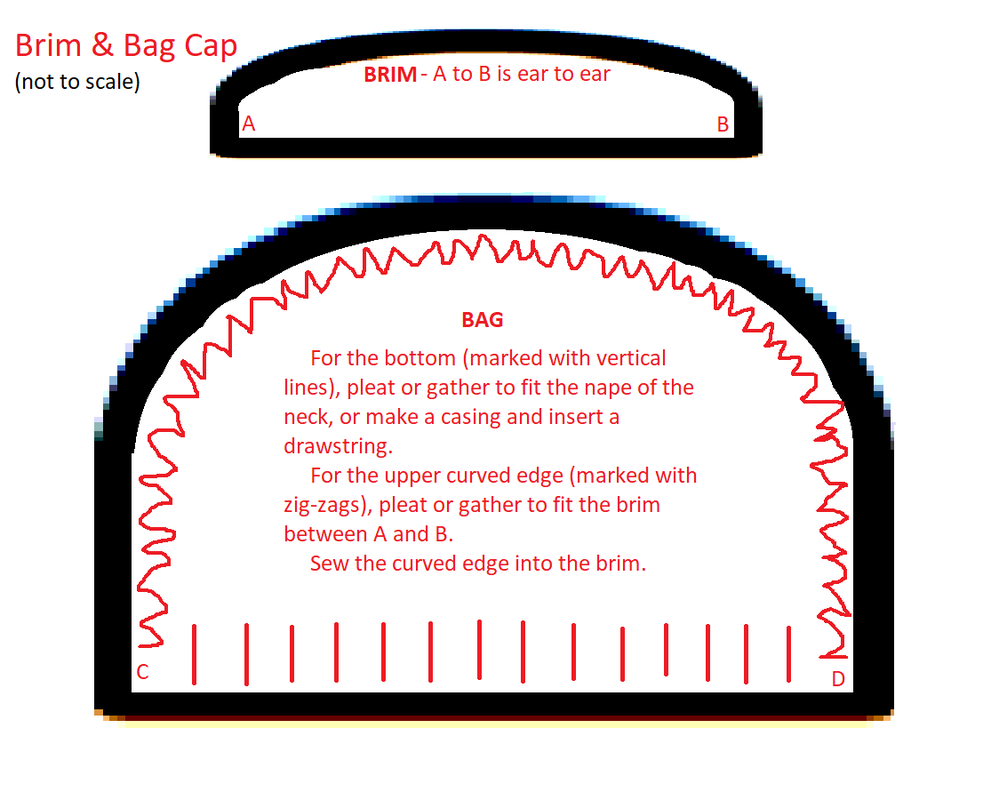
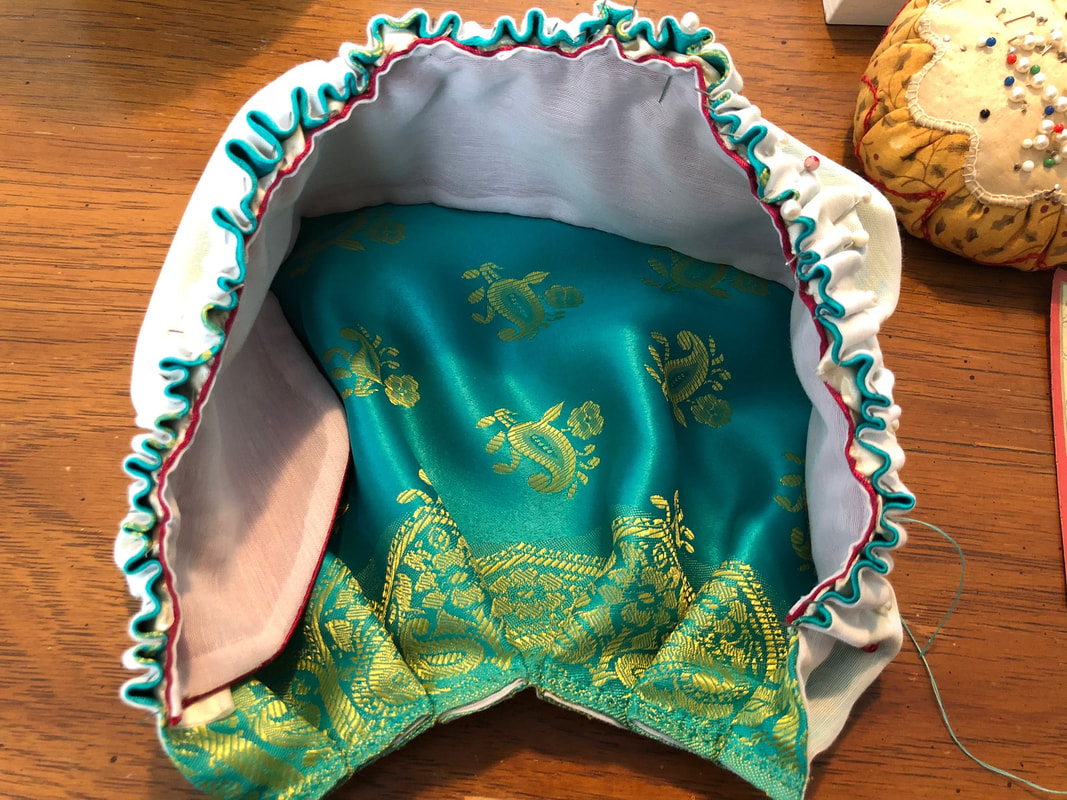
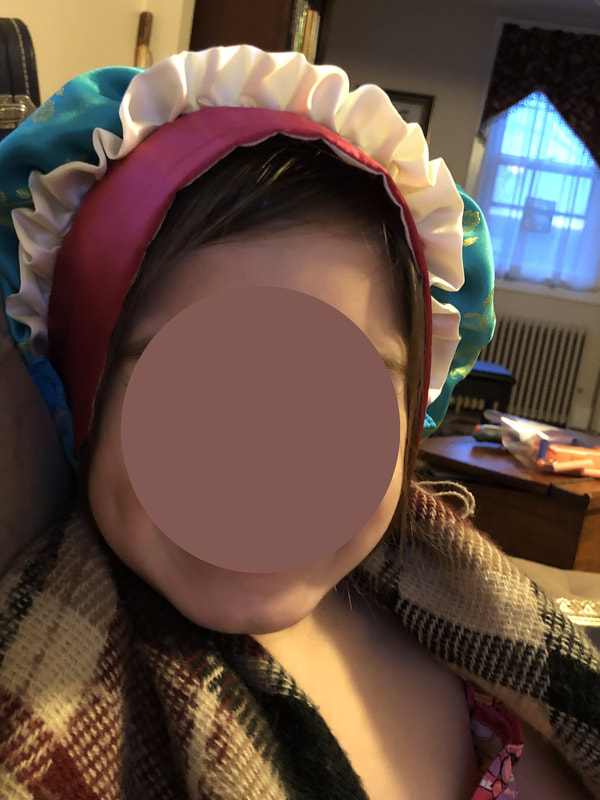
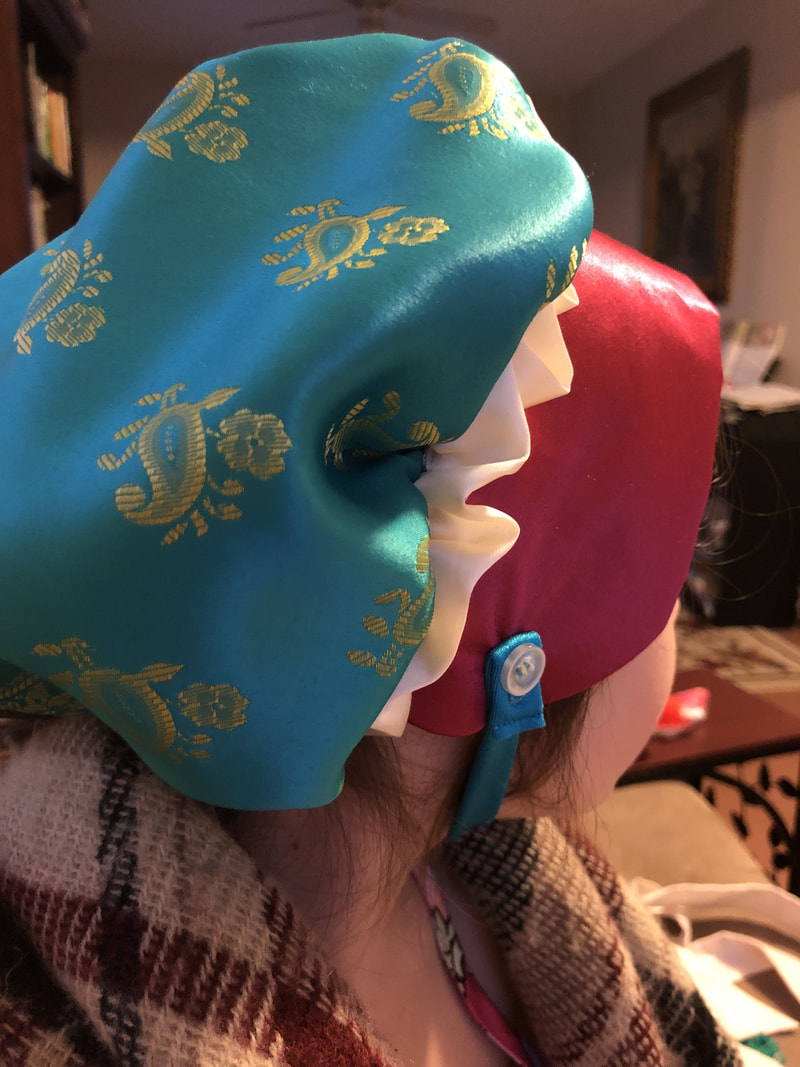
It seems I am not the only one who likes nightcaps! While visiting my family recently, I was wakened by my five-year-old niece. She asked me what was on my head, and I groggily explained that my nightcap kept my head warm, my hair neat, and spiders out of my ears. So she decided she wanted one! Knowing the transience of a child's desires, I didn't jump to make her one... until she'd asked over and over for a week and a half. All right, then! Into her mom's stash we went, and she selected raspberry-colored satin and blue-green sari fabric. Knowing the cap would need more body than those flimsy fabrics provided, I fetched out the same white fabric I'd used last year for my cap, and decided to use it for the interior. THE PATTERN Having made a variation of this cap several times already, I knew that little was needed for a pattern. I took a sheet of paper and laid it over my niece's head, marking the bottom of each ear. Then I drew a long D shape, long enough to cover the ears, and called that shape the brim. For the bag, I took a large-ish square of the sari fabric, using the selvedge as the base, and rounded the top. So that made a fat, squat D shape. Here's a rough sketch, not to scale: CONSTRUCTIONI cut one brim piece in pink satin, interfaced, and another in the white lining fabric. To finish the front (the curved edge), I sewed the two pieces right sides together along just the curve, then clipped the seam allowances and turned the brim right side out. I ironed it slightly askew, letting the white lining fabric pull the pink satin around the edge, so the white fabric won't show too much along the cross section of the seam when the cap is worn. Now, I could tuck the bag edge into the opening at the brim and close it then, but I decided on a different method, because I wanted to try cartridge pleating. So I ironed the seam allowances of the straight edge inward and slip-stitched the edge closed. For the bag, I cut one piece in sari fabric, with the selvedge on the straight bottom edge, and another piece in white lining fabric. I sewed this bag with the pieces right sides together, leaving just a little bit un-sewn, and turned it right side out as well, slip-stitching the opening shut. This way all the raw edges of the bag are concealed so they don't fray. At this point, while the bag was still in two pieces, I made a ruffle using blanket binding satin, gathering it with a whip stitch as detailed in the 18th Century Dressmaking book I got for Christmas. That made a nice bouncy ruffle that wouldn't lie flat, which I tacked in place on the brim. Then it was time to sew brim to bag. Since I wanted to try cartridge pleating but didn't have a ton of length to compress, I compromised. I put the brim and bag right sides together, then pinned like I'd normally pin pleats, but didn't fold the ripples down. Using needle and thread, I whip-stitched the valley of each ripple to the brim twice, until all were attached, then pulled the brim out into the right position. It's sloppy cartridge pleating... the pleats aren't gathered with running stitches and they're not close enough together to look like cartridges, but the method is otherwise the same. The last step was to make a few tucks and pleats to compress the bottom edge to fit the head, and add a chin-strap. My sister didn't approve of tie-straps, because she feared they'd be a strangulation risk at night, so we went with a spandex (bathing suit fabric) strap that buttoned at each ear, but wasn't long enough to cause concern. FINISHEDMy little niece loves the nightcap, and wears it sometimes during the day and sometimes at night! She deliberately stretches the chin-strap so much that I've been obliged to add more buttonholes to get it tight enough! (she likes to put it on without unbuttoning it, which stretches it out, too.) She looks super adorable in it!
2 Comments
The Sister
2/24/2018 12:30:21 pm
Actually, she wears it every night unless she can't find it (because it's been mislaid after a day of wearing!). I think she approves. ;-)
Reply
Leave a Reply. |
Karen Roy
Quilting, dressmaking, and history plied with the needle... Sites I EnjoyThe Quilt Index Categories
All
Archives
March 2024
|


 RSS Feed