|
I recently darned a sweatshirt for a friend. Since I've already shown how I darn using Single Corded Brussels stitch, bridging the hole by throwing my thread across and then covering that thread with buttonhole stitches on the way back, I decided this time to use the more basic Single Brussels stitch, no cording, to show you something different. However, the Single Brussels stitch is lighter than Single Corded Brussels, so how would I fill the hole with something approximating the weight of the rest of the fabric? I decided on needle weaving. So now I have two techniques to show you: Single Brussels stitch being used to darn, and needle weaving. You can darn with needle weaving alone, but in this example I do a very slip-shod job of it only to bulk up for my serious darn, which is the Single Brussels stitch.
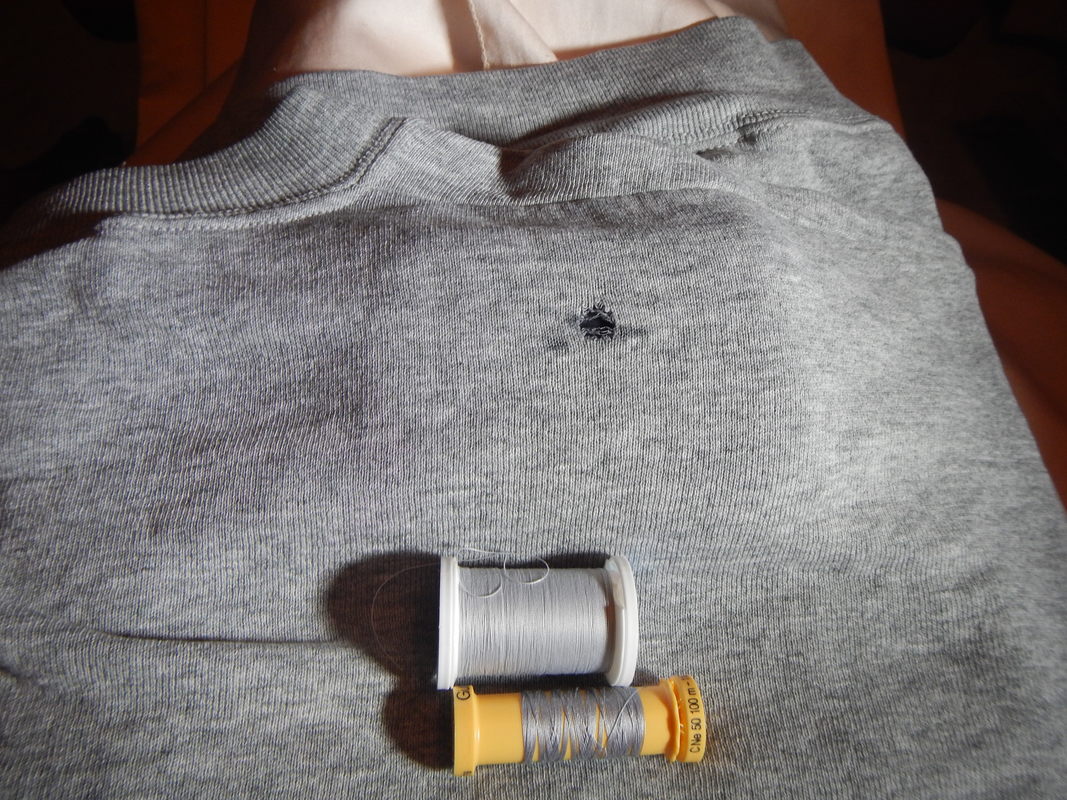
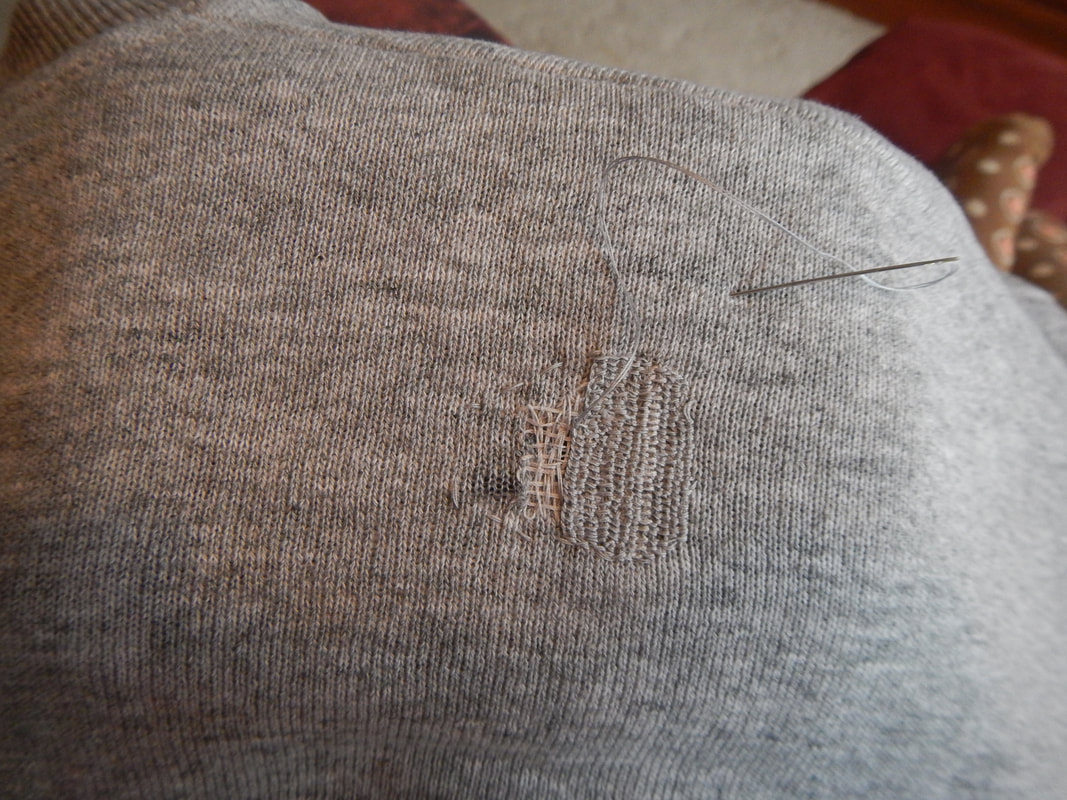
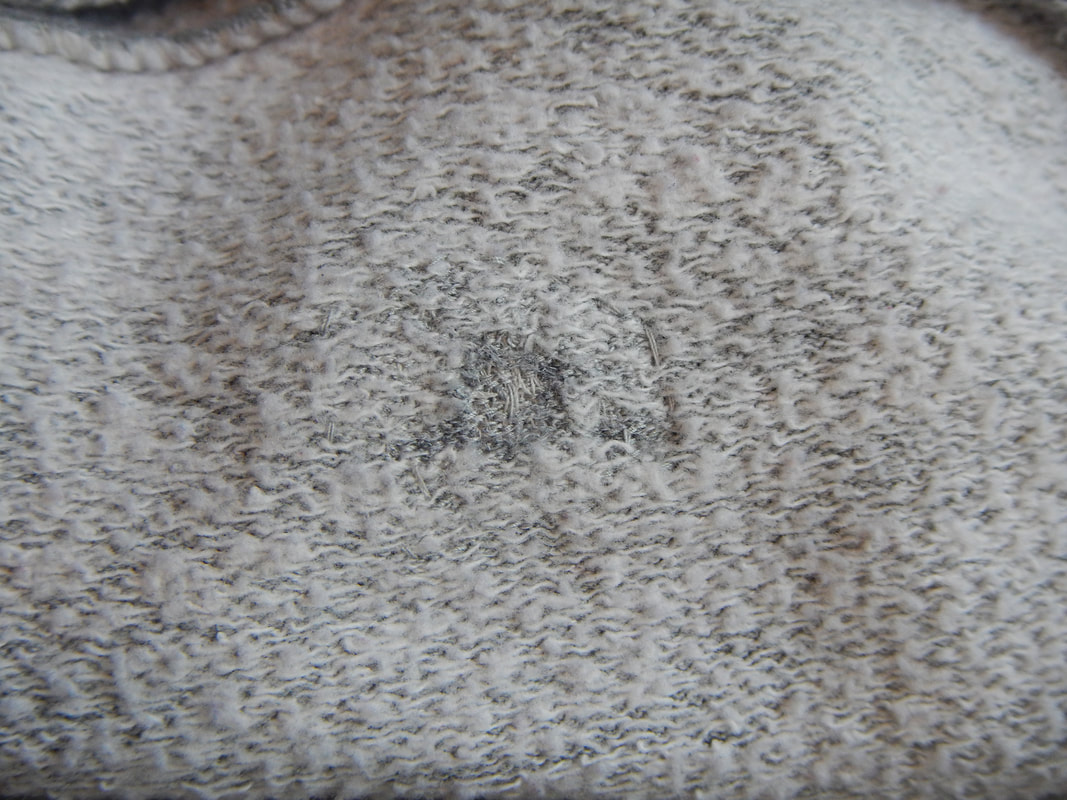
The first step is to thread my needle with the darker gray thread and double it. I like doubled thread for darning because it's thicker (I'm only using all-purpose thread, which is quite thin!), and because I'm less likely to lose the needle that way. No need to tie a knot: I'll be covering all my stitches with each other! I sew a rough circle around the hole and the weakened areas adjacent. It's not necessary to outline; it's just helpful to keep from going astray. Then, working in vertical lines that follow the knitted ribbing of the sweatshirt, I start doing Single Brussels stitch: 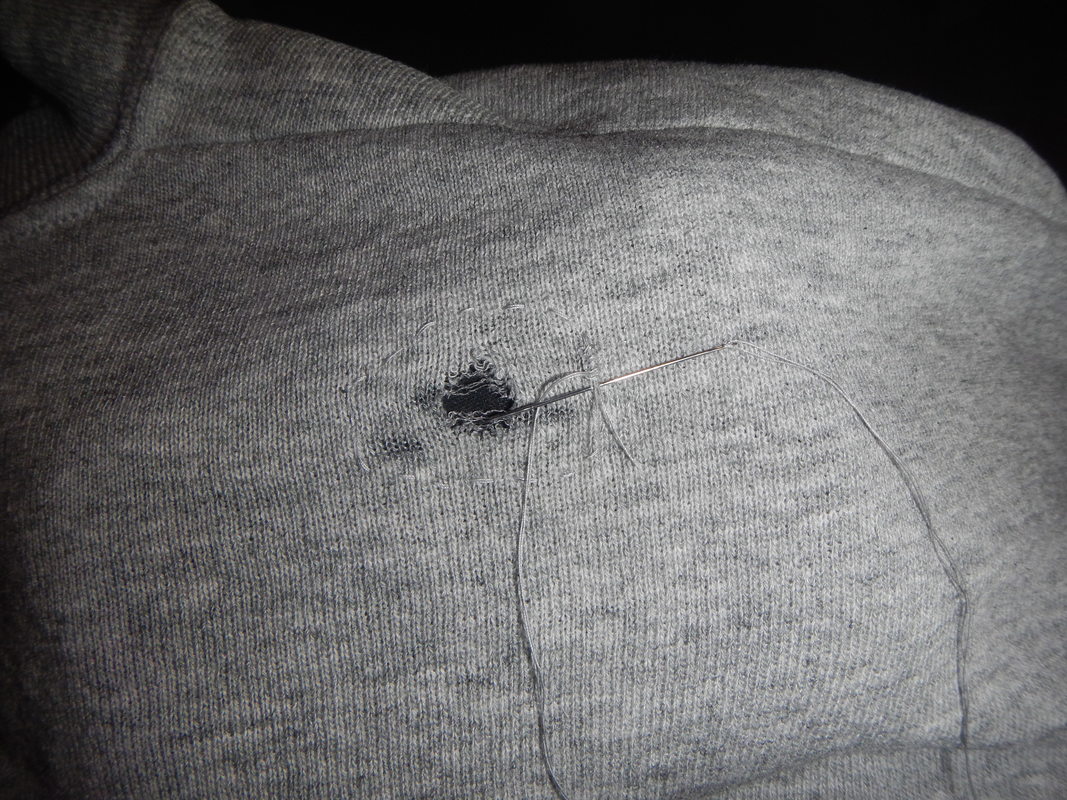 My first line of Single Brussels stitch covers the loose end of my thread. Single Brussels stitch is a row of buttonhole stitches, then another one hanging off the first one. In needlelace, the stitches are detached from the surrounding fabric, so each stitch has only the last stitch to hang onto. But in this darn, I'm also putting the needle through the fabric in the back, thus tying my new needle-made fabric to the old fabric. As long as there's fabric underneath, it's more like embroidery than needle lace. Once I get near the hole, I take a break from single Brussels to do some needle weaving. From the pictures below, you can probably tell that needle weaving isn't my favorite task; I don't want to fuss with perfectionism as I try to do my over-under-over-under, so I just weave haphazardly through the threads without much attention. I know that it will be covered up, and it's more important to have a nest of threads to sew on than to have that nest look pretty. 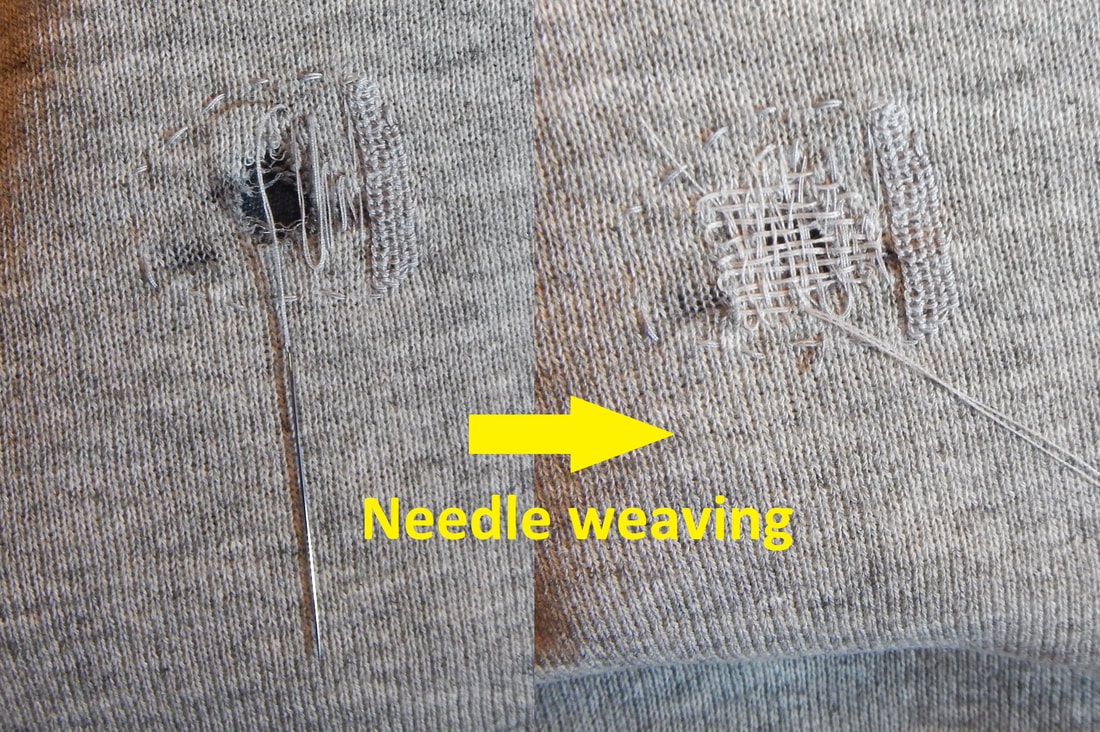
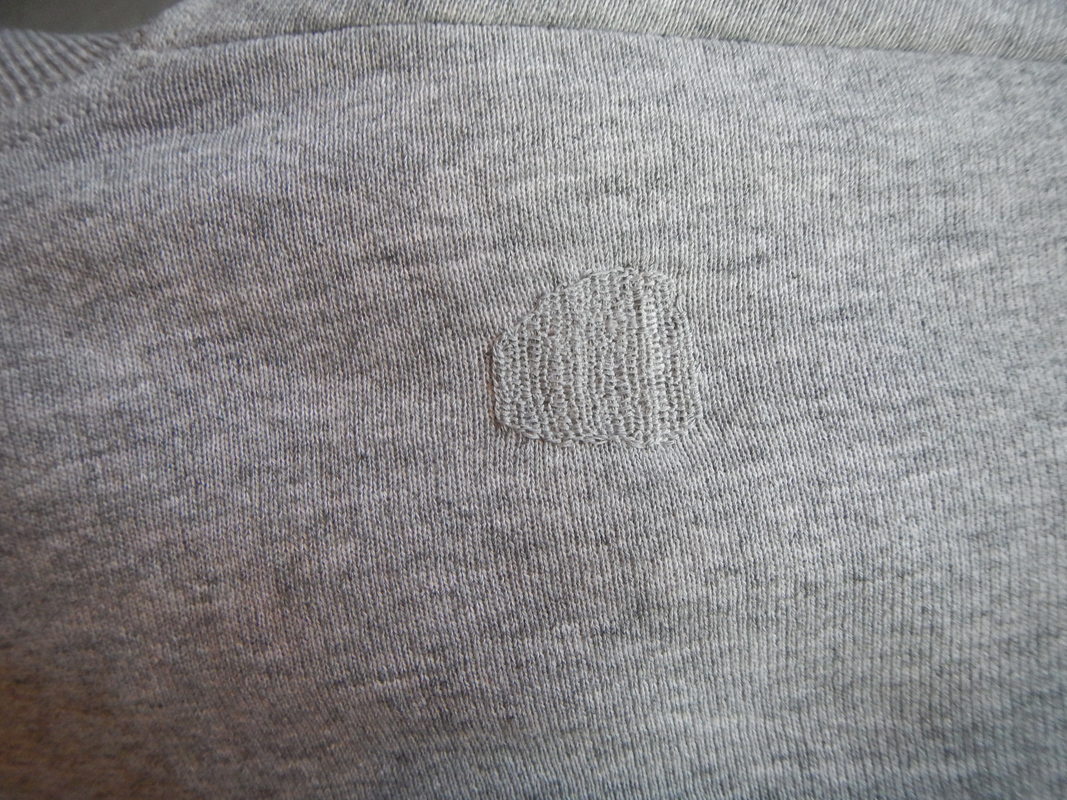
FINISHED I am finished when the perimeter is filled. I tie my thread off to a nearby stitch, then weave it in and out of the darn a few times before I cut its end.
How long did it take? About an hour. I did it in the morning while I sat by the "happy light" to get some Vitamin D! I took a wee break for lavender tea, so my total time was an hour and a half. A good way to start a morning!
0 Comments
Leave a Reply. |
Karen Roy
Quilting, dressmaking, and history plied with the needle... Sites I EnjoyThe Quilt Index Categories
All
Archives
March 2024
|
 RSS Feed