|
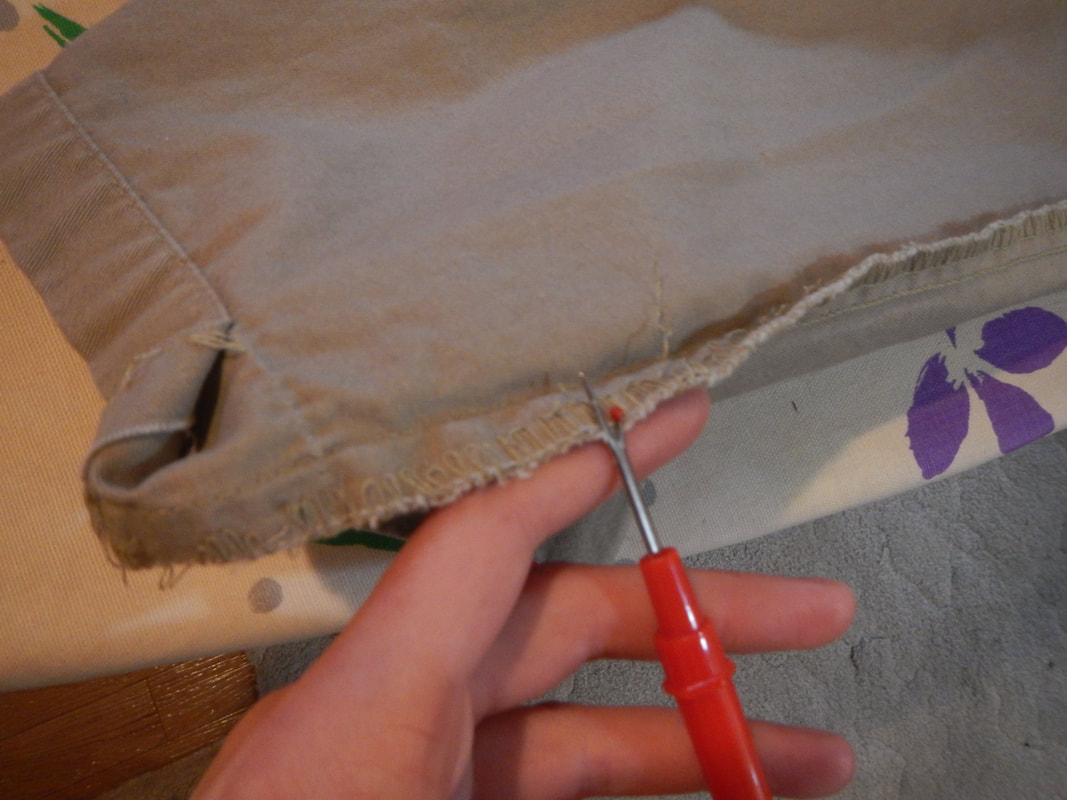
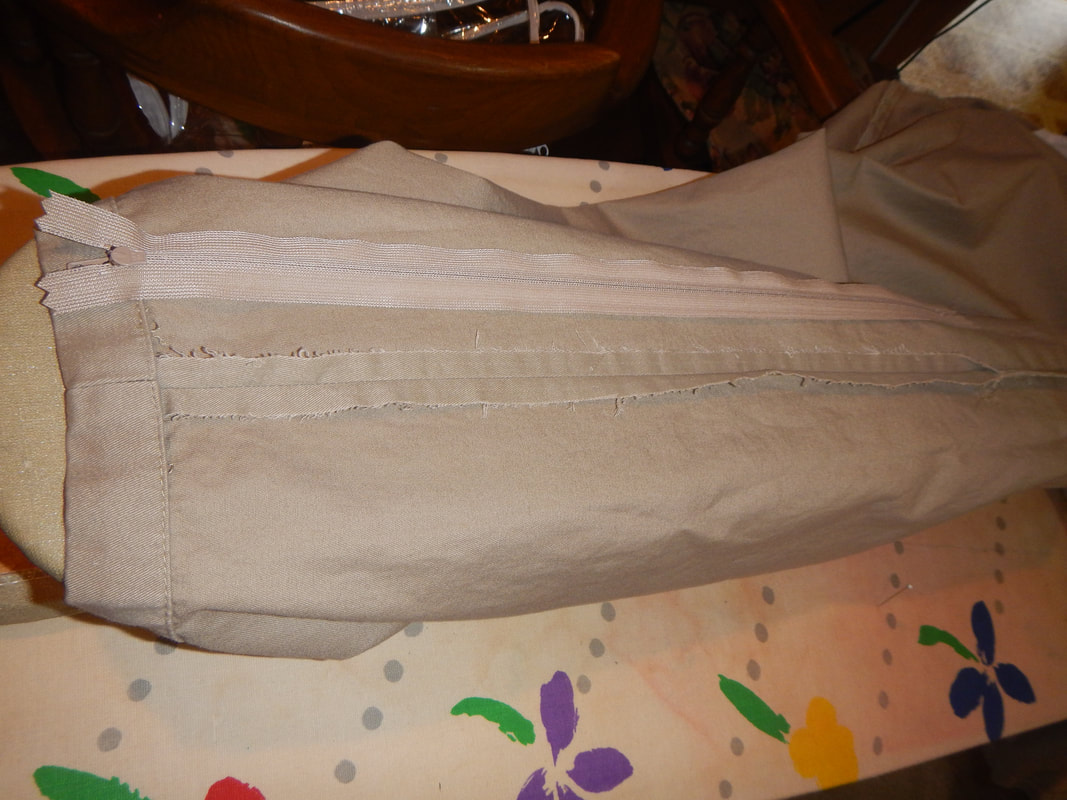
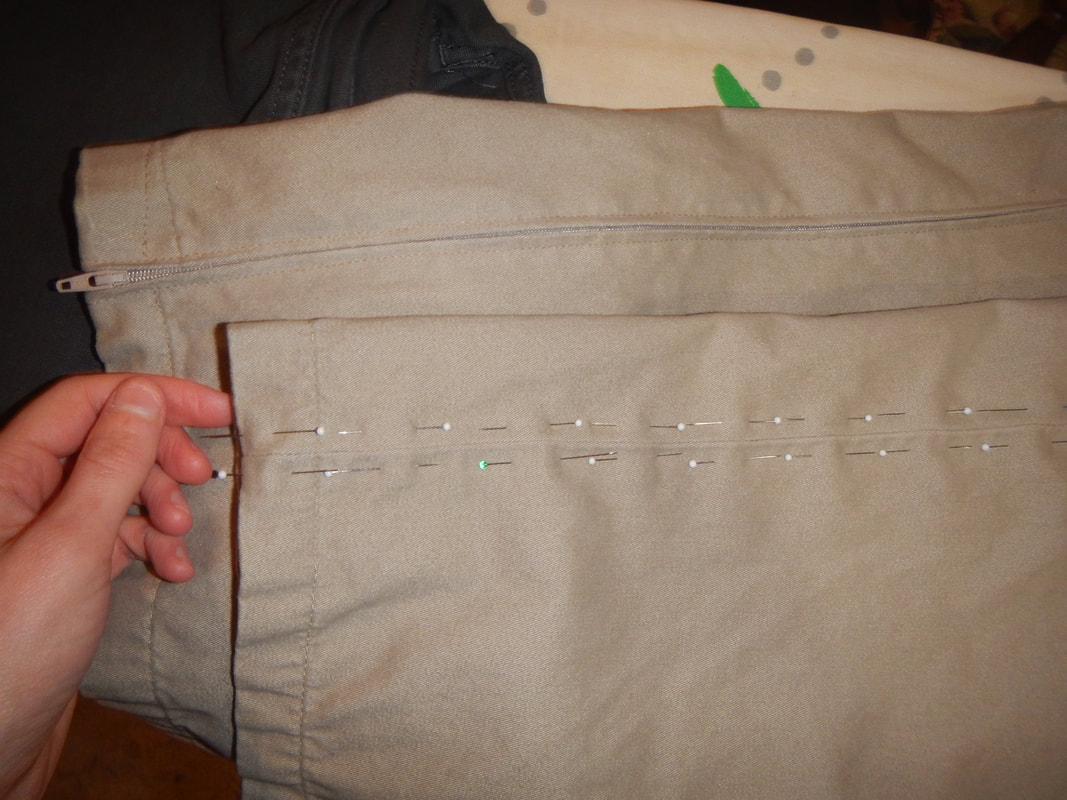
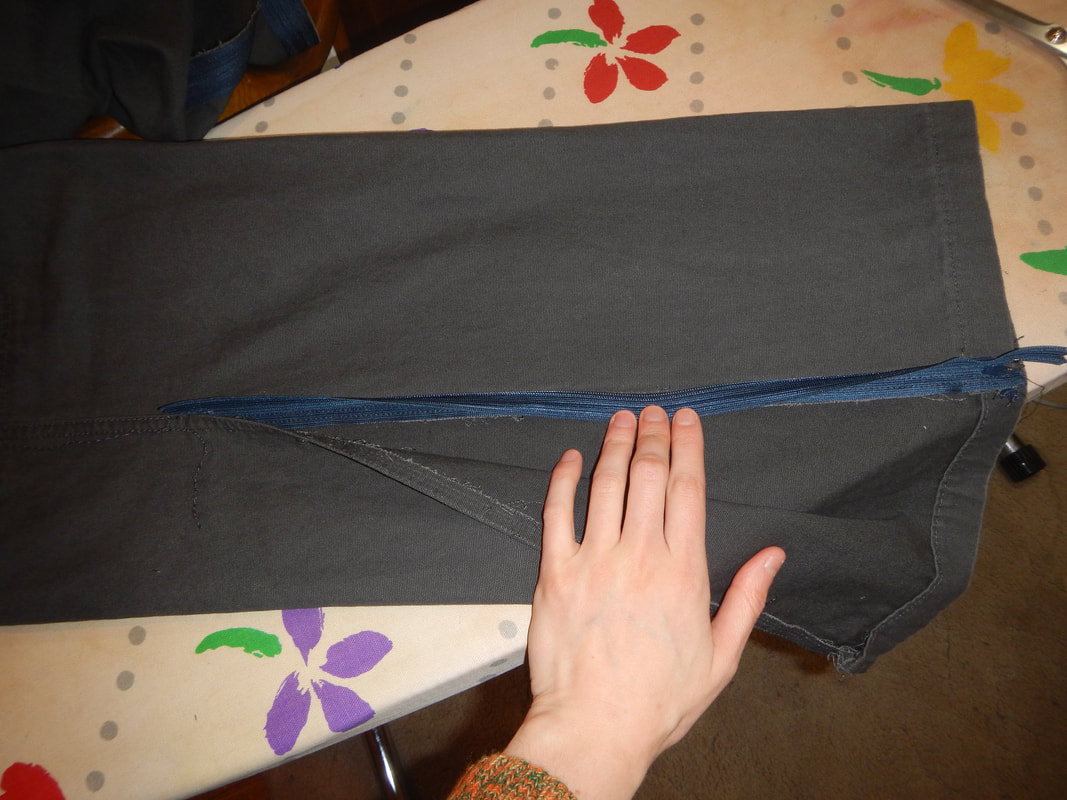
"Adaptive clothing" is the term for clothes which are designed for use by disabled people. The goal is to look like regular clothes, but to have adaptations that either make them easier to don, safer and more comfortable to wear in wheelchairs, or more practical for caregivers. By their nature, adaptive clothes can be unique to the individual. Recently, a friend came to me with a particular need: a man whose Parkinson's makes it difficult to get the narrow ends of his pants legs over his feet (even if you sit to do it, it still requires balance and co-ordination). She asked if I could install zippers in the bottom of the pant legs so he could unzip them, get them on, and then zip them down? I said of course! ZIPPER IN SIMPLE SEAM The first pair of pants was easy, since it had a simple seam, sewn right sides together with seam allowances on the inside. The procedure is almost exactly the same as what I did with the Regalia, except that these pants had serged edges so there was an extra step of un-picking: 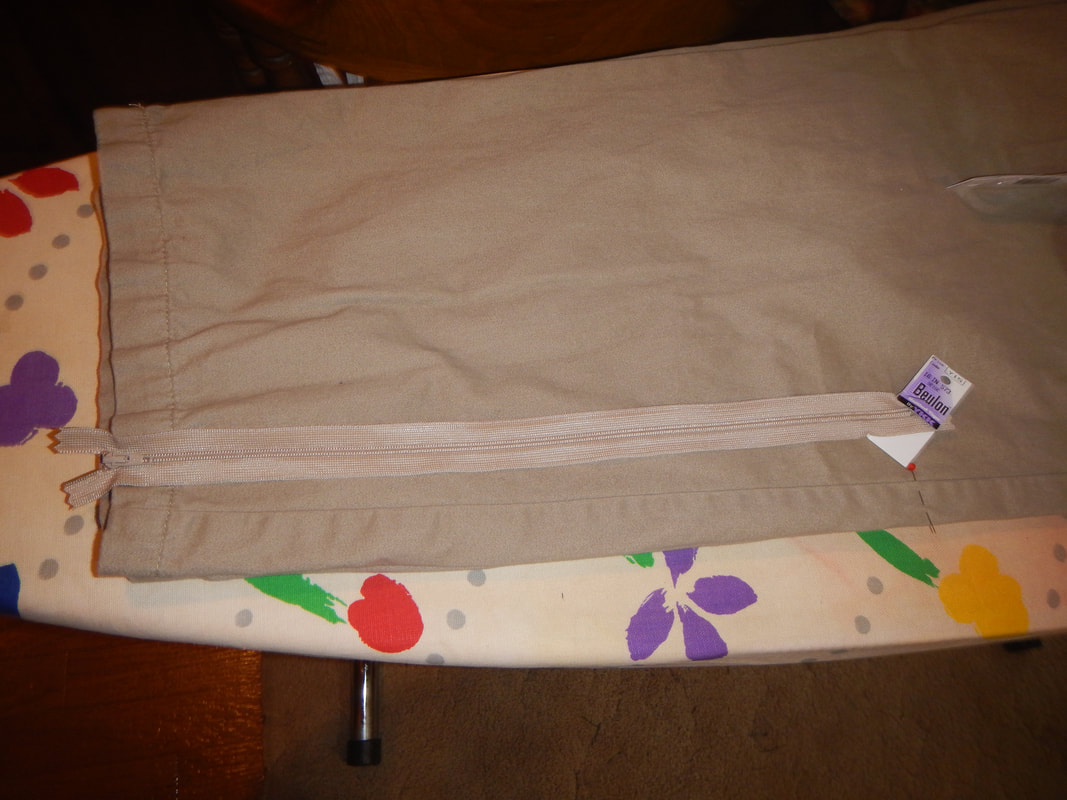 The pant leg right side out, with the zipper laid on to, and a pin marking the top where the zipper will end. The first step was un-picking the serged-together edges all the way up to the pin, and even a little higher than the pin, so I could iron the seam open. I tied off the serger threads so they wouldn't keep unraveling, and ironed the seam to the back of the pants above the area where the zipper would go, but ironed the seam open below that mark. Click to see the pics full size:
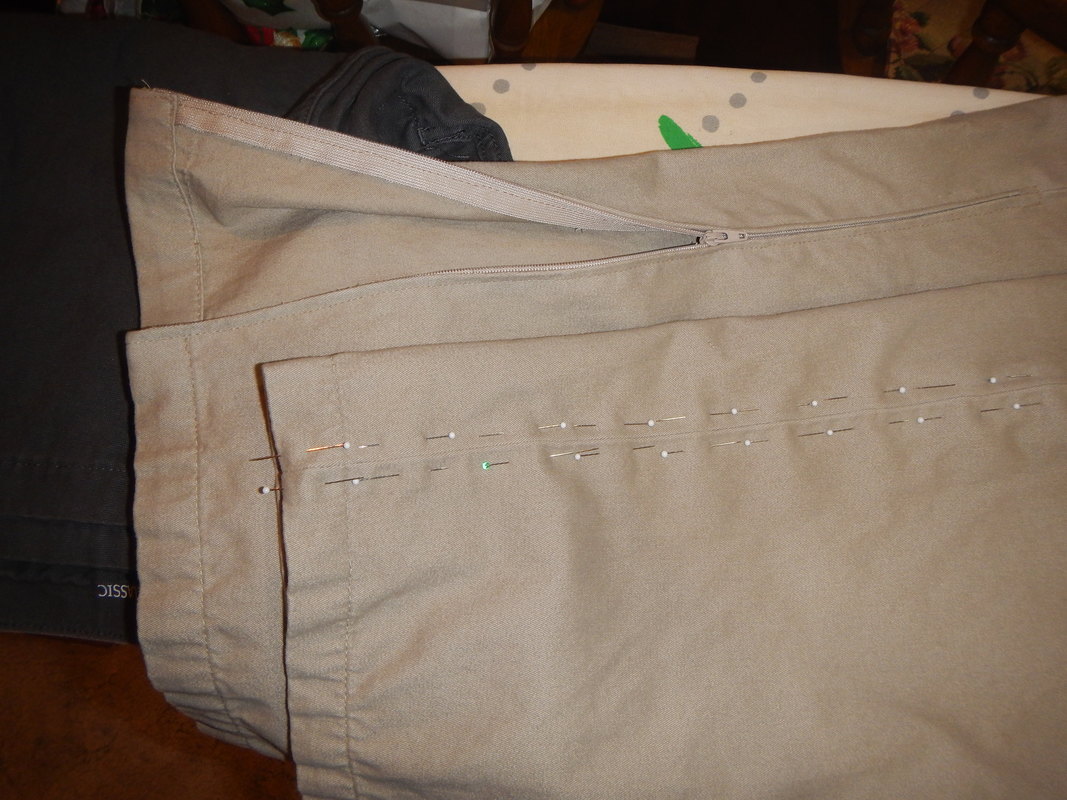
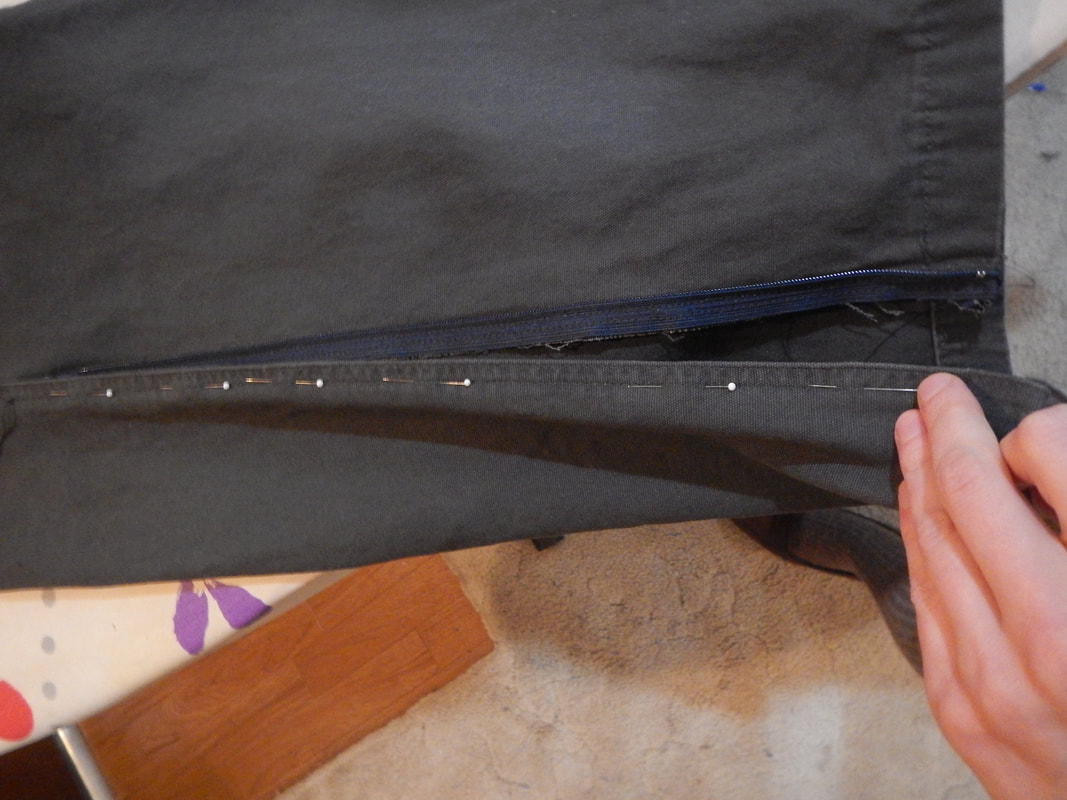
Then I pinned the zipper in place on the seam, going under the hem at the bottom, and topstitched it into place. Finally, I turned the hem back up and re-stitched that as well. The two pictures below show the completed zipper on the one leg and the pinned zipper on the other. Notice first that I pinned the pins facing in one direction all the way to the top, then facing the other direction all the way back: that way I could sew it in one long seam, pulling the pinheads out as I went. But I'm not sure now if that was the best way... See the shifting of the bottom hem in the finished leg? Somehow it skewed as I was sewing. Perhaps I forget to put down my Pfaff's Integrated Dual Feed attachment when I changed to the zipper foot? That might have made the layers feed unevenly. At any rate, I had to hem it askew, which you can see a little. If you do this, either use a walking foot/IDF or sew one side in one direction, tie off, then sew the other side the same direction, and reinforce the crossbar at top before tying off.
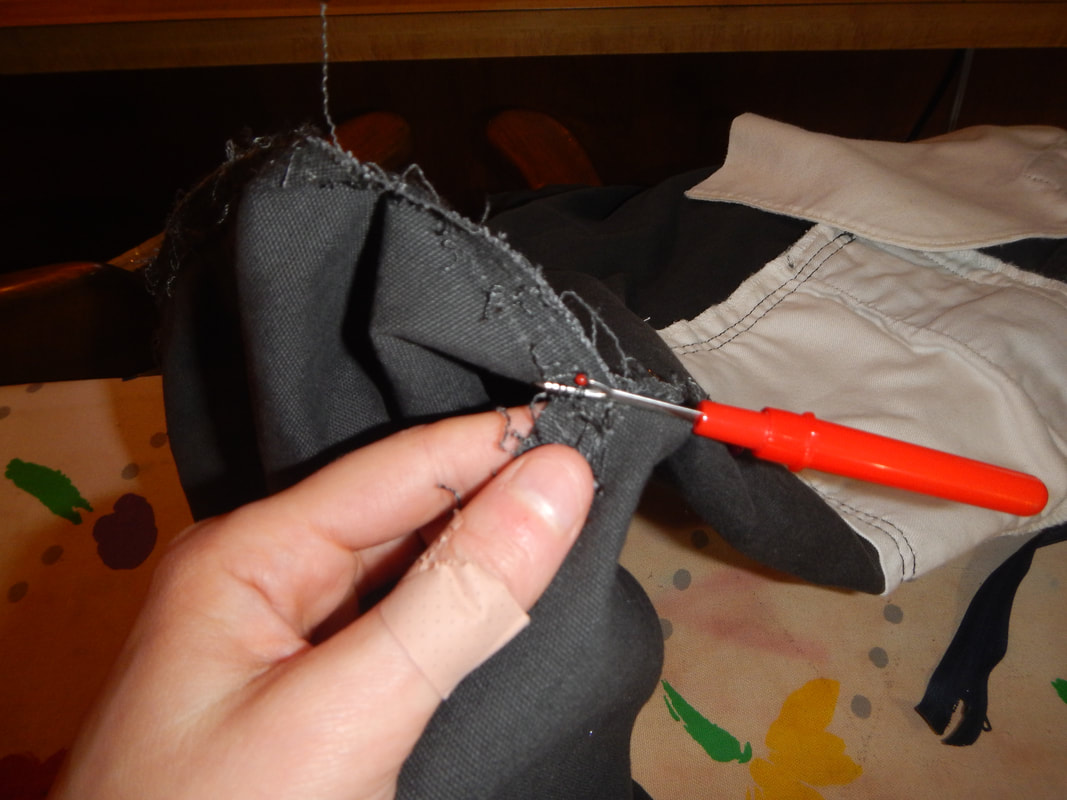
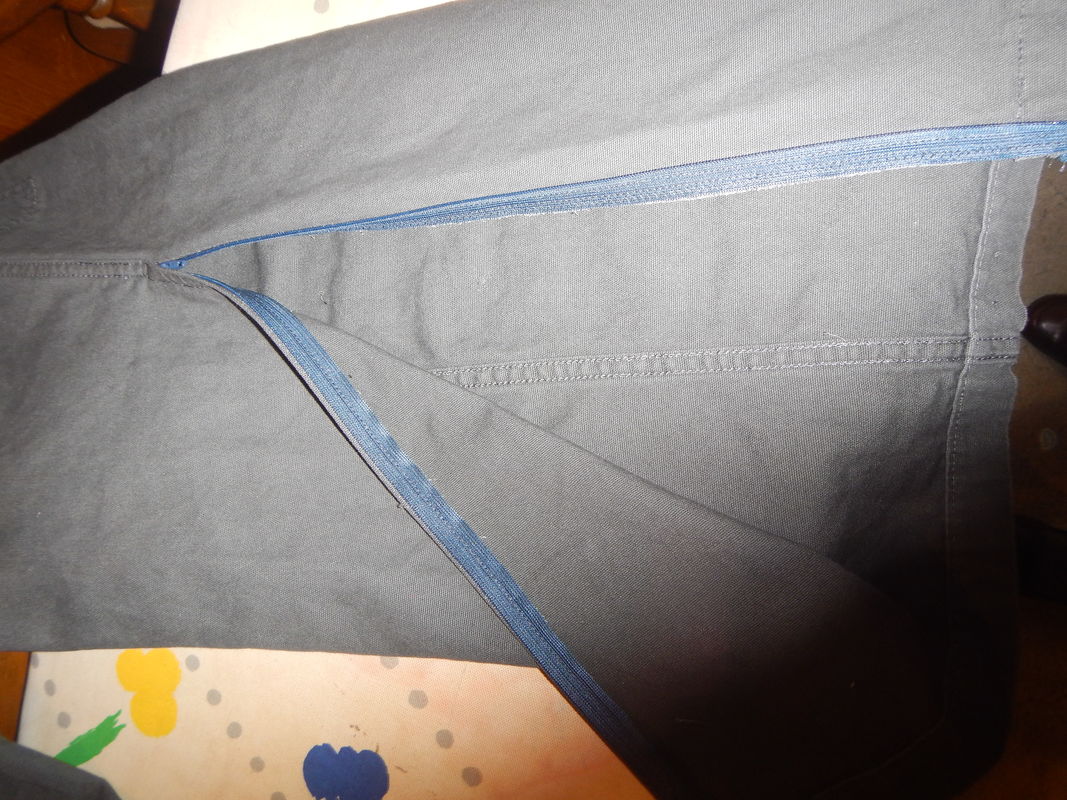
Not pictured: I did a second line of stitching only on the inner layers (zipper tape and seam allowance) to prevent the fabric from unraveling in the wash. ZIPPER IN FAKE FELLED SEAMThis one was more complicated, because it had a "fake felled" seam. In a real felled seam, one seam allowance is folded around the other and topstitched down, enclosing all edges In this fake felled seam, the seam is sewn right sides together, the seam allowances are serged, pressed to the side, and then top-stiched with two parallel lines. From outside the garment, it looks like a flat fell, but inside there's a mass of visible threads. The tricky part is that even after un-picking the area where the zipper will go, I still can't easily press the seam open, and if I did, it wouldn't look like the rest of the seam when done. My goal was for the zipper to look like the rest of the garment. So I had to turn it into a zipper with a lapped edge, like a fly. I start by unpicking the seam up to a bit above where the zipper would end (left-side pic below). Once it's un-picked, I lay the zipper face-down on the inside layer of seam allowance (right-side pic below). See how the zipper tape is pinned and the zipper itself protrudes out into the visible area of the garment? See also how I turn the zipper face-up, and the result is that the zipper then lies inside the seam area where it needs to be? The left side of the picture shows how it's pinned to be sewn, and the right side shows how it'll end up.
Here's the sewn zipper, face-down and protruding from the seam: 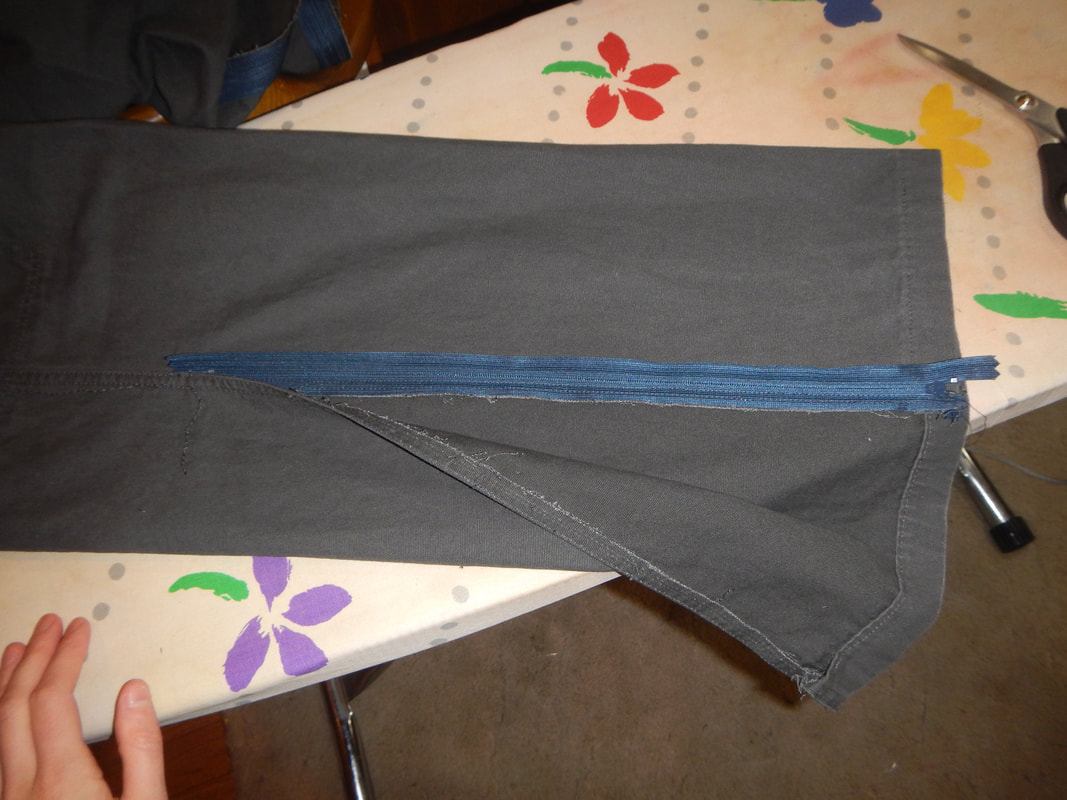 The zipper end is simply turned under and sewn... there's no way to tuck it into the hem, because it's on the right side of the hem. Then I turn the zipper face up, and lay the overlap on top of it, pinning the zipper tape to the overlap. The end of this side of the zipper can be hidden in the hem:
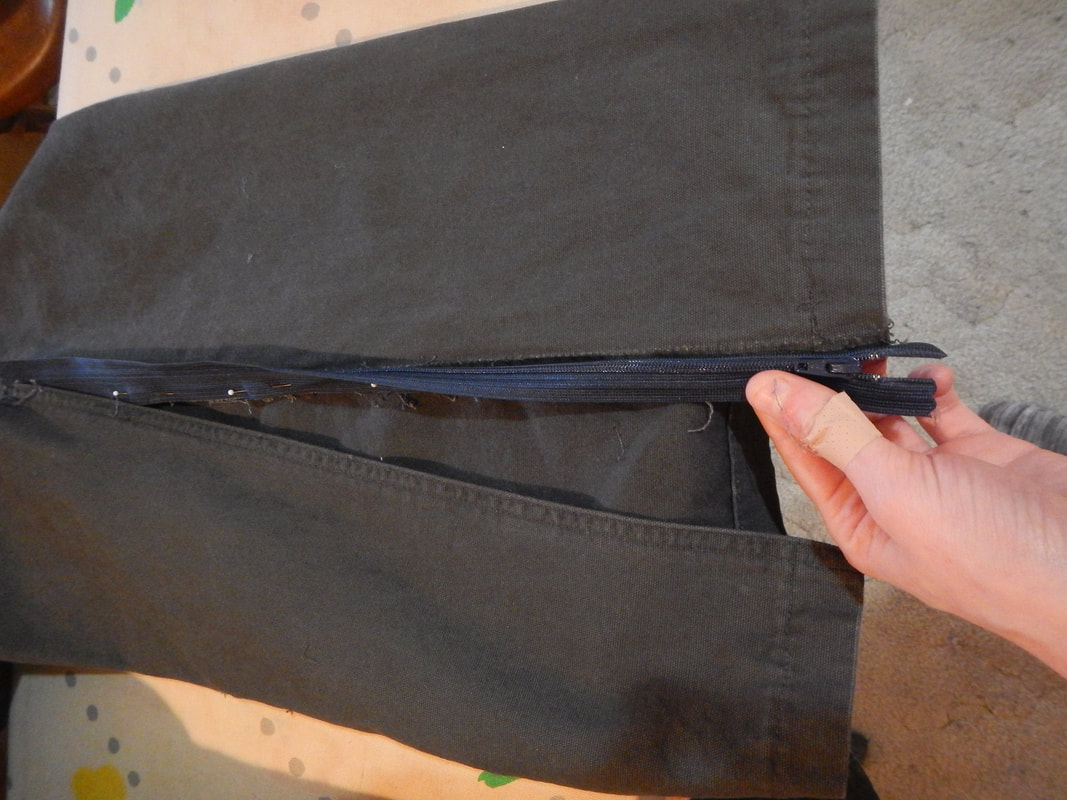
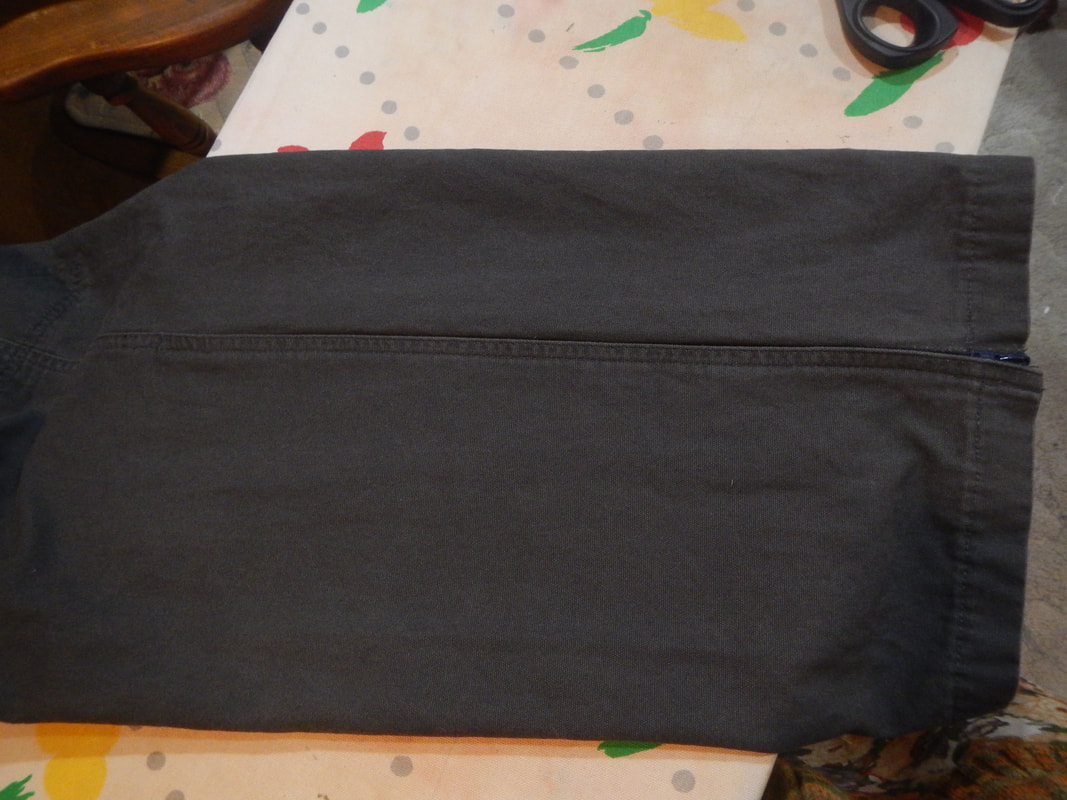
When I sew this seam, I continue the top-stitching for the original fake fell. Ideally, if you don't know there's a zipper there, you won't notice it looks different at all! Below you see the zipper open and the zipper closed.
6 Comments
The Sister
2/13/2018 10:31:46 am
That's a helpful solution! How clever of your friend to enlist help with existing pants instead of trying to spend extra money on new ones. You did a good job hiding the zippers! You'd be surprised how expensive such pants would be new, if she could even find them in his size and style! I charged $10/leg plus the cost of the zippers, so $25/pair of pants, as opposed to hundreds for specially made adaptive clothing. I think it was a good solution for the problem and for her wallet! And I put up the instructions so people might try it themselves if they're feeling craftsy and can't find a seamstress.
Megan P
4/22/2022 06:32:55 pm
This is AMAZING!! This is perfect for getting pants over AFOS! I will let you know when I adapt a pair!
Megan P
8/22/2023 12:33:45 pm
I have adapted a couple pairs, and have used these instructions every time. You should consider doing more adaptive clothing tutorials.
Susan
11/28/2023 01:55:26 pm
I am interested in making adaptive clothing . Leave a Reply. |
Karen Roy
Quilting, dressmaking, and history plied with the needle... Sites I EnjoyThe Quilt Index Categories
All
Archives
March 2024
|
 RSS Feed