Click any picture to see it full size. THE SKIRT
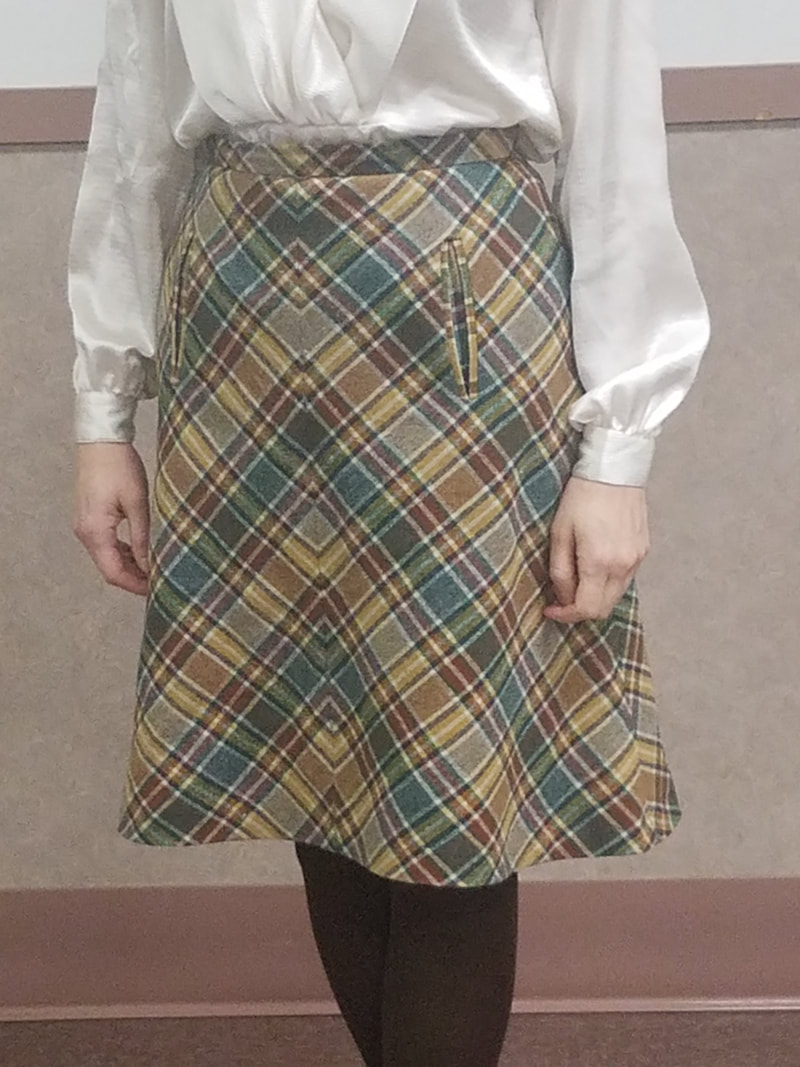
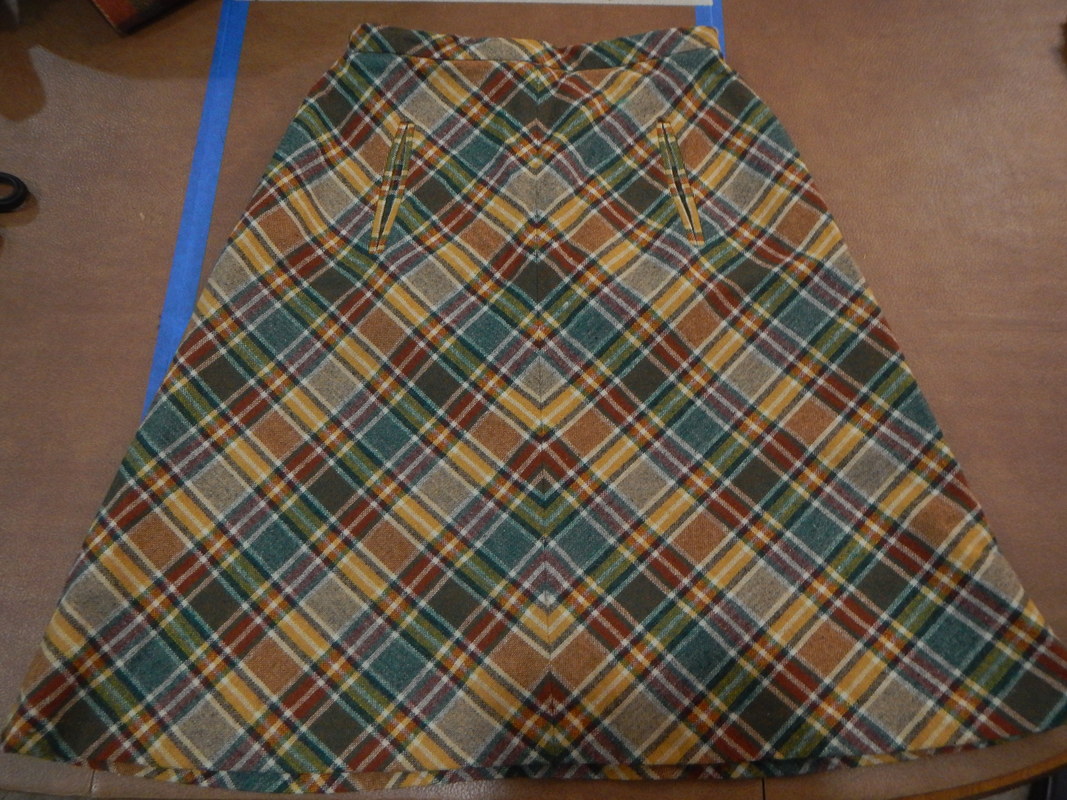
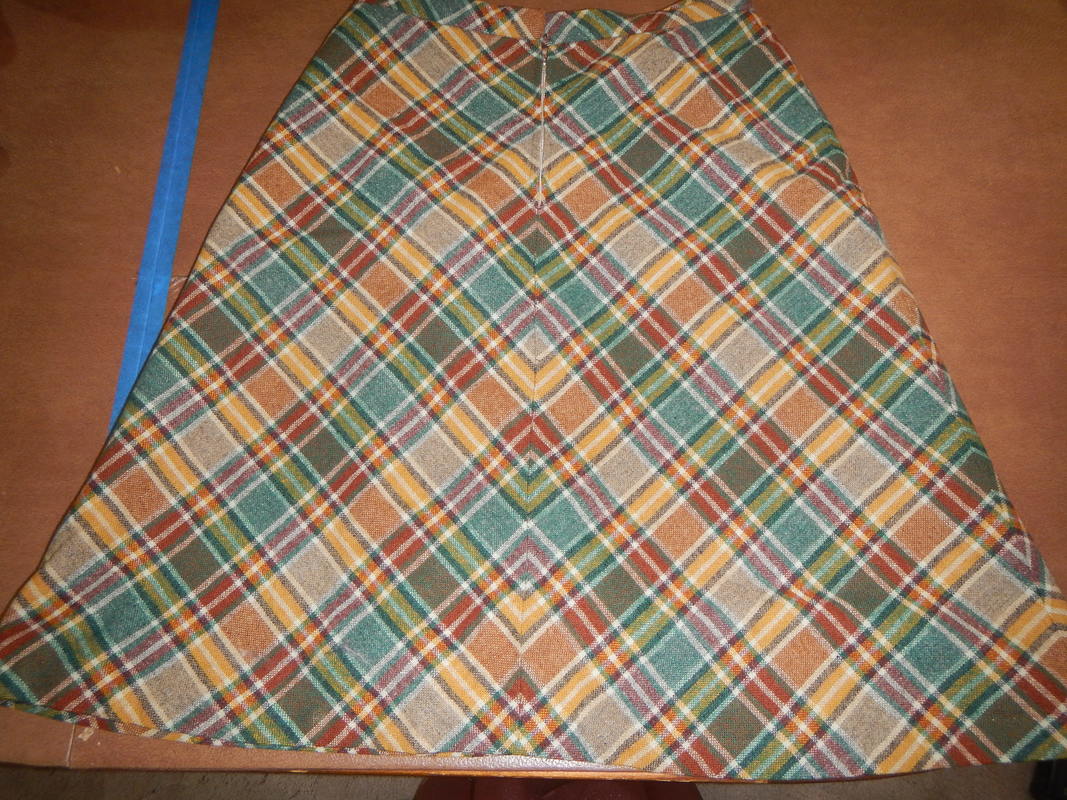
It's an A-line wool skirt, lined with something odd (more on that, in a bit). The wool is a balanced plaid in yellow and green. The skirt is cut in four panels, each on the bias so the plaid is diagonal lines, and each vertical seam has perfect pattern matching! Props to Picato, the maker*. There are two double-welt pockets set in the front, and the plaid used for the welts is spendidly matched from one pocket to the other. * Picato was a clothing label in the seventies, who made quirky clothes. Well, most seventies clothes are quirky to today's eyes. Nowadays, the word "picato" refers to a drug for some kind of skin conditions, so an image search yields mixed results! 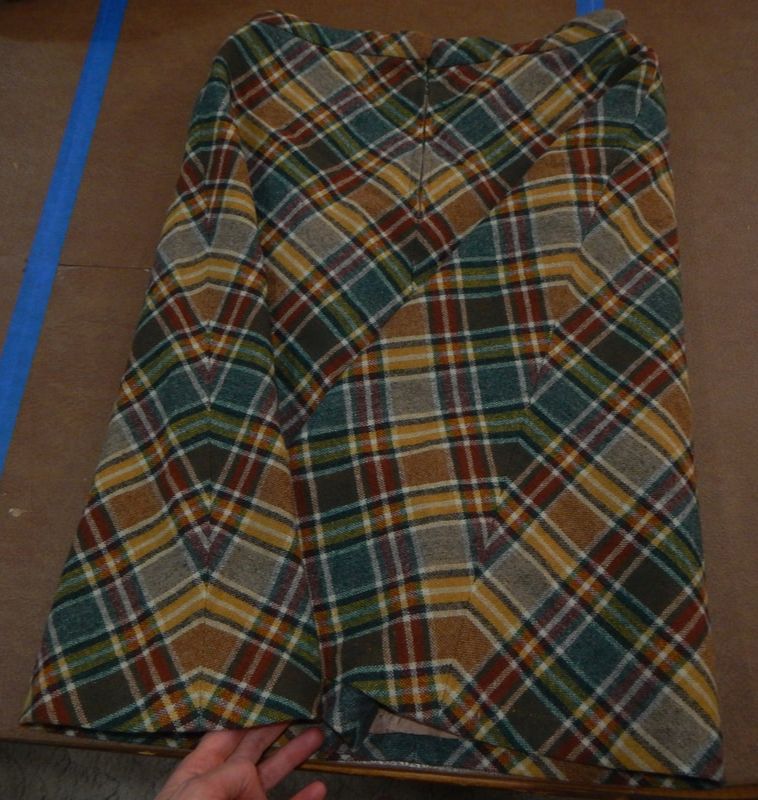 Side seams match, too... So much diagonal interest! It fits high, at my natural waist, and is incredibly attractive, if I do say so myself! Every time I wear it, I love it. I love that I can tuck my shirts into it and have a neat, tidy figure. I love the colors, and the diagonal plaid, and the simple A-line that sets off all the detailed styling. I can't pick it up without smiling nor wear it without compliments. It's a magic skirt! THE PROBLEMS In no particular order:
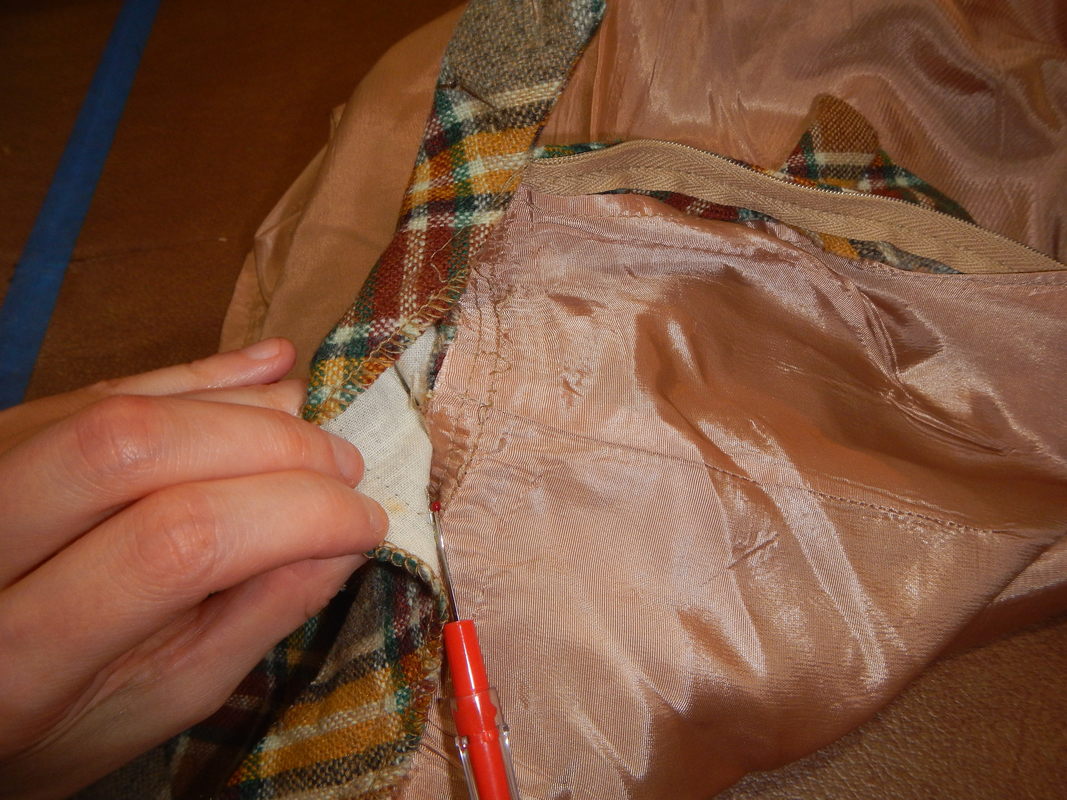
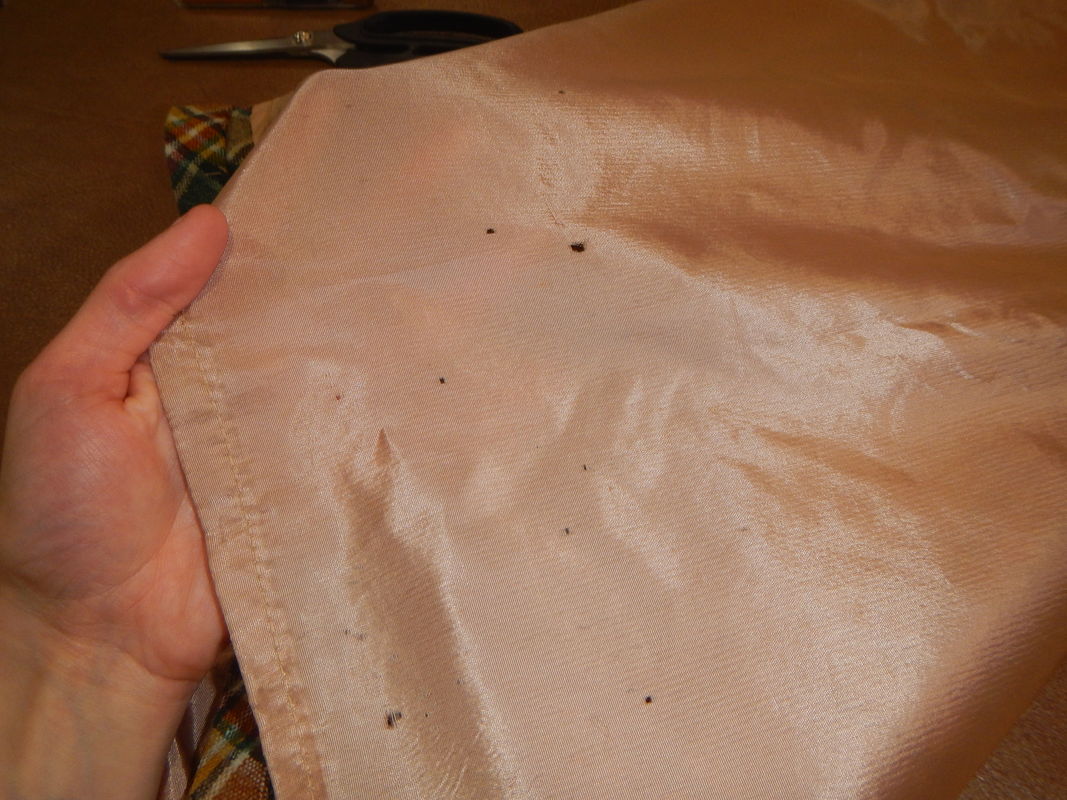 damaged lining UN-LINING To better see what I'm doing, I start by removing the original lining. It's attached just below the waistline with stitching "in the ditch", so I un-pick those stitches first. Underneath, where the skirt attaches to the waistline, the lining is sewn into the seam allowance.
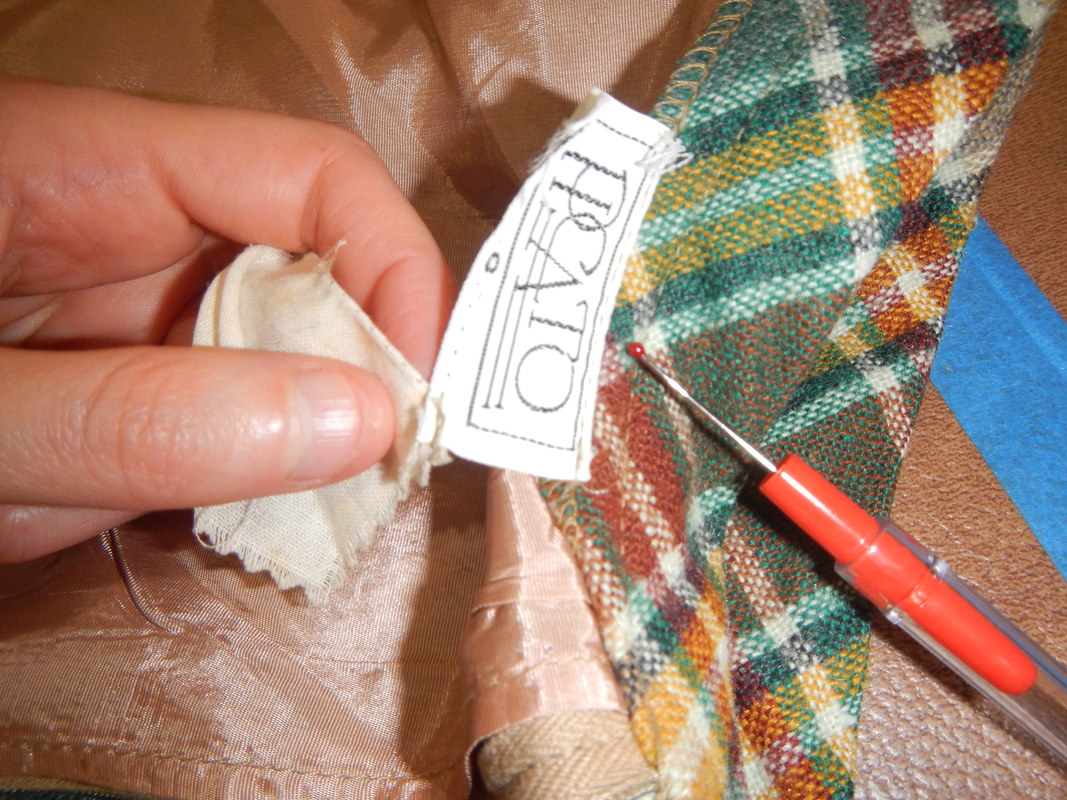
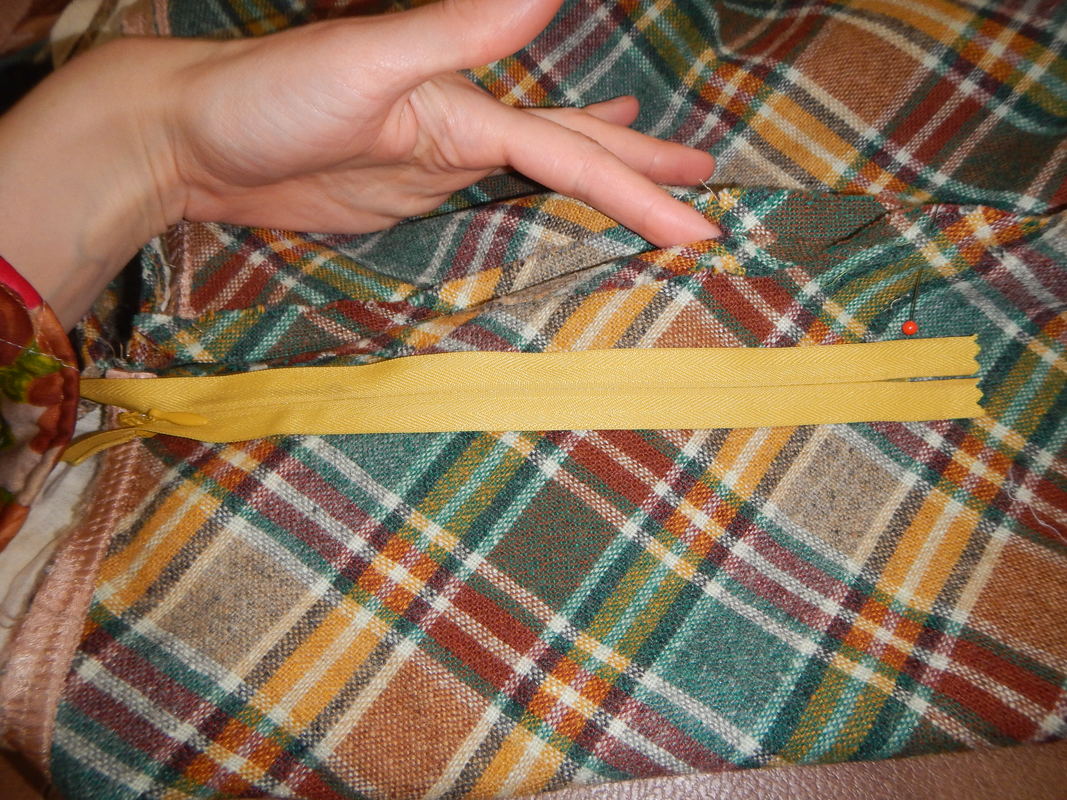
Rather than fuss with those stitches, too, I just cut the lining away as close as possible to the top: 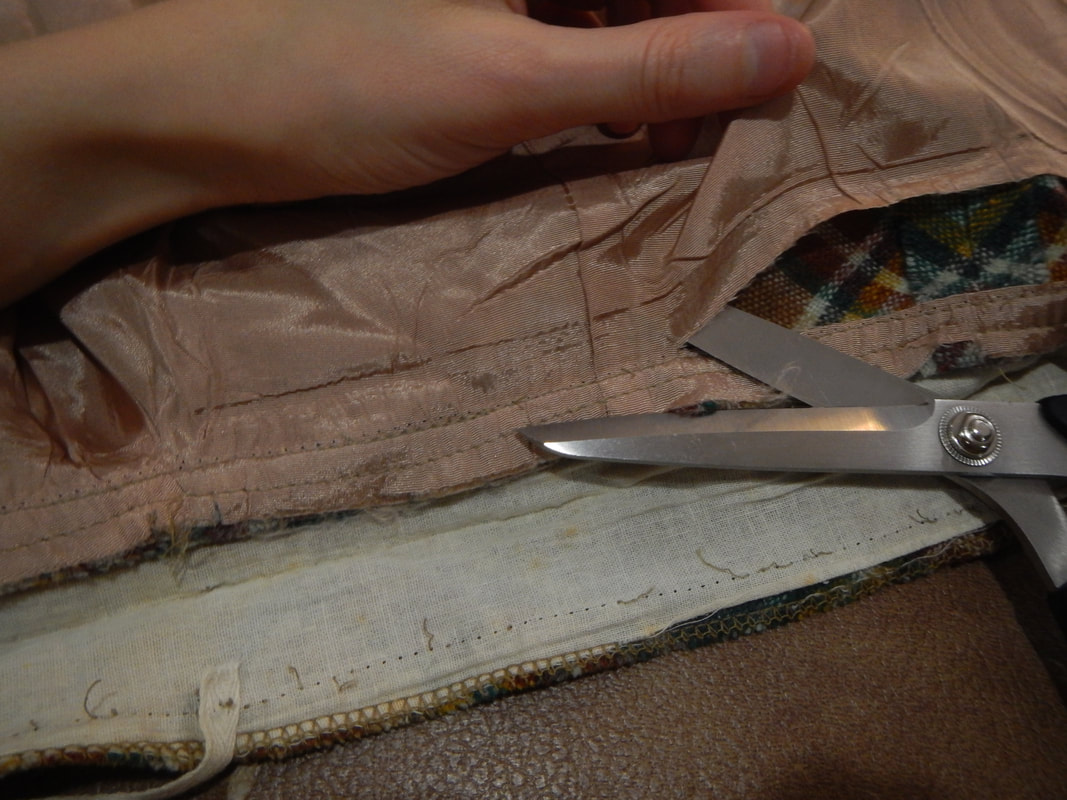 The white fabric is the interlining of the waitband. Because the wool of the waisband is cut on the bias, it would stretch. The interlining is a stiff cotton cut on-grain, so it does not stretch. This leaves me with the old lining (which I can use as a pattern) and the skirt itself ready to be worked on. And while I'm at it, I re-sew the tag on to the waistband. I figure Picato did a wonderful job on this one, so their name should stay on it. 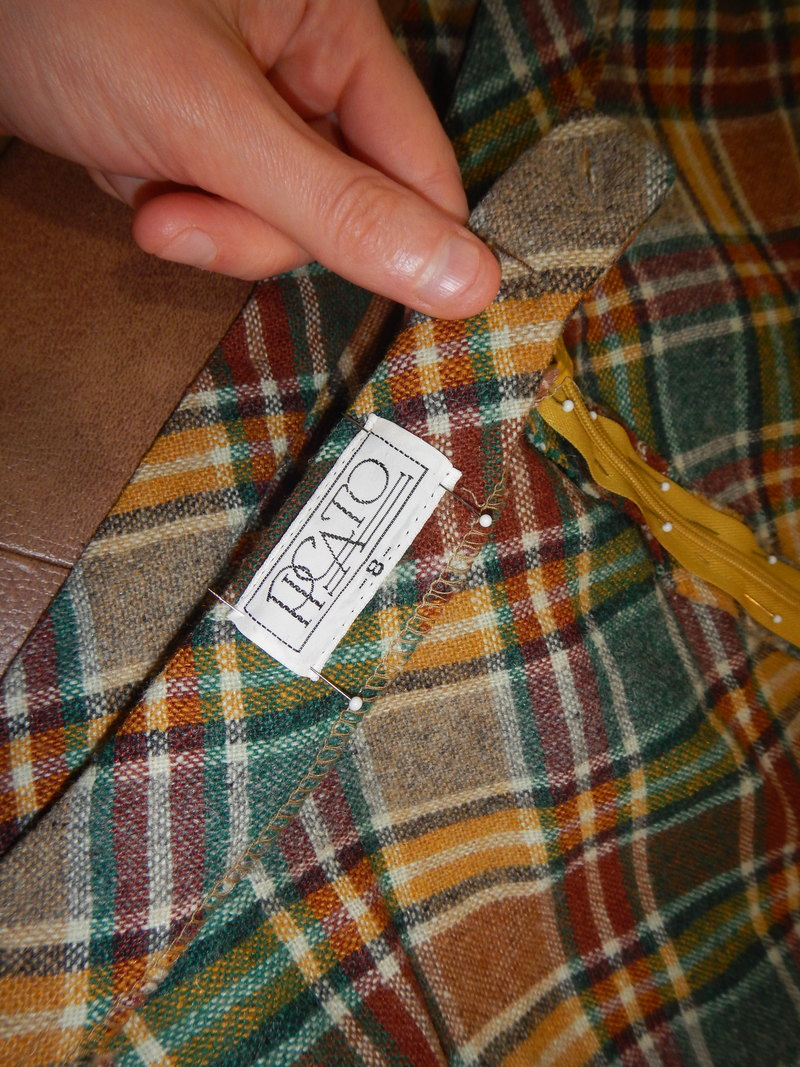 FIXING THE ZIPPER Here's the original zipper and Center Back seam. You can see the wear and tear at the bottom of the zipper, and strain on the Center Back seam of the lining. Maybe I'm not the only person to squish into it when it was too small! 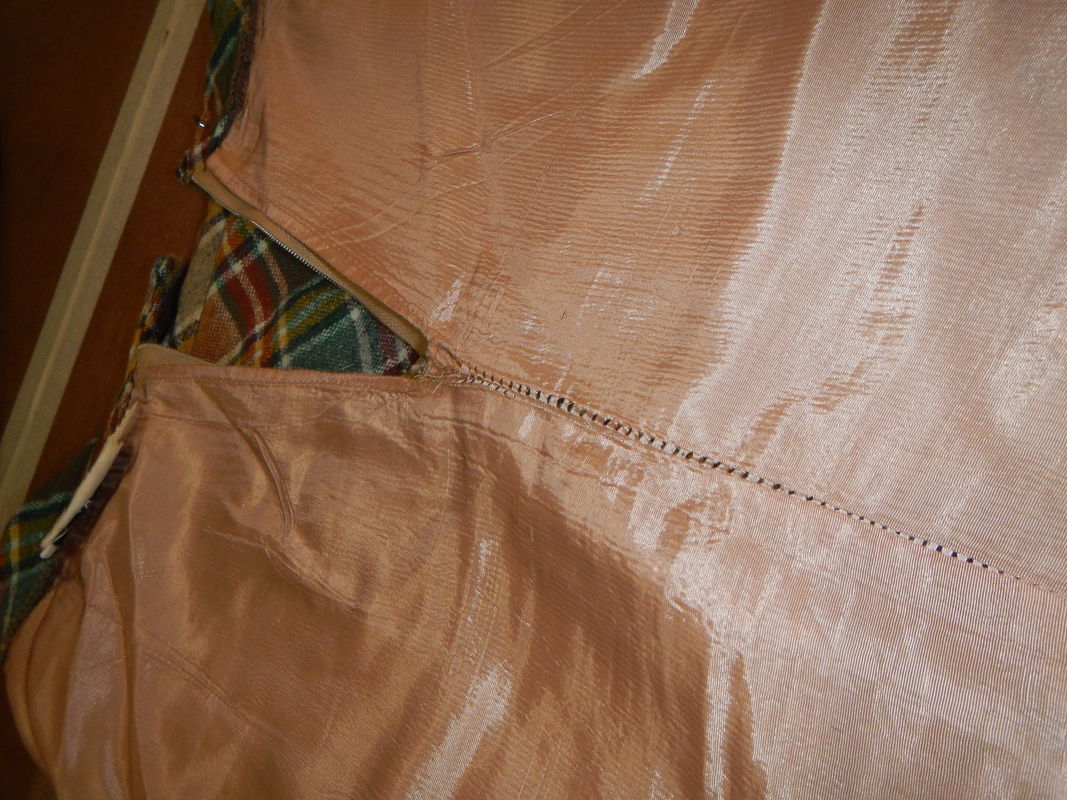 Fixing the zipper involves un-sewing the Center Back seam to make room for the new, longer zipper. I'm going from 7" to 9". The left picture below shows the old zipper and the new zipper side by side. And the right picture is the Center Back seam after I've removed the old zipper. The seam between my pointer finger and the red pin needs to be opened up to make room for the new zipper.
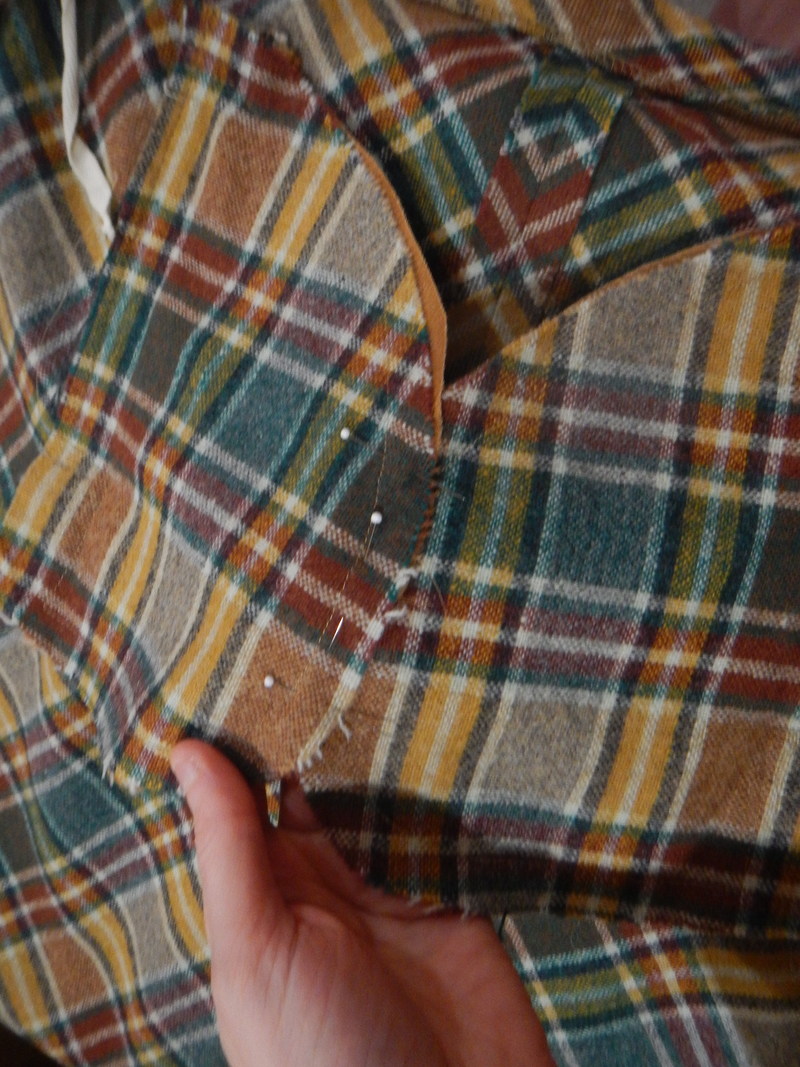
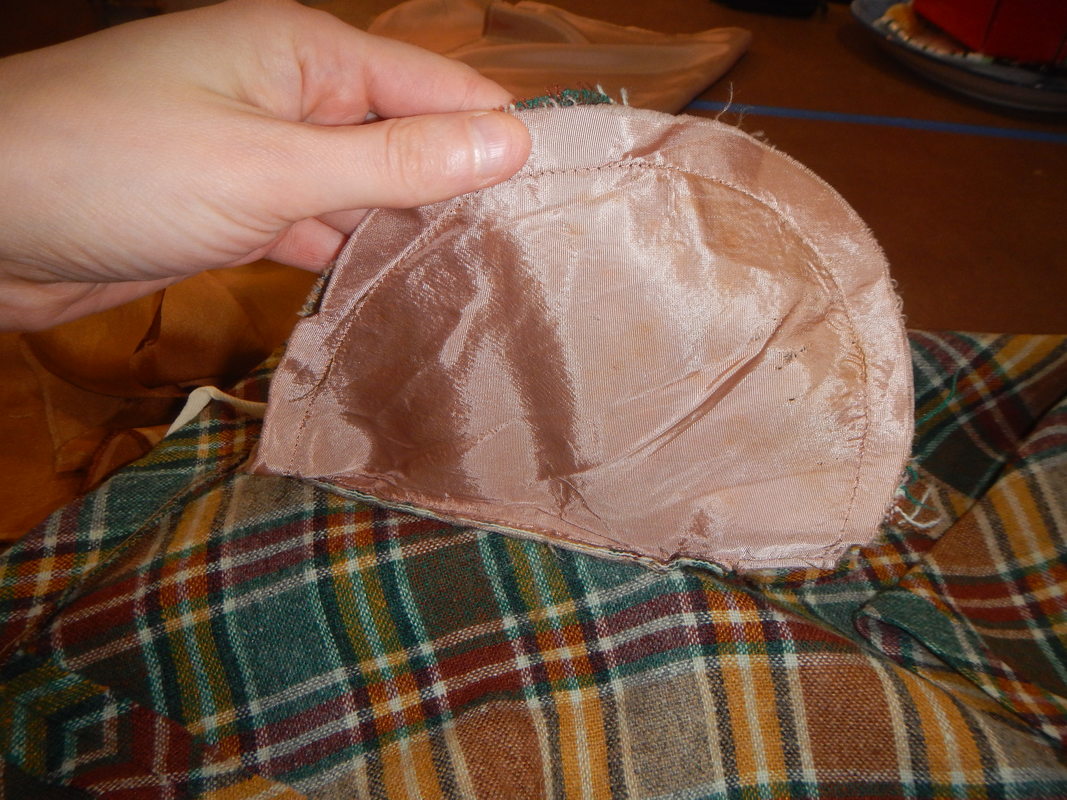
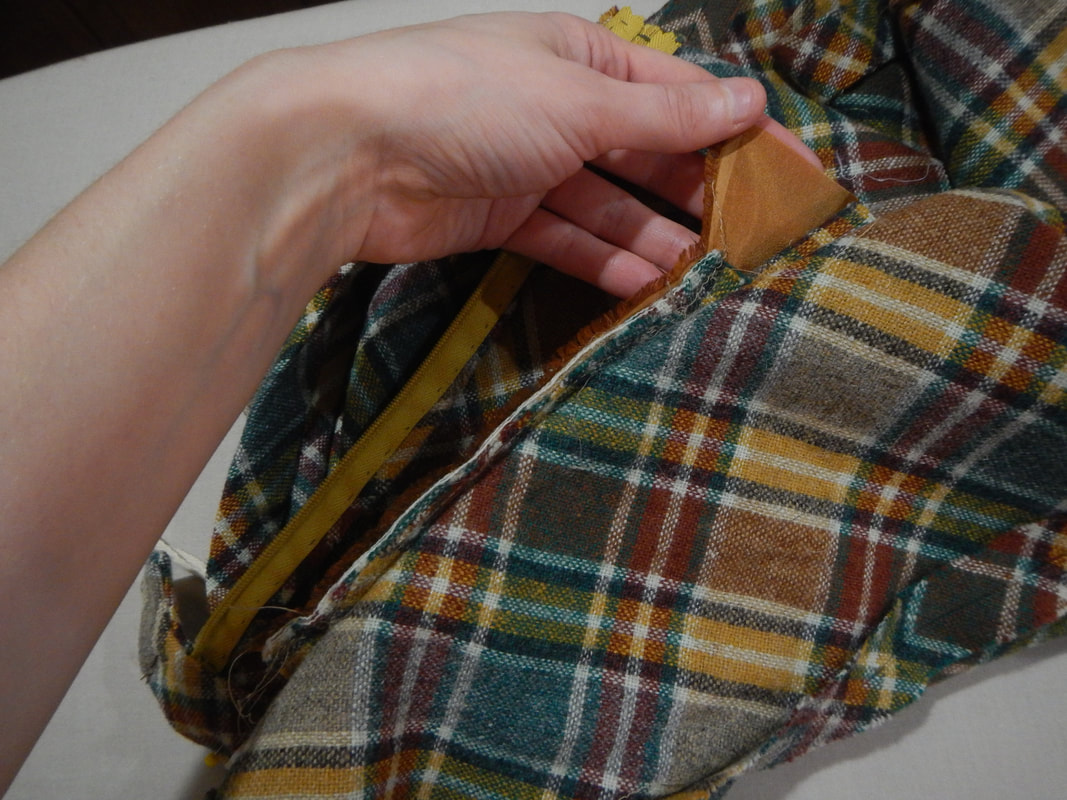
I am not a fan of installing invisible zippers (although I love how they look). To make it work, you have to un-curl the zipper teeth and sew really close to them, but when you get to the zipper head you have to go around it, and it makes the zipper tape visible in that spot from the right side. I read somewhere that the trick to these things is to buy a zipper much longer than needed, open it all the way so the zipper head is well out of the way, and sew the teeth in place. Then you pull the zipper head up and trim off the excess from the bottom. However, I never seem to have the extra-long zipper I need when I need it. To do this one, I take it in stages. First I baste the CB seam together. Then I position the zipper on top and hand-baste it in place. I open up the seam again, and use my sewing machine to sew the zipper to the seam allowance. I don't have to worry about pins, because of my hand-basting, but I do have to fuss with the zipper head being in the way, which I get around by doing the seam three-quarters of the way with the zipper open, and the last quarter with the zipper closed. It's annoying, but it works. The finished zipper is mostly invisible... there are some visible perforations from the original zipper being top-stitched. But it does look better. 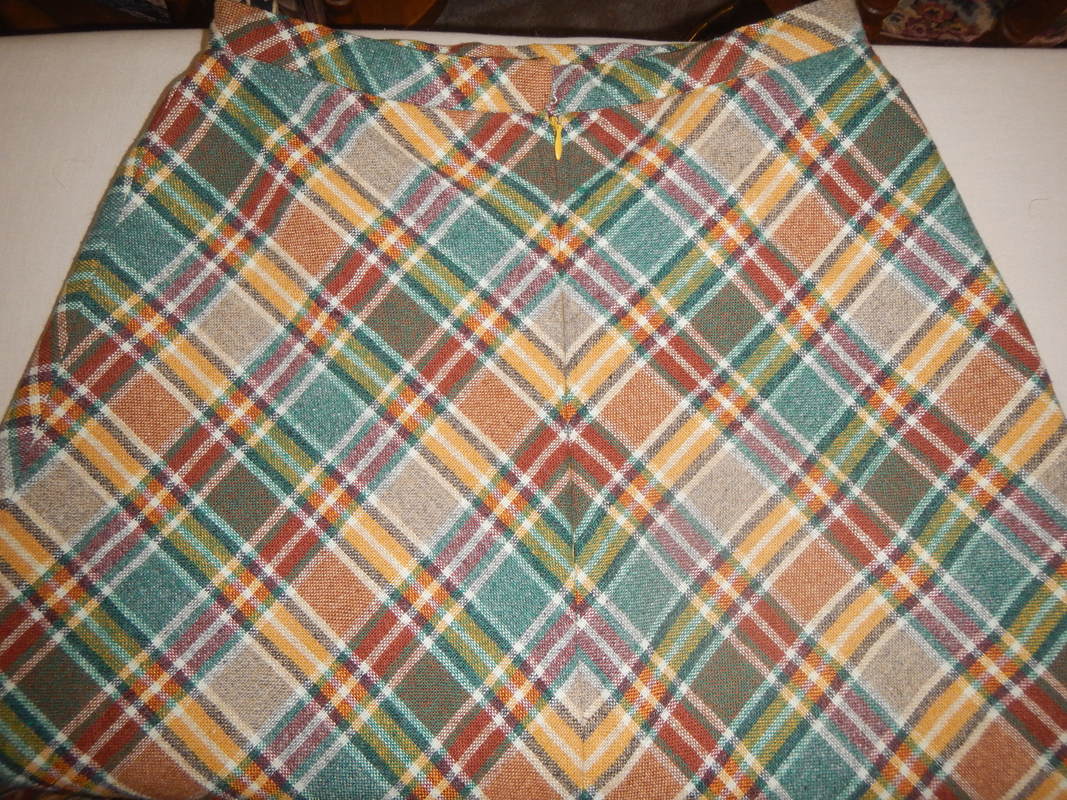 Finished zipper REPAIRING POCKETS Here are the pockets on the inside of the skirt. This picture shows one of the problems I mentioned: the pockets are set diagonally, toward the Center Front seam, but they hang down, and when they do, they shift and distort the front of the skirt, and make the pocket lining show through the welts. 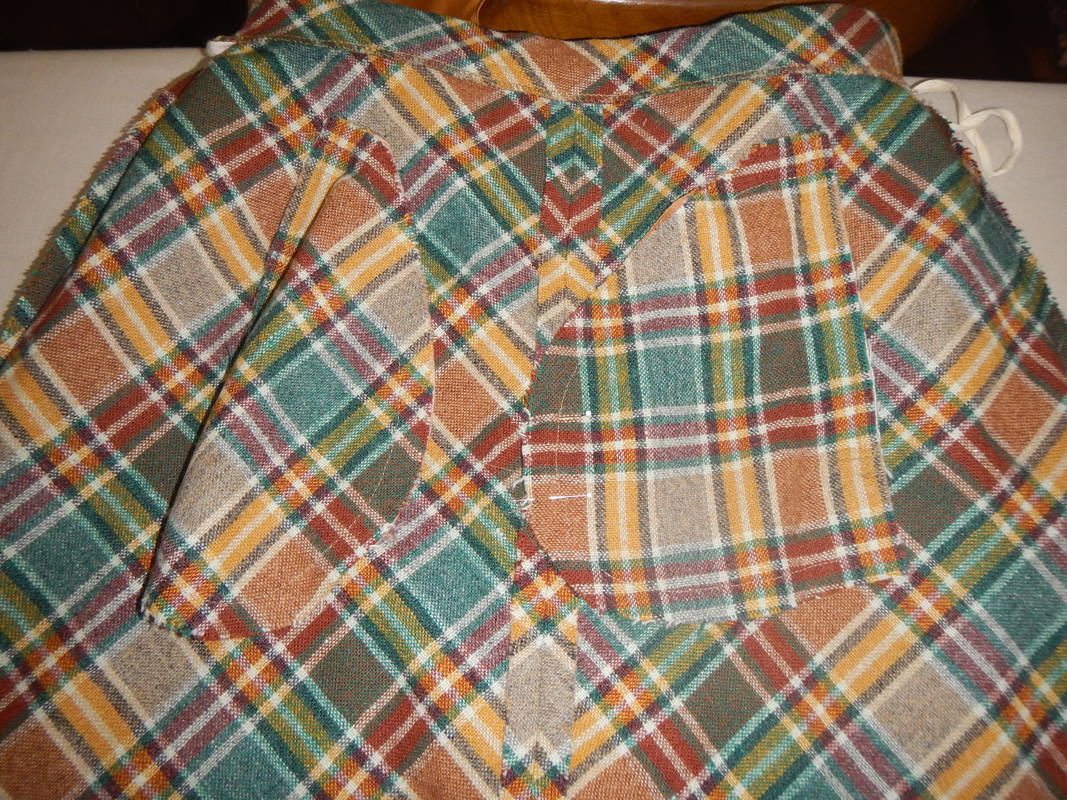 The pocket on the left is hanging as it does when worn. The pocket on the right is pinned to the CF seam allowance, to show how it ought to be, to look good when worn.
For the new lining, I have some russet orange silk habutai. I have pre-washed and dried it, so as to get the shrinkage out. I like the way the color brings out the warm tones in the wool.  The old lining, half-removed
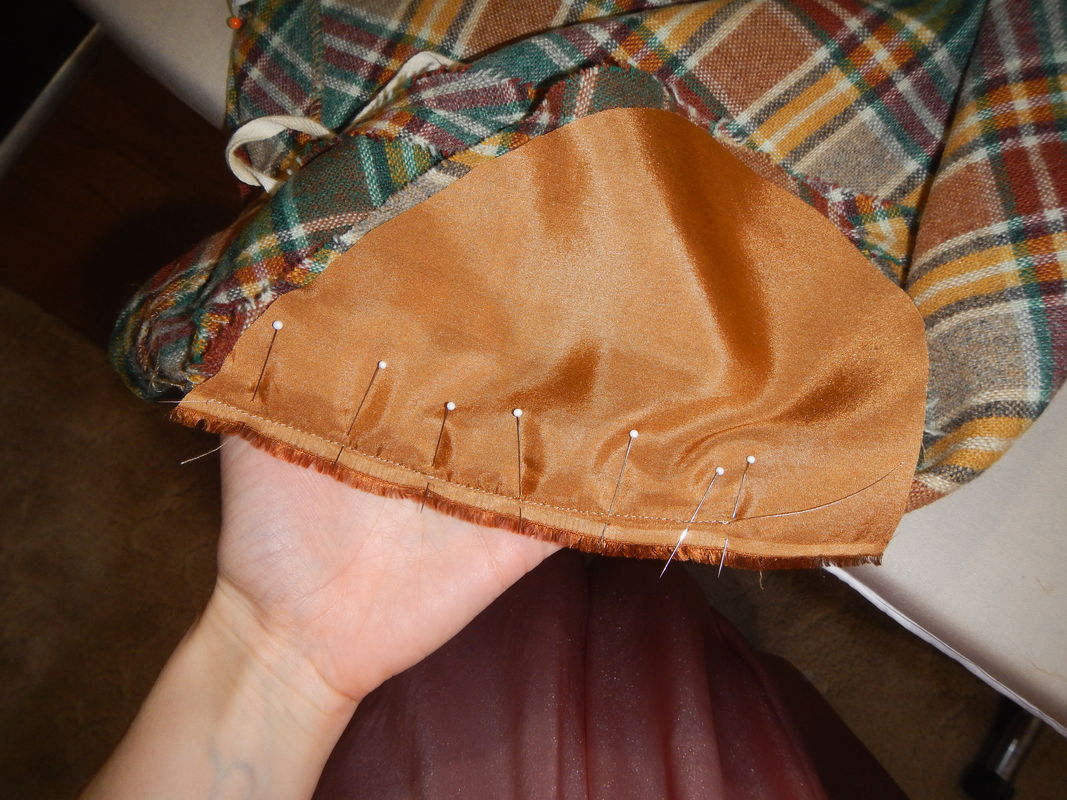
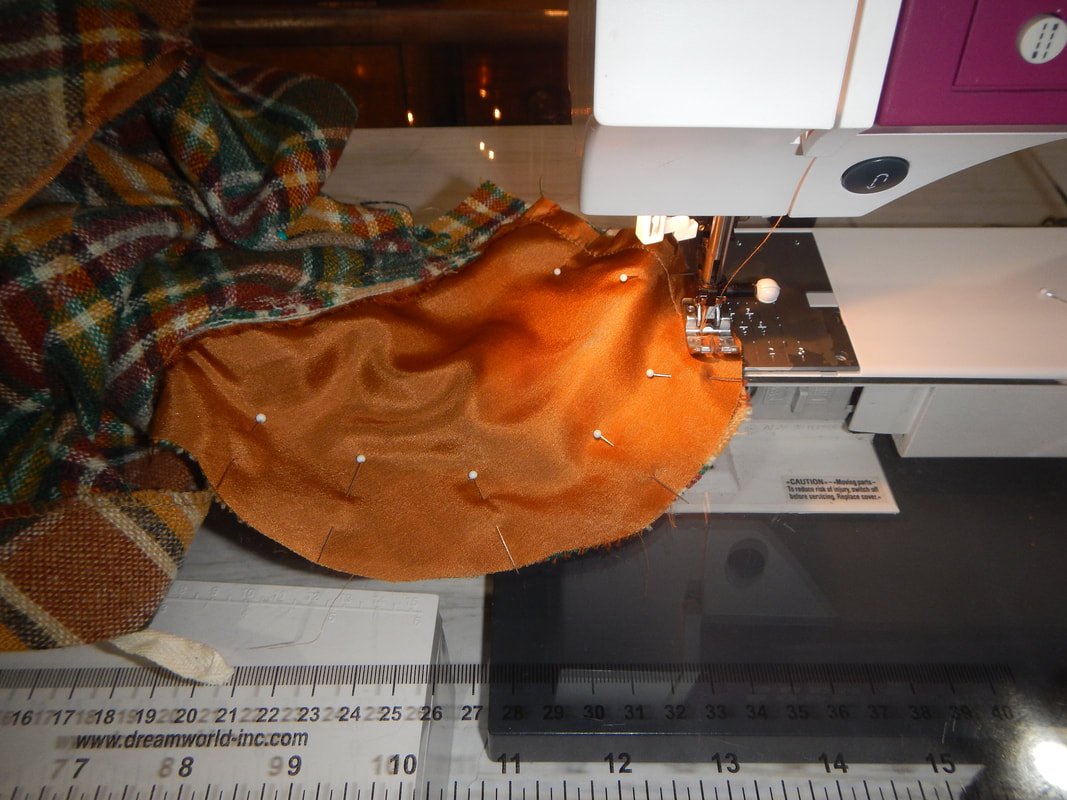
On one pocket, once I remove the old lining, I iron on some interfacing to stabilize the worn out corner of the wool before I sew the new lining in: 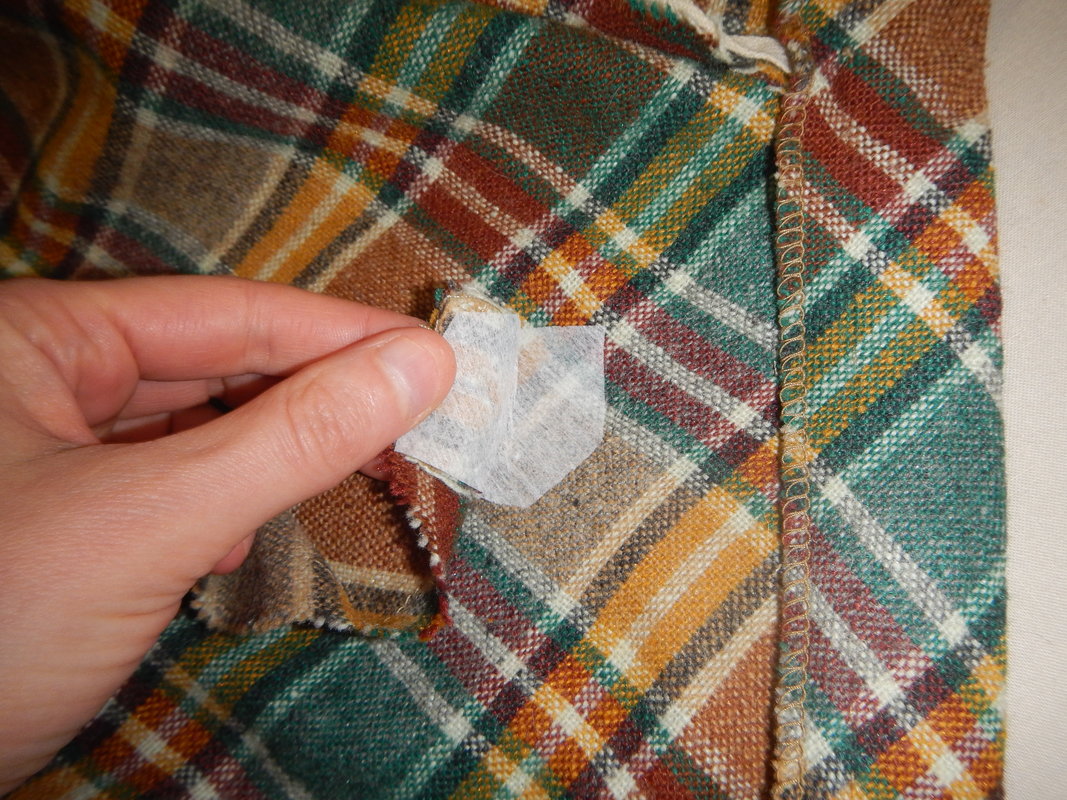 Interfaced corner of the welt.
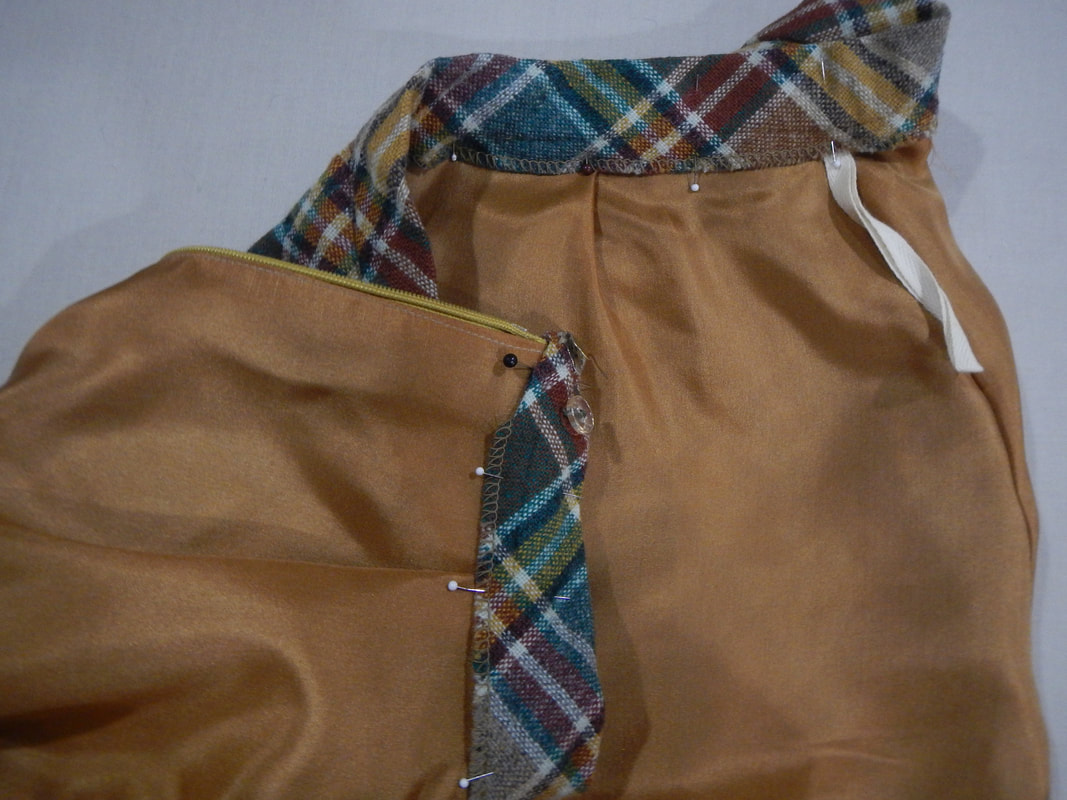
 I sew where the pins are. RE-HEMMING Re-hemming is the next step. The original hem is quite clunky... I wonder if it's the manufacturer's hem or a later alteration? See, the idea of folding fabric over twice and hemming it works fine for thinner fabrics, where the doubled fold is not thick, but in a heavy fabric like this wool, it makes a chunky hem which hangs awkwardly and shows through on the outside of the garment. A more professional finish would be to sew a hem tape (strip of ribbon or something) over the raw edge on the right side, turn it over once, and slip-stitch the hem tape to the skirt. Or, as I decide to do, turn the hem up once and sew it in place with the hemming stitch on the machine. I decide that hem-tape is unnecessary because the skirt's all on the bias, so it won't unravel. 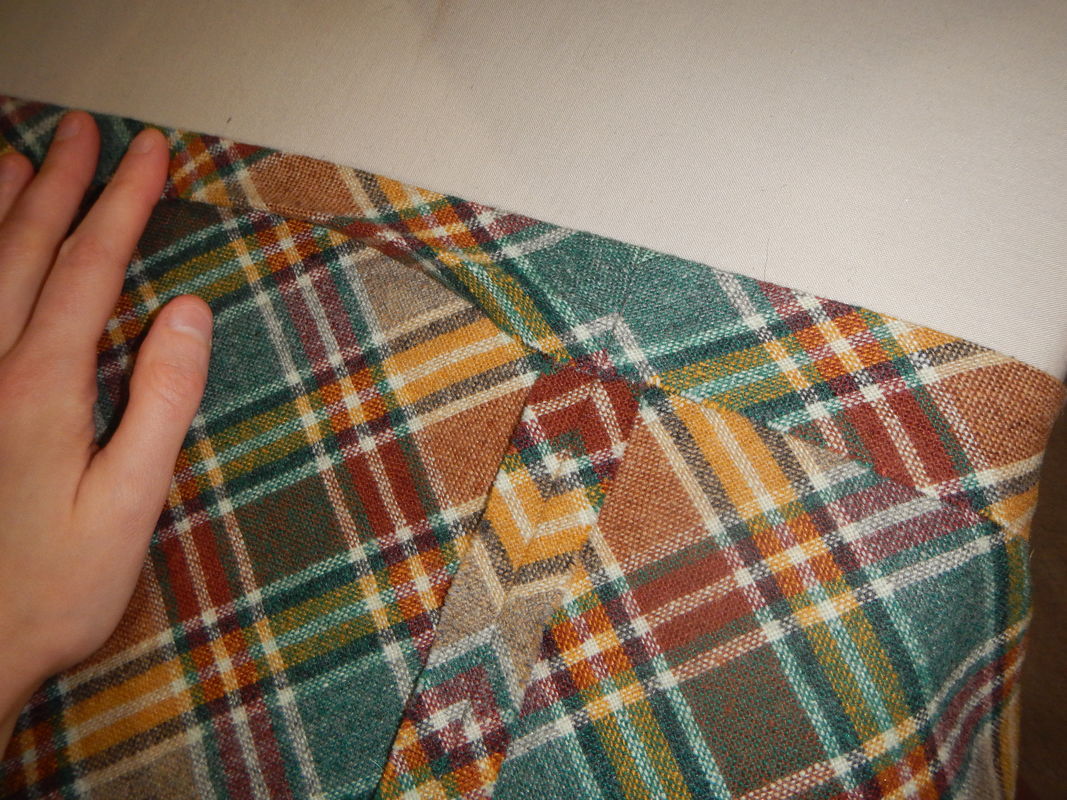 The left side of the picture is the double-folded hem I'm un-doing. The right side of the picture is the single-fold, newly-ironed. The wool irons like a dream, so the old fold is easy to remove. While I'm ironing, I make the skirt a little longer in the back, to correct a problem in the original. More and more I think the double-fold hem is a later alteration. RE-LININGUsing the old lining as a template, I cut the new lining from the habutai silk. You'll see in the picture below that I un-sew the darts and iron them flat before this step. When laying out the back piece, I set the CB seams on the selvedge, but a little inside it, so I can make the new lining a teensy bit bigger than the old. Hopefully that helps me avoid the strained seams of the original. 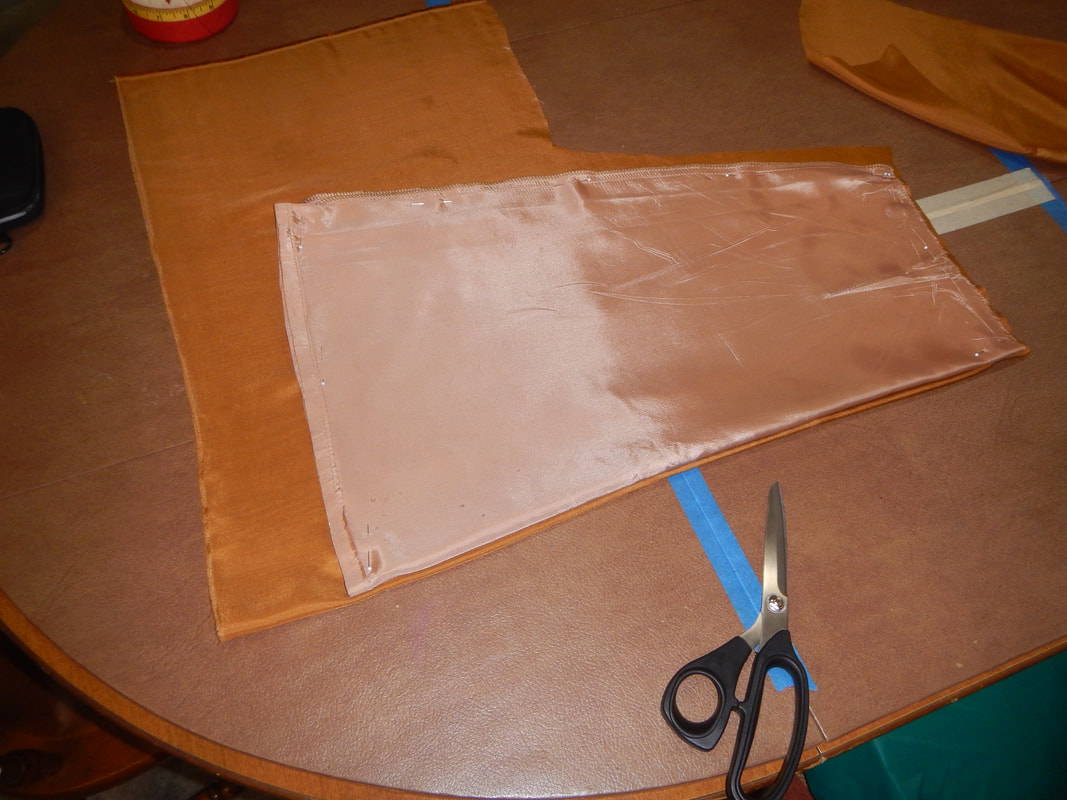 cutting the new lining Since the lining is thin silk, I sew the sides with French seams and hem it with the double-fold technique. Rather than sew darts in the new lining, I just fold tucks into it to make it fit the waistband. Easy-peasy.  tucks, not darts
With the lining pinned into the waistband, I put the zipper-foot on Boudica and stitch in the ditch to secure all the layers: 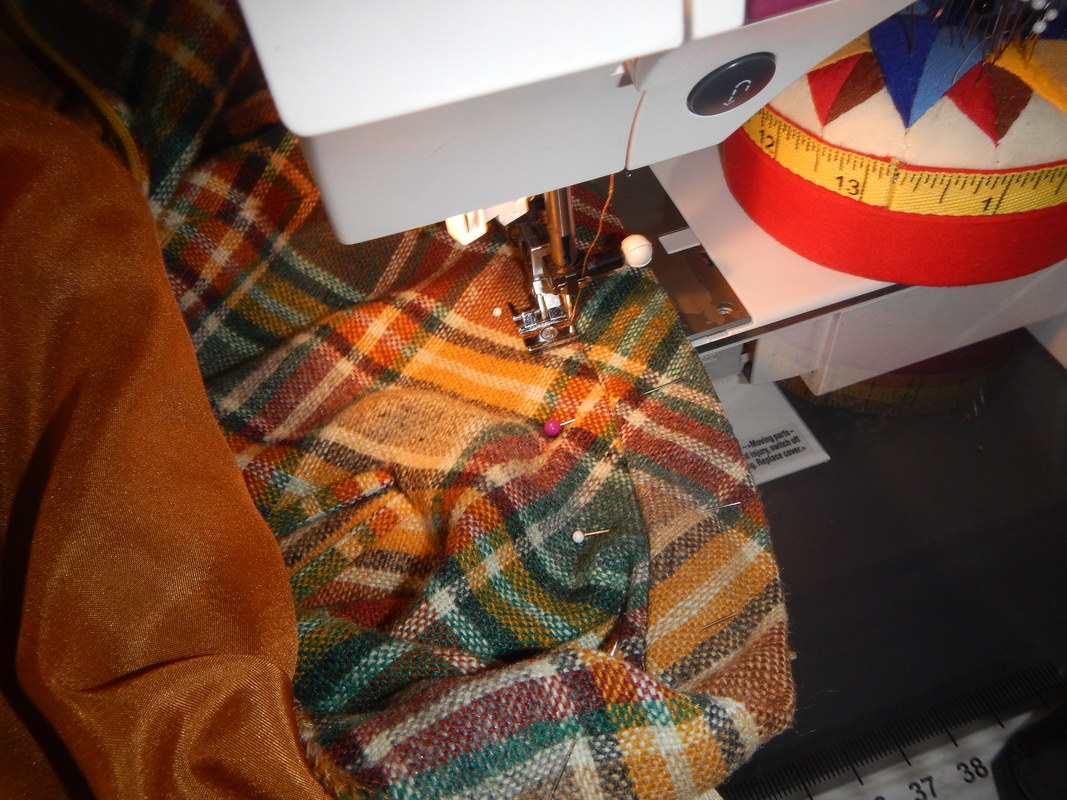 The "ditch" is right inside the previous seam. I'm sewing through the skirt layer and the lining layer and the reverse side of the waistband, but the seam will hide in the "ditch" and be invisible on the front of the skirt. FINISHED! Okay, now it's a perfect skirt! 
3 Comments
The Sister
1/6/2019 05:01:59 pm
Oh, how fetching this is! I thought at first that you'd made it all yourself and was going to commend you on your pattern-matching skills! Now I must commend Picato on their attention-to-detail. I really like the lining color & fabric you choose, too. What a cute skirt - no wonder you decided to put the time in.
The Sister
1/15/2019 09:02:18 am
I know! You'd mentioned it to me over the phone and how proud you were of it, and that's what came to mind when I saw this post. I can't wait to see the blazer! Leave a Reply. |
Karen Roy
Quilting, dressmaking, and history plied with the needle... Sites I EnjoyThe Quilt Index Categories
All
Archives
March 2024
|

 RSS Feed