Robes de Coeur
  • Blog
  • Quilting
  • Clothing
    • Menswear
    • Womenswear >
      • Self-Made Patterns
      • Commercial Patterns
    • Hats
    • Miscellany
  • About
  • Blog
  • Quilting
  • Clothing
    • Menswear
    • Womenswear >
      • Self-Made Patterns
      • Commercial Patterns
    • Hats
    • Miscellany
  • About

Aloha Shirt - first muslin

5/25/2017

1 Comment

 
Picture

I developed the urge to make an aloha shirt after seeing this pattern at my local fabric store.  It appealed to me, and I thought making my brother a shirt would be a nice gift.  My dominant love language is Quality Time, followed by Acts of Service, so making people things feels loving*.  And, as it happens, Acts of Service is one of my brother's dominant love languages, and he loves clothes, so I knew he'd appreciate a Karen Roy original!  

*There's some overlap, and debate-about-said-overlap, when it comes to love languages.  The shirt is an item, so this might seem like Gift-Giving, but for me, the act of making it is a mix of quality time and service.  Now my sister's dominant love language is Gift-Giving, so when I send her clothes, she feels the love of the gift while I feel the love of the work I put in. 

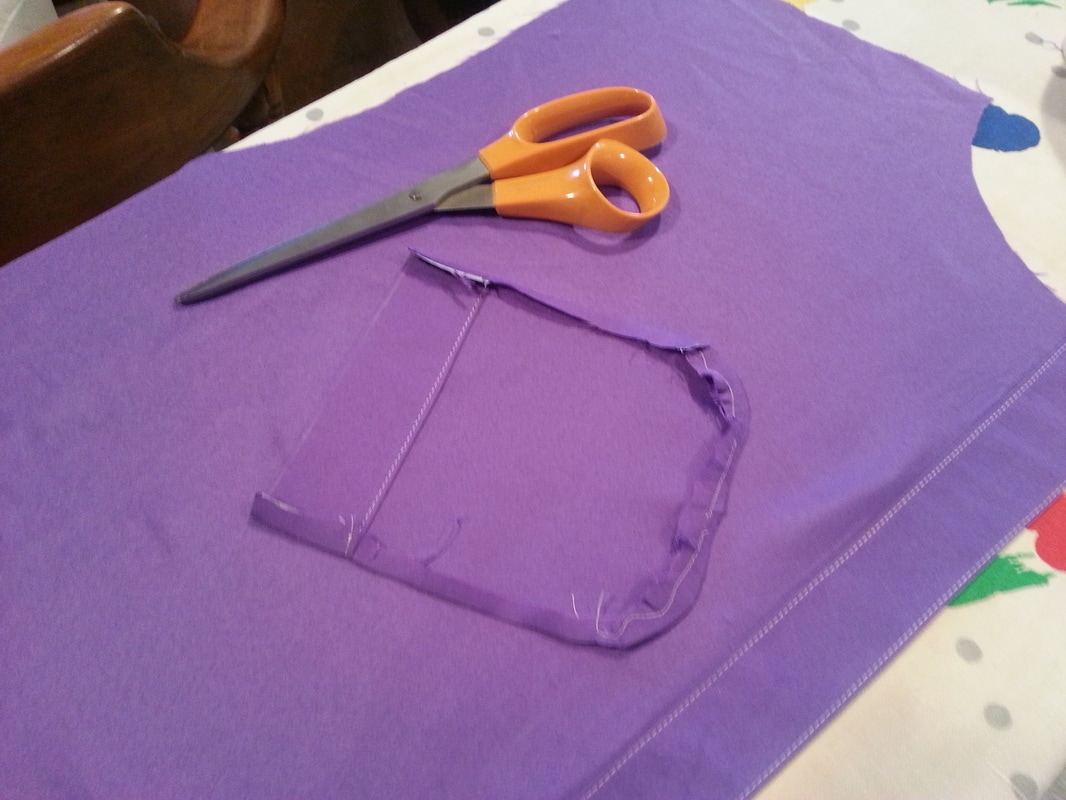
GATHERING MATERIALS

Being told he'd get a custom shirt , my brother dove straight into the design process and sent me links to Carol Tuttle's Dress Your Truth system which he was studying.  I then got excited about using batiks to make an unusual shirt for him, and he got excited and sent me some of his favorites, from which I compiled this colorboard:
Picture
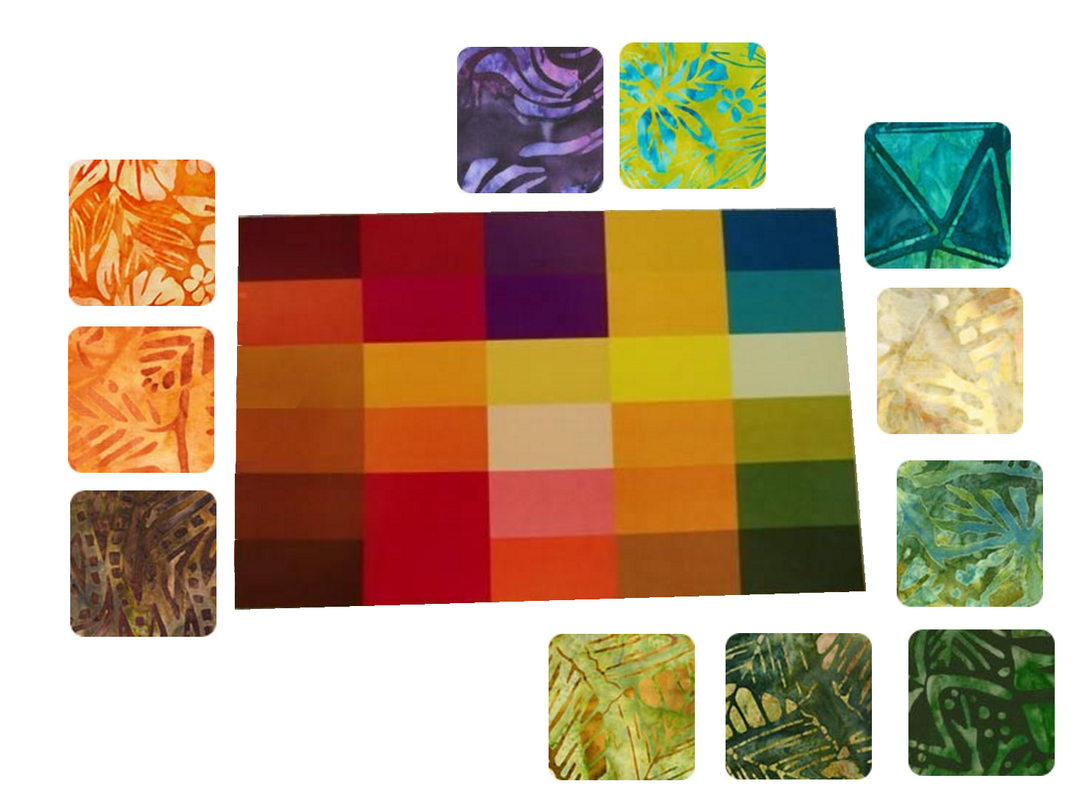
I picked a Robert Kaufman batik.  To me, it looks like a Japanese Maple in the fall, if you lay on the ground look up through the feathery leaves.  There are plum colors, and aubergine, and red, burgundy, brown, green... just gorgeous!  Then, a while later while browsing a nearby vintage shop, I picked up a somewhat simpler batik, in purple colors from my brother's colorboard.  I bought it, too, thinking I'd do two shirts.  I think the purple one is rayon.  The Robert Kaufman one is cotton. 
Picture

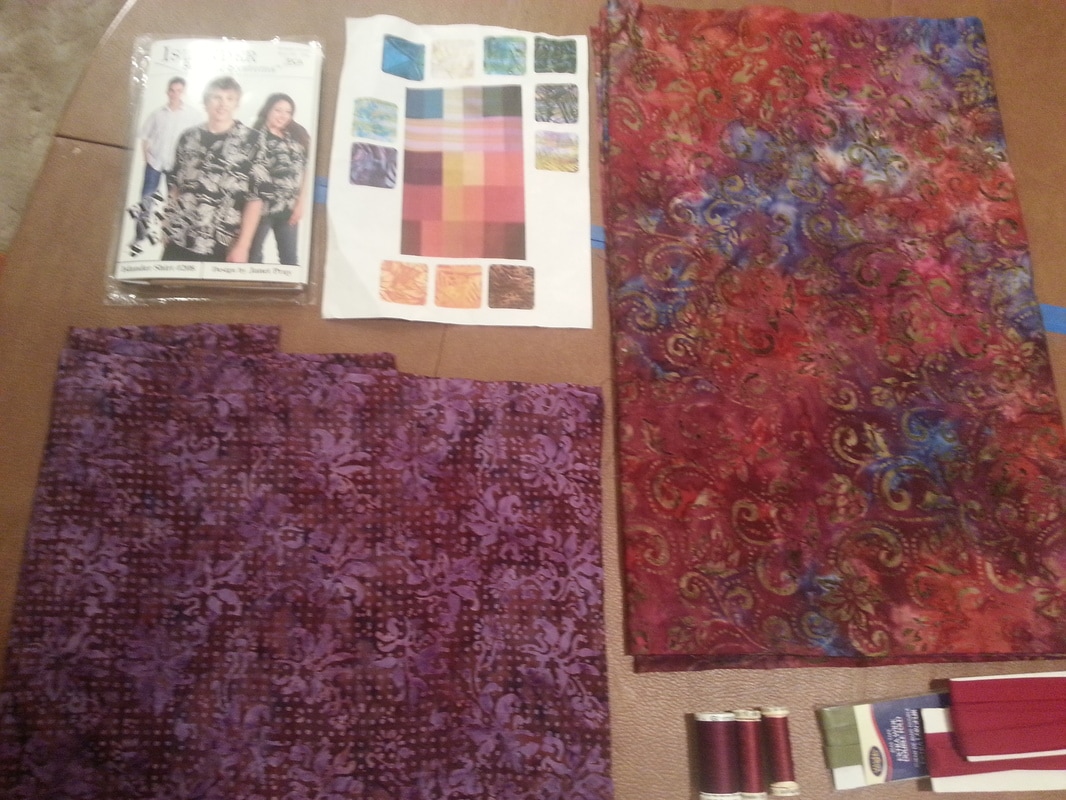
PATTERN WORK

My brother's dimensions don't exactly fit one size on the pattern envelope (does anyone's?): his chest size puts him into a medium, but his neck circumference puts him in a large.  And his waist (not accounted for on the envelope size chart) is small.  Knowing he likes a slim fit, I decided to make a test garment in medium, but with the neck and collar from the large pattern.  I knew it would be too big in the waist but thought that would be the easiest to alter. 

The pattern was easily modified: I traced the two front pieces and the back piece in medium.  Then I overlaid the large pattern onto the medium and retraced the neckline.  In order not to warp the shoulders or armscyes of the medium base, I had to define some baselines.  For instance, I measured the breadth of the medium shoulders, from tip to neck.  Then when I overlaid the large pattern so I could steal its neckline, I made sure not to deform or elongate the medium shoulders.  It's tricky to explain, and I think if I do it again I'll take pictures and try to break it down, if only to understand my own process better, and perhaps improve on it.  Only the torso pieces needed the alteration: the sleeves remained a medium, and the collar and collar stand remained large.

THE ISLANDER SEWING SYSTEM

I made the test garment from an old polyester sheet.  It actually drapes pretty nicely as shirt fabric, but I'm not remotely proud of my workmanship.  It was my first time making a man's shirt, and I was carefully following the instructions in the Islander Sewing Systems packet, so I was learning.  Here, in no particular order are some of my reflections.
  • I don't like when commercial patterns include seam allowances.  When I draft my own patterns, obviously, there are no seam allowances, so they're really easy to cut: I weight the pattern onto the fabric, and cut about a thumbnail's width from the edge of the paper.  My thumbnail is about 5/8 inch wide, so I just eyeball it.  And since my scissors are away from the paper, they don't lift it, move it, or cut it.  But when the pattern includes seam allowances, I weight the pattern to the fabric, and go to cut, and I have to cut just next to the paper.  Sometimes my scissors push the paper out of the way and I have to re-position to keep the piece on grain.  Inevitably, my cut ends up being a millimeter or so away from the pattern, which doesn't seem like much but can made a difference when installing something finicky like a collar stand.  Irritated with my scissoring, I decided to try a rotary cutter, but that was worse.  I'm not used to rotary cutters, so I either didn't push hard enough (dented the fabric but didn't cut it) or too hard and lost control.  I ended up slivering off bits of the paper pattern and having to mend them with tape, and my first attempt at cutting the collar stand looked like something gnawed by a dog.  Fail.  I went back to scissors and complained the whole time.  At least the complaining was therapeutic! 
  • Speaking of seam allowances (SA's), not only did the pattern include them, but they were variable.  The idea is to reduce after-sewing trimming by starting with smaller SA's when needed.  So one SA might be 3/8", and an adjoining seam might have 1/2" SA.  It did eliminate trimming, but it also required careful attention.  I installed one sleeve with the wrong SA and had to redo it.  Based on only one experience of sewing this way, I am unwilling to pass judgment.  It did work, and I didn't hate it.
  • Speaking of tiny SA's... one part of the construction actually called for me to sew 1/8" from the raw edge of the fabric!  I was glad that my machine let me move the position of the needle, so I could keep the presser foot on the fabric even while the needle was nearly falling off it.  I have a fancy computerized Pfaff with hundreds of functions I never use and don't understand (yet!), but there are a few functions I use all the time, like the variable needle positions.
  • The instruction packet gave me a method of crimping the rounded part of the pocket so it would be easy to iron and sew in place.  The method involved thwarting the action of the feed dogs so that extra fabric got piled into each stitch.  I tried it with and without the Integrated Dual Feed, and found it worked just fine either way.  It did work pretty well on the gentle curves, but was near impossible to do on the sharp curves, because as the fabric turns the corner there is no fabric behind the presser foot to manipulate.  Here's the wonky result of my efforts. 
Picture
Looks like a mess, right?
Picture
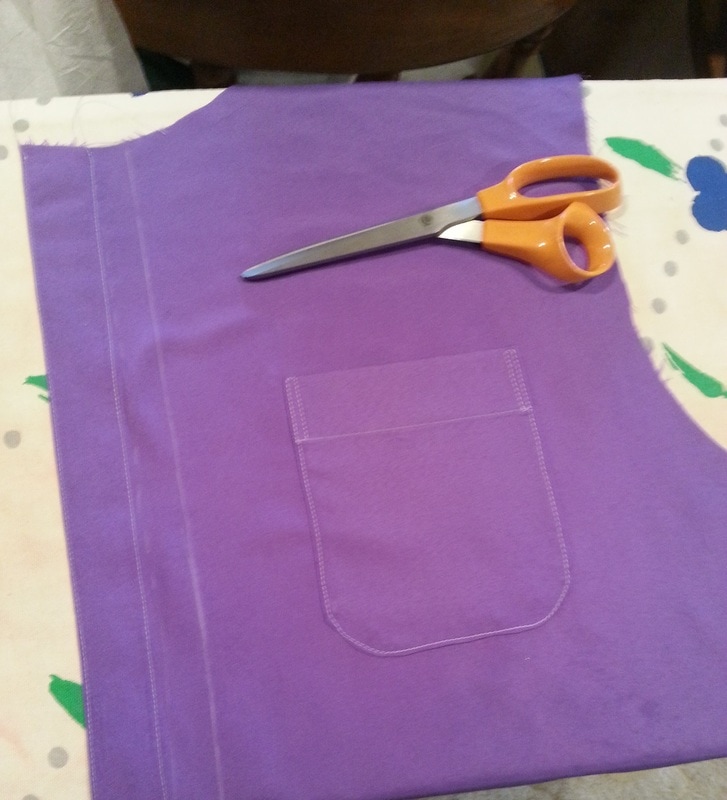
Ironing it tidied it up a bit before top-stitching!
  • This was faster to do than to hand baste and pull a thread, and more reliable than folding the edges around cardstock cut in the pocket shape (that latter method works better for sharp edges than for curves).  It's also faster and more casual than bag-lining the pocket and then sewing it down, which I've done on pants before.
  • The Islander method of setting sleeves is genius... sheer genius.  As soon as I tried it, I understood how it worked, and wondered why I hadn't been doing it that way forever!
So the result?  A man's medium-sized shirt, thoroughly amateur in finish, shoddy in construction, with no buttons.  I tried it on, and immediately suspected it was too large for my brother.  Here's the shirt on me:
Picture
Look at the shoulder seams hanging off my shoulders! Yikes! The rising hemline in the front is because of my bust, and wouldn't happen on a man's body.
Having tried it on myself, I suspected he'd find it too big for him.  The aloha shirt is designed to be blocky and loose, but my brother is not much bigger than me, and look how it swallows me!  I think he'll prefer a small for the more body conscious styling.  So my next move was make several seams tapering the side.  I put my sewing machine to the longest seam length and basted a series of tapered side seams, each one smaller than the last.  Then I mailed it to him with instructions to try it on, and if it’s too tight, remove the tightest side seam.  If the shirt’s still too tight, remove the next one, until it fits how he likes it.  He also got firm instructions to use it for fitting purposes only and destroy it when he was done.  Under no circumstances was he to betray to anyone that I made such a sham garment!

(Incidentally, it's interesting which verbs I automatically pair with different nouns.  I "whip up" a mock-up, but "make" or "sew" a toile or muslin.  "Mock-up" sounds like it can't be serious or worthy, so it gets a flippant verb phrase, but the reality is that a mock-up is still time consuming work.  It took me most of a day to alter the pattern and sew this one.  And though I'm not proud of the detail work, it is an actual shirt... sort of.)

THE RESULT: TOO BIG!

When my brother got the shirt, he had to laugh.  He was, he claimed, swimming in it!  Oh, the pitfalls of sewing for people thousands of miles away!  (Too bad I don't have a block of him!)  Obviously, the medium-size was too large, and he needed a small.  But I had lost momentum and, feeling discouraged, I put the aloha shirt project on the back burner. 

Then one day at a vintage store I found an old aloha shirt, labeled "small", and the project came again to the fore... but that's a whole 'nother blog post!
1 Comment
Weaveron Textile link
8/15/2019 10:05:39 pm

nice shirt..

Reply


Leave a Reply.

    Karen Roy

    Quilting, dressmaking, and history plied with the needle...

    Categories

    All
    1910's
    Alteration
    Antique
    Dyeing
    Embroidery
    General
    Hand Sewing
    History
    Lacemaking
    Mending
    Menswear
    Millinery
    Modern Elizabethan
    Musing
    Other Sewing
    Philippians 4:8
    Project Diary
    Quilting
    Regency
    Retro
    Self Made Pattern
    Self-made Pattern
    Terminology
    Victorian
    Vintage

    Blogs I Read

    The Dreamstress
    Male Pattern Boldness
    ​
    Lilacs & Lace
    Tom of Holland
    Fit for a Queen
    Line of Selvage
    Mainely Menswear
    Bernadette Banner

    Archives

    January 2023
    December 2022
    November 2022
    October 2022
    September 2022
    August 2022
    October 2021
    September 2021
    August 2021
    July 2021
    June 2021
    May 2021
    April 2021
    August 2020
    June 2020
    May 2020
    April 2020
    March 2020
    January 2020
    December 2019
    November 2019
    September 2019
    August 2019
    July 2019
    May 2019
    April 2019
    March 2019
    January 2019
    December 2018
    November 2018
    October 2018
    September 2018
    August 2018
    July 2018
    June 2018
    May 2018
    April 2018
    March 2018
    February 2018
    January 2018
    December 2017
    November 2017
    October 2017
    September 2017
    August 2017
    July 2017
    June 2017
    May 2017
    April 2017
    March 2017
    February 2017
    January 2017

    RSS Feed

Blog

Quilting

Clothing

About

Copyright Karen Roy
​© 2017-2022