Robes de Coeur
  • Blog
  • Quilting
  • Clothing
    • Menswear
    • Womenswear >
      • Self-Made Patterns
      • Commercial Patterns
    • Hats
    • Miscellany
  • About
  • Blog
  • Quilting
  • Clothing
    • Menswear
    • Womenswear >
      • Self-Made Patterns
      • Commercial Patterns
    • Hats
    • Miscellany
  • About

Anne Adams 4882 - re-draft and make!

12/30/2019

3 Comments

 
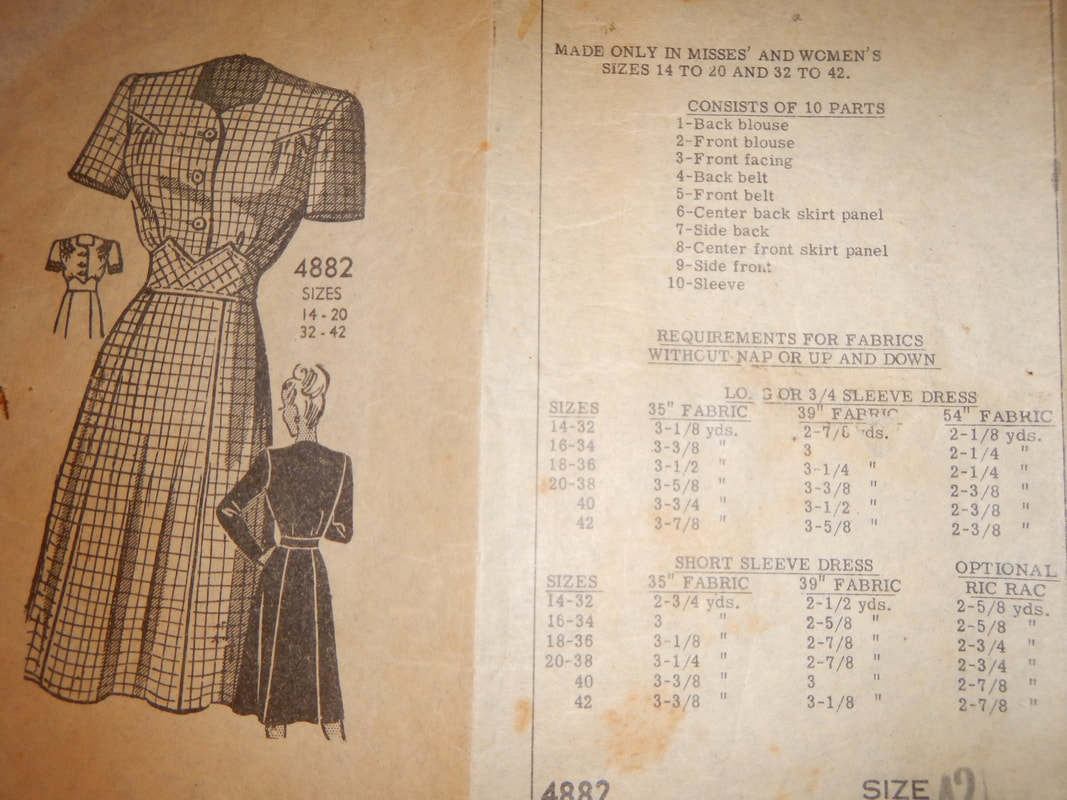
Almost two years ago, I got excited by a vintage pattern that was far too large for me: Anne Adams 4882.  I set it on the back burner of my brain, thinking I'd try grading it down someday. 
Picture
More recently, I made myself a half-way decent sloper!  (No, I haven't blogged about that yet.  The problem is that the pics are boring.  Well, I'll probably get around to it eventually; in the mean time, here's the Cliff's Notes: it was easy to make the sloper bodice and skirt, though I took extra time following a book's instructions.  The sleeves were what Angela Clayton might call a "circle of hatred".  But I got something workable in the end.)
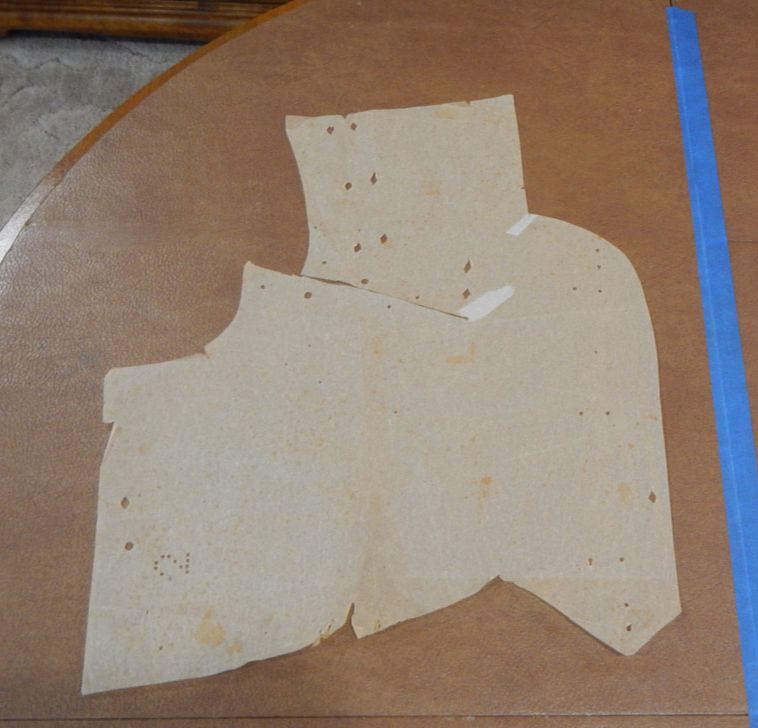
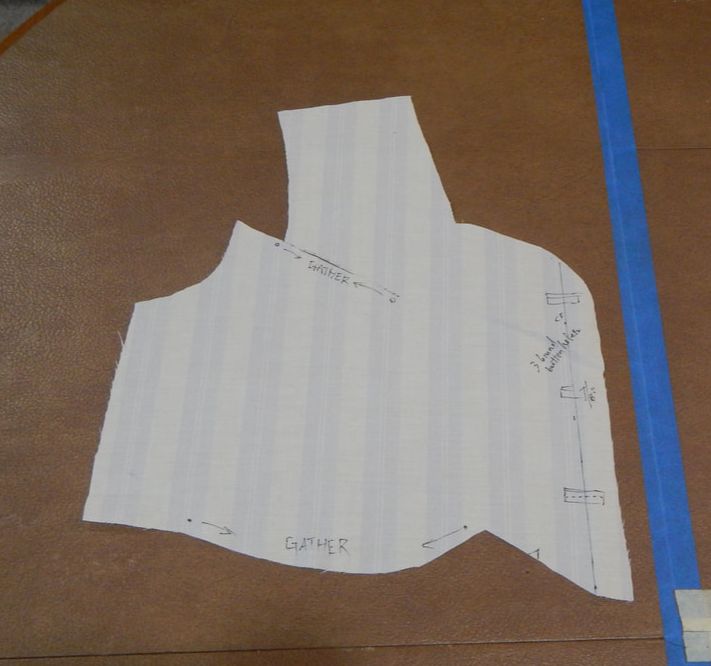
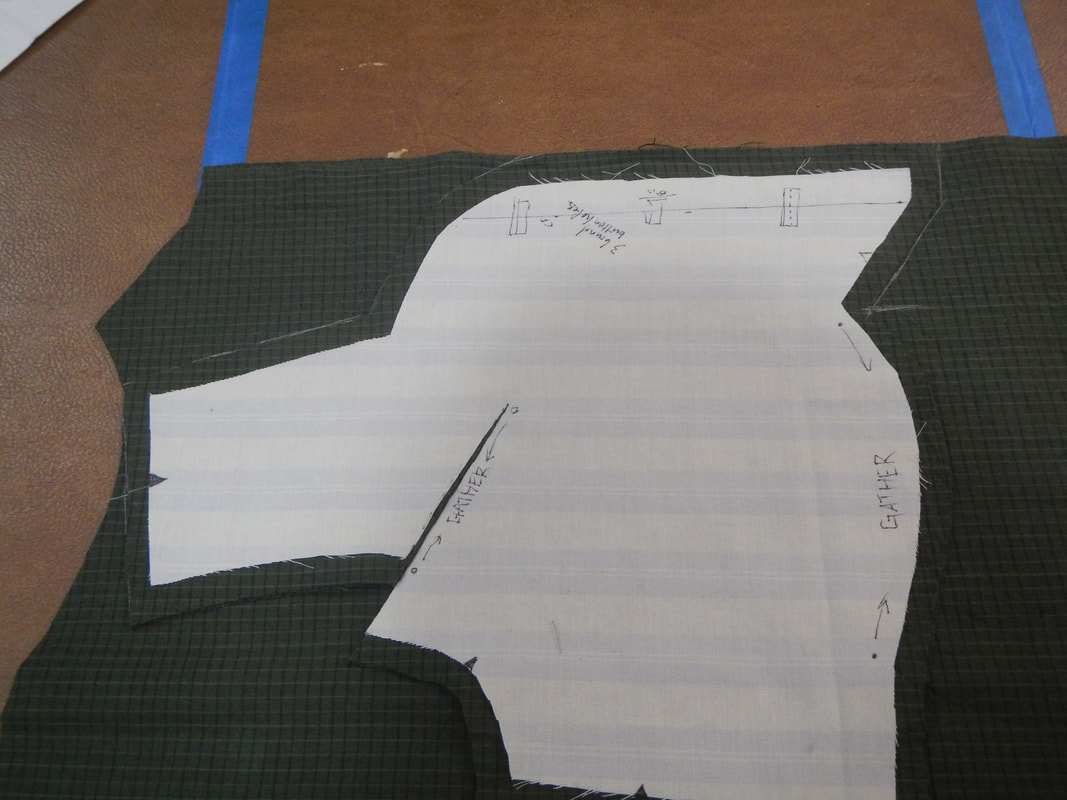
Combining my new sloper with the nice pattern illustrations for Anne Adams, I was finally ready to make myself this dress!  This won't be a comprehensive project diary, just a highlight reel. 

DRAFTING BODICE

I started with my sloper's bodice pieces, folded the darts closed, and drew the style lines on there: the notched belt on the front and the plain one on the back.  Cutting away the belt, I re-opened the darts on the top bodice pieces and turned them into gathers.  The front was a bit more complicated than just a gather, though, because there was also a horizontal dart into the armscye, and the piece below that was slashed and spread.  Ummm... how about some pictures? 
Picture
Original bodice piece (from vintage pattern) for reference
Picture
Altered sloper piece
Picture
new bodice piece, ready for testing
In each of these, you can see the notched bottom where the notched belt will fit and the dart into the armscye that is then extended to create gathers over the bosom.  The exact angle of the neckline differs, as well as the amount of gathering, but I was sizing the original down quite a lot to fit me.  You can also see that the belt in the original artwork seems taller than what I've made: I have a short torso, and feared that a taller belt would look disproportionate, leaving little bodice to play with. 
Picture
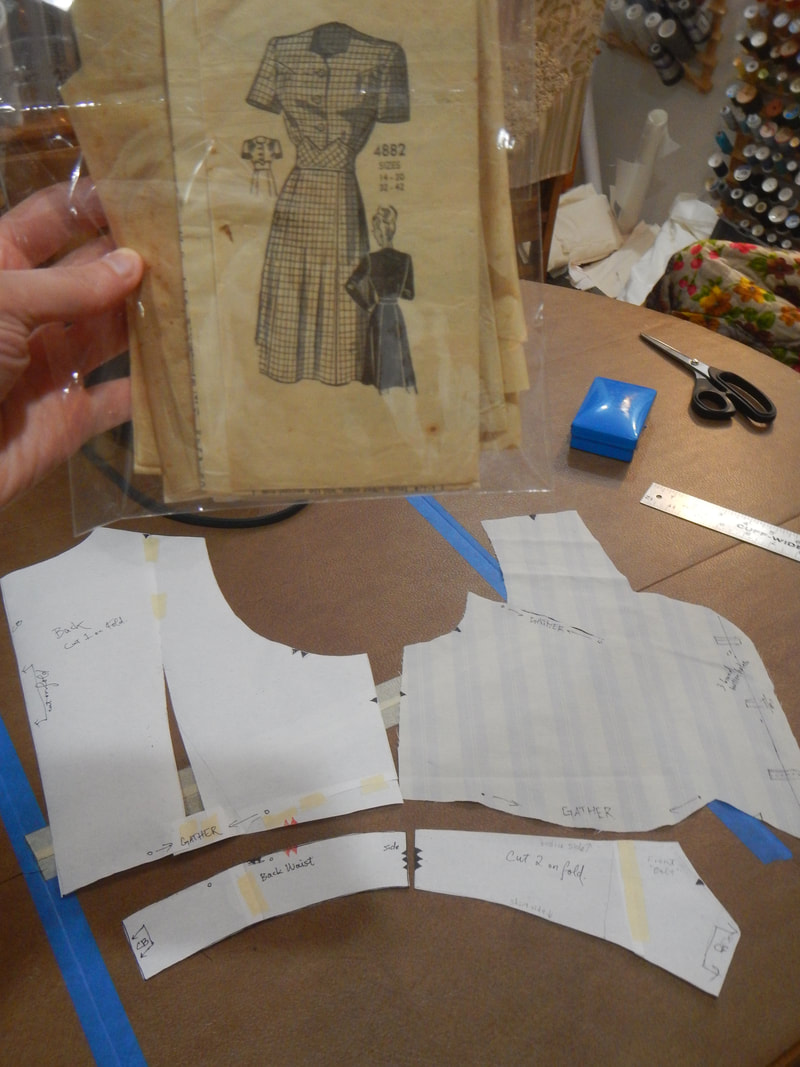
The belt pieces have tape on them from when they were on the sloper and I taped the darts closed. The bodice pieces have the darts open and turned into gathers.
The more I do this sort of thing, the more I enjoy it.  There are elements of engineering, and puzzle-making, and puzzle-doing, and detective-work, and living history that I quite enjoy. 

To get the facing piece, I just traced the bodice piece.  I used nice woven interfacing in its construction. 
Picture
Picture
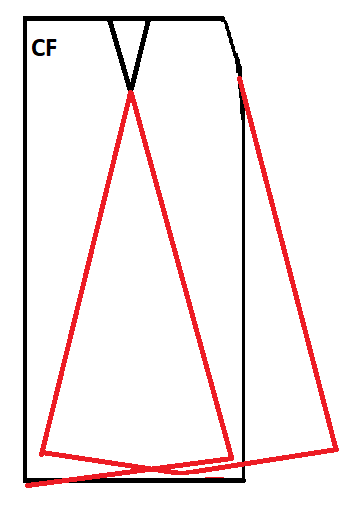
I made no changes to the sleeve pattern: it's a fitted sleeve, no gathers or pleats, with an elbow dart. 

DRAFTING SKIRT

I made the skirt longer than the pattern called for (four inches below my knee), because I've been wanting a few longer skirts.  My friend's been watching (so I've been passively watching!) The Marvelous Mrs. Maisel on Amazon Prime.  It's basically 1950's/60's dress envy.  Of course, by lengthening and flaring it as much as I did, I was straying farther from the original pattern, which (as you may recall) was not a fabric hog. 
Picture
No photos.  Simply put, I took the two-dart skirt pieces from the sloper, made them one-dart pieces, then created seamlines from the bottom of the darts to the hem to get the panels.  Then I flared the hem.  Easy.  The c̶r̶u̶d̶e̶ ̶d̶o̶o̶d̶l̶e̶ Microsoft Paint masterpiece on the left shows the one-dart skirt panel in black and the alteration to make two flared panels in red.  There are two things to bear in mind when doing this.  First, if the skirt should sit smoothly at the waist and start flaring below the hips, then use the dart/hip angle to determine the angle of flare, and  start flaring at the hip's widest point.  Second, to avoid a zig-zaggy skirt hem, the new panels must have curving bottoms.  Measure the skirt length from waist to hem at the Center front; make the new seams measure the same; measure a few more points from waistline to hem and connect the dots in a smooth arc. 

CONSTRUCTION DETAILS

This shoulder photo shows that I could perhaps have drafted the bodice dart with a little more gathering... those gathers look sparse.  On the other hand, they look fine on my body, so maybe I'm overthinking it. 

I put a fine line of bias-cut piping in the armscye, because why not? 
Picture
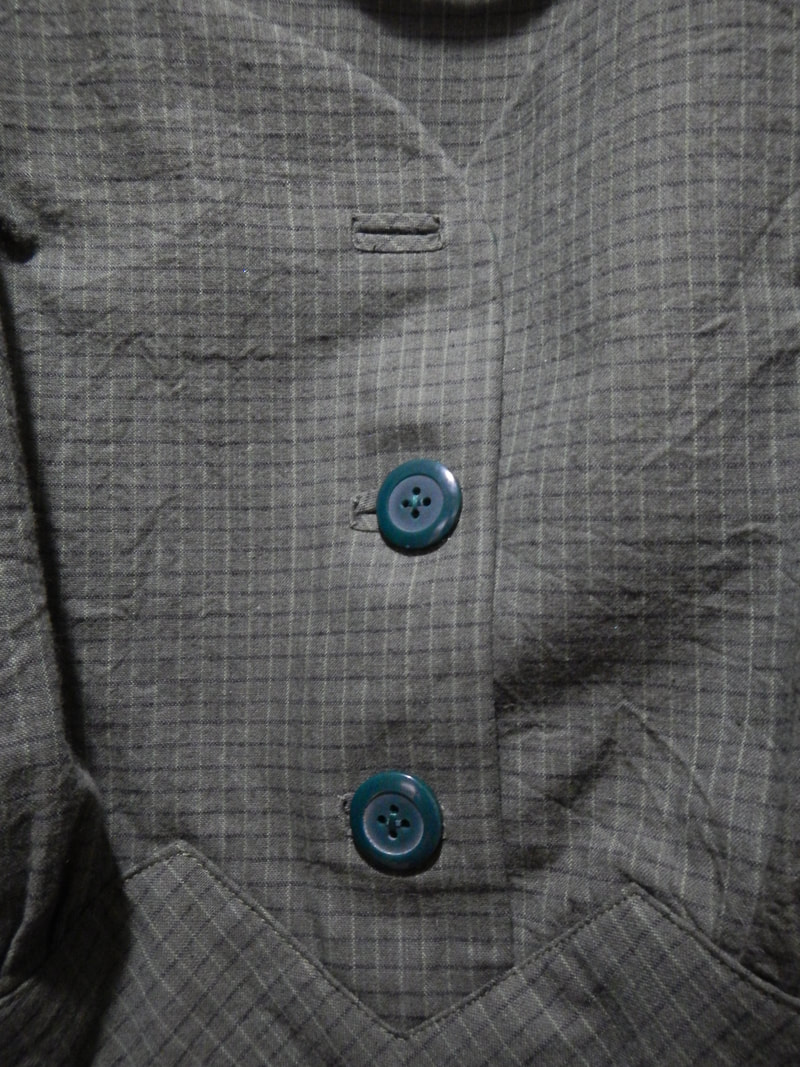
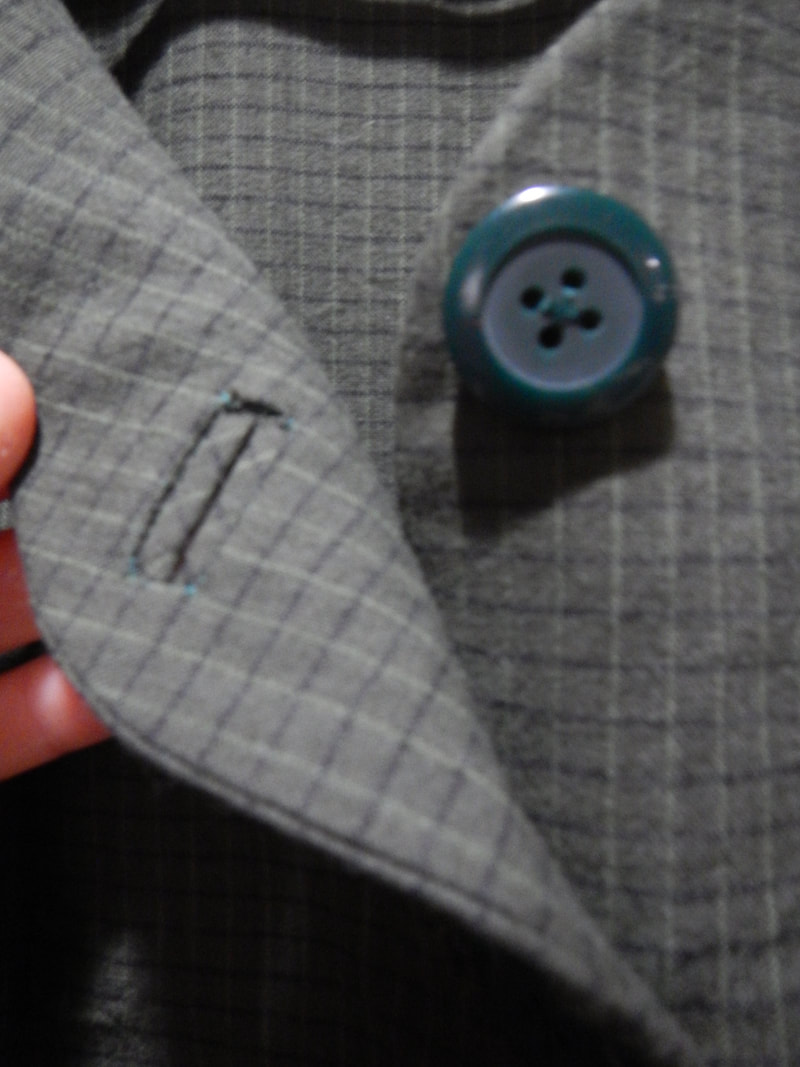
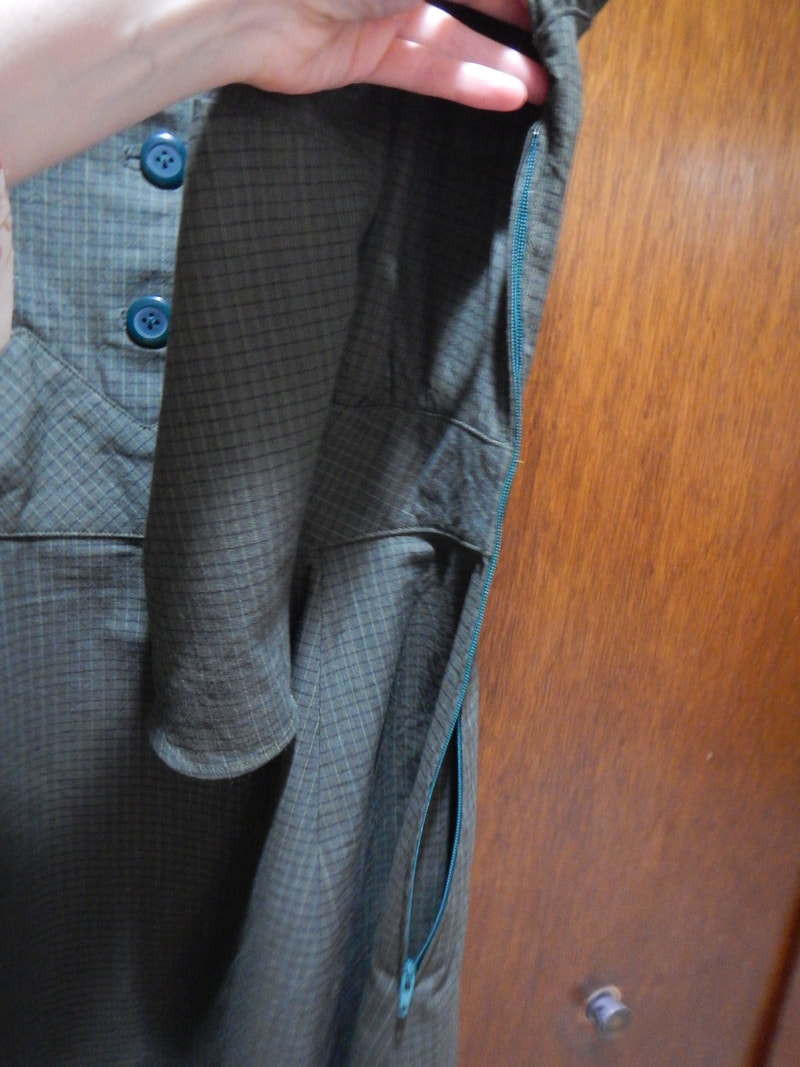
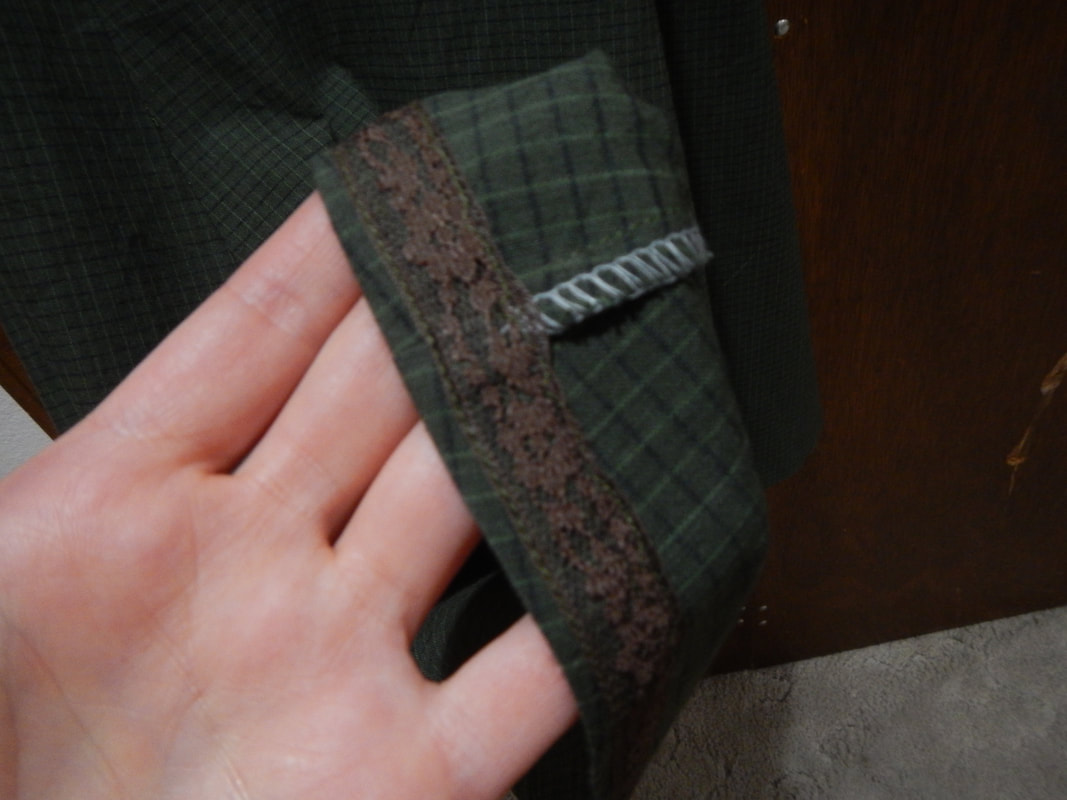
I bound the buttonholes because I need to practice that, and because I wanted to do the binding fabric on the bias for the look of it.  You can't see it unless it's un-buttoned, but I love knowing it's there.  The trick with using fabric on the bias when you don't want bias-drape is to interface it so it's stiff.  I did the same thing with the faux belt: the bias-cut pieces are flat-lined with stiffer cotton cut on grain so the belt still functions and holds its shape. 

Anyway, behold my bound buttonholes... not as crisp as I'd like, but I am getting better!
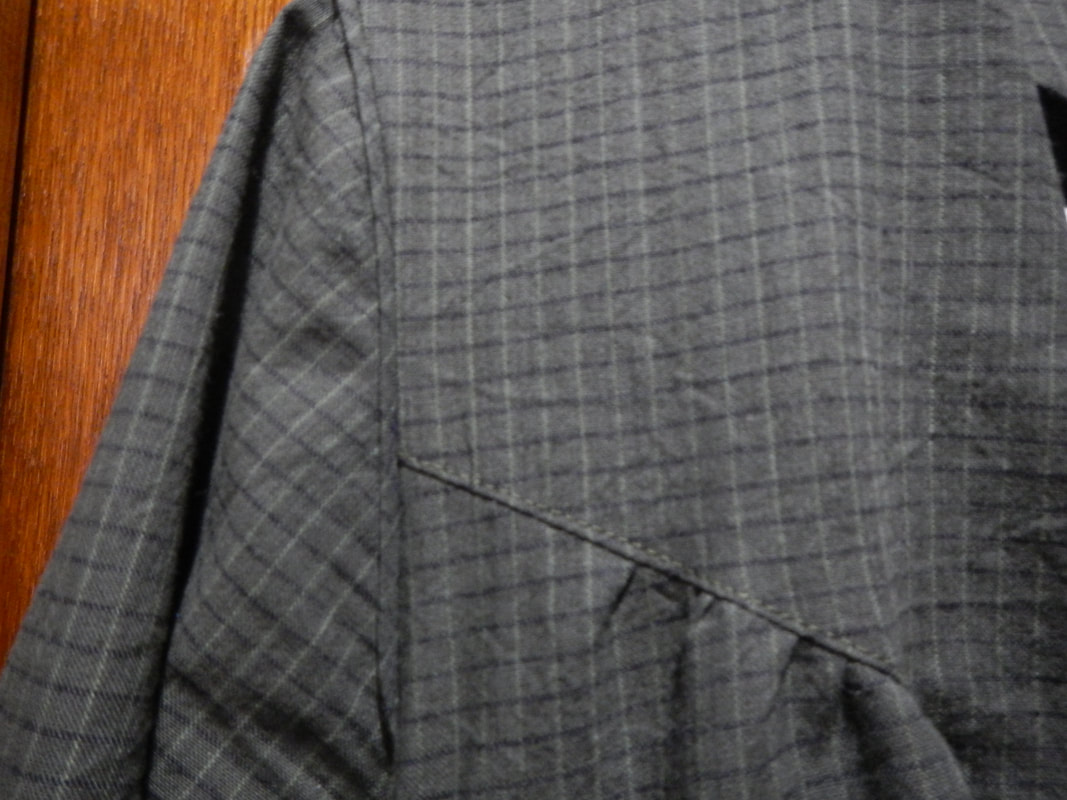
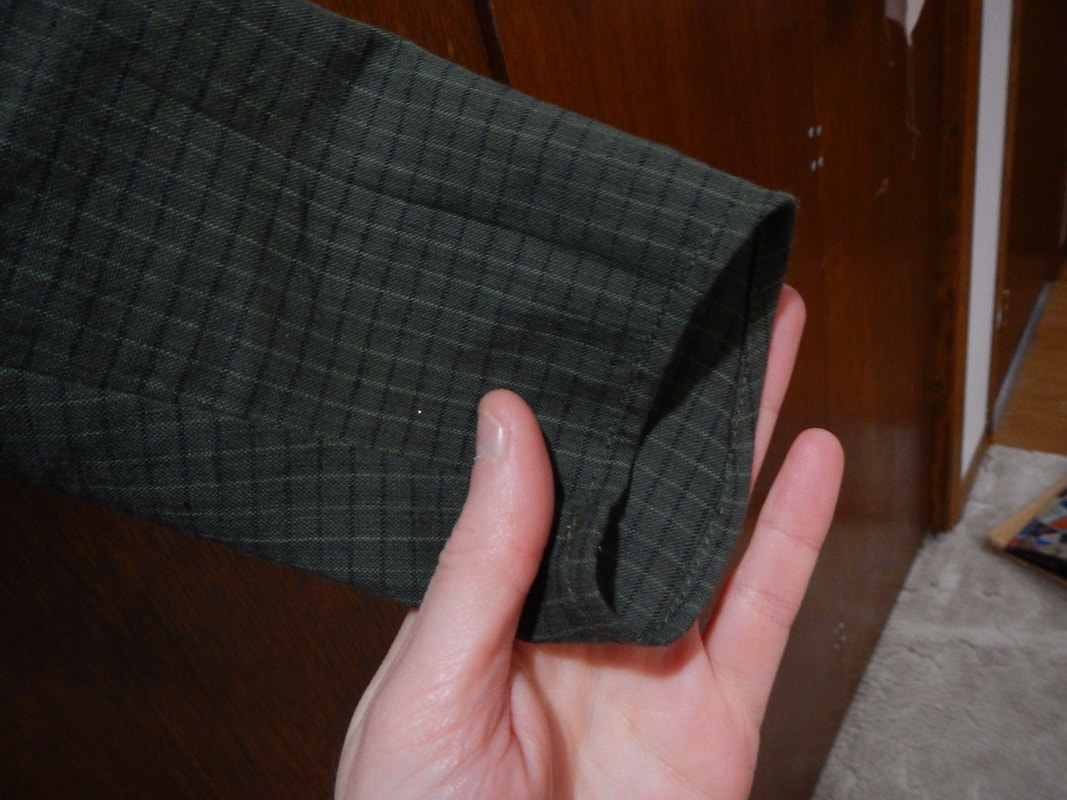
Picture
bound buttonholes
Picture
Bound button holes
The neckline is open enough that I never actually need to un-button the front; I can just slip the bodice over my head. 

The dress closes with a side zipper.  During construction, I finished everything but the side seams, then did the left side seam first, inserting the zipper as I went.  It was easiest to put the zipper in while working with a mostly flat single layer of dress.  Then I closed the right side seam, did my hems, and it was done. 

Speaking of hems, when I drafted my sloper sleeve, the book I was following instructed me to draw the bottom in a wavy line.  I was not sure how that would work, but decided to make it so and see how it fit.  Turns out, it's fine!  One of those things that looks wonky on paper but looks fine on a person.
Picture
Side zipper from armpit to below hip.
Picture
sleeve hem is longer on outside arm and shorter on inside arm
Picture
skirt hemmed with lace hem tape

FINISHED!

Picture
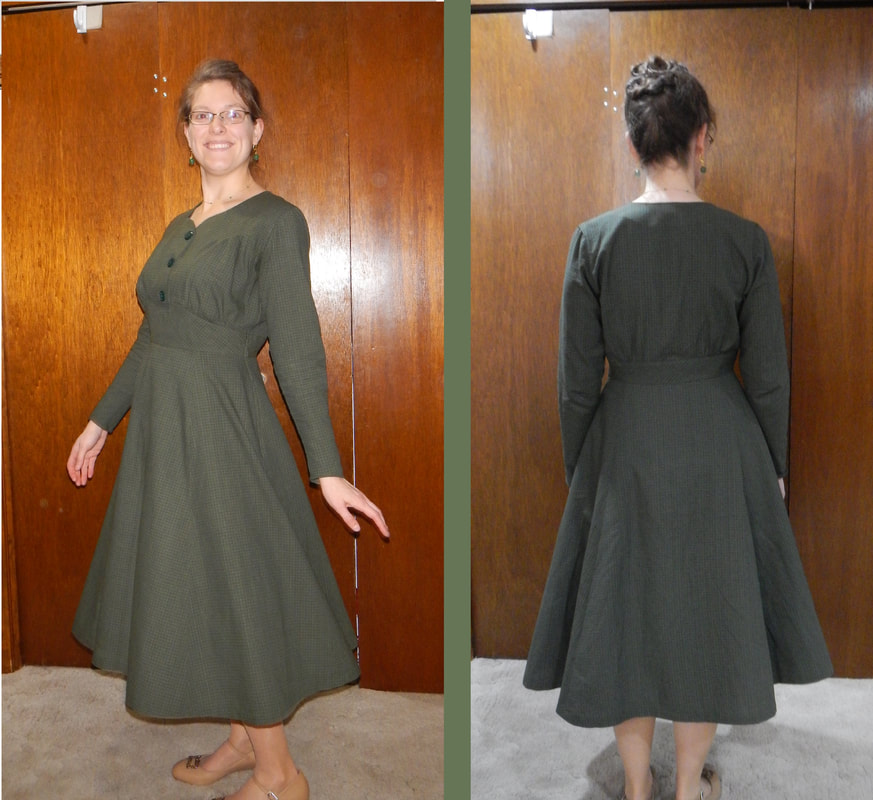
I am delighted with the way this dress fits, the constant swing and movement of the skirt, and the interesting seamlines! 
3 Comments
momsydoodle
1/11/2020 09:13:49 am

I just love how excited you get when you create something you're pleased with and looks good on you. Makes me smile too! Well done.

Reply
The Sister
1/13/2020 11:46:40 am

How nice! I like the fabric you chose.... think it needs a pop of color or something though. Good job!

Reply
Taya link
1/30/2021 02:09:00 am

Good blog postt

Reply


Leave a Reply.

    Karen Roy

    Quilting, dressmaking, and history plied with the needle...

    Categories

    All
    1910's
    Alteration
    Antique
    Dyeing
    Embroidery
    General
    Hand Sewing
    History
    Lacemaking
    Mending
    Menswear
    Millinery
    Modern Elizabethan
    Musing
    Other Sewing
    Philippians 4:8
    Project Diary
    Quilting
    Regency
    Retro
    Self Made Pattern
    Self-made Pattern
    Terminology
    Victorian
    Vintage

    Blogs I Read

    The Dreamstress
    Male Pattern Boldness
    ​
    Lilacs & Lace
    Tom of Holland
    Fit for a Queen
    Line of Selvage
    Mainely Menswear
    Bernadette Banner

    Archives

    January 2023
    December 2022
    November 2022
    October 2022
    September 2022
    August 2022
    October 2021
    September 2021
    August 2021
    July 2021
    June 2021
    May 2021
    April 2021
    August 2020
    June 2020
    May 2020
    April 2020
    March 2020
    January 2020
    December 2019
    November 2019
    September 2019
    August 2019
    July 2019
    May 2019
    April 2019
    March 2019
    January 2019
    December 2018
    November 2018
    October 2018
    September 2018
    August 2018
    July 2018
    June 2018
    May 2018
    April 2018
    March 2018
    February 2018
    January 2018
    December 2017
    November 2017
    October 2017
    September 2017
    August 2017
    July 2017
    June 2017
    May 2017
    April 2017
    March 2017
    February 2017
    January 2017

    RSS Feed

Blog

Quilting

Clothing

About

Copyright Karen Roy
​© 2017-2022