Robes de Coeur
  • Blog
  • Quilting
  • Clothing
    • Menswear
    • Womenswear >
      • Self-Made Patterns
      • Commercial Patterns
    • Hats
    • Miscellany
  • About
  • Blog
  • Quilting
  • Clothing
    • Menswear
    • Womenswear >
      • Self-Made Patterns
      • Commercial Patterns
    • Hats
    • Miscellany
  • About

Block #2

3/30/2017

0 Comments

 
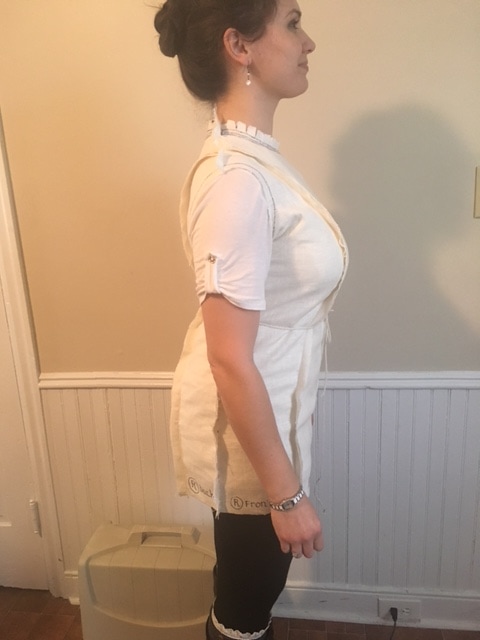
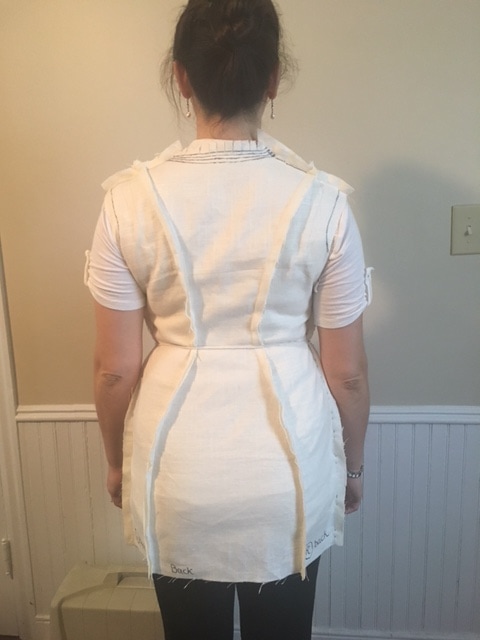
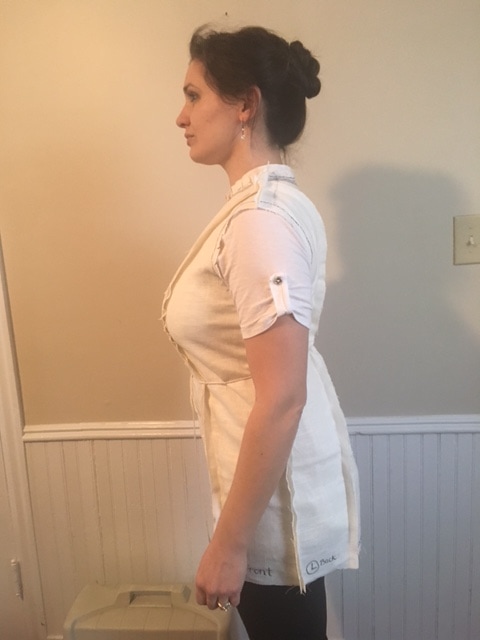
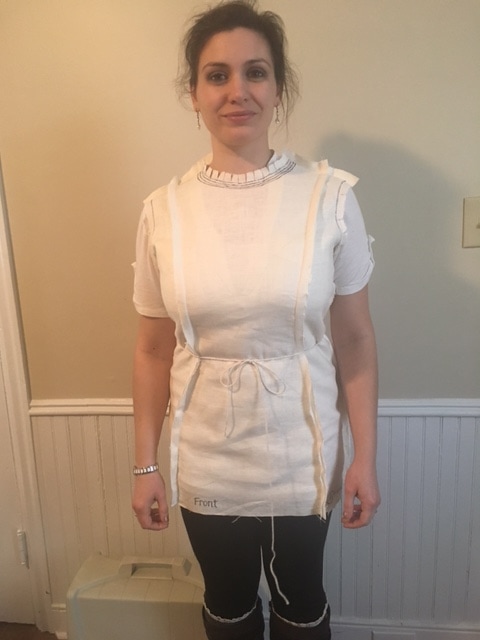
No, this isn't a police line-up, it's my lovely sister showing off the entirely unlovely block I've made for her.  Twirly twirly twirly! 
Picture
Picture
Picture
Picture

PATTERN WORK

The process of getting a pattern involves asking lots of rhetorical questions. 
  1. Mark the pinned seamlines on Block #1 with pen. 
  2. Un-pin Block #1 and flatten it.  Ask "How is it so crooked now when it looked all symmetrical on?
  3. Trace the fabric panels onto paper and puzzle over them.  Me: "Is your one shoulder really two inches higher than your other?!"  My sister: "Um, probably?"  Me: "what's that gonna do to the neck hole?"  My sister: *enigmatic smile*.  (I should have been more concerned about the armscye.) 
  4. Make corrections to the pattern, mostly to smooth things out.  In the pics below, the dark line is the pinned seam from Block #1.  The dotted line is the opposite side, so I can gauge the asymmetry of the body (or of my pinning!).  The red lines are my corrections. 
    1. In the center back panel, I note that the whole thing skews a few millimeters to one side.  My sister's spine or my inept pinning?  I don't know, but the difference is so minor that I split it and draw a new line to make things symmetrical.
    2. The side panels, on the other hand, had a greater variance, particularly in one panel, which was whole inches off from its mate--but since the fabric was also off-true there, I think that panel got all wonky because I tugged it too hard while pinning.  So for that panel, I made it match its opposite so that Block #2 won't twist like a DNA strand.
  5. Watch a video from the Los Angeles Trade Tech College about walking a pattern.  Walk my pattern with a push pin to make sure the seams that get sewn together actually correspond in length and landmarks.  They match!  Feel like a boss.  (Me: "How did I get so awesome?") 
  6. Cut Block #2 from a curtain fabric with a heavy weight and highly visible warp and weft. 
Picture
The Center Back panel. The solid black lines are the original draft; I don't know whether it's skewed because of my mistake or my sister's spine, but I shifted it slightly to the middle anyway.
Picture
The side and back pieces. Looks like a pattern for an S-bend corset, doesn't it!
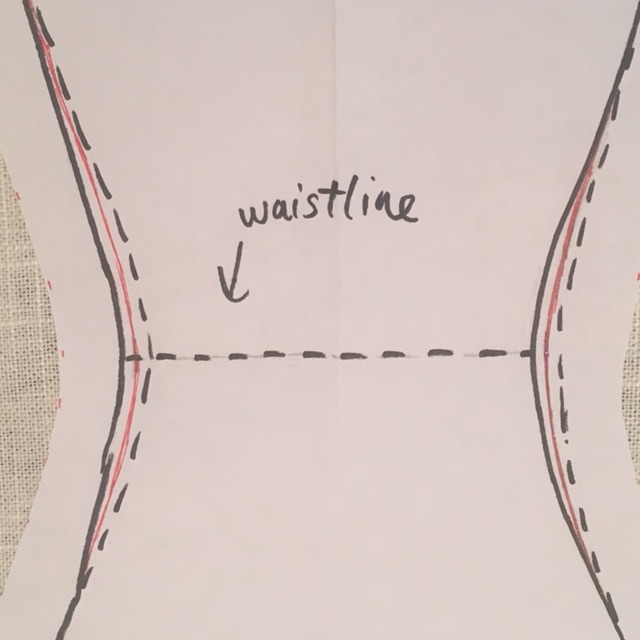
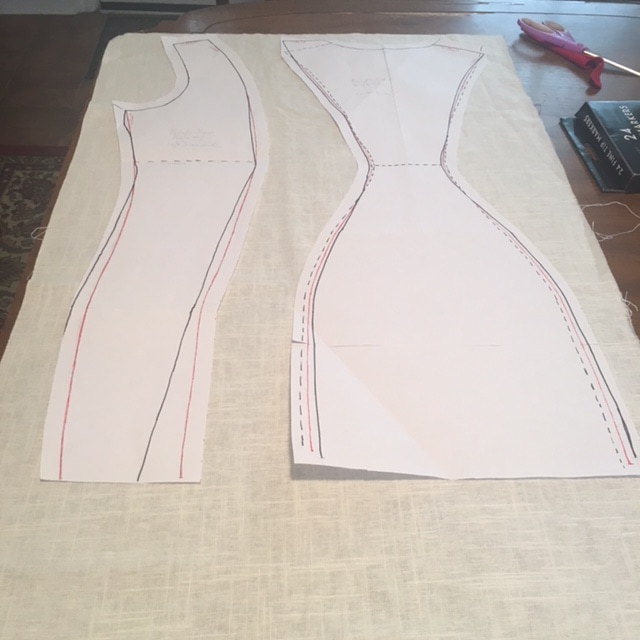
After all this, fitting it is amusing.  I leave a side seam open so I can put it over her head and pin it closed... but I don't account for the fact that the neckline was high and tight because I'd drafted it right on her body!  So she can't get her head in, and I have to keep cutting it in concentrically larger circles while she laughs and contributes her own rhetorical questions: "Yes, Karen, how did you get so awesome?"  Me: "Enough with the snark, woman!"  Then I have to enlarge the armhole on one side because somehow it got ludicrously small.  (Me: "How does this happen?  Evil pattern elves?!"  Sis: "The helpful elves went to the shoemaker's house.")  The block is sleeveless; the sleeves in the pictures are from her own shirt underneath. 

I tie a string around her natural waist and mark its location on all pattern pieces.  I also mark the locations of bra straps and bands so that if/when I draft a top from this I can make sure they are covered.  Finally I move the shoulder seams so they're even (I don't know how they got so wonky!). 

Finally, we take the police line-up pictures.  Her: "You're gonna put this on the internet?"  Me: "I can chop your head out of them if you like."

WHAT'S NEXT?

Same as with Block #1, I need to take this apart, mark the changes very clearly, and copy the new version onto pattern paper.  That'll be Block #3, the finished product.  Then I can do two things:
  1. Make Block #3 with the new details, and put it on my dress form with padding to fill it out.  Then I can drape clothes on my "sister" even when my sister is not present.
  2. Use the paper block pattern to make alterations to commercial patterns, to make them fit my sister.  

You can see Block #3 on Monday! 

0 Comments

Your comment will be posted after it is approved.


Leave a Reply.

    Karen Roy

    Quilting, dressmaking, and history plied with the needle...

    Categories

    All
    1910's
    Alteration
    Antique
    Dyeing
    Embroidery
    General
    Hand Sewing
    History
    Lacemaking
    Mending
    Menswear
    Millinery
    Modern Elizabethan
    Musing
    Other Sewing
    Philippians 4:8
    Project Diary
    Quilting
    Regency
    Retro
    Self Made Pattern
    Self-made Pattern
    Terminology
    Victorian
    Vintage

    Blogs I Read

    The Dreamstress
    Male Pattern Boldness
    ​
    Lilacs & Lace
    Tom of Holland
    Fit for a Queen
    Line of Selvage
    Mainely Menswear
    Bernadette Banner

    Archives

    January 2023
    December 2022
    November 2022
    October 2022
    September 2022
    August 2022
    October 2021
    September 2021
    August 2021
    July 2021
    June 2021
    May 2021
    April 2021
    August 2020
    June 2020
    May 2020
    April 2020
    March 2020
    January 2020
    December 2019
    November 2019
    September 2019
    August 2019
    July 2019
    May 2019
    April 2019
    March 2019
    January 2019
    December 2018
    November 2018
    October 2018
    September 2018
    August 2018
    July 2018
    June 2018
    May 2018
    April 2018
    March 2018
    February 2018
    January 2018
    December 2017
    November 2017
    October 2017
    September 2017
    August 2017
    July 2017
    June 2017
    May 2017
    April 2017
    March 2017
    February 2017
    January 2017

    RSS Feed

Blog

Quilting

Clothing

About

Copyright Karen Roy
​© 2017-2022