|
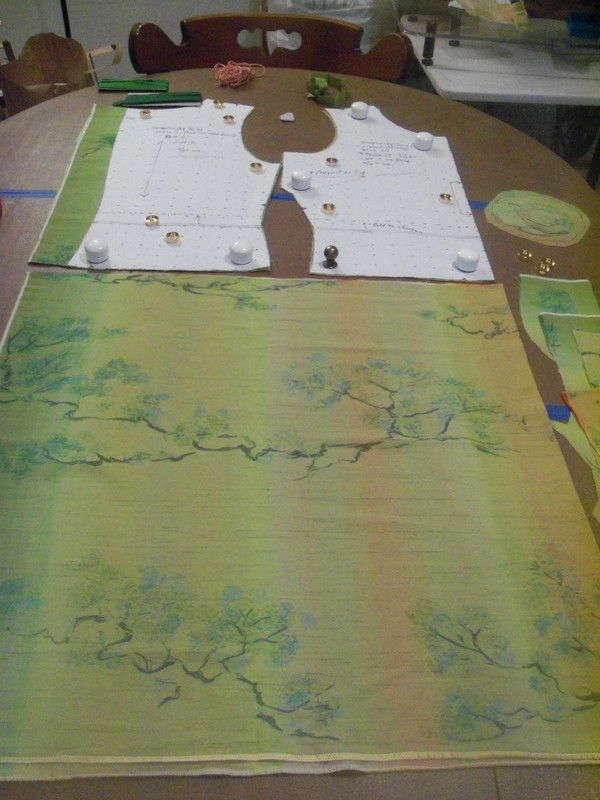
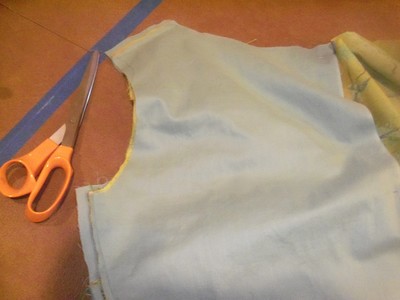
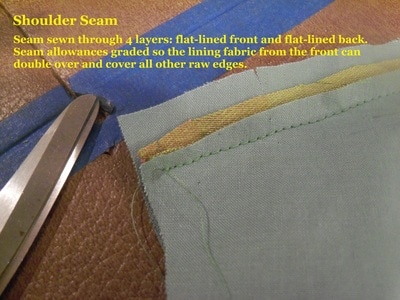
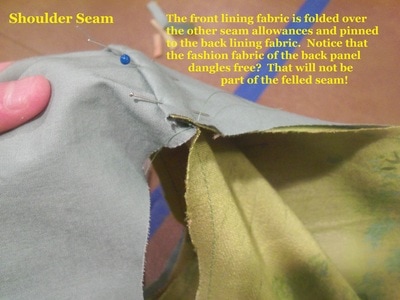
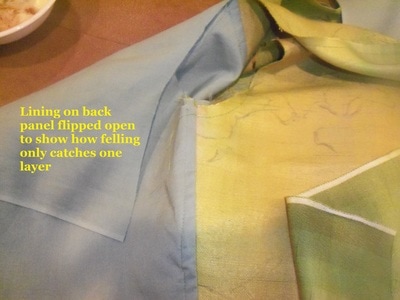
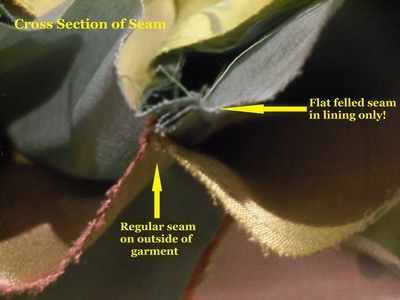
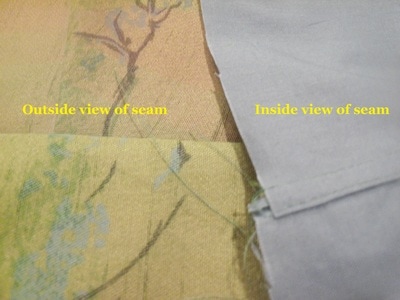
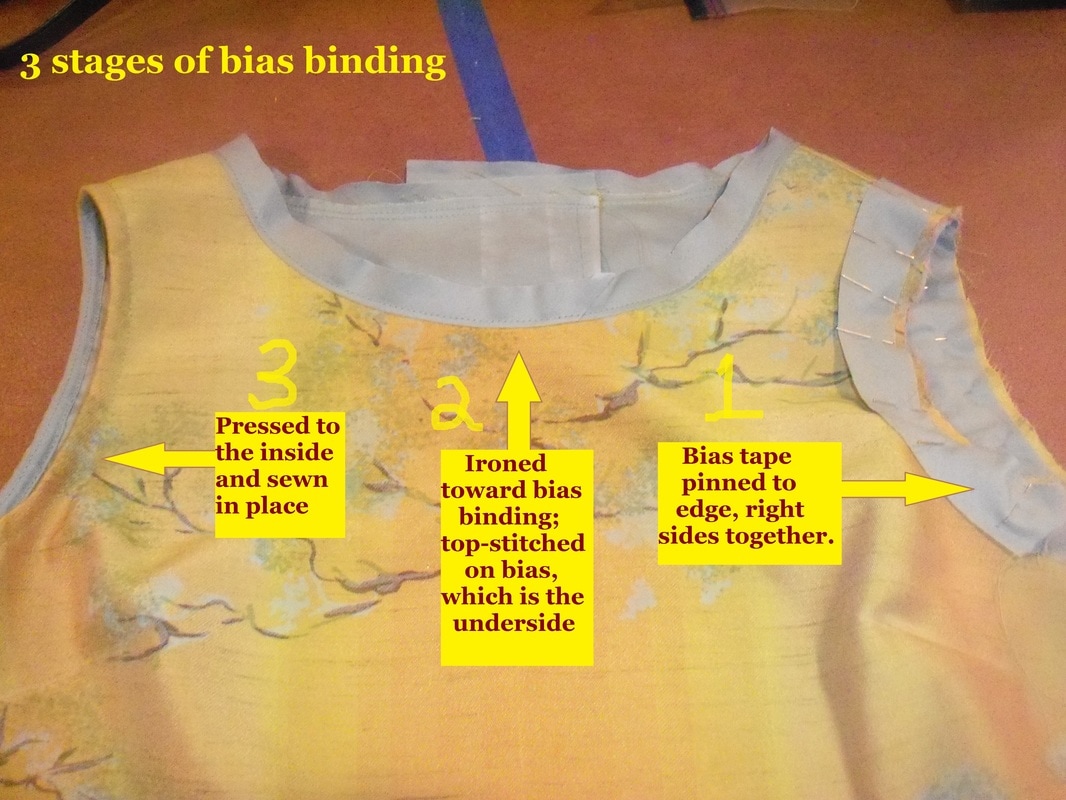
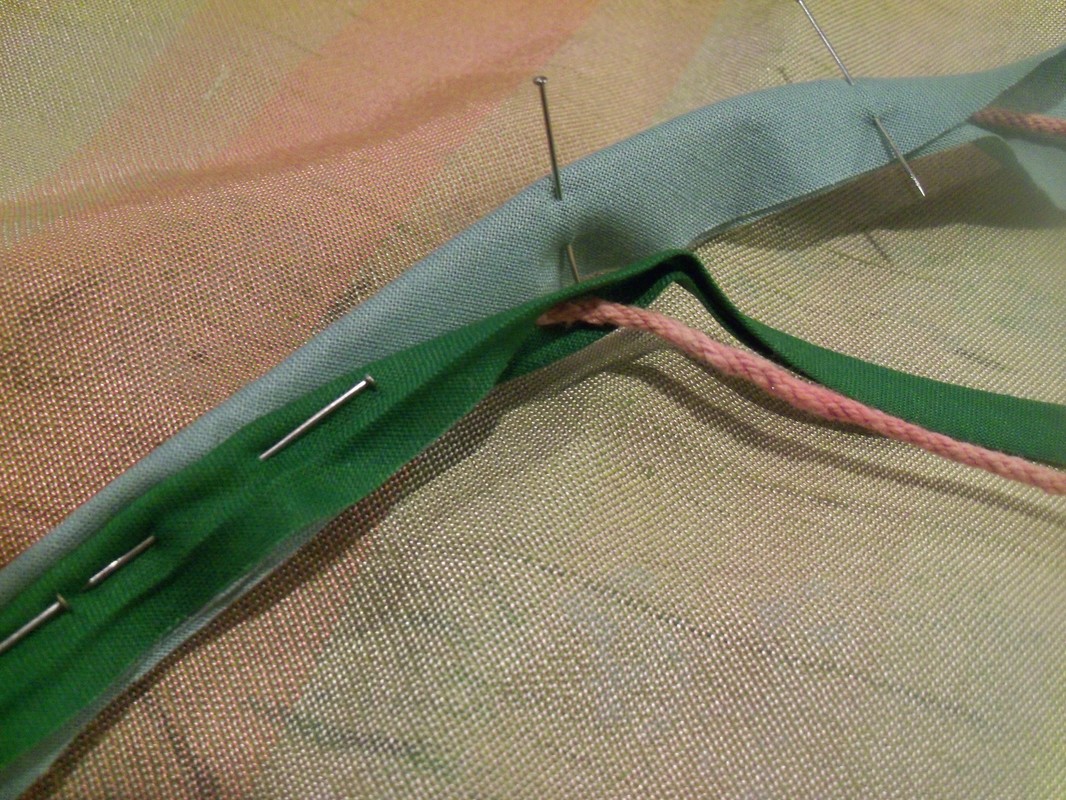
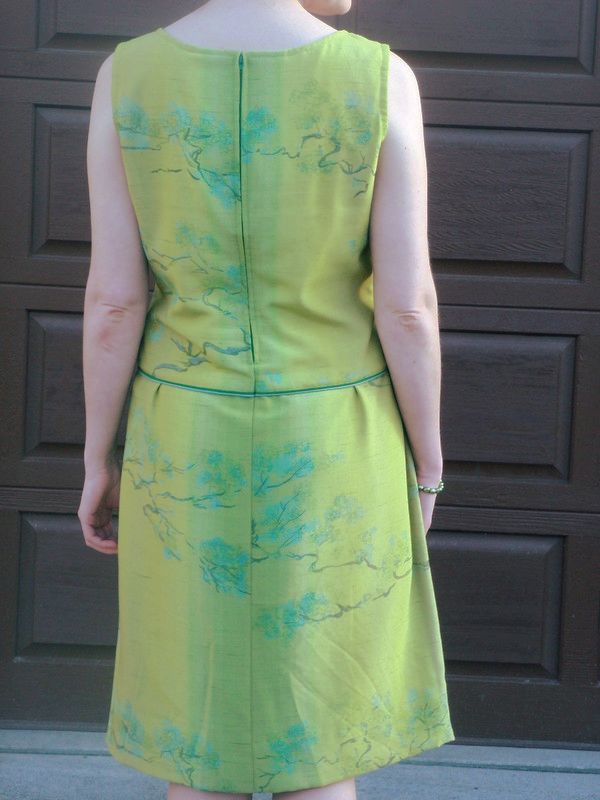
A few months back, I decided to use up some of my stash. I pulled out a lovely piece of green rayon(?), with gradients of warm color and Japanese style twisty trees on it. I love this fabric! I figured out I had enough to make a dress, by the simple expedient of wrapping it around myself. Not a very full dress, but a dress it would be! There was about 1 1/3 yard at 60"(?) inches wide. FABRIC PREP It was washed before it went in my stash, so I didn't wash it again. It unraveled easily, so it was easy to true. It also ironed nicely. The only thing annoying was its slippery drape, which made it move during cutting. I used lots of pattern weights! PATTERNSince I'd recently traced out Simplicity 3631, view C, in size 14, I decided to use it. The dress is sleeveless, low-waisted (but not super low), and fitted with meek little side-bust-darts and tucks in the skirt. The top pieces fit on the fabric fine. The bottom pieces just barely fit, minus some seam allowances and the extension for the kick-pleat. I decided to simplify my cutting by ignoring the bottom pattern pieces entirely and just cutting a big rectangle for the skirt (then pleat to fit when it's ready to sew on). That gets rid of side seams. CONSTRUCTIONWhile I like the shifting drape of the fabric for the skirt, I decided it was too wibbly for the bodice. I feared it might start to sag and stretch with wear and washing. Plus I always prefer natural fibers next to my skin. (Actually, since rayon is made of wood pulp, although chemically altered, is it considered a natural fiber? Regardless, it doesn't absorb moisture, so it's hot to wear next to the skin.) So I decided to flat-line the bodice pieces with cotton (quilting cotton? broadcloth?) in a corresponding color. Flat lining differs from ordinary lining because flat-lining is structurally integral to the garment, whereas ordinary lining is more like making two shirts, then putting one inside the other, raw edges facing each other. Flat-lining simply means cutting the piece twice: once in the fashion fabric that will show on the outside, and once in the sturdier fabric. Then you put them together and sew them as if they're one piece. So for example, when I made the side-bust-darts, I did it through all the layers at once. One neat thing I did was flat-fell the side and shoulder seams to the lining fabric only, creating a nicely flat-felled seam on the inside of the garment that was invisible on the outside. That took care of the raw edges. Click through the gallery below to see each step. I finished the armscyes and neck with bias tape I made from the same cotton fabric. This picture shows all three stages of taping the edges: Wanting to accent the low waist a little, I made double piping, using bias tape I had on hand (green) and some I made from scraps (aqua). I folded them around some cordage and pinned the fabric together. Then I used the zipper foot on my machine to stitch them together in one step before integrating them into the waist seam. Finally, the skirt was easy easy easy to attach! I put tiny tucks at the back, and larger knife pleats inside the front hips. I inserted the double-piping, paying attention to which way it would sit when I pressed the seam allowances up. I sewed the Center Back seam as drafted, basting the top part so I could topstitch a zipper in. Once I removed the basting, the zipper was done, and there was just a little bit of hand-finishing (to fell the waist seam up to the bodice lining, and to hem the bottom) to complete the dress. EMBELLISHMENT
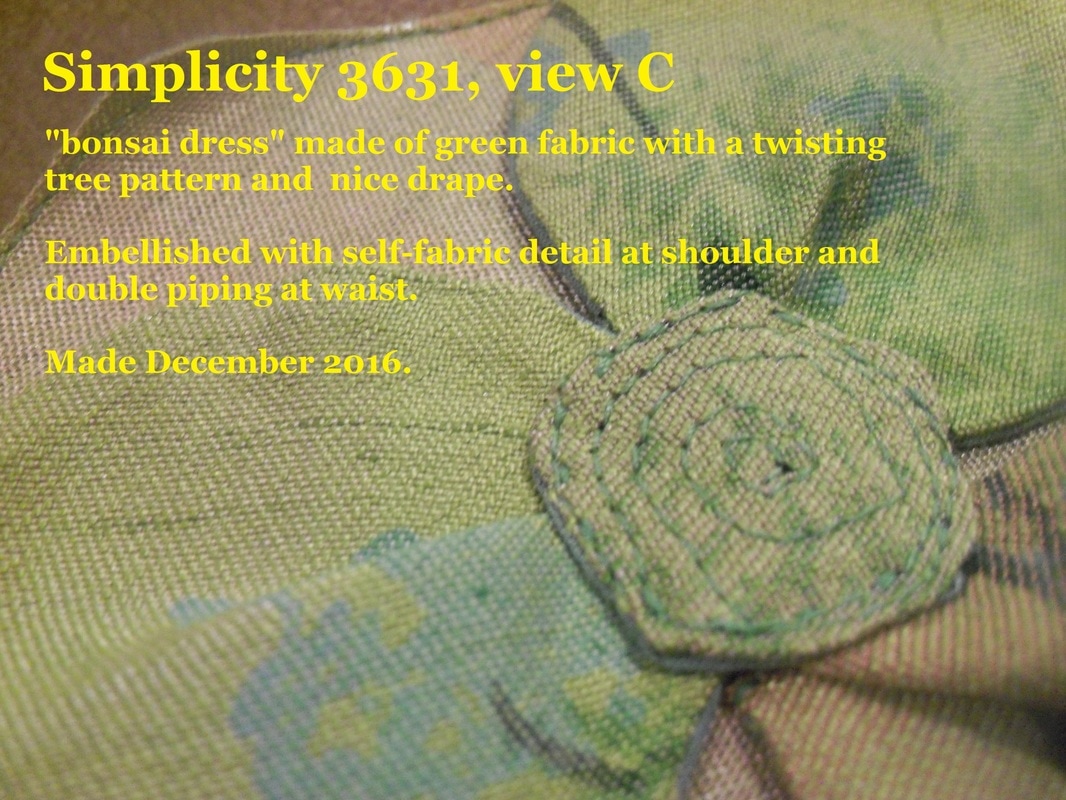
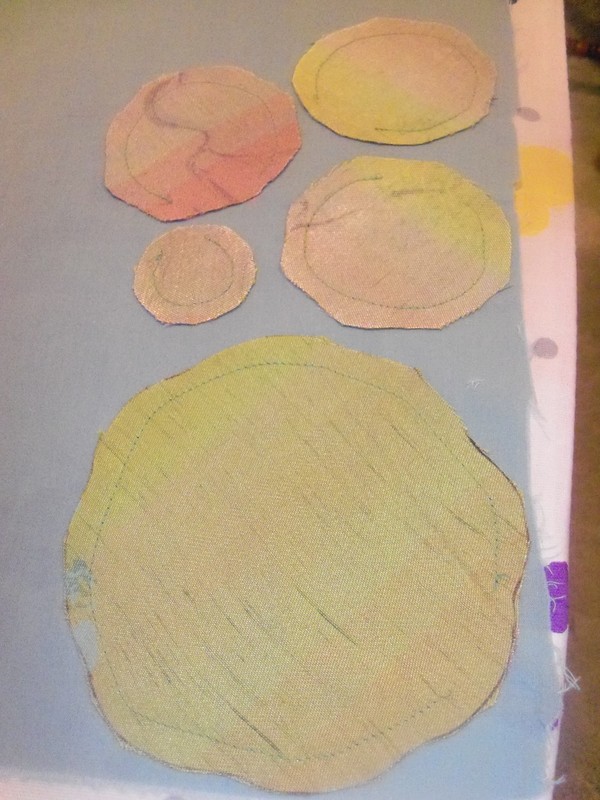
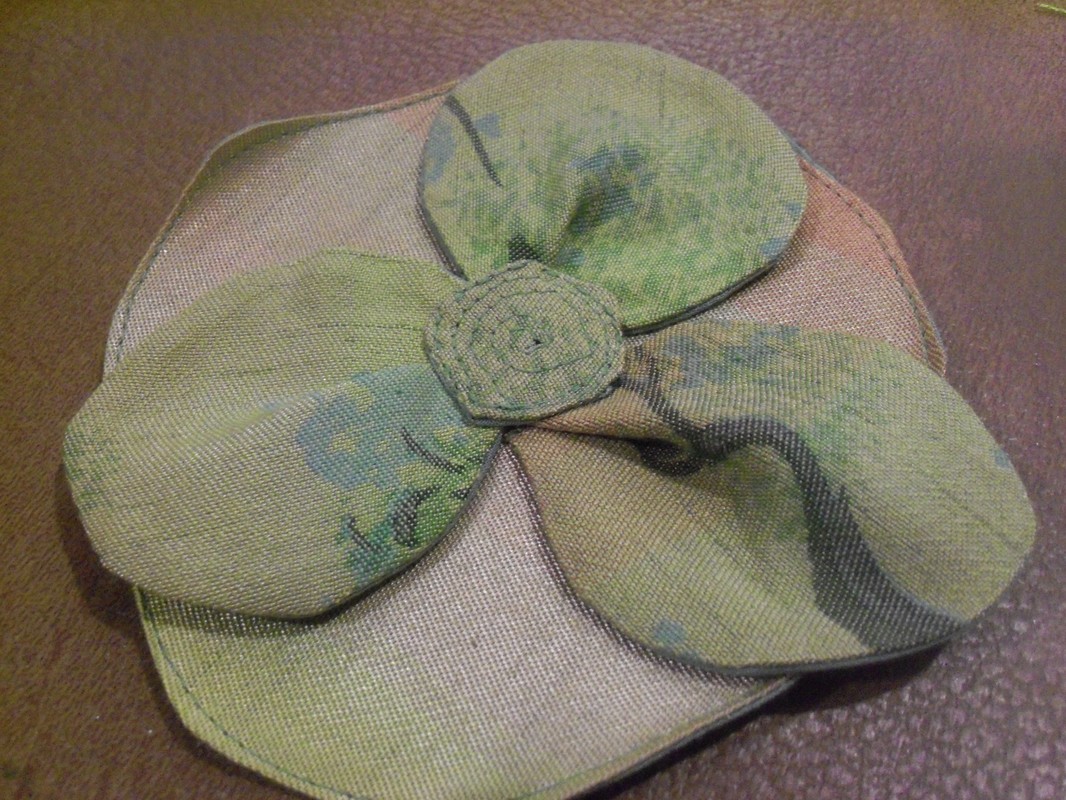
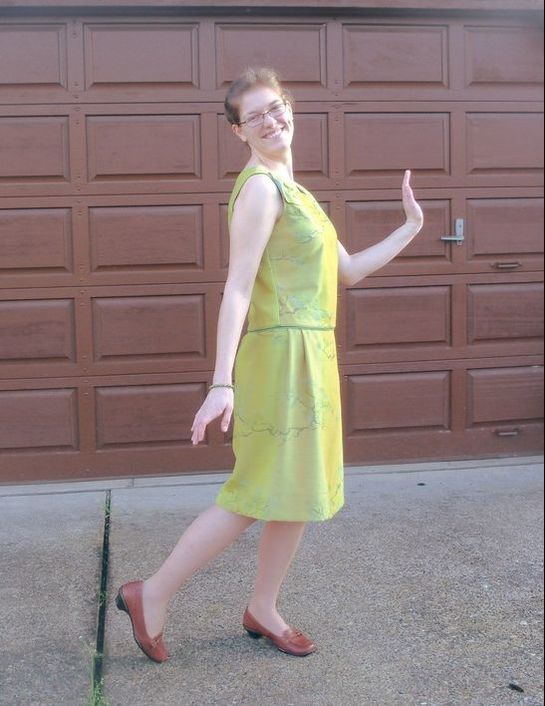
Ultimately, I constructed a soft fabric embellishment that I can't decide whether it's a lilypad or a propeller, but I like it. I put it on the shoulder. TIME TO COMPLETE 3 days, don't know exactly how many hours. COST: Fabric was free. Pattern was $0.99 at thrift store. Zipper was maybe $3. FIRST WORN To a 2016 Christmas party, with bare arms covered by a cashmere cardigan. I love the slim fit--the low waist look avoids being boxy by having some tapering in the bodice. FINISHED DRESS
1 Comment
Quinn
3/28/2017 12:59:59 pm
Alright! Bias tape as piping cover. Very clever. I'm quite impressed with your sewing lingo. You name so many things I never had a name for. Shoulder seams with lining always seemed like a crap shoot, as to how they will finally lay but you actually understand them. Well done.
Reply
Leave a Reply. |
Karen Roy
Quilting, dressmaking, and history plied with the needle... Sites I EnjoyThe Quilt Index Categories
All
Archives
March 2024
|

 RSS Feed