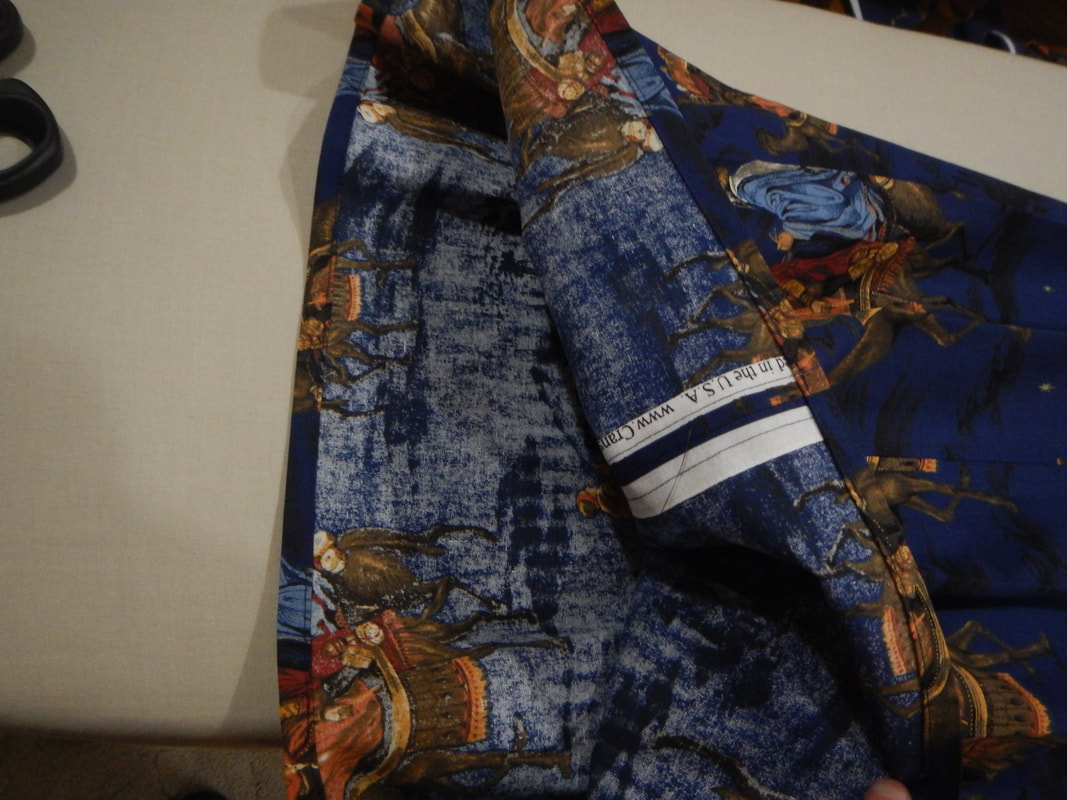
Meanwhile, finding in my stash a bit of printed cotton with wise men on it (a Christmas print I actually like), I decide to make my own re-usable Christmas wrapping! PLAN A: FUROSHIKI My first thought when I look at my fabric is to simply hem it a yard square and make it into a furoshiki. That idea comes from Katie Wells of WellnessMama blog. A furoshiki is a Japanese wrapping cloth. From its original use as a mat to stand on and a wrap for bathers' clothes in bathhouses, it got the name "furoshiki" (風呂敷), meaning "bath spread". But it was too useful to stay in the bath forever, and now is used to wrap packages, carry schoolbooks and lunches, et cetera. In the same way that an eco-conscious American might bring a reusable bag or two to the grocery store, a traditional-minded Japanese might bring some furoshiki. Pronunciation: In Japanese, the syllable "fu" is not a strong teeth-on-lips kind of F like in English. It sounds more like an H, like an H where the teeth and lips briefly get in the way. Likewise, the syllable "shi" is a malleable one: the SH is not a "be quiet in the theater!" SSSSSHHHH, but a soft S with a bit of H, and the vowel sometimes falls away completely. So "furoshiki" is pronounced, roughly, as "(f)hoo ROH shkee". You could say "FOO-roh-SHEE-kee", but then you'd sound like a dork. And, since Japanese has a syllabary instead of an alphabet, you might sound to a native speaker like you were spelling the word instead of saying it! But when I actually sit down to make the thing, the idea of hemming it and being done seemed a bit boring, and the fabric a bit too stiff anyway, so I go for Plan B.... PLAN B: BAGS! Aside from being fun to sew, the principle benefit of bags is that they can be tied shut by anyone, not just people with a knack for fabric. So I can make a bunch of Christmas bags and be sure that anyone in my family can use them without first looking up a furoshiki tutorial on YouTube. I start with a larger bag:
After this step, I sew the bottom closed, then serge the seam allowances. Finally, I turn it right side out and top-stitch the base.
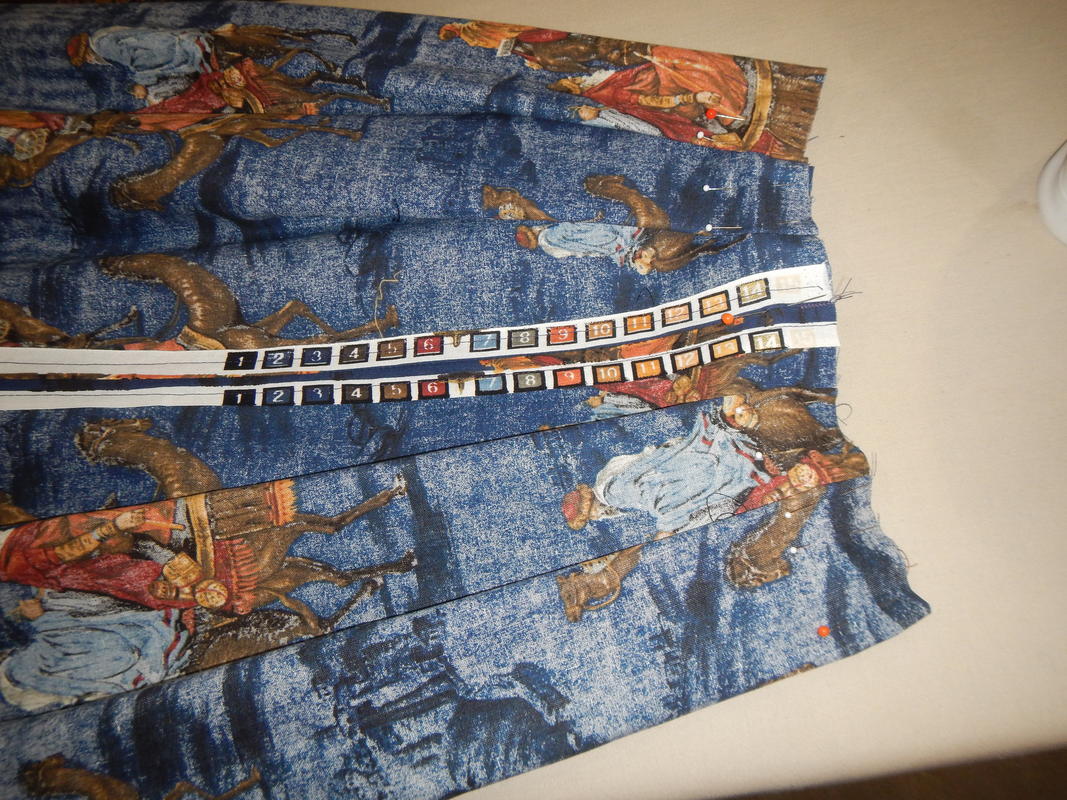
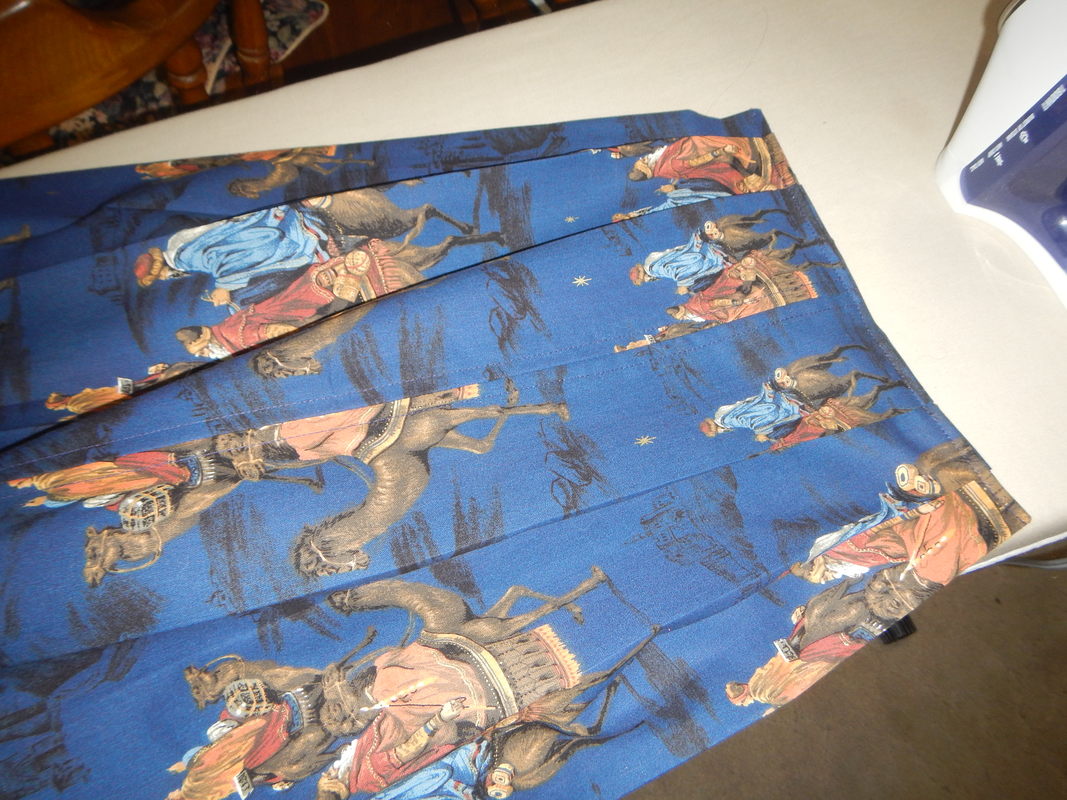
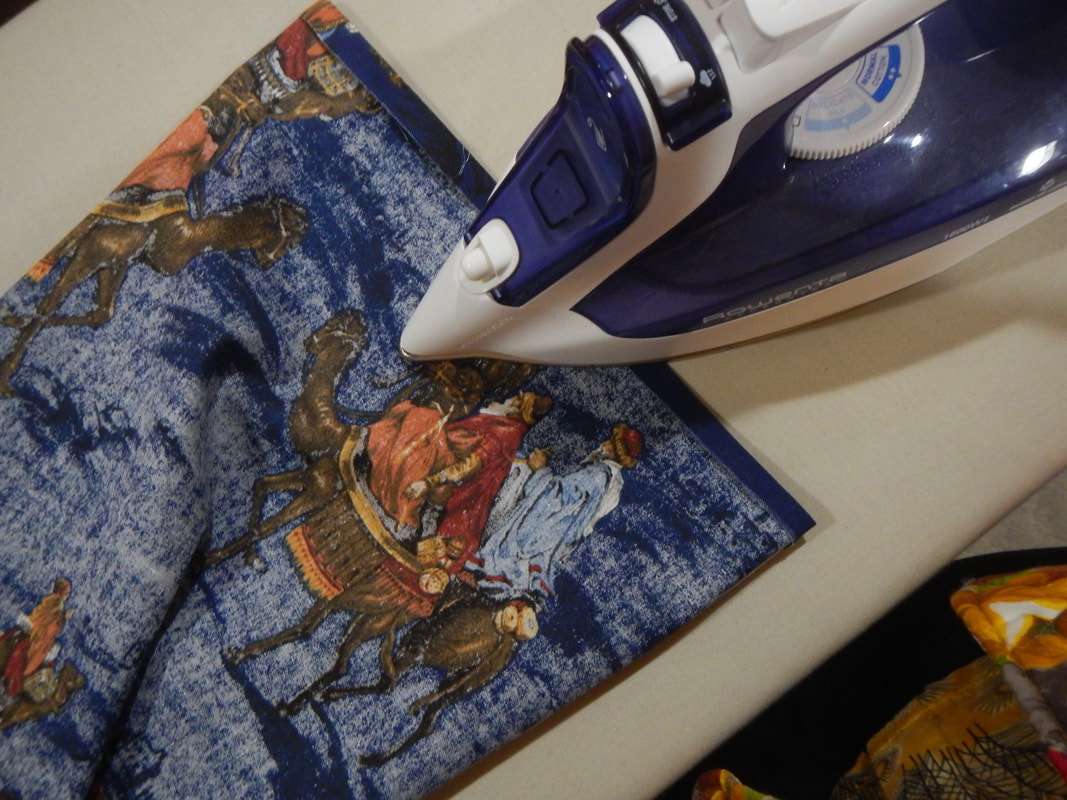
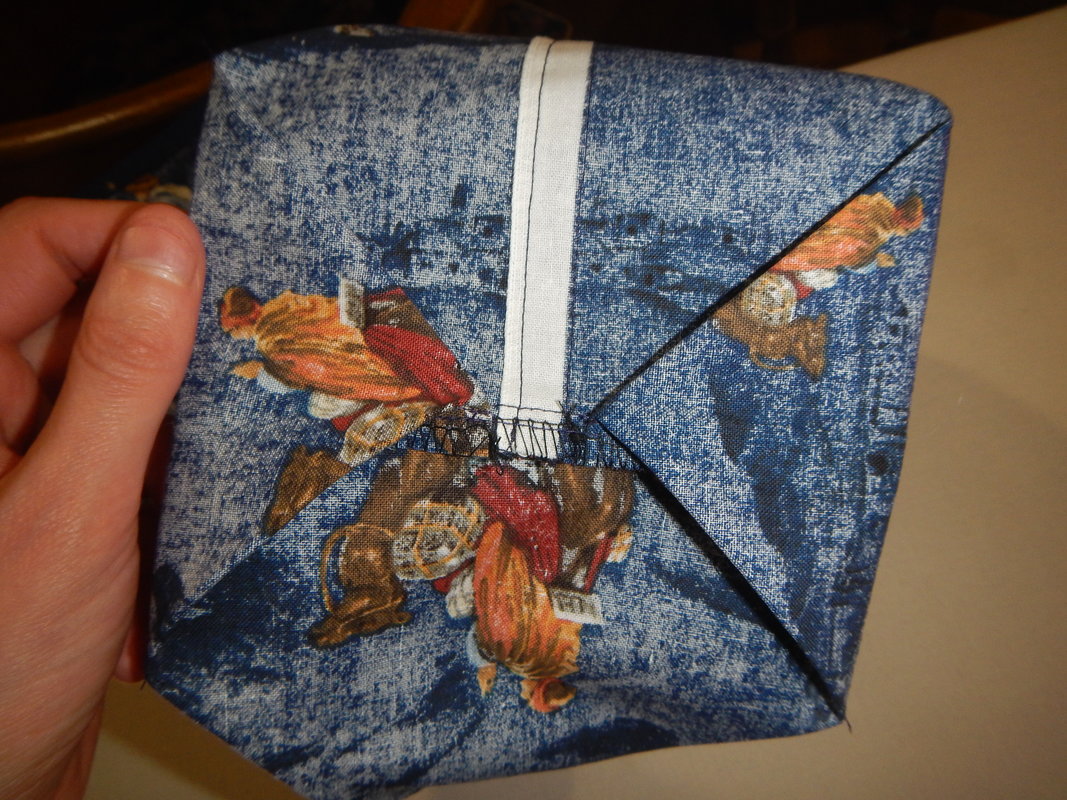
In the picture below, you can see the bottom seam is lying parallel to the two side folds. That's important to make sure I don't draw crooked lines and sew a Pablo Picasso bag, short and narrow on one side and wide and slanty on the other! 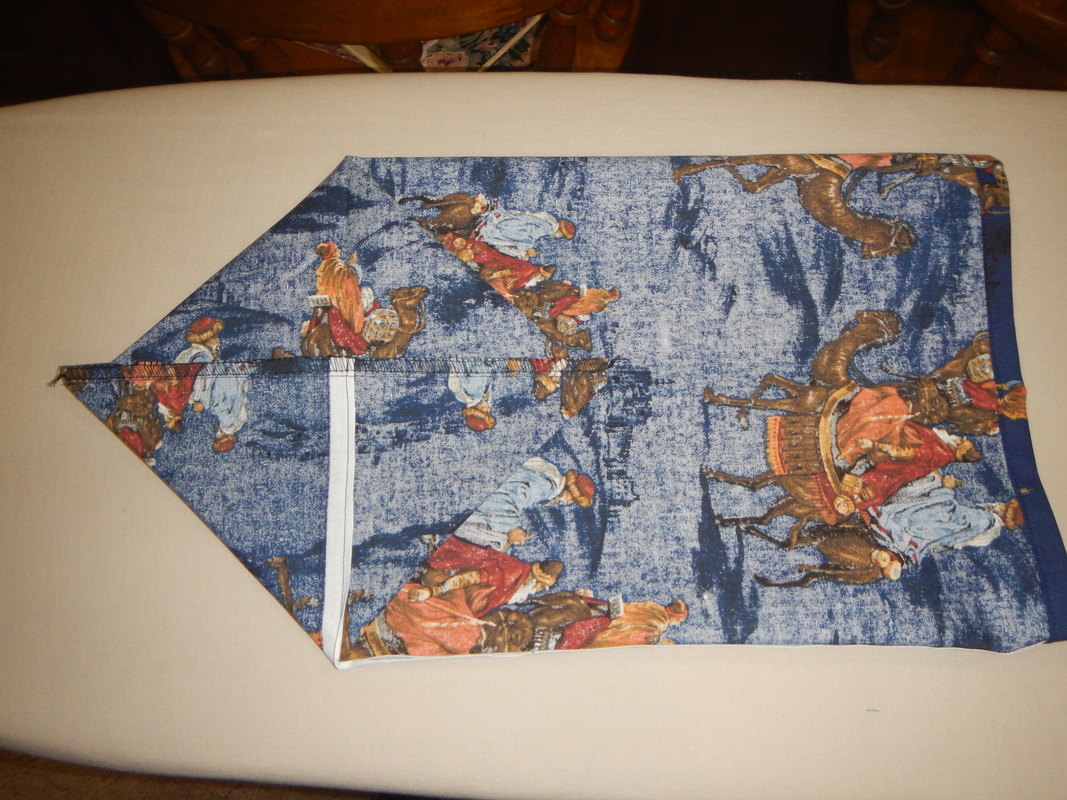 The next picture shows me sewing across the bottom corner of the bag, following a chalk line I traced. Again, you can see more details on this aspect of things in my vinyl lunch bag post. Suffice it here to say that this is the only part of the project that requires exactness: the distance from the pointy tip of the bottom seam to the intersecting seam determines how much height the bag is losing, so you need it to be the same on both sides or else your bag will sit crooked. Likewise, the bottom seam must lie parallel to the side folds, and the intersecting seams must be at right angles to the bottom seam. Sloppiness here will yield a Picasso bag. 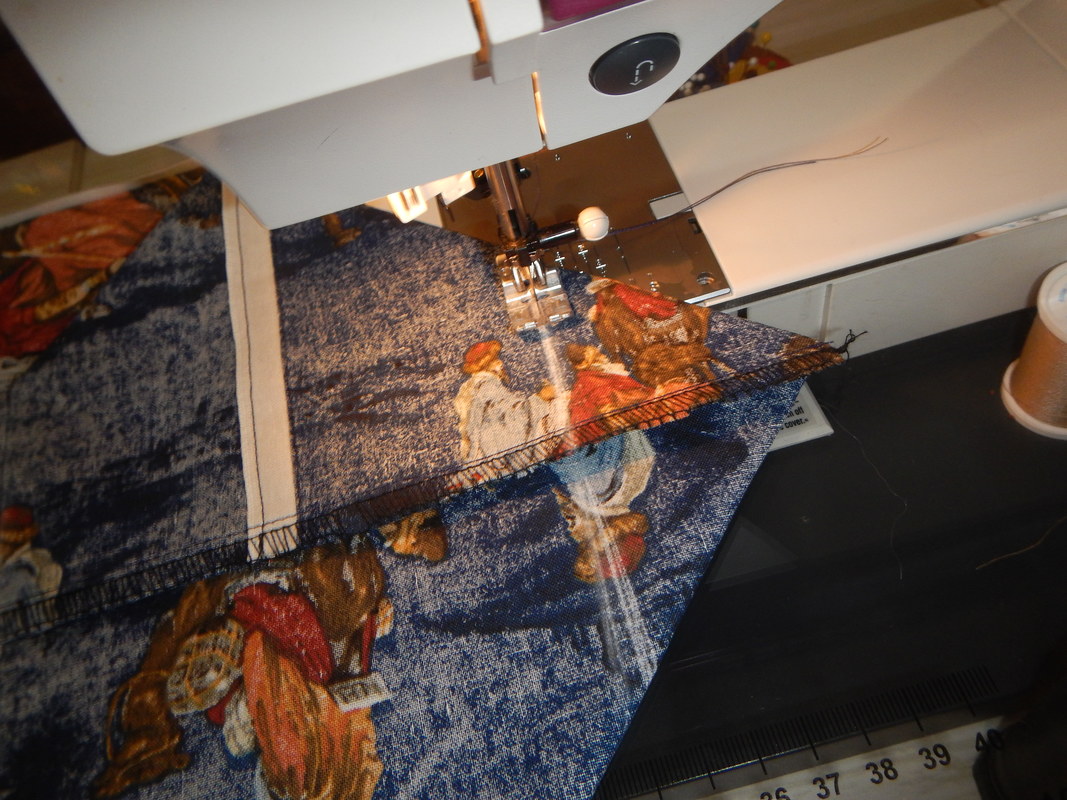 squaring the bottom Here's where it gets neat. In the picture below, you can see I've folded one triangular corner inward toward the center of the bag. Note where my pointer and thumb are, pinching the seam allowances together: that's where I want to sew next, in between the folds, catching only the seam allowances. 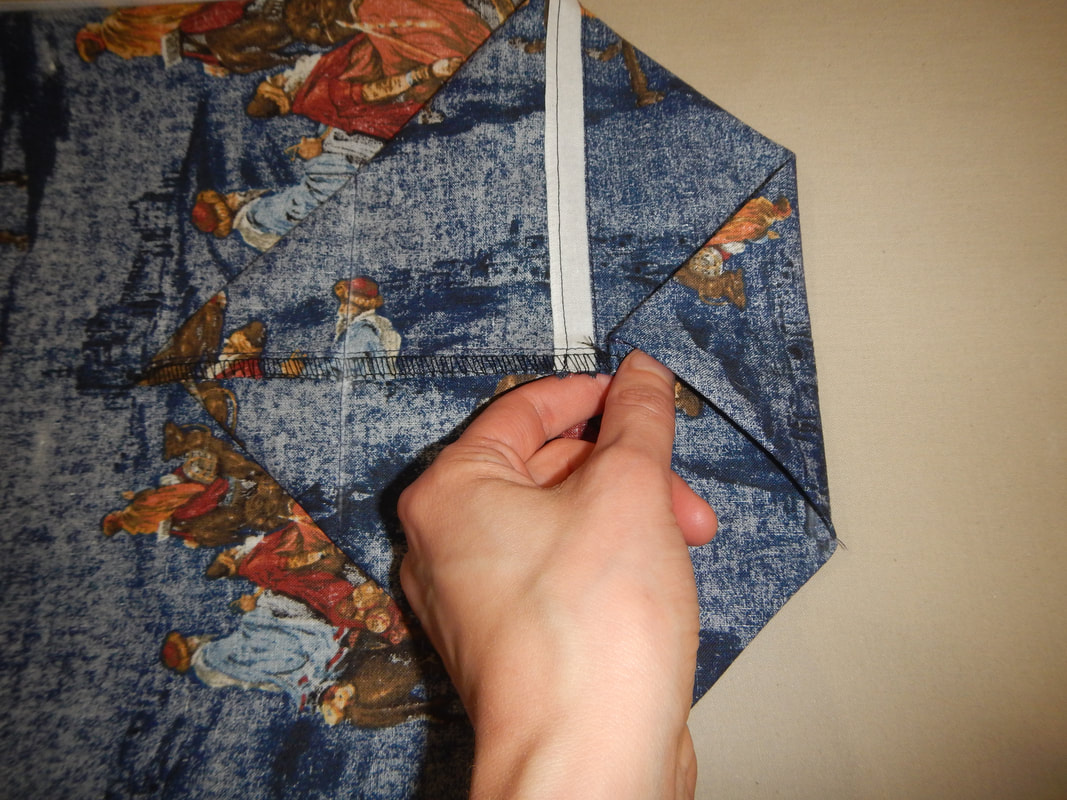 Here I've pinned the seam allowances together and turned the folds out of the way so I can get my sewing machine foot in there: 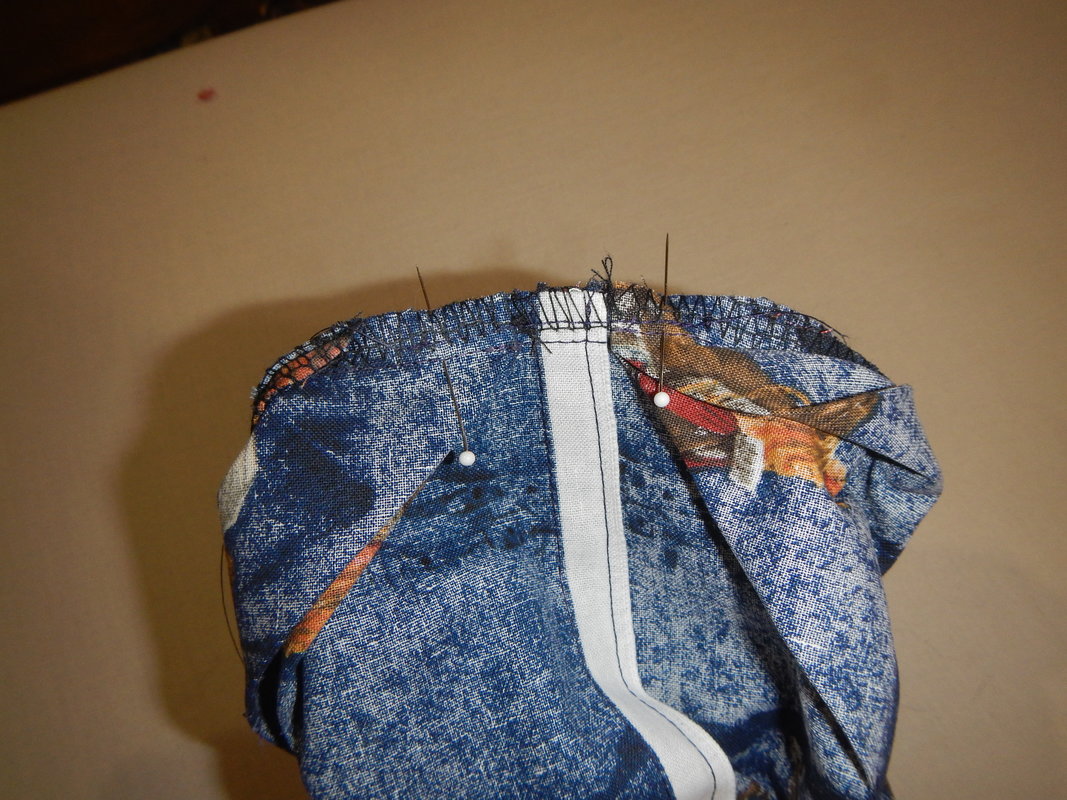 When the bottom is done and turned right-side-out, I edge-stitch the bottom and the vertical folds, so the bag lies flat very neatly. This step is not necessary; I just over-engineer things
When I'm all done sewing, I put the bags to immediate use! 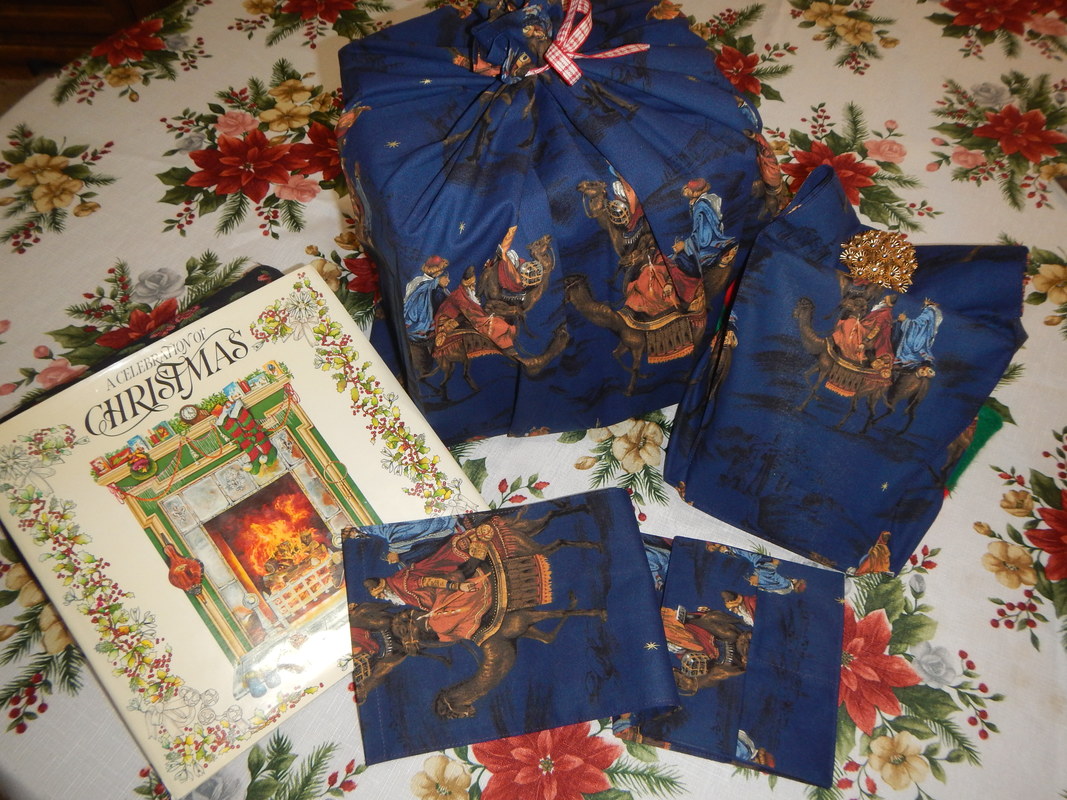 The big bag is tied shut with ribbon, and the smaller one pinned shut with a brooch. Merry Christmas! I hope you can spend it with your important and special people.
1 Comment
The Sister
12/26/2018 05:13:58 pm
I rather like that Christmas print as well! Generally I shy away from prints, but now and then I find one I like. This idea is cute! Good for you! Leave a Reply. |
Karen Roy
Quilting, dressmaking, and history plied with the needle... Sites I EnjoyThe Quilt Index Categories
All
Archives
March 2024
|


 RSS Feed