|
So my learning curve for denim continues! After one washing and drying, my client's three pairs of jeans all shrank -- in length, not girth. He reported that the jeans were now each 1" short, and brought them back for fixing (no charge). Now, anyone can hem something shorter, but adding length is trickier, especially since jeans have a doubled-over hem with not much extra fabric. In the interest of bringing some good from this annoyance, I present a lesson and a tutorial. THE LESSON When making jeans for someone, cut them longer than needed and serge (or zig-zag stitch) the bottom. Tell your client to wear and wash a few times, then bring them back for hemming after all the shrinking is done! TUTORIAL: ADDING LENGTH TO JEANS First, I had him re-try the jeans, and determined that they each needed an inch to avoid showing his socks when he sat down. But I thought I would add a little more than that, to allow for more shrinkage (hopefully not!) and for the turn of cloth when folding the hem. After he left, I measured the in-seams; they had been 31" when I finished and delivered the jeans, but were now 29.5" to 30". This proved that it was definitely the fabric shrinking and not the wearer wearing them differently (belting them higher or lower, or shortening his suspenders) that accounted for the shortness. I had cut all the pieces on grain, so the shrinkage occurred in the length of the fabric (the warp threads), not the selvedge-to-selvedge width (the woof or weft threads). 1. Remove hem
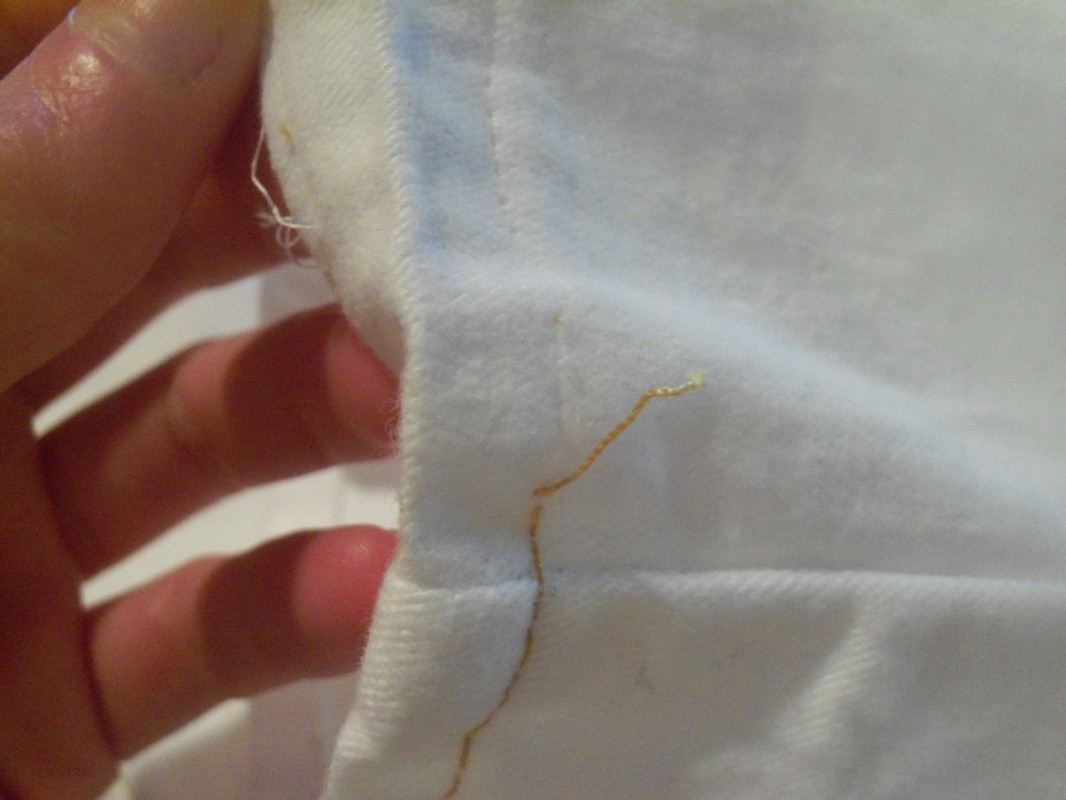
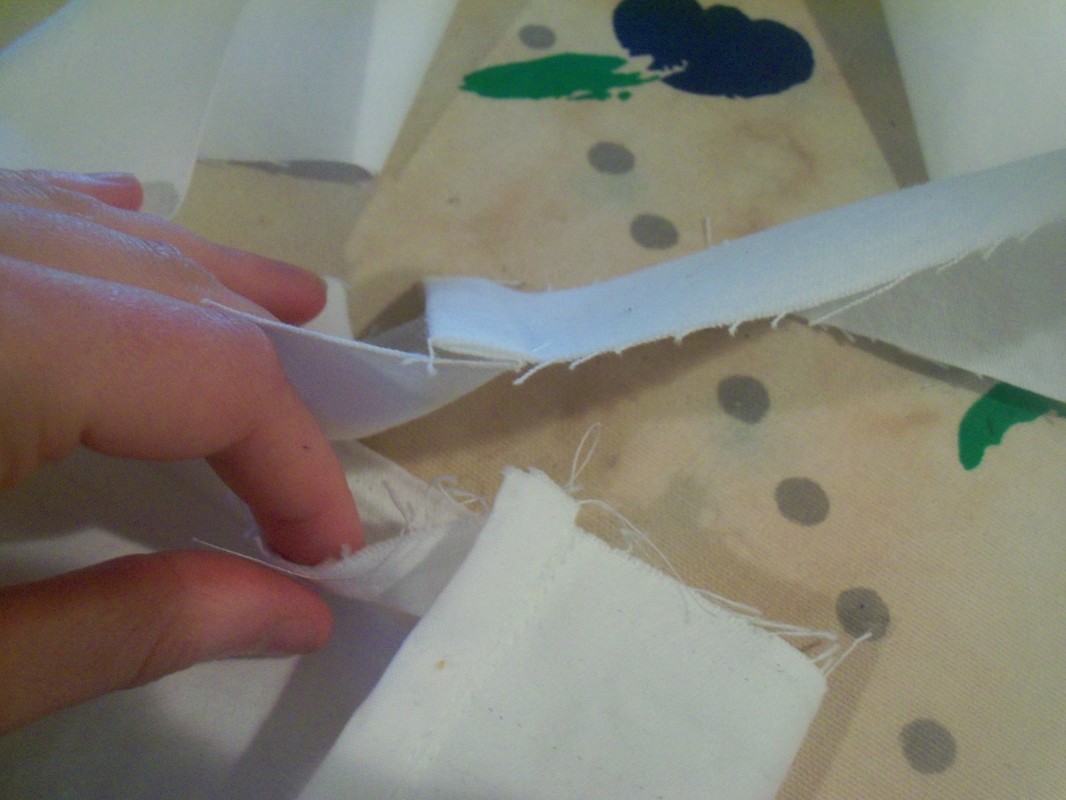
I used a seam ripper to take out the original hem, then removed all stray threads, and ironed it all out. There are still some holes and folds from the original hem. They will become less visible with each wash. If these had been older jeans, many times washed, there would probably have been some fading on the fold lines, which isn't as easily fixed. 2. Cut extension I cut the extension on grain the same as the existing jeans legs, since some denim has a slight stripey effect on grain and I want the extension to be inconspicuous. Ideally, it'll look like the new hem was the original hem all along (fingers crossed). This works with the white and the black jeans, but for the charcoal jeans I have to cut the extensions on the cross-grain due to the shapes of the scraps I had. Of course, the charcoal denim is the denim where the grain is most obvious to the eye... Murphy's Law of Tailor's Cabbage: if you have enough, the pattern won't match, and if the pattern matches, you won't have enough. You'll see pictures, later. (In fact, since I did this procedure on three pairs of jeans, and took pictures at various points, this tutorial will switch from one color of denim to another, depending on when I took the pictures. If you use this tutorial, don't expect your denim to magically change colors.) 3. The first seam
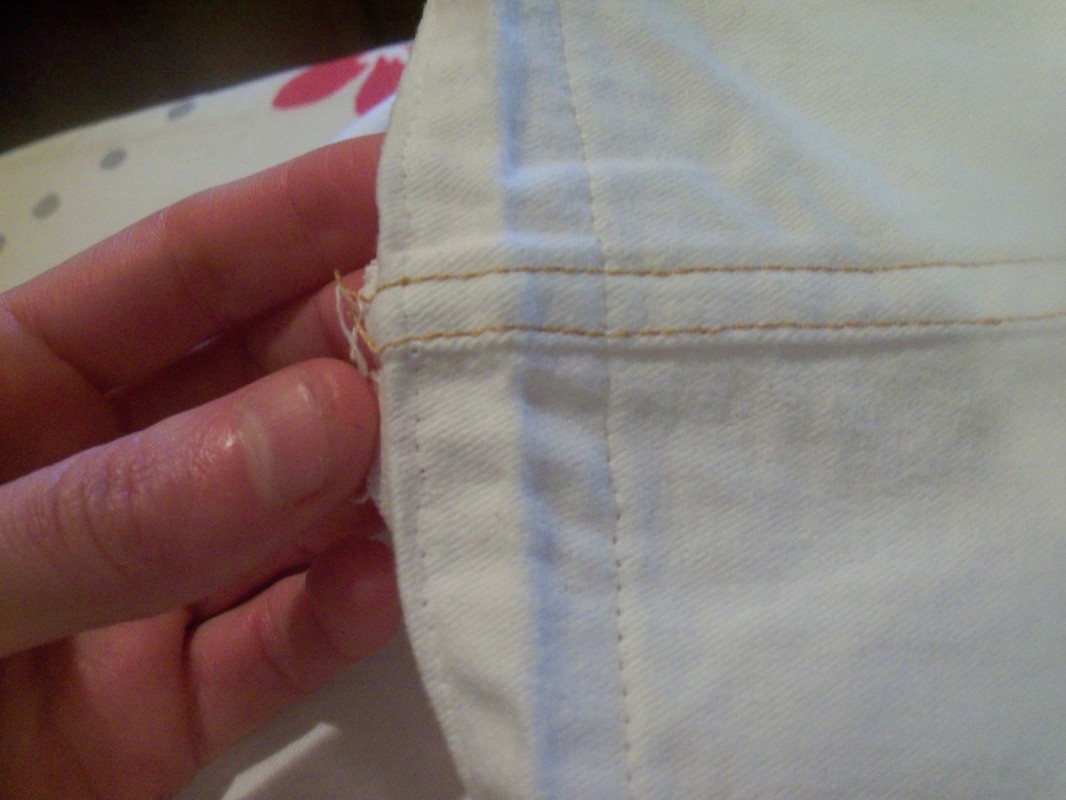
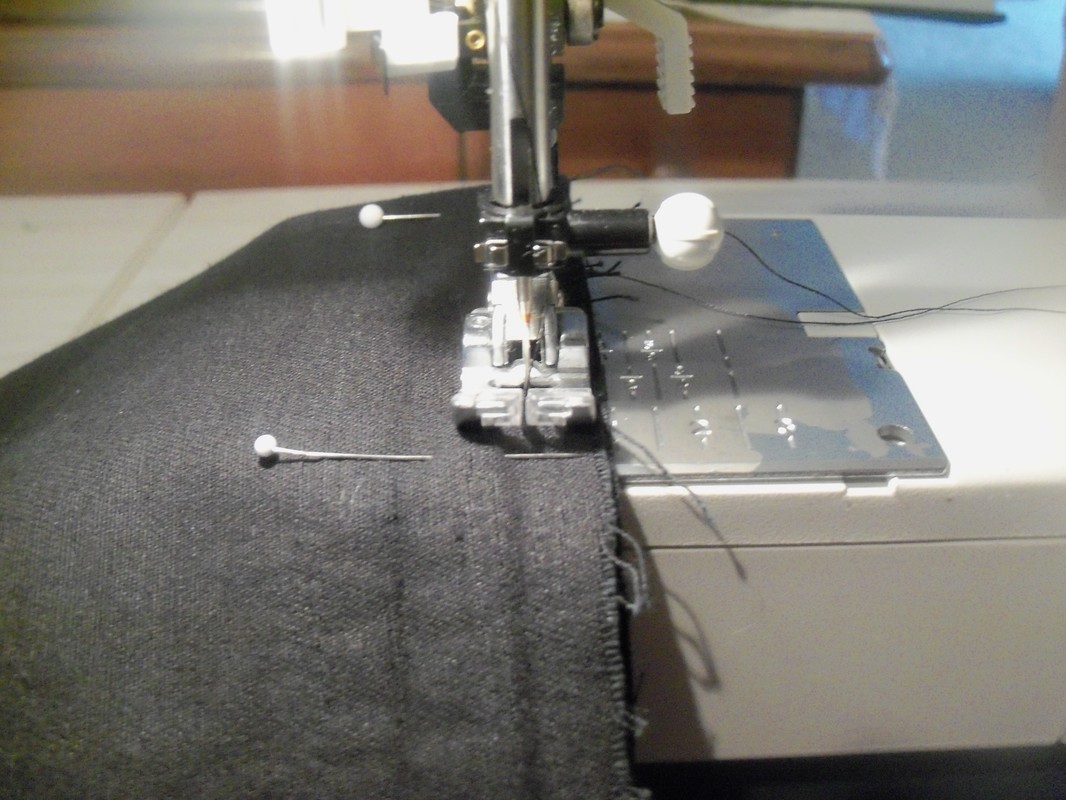
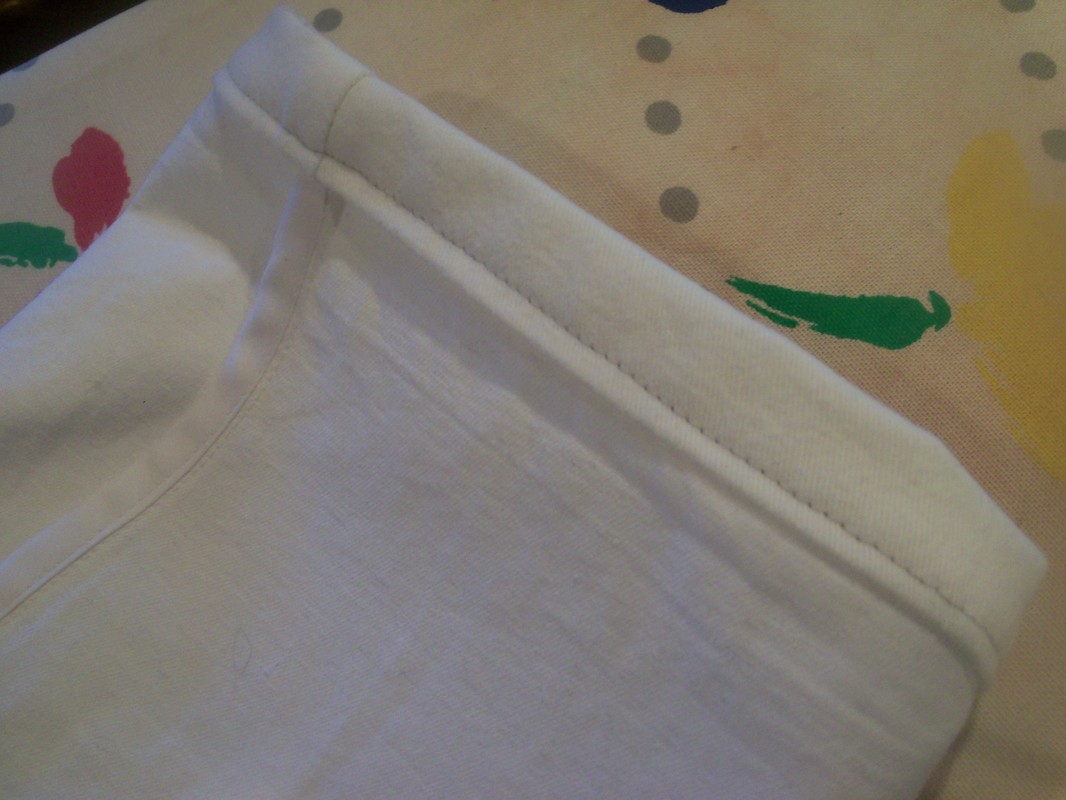
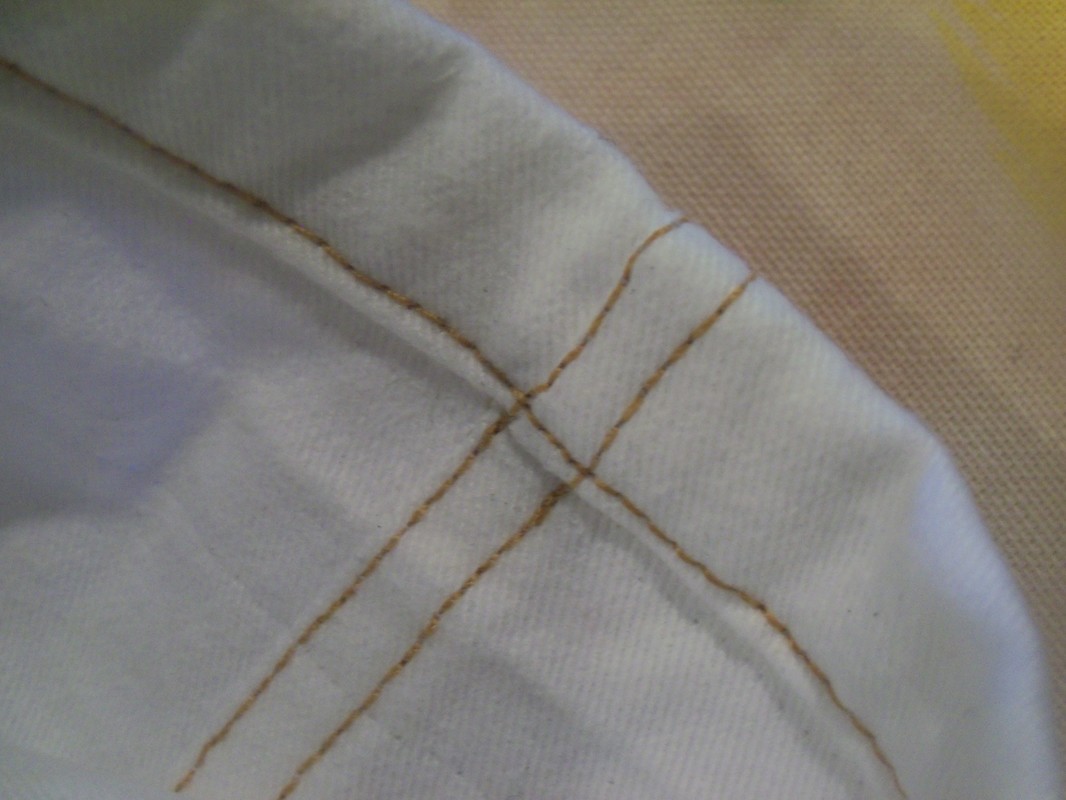
I want the extension to be inconspicuous, so I start by creating a false vertical seam to line up with the outside leg seam on the pants. Then I pin the extension to the leg, right sides together. At the inside leg seam, I fold the ends of the extension to match the flat-felling inside leg seam. I pin and sew. I iron the seam allowance down toward the bottom of the leg. 4. Top stitching the inside leg seam 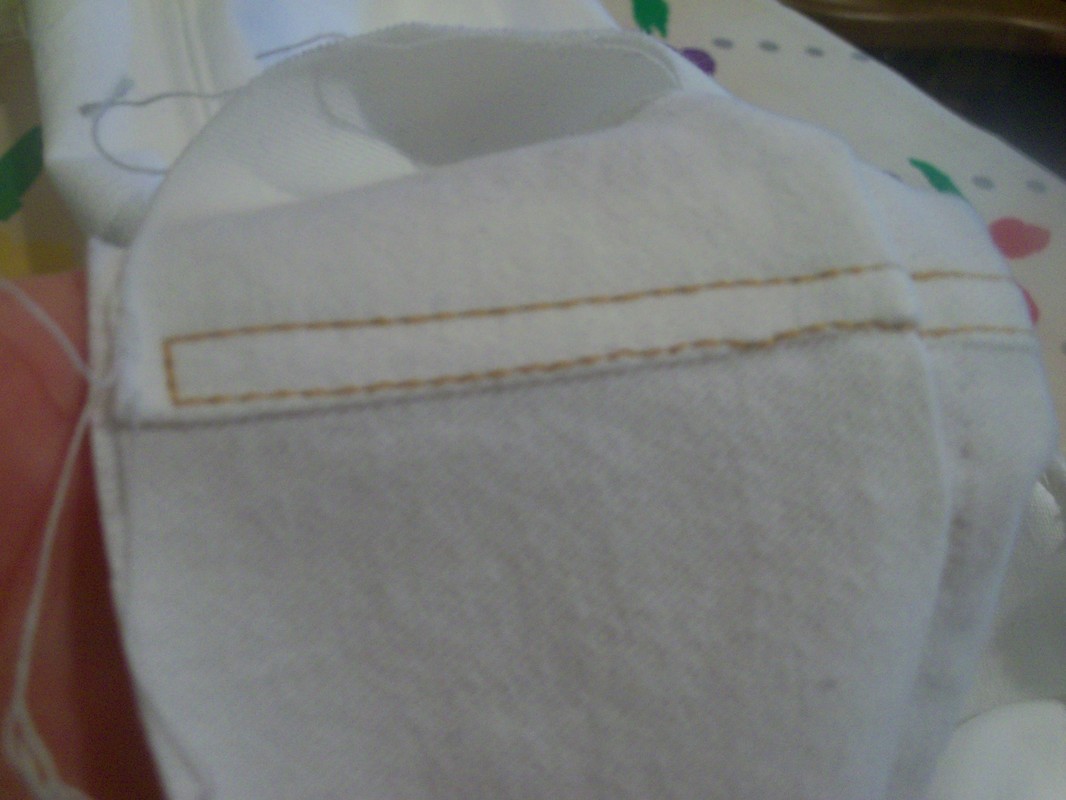 Since the extension should look like it was always part of the leg, I top-stitch the inside leg seam to match the existing inside leg seam. 5. Folding to measure This picture shows the distance from the original bottom (a slight fold is visible, but I've marked it more clearly with a red pin) to the new desired length (1" is needed, but I thought to add a bit more to be safe): 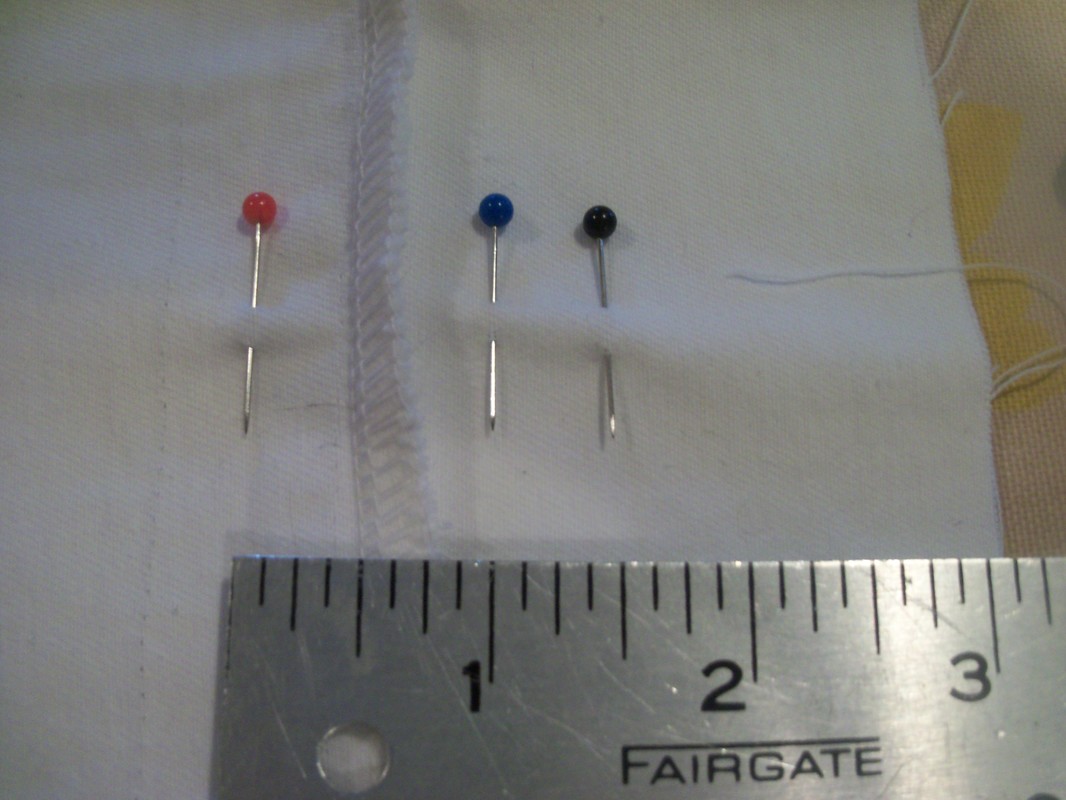 For the first pair I did, I used the serger, but then I realized it was not necessary, so the other two I just used the regular sewing machine. Then I fold the bottom up twice, and pin it to cover the seam allowances from Step 3. I use bobby pins for this pinning, since they take the added bulk of the denim folds in stride. I also trim and grade seam allowances in the bulkier spots, to save strain on my sewing machine. 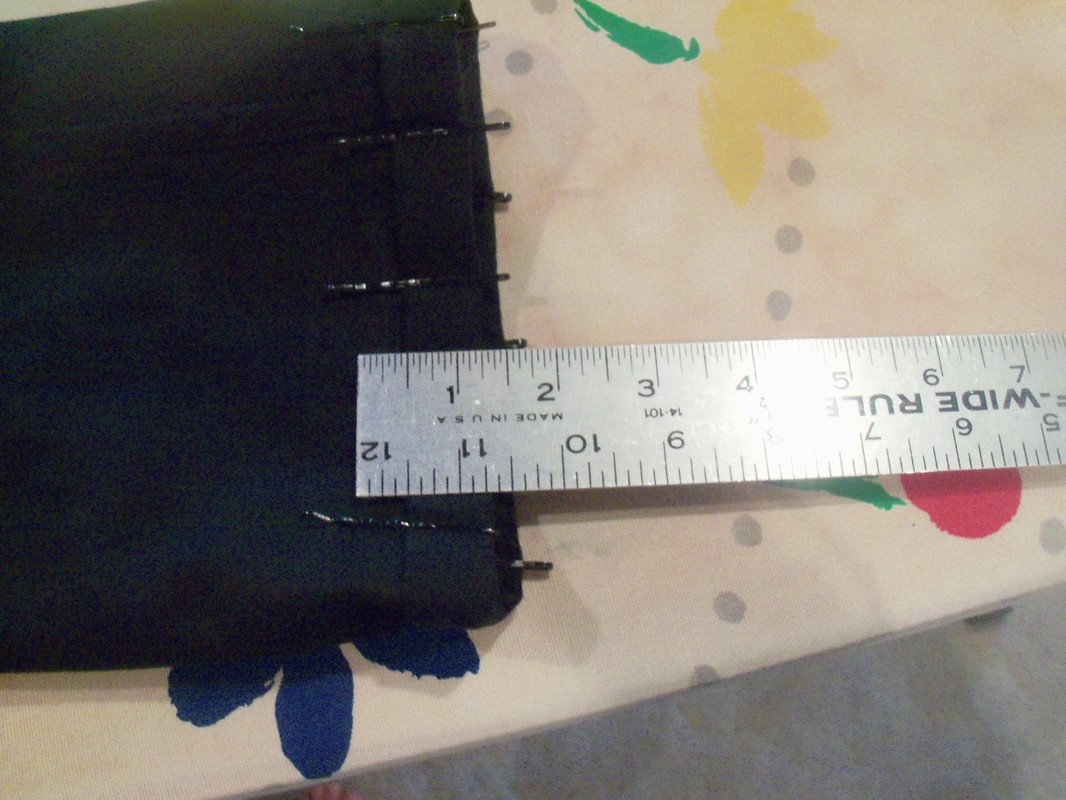 6. The second seam I top-stitch this seam, using the top-stitching thread that matches the original: for the white jeans, gold; for the charcoal jeans, gray; and for the black jeans, two threads of all-purpose black (I didn't buy special top-stitching thread for the black jeans). When top-stitching through the thickest parts of the denim, I slow down and hand-turn the wheel. Once I've tied off and tucked away my stray ends, each pair is now 1 1/4 to 1 1/2 inches longer. I pretty them up with an iron and lint-roll them before sending them home again.
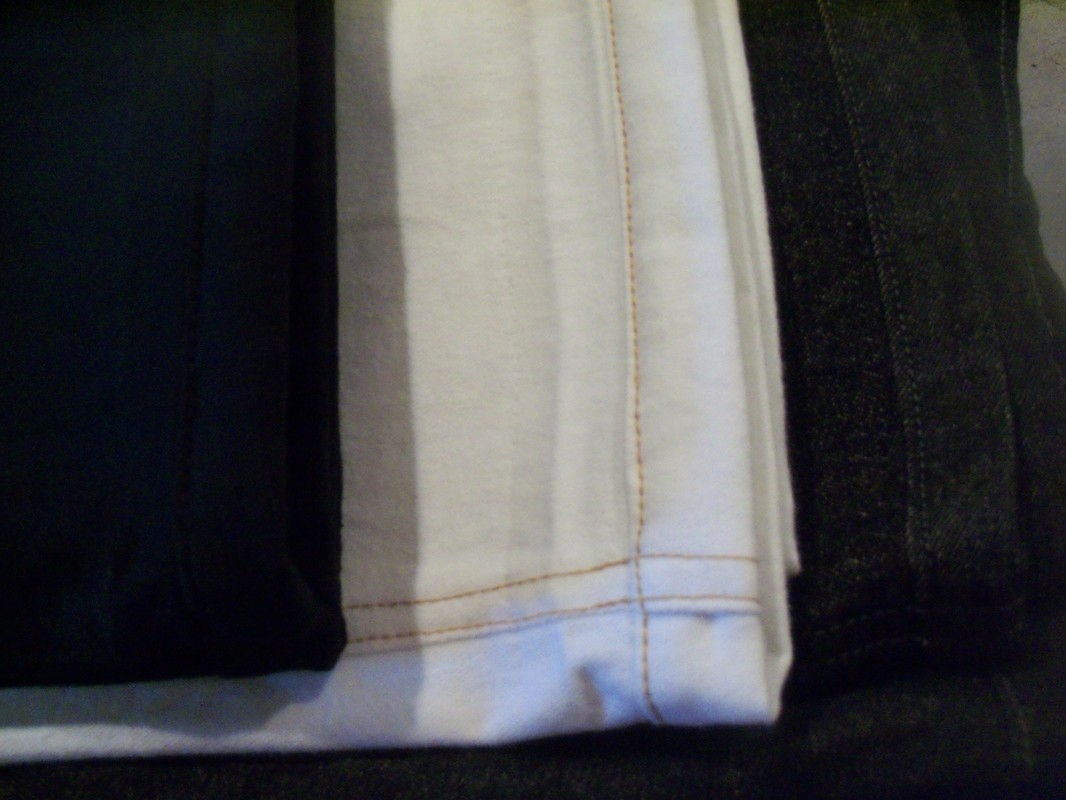 All three pairs done. The charcoal jeans (far right) show the effect of cutting the extension on the cross-grain instead of the grain.
2 Comments
The Sister
4/16/2017 01:54:35 pm
Well my brain fuzzed over briefly, but you did a good job! And it's a good lesson on making them too long to begin with and surging the hem for future ease! Nice work!
I recently took a class in better using my serger, and the instructor said denim should be washed in hot water and then dried at least three times to get all the shrinkage out! Leave a Reply. |
Karen Roy
Quilting, dressmaking, and history plied with the needle... Sites I EnjoyThe Quilt Index Categories
All
Archives
March 2024
|
 RSS Feed