|
CONTENT NOTICE: If you are exhausted or stressed from reading/hearing/seeing COVID-19 stuff, don't click on this post. Do something life-giving instead. Take care of yourself and your mental health. On February 29th, 2020, U.S. Surgeon General Jerome Adams made an interesting Tweet: 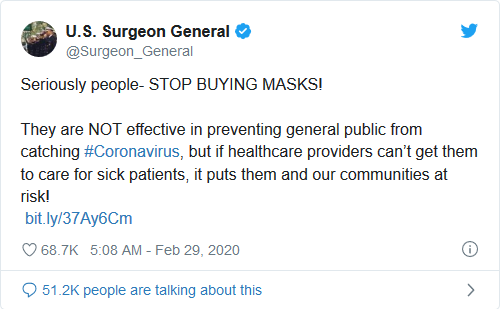 I wasn't paying any attention at the time, because I don't use social media, and Coronavirus wasn't on my radar. But now, looking at it in light of today's situation, all the subtext is pretty obvious:
Time has borne out Adams' fears: people do panic and hoard vital supplies, creating or exacerbating shortages. The problem was in his approach: it was like he was saying "don't eat these cookies; they're terrible" while stuffing his own face. People might be panicky and short-sighted, but we're not totally stupid: obviously masks are valuable items. A better approach might have been to say "Yes, masks are vital preventative measures, which is why we need to save them for those most likely to interact with the sick: doctors and nurses. Everyone else, protect yourselves through social distancing. Use improvised masks, if you have to go out." Appealing to people's altruism is generally more effective than giving them the mushroom treatment. I don't blame him for a poorly worded Tweet, though. He was obviously very stressed, and his specialty is medicine and anesthesia, not mass psychology. Now, the masks Adams was talking about were medical grade surgical masks and respirators. But what about home-made cloth masks? Should people in the community wear them? The messages have been mixed. Originally, officials warned that home-made masks might give people a false sense of security, and that people don't know how to take them off or put them on properly. Better not to wear them at all, and simply rely on social distancing. I thought that reasoning was flimsy, like saying that wearing life vests might encourage non-swimmers to leap off of cruise ships, but whatever. Last week, however, Adams began back-pedaling, saying that the Center for Disease Control (CDC) would re-investigate whether people should consider wearing cotton masks, especially now that we know that Coronavirus can spread through asymptomatic carriers. Of course, cotton masks will never be as effective as medical grade Personal Protective Equipment (PPE), but some help is better than none. Here's what the CDC currently says about members of the public wearing cloth face coverings. All this to say that if you don't have a face mask right now, you should probably make one. Fellow sewists may read on to see how I made some. For non-sewists, the CDC released a video of Jerome Adams demonstrating a no-sew DIY face mask. The prudent see danger and take refuge, CLOTH MASKS - WHAT THEY CAN AND CAN'T DO A home-made cotton face mask is not the same as a medical face mask. It won't filter as many particles, or keep out the super tiny particles. Cambridge did a study about the efficacy of homemade masks from household materials back in 2013, but that research is a bit dense for a non-academic to read. Thankfully, the information has been presented in very readable format by Smart Air, a manufacturer of air filters. They have a few blog posts about DIY masks; I have found these two most useful:
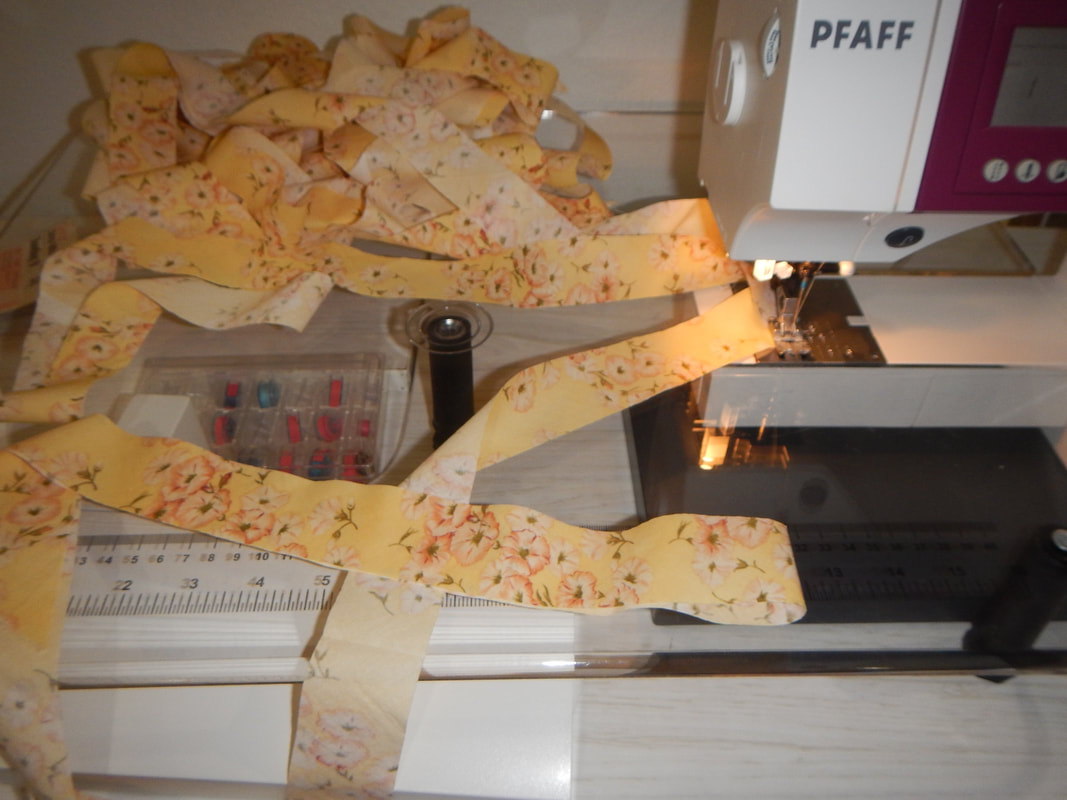
So, wearing a cloth mask is a last resort for medical professionals, and for the general public like me, it's a second-best option that should be used rather than a bare face, and should be combined with social distancing and hand-washing. The best reason to take the second best option is, as I mentioned earlier, altruism and community-mindedness. Medical grade masks should be saved for the people on the front lines. People like me, comfortably ensconced at home, need only have a cloth option in case there's need to go out in public. Another use of cloth face masks is as an added layer of protection for medical professionals: it can be worn atop medical masks to prolong their use. The cotton outer layer can be washed and sterilized. This mask pattern, the A.B. Mask - For a Nurse by a Nurse, by Jessica Nandino, is designed specifically for such use, and it is the pattern I choose. I decide to make my face masks from two layers of pre-shrunk quilting cotton. BLOGGERS SEWING MASKS I'm not the only blogger making face masks right now. Angela Clayton, a sewing YouTuber I follow, came out with a video about making cloth face masks for herself and for donation to local hospitals. Shortly after that, I saw Bernadette Banner do the same. Because they've already made videos, I'm not going to go into detailed tutorials in this post. Instead, I'll talk about the minor changes I made and difficulties I encountered with the A.B. mask. To print the A.B. mask from Instructables, you simply need to right-click on the picture of the mask pattern and save it to your computer. Then you print that picture. You don't actually need to download the whole pdf of pictures and instructions. EFFICIENCY AND ITS PITFALLS The first alteration I make to the A.B. mask pattern is the same as Angela Clayton did: I trim off the excess seam allowance from the pattern, so as to save a step later. Watch her video to see what and where she trimmed. For the pattern itself, I make it from cardstock, and I cut out the darts, and cut little slivers from the edges where the pleats are marked. This way I can use the pattern as a stencil, too, to transfer markings. I use bias tape rather than on-grain tape to bind the edges. This is because the pattern is designed for fat quarters and I am working with more yardage. So I have the luxury of making a bunch of bias tape to start with. I prefer bias tape to on-grain tape because it eases around corners better and cannot fray.
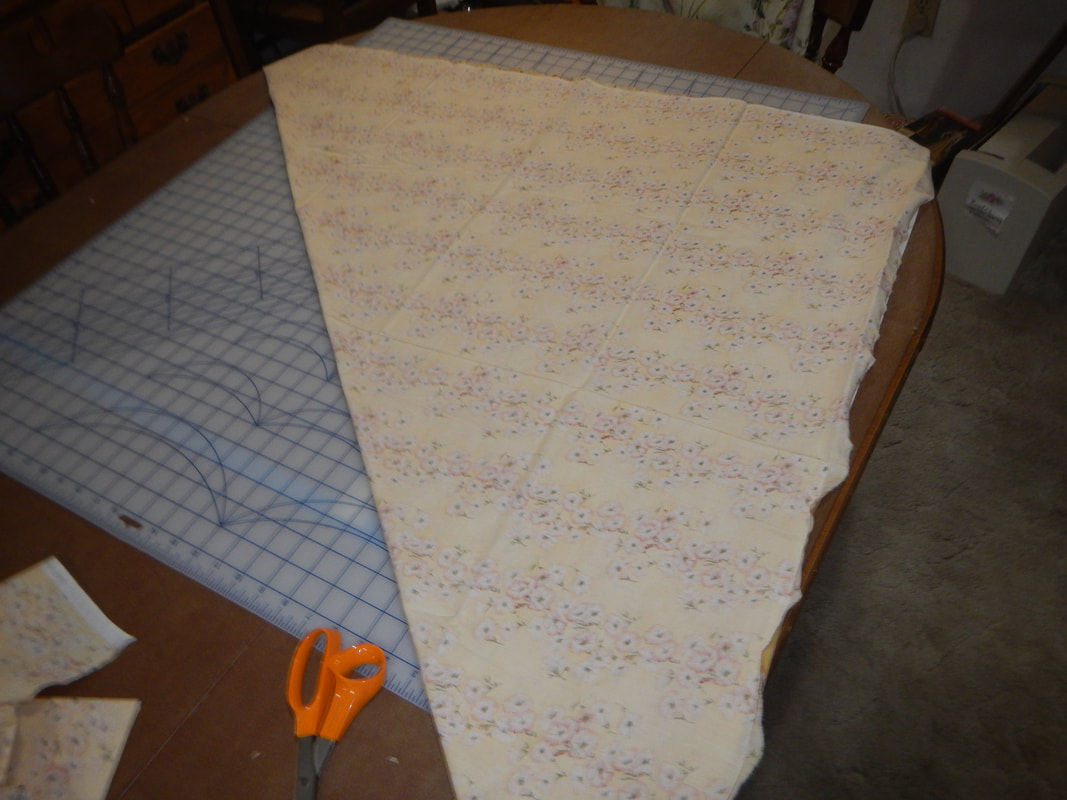
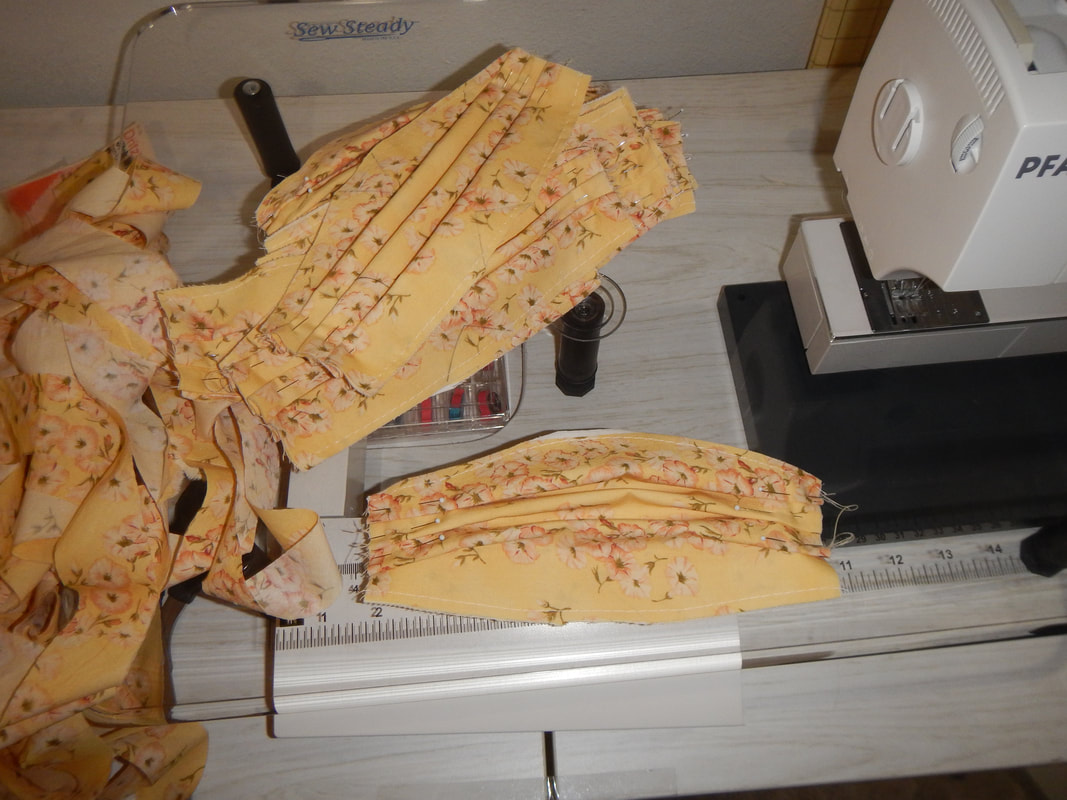
From doubled fabric, I cut out nine masks to start. 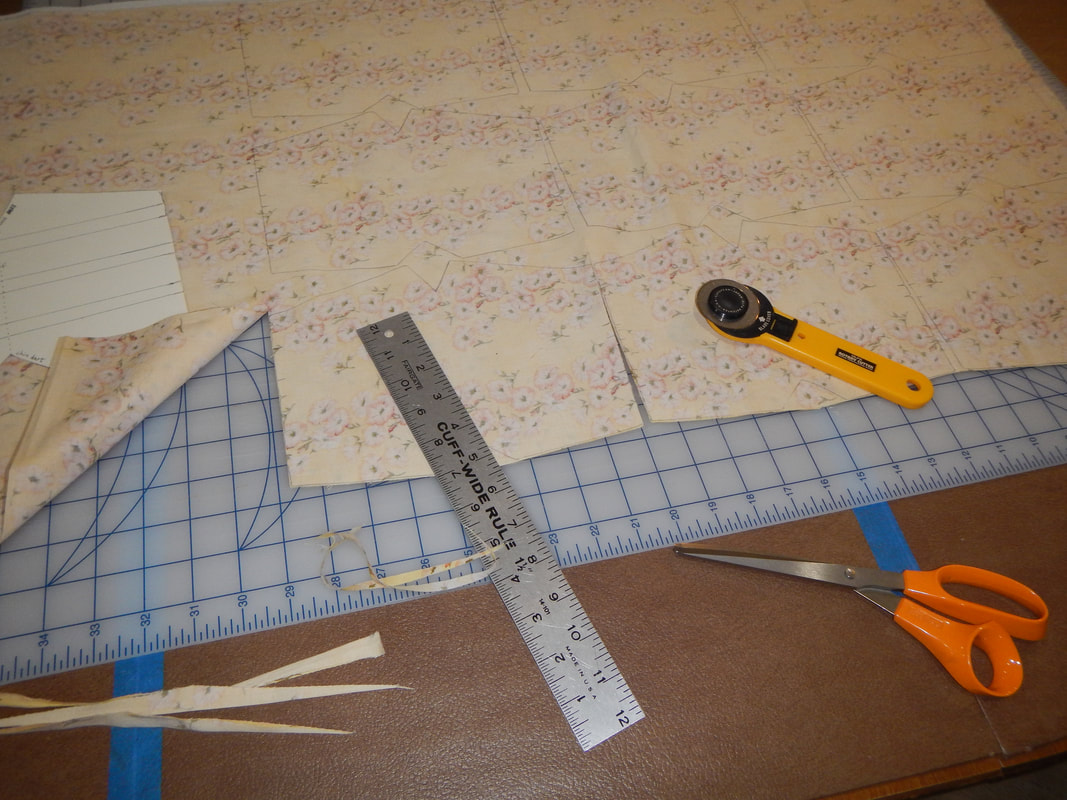 Note: I don't cut out the triangular darts... those are sewing lines for later.
Yes, batch production is efficient. It's also incredibly boring. I dislike sewing the same long straight lines over and over. It reminds me of doing piecework in my dad's shop when I was a kid. The only thing that makes it bearable is company. But if I'm trying to work alone, I'll end up getting a cup of tea between each step because I don't want to do the next one, and that'll make the process drag on, and that makes it less efficient in the end! Bleh.
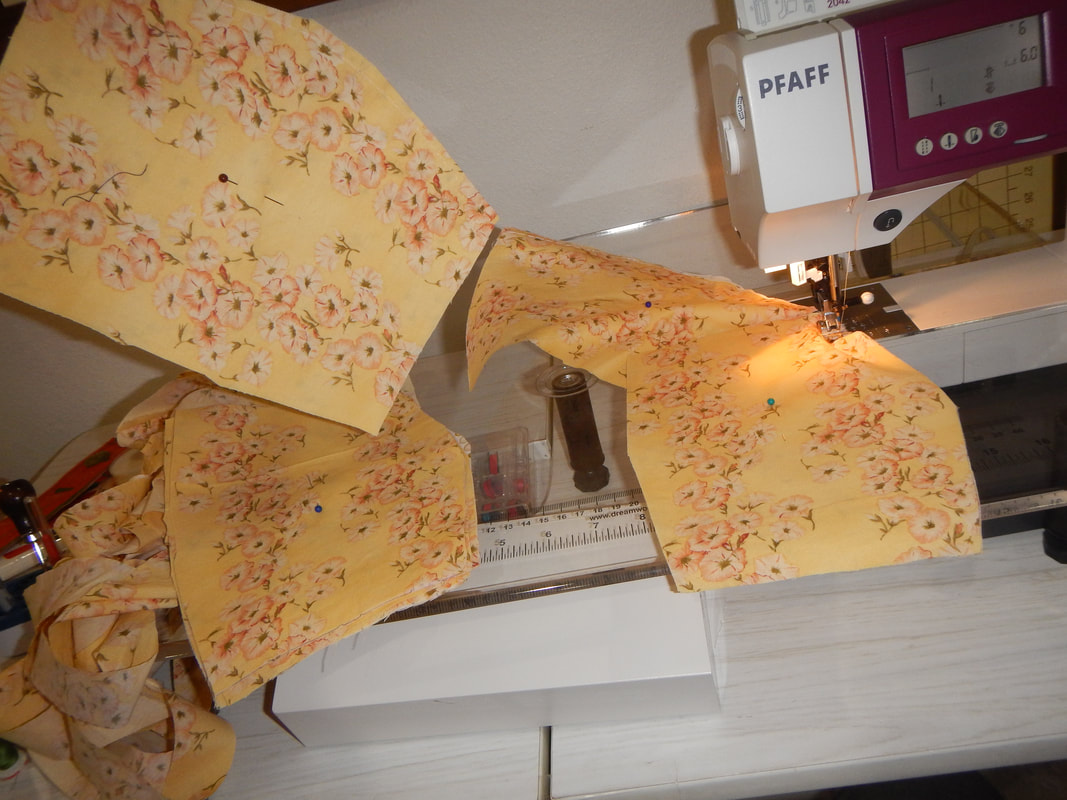
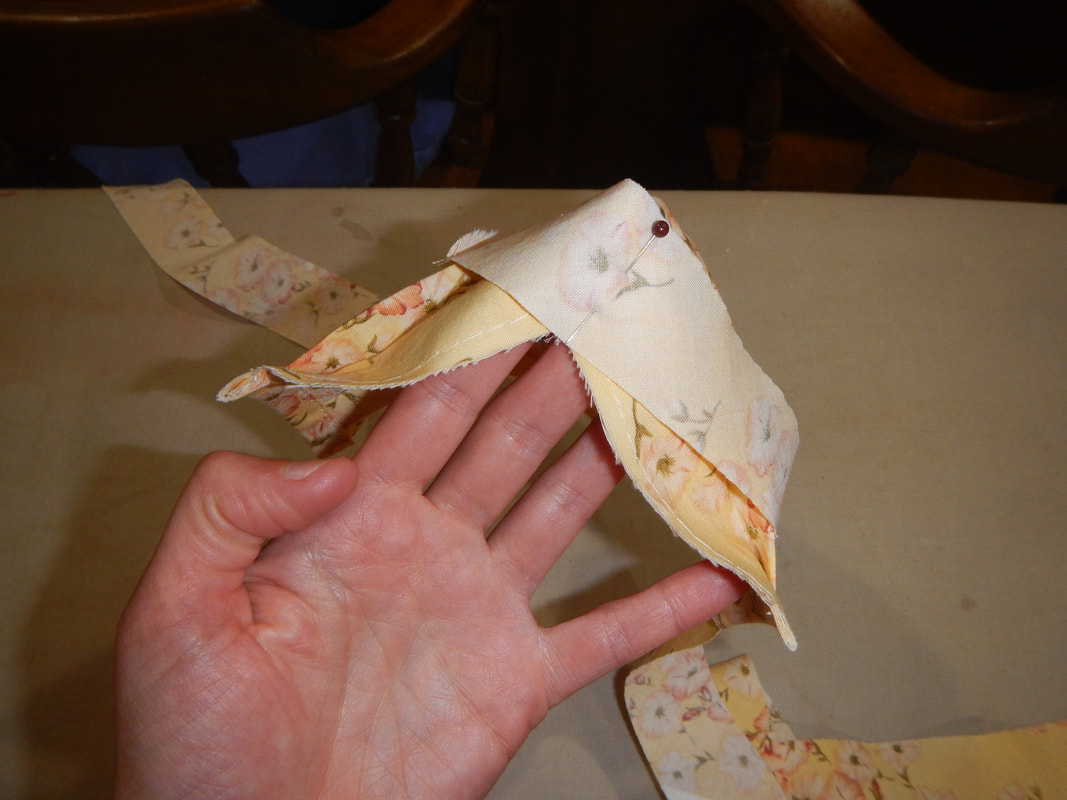
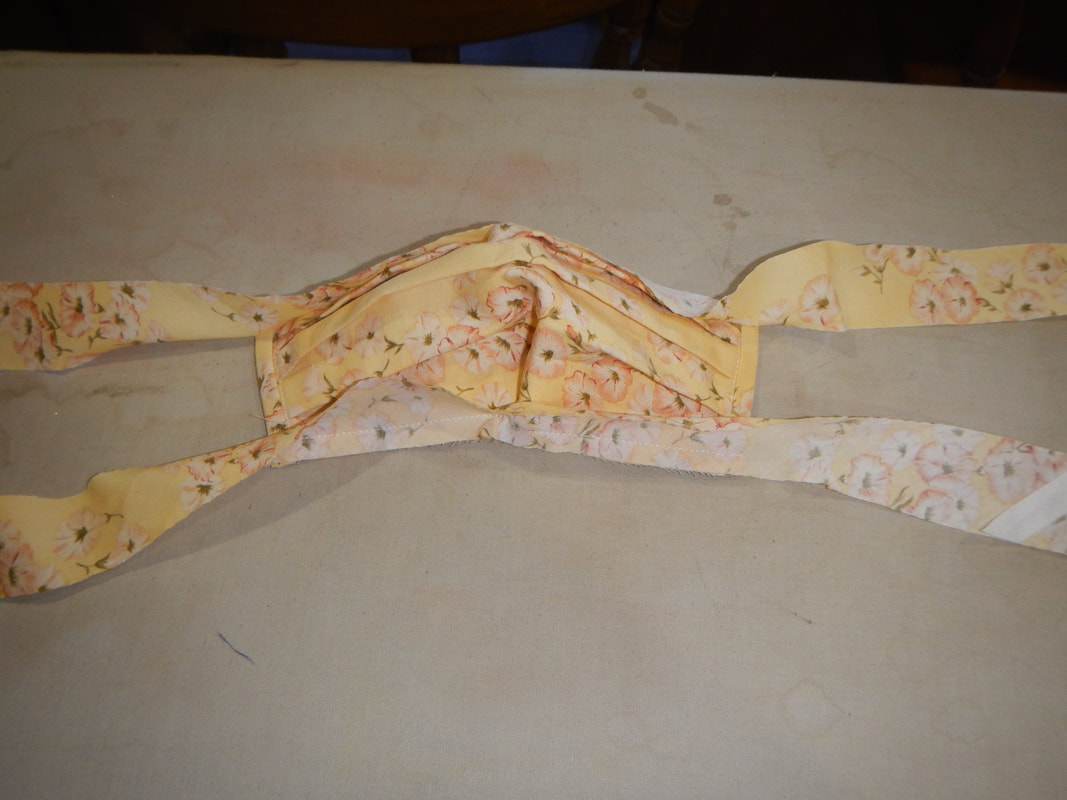
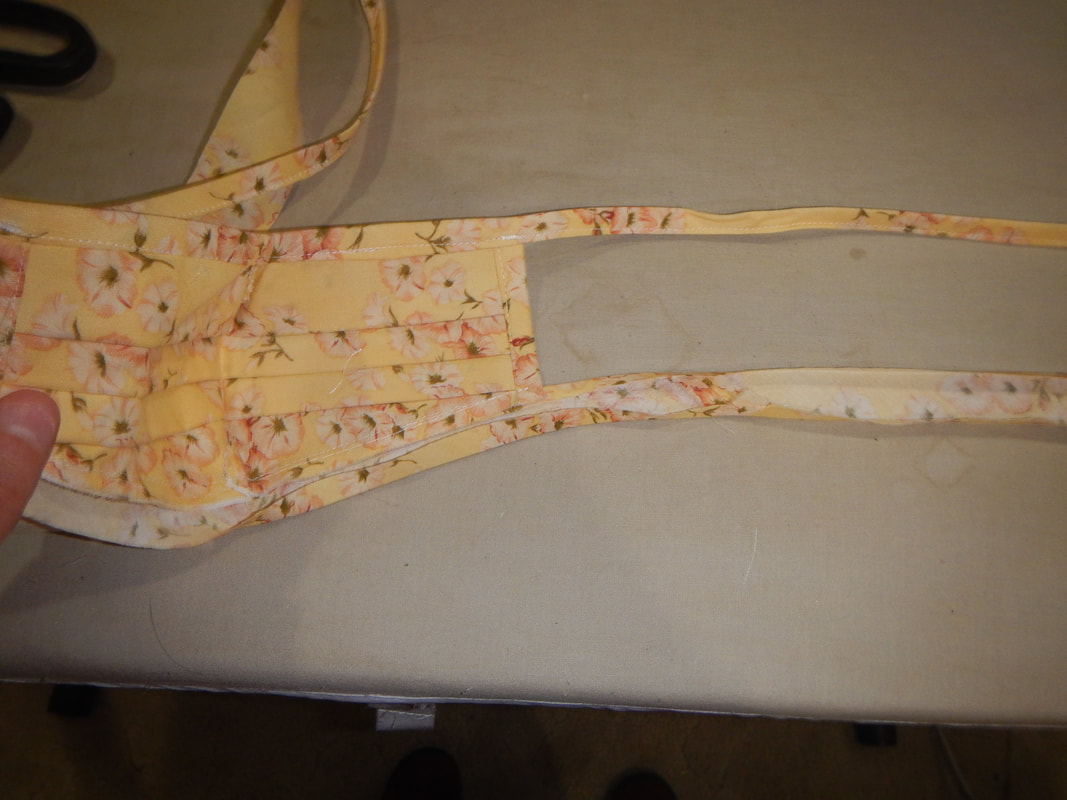
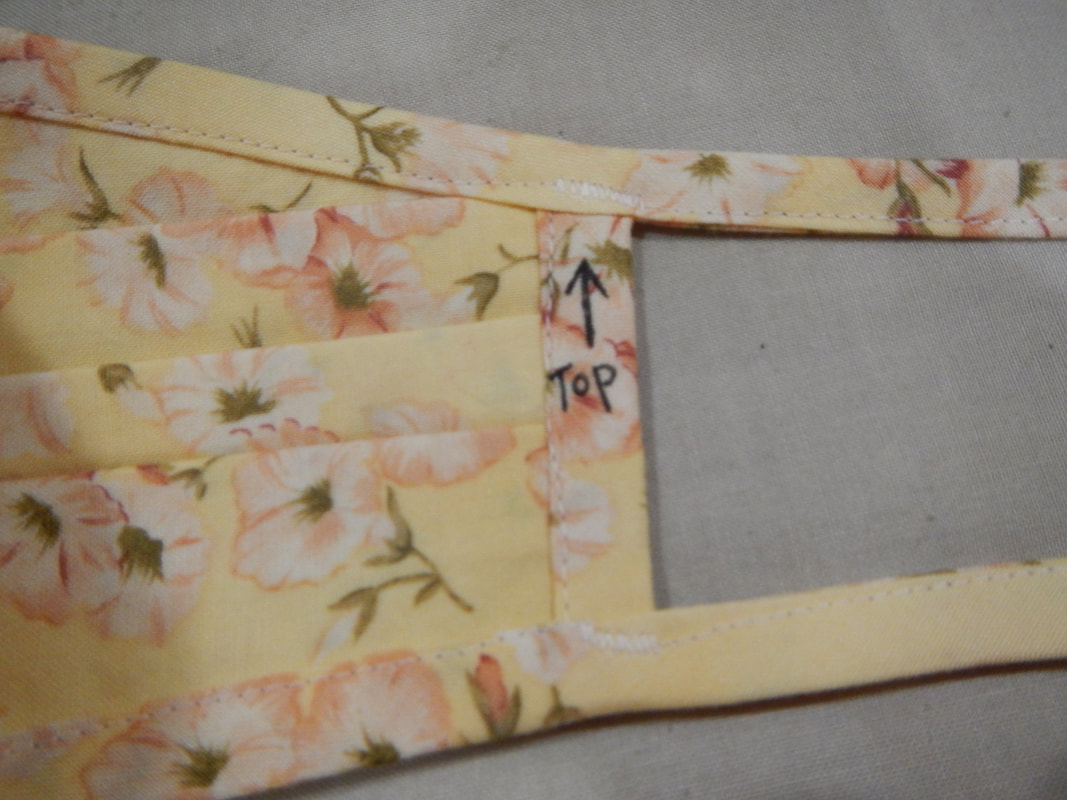
Next up are darts: a larger one at the top of the mask to pull the mask close over the nose, and a smaller one at the bottom for the chin. When I sew it, I start from the seam allowance, sew to the point of the dart and plant my needle in the fabric, then turn and finish the seam by sewing right back out to the seam allowance. This does two things: first, the loose ends of thread are in the seam allowance, and will be covered by binding, so there are no loose ends in the mask; and second, the seam is extra secure because I went over the stitch-line twice. The darts make this pattern different from most mask patterns I have found online: most mask patterns are 2-D, just a flat rectangle of fabric with knife pleats, and ear loops. I believe the A.B. mask is designed with darts to make it fit more precisely over medical respirators. I like the darts because they make a more 3-D mask, which feels more secure on my face. However, it is an extra step and added complication in the construction. If you are a newbie sewist, or one whose experience is all quilting, you might find the darts complicate the binding step a little bit. If you have trouble with that, you might prefer a flat pattern instead. Anyway, I bind the short straight edges first: one seam to secure the binding to the edge, right sides together; then fold the binding over and sew again, stitch-in-the-ditch style, to finish it. The picture below shows the now 3-D mask with its built-in shaping, short edges bound. Below that are two 40" strips of binding that will become the ties. 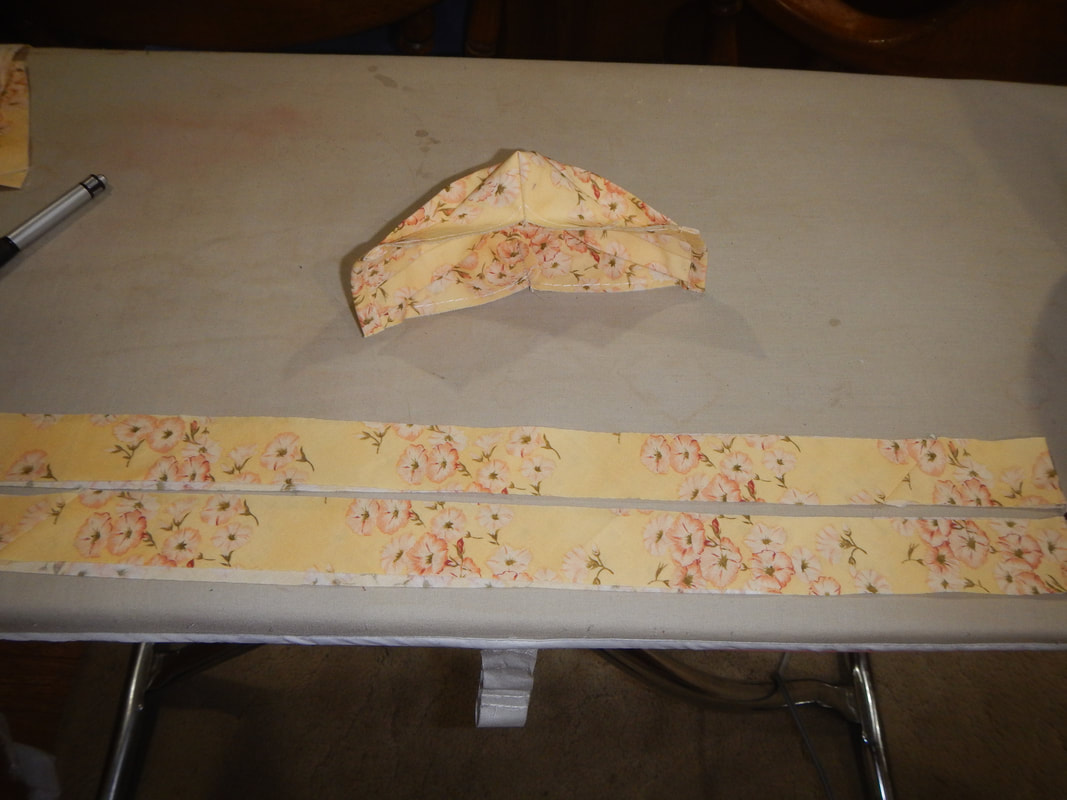 The next several pictures illustrate the way I work with the bias binding to bind the long top and bottom edges and make the ties. I start with the 40" strips of bias tape, pinning the midpoint of the bias tape to the midpoint of the mask edge. I sew the tape to the mask edge, right sides together, back-stitching at each end. Previously in the construction, I wasn't fashed about back-stitching, because every seam was going to get locked-in by another seam; however, this step is the last part of the process, so now I care about security.
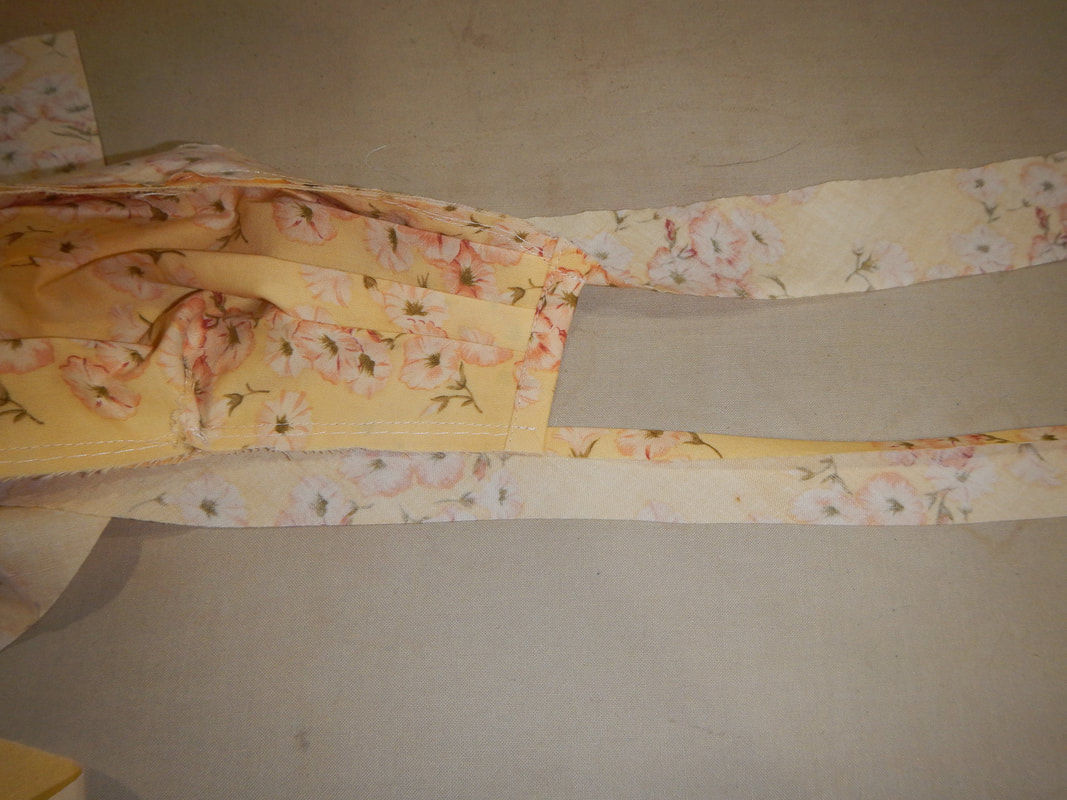
Next, I press: first I press the stitching as sewn (right sides together), then I press the bias tape away from the seam to make a smooth edge. 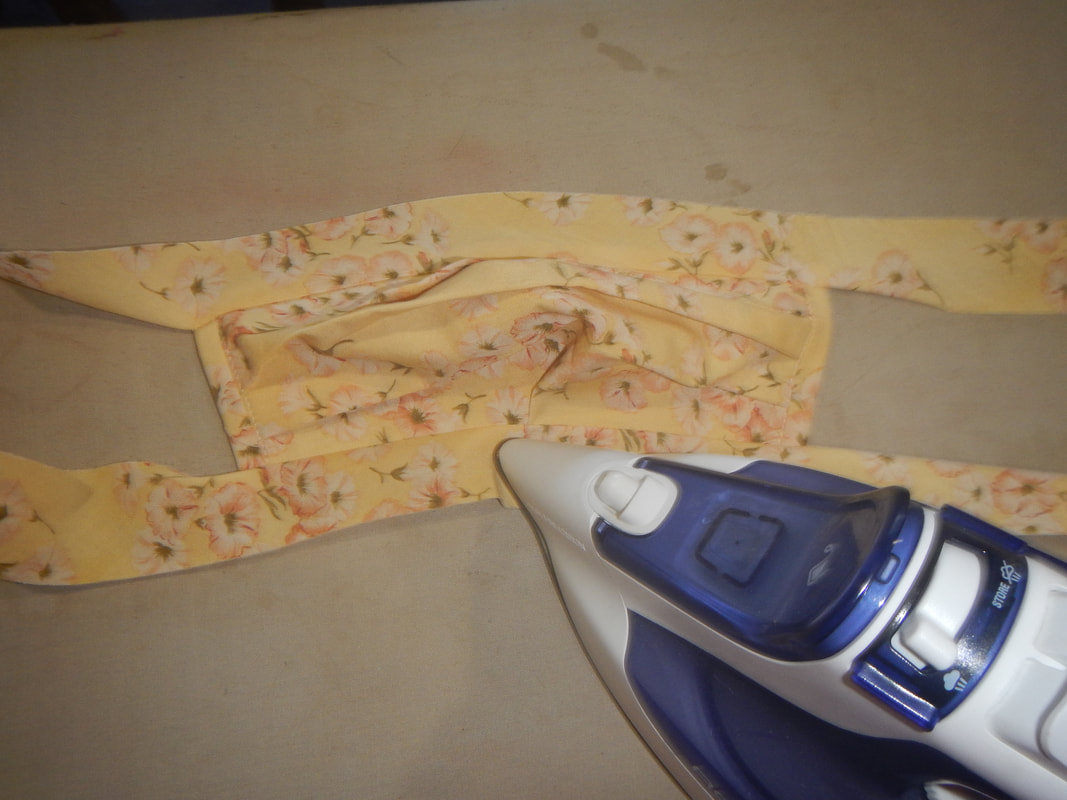 Remember: a good sewist presses twice as much as she sews! You're not just attaching fabric pieces to each other, you're molding the fibers. This makes a professional result. And then, I press the double-folds into the bias tape.
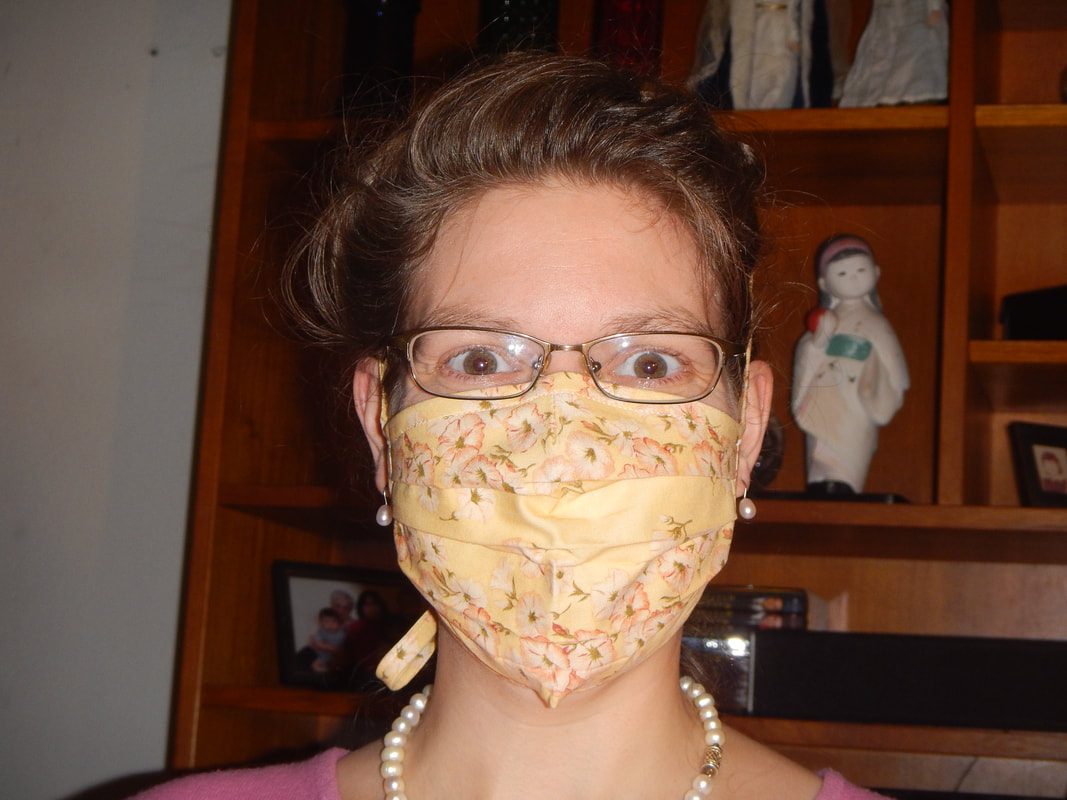
The slightly tricky stitch-in-the-ditch step is next. But, to be honest with newbie sewists, it's not necessary to stitch-in-the-ditch: you could top-stitch the bias tape the whole way. I just like the look of stitching in the ditch. Anyway, here's what I do: starting at the end of the bias tape tie, I zig-zag stitch the tie shut. Then I switch to straight stitches and top-stitch the tie all along its length until I reach the mask. I zig-zag stitch again at the juncture of tie to mask, effectively securing all the loose ends that might be concealed in the construction on the mask and reinforcing a spot that will get a lot of wear. I switch back to a straight stitch and stitch-in-the-ditch across the mask. This means that from the front of the mask you hardly see the stitches because they nestle into the crease of the first seam, but on the back, they catch the doubled-over fold of bias tape and look like top-stitching. At the other end of the mask I zig-zag over the edge, then switch to straight top-stitching for the tie, then zig-zag at the end. A final press, and done! 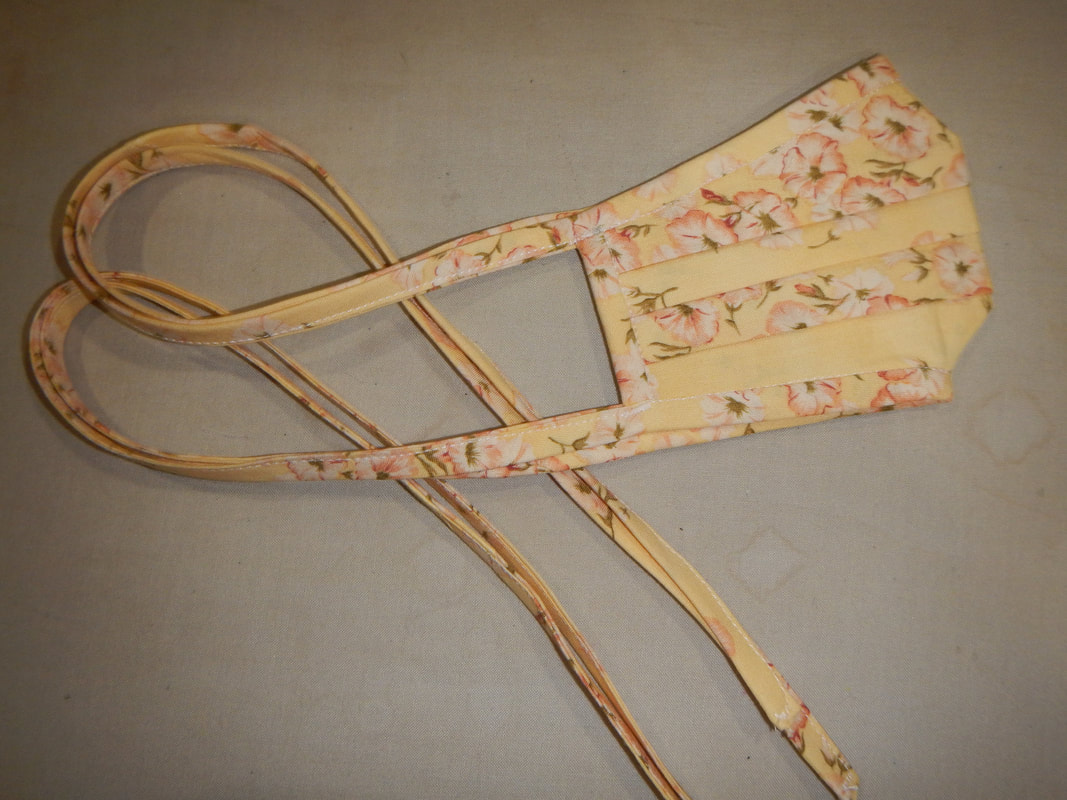 Finished mask. Click to enlarge and see the zig-zag details I mentioned. One unexpected (but I should have expected it, really) effect of using bias tape instead of on-grain tape is that the ties stretched out as I sewed them. They grew about six inches! To wear the mask, put the larger dart over the nose and tie the top ties over the crown of the head. If you're worried about them slipping, a bobby pin may help, or put your hair in a ponytail and let that be an anchor. Honestly, though, I have found the simple tie secure enough. Then put the lower dart under your chin and tie the lower ties at the nape of your neck.
As a general thing, I'll just wash my masks like normal laundry and press them with steam, but if you're very concerned about sterilization, you can put them in boiling water to kill everything, then lift them out with tongs and let them drip-dry. This is why I used pre-shrunk cotton! Do what's right for you.
2 Comments
The Sister
4/7/2020 11:55:22 am
You're so cute with your happy yellow mask! It looks like a really good pattern, with attention to detail, pleats, gathers, etc. (It also looks like a bikini top for a small-chested woman, but we'll just let that go.) :D Leave a Reply. |
Karen Roy
Quilting, dressmaking, and history plied with the needle... Sites I EnjoyThe Quilt Index Categories
All
Archives
March 2024
|
 RSS Feed