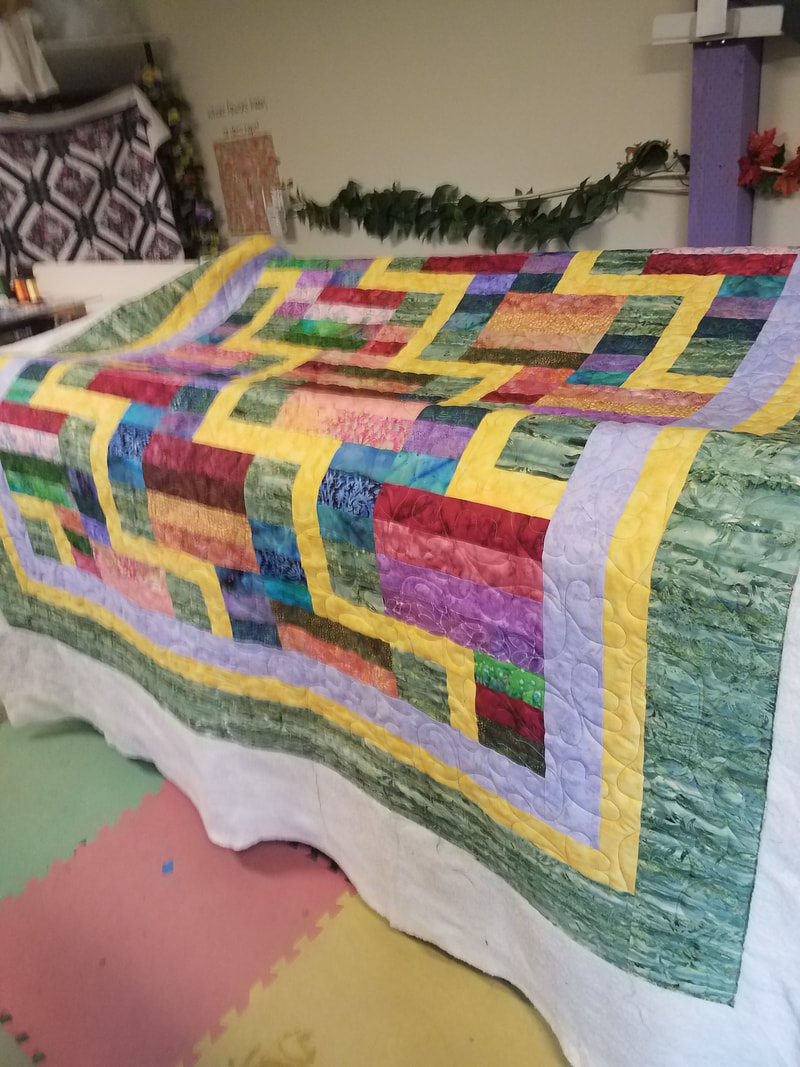
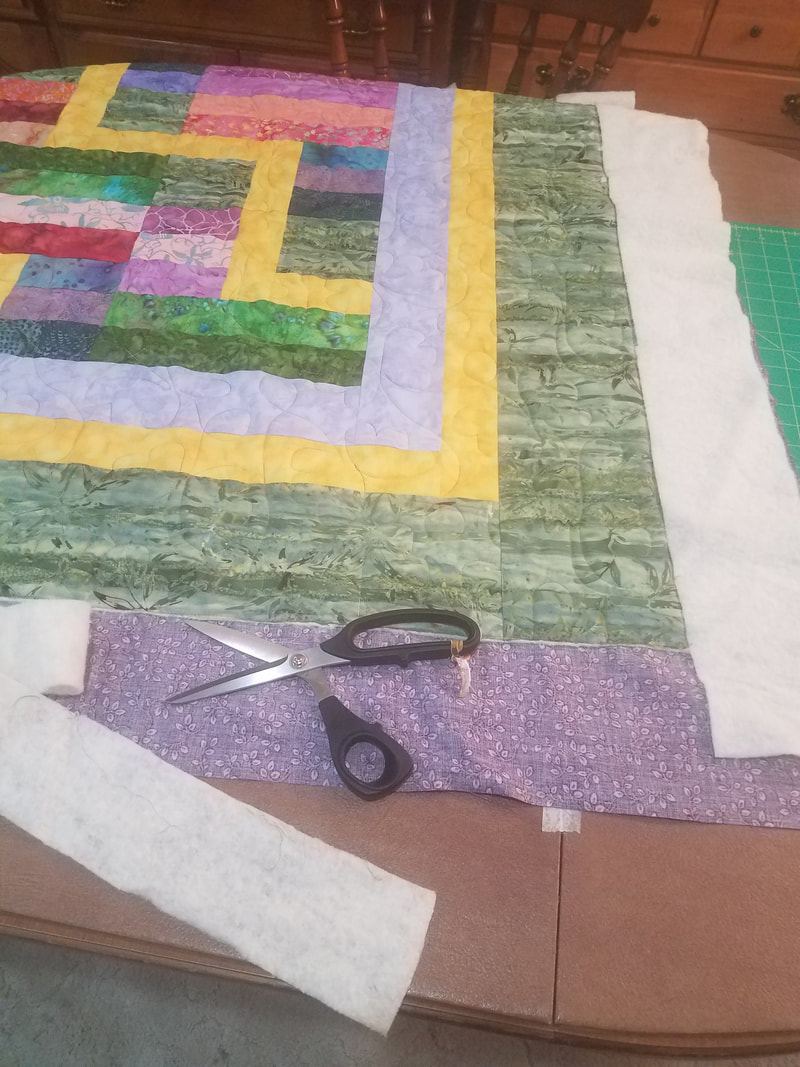
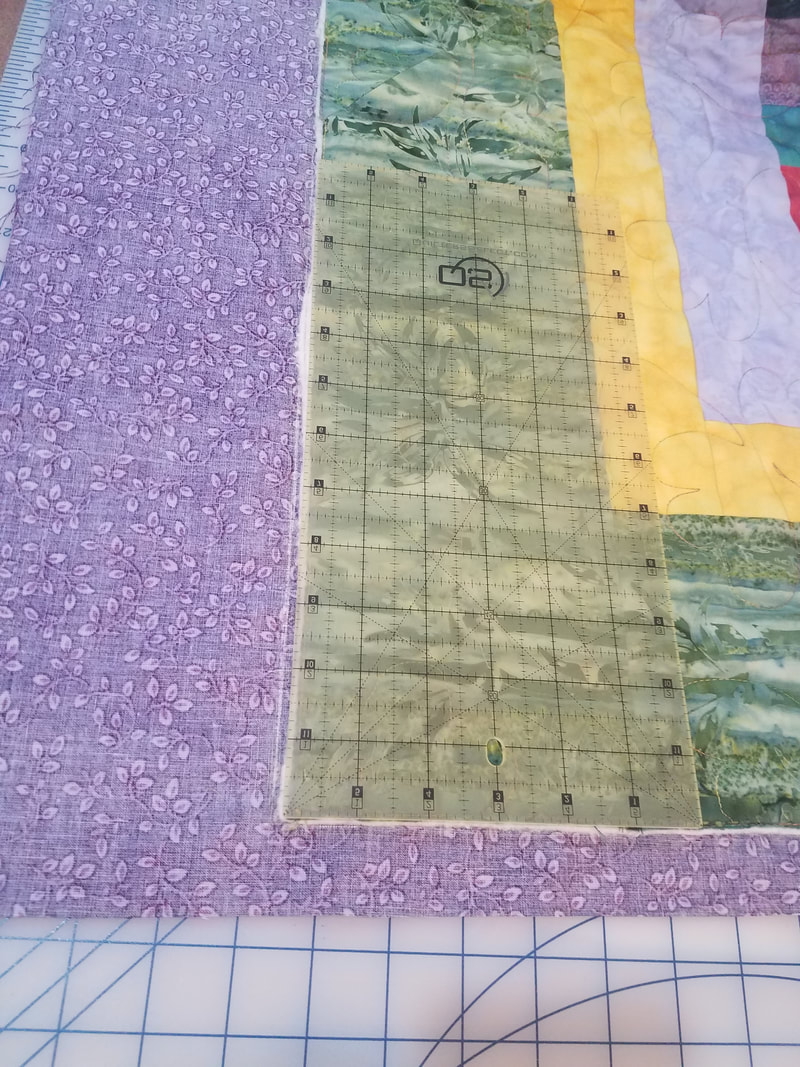
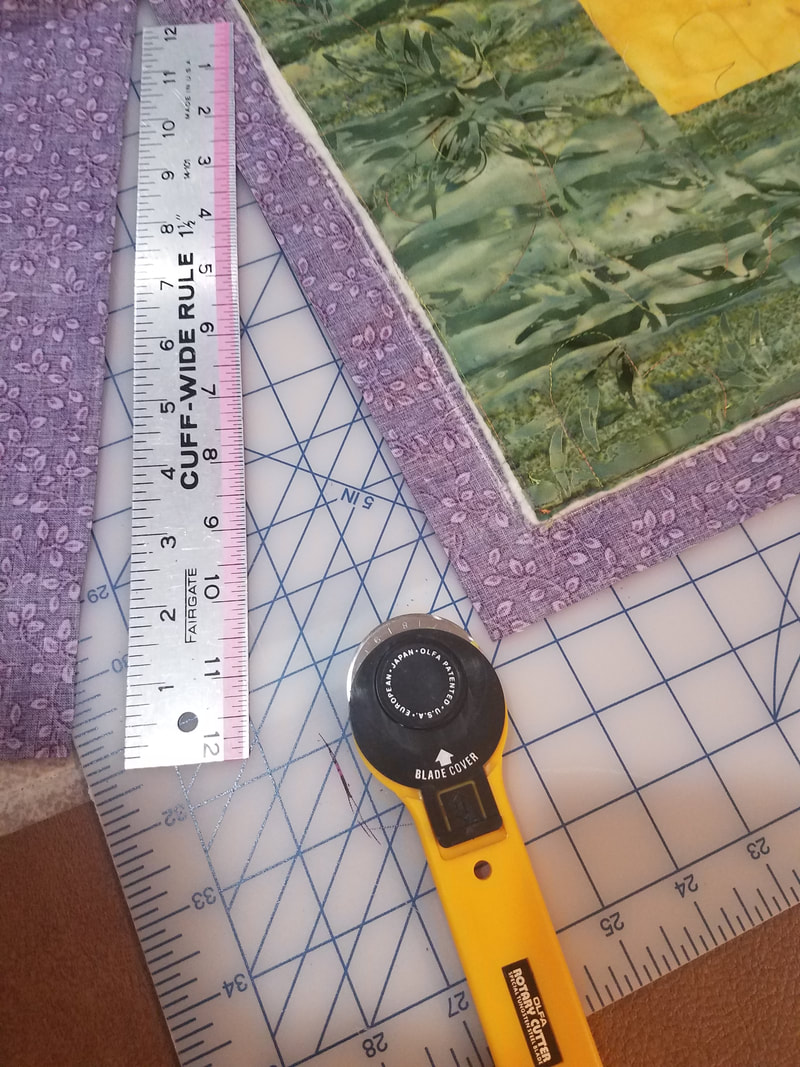
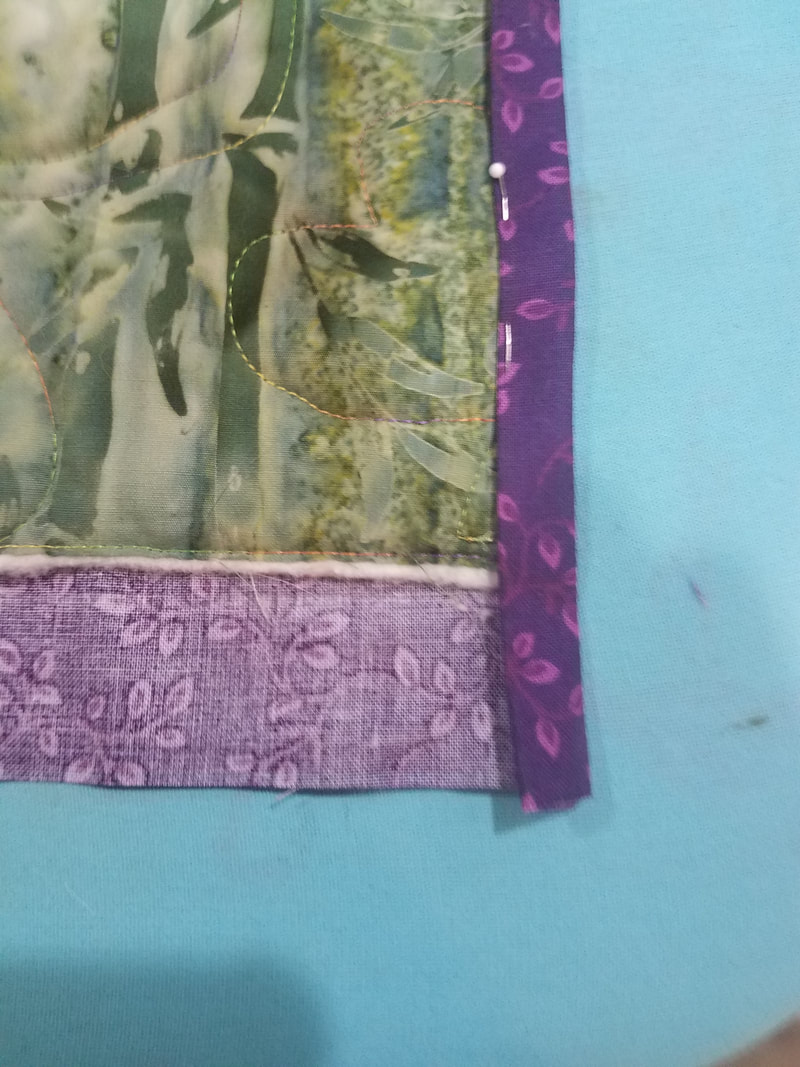
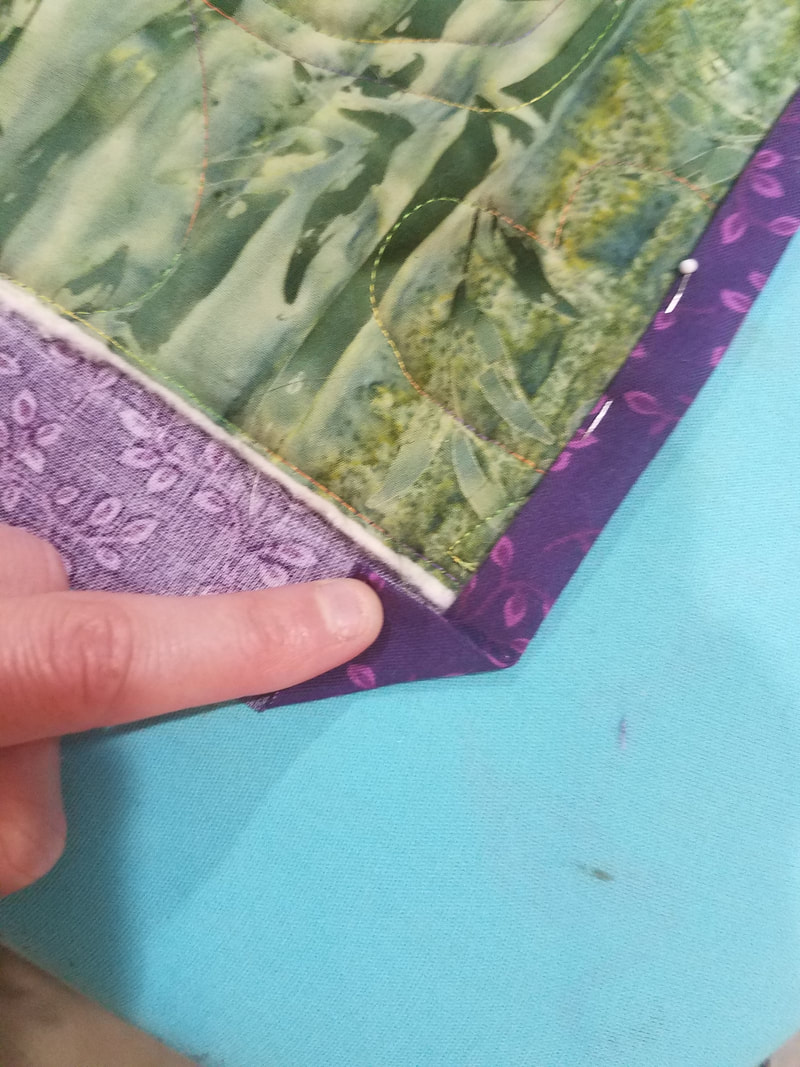
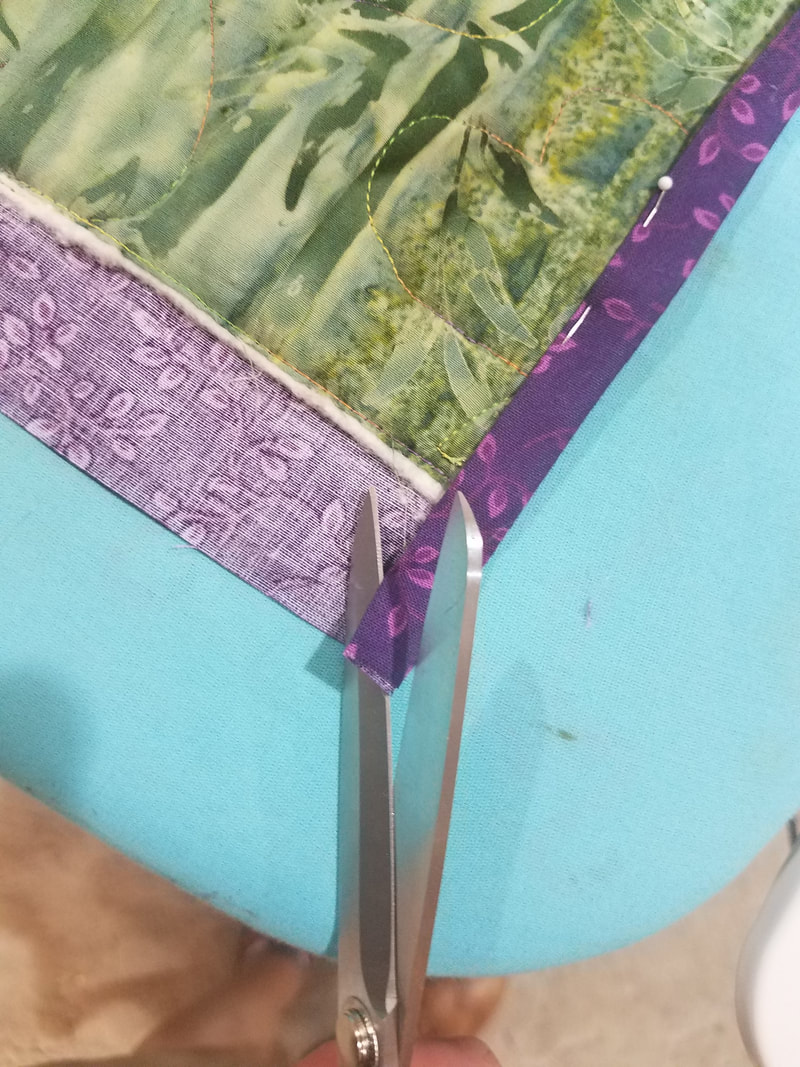
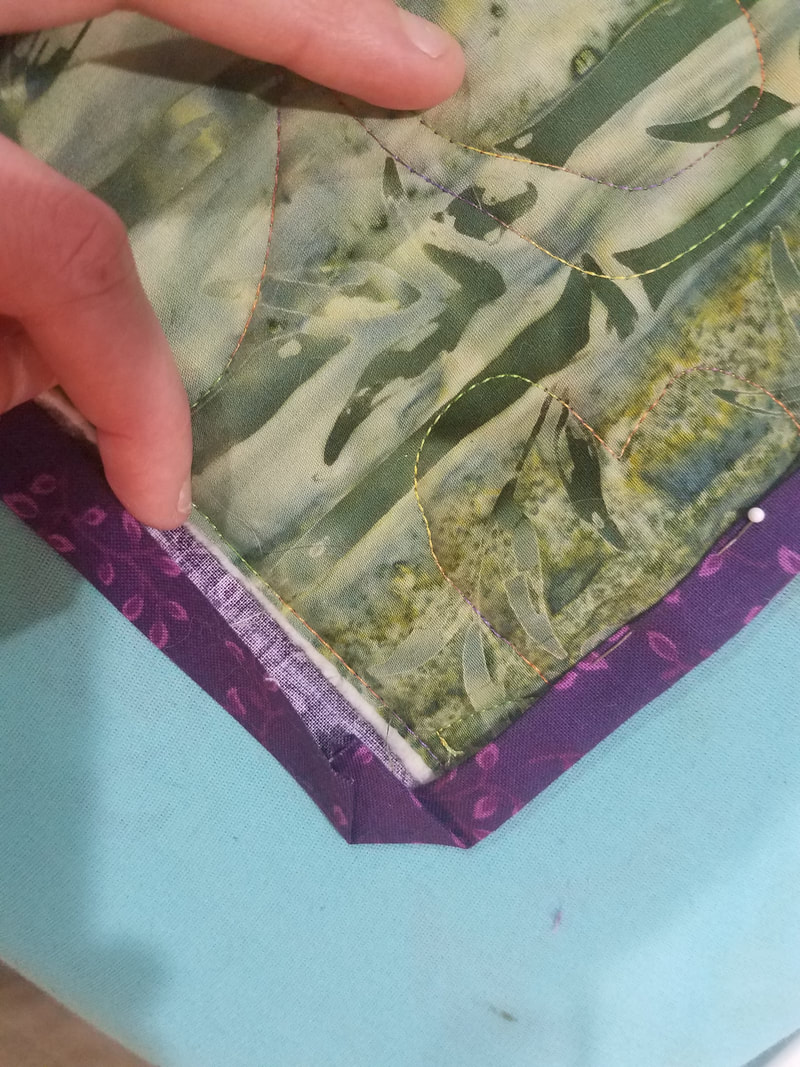
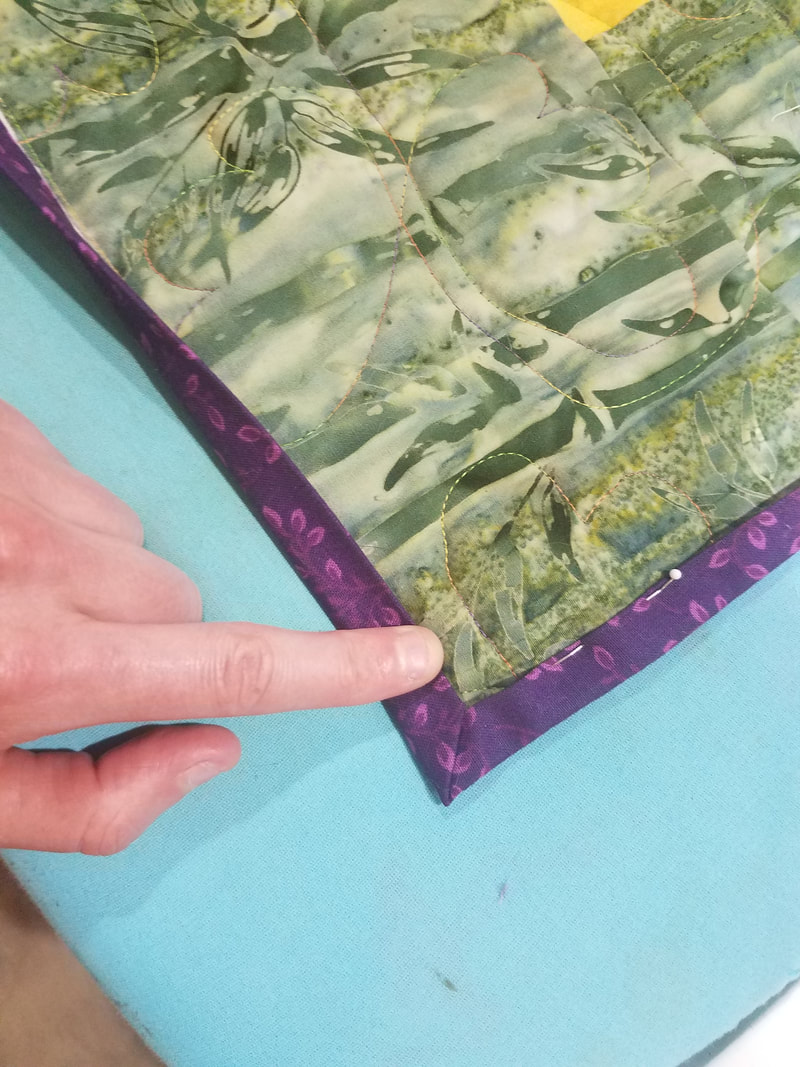
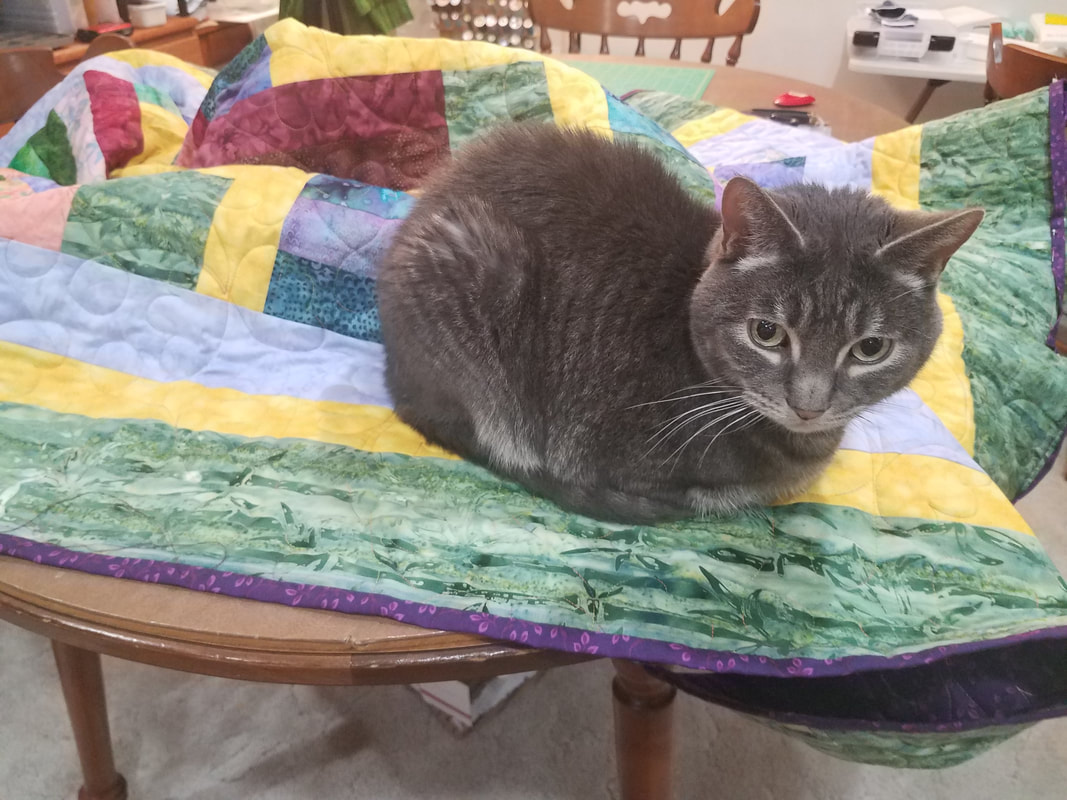
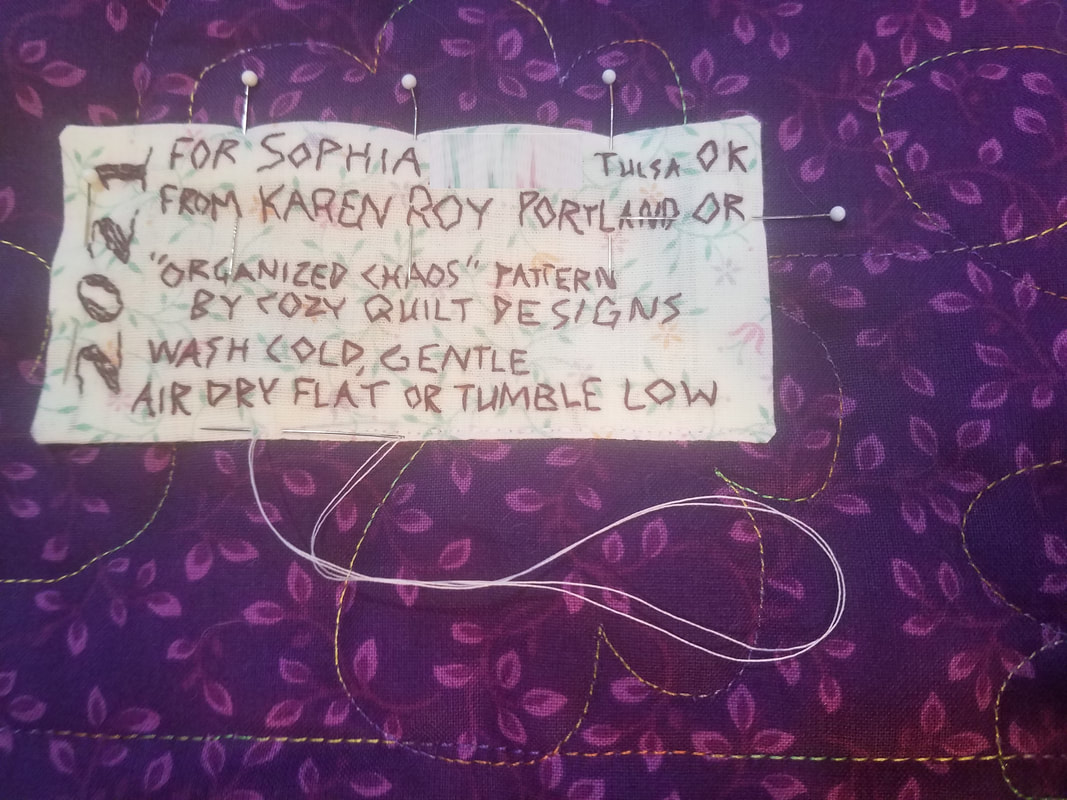
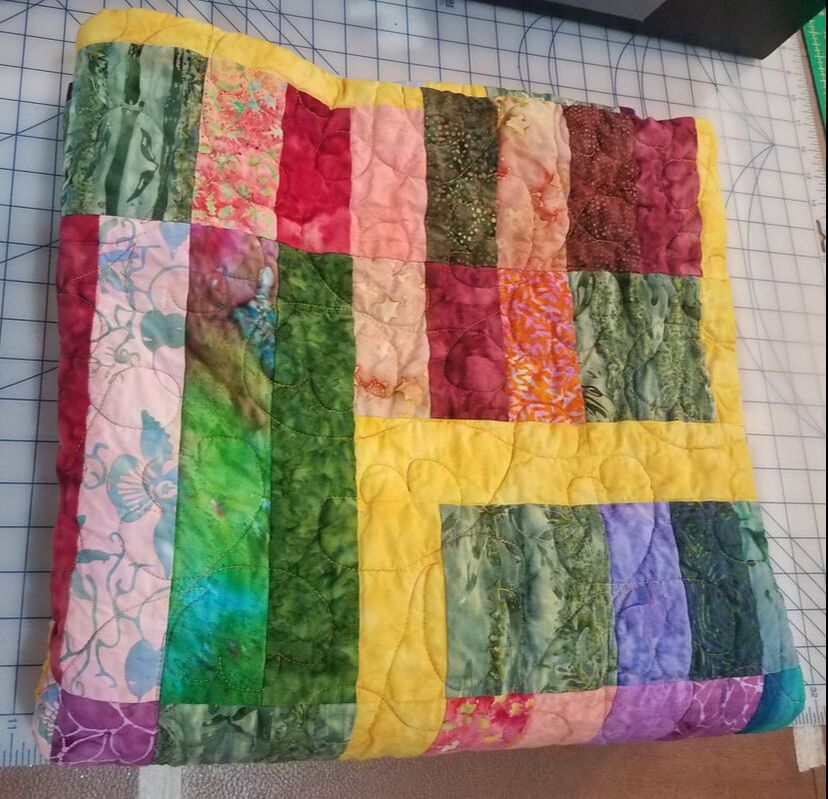
FOLD-OVER BINDING I find foldover binding much easier to do than the strip binding I did for the Simple Illusions quilt. My only quibble, as I work, is to wonder how well secured the ends of the quilting are, and whether they might be better secured by a regular binding. Time (and washings) will tell, I suppose! There's a bunch of pictures here, but I have numbered them to help in explaining. First (pic.1), I trim just the batting away from the edge of the quilt, leaving the backing fabric long. Then (pic.2) I square my edges by tracing a square ruler edge with chalk. In this picture, you can see the green edge of the the quilt is a little wobbly, but there's a chalk-line that marks a true right angle. I decide how wide to allow my backing to be by folding it until it looks right, then trim the whole perimeter to the same width (pic.3). When I get to the corners, I measure out from the chalk line, not from the wobbly fabric edge. Now it's time to fold. I fold the raw edge once, to touch the quilt edge or chalk line (pic.4), and again to overlap the quilt edge (pic.5). Then, to turn the corner, I fold as seen in pic.6, and press it briefly to crease it. This method of turning the corner pushes all the folded fabric to one side. I don't want extra bulk, so I trim off a bit of the corner (pic.7), making sure I only cut stuff that'll be entirely enclosed in the final folds, so no raw edges will be exposed. Then I fold the next side of the quilt backing, raw edge to quilt edge or chalk line (pic.8), and folded edge over quilt top (pic.9). This bevels the corner quite nicely! I pin the foldover binding at intervals, and hand-stitch it down with a felling stitch. I could slip stitch it, but don't want to bother because I've pressed my fold into a sharp crease and it's annoying to try to slip a needle into a tight crease. A felling stitch is faster in this case: the long part of the stitch slips between the quilted layers with no danger of poking through and showing on the other side of the work, and the short part of the stitch is very tiny on the surface of the work. FINISHING TOUCHES The cats inspect the work and meow their approval. I apply a label, and then I wash and dry the quilt to give it a cozy crinkly texture! (Incidentally, for a quilt, air drying is preferable to putting in a dryer. You know what you find in the lint trap after your clothes are dry? That lint is your clothes, slowly breaking down. Both clothes and quilts will last longer without such abuse. Because quilts have so many seams, that's so many areas of bulk, folding, stitching, et cetera to wear out. If longevity matters to you, or if your quilt is already old, keep it out of the dryer. If convenience matters to you and you want to machine-dry the quilt, use low heat or no heat, and check it often. It may be dry before the cycle is done.) THE RECIPIENT This quilt is a gift for a lovely young lady who has, herself on the cusp of adolescence, just become a big sister! I want her to know that she is special, beloved, and to give her a gift that she can grow with.
3 Comments
Rosanne
6/11/2021 12:50:46 pm
You did such a great job!
Reply
The Sister
6/16/2021 07:57:45 pm
"On the cusp of adolescence"... so true, sobering, and hopeful. Time goes too fast! Thank you for this beautiful gift; Sophia will love it for many years!
Reply
Leave a Reply. |
Karen Roy
Quilting, dressmaking, and history plied with the needle... Sites I EnjoyThe Quilt Index Categories
All
Archives
March 2024
|

 RSS Feed