|
I am a procrastinator. I wish I weren't, but since that is my natural tendency, I find ways to "hack" my life. How do you hack your life, you ask? By understanding how it naturally works and manipulating it. In my life, there are two opposite forces at work: I hate to be idle and unproductive, but I put off starting things because my big plans for them overwhelm me. So my lifehacks involve forcing deadlines on myself for the big things, and having a variety of small things on hand to fill my procrastinating time. I call these small things procrastination projects: things to do when I'm putting off the bigger things. That way the time is not wasted! And the big things get done because there's a deadline and I hate to let people down. (As a side note: if you care about me and my goals, the kindest thing you can do is hold me to my deadlines.) So a few days ago I woke up with an important project on my mind, that has to be done this week. And I didn't want to start. Then as I got dressed I realized I had no pretty camisoles... only stained, worn out ones! How depressing to get dressed in them! Then as I started clearing my workspace for the important project, I suddenly thought I really ought to organize my stash, and in the course of doing that found several silky fabrics that would make nice camisoles! Ah, well, it won't take long to make a camisole, I lied to myself. And promptly spent the next two days in (fruitful) procrastination. CAMI 1: THE FABRIC
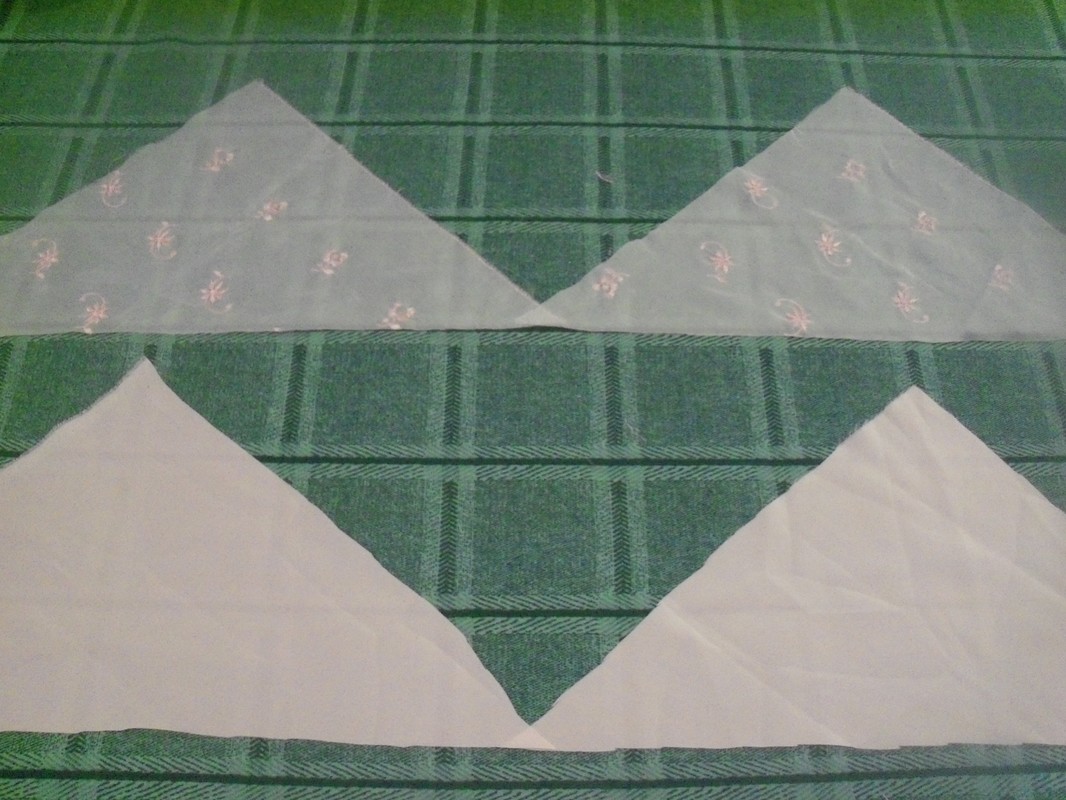
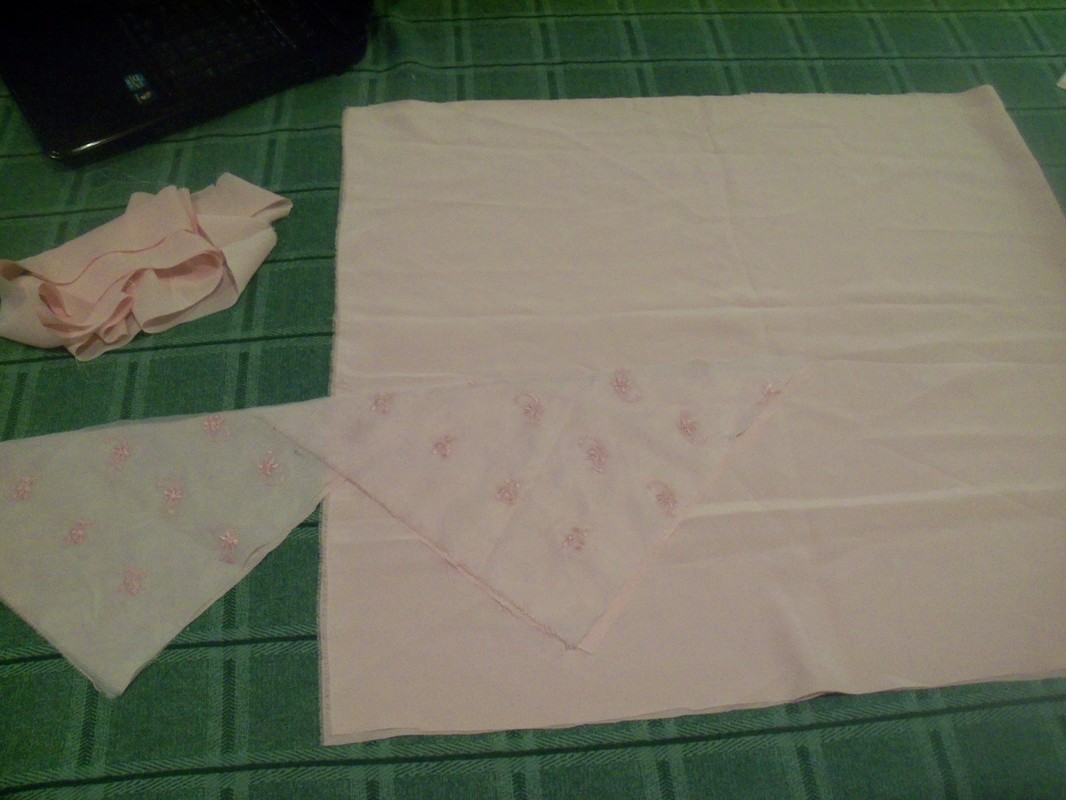
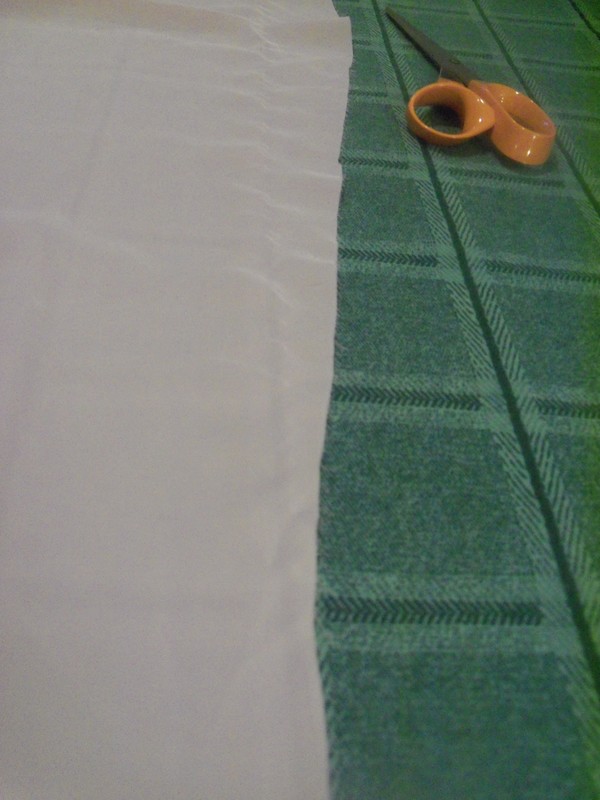
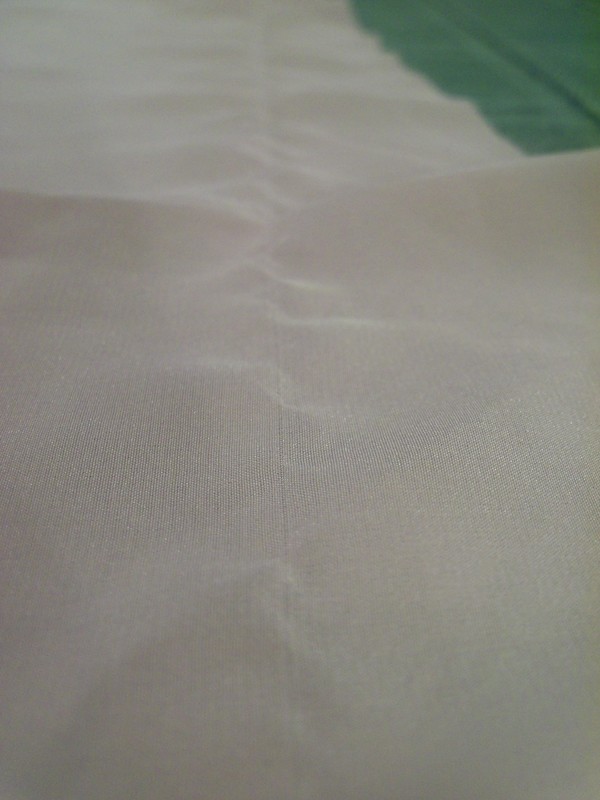
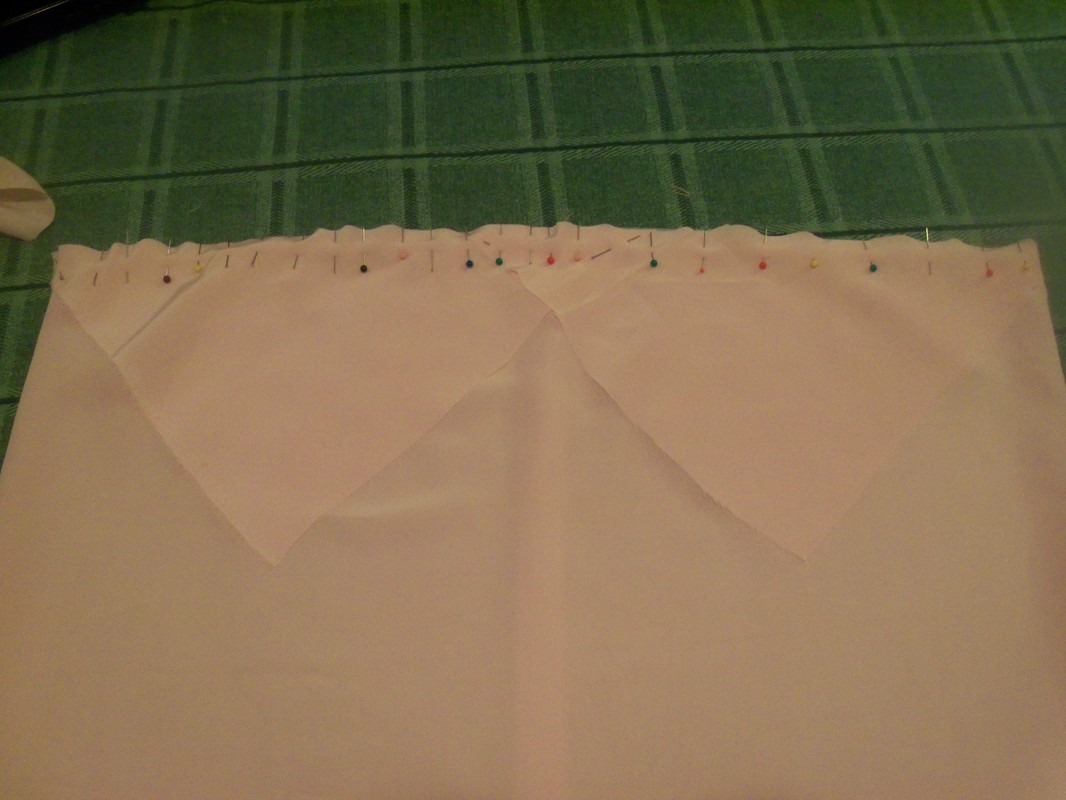
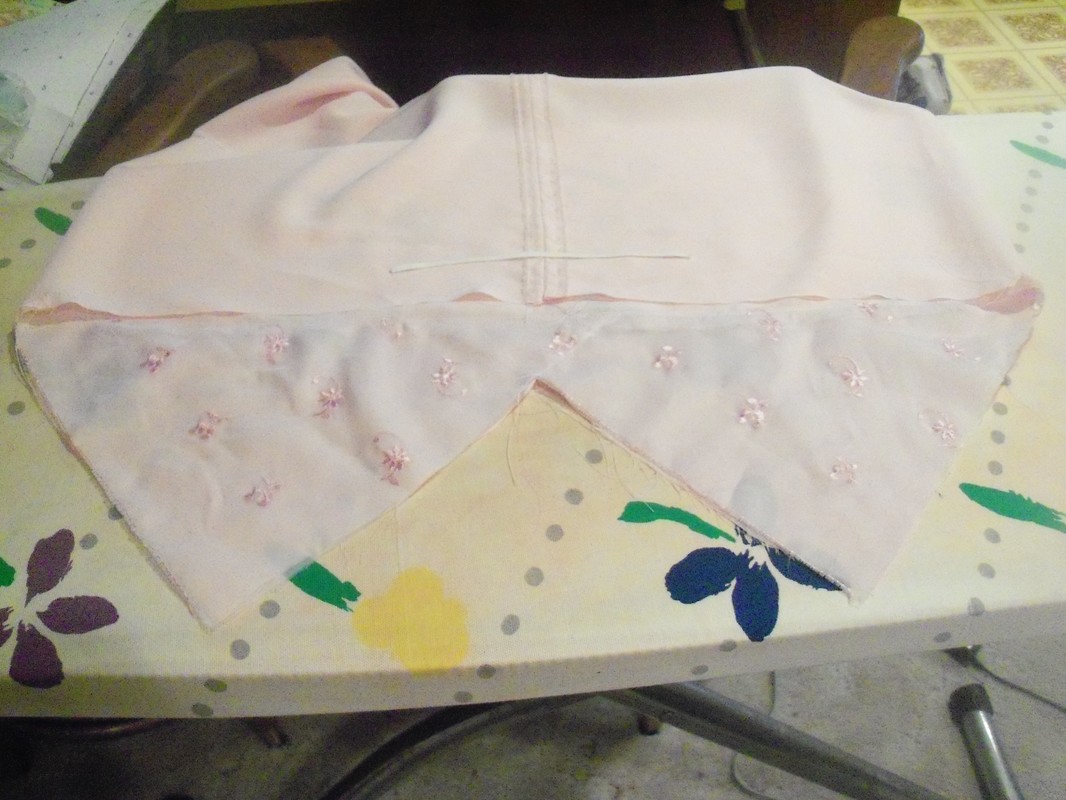
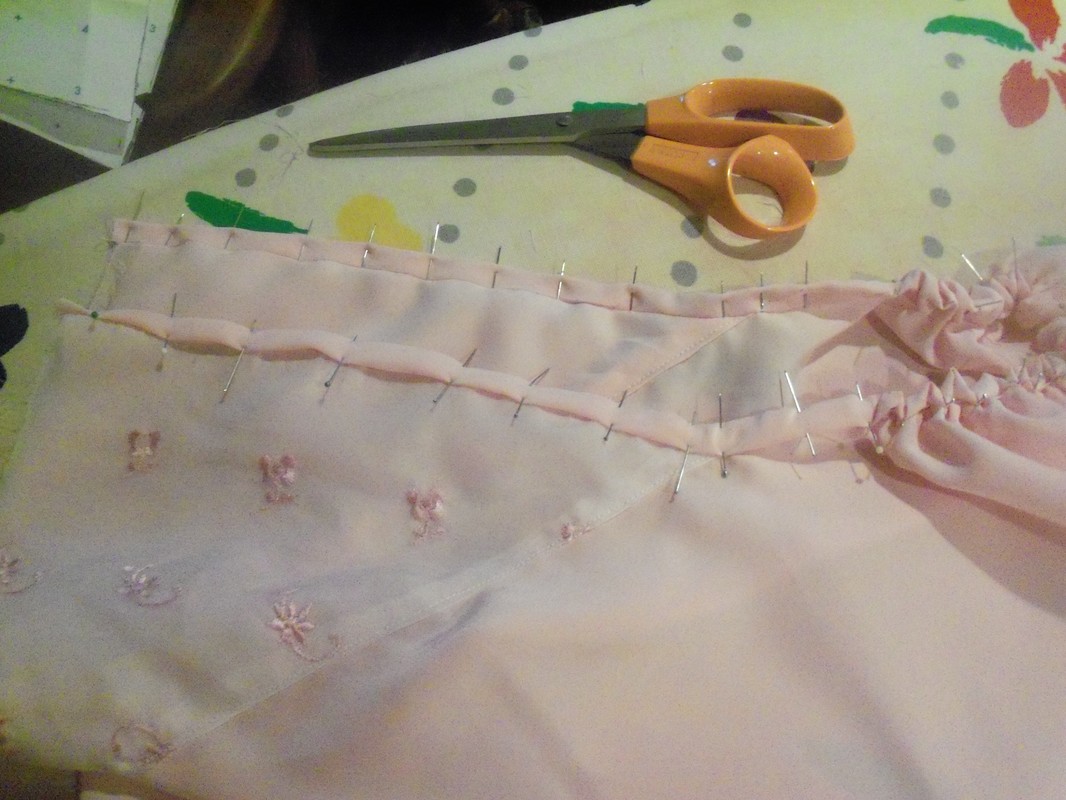
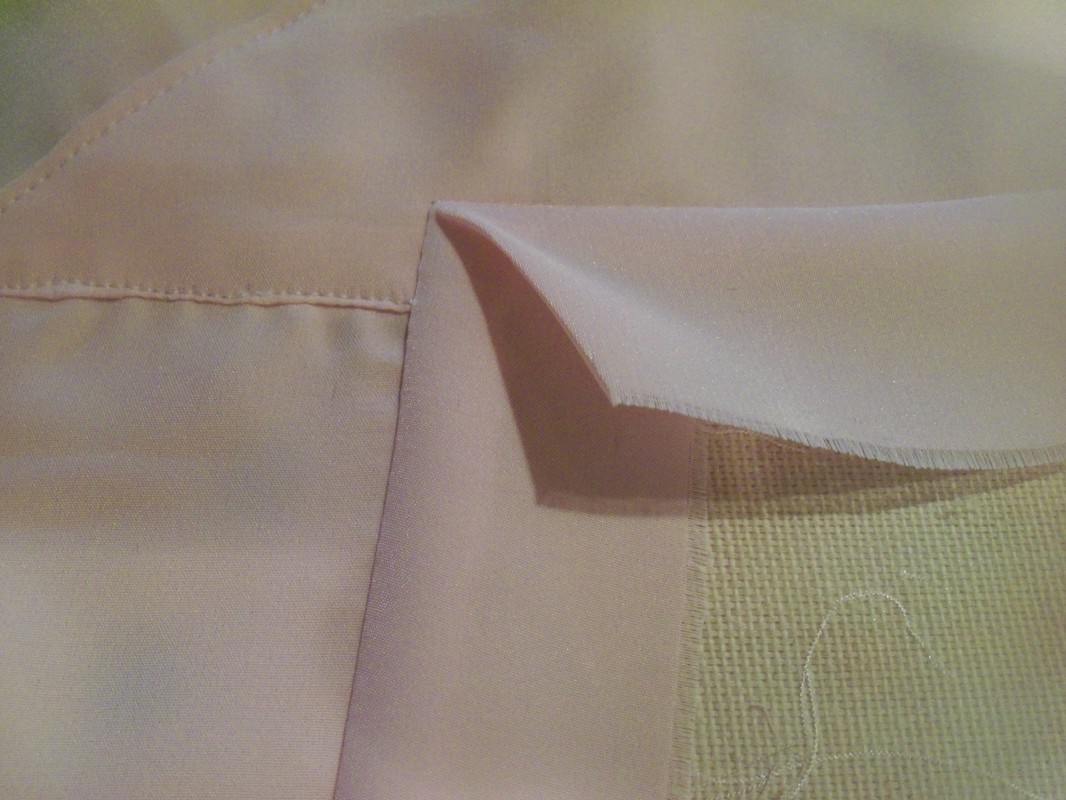
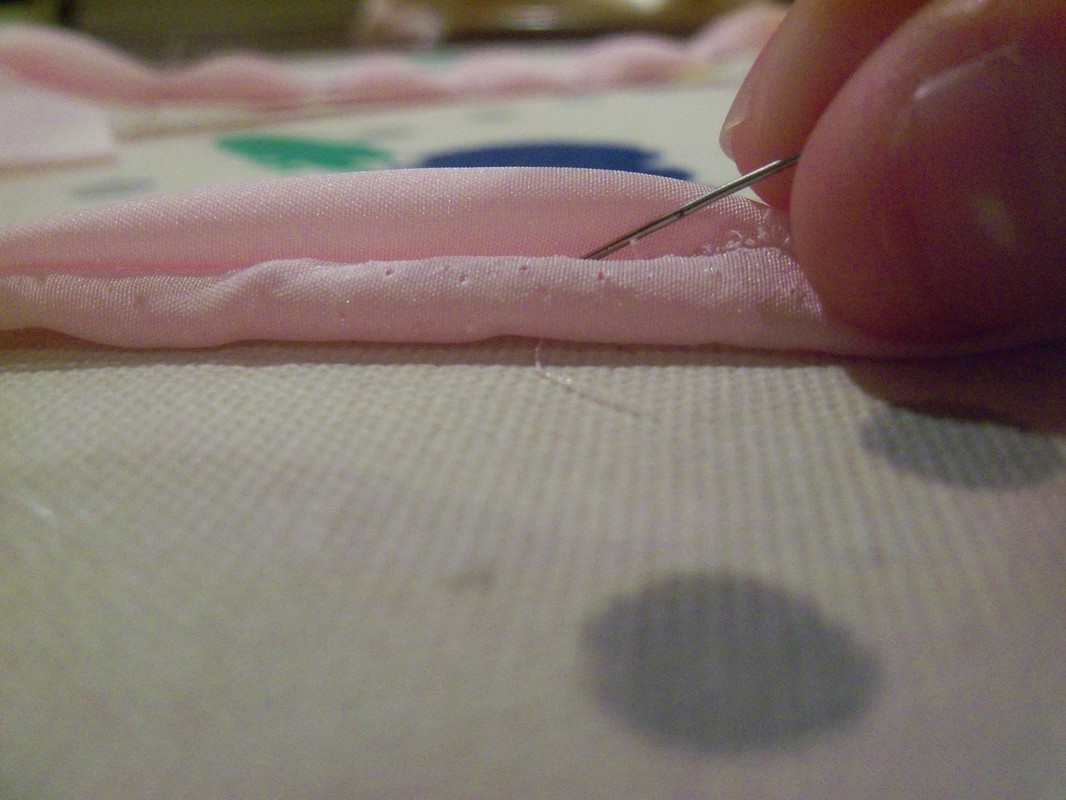
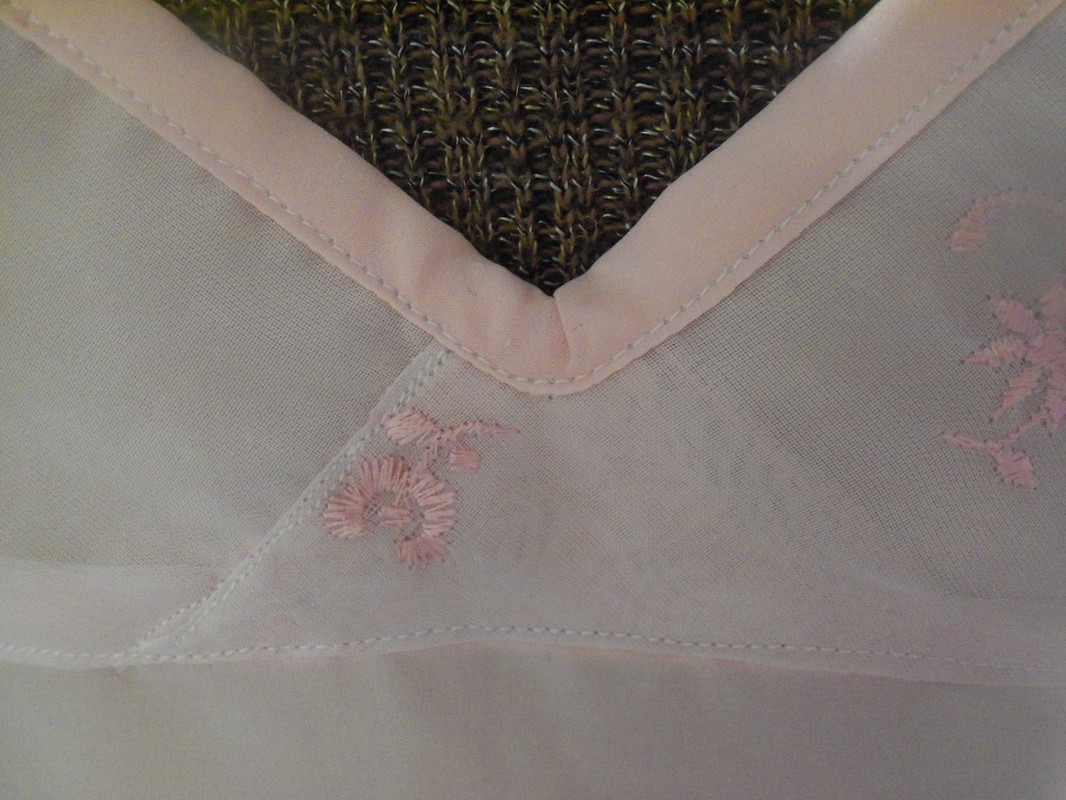
Part of the fun of stashbusting is seeing tiny scraps become useful. In this case, I had a single square of sheer fabric with embroidered flowers on it, about the size of a handkerchief. It must be old: my friend gave it to me, and she'd been hording it since the seventies. I'll bet it came off an old slip. I cut it into two triangles, and now that scrap will be a pretty accent on a new slip. The silky fabric for the body of the garment was already in a rectangle, selvedge to selvedge, but needed truing. I trued it by pulling a single thread to find the cross-grain, and then cutting along that line. Here are some pictures of that process:
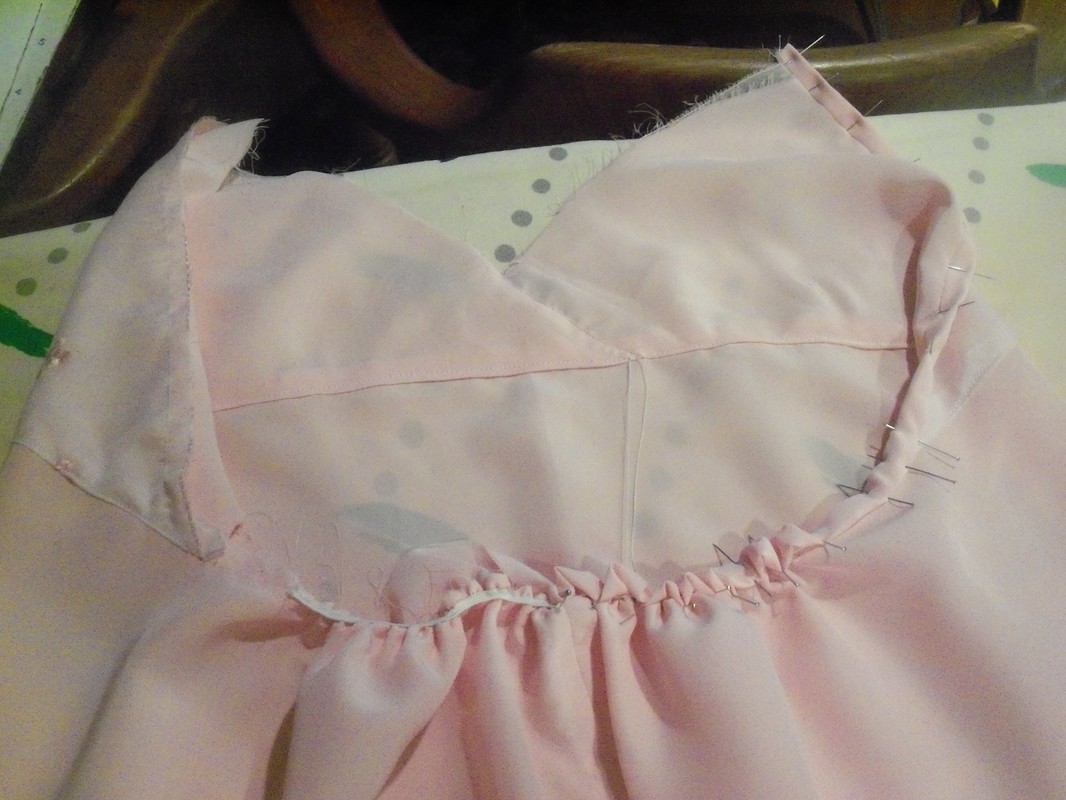
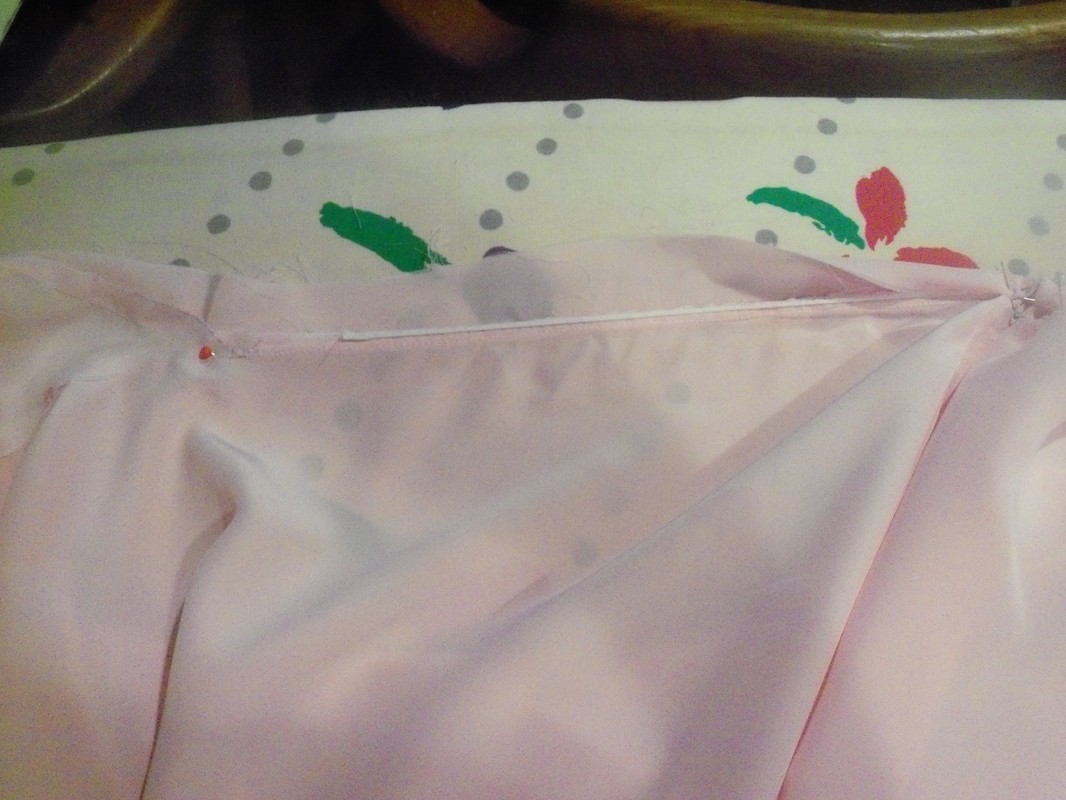
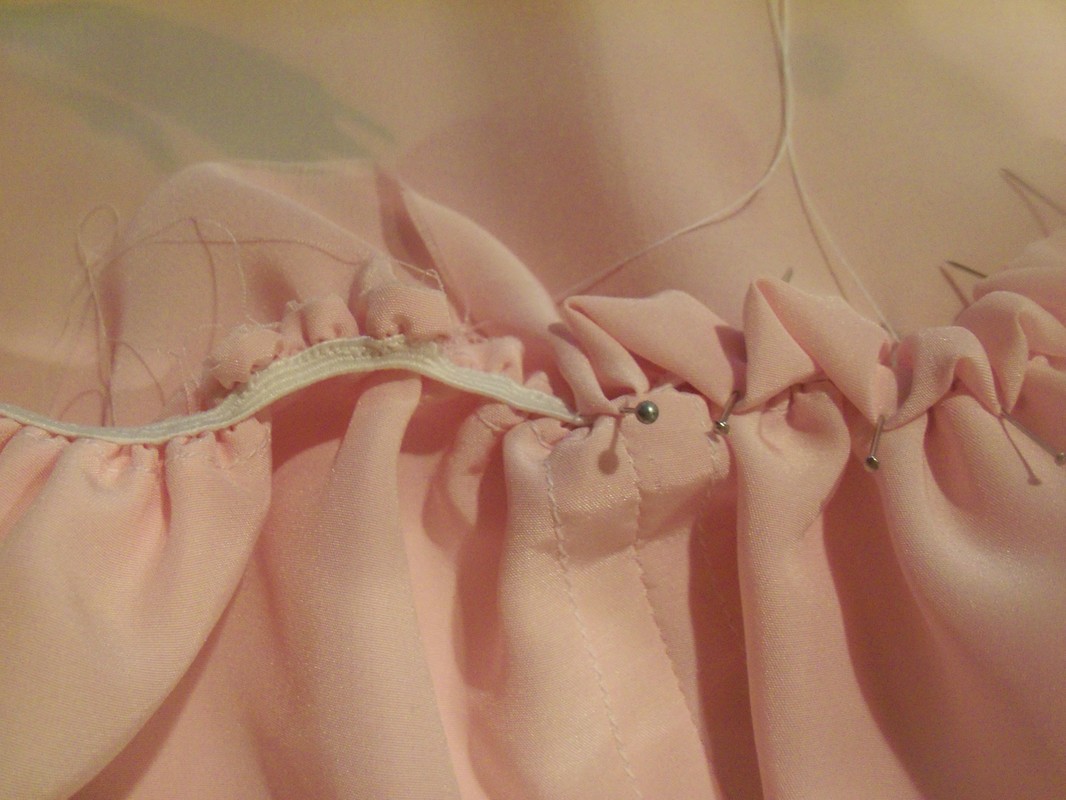
CAMI 1: CONSTRUCTIONThe construction was simple, if time-consuming.
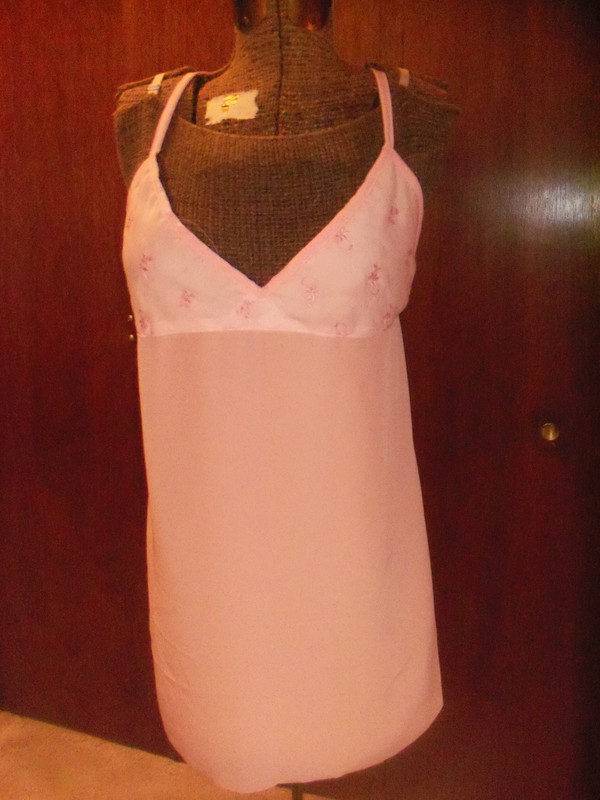
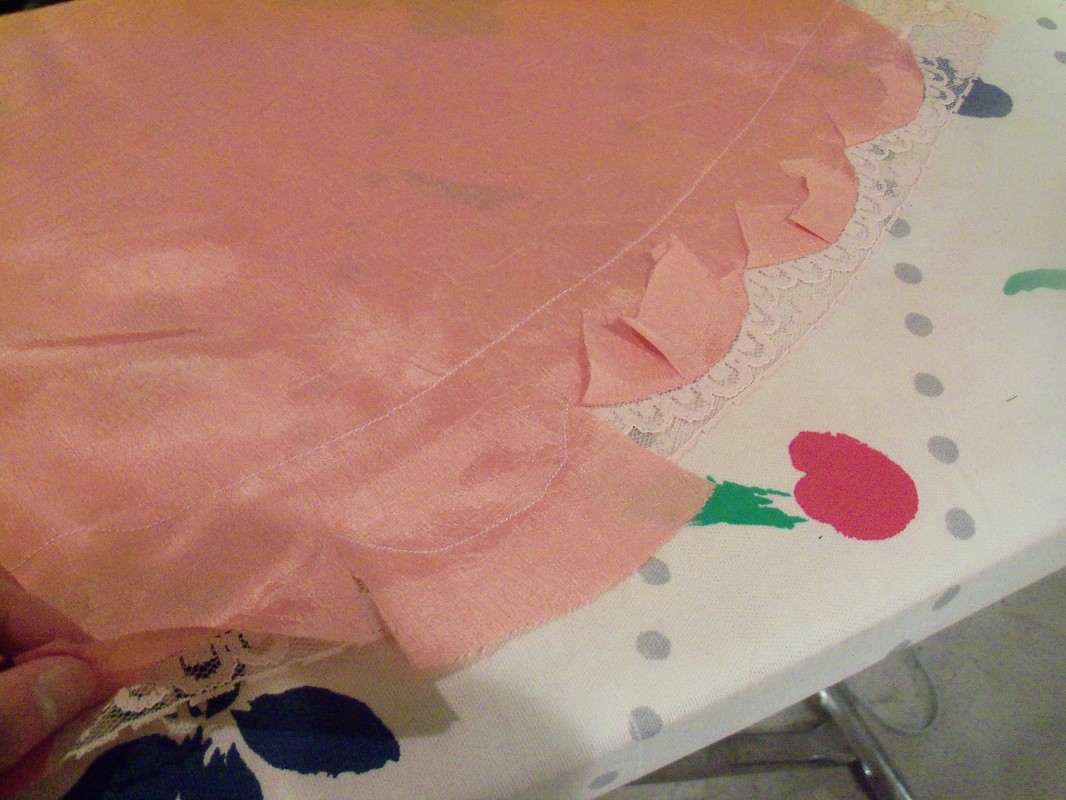
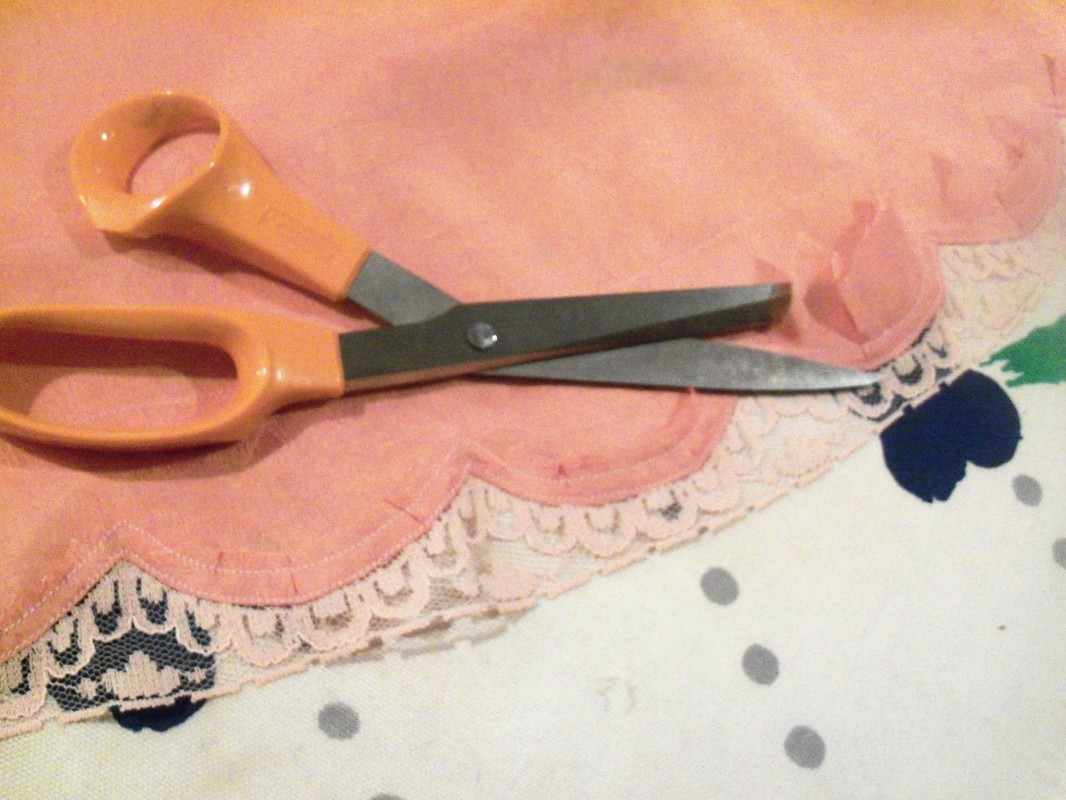
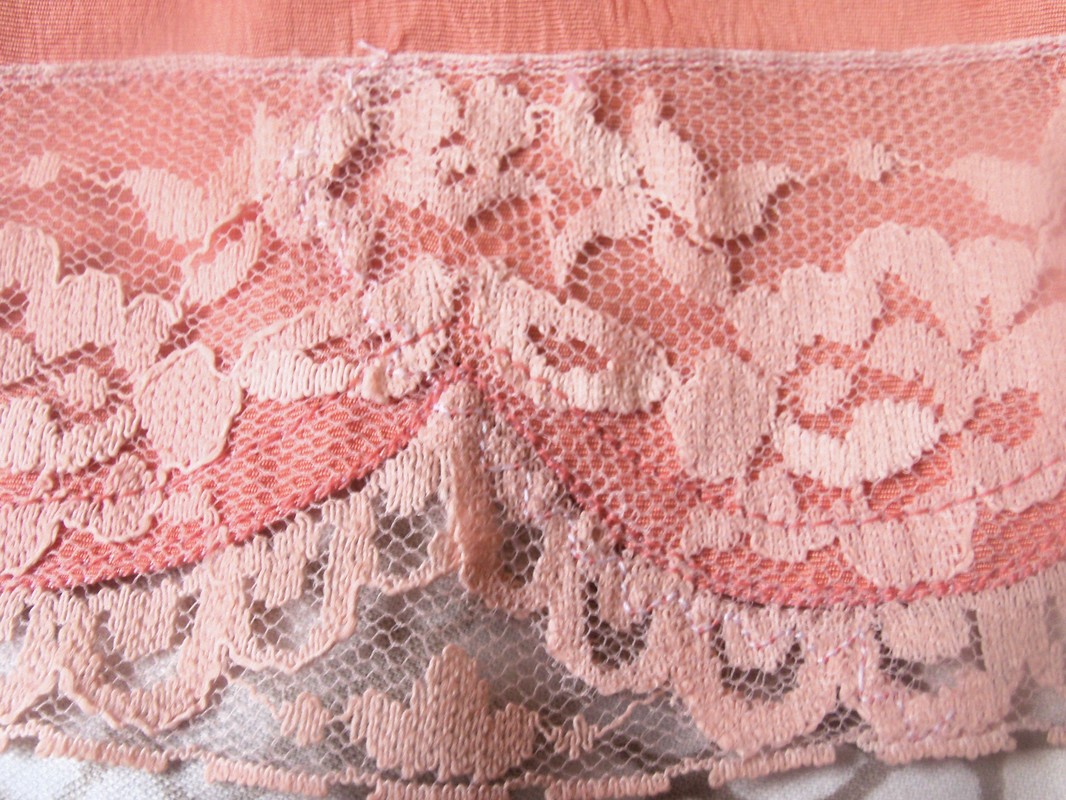
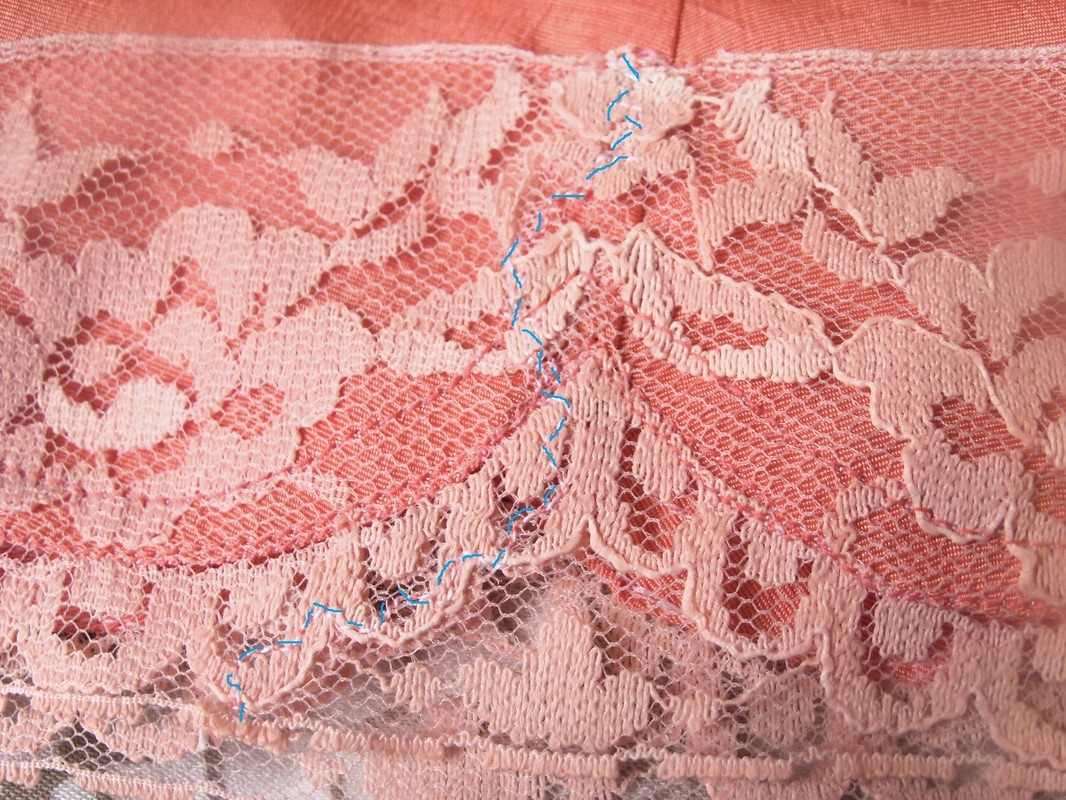
 When it was all done, I loved its easy comfort, but decided that the elastic at the back made it more of a nightgown than a camisole, so--big surprise--I needed to make another camisole. CAMI 2!Camisole #2 also came from stash that my friend had passed on to me. In this case, it was a worn half-slip with an elastic top. I cut off the elastic top and thought: this A-line slip will make a nice camisole. I ironed it, and laid an existing camisole on top to see how it would work. I also dug around my drawer of trims and found some vintage lace (same friend's same stash... also probably salvaged from an old slip!) that was in the same color family as the silk. 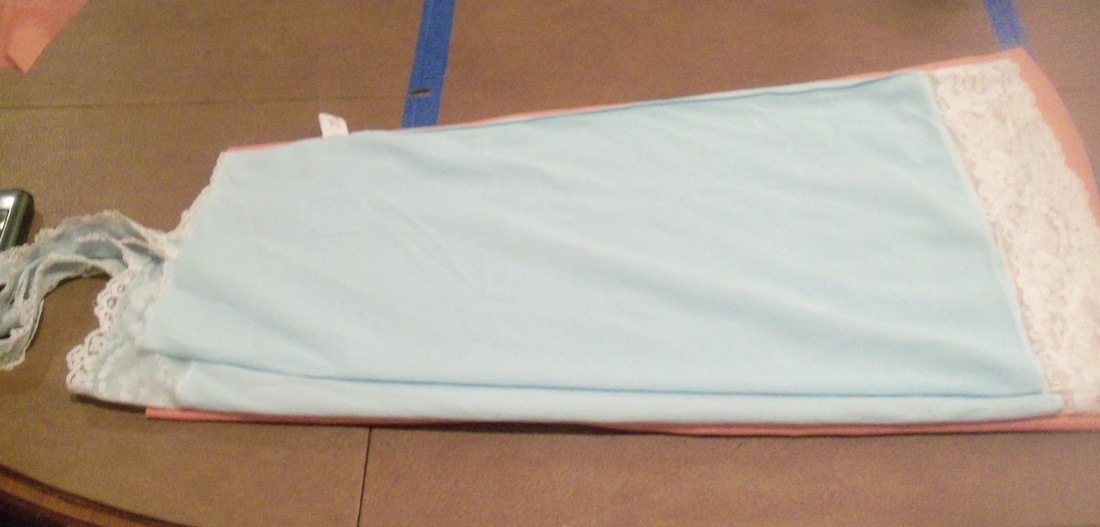 Old camisole served as template for new camisole. I sewed lace to the top of the front, making a seam at the foot of the lace and another following the scalloped edge of the head of the lace. The dotted lines in the picture below show the paths of stitching.  Then I snipped the excess at the top in straight lines into the corners of the scallops, ironed the trimmed edges down, and made another two lines of stitching inside the scallops to secure the raw edges. I trimmed the last of the excess away.
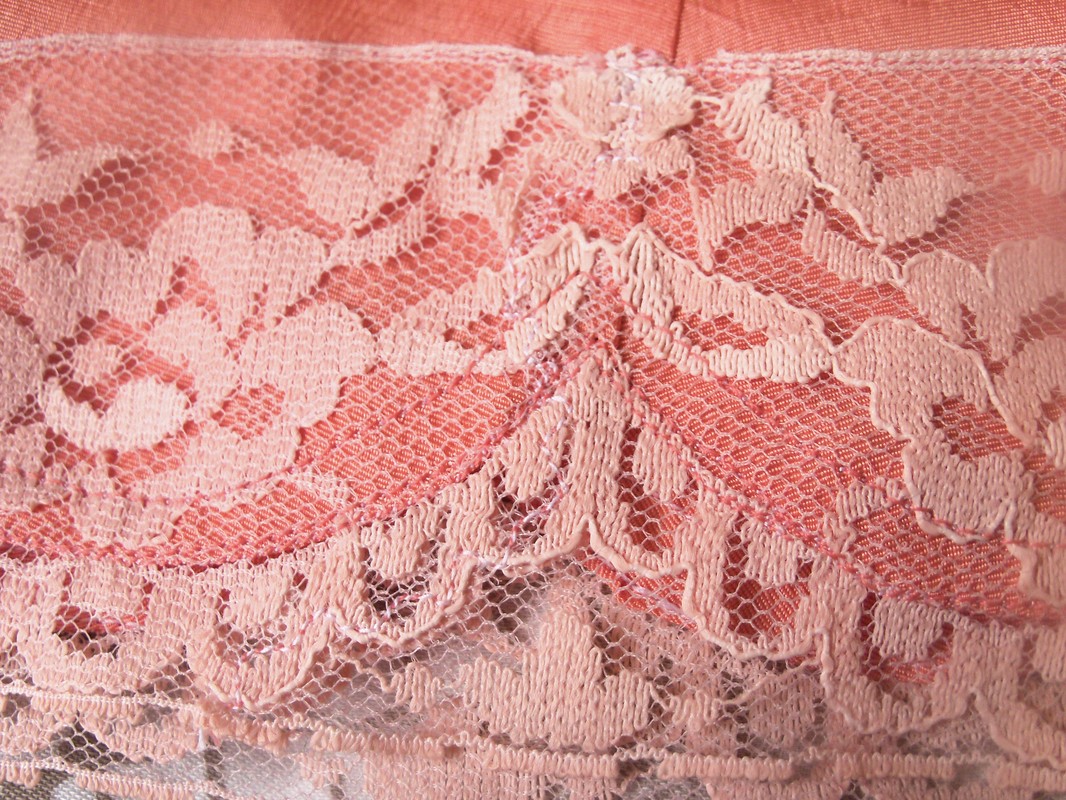
I sewed front to back, and used the same technique to put a lacy scalloped edge on the bottom, all the way around. Since I was working with scraps of lace, some piecing was required. To do that, I laid one piece of lace on another, matched patterns, and sewed with a slight zig-zag along the densest parts of the motifs. In the pics below, the left pictures are the finished join, and the right pictures show you where the seam is.
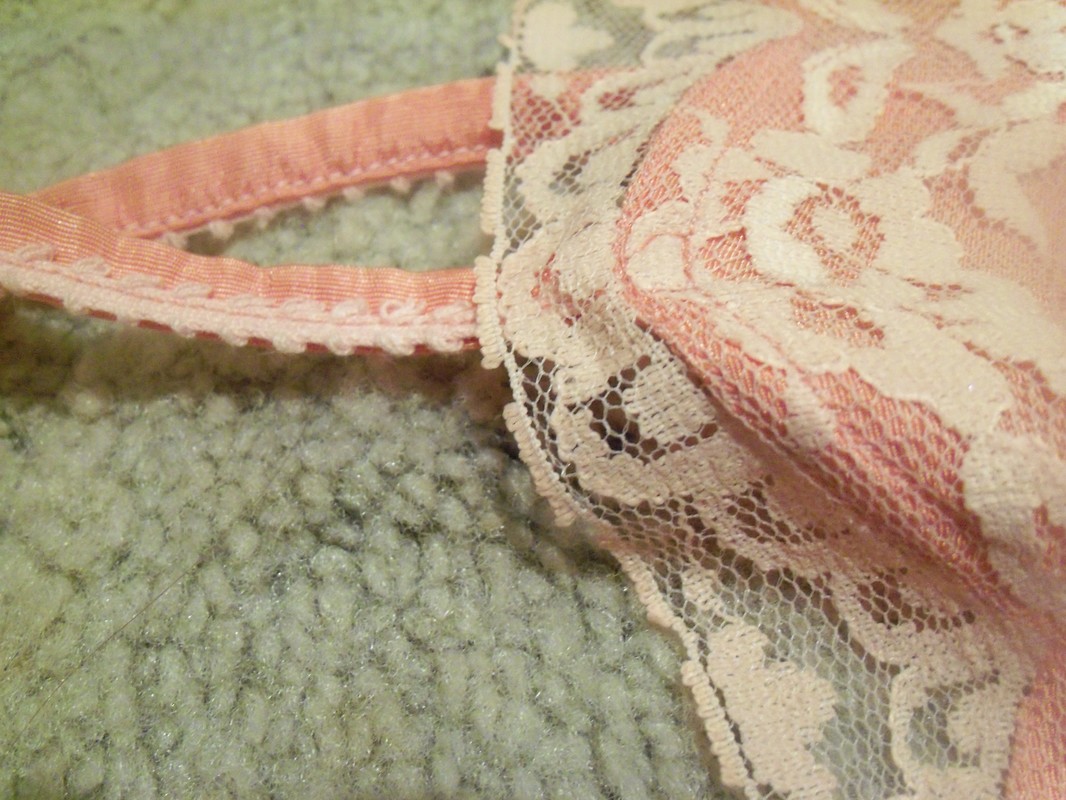 Close-up of shoulder straps. The finished camisole doesn't fit quite as easily as the original; the original is a slightly stretchy nylon and the new camisole is a non-stretchy woven. However, I quite like it, and love the scallops and the lace. It's such an easy pattern that I may do it again, this time paying more attention to fabric choice, or widening the flare to give more ease in the bust! 
1 Comment
The Sister
3/24/2017 12:02:45 pm
Oh, I like the second one a lot! The color is very good for you and I love the little scallop and lace details you added. You could wear it under an itchy-but-cute shirt and be all happy! Pretty! Leave a Reply. |
Karen Roy
Quilting, dressmaking, and history plied with the needle... Sites I EnjoyThe Quilt Index Categories
All
Archives
March 2024
|


 RSS Feed