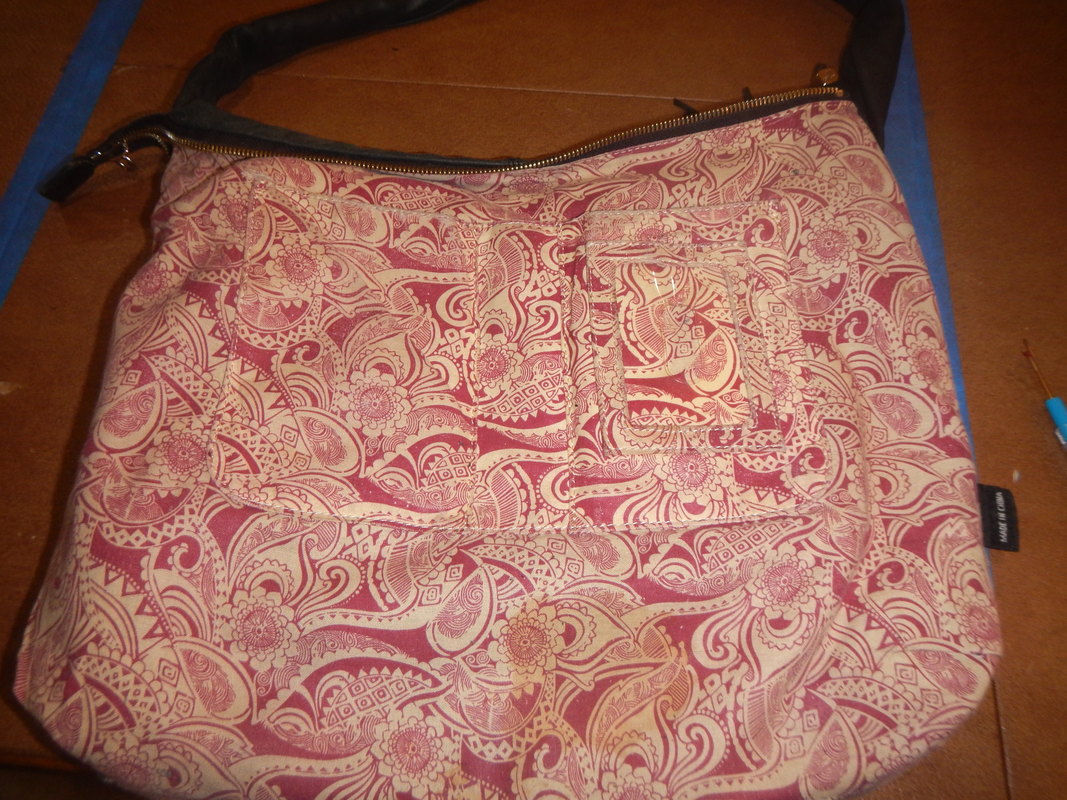
"The original has pockets... if it's not too much trouble, I'd like at least one pocket," she said. And "You don't have to replace the linings on the smaller side pockets, if you don't want. They're not torn..." It's funny: if someone has a list of requirements, I meet them, but if someone gives me a bare minimum and tells me that they're fine with "just" that, I always want to exceed their expectations. I want them to be pleasantly surprised. My assignment:
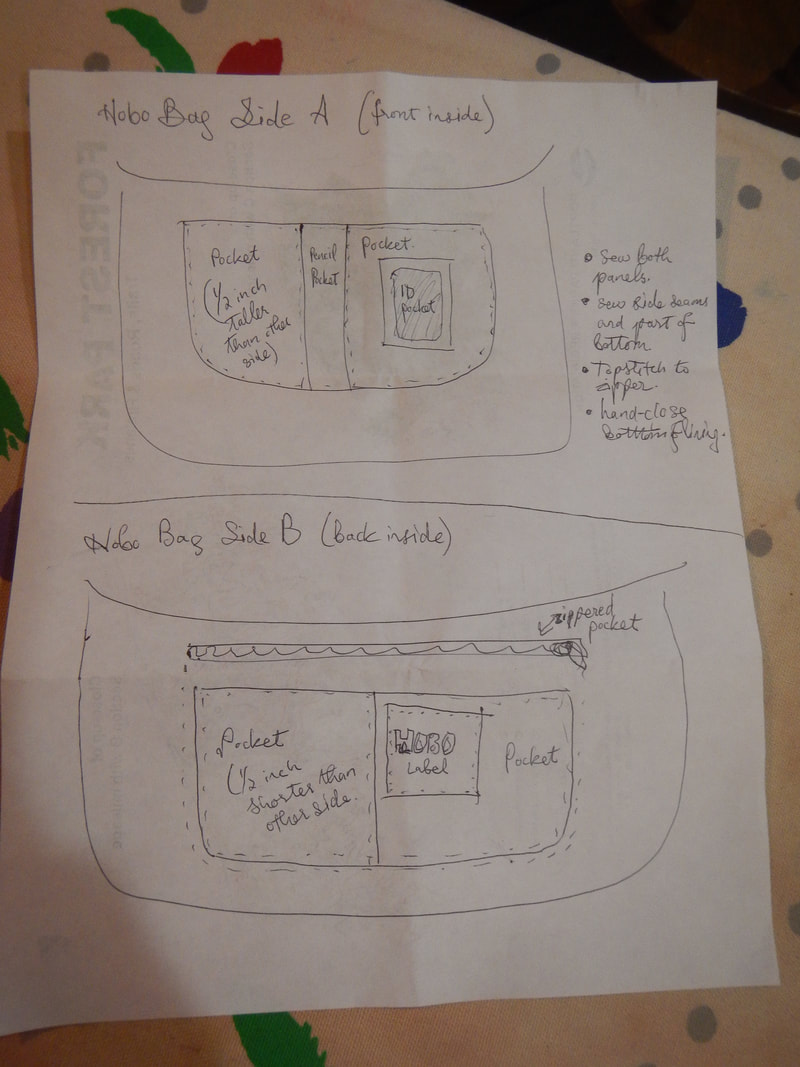
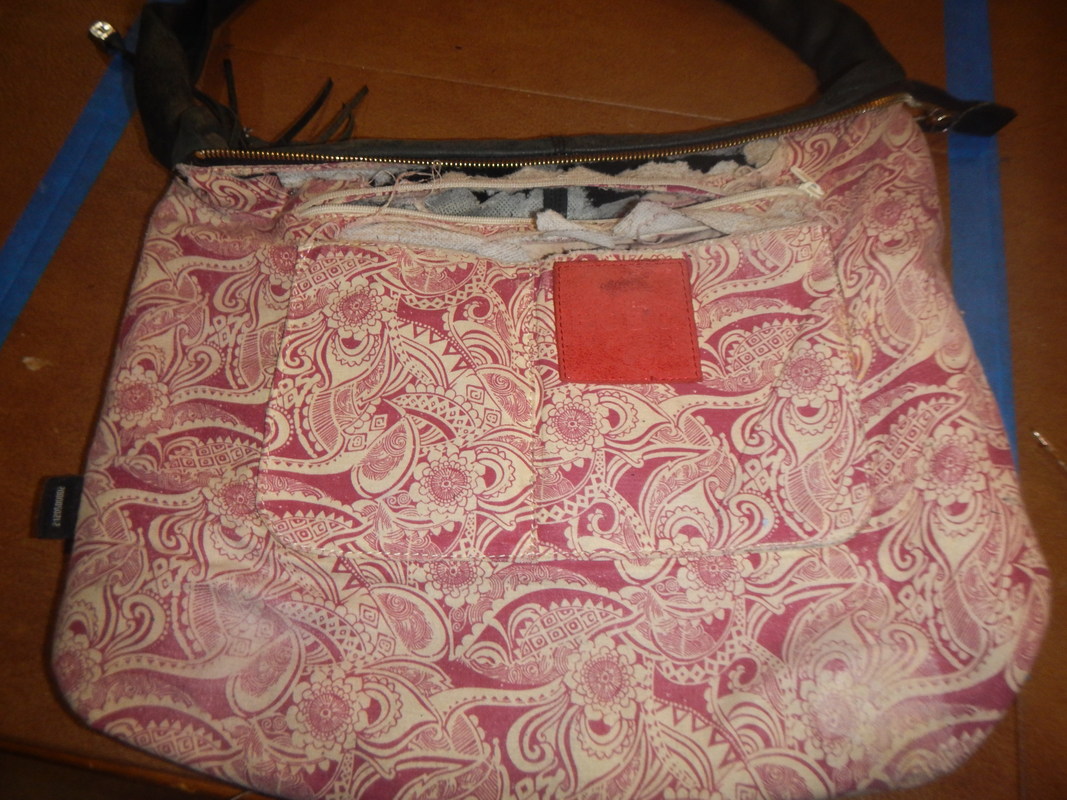
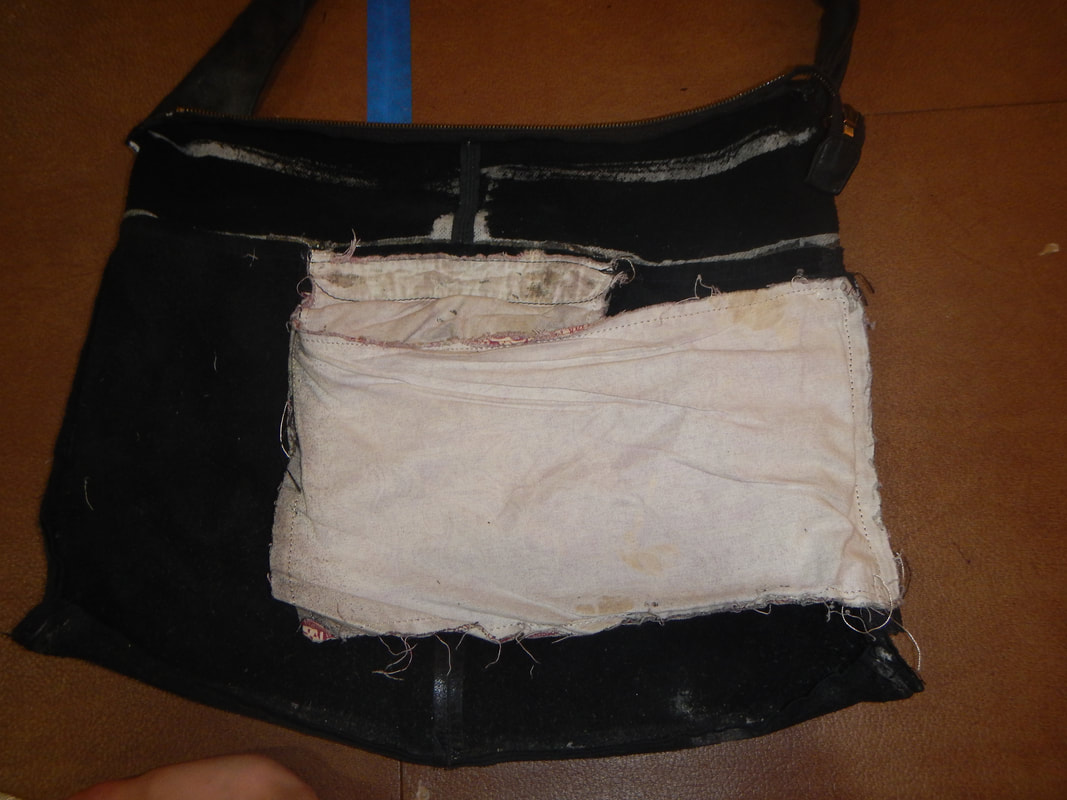
THE ORIGINAL LINING First I made a quick diagram of the way the lining originally was, so I could replace it with the same configuration. My client would already be familiar with this layout, so why change?
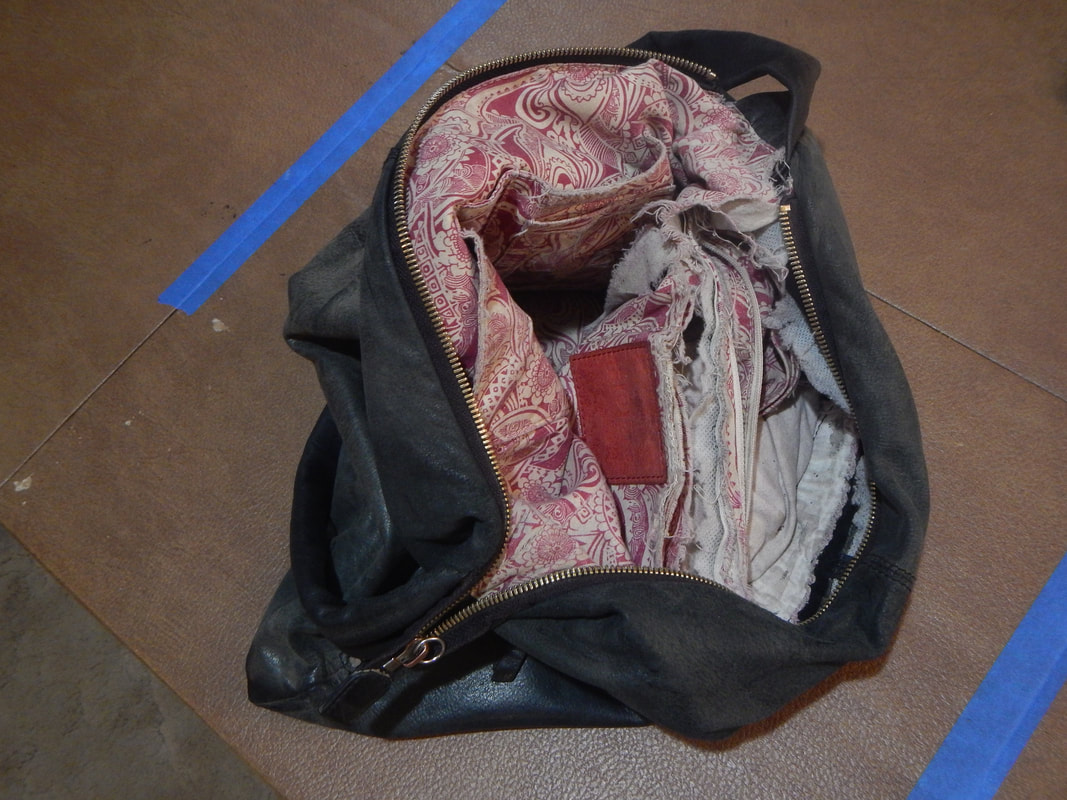
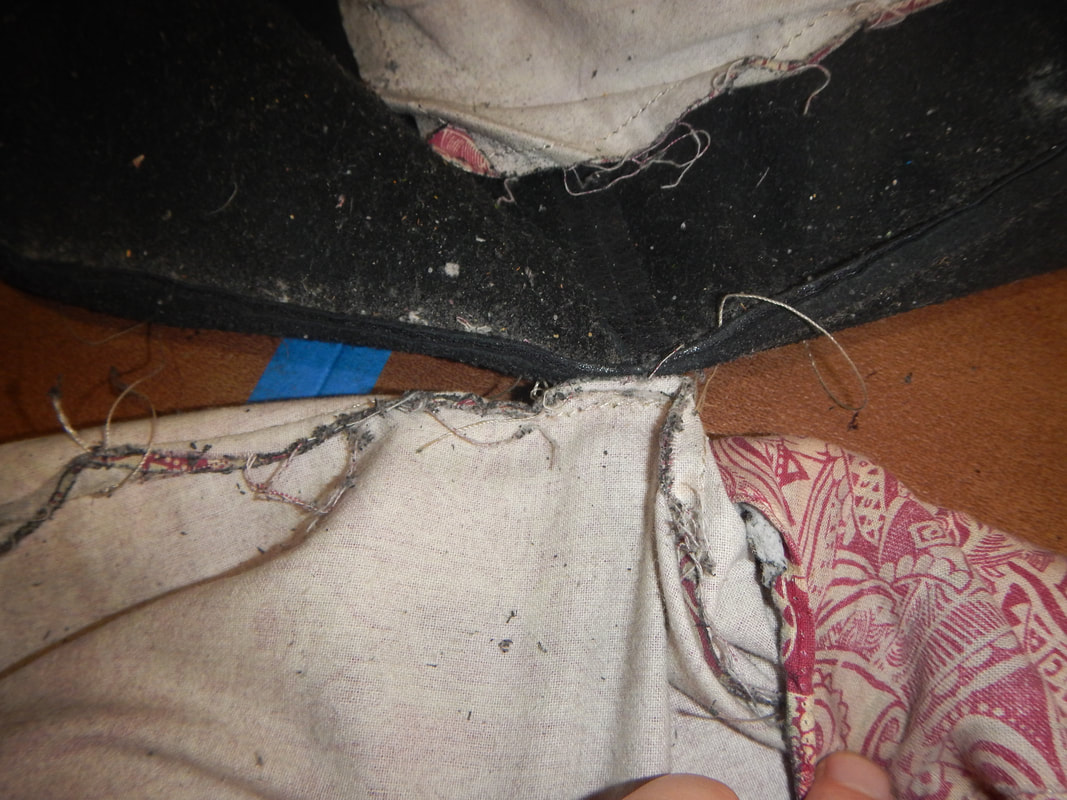
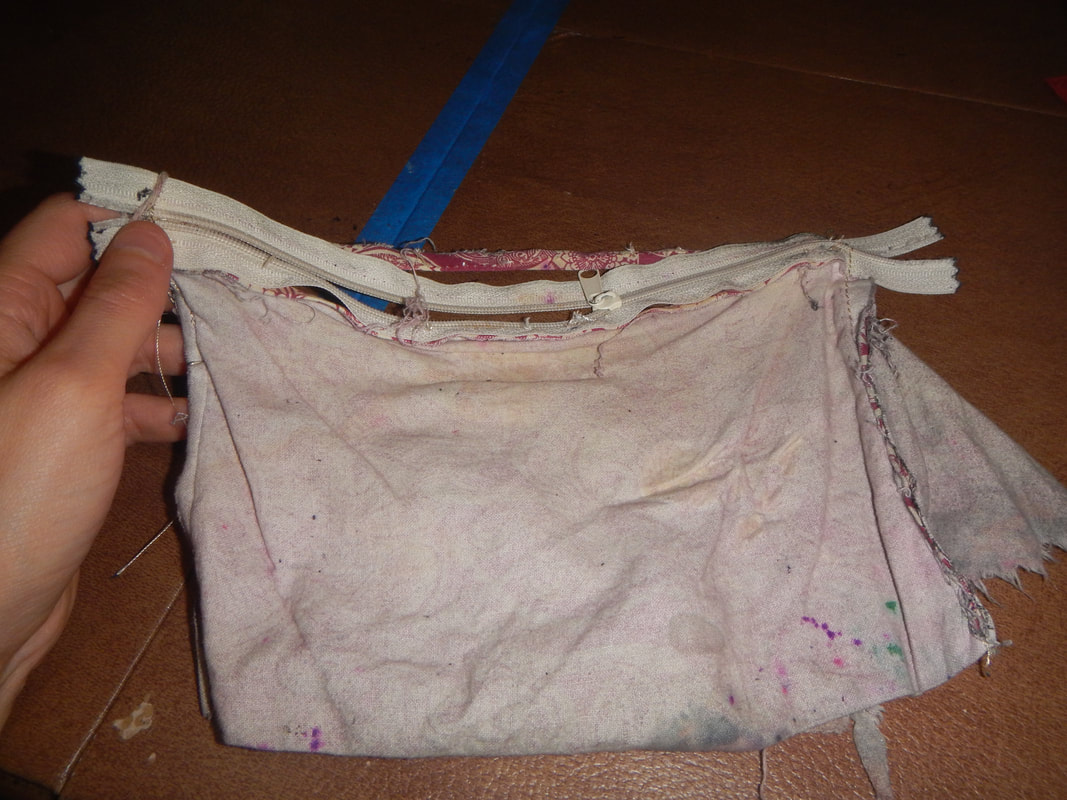
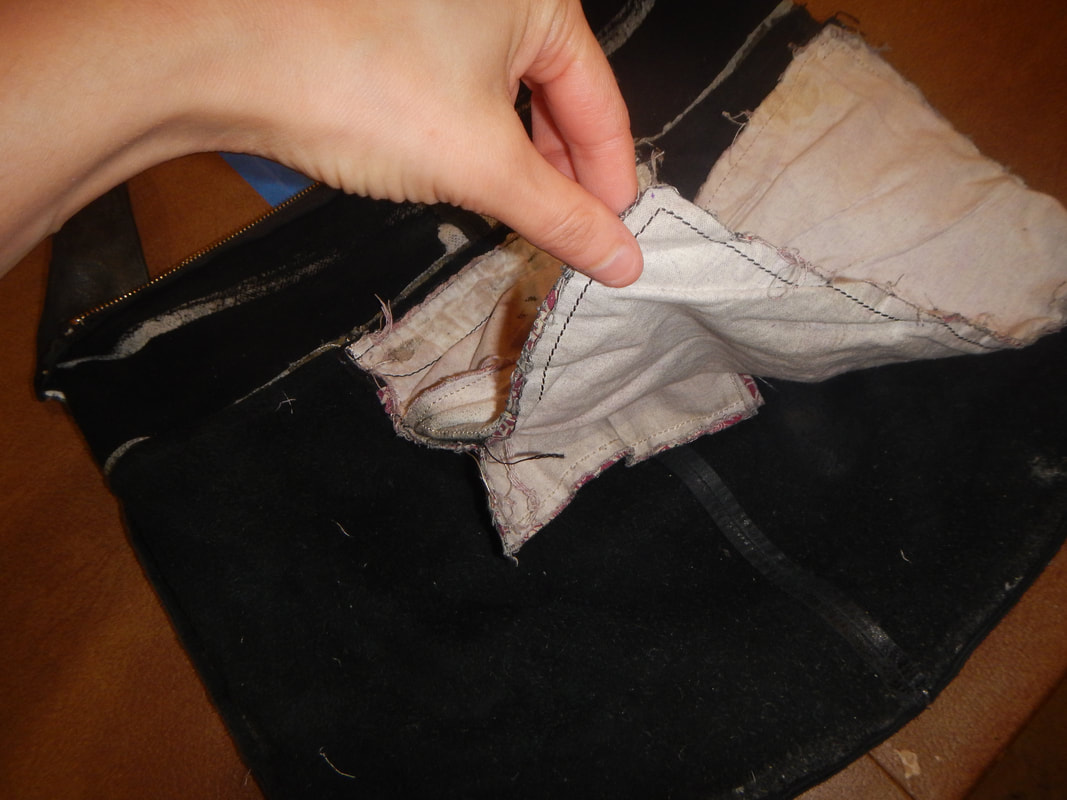
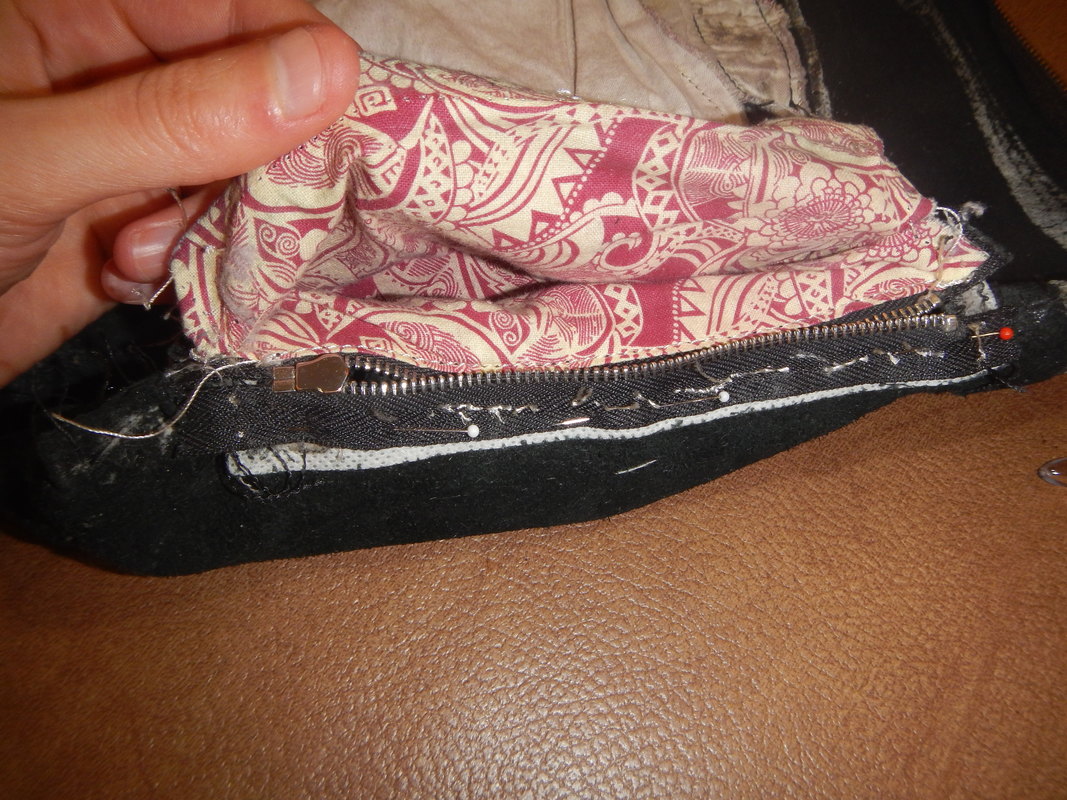
Then I unpicked the stitches sewing the lining to the top of the bag, next to the main zipper. I was pleased to discover that the zipper was sewn on the leather separately, so I could remove the lining without having the zipper fall out: 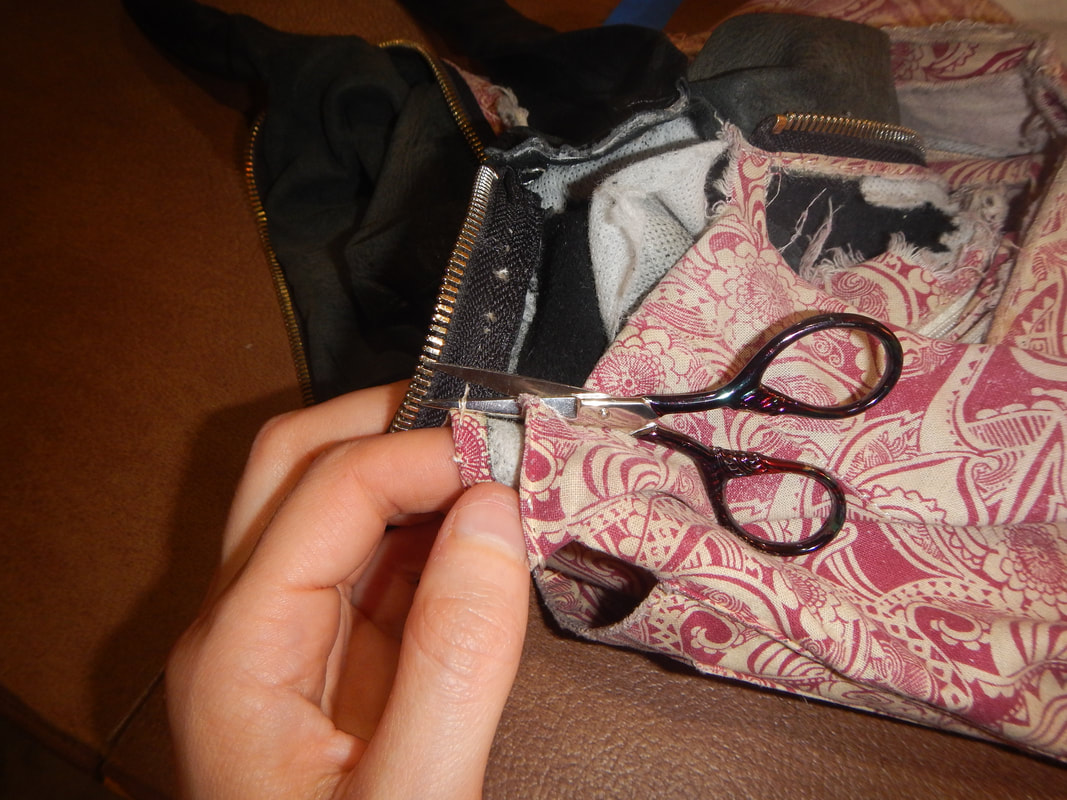 Some interesting construction details came to light as I disassembled things.
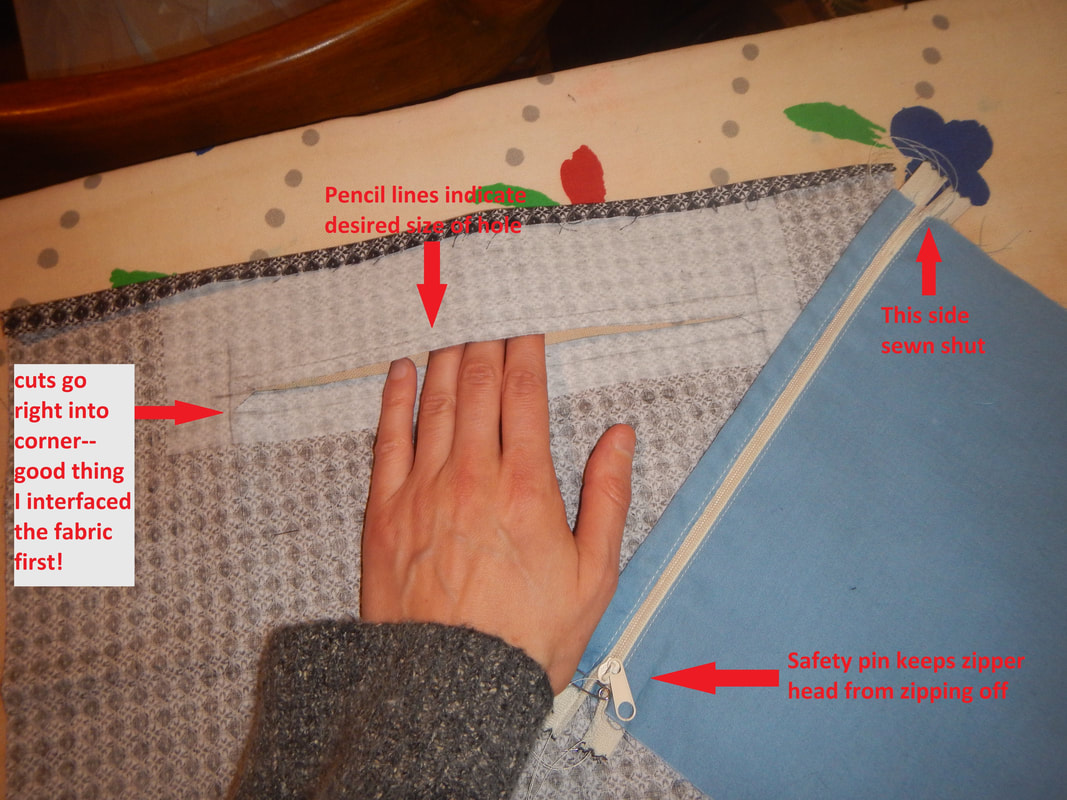
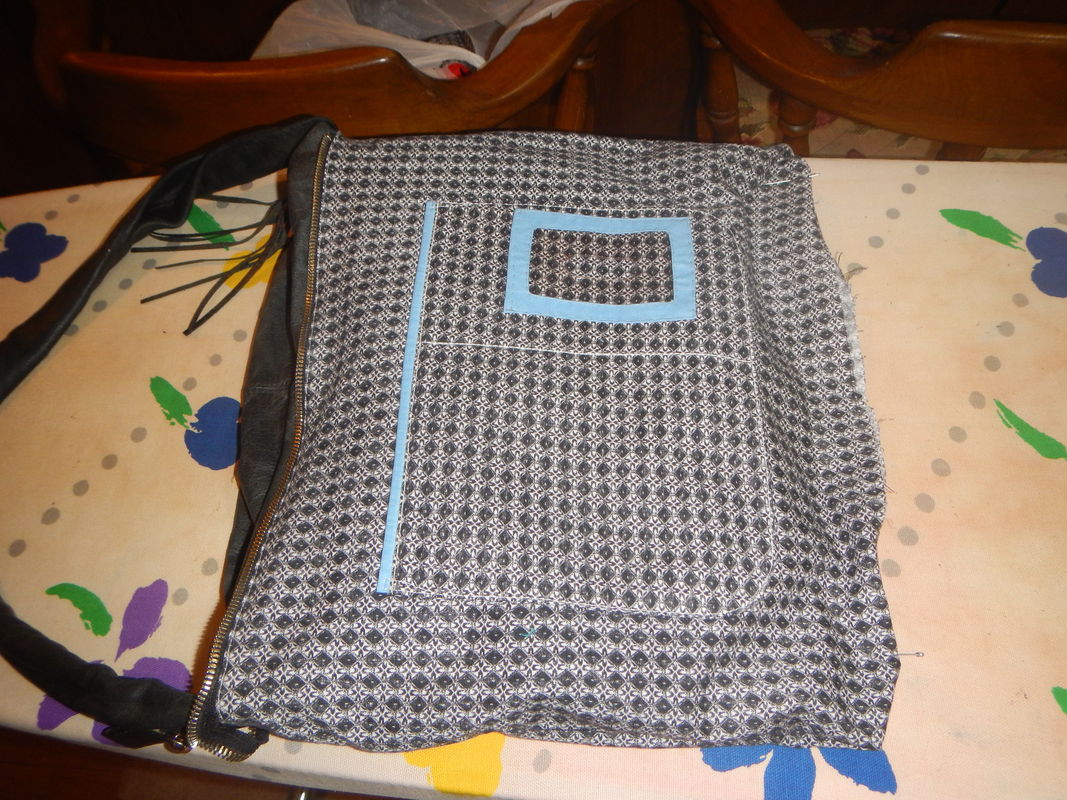
A brief note about zippers, especially re-used zippers: use safety pins to hold both edges together while you're working with them! Otherwise, you're likely to zip the zipper head right off if you're not careful! If you do zip the zipper head right off, you are left with a closed zipper and no head. Then you can't get the head back on at the top (where it just came off); you need to pull the zipper teeth apart, and take the head around to the bottom of the zipper and feed it back on. This is annoying but not as difficult as it sounds. CONDITIONING THE LEATHER Once the cloth was all away, it seemed a shame not to condition the leather. So I did. First I took a damp cloth and wiped the exterior to get excess dirt off. Once that was done, it looked a little better already. I let it dry overnight, and the next day took SAS Soft Leather Cream to it. The cream is in the neutral color, so it doesn't interfere with the black of the bag. To put it on, I used the sponge applicator to swab the cream in circles, getting in all the creases and seams, and paying extra attention to the most dry areas. Then I let it dry, and buffed it with a soft cloth. I repeated the treatment once more because I thought the leather needed it. Then I washed out the sponge applicator and let it dry completely before putting the cream away. (That's not on the directions on the box, but it is a good idea all the same!) THE NEW LINING Using the old lining as a template, I cut out a new lining using a black and white fabric my client approved. It's a printed cotton, and only after I cut it did I realize that the nap of the printed pattern is not on grain, so when I cut the fabric on grain the pattern ended up slightly slanted. Grr. So I slanted the pieces just a little, and proceeded following the nap, because I wanted it to look nice when the purse was done. Had I been making a garment, I may have chosen to follow the grain instead of the nap, but since a purse lining doesn't need to hang just so, I opted for the visually pleasing option. Speaking of visually pleasing, I quickly found that the busy print had a blurring effect on my vision, like I was looking at a Magic Eye illusion! I decided this needed to be addressed so my client wouldn't end up staring blankly into the depths of her purse wondering if she had a pencil in there or a 3D image of a cow. So I rummaged through my stash and selected a baby-blue contrast fabric to give definition to the details of the pockets and zipper. (I had considered re-sewing the Hobo Original label onto the new lining, but once I picked blue for contrast it made the red label look bad, so I nixed that plan, too.)
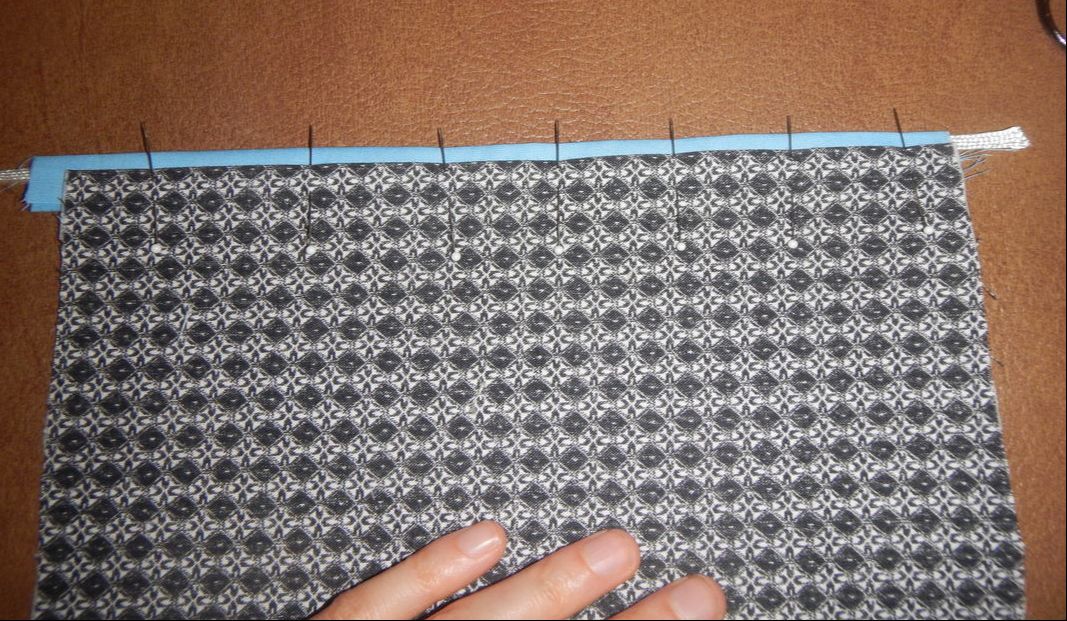
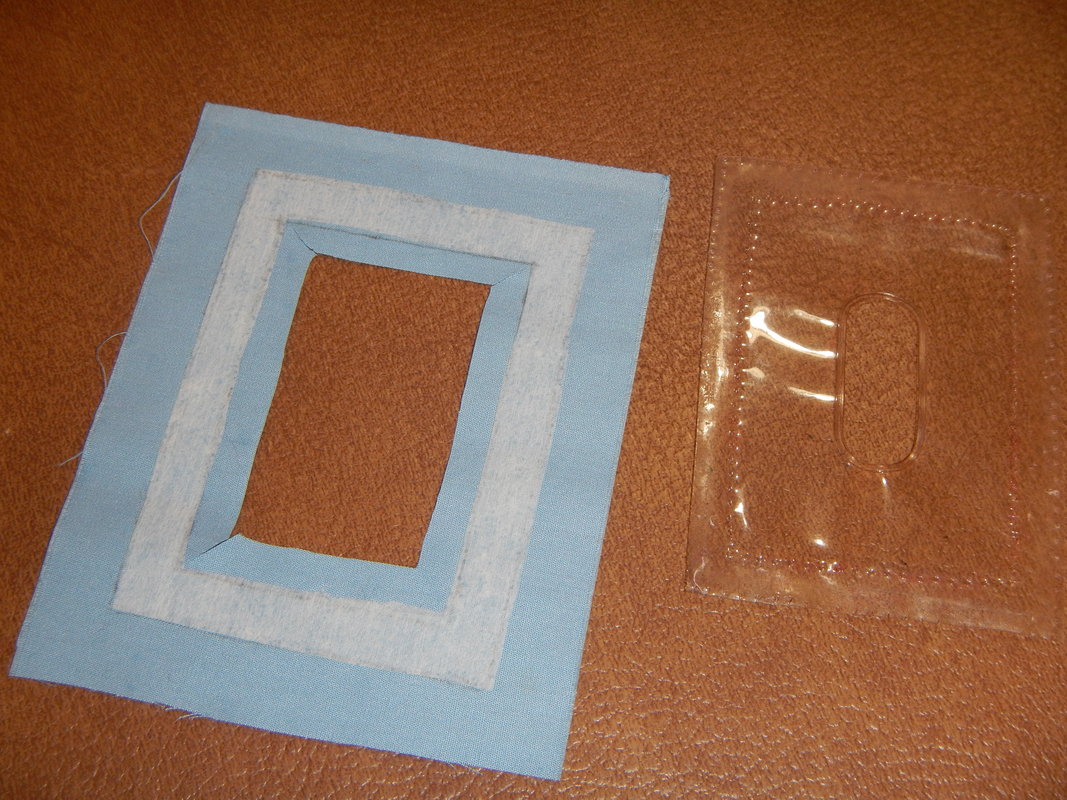
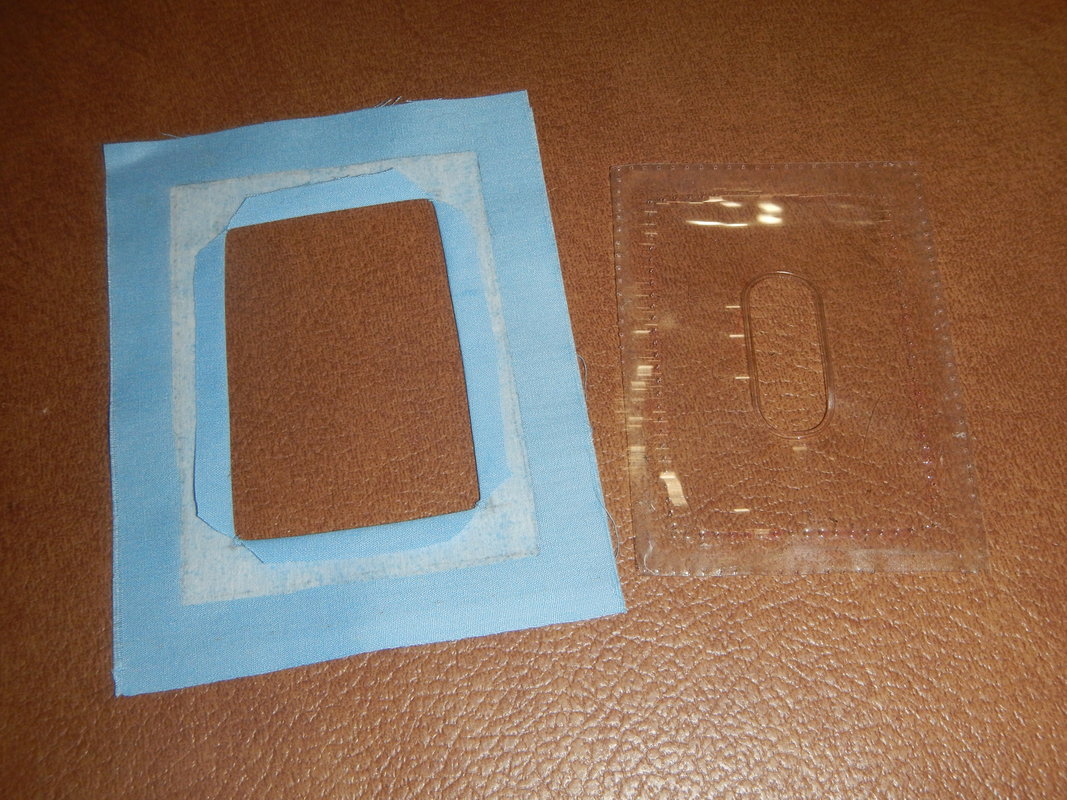
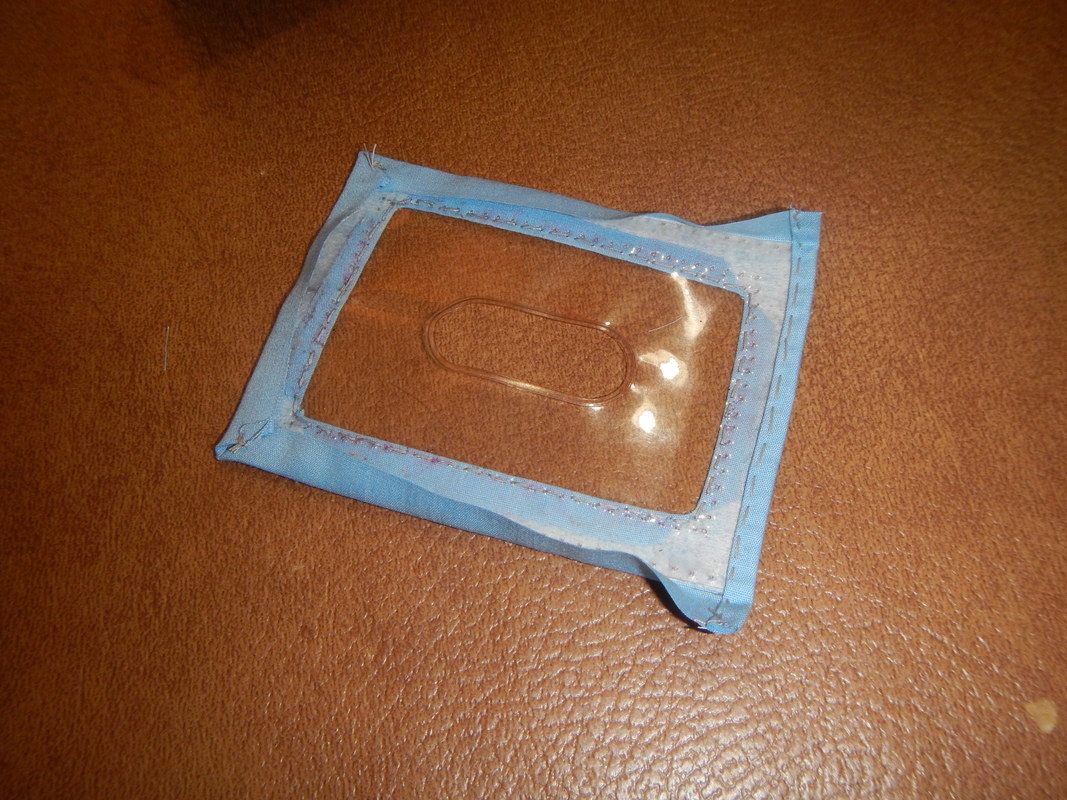
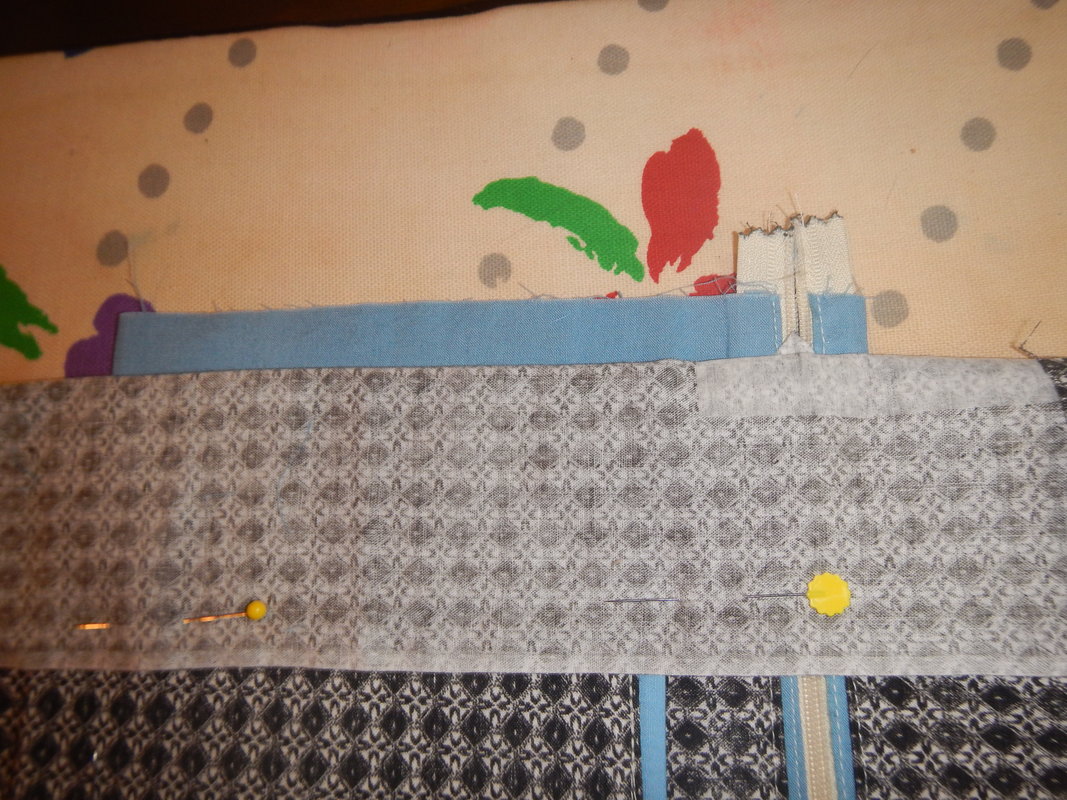
I did two pockets like that. One pocket also got a plastic ID window, salvaged from the original, which looks nifty. Wanna see how I did the plastic ID window? Click through! Before sewing the pockets on the lining, I prepared the wrong side of the lining fabric similar to how it was done on the original (interfacing, reinforcing fabric at corners of pockets), then sewed the pockets on as patches, going through all layers. And here's how I put in the zippered pocket. There's a lot indicated in the first picture, so click to zoom up if you want!
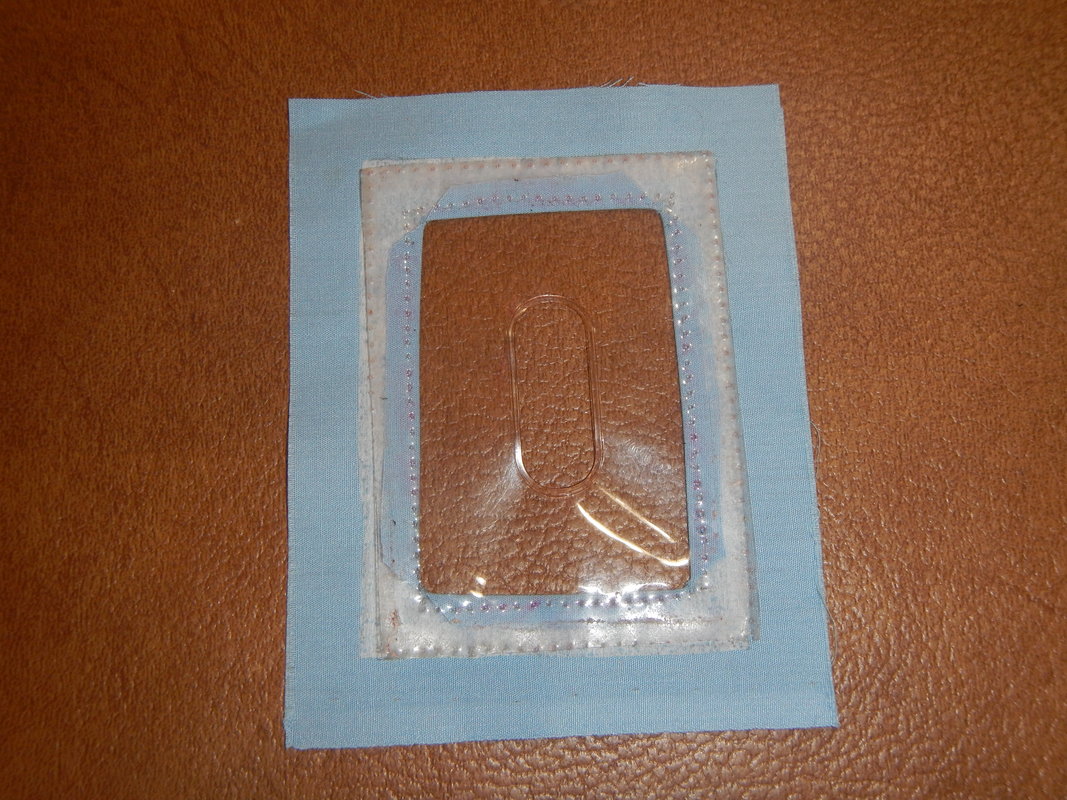
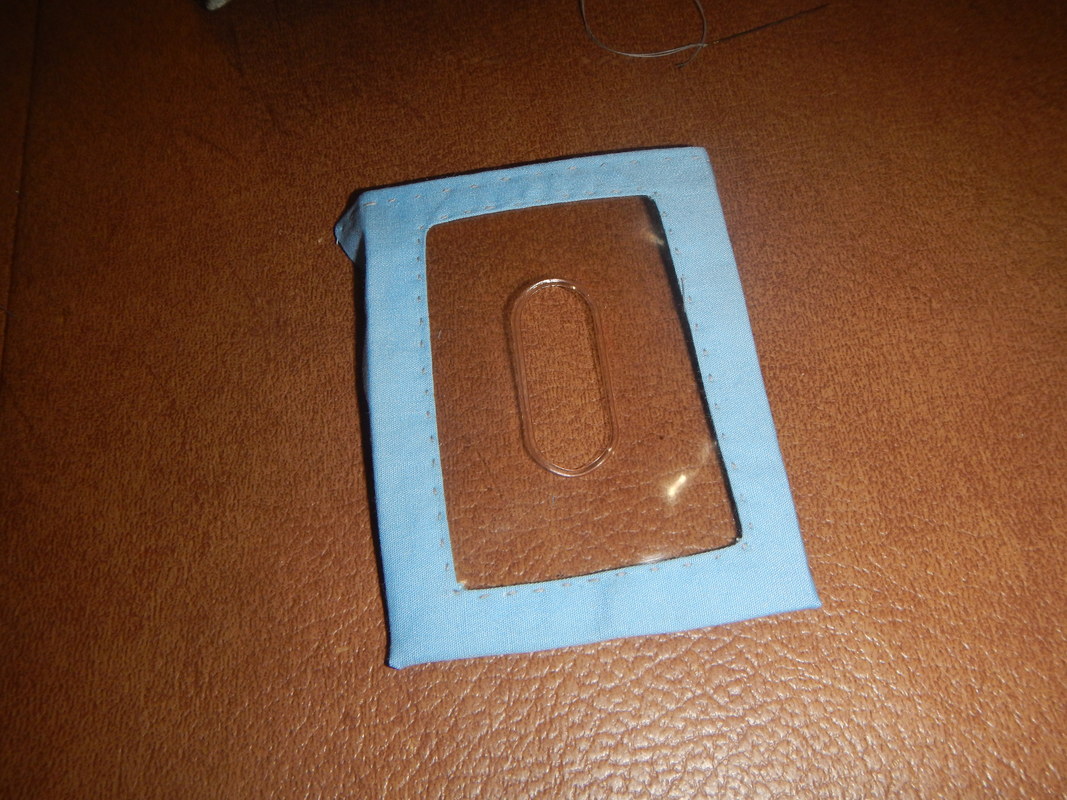
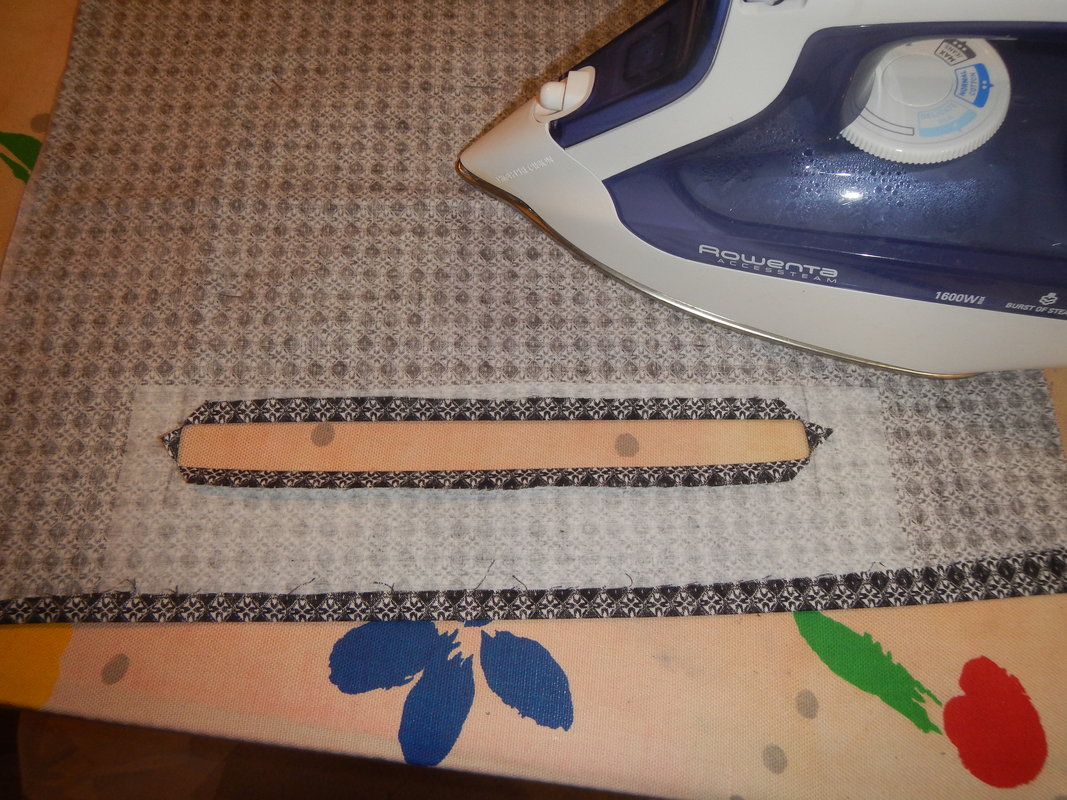
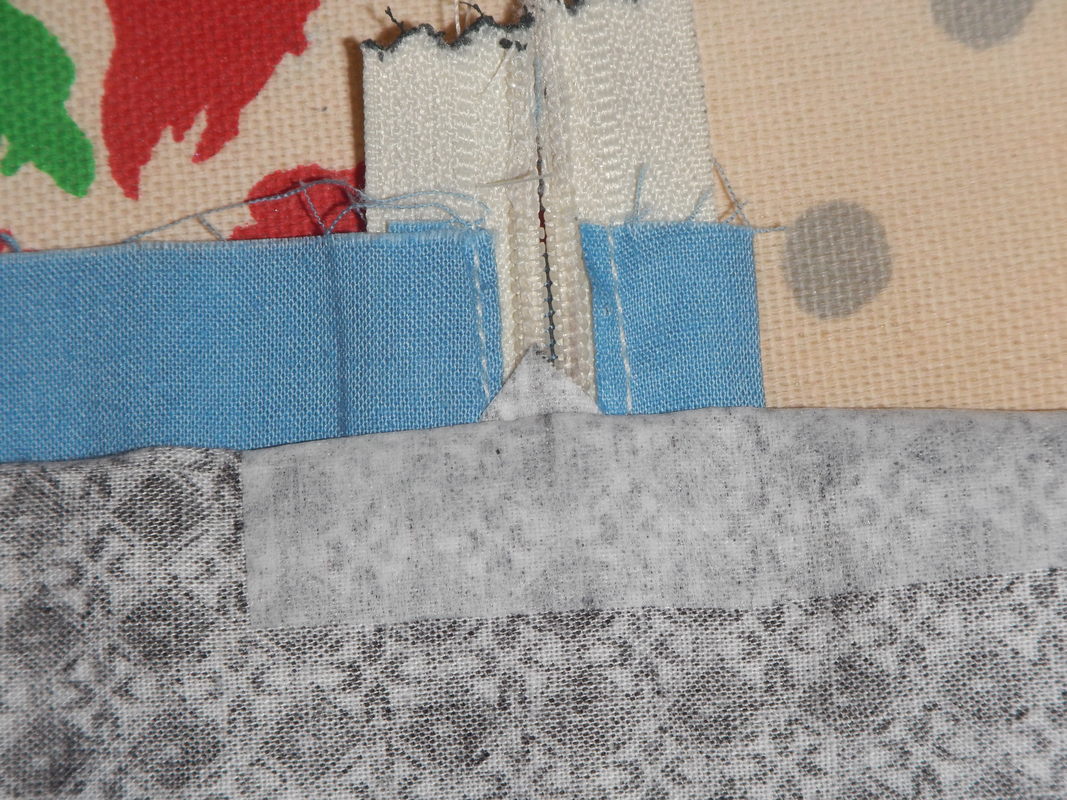
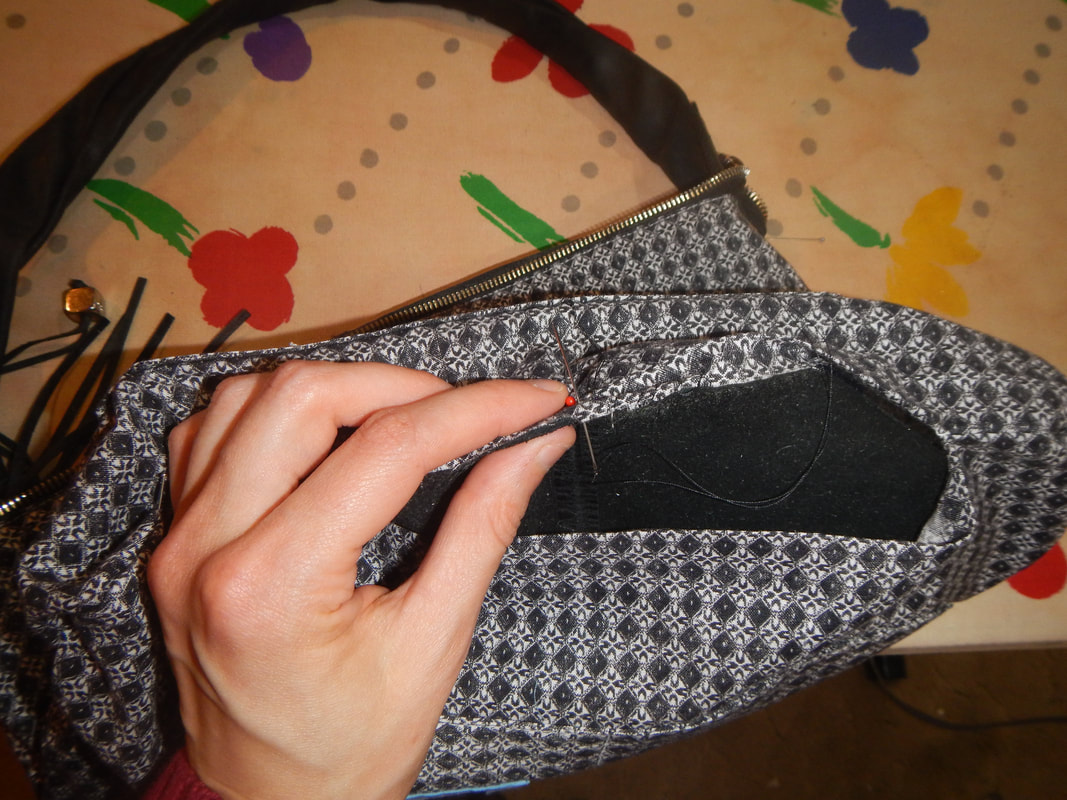
Step 4: I next had to close the blue pocket. Folding the lining fabric out of the way showed the edge of the pocket and the little triangle of fabric from the window. I sewed the side seams in line with this edge (sewing only the blue fabric), and sewed the bottom shut as well. This left a pocket of blue fabric with an opening in the black and white fabric to access it. The blue fabric peeks through very nicely.
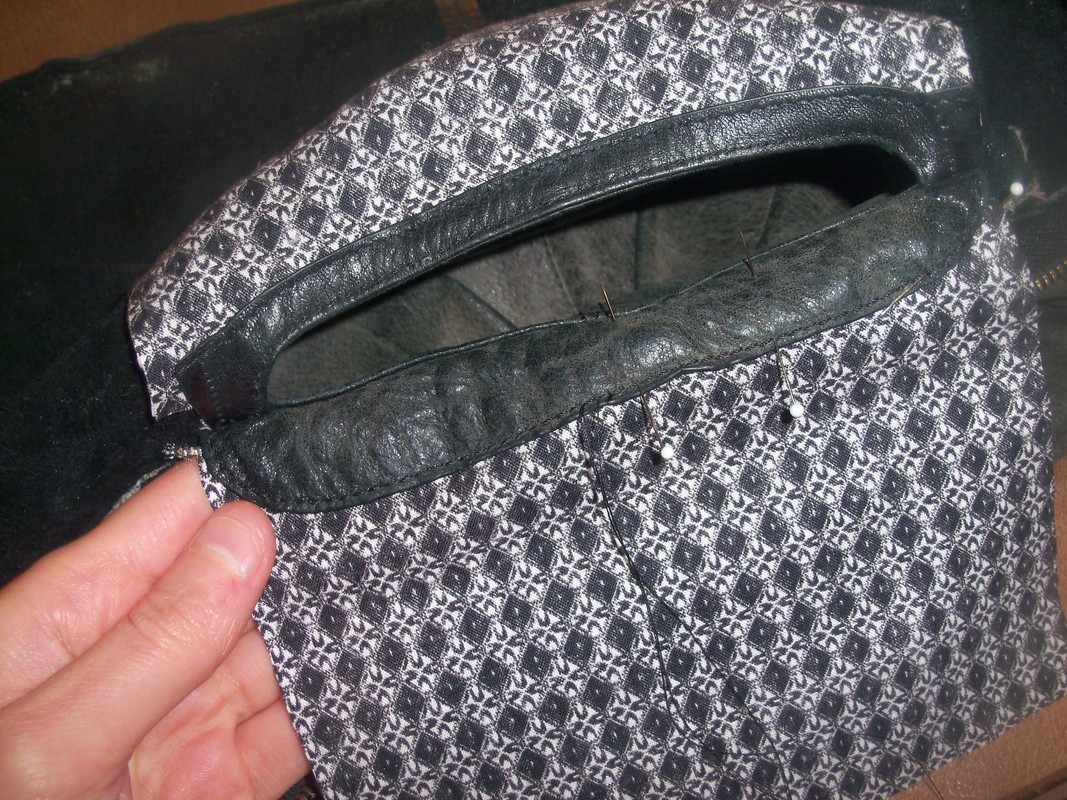
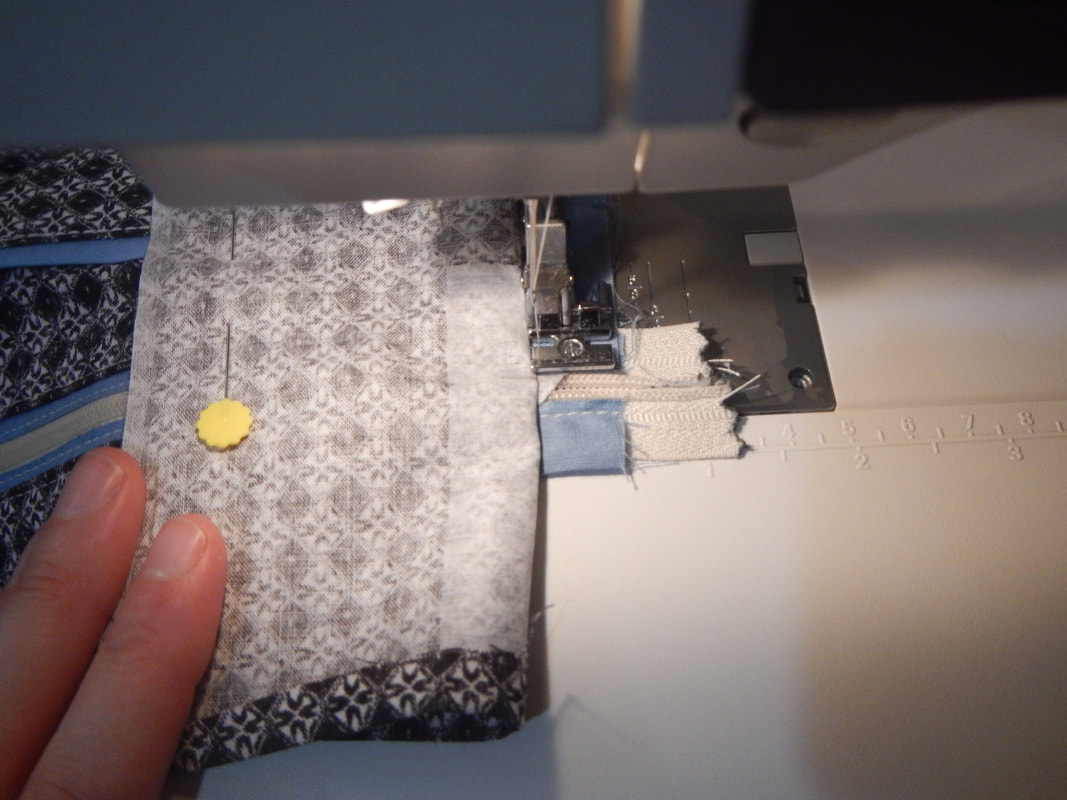 Sewing the side of the blue pocket Finally, I used a few hand-stitches to tack the bottom of the blue pocket to the lining (where it was hidden under the outer patch pocket), so it wouldn't turn inside out. Besides the main compartment, there are two other pockets in the purse. I call one the "gun pocket" because it is like an underarm holster when you carry the purse, accessible with the left hand when the purse is on the right shoulder. (Somehow I doubt that's what my client uses it for...!) I call the other a "ticket pocket" because it is about the size of a bus ticket, and is on the inside of the purse, next to the skin, so you could whip out a bus ticket without opening the purse or rummaging around. (The pockets don't really need names, but it makes it easier to reference them!)
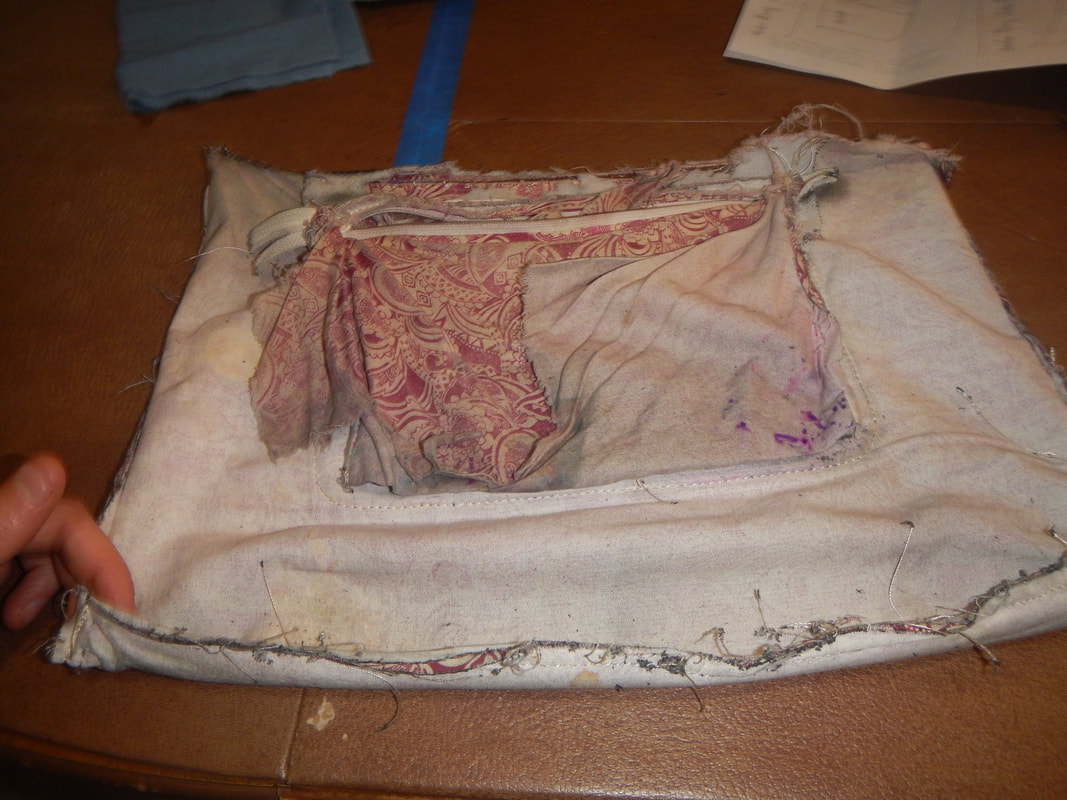
FINISHING STEPS One element of this project puzzled me throughout: The top edge of the lining was folded over and top-stitched to the top edge of the purse, so clearly that had to be done before the lining was closed up into a bag. Yet when I examined the original lining, it looked like it was sewn inside out and then turned, which could not be done after top-stitching the top. And remember how the bottom of the lining was sewn to the bottom of the leather bag? That had to happen before the top-stitching, but if it did, how was the top-stitching done on a closed bag and closed lining? In other words, I had no idea how the thing went together! I wish I could say I figured it out, but the truth is that I simply found my own way.
Later, at the Mill End Store, I bought a tiny scrap of leather from their Bargain Room (69 cents), and used that to put a new zipper pull on the zipper for the main compartment. NATIONAL HANDBAG DAY Did you know today, October 10th, is National Handbag Day? Starting in 2013 by Purseblog, National Handbag Day is meant to be a day to recognize the purse or handbag as an important part of daily life, social expression, and art. As far as I can tell, this holiday is mostly recognized by retailers of purses, purse aficionados, and people who like to compile lists of holidays. Until recently, I wouldn't have put myself in any of those categories! But I'm reminded of a favorite haiku by Teiji... Hearing its name When we consider a thing common, we pay no attention, but when we realize that someone else pays attention to it, we look closer and see its uniqueness. In the course of re-lining my client's purse, I "looked at it anew".
On a personal front, I came to appreciate how much the purse was needed and used by my client, and I respected her desire to have it mended instead of replaced. How long had she been loyally clinging to it even as the inside shredded to bits, refusing to buy a new one when this one had served so well? And when she heard I could sew, she immediately commissioned me! She knew what she wanted. To her, that purse must have been an ally in her daily life, a faithful servant, an old friend. I understand the hunt for the right purse. I only ever have one at a time, but I am picky about my choice; it's the one part of my outfit I carry every day, and so I place the greatest demands upon it to serve my needs and express my personality. For instance, I reject fake leather ones because I hate the way the polyvinyl chloride becomes gummy and falls apart with use. Even real leather purses will sometimes have thin lines of the fake stuff around the raw edges of a strap (presumably to cover the unfinished side?), which peel off and look gross before long. Yuck! I don't like big purses because then I end up carrying too much. (My client's Hobo bag is far too big for me!) I don't like floppy purses because I can't sit them neatly on tables or the floor. I like the ones with little metal feet to stand on. I like chains for handles because they don't get grubby. I don't like designer purses with logos or someone else's initials all over them. I feel like a fraud carrying status symbols which I don't know how to interpret. I like purses that open and close with a little click noise; they feel tidy and prim. I like over-the-arm purses because they feel classy, but I carry a cross-body purse for the winter, because it's easier to use over coats. I buy all my purses at thrift stores, never new. As a ubiquitous part of daily life, a purse has stuff to say to us or about us. Are we tidy or messy? Do we have the confidence to carry little, or are we prepared for every contingency? Do we compartmentalize, or throw everything together? Are we gregarious or parsimonious? Do we make a statement with color and textile, or opt for a neutral option? Are we practical or showy? And we read the messages of the purses of others. So it's worthwhile to take care of a purse, and give it a little love when it needs it. My client's purse feels different to me now that it's re-lined. Before it seemed like a tired workhorse, now it's well-used but equally well-loved. Even better, the new lining has personality, since the owner picked it out as her favorite. On a professional front, I saw how much engineering and thought went into its design, learned a new way of squaring off a bottom of a bag, and failed to solve the mystery of how they enclosed everything using sewing machines only, when I had to resort to slip-stitches at the end! So Happy National Handbag day to my client, and to me!
4 Comments
The Sister
10/14/2017 07:47:09 pm
What a thoughtful girl you are! You did a good job. Love you!
penny mooney
11/15/2020 08:02:09 pm
I wish I had a sister like you. :)
M
1/31/2023 03:36:20 am
I know this is an old post by now, but I never cared too much about that, it's like saying we shouldn't talk about a book because it was published years ago; good is still good. Leave a Reply. |
Karen Roy
Quilting, dressmaking, and history plied with the needle... Sites I EnjoyThe Quilt Index Categories
All
Archives
March 2024
|


 RSS Feed