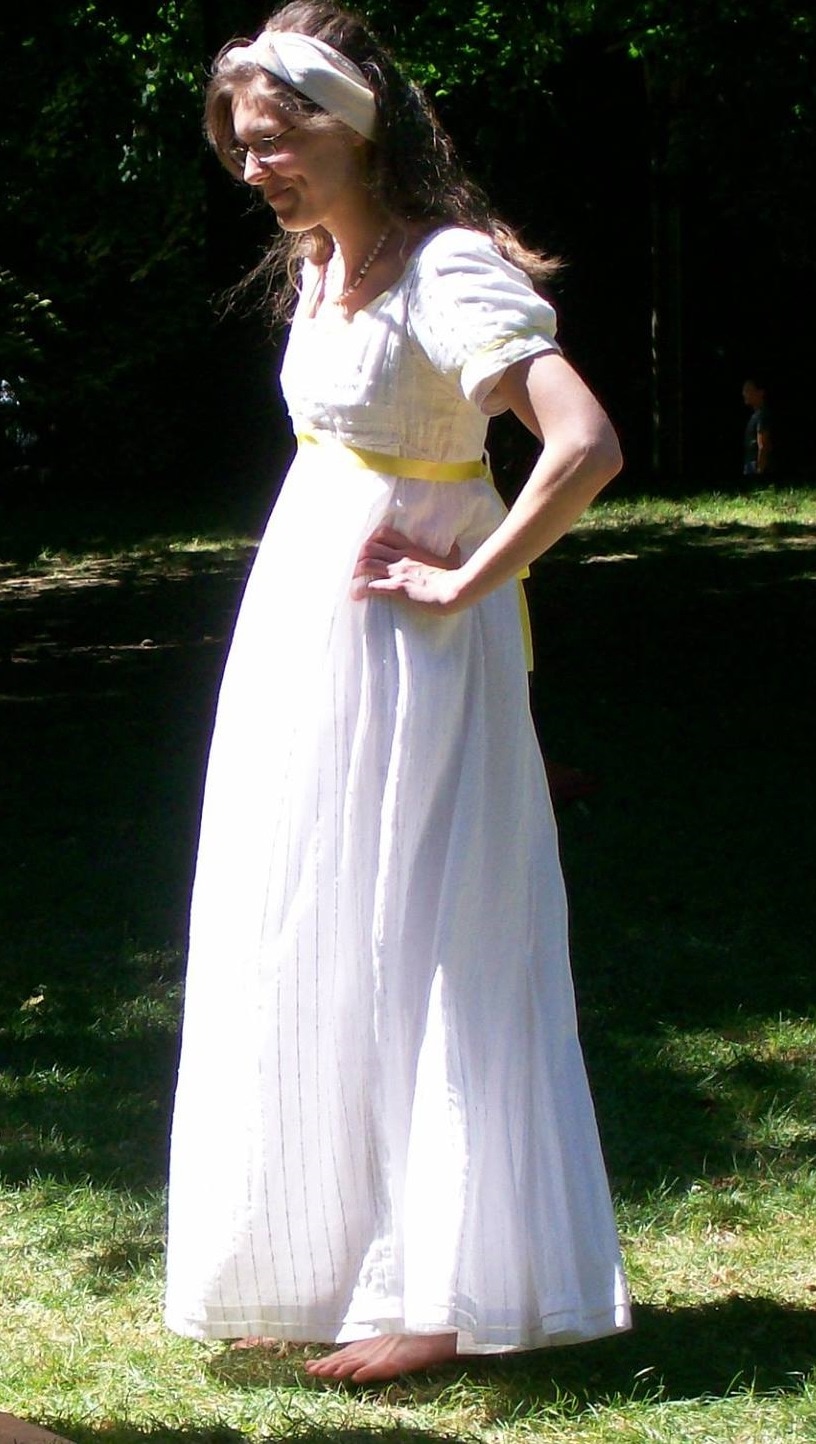
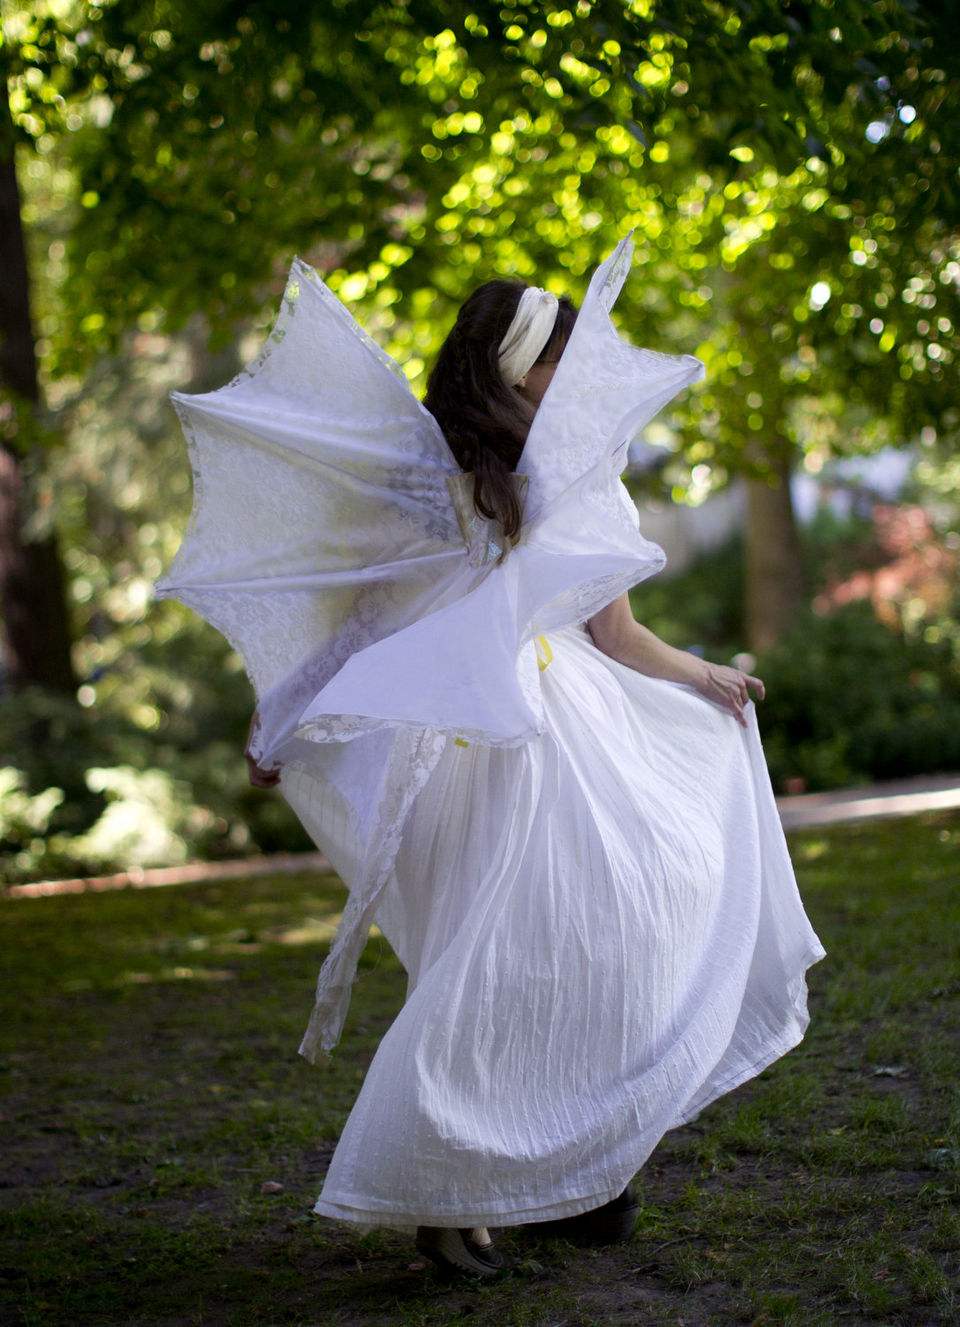
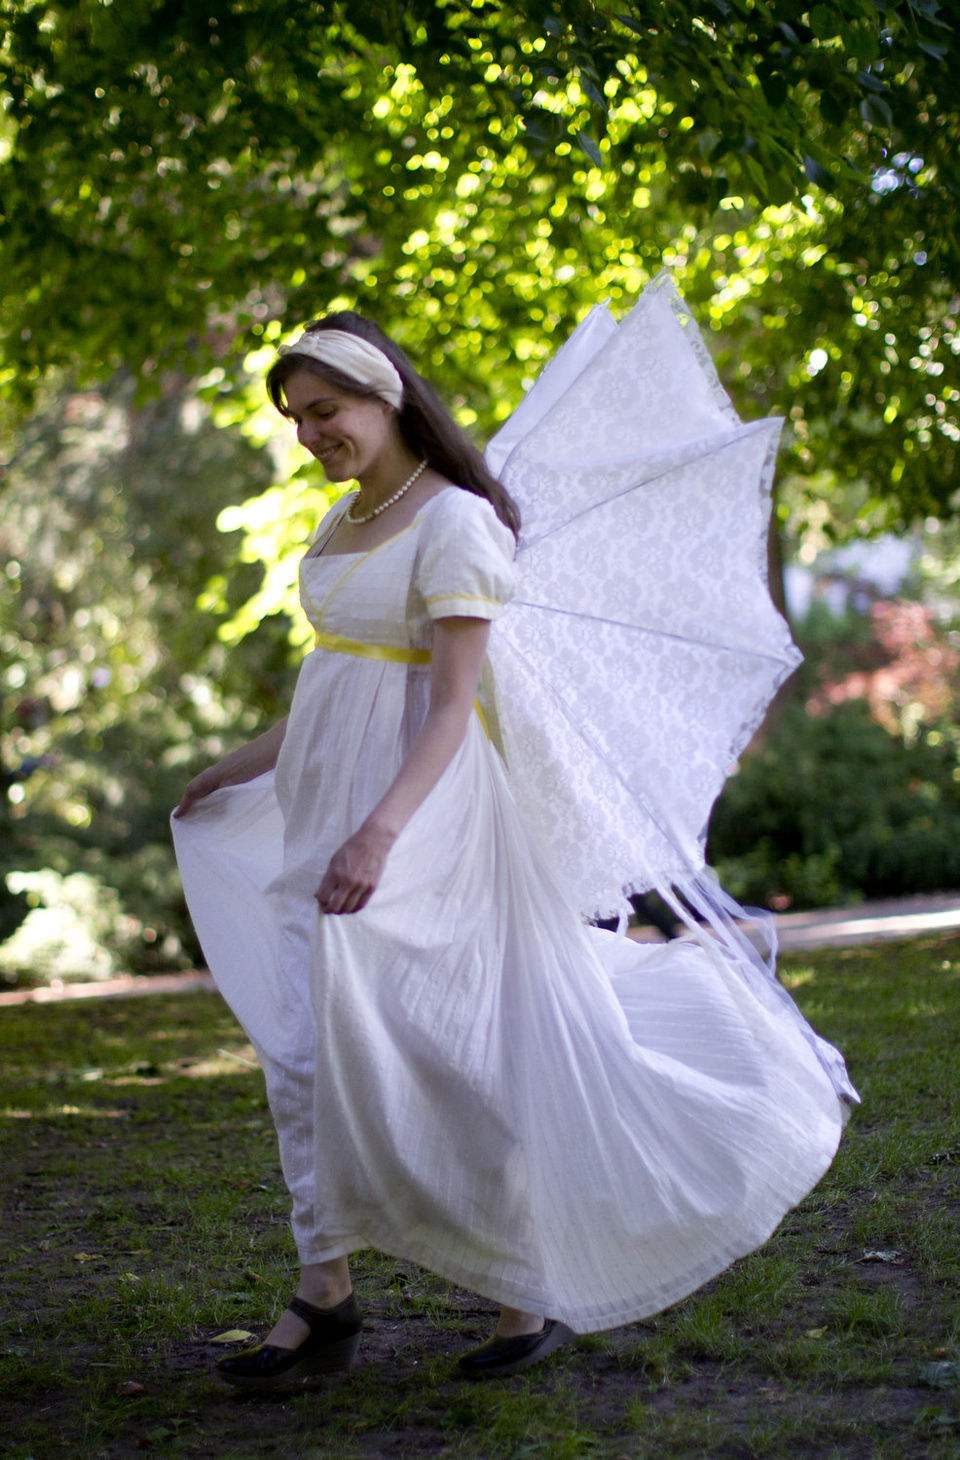
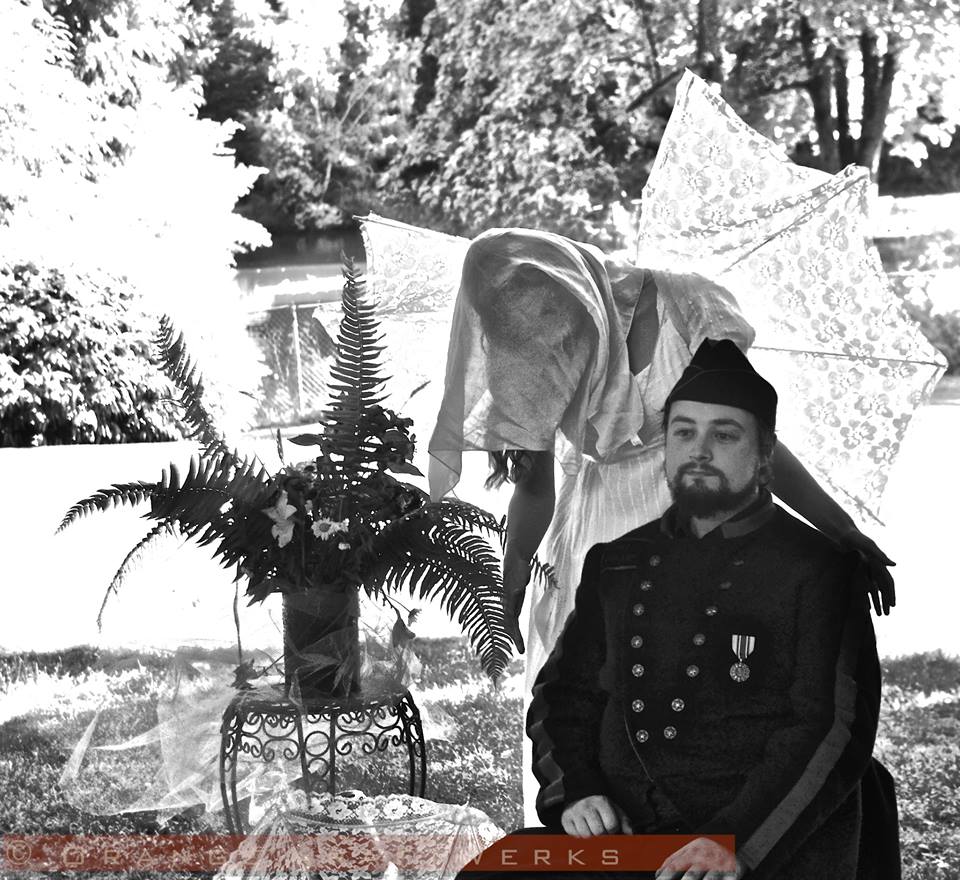
MAKING THE GOWNThe whole project started, as it ought to have, with the foundation garment. I used the Mistress of Disguise's guide to drafting short stays. I hand-sewed these carefully, beefing them up with cording and decorating them with embroidery patterns I selected from Ackermann's Repository. Short stays are a strange contraption: like an elevator for the bosom. I don't have much bosom to work with (my short stays only needed one gusset at the top, not two!), so the silhouette change for me was not extreme, but bustier ladies do look rather odd with their bosoms so high up! However, I can see how people in the early 1800's, having seen women in stays their whole lives, would have thought the new short-stays perfectly normal, even relaxed, in their fit. Fashion rarely looks odd in its own time, especially when it evolves gradually to suit changing materials and mores. I also whipped up a chemise to wear under the short stays. And when I say "whipped up", I mean I simply tore the rectangles from an old sheet, hand-sewed them with running stitches, and never bothered to hem the garment! It is still a UFO! Then it was time to make the dress. I drafted the pattern by taking my existing short stays pattern and redrawing it a little larger, with new lines. I didn't change the front (which goes under the bust) at all, because I was going to cover it with a bib-front. For the bib-front, I truly couldn't have done it without the Hungarian Chick's blog post about the benefits of the bib front style, which explained very well with diagrams and text how the whole dress goes together. I can't praise her post highly enough! Seriously, if it ever goes off-line, use the Wayback Machine to find it in the Internet Archive, because it's that good. Koshka the Cat has another great resource on the bib front. I figured the sleeve out by taking a sleeve pattern from something else and adding lots of extra to the sleeve cap, so I could gather it to fit. I won't pretend it was a properly drafted or fitted sleeve cap, but I fudged it with pleats and poofiness and it worked okay. If I made it again, I would raise the armscye in the bodice so that the sleeve would be smaller around, and I'd have greater range of motion without the sleeve tugging on the bodice when I move (but I didn't know that then)! The fabric I used was from old Ikea curtains (the Matilda model). It was sheer cotton, so I lined the bodice. But I kept the skirt sheer, knowing that I'd have enough petticoats eventually to be decent! The old curtains I was using for the project were already machine-hemmed at the bottom, and I briefly considered taking that hem out to re-do it by hand, since the dress was meant to be all hand-sewn. Then I realized that as this was an exercise in historical re-creation, I had to think like a historical lady: would anyone of the Regency era take out an existing hem only to re-do it, for no good reason? No. So I kept the machine hem that was already there, though every stitch of my own was done by hand. I also put some tucks in the bottom. FROLIC IN THE PARK!When the Pacific Northwest Steampunks hosted a Frolic in the Park in June 2015, I decided that I could make my Regency dress pass for Steampunk, if I added wings a la the Weeping Angels of Doctor Who. My wings were made by my friend Celeste Guodace Gagliano, who'd worn them for a monster bike ride previously. She constructed them from old umbrellas and lace, attached to elastic loops that go on like a backpack. I didn't fret about not having the appropriate petticoats or drawers for the outfit, because it wasn't a historical recreation type of event. The day of the frolic was perfect weather, and there were quite a lot of people in attendance, in various amazing costumes! We danced, played lawn games, ate, and hung out. Beth Nakamura, a reporter to the Oregonian, was there, and took lots of pictures for the newspaper. I was delighted by her pictures of me, and reproduce them here by permission of the Oregonian: GHOST PHOTOGRAPHYAnother photographer present was Orangekraftwerks, who played with the idea of Victorian spirit photography when he took this shot: The Victorians understood that photographs captured an image, but the average person didn't understand how it worked, and so they were vulnerable to being conned by savvy "mediums" who told them that photography could capture images of ghosts, invisible to the naked eye. The photographers accomplished this by double-exposure. For instance, if you take a short exposure picture of someone in white standing behind a chair, send them out, then call your sitter in to sit on the chair and take another picture, exposing the same negative, both people will be in the photograph once it's developed, even though they weren't in the same room at the same time. The picture will look like a real person sitting in a chair with a ghostly person behind them. This was called spirit photography. It's sad to think that grieving people paid good money to someone for this hope of connection to the dead, and were lied to. How ugly man is, sometimes! A MORE HISTORICAL OUTINGThe dress got another outing later in the summer when I put it together with bonnet, reticule, and other historical accessories (yes, I got more petticoats!), and wore it to the Picnic at Pittock Mansion with ORS. But I don't have any pictures of that, amazingly. Suffice it to say: I looked like Little Bo Peep!
1 Comment
The Ssiter
4/16/2017 02:03:30 pm
Oh, I love the newspaper pictures. Perfect! You look happy and bright in this dress, and the pearl necklace compliments it. Good job!
Reply
Leave a Reply. |
Karen Roy
Quilting, dressmaking, and history plied with the needle... Sites I EnjoyThe Quilt Index Categories
All
Archives
March 2024
|


 RSS Feed