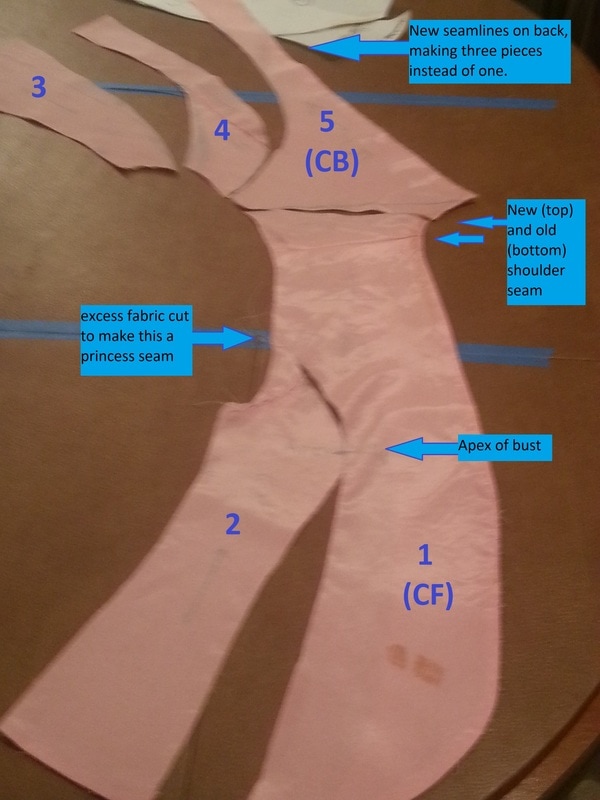
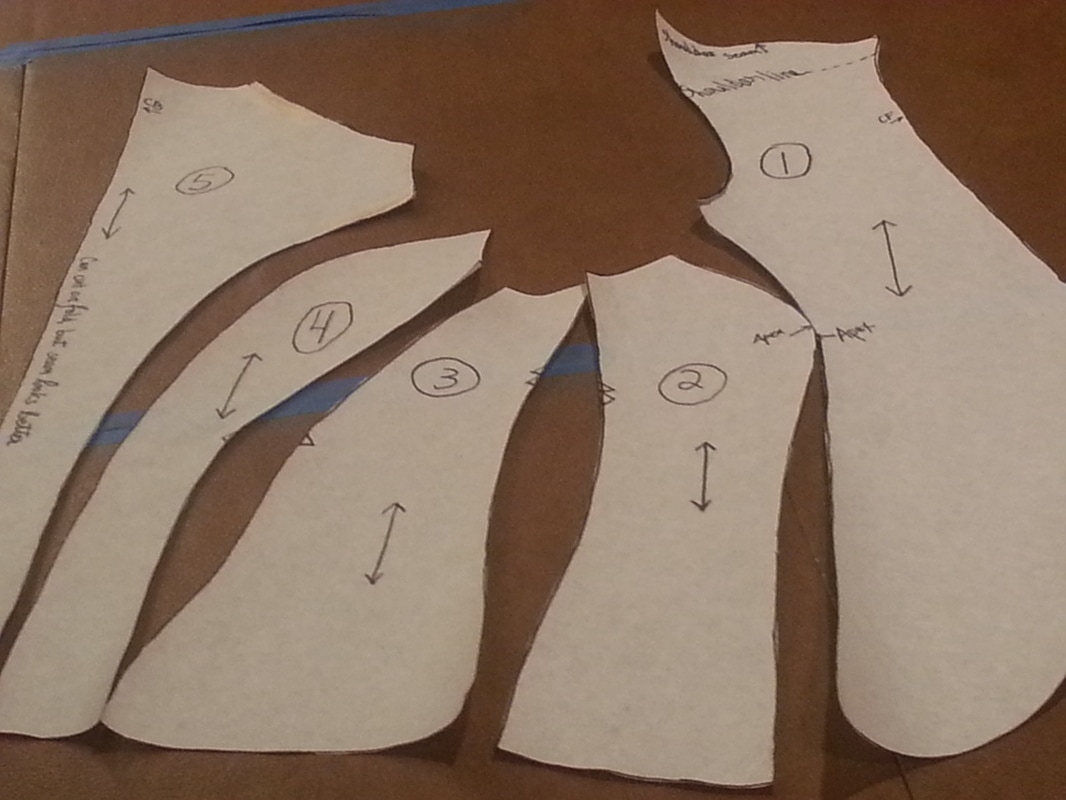
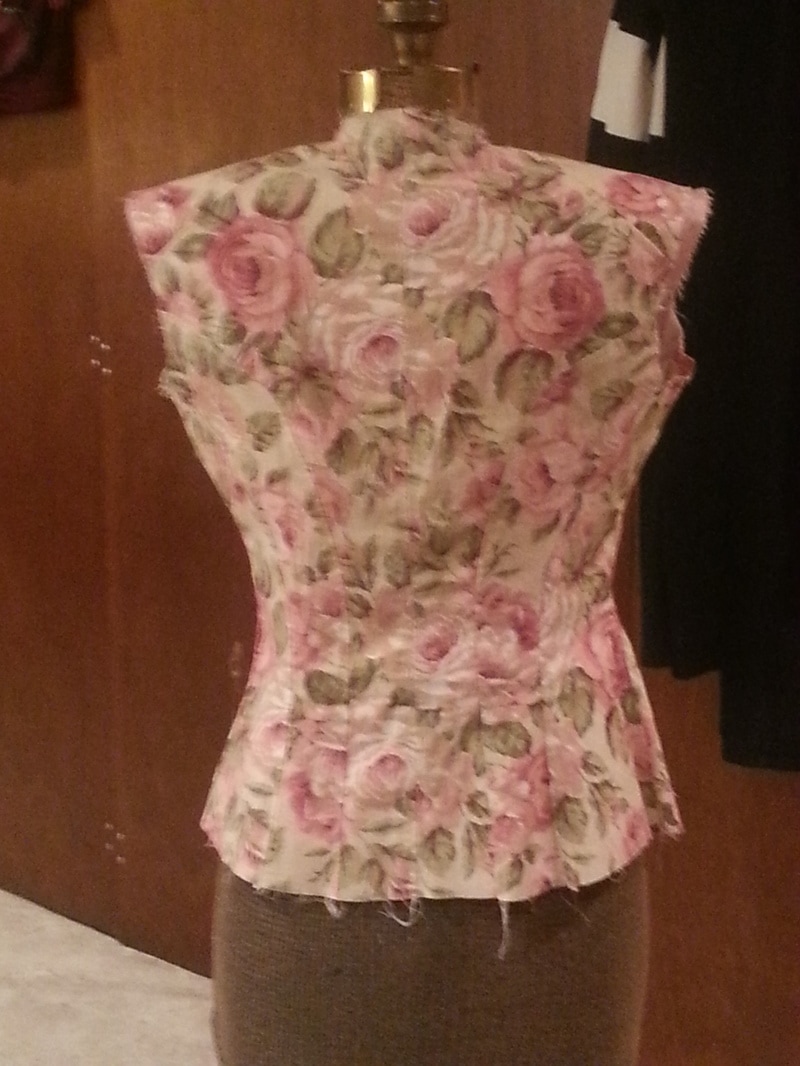
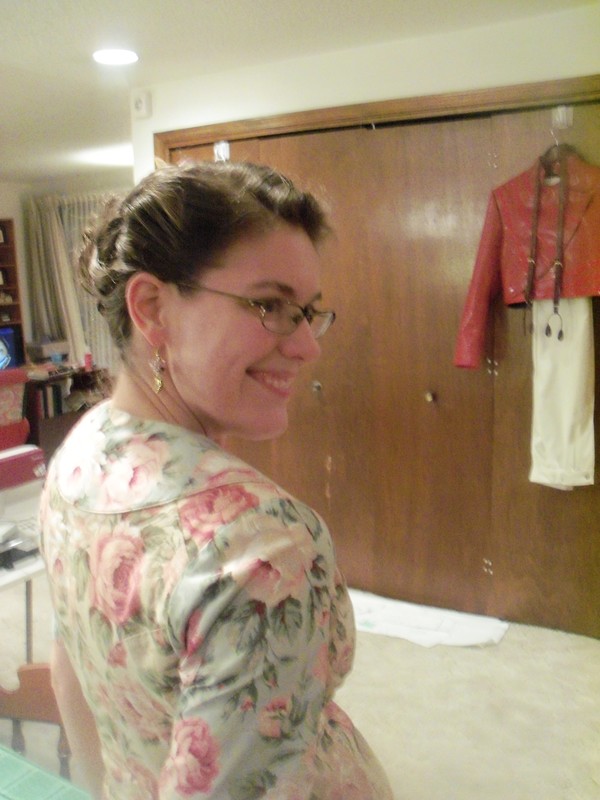
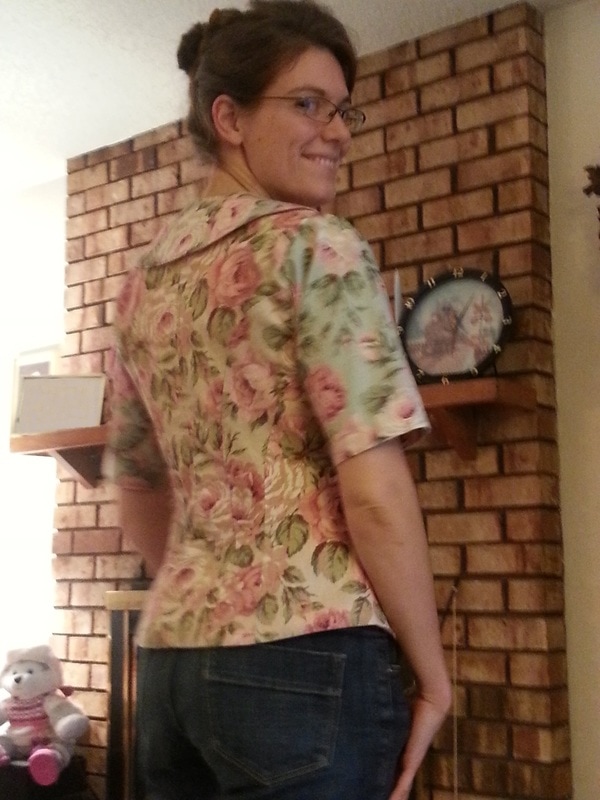
The appeal of this odd garment was two-fold: first, that it fit me quite well, especially at the high waistline and the back; second, that it was late-Victorian in silhouette, a style I like and often want for costumes. I decided to take it home and cut it up--make myself a Victorian bodice pattern that fit me well. The original shirt was a very simple construction to start with: the front was shaped with a fish-eye dart under the bust; the back panel had a fish-eye dart in the small of the back. There was a center back seam, but so straight that it could have been cut on a fold. There were two problem areas: 1. The armscye was huge! Without a sleeve, it would have been side-boob central! And since it did have a sleeve, every movement of the arm tugged at the bodice and pulled it up and around. It looked clumsy in motion. 2. A large armscye can correlate with extra fabric in the body of the garment. In this case, the front piece had too much fabric between shoulder and bust. Maybe it was made for someone with a fuller bust than me? This extra fabric gave the illusion that the sleeve projected straight from the apex of the bust! I guess it was ideal for concealed carry, should I wish to stash a pistol... ALTERING THE BASE was a three step process: front, back, and sleeve. The front was easy. I removed the original sleeve and pinched the excess fabric from the bodice to the armscye. The dart thus created merged neatly into the front fish-eye dart, so I decided to turn both darts into one princess seam. The back was even easier: I put the garment on, and had a friend draw on my back the seamlines of an antique Victorian bodice I have for reference. The center back seam stayed put, but the shoulder seams were moved back and slanted, and two extra seams were added to create the lovely fan-like back of the antique. (To clarify: the junky thrift store shirt was on my back, being drawn on. The antique bodice was laid out on my bed, not harmed.) Then I took the garment off and cut along the new seamlines. I laid the pieces on pattern paper and traced them anew, adding some fabric under the arms to raise the armscye. Now instead of one front pattern piece I had two: either side of a princess seam. And instead of one back piece I had three: center back, side back, and side (are those princess seams too?). THE SLEEVES were not easy, mostly because I don't fully understand sleeves, and I find it hard to wrap my head around the concepts behind their curves.
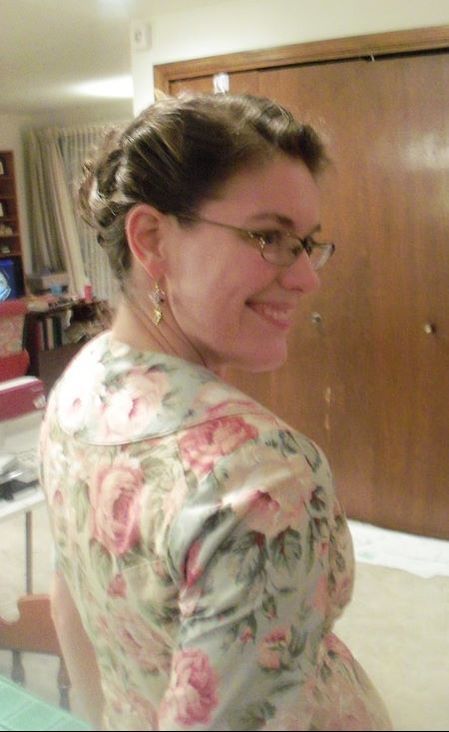
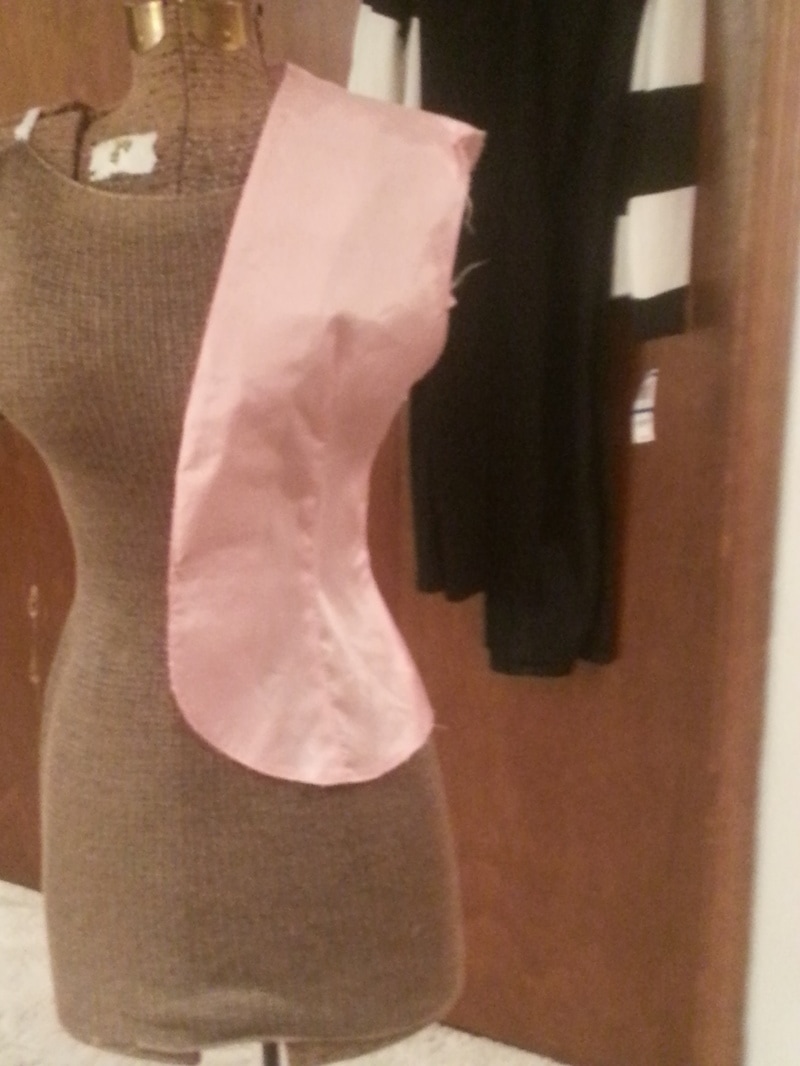
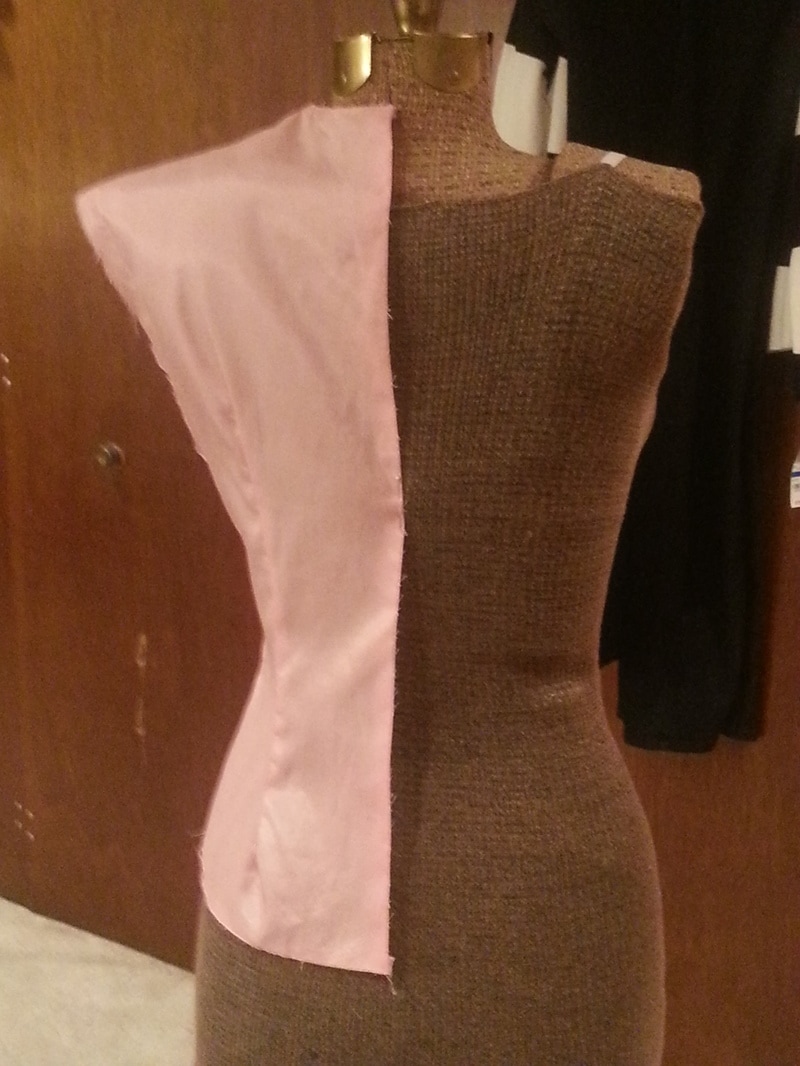
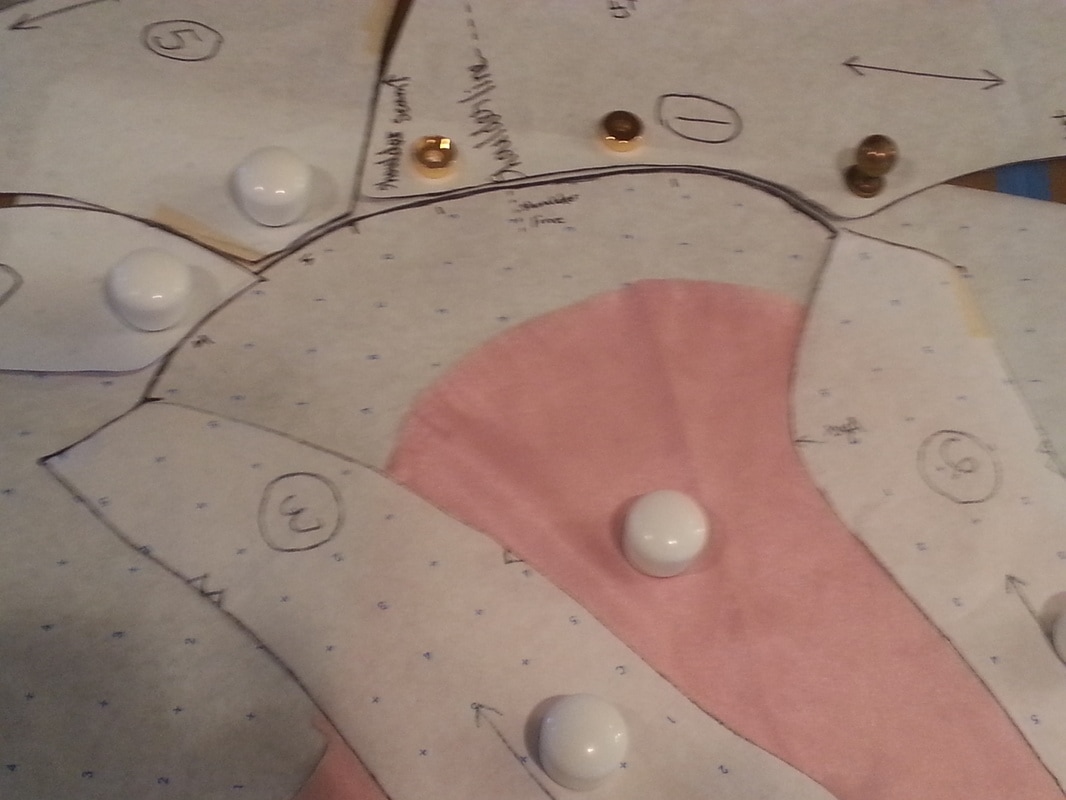
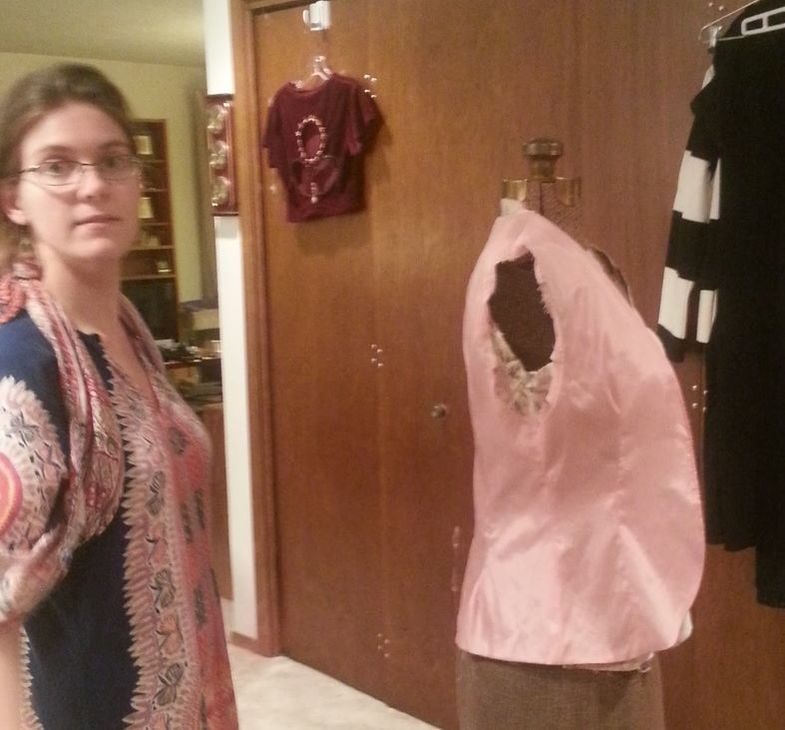
CONSTRUCTING THE BODICE After much prep-work, it's always fun to do the few seams that transform the pattern pieces into something wearable! In this case, the top fit nearly perfect. I fiddled a bit with the seams under the arm (where I'd raised the armscye) and the shoulder seam (a teensy bit loose: I rounded it a bit to follow my shoulder curve). It is more form-fitting than most modern clothing, but I prefer less ease in my garments because close lines make me feel tidy and put-together. I lean more toward the Victorian than the modern in that. I flat-felled the seams of the body; the chintz was the kind of cotton that responds well to finger-pressing, and even better to an iron, and doesn't fray much, so it was quite easy to finish. COLLAR While the original collar was huge and dated to the 1980's, looking like a shawl collar from the front and a rounded sailor collar at the back, and pretty ugly in its proportions (you'll have to take my word for it, as I didn't get a picture), I opted for a narrower look all around. I trimmed the original interfaced layer down until I liked it, and used it for the underside of my new, chintz collar. THE LINING It needed a lining for ease of wear, since I'd be wearing it like a blazer, on top of other clothes. So I took the shiny pink of the original thrift store find and MacGyver'd a lining. The original thrift store shirt was bag-lined to contain all the seams, and I had only cut up one layer, so the other layer was intact for use as a lining. Since I had raised the armscyes on my chintz version, the lining is not an exact fit, but it is a nice demonstration of the difference between the original and the modified pattern: I didn't worry about lining the sleeves. The bottom of the lining didn't quite match the bottom of the new top, so I covered the difference with bias tape.
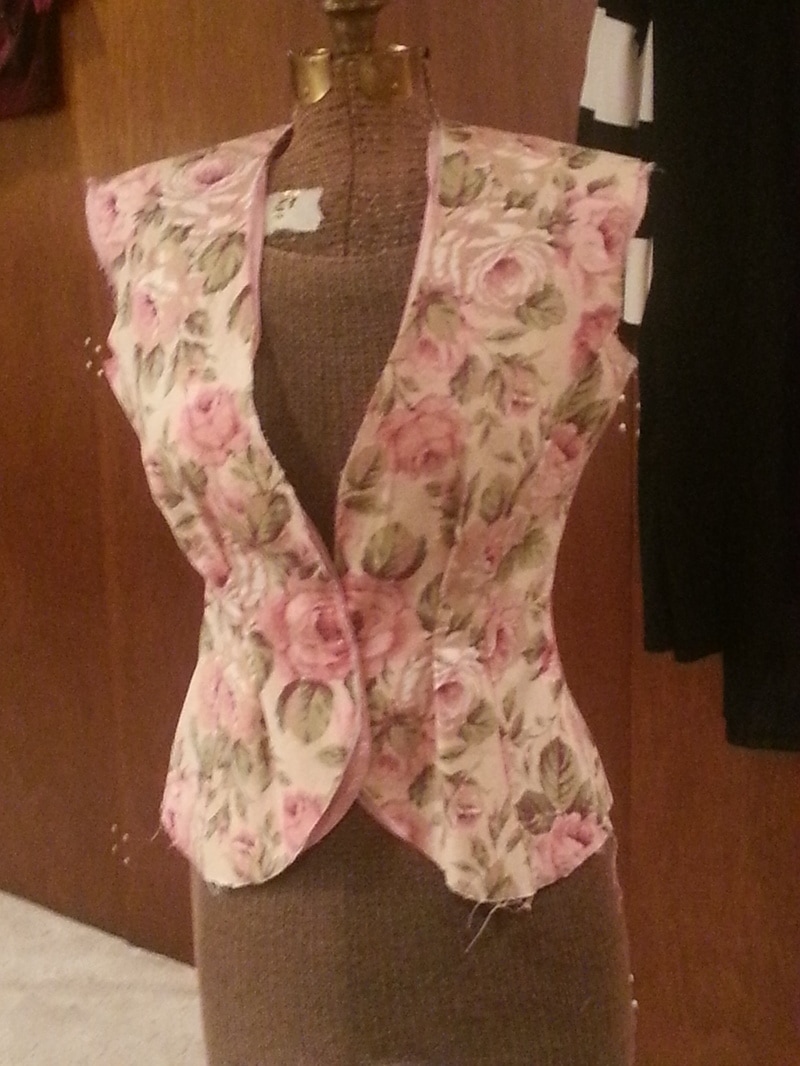
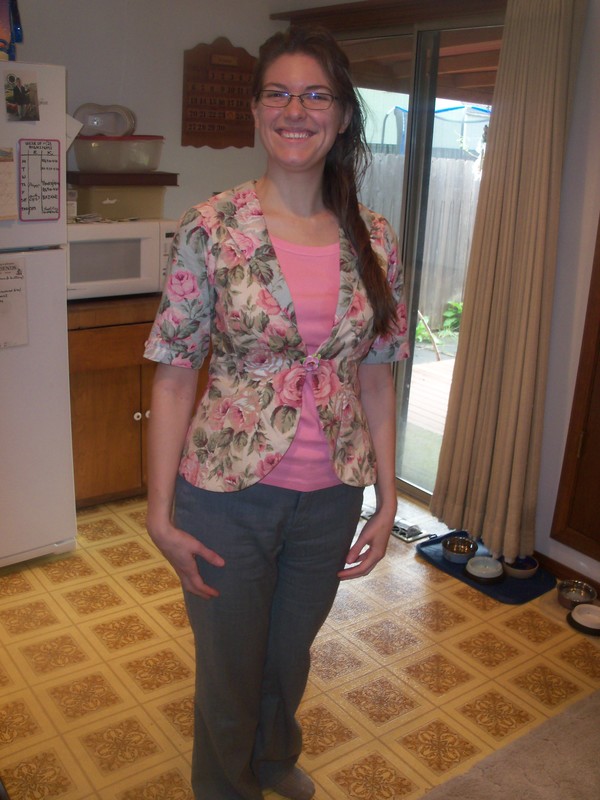
I also found that due to being made with stiffer fabric, and due also to little fish-eye darts I'd added to taper the front even more, the top no longer overlapped at the front. Instead the edges just meet at CF. That's okay by me, since it highlights the nifty (and entirely accidental, but that'll be our little secret) pattern matching of the pink rose. I usually close it with a brooch, but might eventually sew on some hooks and eyes. Another thing you might notice is the slight variation in material... I was working with scraps... there was just enough fabric with beige background to make the torso, but I had to use some of the same chintz with a pale blue background for the sleeves and collar.
1 Comment
The Sister
4/28/2017 08:28:10 am
Well done! It's so perfect in the back! And the rose chintz is quite a flattering print for you. This must have been a very satisfying project. I like it!
Reply
Leave a Reply. |
Karen Roy
Quilting, dressmaking, and history plied with the needle... Sites I EnjoyThe Quilt Index Categories
All
Archives
March 2024
|

 RSS Feed