Continued from Part II now have three pattern pieces for the hat I'm making my sister. I decide to cut the body of the hat (side rectangle and top oval) from the ice-blue fabric, and quilt it for shape, warmth, and beauty. The brim will be silver, lined with more blue. The inside of the hat will be lined with whatever is to hand... in this case a bit of white curtain lining and more of the blue fabric.
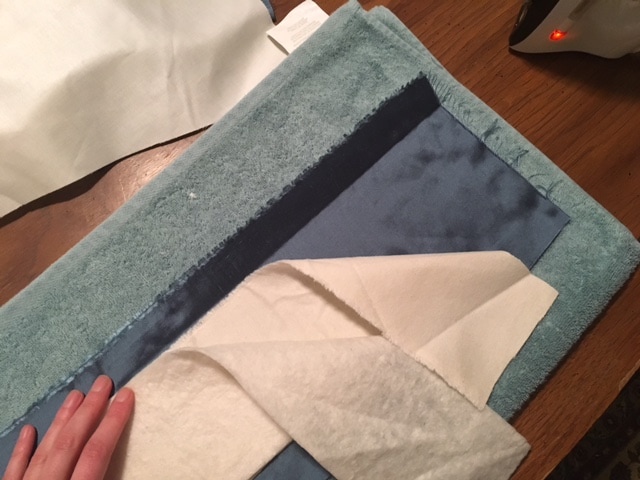
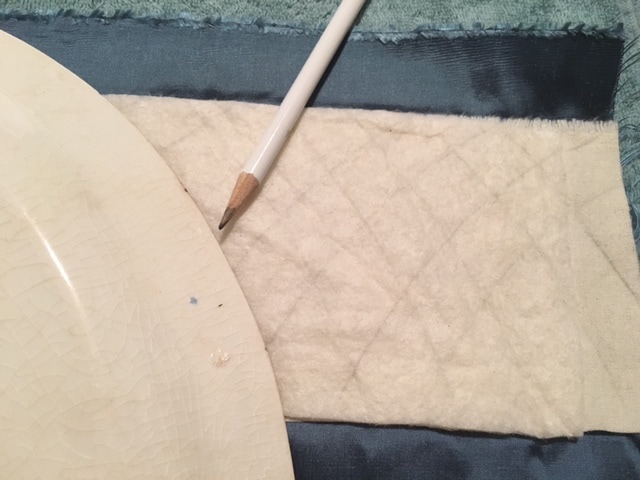
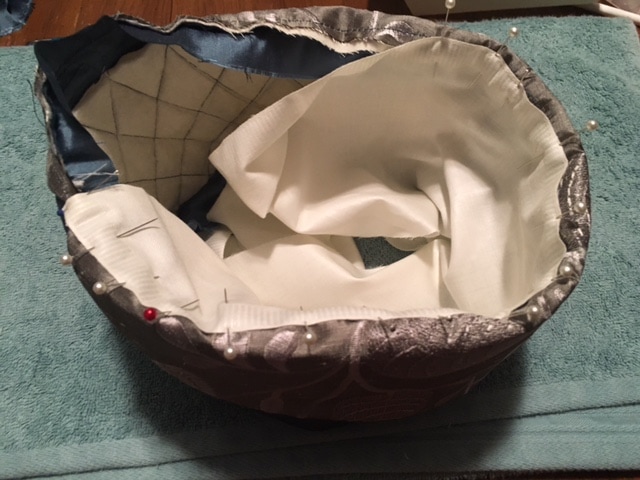
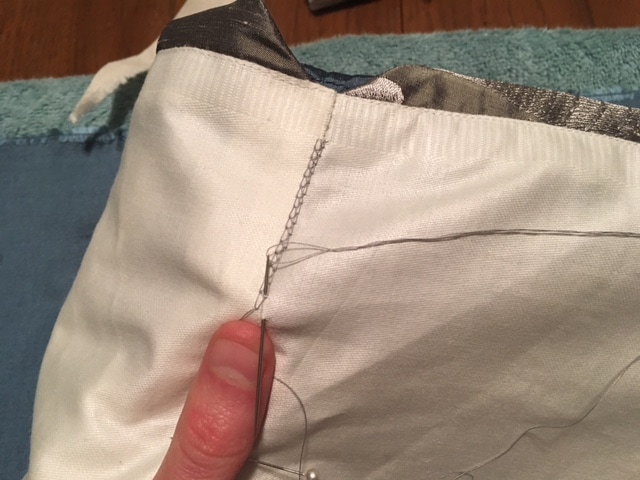
QUILTINGBeing unsure of the fiber content of my batting, I put a layer of flannel in between it and the possibly-silk blue fabric. That way if someone ever takes an iron to the hat and the batting is synthetic, it wouldn't scorch or melt through the silk straightaway; the flannel will act as a buffer. Plus, it'll make the hat warmer! The flannel actually came with the curtain samples, as an inner liner to the curtains. Then it's to the sewing machine, and I find the quilting goes less tediously than usual. I love the look of quilting, but don't generally have the patience for it. What made this instance easier was that it is such a small area, and I have an admiring audience. (My sister enjoys watching me make her hat!) Plus the lines are all simple curves, traced off of plates, so they are smooth to sew and make striking results. Have a slideshow: THE BRIM Again, no pics. Making the hat went so fast that I now feel like I've dedicated more time to blogging about it than I did to sewing it! Anyway, I took no pictures as I whipped up the brim. It was simple enough... I cut one piece in silver for the outside (paying attention to motif placement and not paying any mind to grain) and stabilized it with some white scrap fabric I can't now remember clearly. I cut one piece in blue for the inside (the part that'll be against the hat). I sewed these two pieces along their curving upper edge. Pressed. Trimmed seam allowances down, and turned. Pressed. Understitched to prevent rolling. Pressed again. Done. Putting the brim in place on the tubular sides was trickier. I wanted the brim to want to stand up, so I fussed with the turn of cloth until the inner blue fabric was short and the outer silver fabric was long, forcing the brim to curl around the bottom of the hat. In the picture of me pinning the lining, you can see the turn of cloth at the base of the brim. In the later picture of me attaching the top of the hat to the bottom, you can see the brim turned the wrong way out, and it clearly doesn't want to be there! I didn't get it perfect, but it is pretty good. ASSEMBLING THINGS
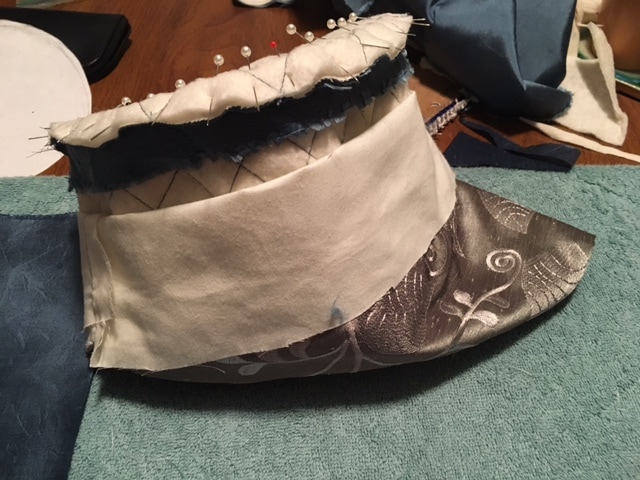 Three things to note: first, I rolled the lining out of the way so it wouldn't catch in the seam; second, I hand-stitched this seam with a back-stitch, because it seemed troublesome to try it by machine; and third, I chose to turn the seam allowances down toward the sides of the hat, not up towards the crown, in order to get a crisper "bellhop" shape. The lining wanted only to be tacked in place to the interior, and closed with a bit of the blue stuff in the shape of the oval crown piece, and it was done! FINISHED!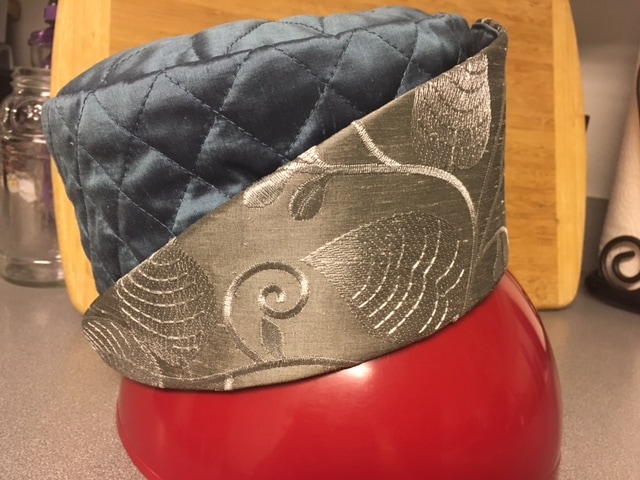 It looks great on the salad bowl... even better on my sister! I shall entice her to do a photoshoot, and make that Part III of the saga of the Russian Ice Hat! Click Part III for the photoshoot!
0 Comments
Leave a Reply. |
Karen Roy
Quilting, dressmaking, and history plied with the needle... Sites I EnjoyThe Quilt Index Categories
All
Archives
March 2024
|
 RSS Feed