Robes de Coeur
  • Blog
  • Tutorials
  • Portfolio
    • Menswear
    • Womenswear >
      • Self-Made Patterns
      • Commercial Patterns
    • Hats
    • Miscellany
  • About
    • Contact
  • Blog
  • Tutorials
  • Portfolio
    • Menswear
    • Womenswear >
      • Self-Made Patterns
      • Commercial Patterns
    • Hats
    • Miscellany
  • About
    • Contact

Simplicity 8499 - Cotton

3/26/2020

3 Comments

 
Picture
This pattern from 1988 is for a simple, breezy top.  I have made it twice from cotton voile.  I like to wear it un-tucked and un-belted, because it elongates my short torso.  The cut-on sleeves are loose under the arm, perfect for summer.  The box pleats pulling it in at the waist give it some style.  It takes only a yard and a half of material, and five pieces: front, back, collar, and two facings.

MAKE #1

The first make was a test garment, using light-colored floral cotton voile from my stash.  I made it according to the pattern, then made a simple alteration to the pattern for the next time: I tapered the back seam inward to act as another dart.  It was sweet and easy, and I liked it, but the color washed me out.  Eventually, I gave it to the Goodwill Thrift Store. 

MAKE #2

The second make is with a fabric I truly love.  It is also a cotton voile, the one from this post.  I went back to the Mill End Store and bought more, because I love the print! 

I'm always drawn to warm yellow and orange colors.  In this print the little blue flowers are a pleasant surprise that make the warm tones even warmer.  A winning combination!
Picture
My favorite fabric!
Picture
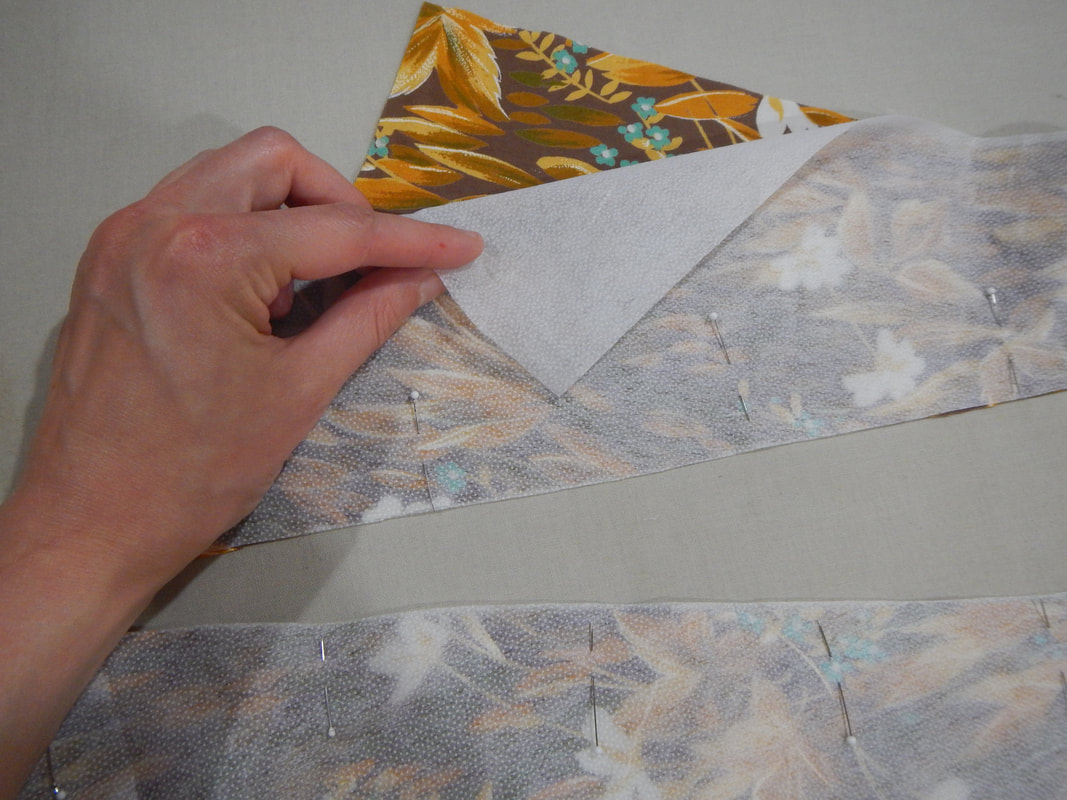
Layout for cutting

CLEVER FACINGS

The most interesting thing about the project is the way I interface the facings, so let me show you.  Remember: a facing is a piece of fabric that finishes the edge of a garment and sits on the inside of it when the garment is worn; interfacing is a fabric, often with gluey dots on it, that you attach to another fabric to give it more stiffness.  In this case, I'm using iron-on interfacing, so the stuff with glue, to stabilize the facing so that the lapel has crispness and the buttons and buttonholes have a good foundation. 
First, I am calling the gluey side of the interfacing its wrong side and the non-gluey side its right side.  I pin the iron-on interfacing to the fabric of the facing, right sides together. 

Now, the facing has two types of edges, the edges that get sewn into the shirt, and the edges that are exposed inside the finished shirt: the second type needs to be finished.  I sew the fabric and interfacing together along the edge that must be finished. 
Picture
The two layers right sides together. The edge to be sewn is pinned.
Once I have sewn the edges, I pull the two layers apart.  Bearing in mind that the interfacing has glue on it, I am careful not to touch it (yet) with the iron.  Instead, I press the fabric piece flat while pulling the interfacing away to make the seam taut.  I then press the fabric's seam allowance over the edge of the seam, so it's on top of the interfacing, carefully touching the iron to the fabric only.  The next step is to fold the interfacing the opposite way it was sewn, so now the gluey side is against the fabric's back side.  Then, starting at the seam and working out, I press the two layers together with steam.  The steam softens the glue and bonds the two layers together, and the seam allowances at the very edge are enclosed in a gluey fabric sandwich!  No raw edges; everything neat and interfaced. The reason I start at the seam and work outward with the ironing is that I don't want to create wrinkles or bubbles.  The seam is a static point and the edges may shift; it's always better to start joining things at their static point and work outward to corral the shifty edges. 
Picture
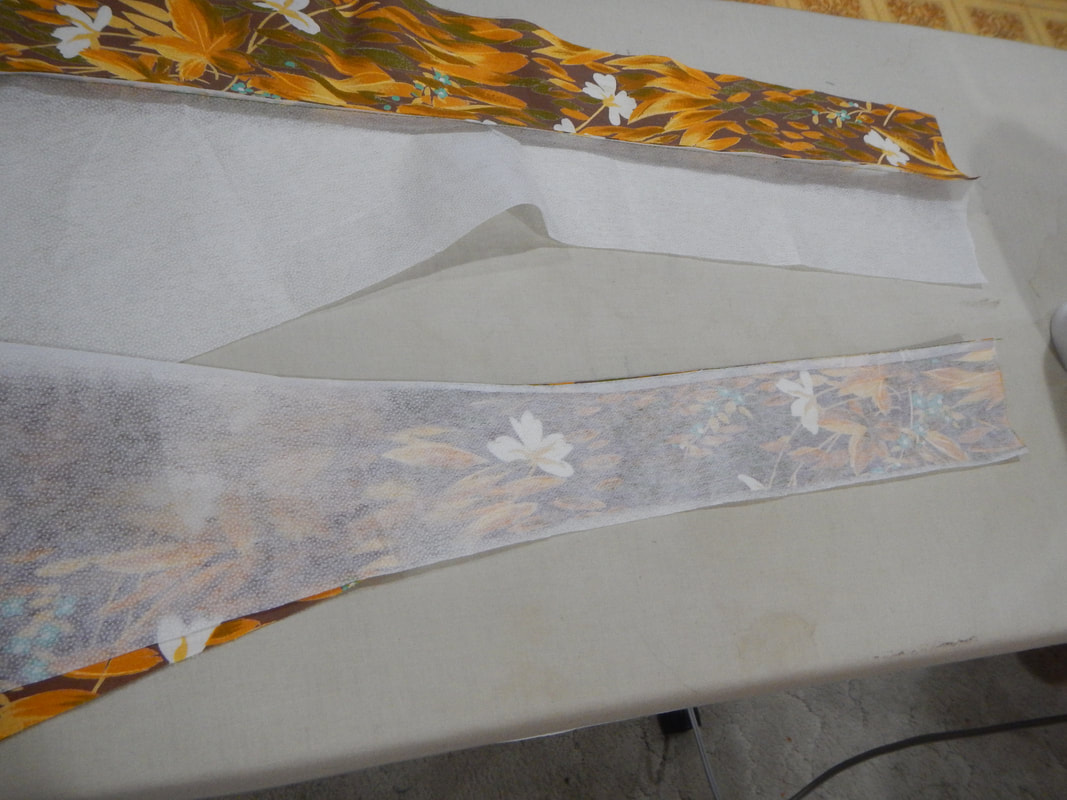
The top piece is just pulled apart. The bottom piece is turned and ready to be pressed together.
Picture
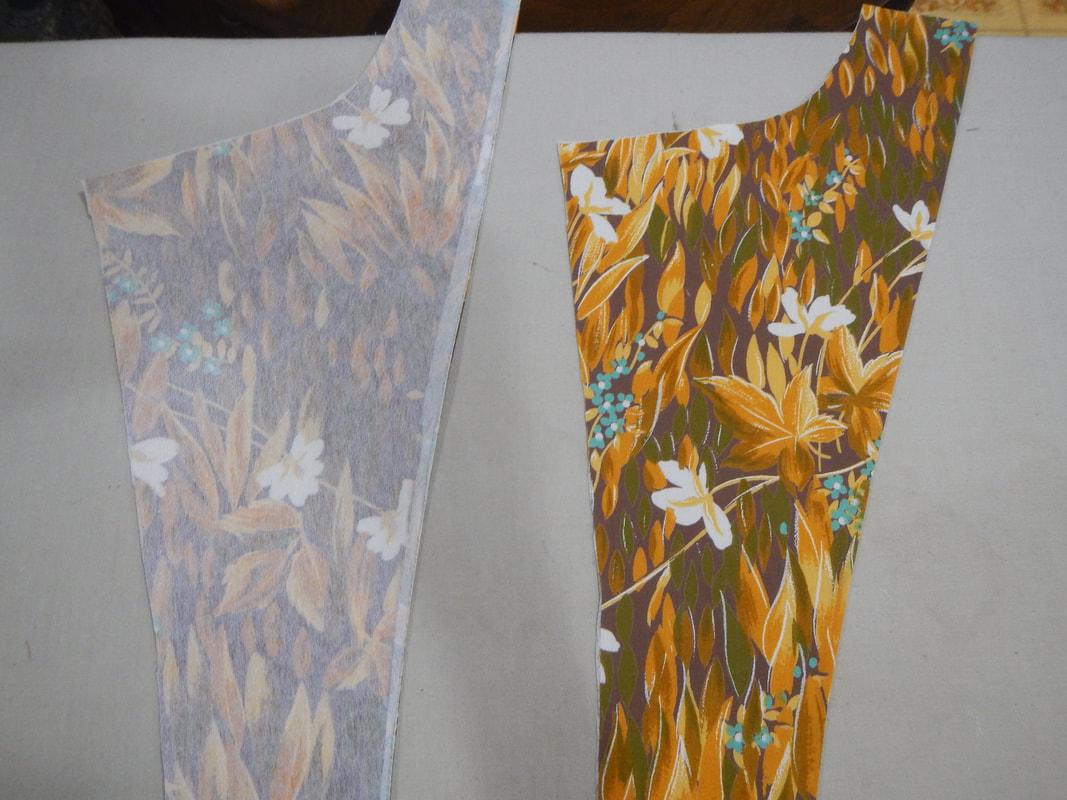
Back and Front sides of the facings.
Here's the shirt nearly finished: it needs side seams, buttons, and hems. 

The next interesting thing I do is select cool buttons.  The pattern calls for six buttons, placed in three pairs.  I did that on the first make, but this time I have another idea.  I buy two different types of buttons, both calling out the aqua of the print.
Picture
Picture
almost done
Different buttons necessitate different sized buttonholes.  This piece of muslin with badly done buttonholes in it is something I made when I first got my machine.  I was trying to learn how the buttonhole function worked, and also make myself a cheat-sheet for buttonhole sizes.  Now, whenever I have to make buttonholes, I start by pushing the buttons through this sizer to decide what size I need.  The numbers are what I select on the machine. 
Picture

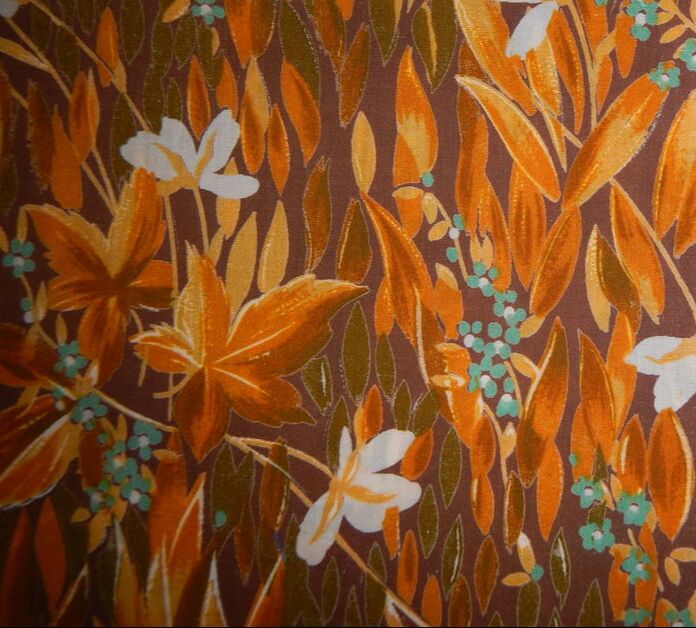
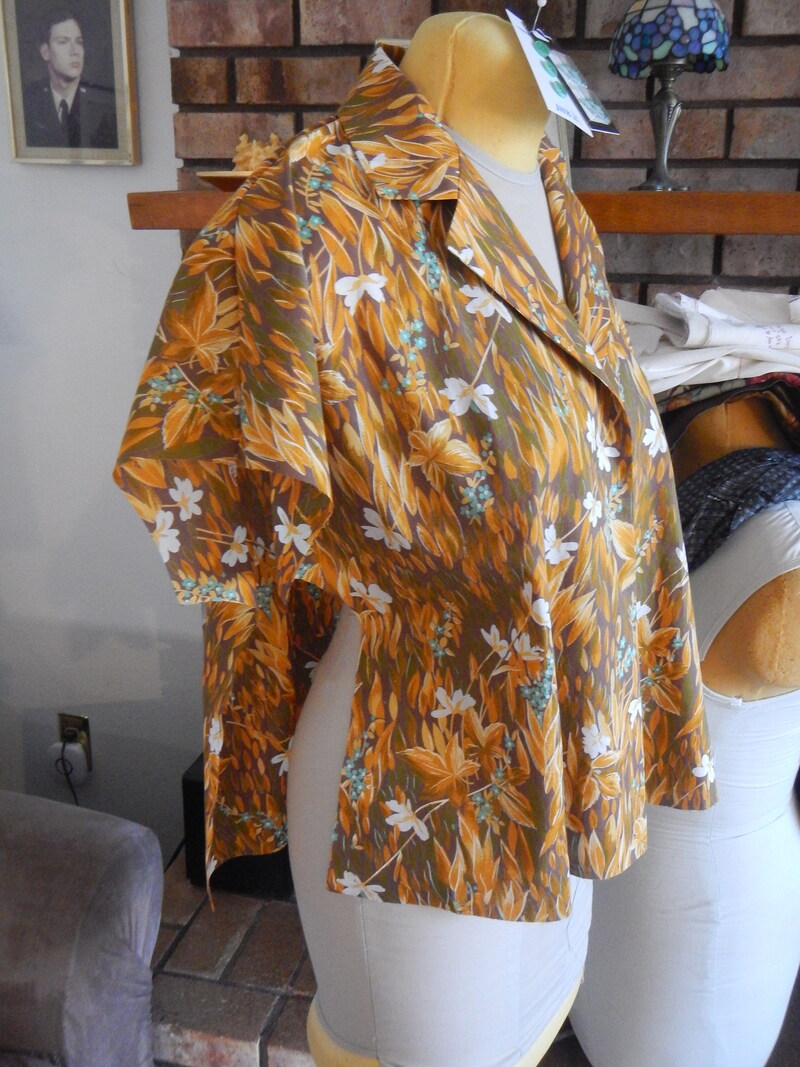
ALL DONE!

The finished shirt (circa July 2019) is one of my favorite summer shirts!  It's cool and comfortable.  It looks good tucked into a pencil skirt or worn loose over jeans, and I still adore the fabric! 
Picture
3 Comments
The Sister
3/27/2020 09:56:37 am

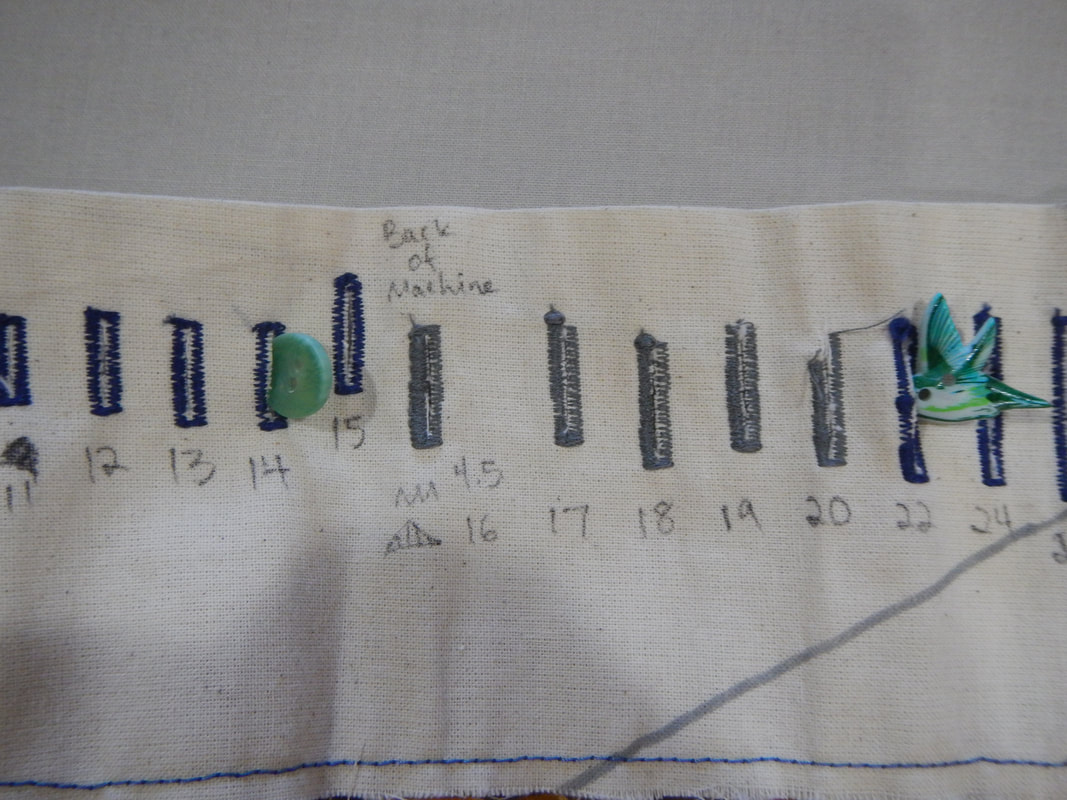
Oh, I love your buttonhole cheat sheet! Did you wear this shirt the last time you visited me? I seem to remember the charming hummingbird buttons, but don't think I knew you'd made it. Good job!

Reply
Karen Roy link
3/27/2020 12:35:17 pm

I wore a shirt with charming hummingbird buttons and you didn't assume I'd made it? Tsk tsk tsk! :D

Reply
Rachel
3/28/2020 10:19:27 am

Hahaha! Well, maybe you should take it as compliment that I can no longer tell that you're wearing handmade clothes! :-D


Leave a Reply.

    Karen Roy

    Dressmaking, dress-musing...

    Categories

    All
    1910's
    Alteration
    Antique
    Dyeing
    Embroidery
    General
    Hand Sewing
    History
    Lacemaking
    Mending
    Menswear
    Millinery
    Modern Elizabethan
    Musing
    Other Sewing
    Philippians 4:8
    Quilting
    Regency
    Retro
    Self-made Pattern
    Terminology
    Victorian
    Vintage

    Blogs I Read

    The Dreamstress
    Male Pattern Boldness
    ​
    Lilacs & Lace
    Tom of Holland
    Fit for a Queen
    Line of Selvage
    Mainely Menswear
    Bernadette Banner

    Archives

    August 2020
    June 2020
    May 2020
    April 2020
    March 2020
    January 2020
    December 2019
    November 2019
    September 2019
    August 2019
    July 2019
    May 2019
    April 2019
    March 2019
    January 2019
    December 2018
    November 2018
    October 2018
    September 2018
    August 2018
    July 2018
    June 2018
    May 2018
    April 2018
    March 2018
    February 2018
    January 2018
    December 2017
    November 2017
    October 2017
    September 2017
    August 2017
    July 2017
    June 2017
    May 2017
    April 2017
    March 2017
    February 2017
    January 2017

    RSS Feed

Blog

Tutorials

Portfolio

About

Copyright Karen Roy
​© 2017-2019