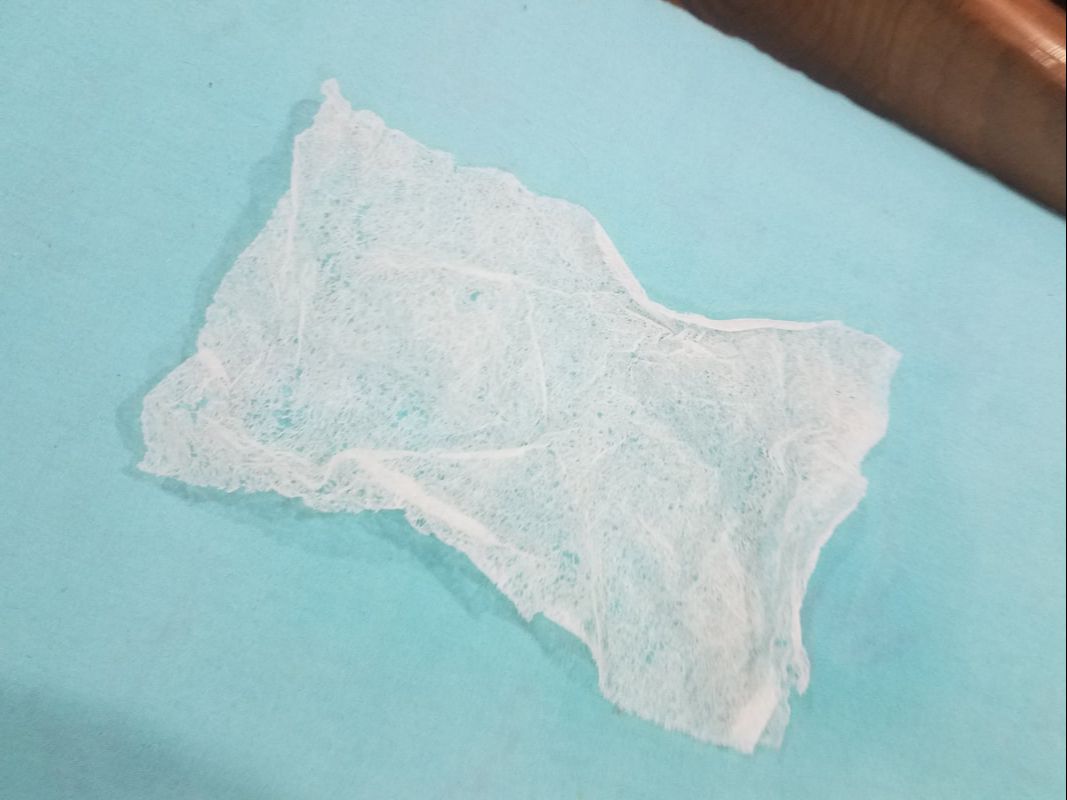
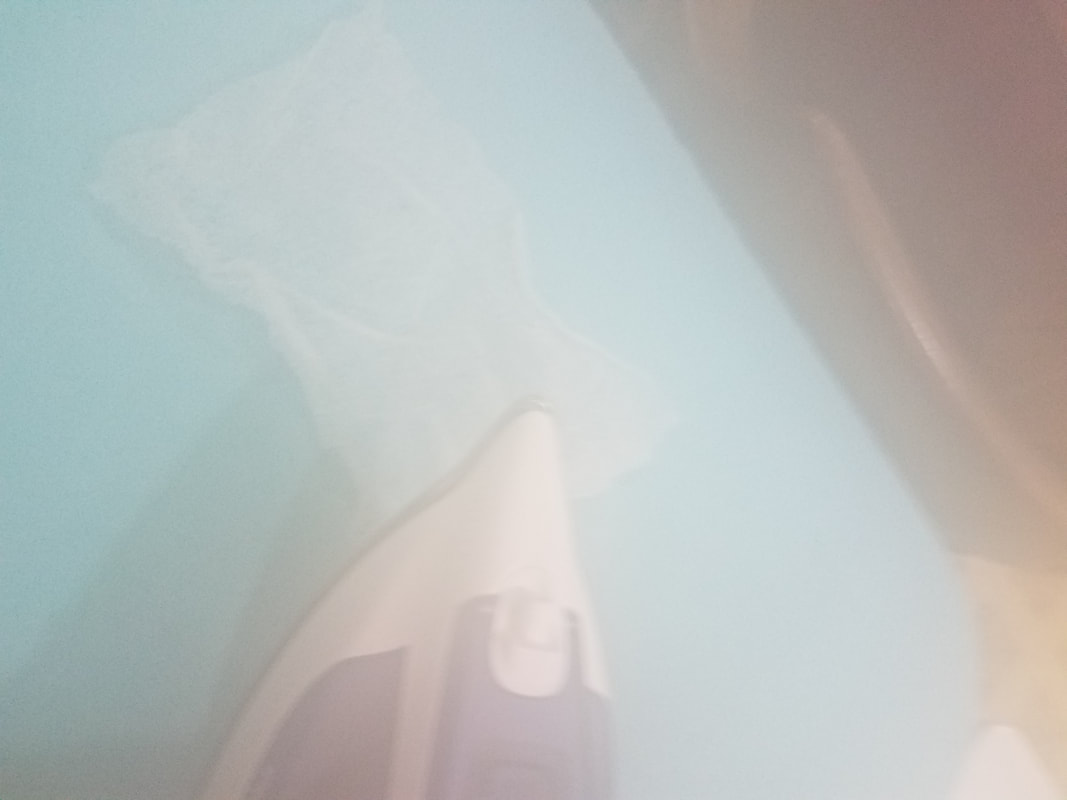
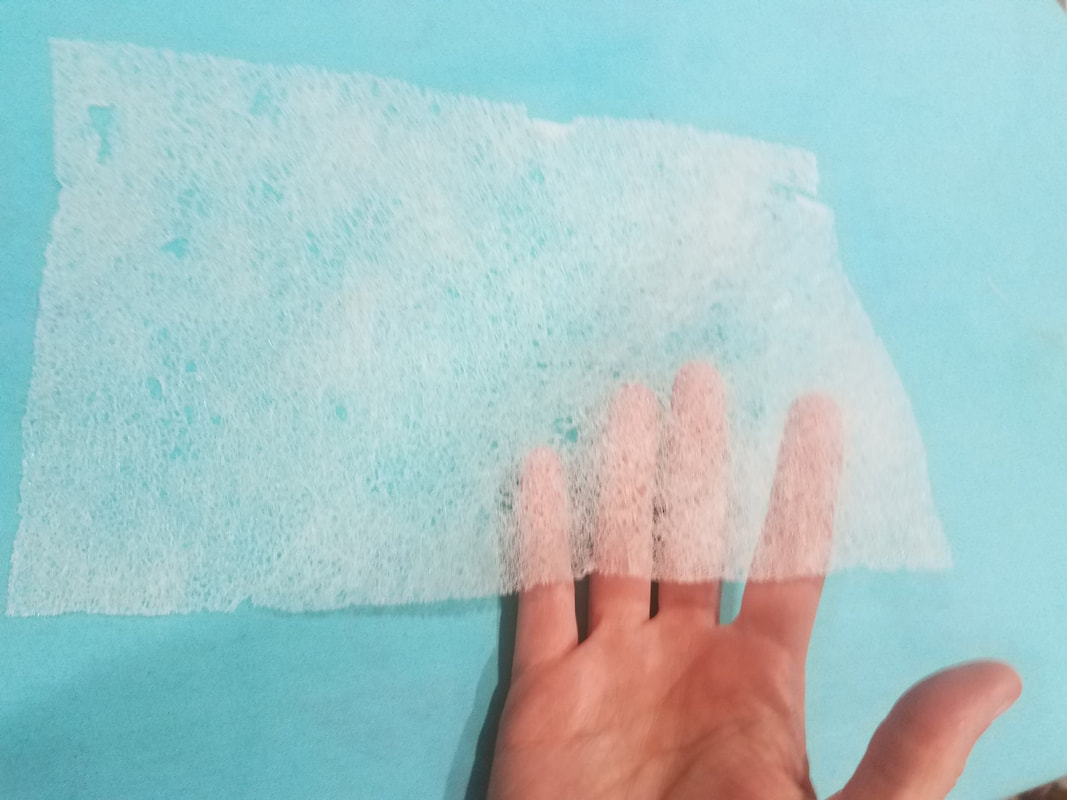
* String piecing is not to be confused with strip piecing, which is what my Organized Chaos quilt was. String piecing uses strips of variable sizes, for a "stringy" look, while strip piecing uses carefully cut strips of uniform sizes, in prescribed patterns. STRING PIECING The process starts, ingloriously, with a used dryer sheet. The material is some kind of synthetic mesh, all crumpled from the dryer, and denuded of its fabric conditioner coating. I press it to flatten it into a rectangle. This requires a careful touch: I can use a hot iron without melting the filaments (it's designed to withstand the heat of the dryer), as long as I move fast and sure, not pressing too hard.
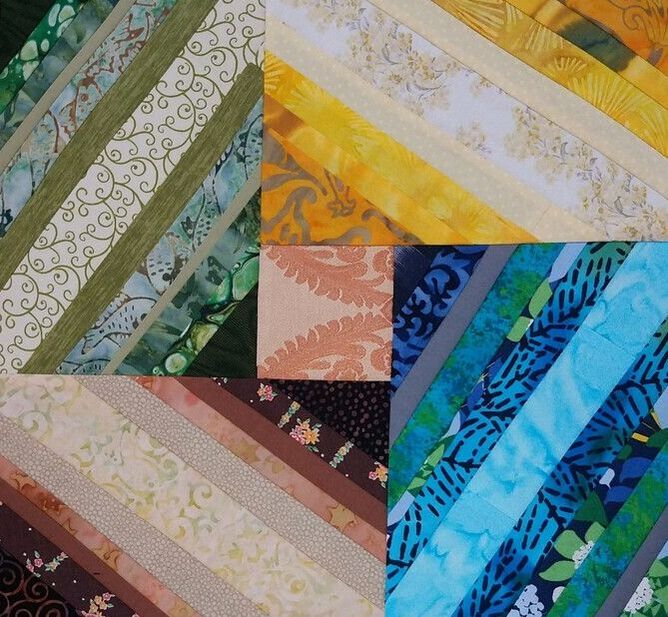
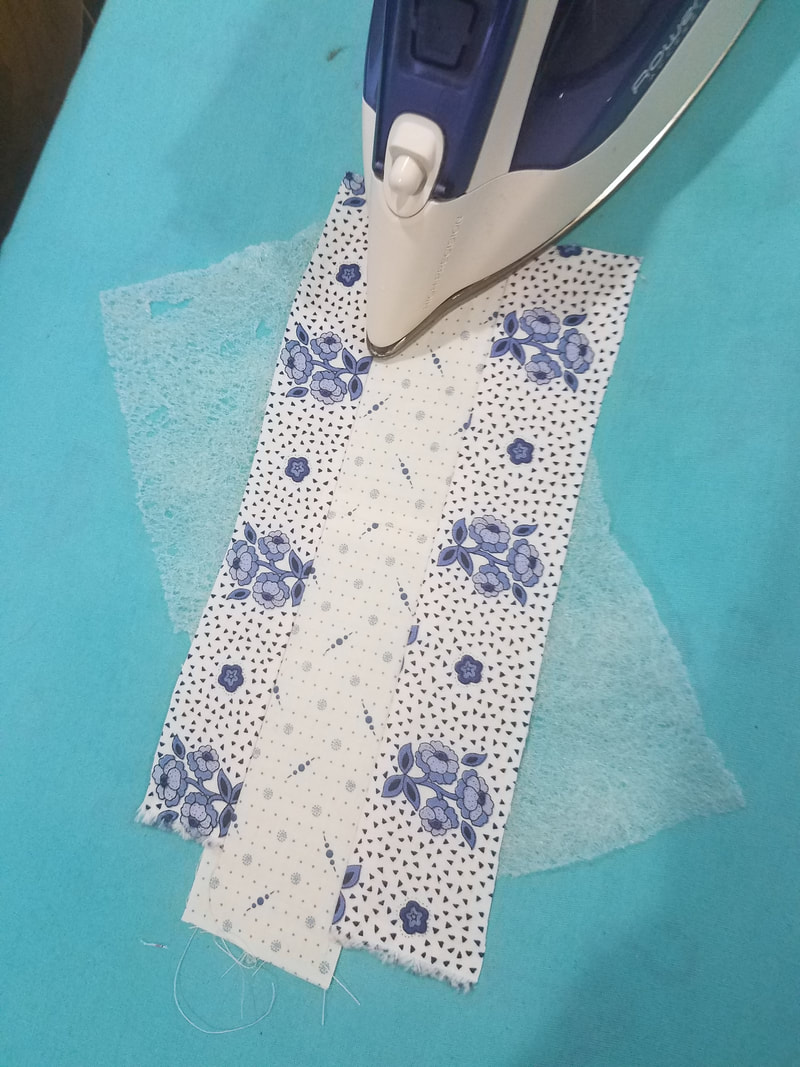
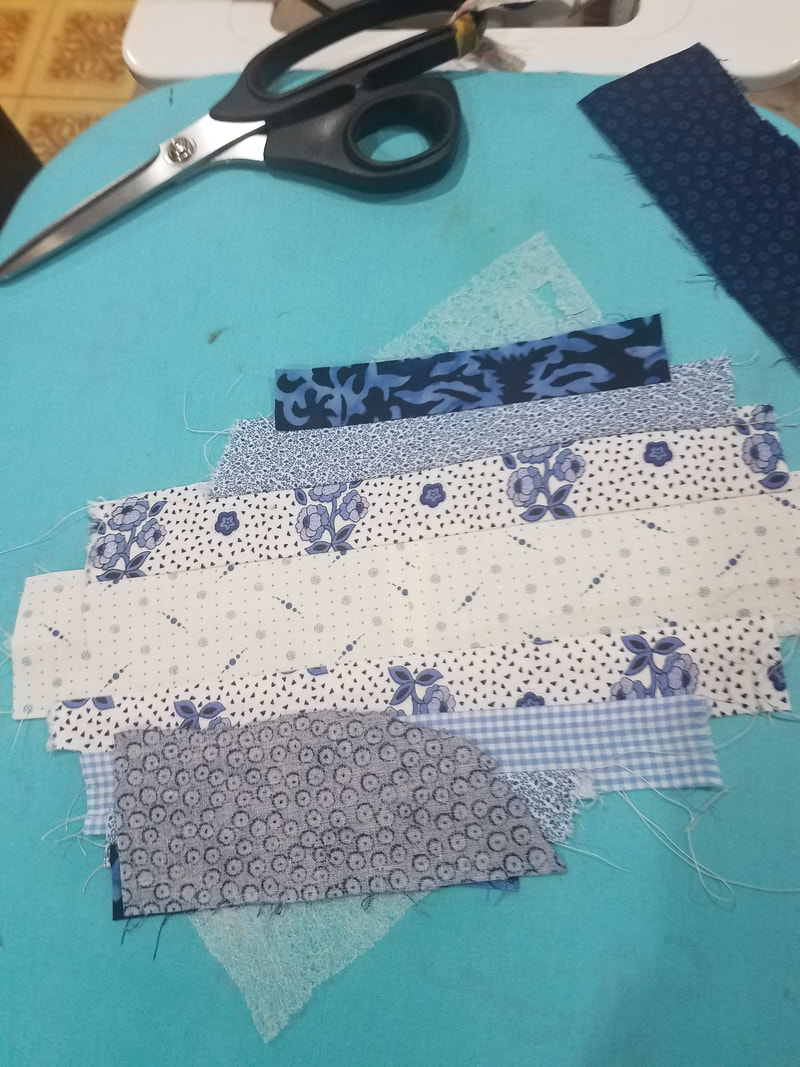
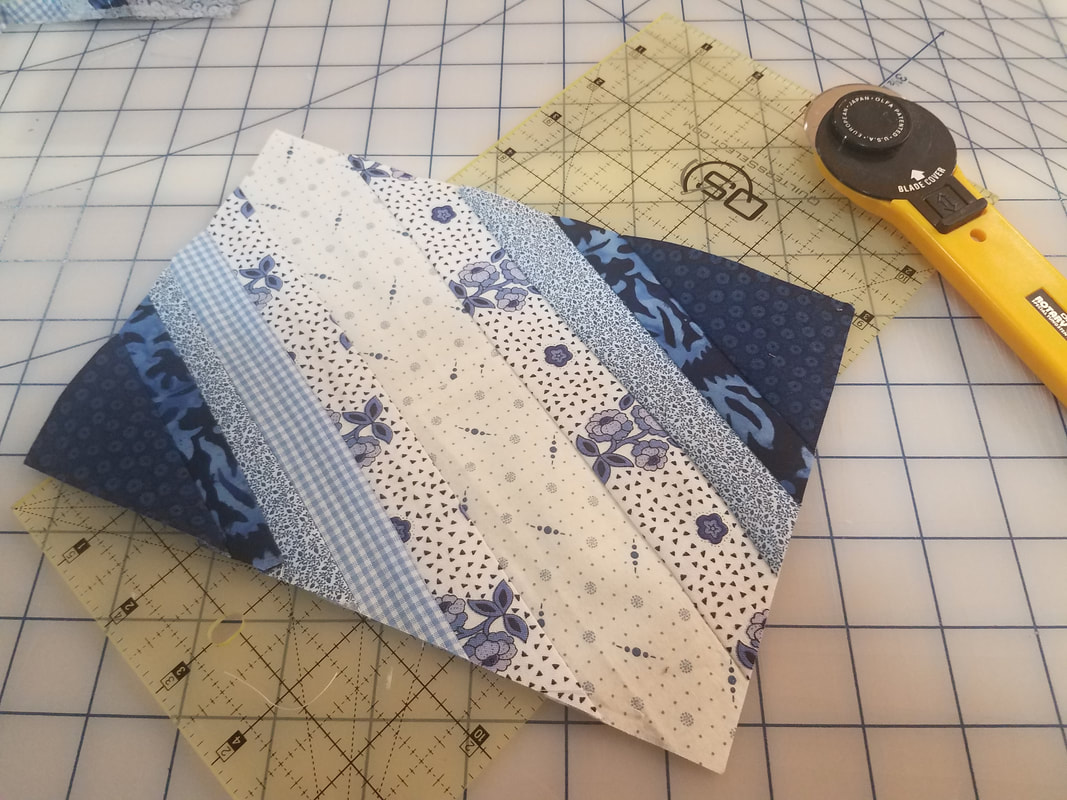
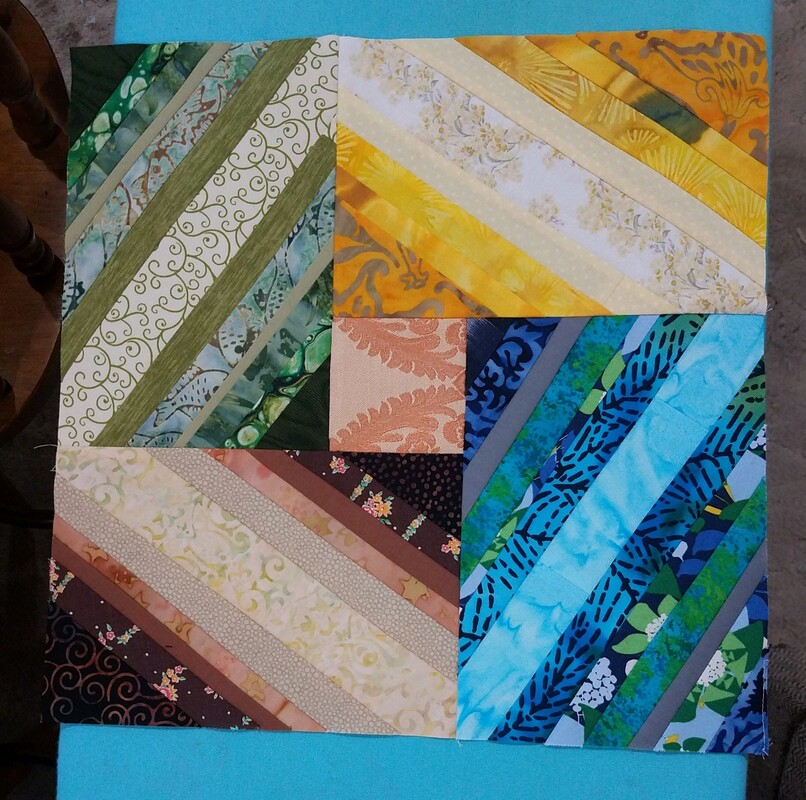
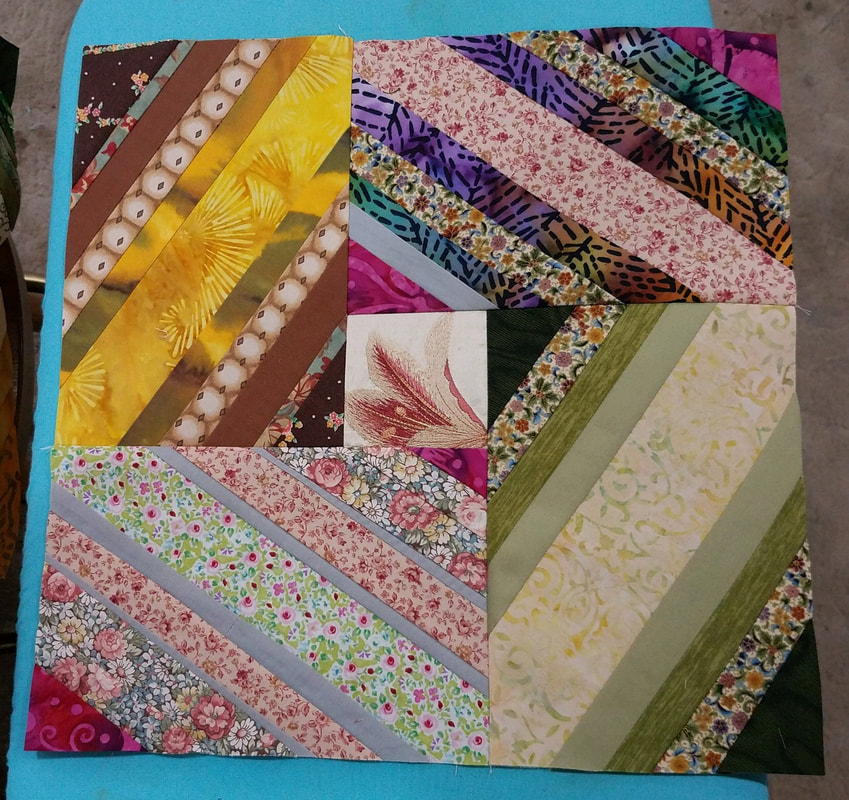
Then I look at the scraps I have to work with. Since my goal is to use up otherwise unusable scraps, I sort the smallest pieces out and play with them. 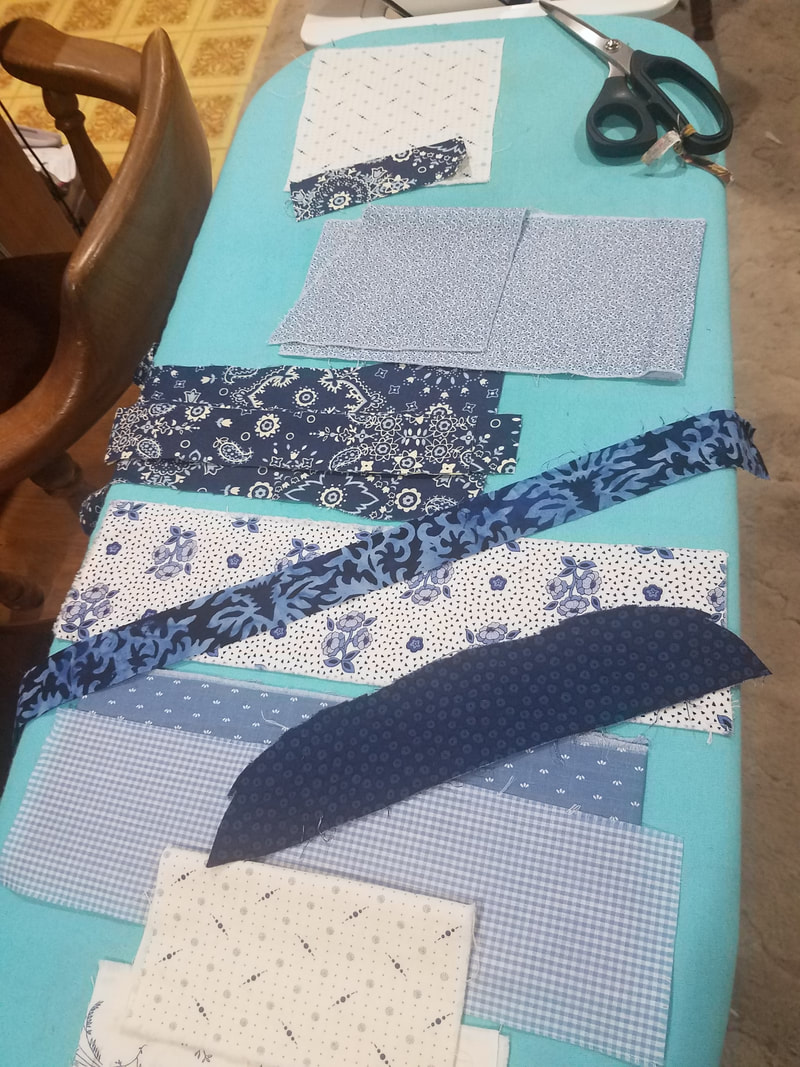 Scraps from an award winning quilt my friend made! A Google image search for "string pieced quilt" shows me examples both modern and vintage. Vintage quilts show great variety. Sometimes they use the string piecing as an element in a larger design, like making the spokes of a wagon wheel, the points of a star, or the sashing of a quilt. Other times the whole quilt is string pieced, but the smaller units are cut into various shapes: triangles, hexagons, squares.... Modern quilts (at least what I found online, which is not the whole picture by a long shot!) are more uniform in how they use the technique, as if a bunch of people watched the same tutorial (very likely!): the string piecing often dominates the quilt, and is usually either a bunch of square pieces with the "strings" set diagonally, or rectangular pieces with the same diagonal. Many modern quilters use the center of their block as the first strip, and it's also common to do that strip in a dramatically different color to create zig-zag or X patterns across the whole. Do your own search to see what I mean. I am drawn to the modern style over the vintage one in this case. Maybe I'm drawn to the ease of getting large blocks quickly with minimal fussy cutting! I decide to put my strips down diagonally, starting in the center and working my way to the edges. Even before I know how my design will evolve, I choose to follow two rules as I work: first, I group like colors together (with the occasional surprise), and second, I start with a pale color in the center and get darker towards the edges. The next two pictures show the method of applying the strips. I lay the first strip (wider and lighter than the rest) diagonally across my base material. Then I lay the next strip, right side down, atop it, aligning their raw edges. I sew both strips to the base with one seam, and then press the second strip away from the first. The seam allowances are trapped between the strips and the base.
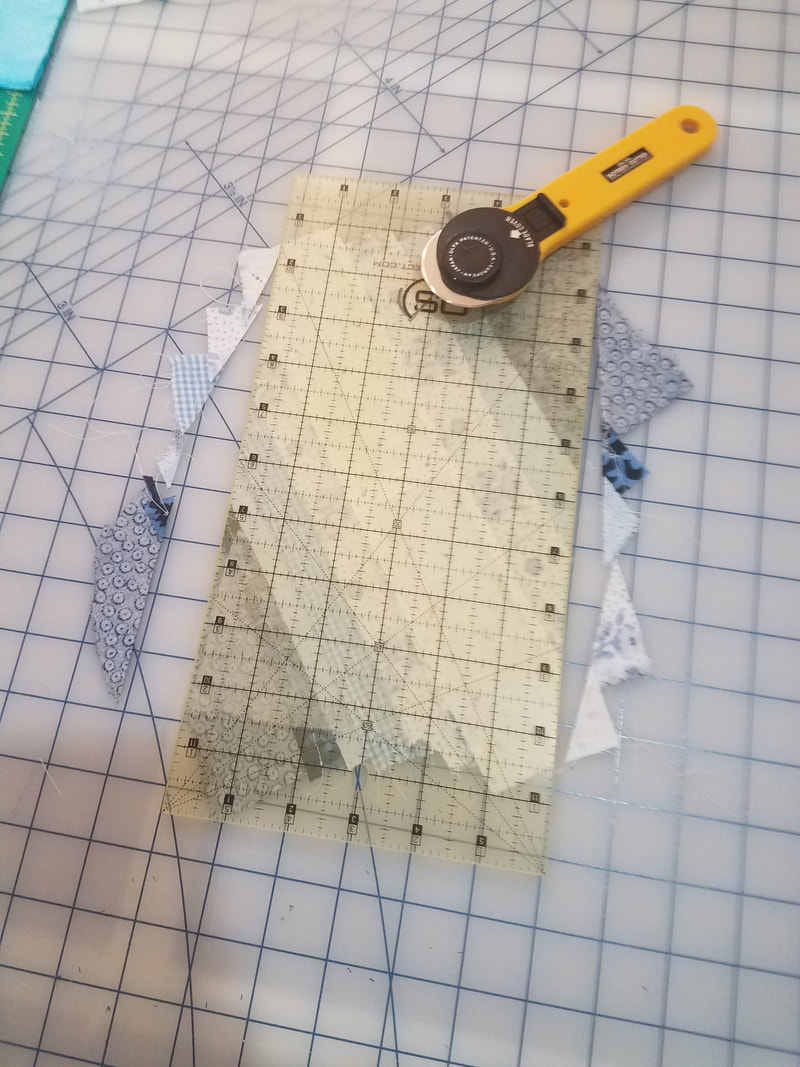
Finally, once the base is all covered and seams all pressed, it's time to trim the piece neatly. I use a ruler and rotary cutter for this.
I will keep adding to this project as I have time and scraps, until I have enough blocks to make a quilt top! I have dubbed it Pick-Up Sticks/Acid Trip, because of what I think it looks like, and what my brother said when he saw the first picture!
1 Comment
The Sister
4/29/2021 04:49:35 pm
I love the idea of this, using up scraps and still making something pretty. I have to remind myself that quilts have always been designed to be used, not just for decoration. These days quilting is such a "thing" and beautiful quilts hang as decor in people's homes, but their purpose has always been for practicality, so we should use the quilts we have! (I've been reminded of this lately after getting some baby quilts for the new arrival; I know all the work that's gone into them and feel bad that they might not be used.) Leave a Reply. |
Karen Roy
Quilting, dressmaking, and history plied with the needle... Sites I EnjoyThe Quilt Index Categories
All
Archives
March 2024
|

 RSS Feed