Robes de Coeur
  • Blog
  • Tutorials
  • Portfolio
    • Menswear
    • Womenswear >
      • Self-Made Patterns
      • Commercial Patterns
    • Hats
    • Miscellany
  • About
    • Contact
  • Blog
  • Tutorials
  • Portfolio
    • Menswear
    • Womenswear >
      • Self-Made Patterns
      • Commercial Patterns
    • Hats
    • Miscellany
  • About
    • Contact

Wedding Alterations!

8/24/2017

1 Comment

 
A friend who was getting married earlier this month asked me to do her wedding dress alterations.  It was a three part job: hem the front skirts shorter, create a 5-point bustle for the back, and shorten the shoulder straps.  The hemming was basic, and the bustling routine, but the shoulders were interesting, and would make a good tutorial. 

SHORTENING SHOULDER STRAPS ON A LINED AND BEADED GOWN

Picture
First, while the bride was wearing the dress, I found the shoulder seam at the top of the shoulder, and started my pinning there.  I pinned the excess fabric out, until it fit properly. 

Then, later, I used red thread to trace the place where my pins were.  When I took the pins out, the red lines showed me my new seam lines. 
Next, using a seam ripper and small scissors, I unpicked the shoulder seam.  There were three layers of fabric that needed to part: the lace top layer needed to be cut; the satin seam needed to be unpicked; and the lining seam needed to be unpicked.  There was also a strip of gummy non-slip stuff sewn over the edge, which I had to cut through. 
Picture
Picture
Once the shoulders were entirely separated, I pinned the outer layer (satin and lace) together at the new seam lines, right sides together. 

This picture on the left shows the multiple layers.  Right now, I'm only interested in the outer layers; I simply pinned the lining fabric out of the way.  I don't yet remove the red tracing thread. 
And here's the newly-sewn seam!  I remove the red thread just by pulling it, or snipping it where it got caught in the seam.  It's easy to see against the white. 

Finally, I turn the shoulder inside out, tuck all my seam allowances away neatly, and close the lining with slip-stitches, by hand. 
Picture
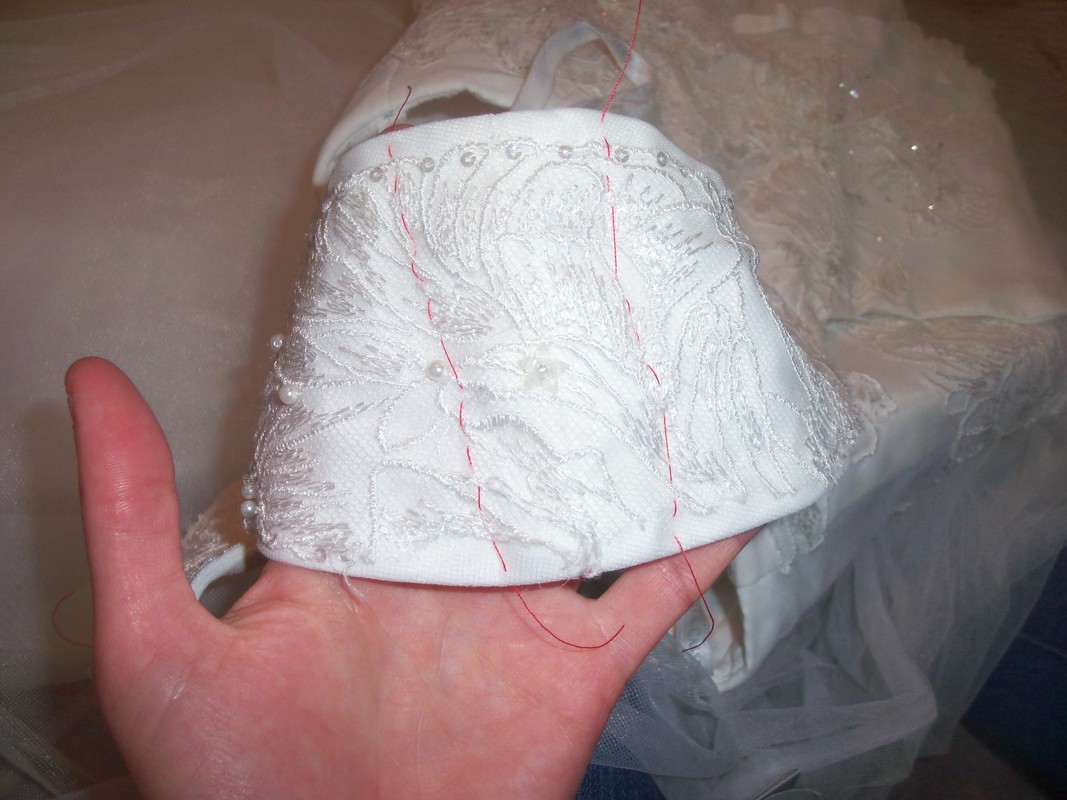
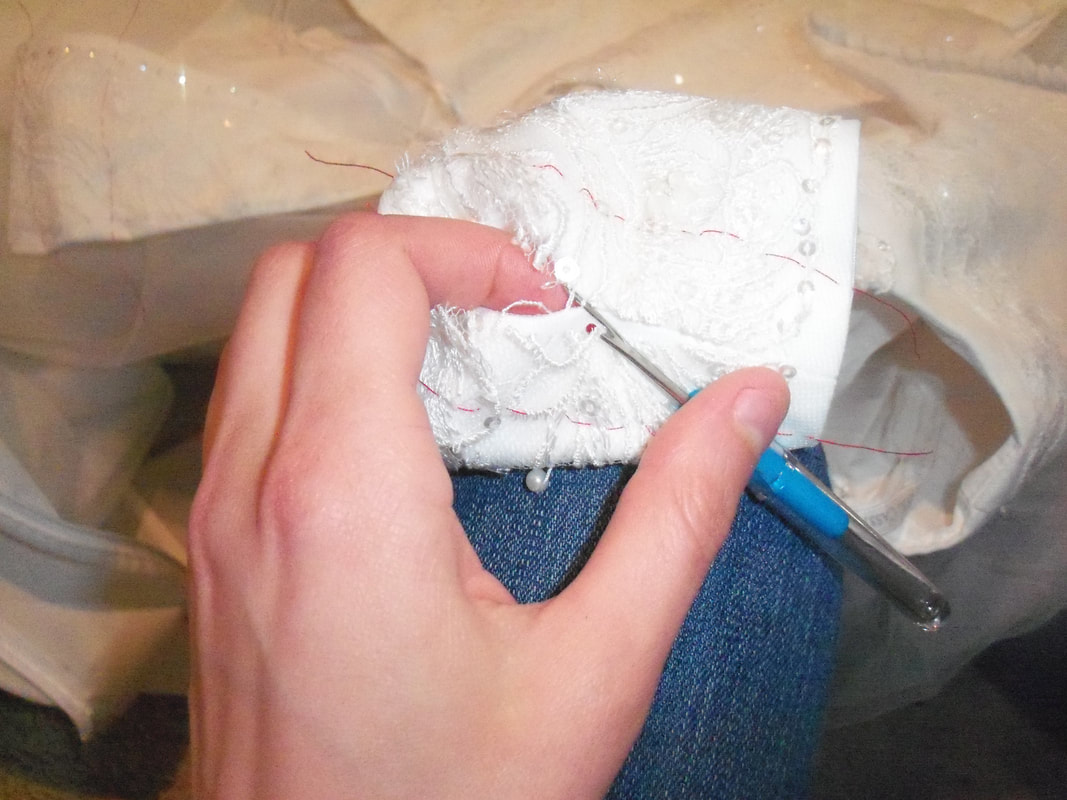
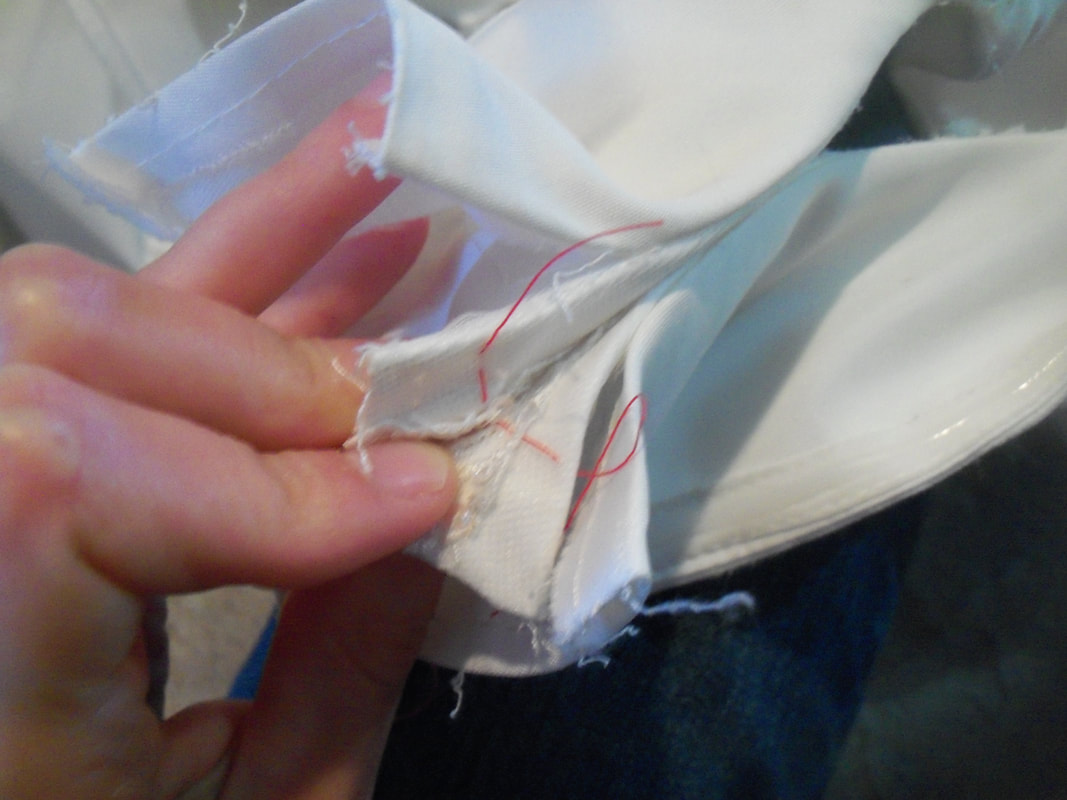
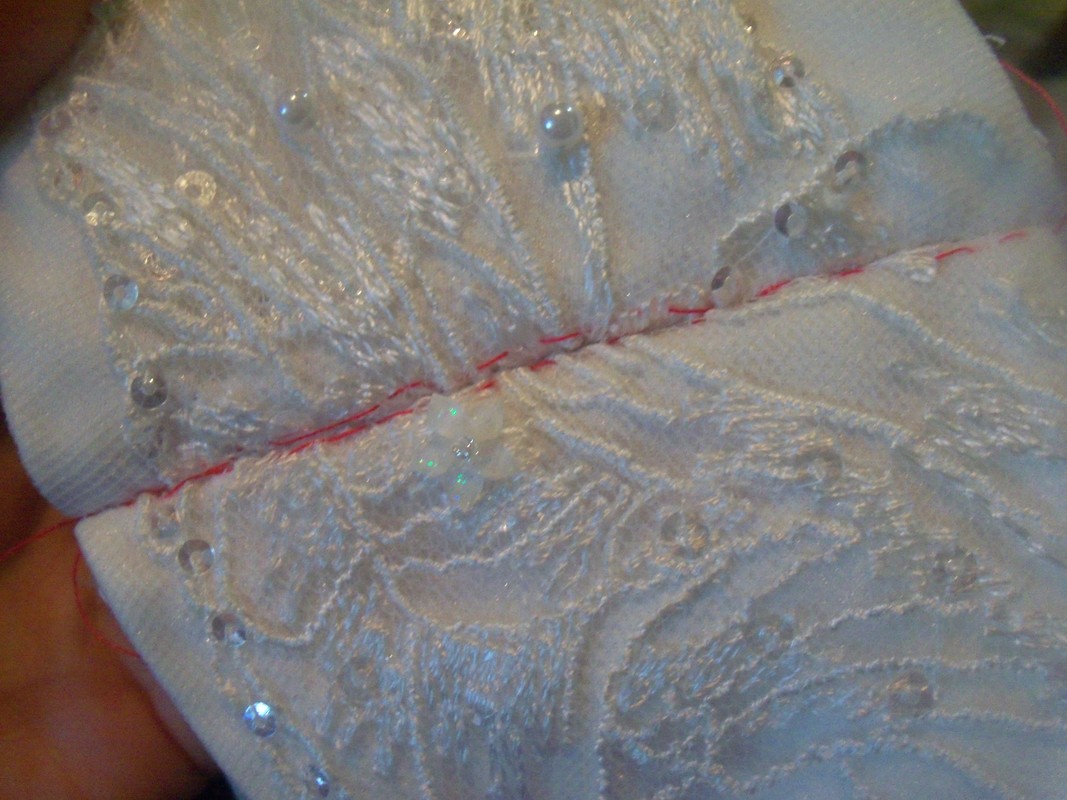
Two important notes.  First, when I cut the lace which overlay the original seam, I had to also cut through the threads sewing some beads and sequins on.  I gently pulled the sequins and beads off so they wouldn't bulk up the new seam allowances, and tied off the threads so the beads still on the gown wouldn't fall away.  Second, I didn't trim the seam allowances down, because a future bride might have a longer torso, and the future seamstress might need those seam allowances to make the shoulder straps long again!  For the same reason, I put the leftover sequins and beads in a little baggie and kept them with the dress. 

THE BEAUTIFUL BRIDE
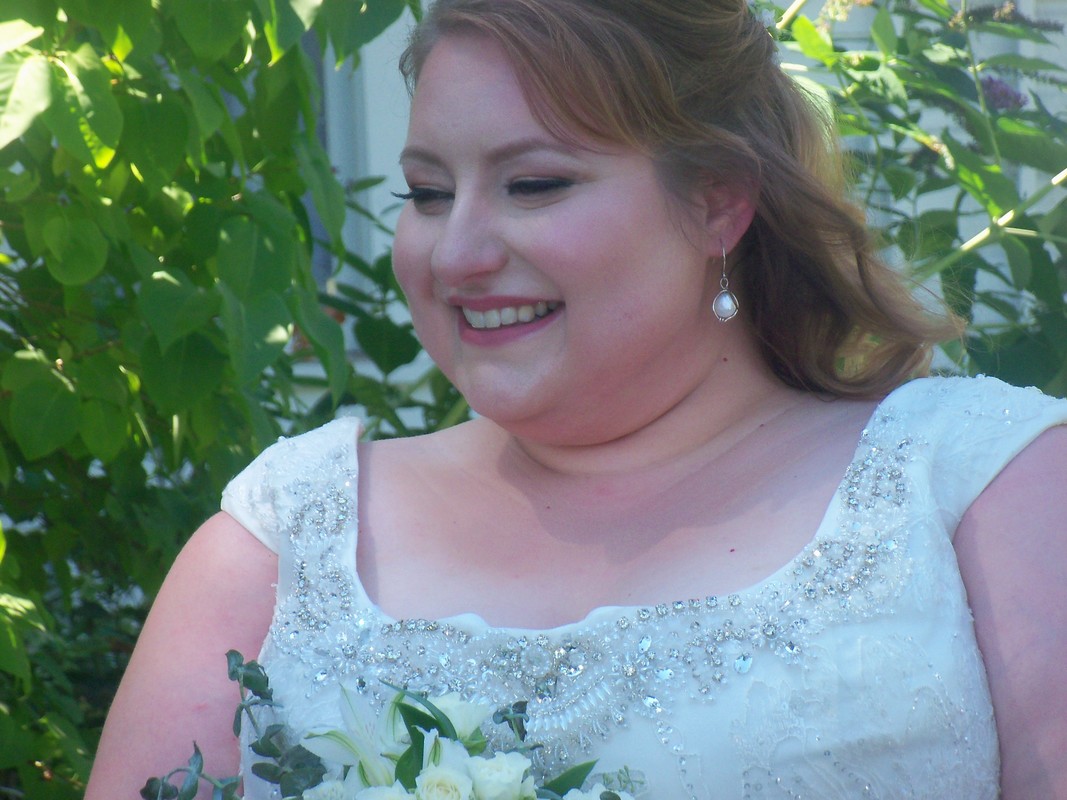
Picture
Picture
1 Comment
The Sister
8/26/2017 12:25:31 pm

Very nice!

Reply


Leave a Reply.

    Karen Roy

    Dressmaking, dress-musing...

    Categories

    All
    1910's
    Alteration
    Antique
    Dyeing
    Embroidery
    General
    Hand Sewing
    History
    Lacemaking
    Mending
    Menswear
    Millinery
    Modern Elizabethan
    Musing
    Other Sewing
    Philippians 4:8
    Quilting
    Regency
    Retro
    Self-made Pattern
    Terminology
    Victorian
    Vintage

    Blogs I Read

    The Dreamstress
    Male Pattern Boldness
    ​
    Lilacs & Lace
    Tom of Holland
    Fit for a Queen
    Line of Selvage
    Mainely Menswear
    Bernadette Banner

    Archives

    August 2020
    June 2020
    May 2020
    April 2020
    March 2020
    January 2020
    December 2019
    November 2019
    September 2019
    August 2019
    July 2019
    May 2019
    April 2019
    March 2019
    January 2019
    December 2018
    November 2018
    October 2018
    September 2018
    August 2018
    July 2018
    June 2018
    May 2018
    April 2018
    March 2018
    February 2018
    January 2018
    December 2017
    November 2017
    October 2017
    September 2017
    August 2017
    July 2017
    June 2017
    May 2017
    April 2017
    March 2017
    February 2017
    January 2017

    RSS Feed

Blog

Tutorials

Portfolio

About

Copyright Karen Roy
​© 2017-2019