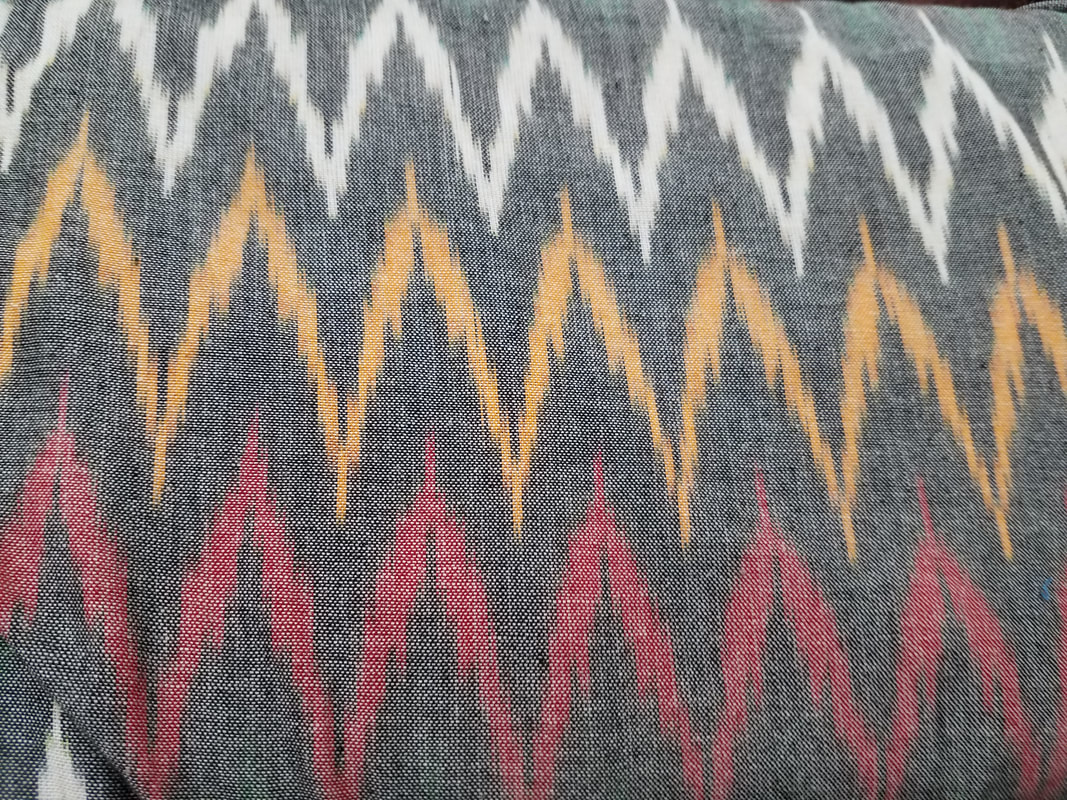
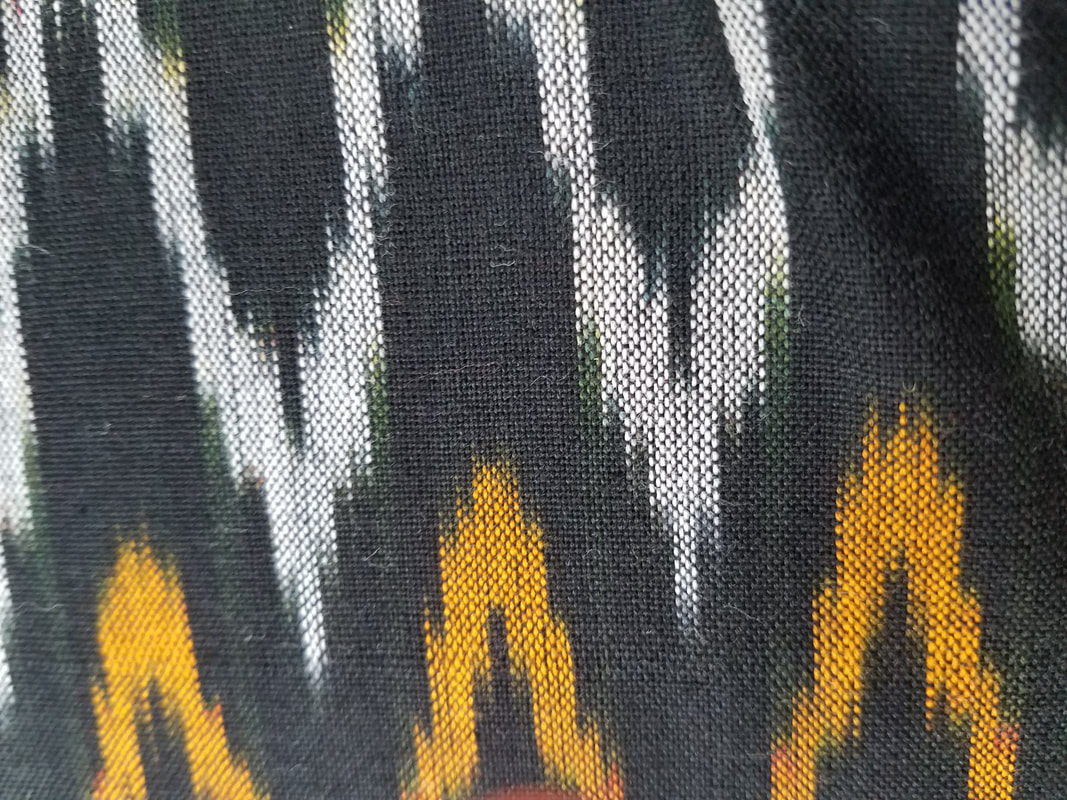
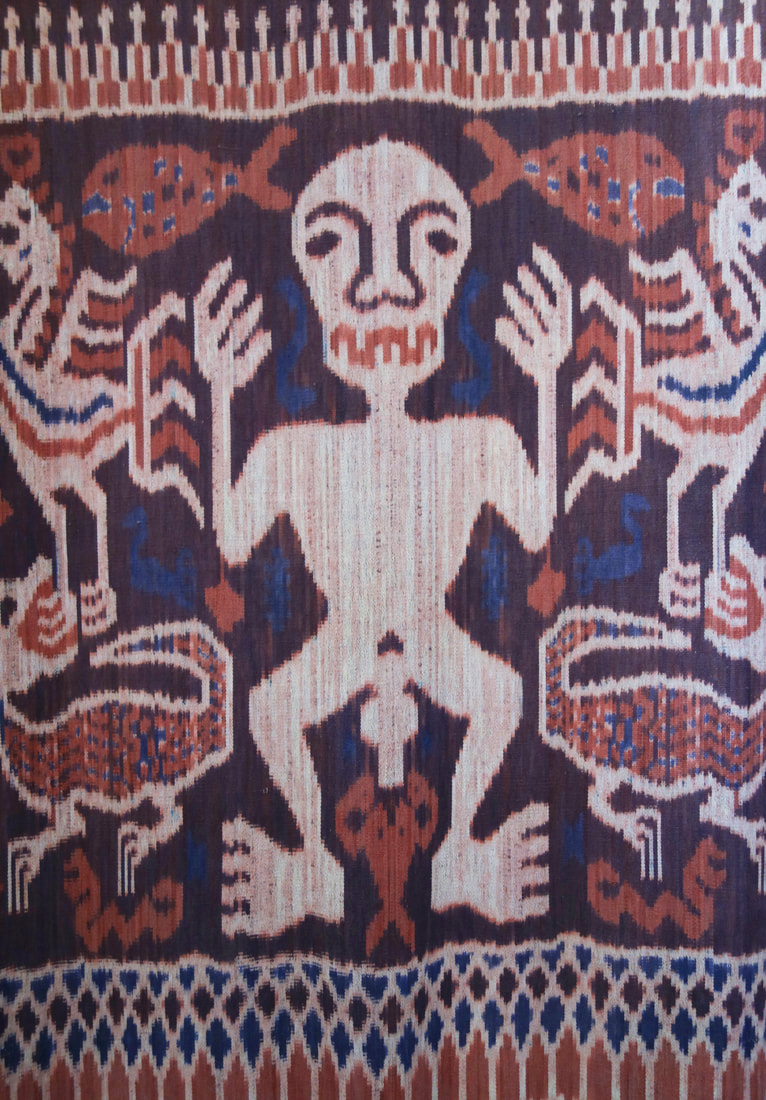
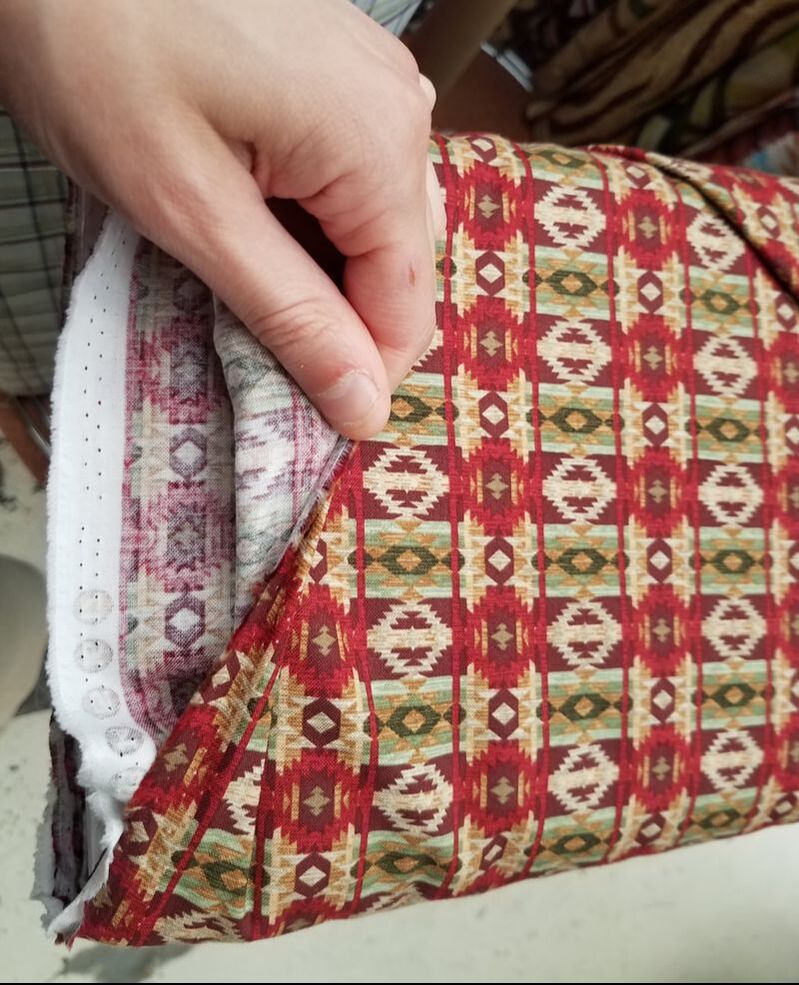
Today, I want to talk about ikat fabric, because I find it fascinating. Ikat (say "EEE-kat") is a yarn-dyed fabric where the yarns are selectively resist dyed before weaving, and the pattern emerges once woven. Some pictures in this post are from Wikimedia Commons (click to see their sourcepages). The ones that don't go to Wikimedia Commons are my own pictures. So what is the dying process? In Japanese, it's called kasuri 絣; in English we use the Indonesian word ikat. To start with, let's say you're working with silk threads. You stretch the warp yarns on the loom and decide to make a zig-zag pattern. So, using cotton threads, you tie knots around the warp threads in the zig zag. Then you un-thread the loom, and dunk the silk/cotton bundle in water. Cotton is super absorbent, and takes on far more water than silk does, so the cotton fibers swell. Then you dunk the wet bundle in a dye vat with indigo dye. Both silk and cotton fibers get indigo dyed, but the silk that was tied up inside the cotton does not get dyed, because it was protected by the water-saturated cotton knots. In other words, the parts that got tied resisted the dye. When you carefully untie all the knots, the silk thread underneath is still white there, though indigo everywhere else. Then you re-string the loom, and if you're careful, you can re-string it the same way as before, thus re-creating the original warp thread configuration, but now with a white zig zag pattern on an indigo ground! Then you weave the weft threads through to make the fabric. Of course, it's not possible to get the dye resist perfectly uniform, nor to get the dyed threads re-strung exactly as before, so the zig zag pattern is not perfect. There is a slight fuzziness or wiggliness to the lines. The fuzzy edges are characteristic of ikat, and part of its charm: their very inexactness highlights how exacting and meticulous the dye technique is! The two pictures below, taken by Midori and posted on Wikimedia Commons, show three stages of the process: the first picture shows the warp threads gathered in bundles and stretched out over the loom, as they would be when woven. In this position, they'll be resist-dyed. The second picture shows the dyed warp threads at the top right, and the woven fabric showing the pattern at the bottom left. The more colors an ikat has, the more times the individual threads had to be strung, tied, dyed, restrung, tied in different places, and dyed again. The more complex the patterns are, the better the weaver's control over the whole time-consuming and complicated process. The resist dyeing can be done as I described, with knots, or it can be done with wax. Presumably, you could paint or dip-dye the strands, too, to get the same effect, but I don't know if people do.
(Thanks to the Japanese Architecture and Art Net Users System for the Japanese ikat vocabulary I use in this post!)
0 Comments
Leave a Reply. |
Karen Roy
Quilting, dressmaking, and history plied with the needle... Sites I EnjoyThe Quilt Index Categories
All
Archives
March 2024
|


 RSS Feed