|
It took me about two days to develop a pattern for the bodice of this basque. I wanted it to have the style lines of the reference piece, but to fit my modern, uncorseted body. (Corsets are cool and all, but I'm working on my posture and don't want to wear something daily that replaces back muscles.) Today, I pattern sleeves.
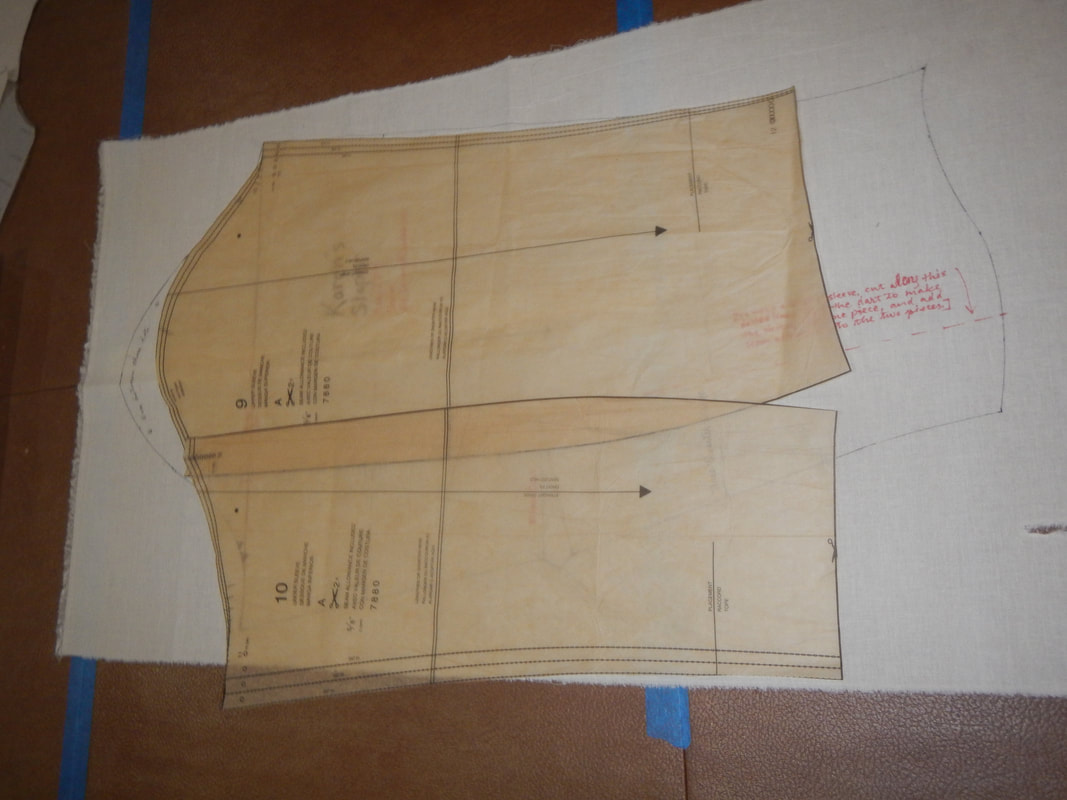
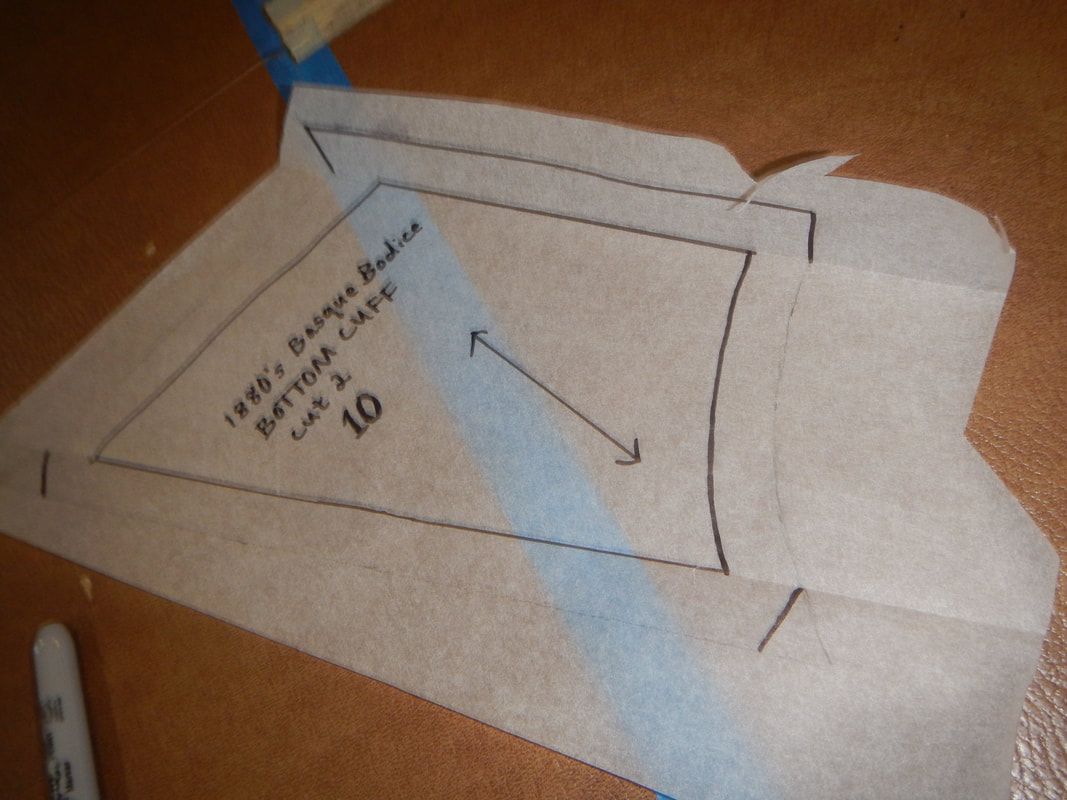
RUBBING OFF THE FLAT PIECESI start by rubbing off the flat pieces of the sleeve. Those are the under sleeve and under-cuff, and the upper cuff. Unlike when I rubbed off a camp shirt, I can't pin the muslin to this garment because I don't want to damage it. So I lay the muslin on top of it, then poke pins very lightly into the seam lines, then connect the dots with pencil.
DRAPING THE UPPER SLEEVE
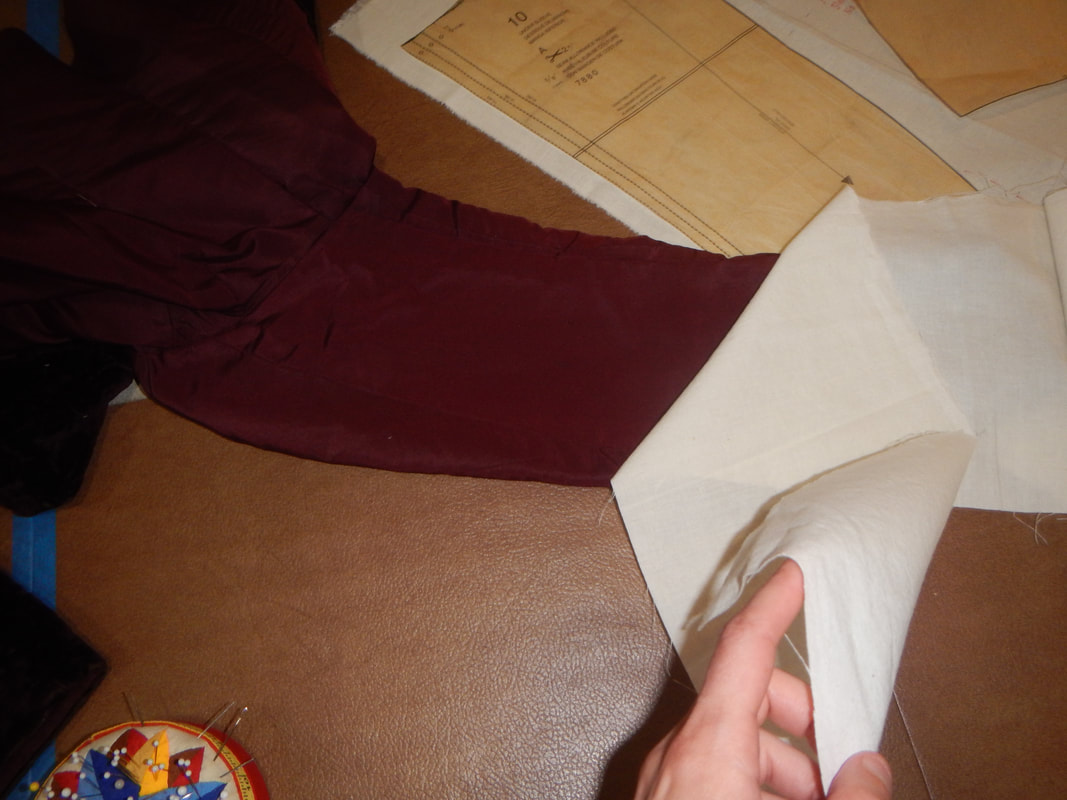
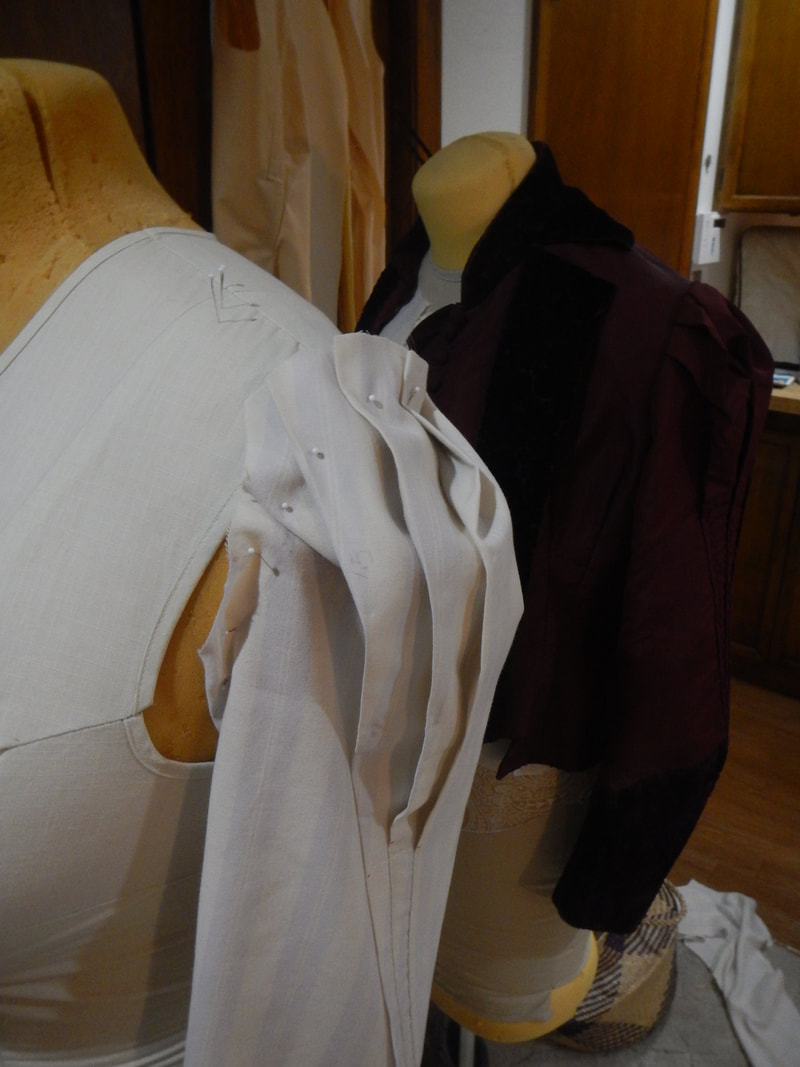
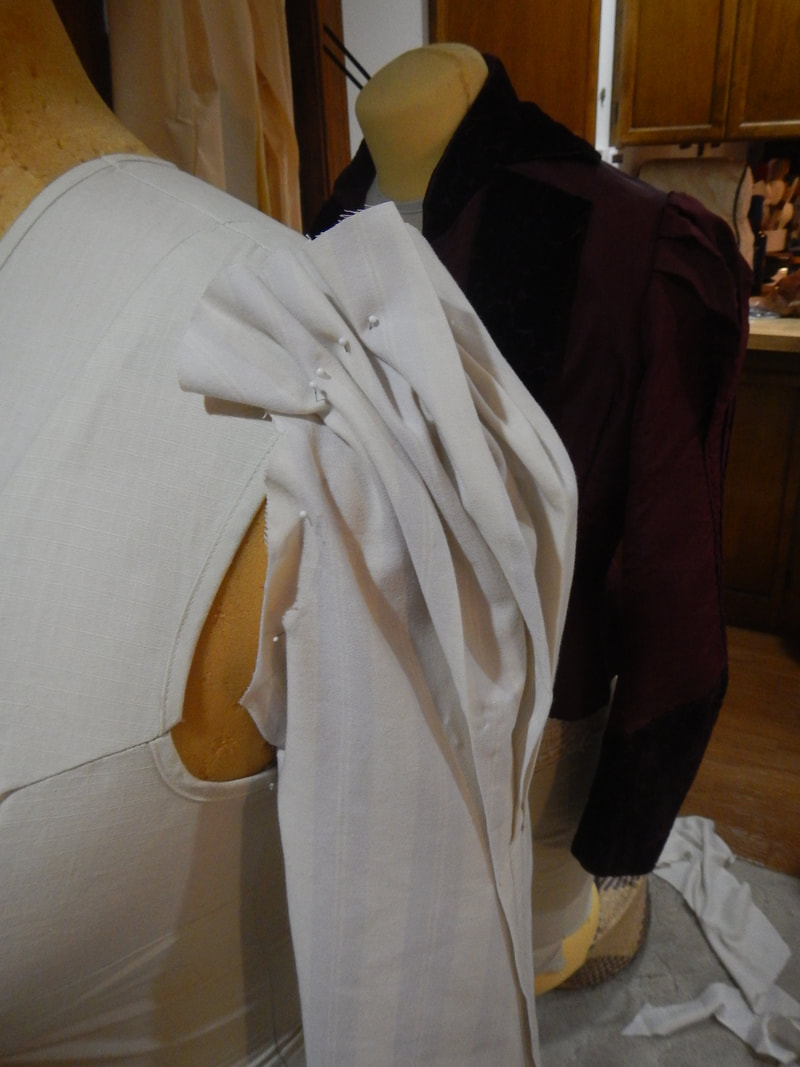
Then I go to the top of the reference sleeve and try to figure out how much fabric is in the sleeve cap. I pin a length of yarn to the seamline, using it to trace the folds of each pleat. It's interesting: there's no particular pattern to the pleats: they are different depths and angles and directions. And the left sleeve is not pleated the same as the right... so the dressmaker probably didn't start with a perfect sleeve pattern back in the 1880's; she probably started with a big round top and roughly pleated each sleeve however she pleased. 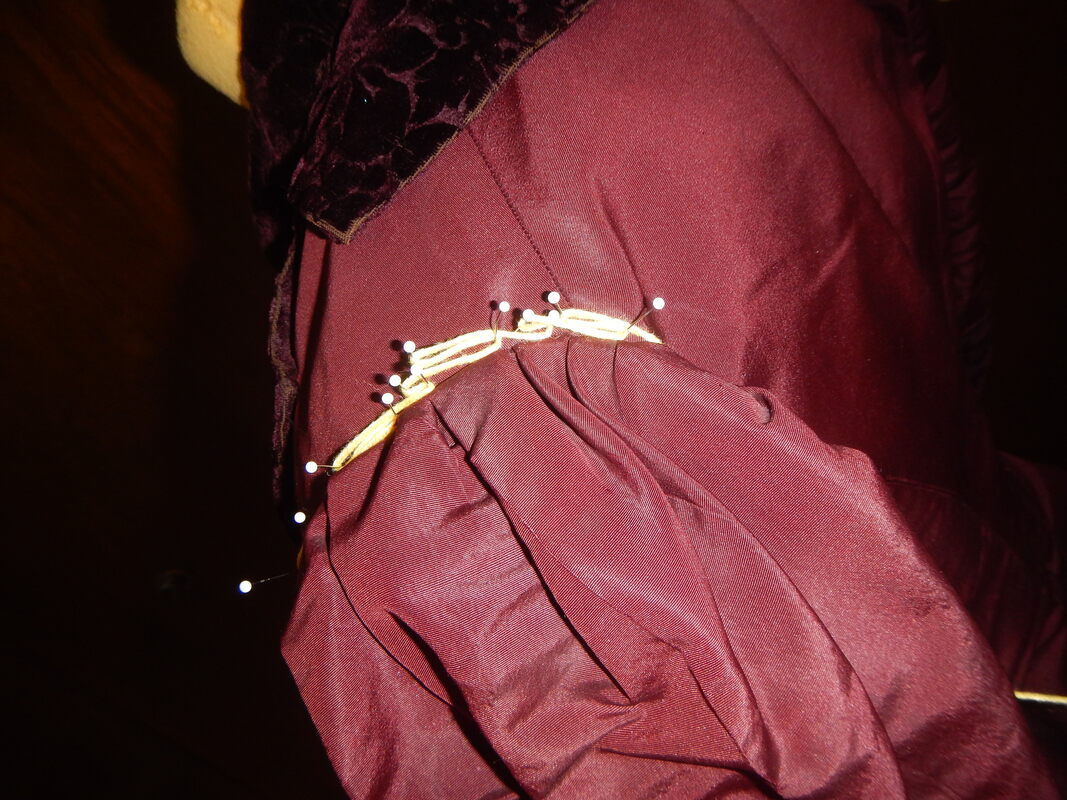 There are two problems with this. First, when I take the yarn off the reference piece, I know how long the sleeve cap's edge should be, but I don't know what shape it'll take. Second, I am psychologically incapable of just "pleating it however", so I have to figure out a good pleating method and use it consistently. Anyway, I end up not using my yarn measurement for anything, but I show it here in case you can use it. These next two pictures show the evolution of the sleeve.
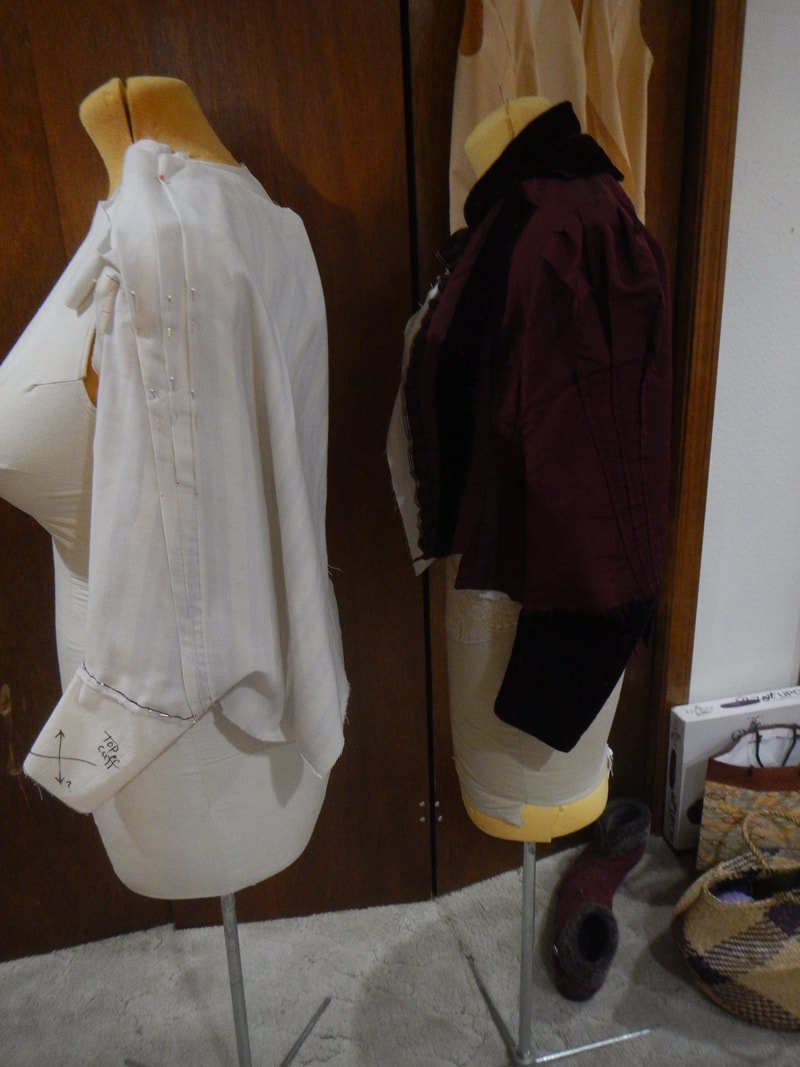
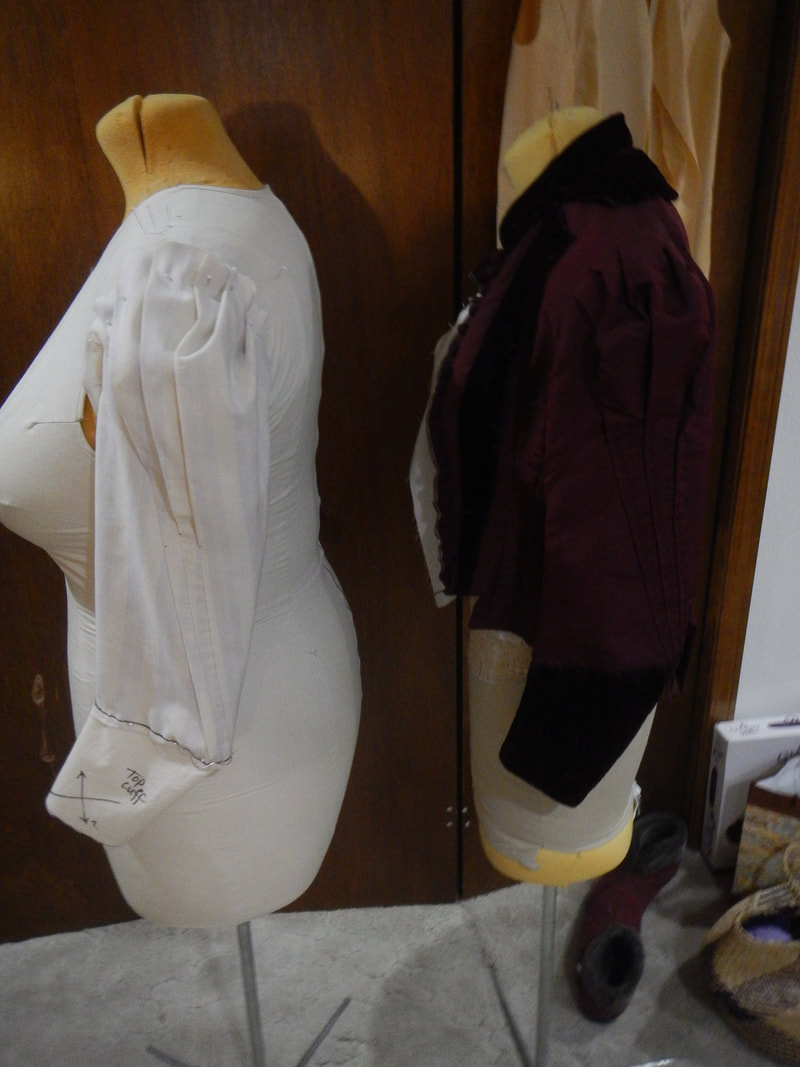
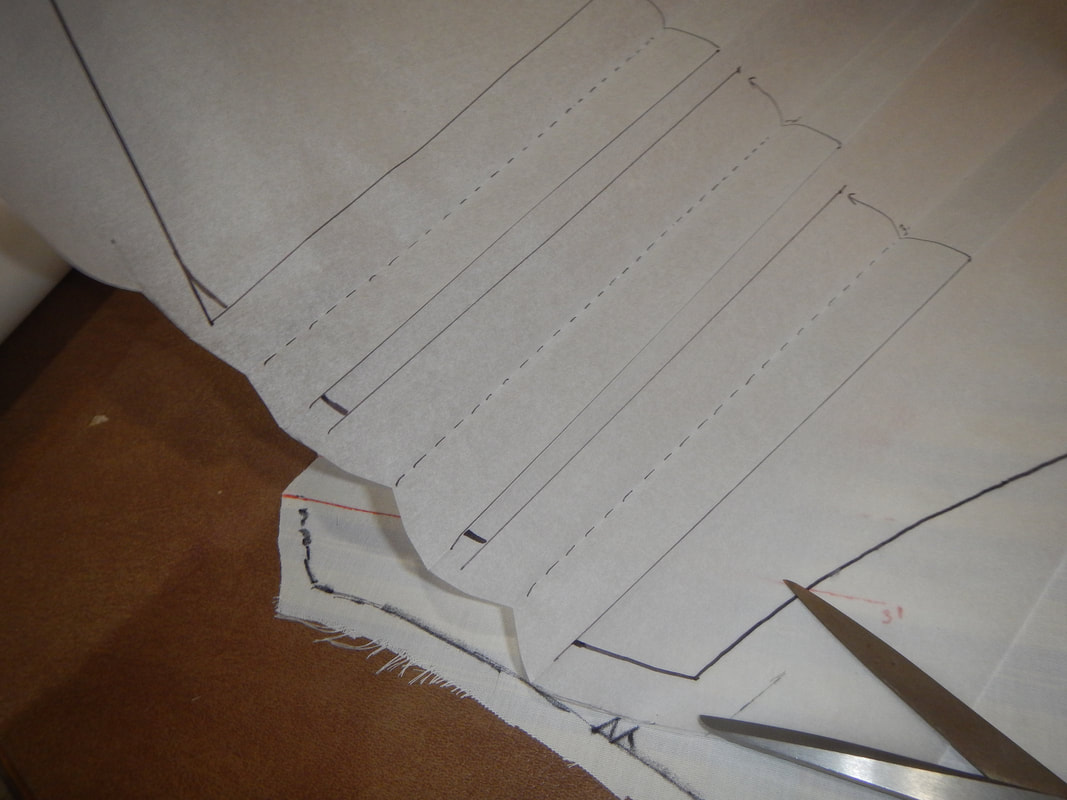
Once I have the back sleeve seam pinned, I experiment with different ways of creating the poof at top. Mind you, in both the pictures below, the sleeve looks less poofy than it would if sewn, because it's pinned down. If I sew it, then turn the seam allowances into the sleeve, that'll create volume.
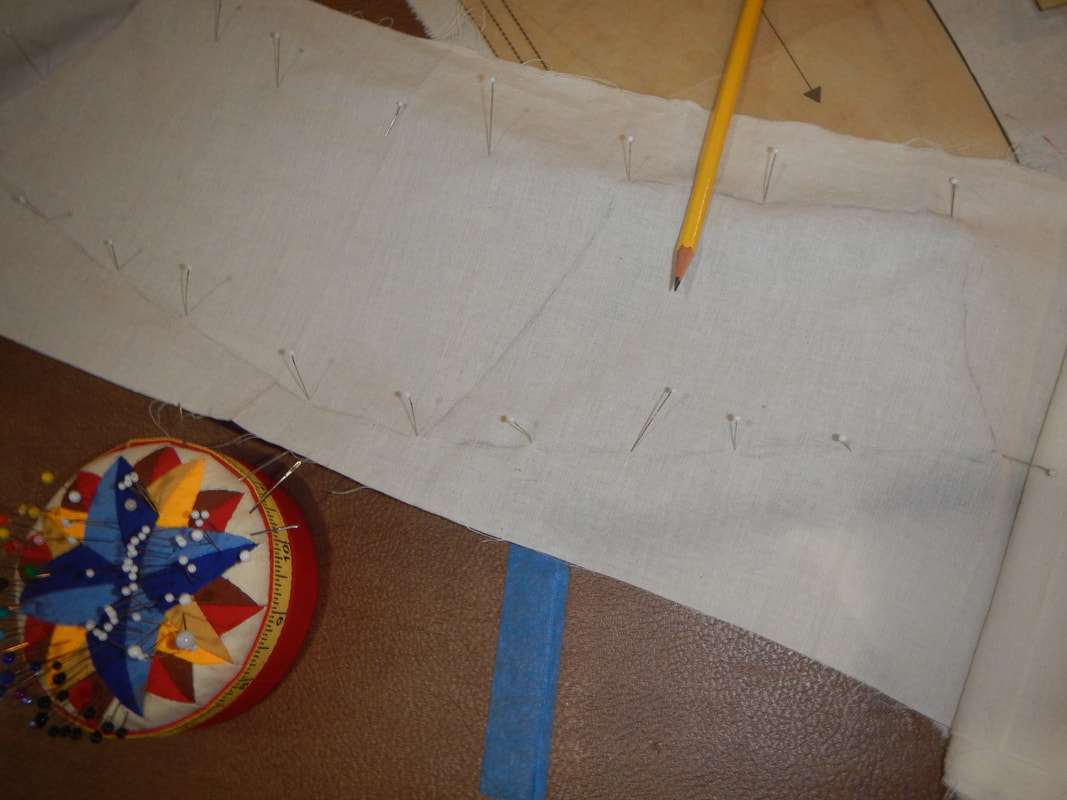
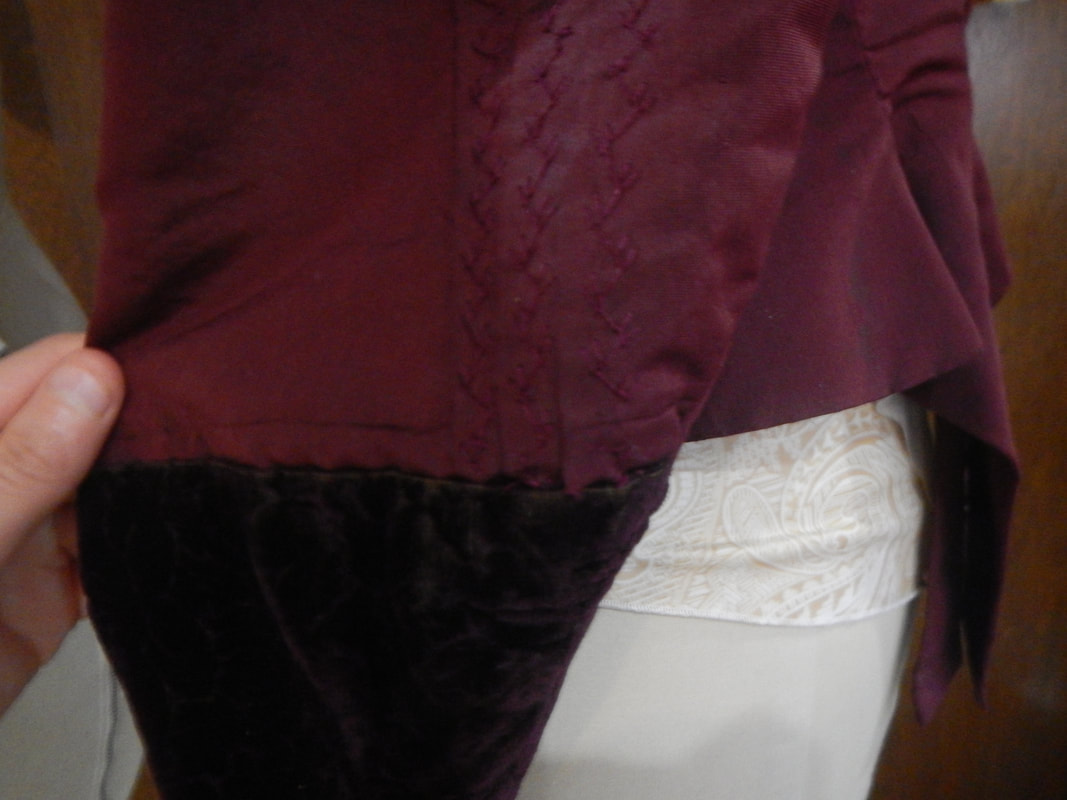
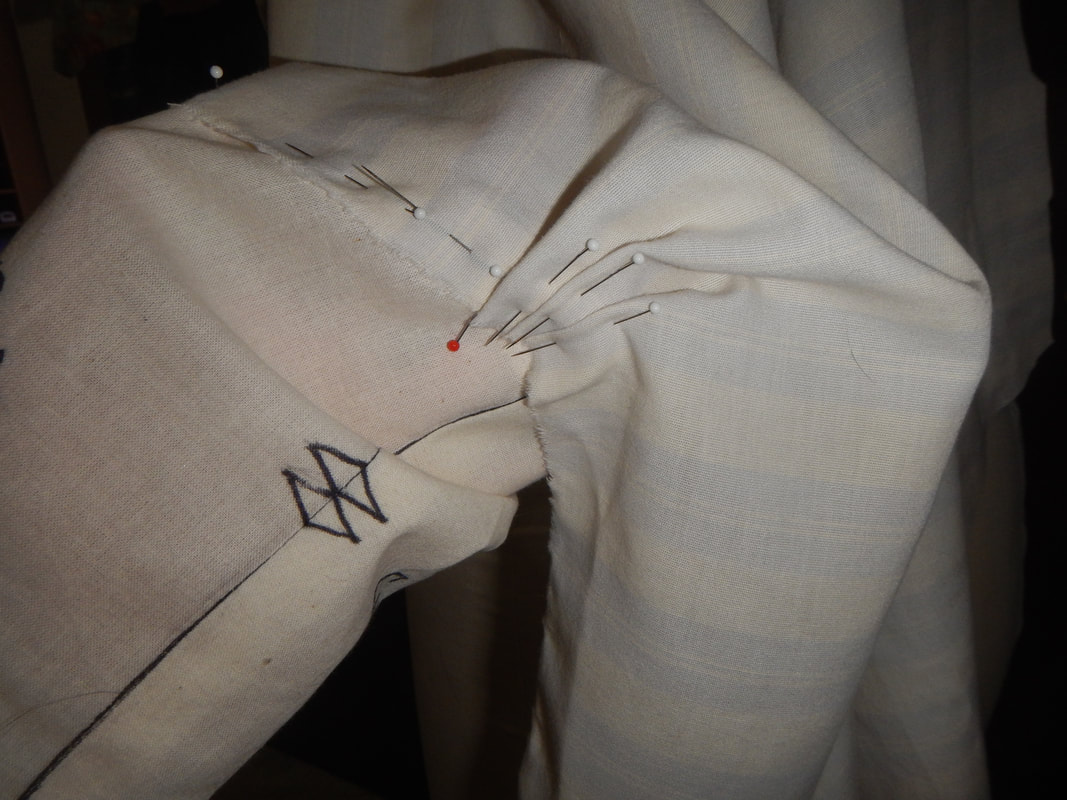
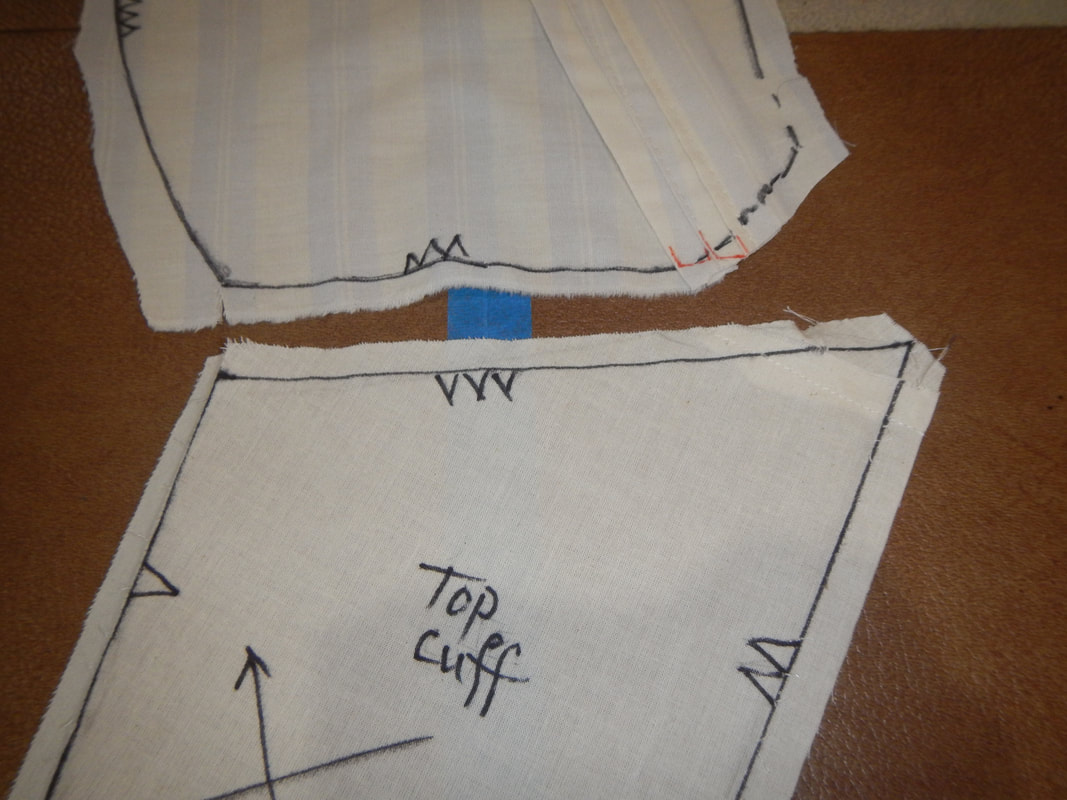
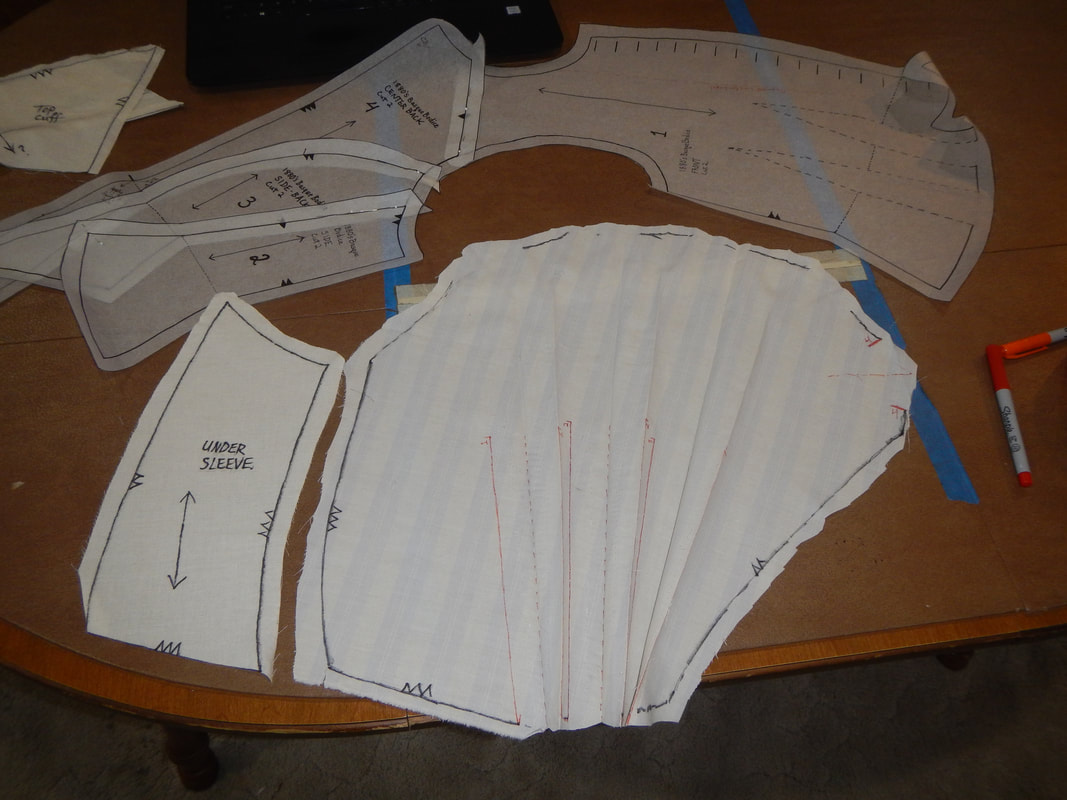
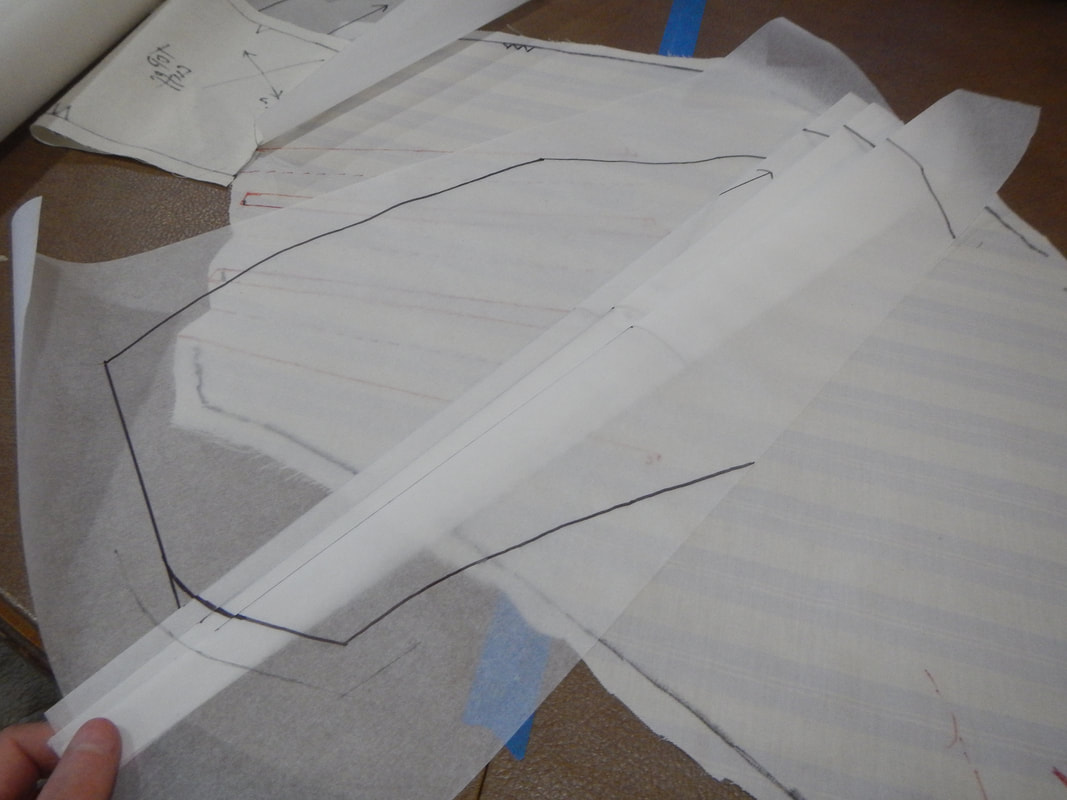
In the end, I find a happy solution! I take the outer edge of each knife pleat, and make it the center of a box pleat! The knife pleats on the bottom open up and turn into new, equally tidy, pleats on top. It's quite sculptural, isn't it? 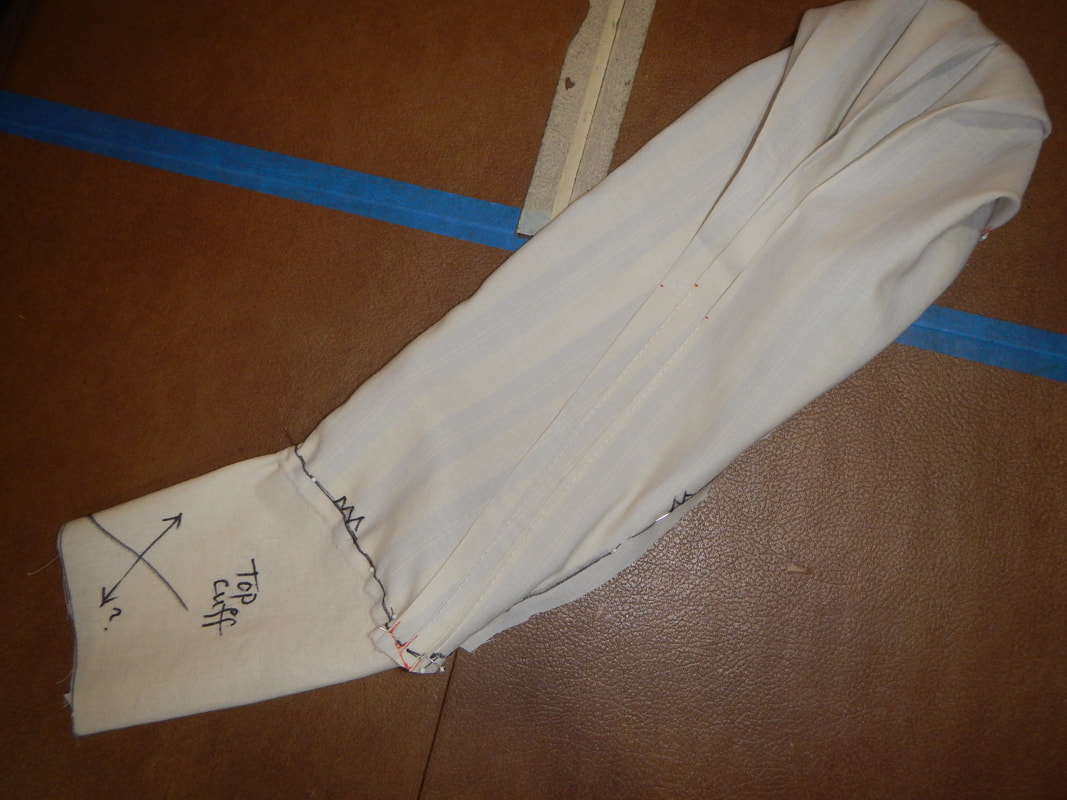 This unattached sleeve picture also shows another, unexpected, bit of sculpture: the fabric of the upper sleeve takes a little turn as it's sewn into the top cuff. This part perplexes me as I do it. Take a look at the picture just above, at the seamline marked with three triangles. I will try to explain. As I drape the upper sleeve, I see that the crossgrain of the upper sleeve on the reference is parallel with the angled top of the cuff. Easy enough... I pin it in place. But when I get to the pleats and pin them, there's no way for the back of the sleeve to fit into place without losing fullness in the sleeve cap and misaligning the grainline in the back seam area. I look really closely at the reference sleeve to see what the grain/crossgrain lines are doing at that spot, and keep pinning one way and another on the pattern, but nothing works except to create a turn, right where you can see red ink. Basically, the sleeve is on-grain in the front, but each successive pleat shifts the crossgrain lower, and since the pleats are angled, that sends the sleeve grain askew, pointing backward. The only way to bring the grainline back up is to pivot and angle the whole sleeve just at the point where the three knife pleats converge! That corrects the grainline in back and creates enough fullness in the sleeve cap. When sewing the sleeve, the first thing I'll do will be to sew the pleats down, then attach the flat pattern piece to the flat cuff piece. But just at the convergence of pleats and cuff, the pattern of the upper sleeve curves while the cuff piece stays straight. When I sew them together, it makes a bulge right where the elbow will go. What a peculiar method! Why use the upper sleeve to create elbow room when you've already got a two piece sleeve, and you can use the seamline for that purpose?! Here, look at the finished pattern pieces laid out:
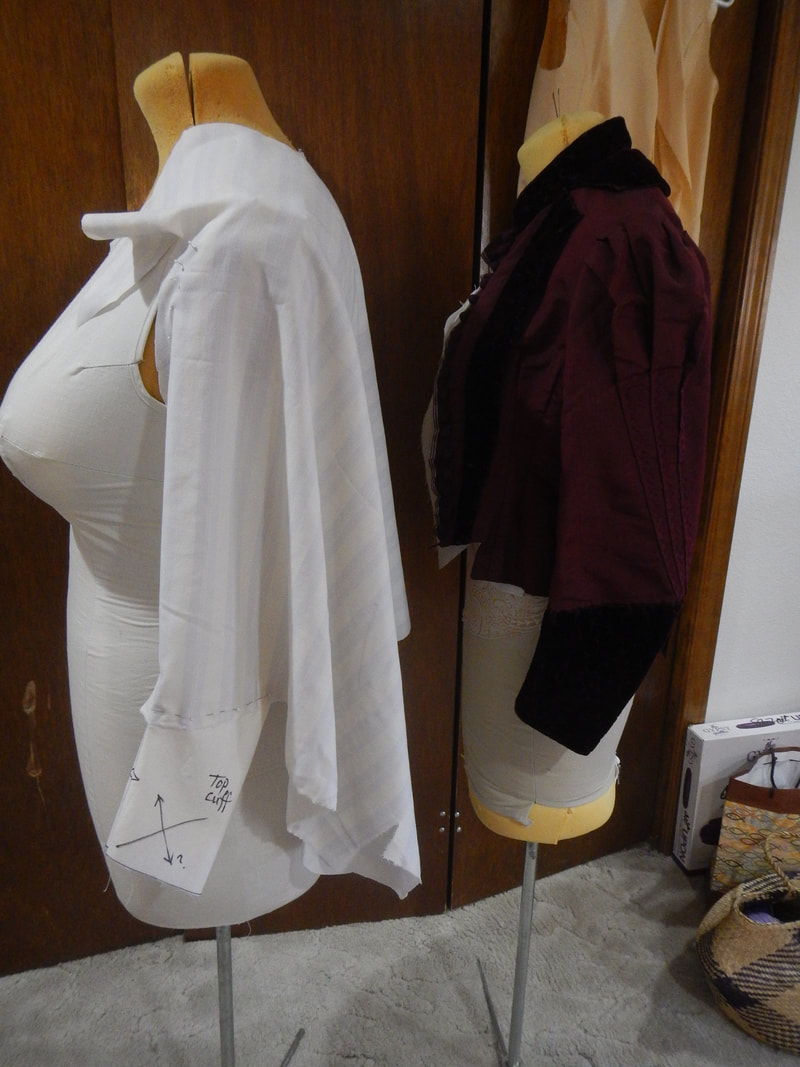
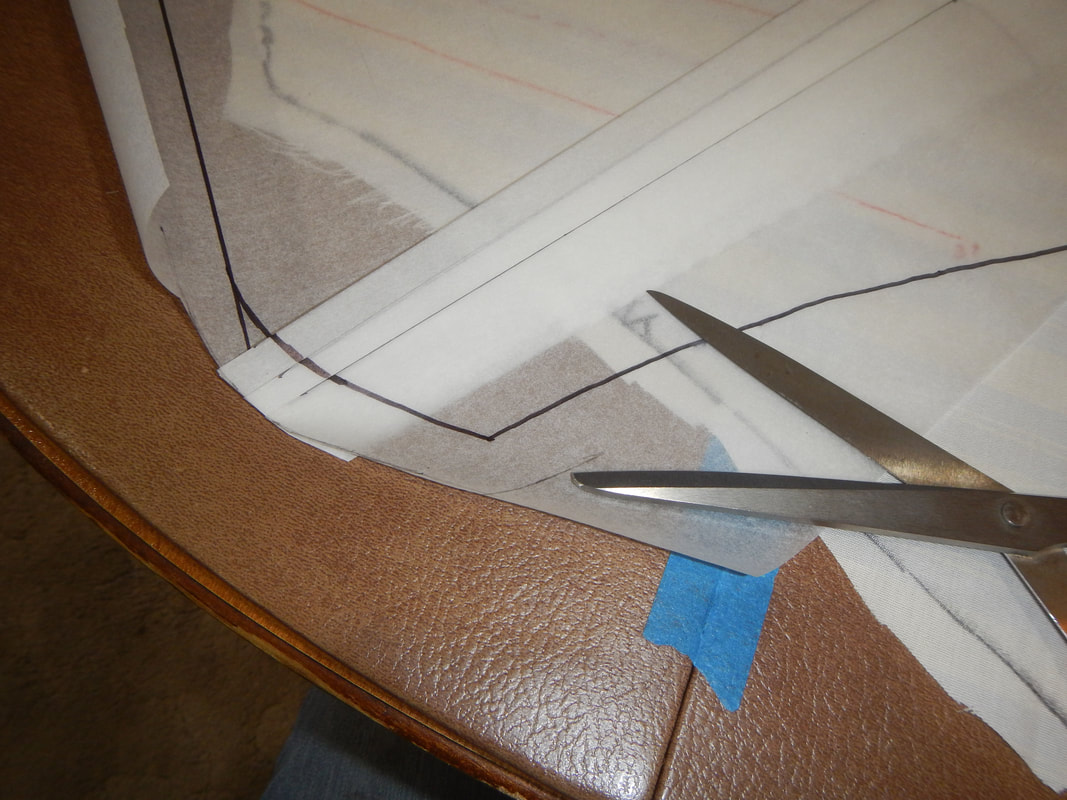
The pale blue stripes on this fabric are the grainline. The three-triangled seam at the bottom of the sleeve curves upward after the pleats, see? There's also a weird bulge at the back of the sleeve cap where I'll have to put a large tuck (red lines). This is officially the funniest-looking sleeve I've ever seen. I'd better test it and see if it works! 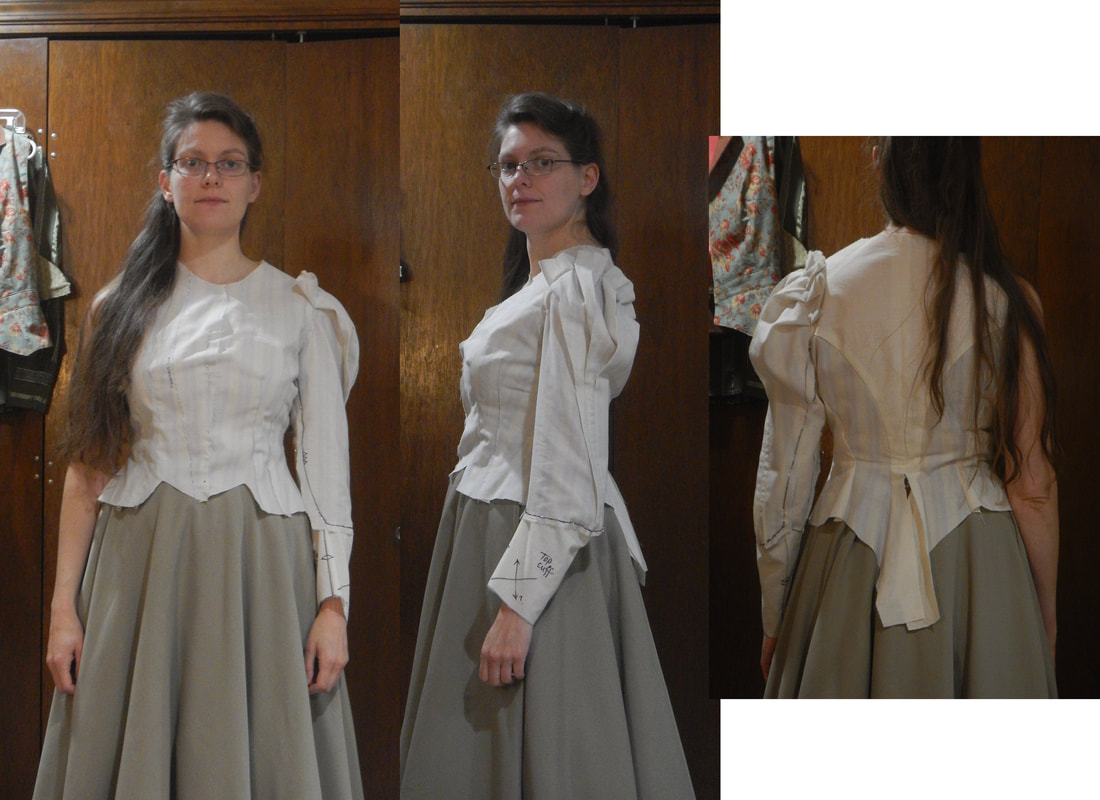 Pretty good! I clean up my pattern: walking the seams, adding seam allowances, marking important points, et cetera. Here's how I get the seam allowances at the bottom of the pleats to follow a reasonable shape:
To conclude... what a funny-looking sleeve pattern! 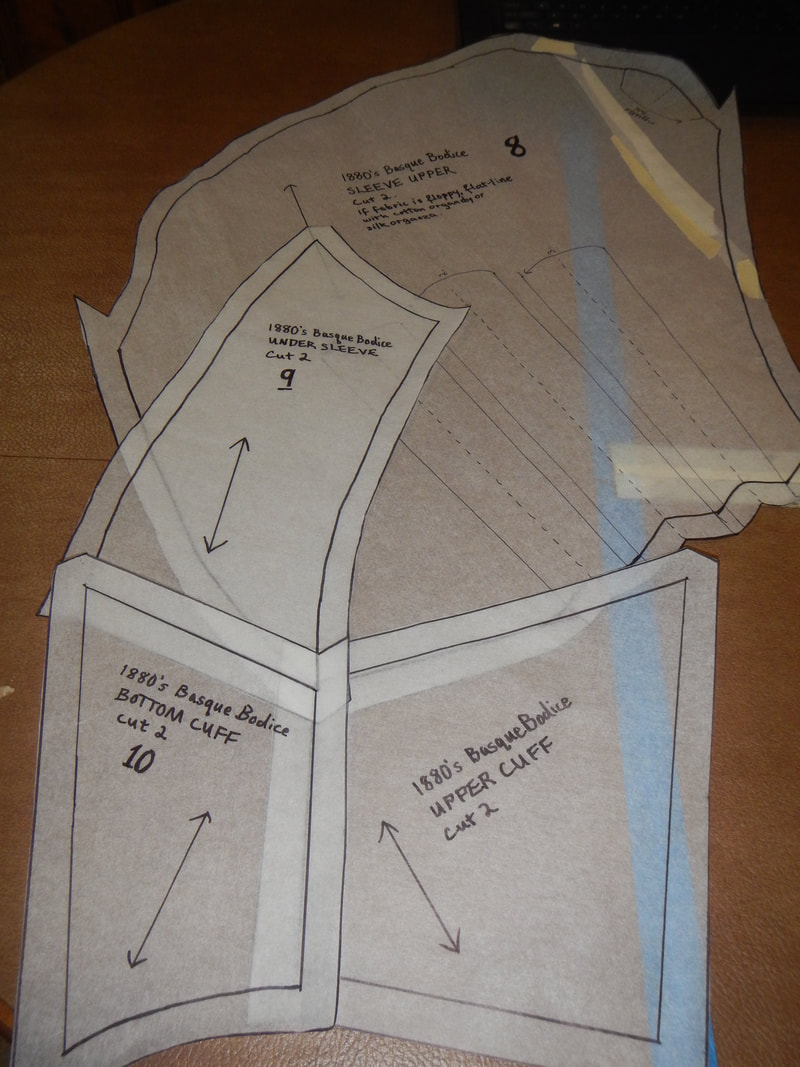 I'm excited to make this basque, next!
2 Comments
The Sister
5/20/2020 08:57:55 am
That is interesting! My eyes glazed over a few of your more in-depth comments, but overall, it's neat to watch you deconstruct something to figure out how it was put together, and try different methods to get the same result. Have you the final fabric for this piece? Will it be the lightly striped blue pattern, or is that a sloper?
My eyes glazed over a bit as I tried to composed those comments! Especially the bit about why the bottom of the pleated area needed a curve. It's such a non-linear, non-verbal process to figure it out, but a linear, verbal process to write it. Leave a Reply. |
Karen Roy
Quilting, dressmaking, and history plied with the needle... Sites I EnjoyThe Quilt Index Categories
All
Archives
March 2024
|

 RSS Feed