Robes de Coeur
  • Blog
  • Quilting
  • Clothing
    • Menswear
    • Womenswear >
      • Self-Made Patterns
      • Commercial Patterns
    • Hats
    • Miscellany
  • About
  • Blog
  • Quilting
  • Clothing
    • Menswear
    • Womenswear >
      • Self-Made Patterns
      • Commercial Patterns
    • Hats
    • Miscellany
  • About

1919 Dress - FINISHED!

6/11/2018

7 Comments

 
Picture
Photo by NT Yang
For my 1919 dress, I began by draping an idea on my dress form, then draping a pattern on my friend.  Next, I put a bunch of work into sewing the bodice.  So far, so thoughtful and meticulous. 

By contrast, the skirt is quickly applied, the waistband hurriedly top-stitched, and the finishing touches done at breakneck speed with my friend standing around in stockings and our ride waiting in the car! 

Which is to say that I finish just in time for the murder mystery evening...
But let's back up a bit.

Here's the bodice after fitting... the back ends up too large at the top, and I'm not sure why.  Maybe I shift the position of the bodice on the bosom between fitting one and fitting two?  Anyway, I mark the new CB line for the zipper.  I also pin the organza sleeves to the bodice at the top, and will tack them in place later so they don't slide down her shoulders and so they help hold the bodice up. 
Picture
Bodice after fitting
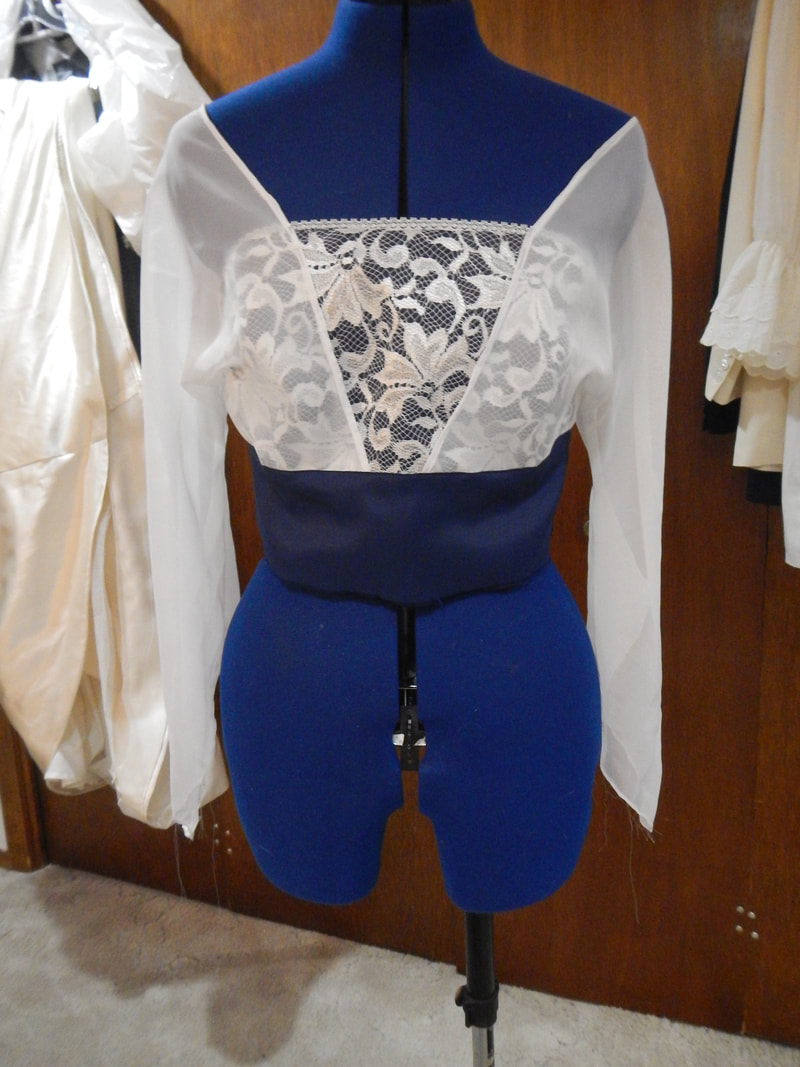
This dress is designed around a waistband, and the construction uses the waistband to conceal the raw edges of the seams so that I don't need to serge or fell anything inside the dress.  Since I've made several dresses like this before (the salmon-striped dress, my sister's Titanic gown, and my highlighter dress), let me take a moment to explain the basic construction. 

I cut the waistband twice: once in lining fabric and once in the outer fabric.  Then I sew the top and bottom elements of the dress to the waistband lining, wrong sides together.  This offers an important advantage: I can try the dress on and the seam allowances will be on the outside so I can adjust them.  Then I press the seam allowances toward the center of the waistband lining, and cover all the messy bits with the waistband exterior, top-stitching it all closed.  I've drawn a really basic diagram below. 
Picture
So here to the right you can see the dress on the Blue Lady dress form, with the bodice pieces sewn to the lining fabric and the crepe exterior fabric topstitched in place on top of that.  The blue skirt lining fabric is sewn to the waistband lining, and it's ready for the next layer of skirt to be sewn atop that. 

As for the skirt, I have two layers planned: the blue crepe fabric and the wedding dress lace.  I go for a simple rectangle for the skirt, but the lace is already cut out in the gored shape of its original dress.  Moreover, the lace width is smaller than the skirt width, so I have to pleat the skirt to fit the lace before I can pleat the two of them together to fit the waistband. 
Picture
lining fabric sewn to lining of waistband
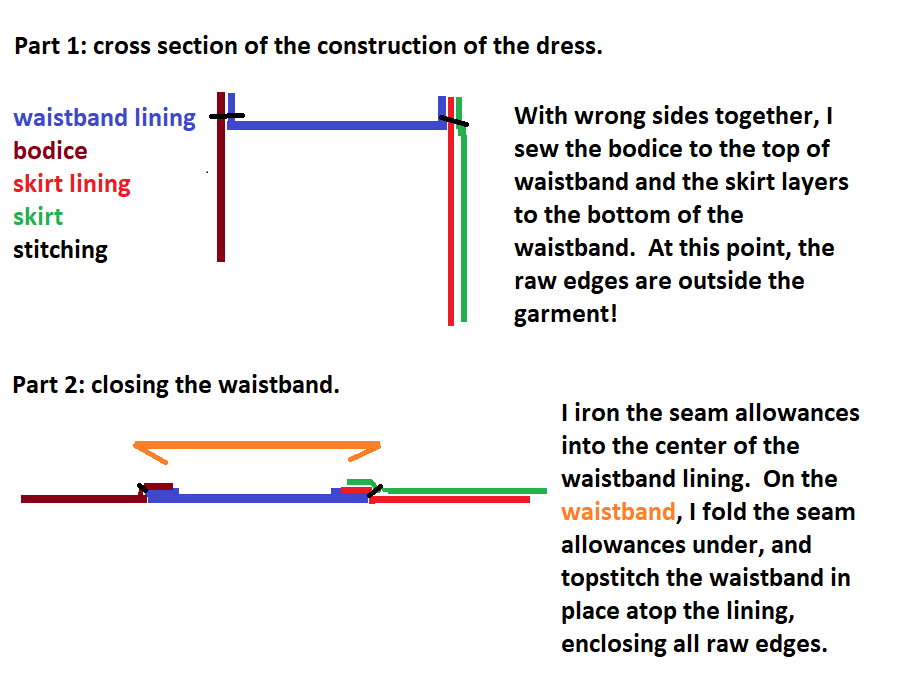
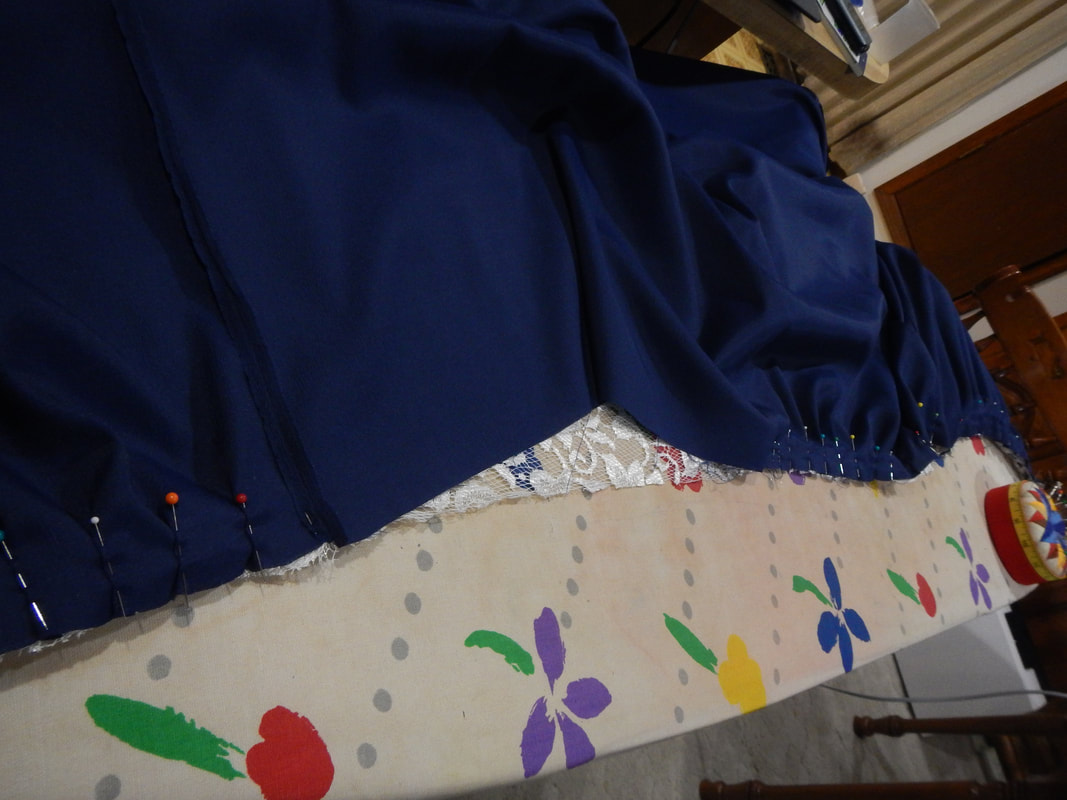
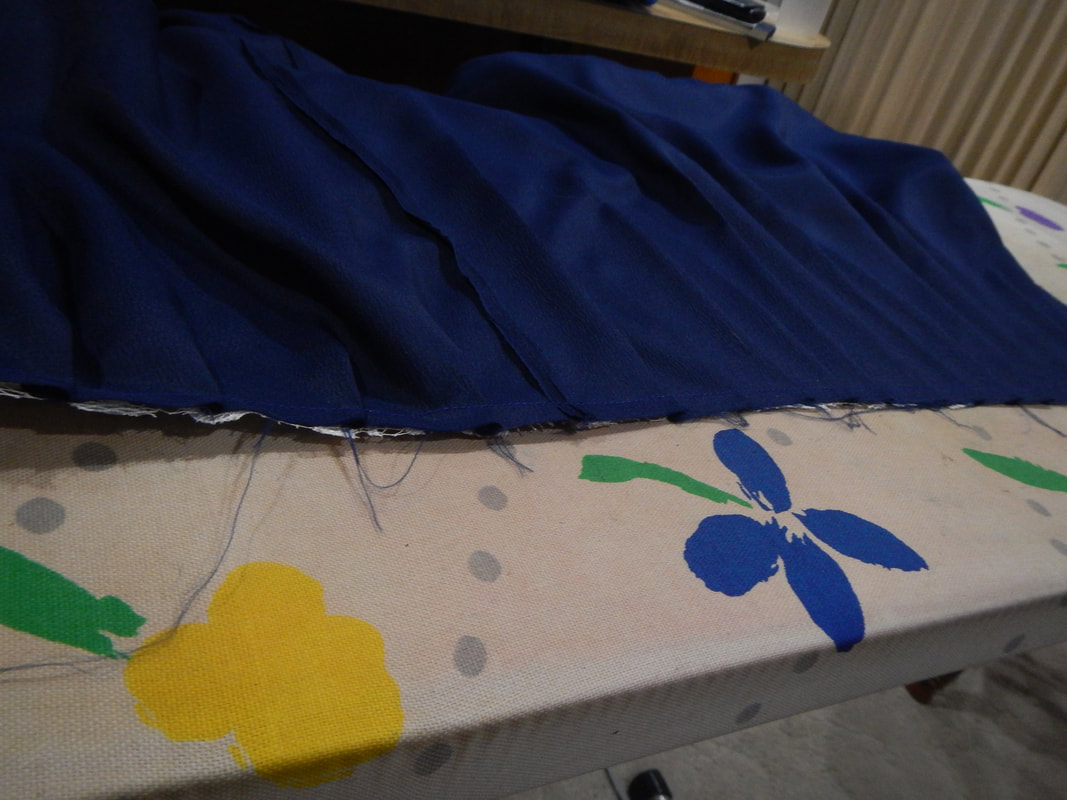
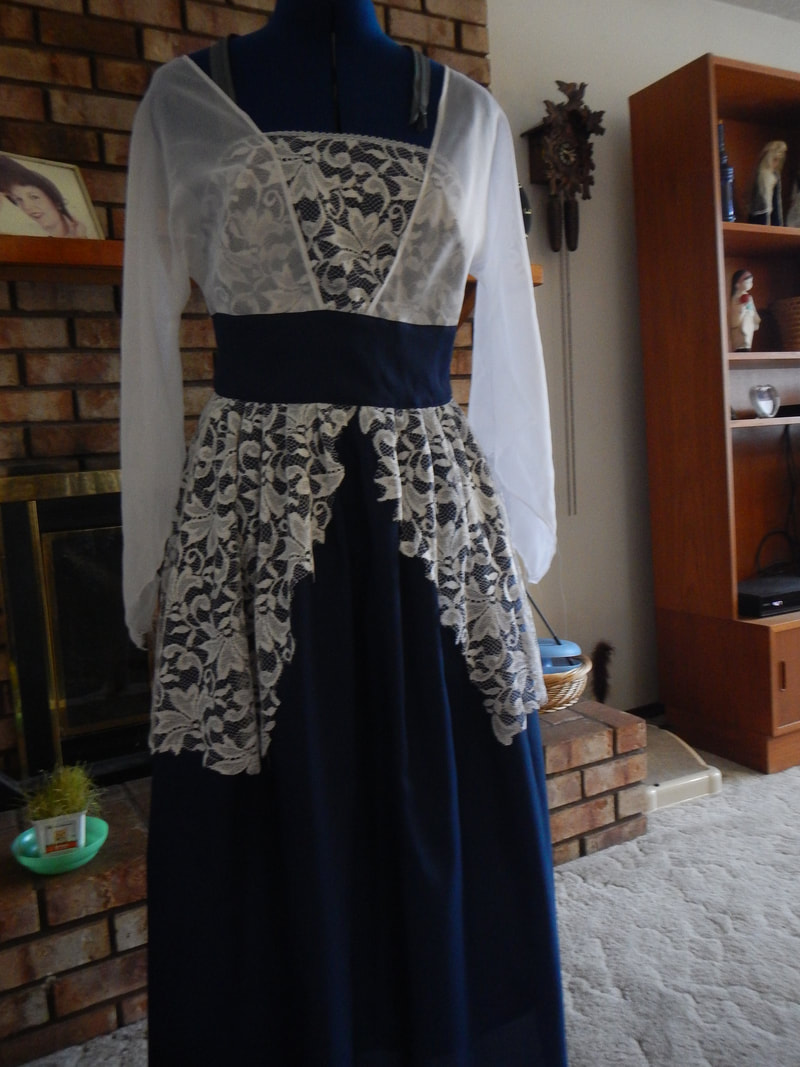
Below, I pleat the blue crepe to fit the white lace, then sew them together and iron them flat. 
Picture
pleating and pinning
Picture
sewn and pressed
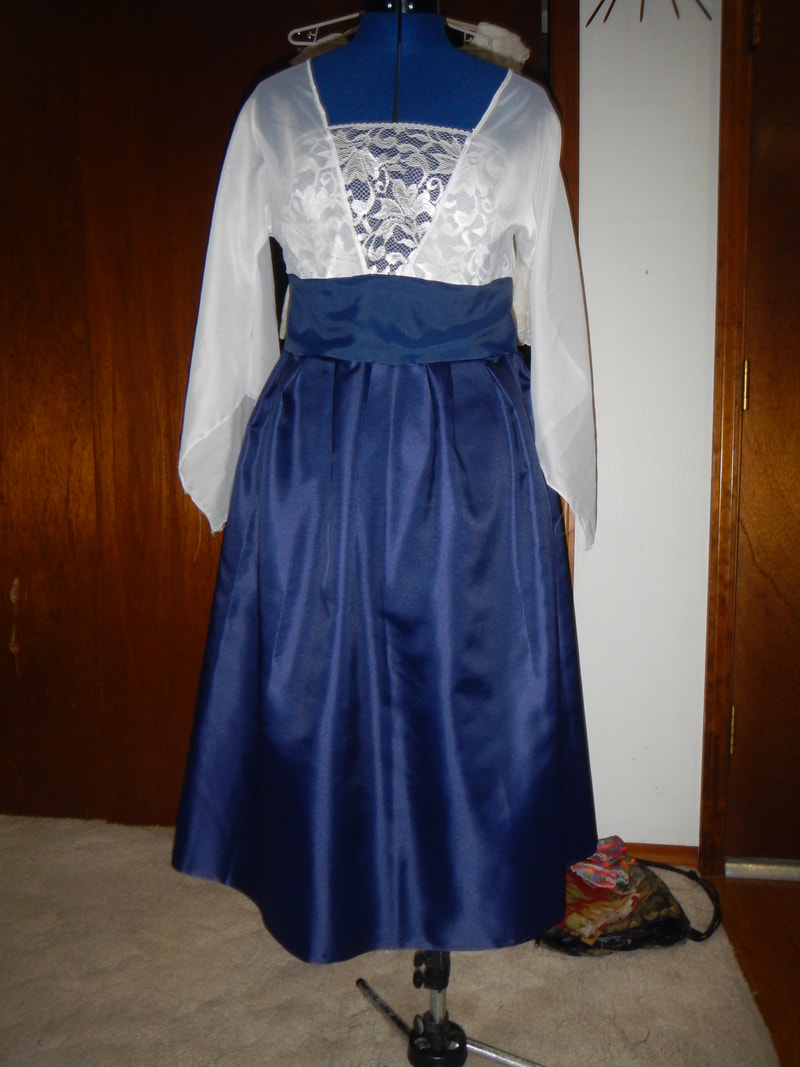
Then I sew the lace/crepe unit to the lining of the waistband, and the dress starts looking like a dress! 
Picture
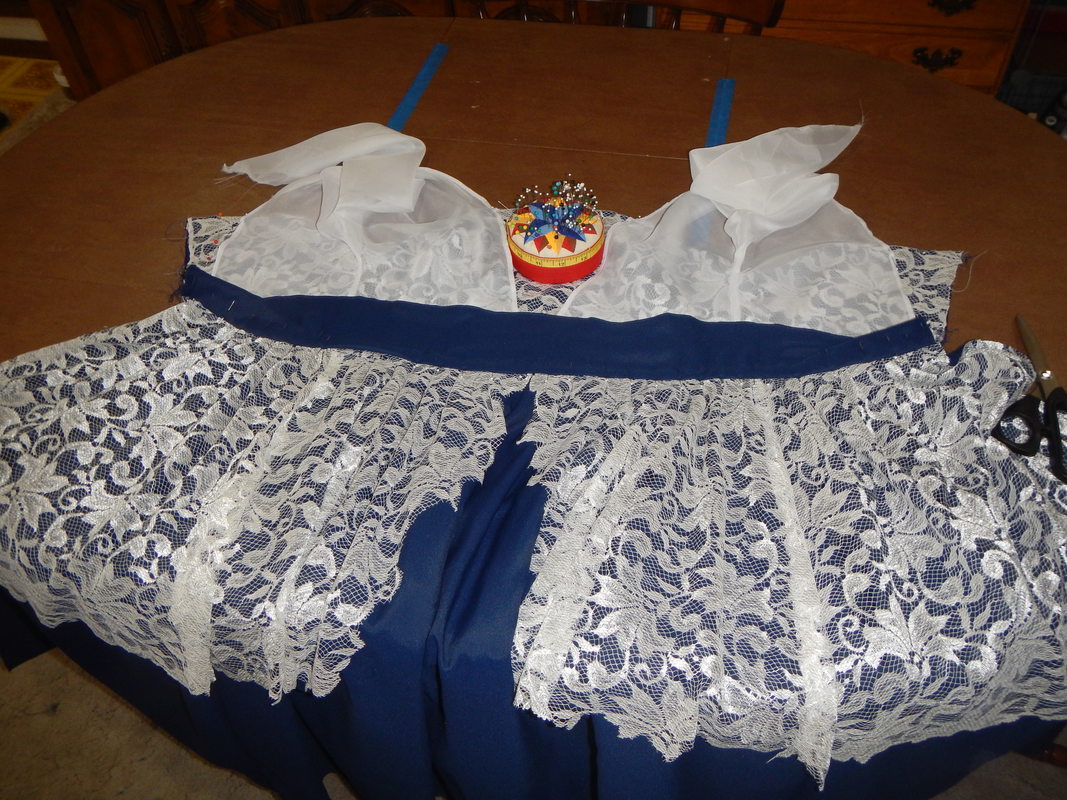
all skirt layers attached
I turn under the seam allowances of the exterior waistband, pin them in place to cover all the other seam allowances, and top-stitch the waistband down.  When I'm done, the horizontal seams are finished inside and out (see Part 2 of my diagram above and the in-progress picture below). 
Picture
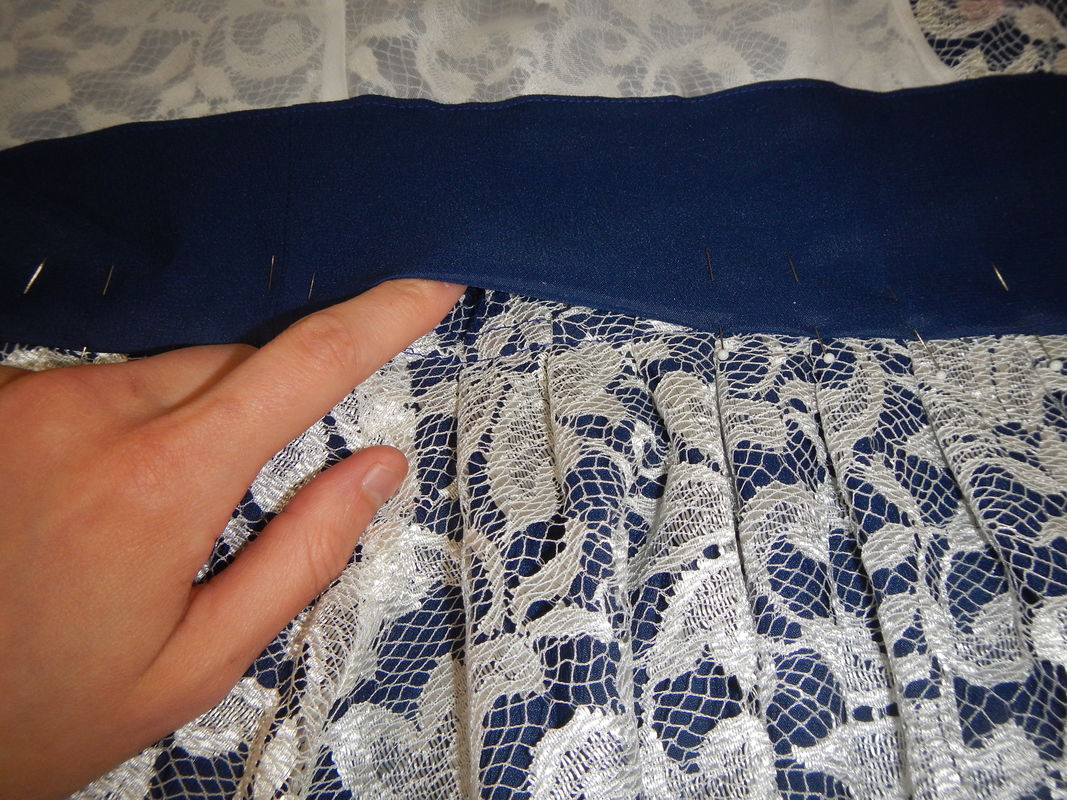
waistband ready for top-stitching
A note about this method of construction:
Sewing with the waistband as the foundation is cool for concealing raw edges and tinkering with the fit of vertical elements like the length of the skirt or fullness of the bodice, but not cool for alterations.  Think about it like this: the bodice is sewn in the round, the waistband in the round, and the skirt in the round, and then they're attached to each other, so the final seams are the horizontal seams.  But the most common alterations are for the wearer gaining or losing girth, and are done by tapering the vertical seams.  Unless my friend suddenly shrinks or grows taller, there's no way I'll be altering the dress at the horizontal seams, but if she gains weight I'd need to take the horizontal seams out to access the vertical ones.  Inconvenient. 
Picture
Almost done...!
On the night of the murder mystery party, I am let off work early, which is quite good, because I find I need every minute to "make it work".  I hurry to finish the gown.  Here are the finishing details in no particular order:
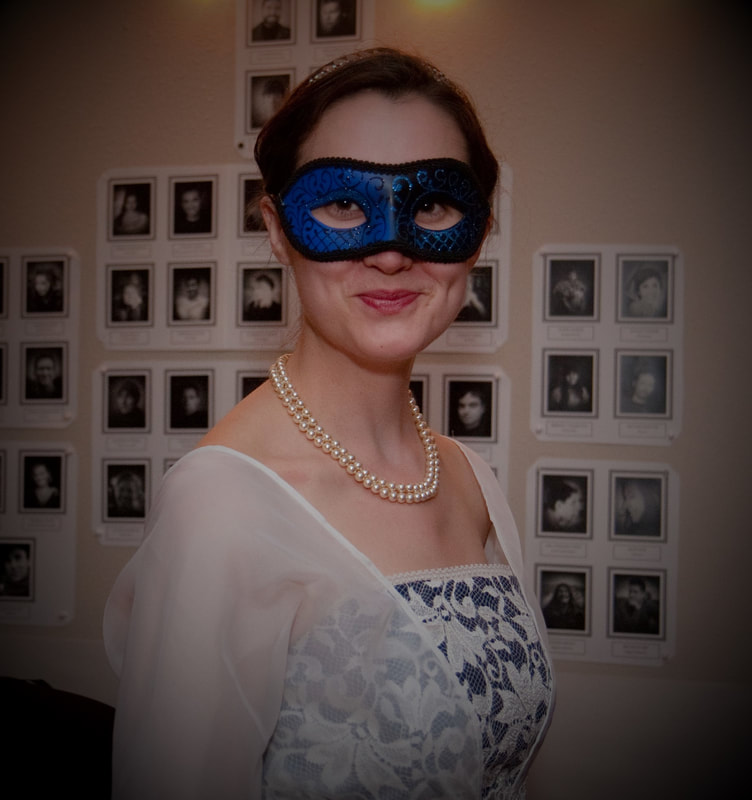
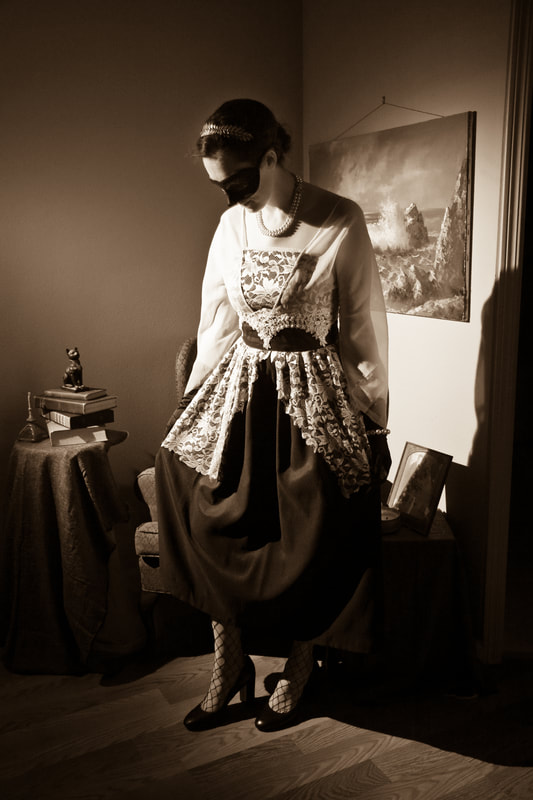
  • I trim the lace at the front to make an inverted V opening that accentuates the hourglass look of the style.  Also, I trim around the lace motifs to highlight them in a cool way.  I like the white on blue! 
  • I run out of time before the party and end up singeing the sleeve ends with a lighter instead of hemming them.  It's just as well... I want to burn the dang organza anyway!  I never want to work with synthetic organza again.  (I wonder if silk organza is equally irritating, or if the natural fiber makes it easier to work with?) 
  • The skirt lining is cut cross-grain so I can use its selvedge as a hem (anything to avoid hemming). 
  • I do hem the skirt bottom, with a simple "turn it up twice and stitch" method.  Not ideal for a formal dress, but I am running out of time!  The skirt length, around mid-shin, is period correct to the nineteen-teens. 
  • I accent the waistband with some bridal lace from my stash, a very nice Alençon lace with beads on it.  I hand-sew it on with white thread.  It fits!  So nice to find a perfect use for something I've been saving! 

FINISHED

My friend accessorizes for the evening with black elbow-length gloves, faux pearls, and blue/black mask.  Oh, and fish-net stockings for a vampish touch! 
Picture
Photo by NT Yang
Picture
Photo by NT Yang
As for me, I wear my Titanic gown (for the last time, since I find I've outgrown it, and it presses on my solar plexus ALL NIGHT!), accessorized with jade necklace and earrings, yellow gloves, and gold mask.  As the mystery evening unfurls, neither of us is the murderer, but we're both dressed to kill! 
Picture
Photo by NT Yang
7 Comments
The Sister
6/11/2018 12:41:05 pm

The blue dress did turn out very pretty! I think the white on blue is quite fetching, and it looks like it fits your client pretty well considering the time crunch! I love the dangles on your mask, but am sorry to hear your dress no longer fits you. Se la vie.

Reply
Karen Roy link
6/11/2018 09:21:38 pm

I don't think I've gained much weight in the past several years, so my working theory is that my improved posture and more active life is expanding my ribcage.

Reply
The Sister
6/12/2018 10:24:41 am

That's a very good working supposition! And I approve!

The roommate
6/11/2018 04:48:14 pm

Didn't you use lace from the client's mother's wedding gown?

Reply
Karen Roy link
6/11/2018 09:20:14 pm

Yes, the lace on the bodice and the skirt is from her mother's wedding dress! That dress has seen many other uses here, including another masquerade costume, a bustier, and a petticoat! I'm so pleased to send some of it back to its original owner in this creative way!

The lace on the belt is from my stash. Yay for using up stash!

Reply
MOIRE YUE
6/14/2018 07:38:38 pm

sorry to break it to you, but execising more doesn't make your thoracic cage widen...your respiratory muscles don't work like that.

but you didn't hear it from me.

Reply
Karen Roy link
6/15/2018 10:27:43 pm

Haha! Don't let the facts stand in the way of a perfectly good rationalization! ;)

Reply


Leave a Reply.

    Karen Roy

    Quilting, dressmaking, and history plied with the needle...

    Sites I Enjoy

    The Quilt Index
    r/Quilting
    Wonkyworld

    Categories

    All
    1910's
    Alteration
    Antique
    Dyeing
    Embroidery
    General
    Hand Sewing
    History
    Lacemaking
    Mending
    Menswear
    Millinery
    Modern Elizabethan
    Musing
    Other Sewing
    Philippians 4:8
    Project Diary
    Quilting
    Regency
    Retro
    Self Made Pattern
    Self-made Pattern
    Terminology
    Victorian
    Vintage

    Archives

    April 2025
    March 2025
    December 2024
    March 2024
    December 2023
    November 2023
    September 2023
    August 2023
    June 2023
    May 2023
    March 2023
    February 2023
    January 2023
    December 2022
    November 2022
    October 2022
    September 2022
    August 2022
    October 2021
    September 2021
    August 2021
    July 2021
    June 2021
    May 2021
    April 2021
    August 2020
    June 2020
    May 2020
    April 2020
    March 2020
    January 2020
    December 2019
    November 2019
    September 2019
    August 2019
    July 2019
    May 2019
    April 2019
    March 2019
    January 2019
    December 2018
    November 2018
    October 2018
    September 2018
    August 2018
    July 2018
    June 2018
    May 2018
    April 2018
    March 2018
    February 2018
    January 2018
    December 2017
    November 2017
    October 2017
    September 2017
    August 2017
    July 2017
    June 2017
    May 2017
    April 2017
    March 2017
    February 2017
    January 2017

    RSS Feed

Blog

Quilting

Clothing

About

Copyright Karen Roy
​© 2017-2024