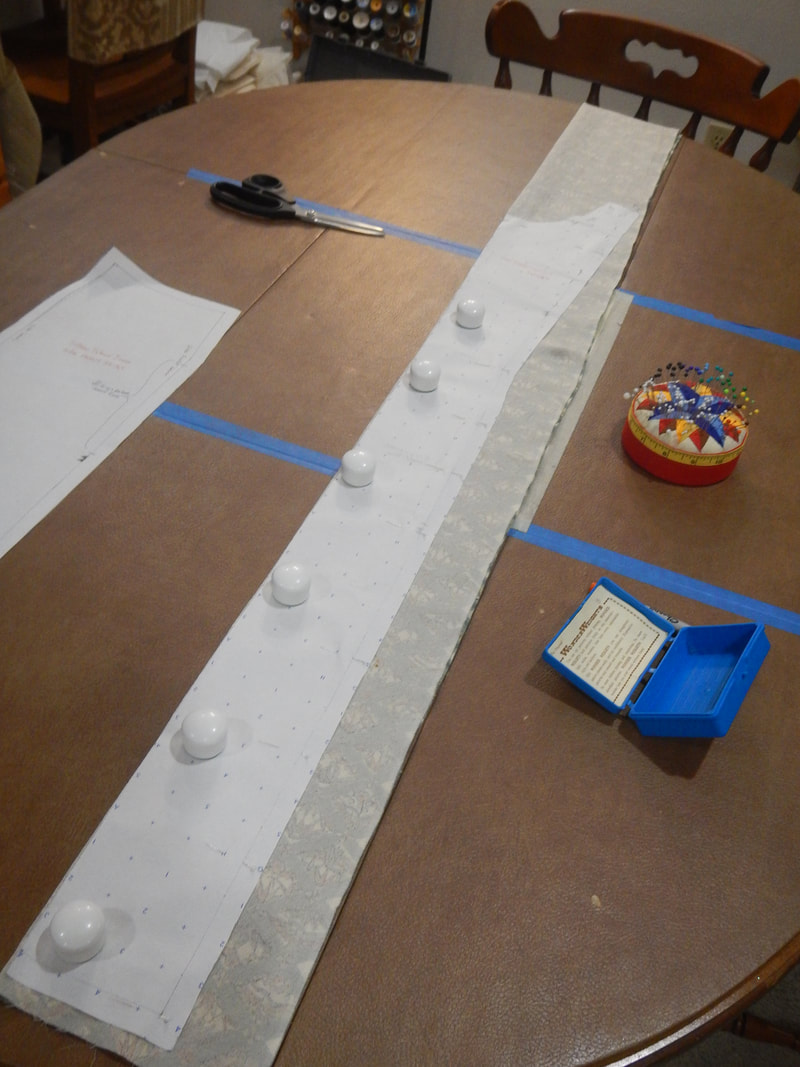
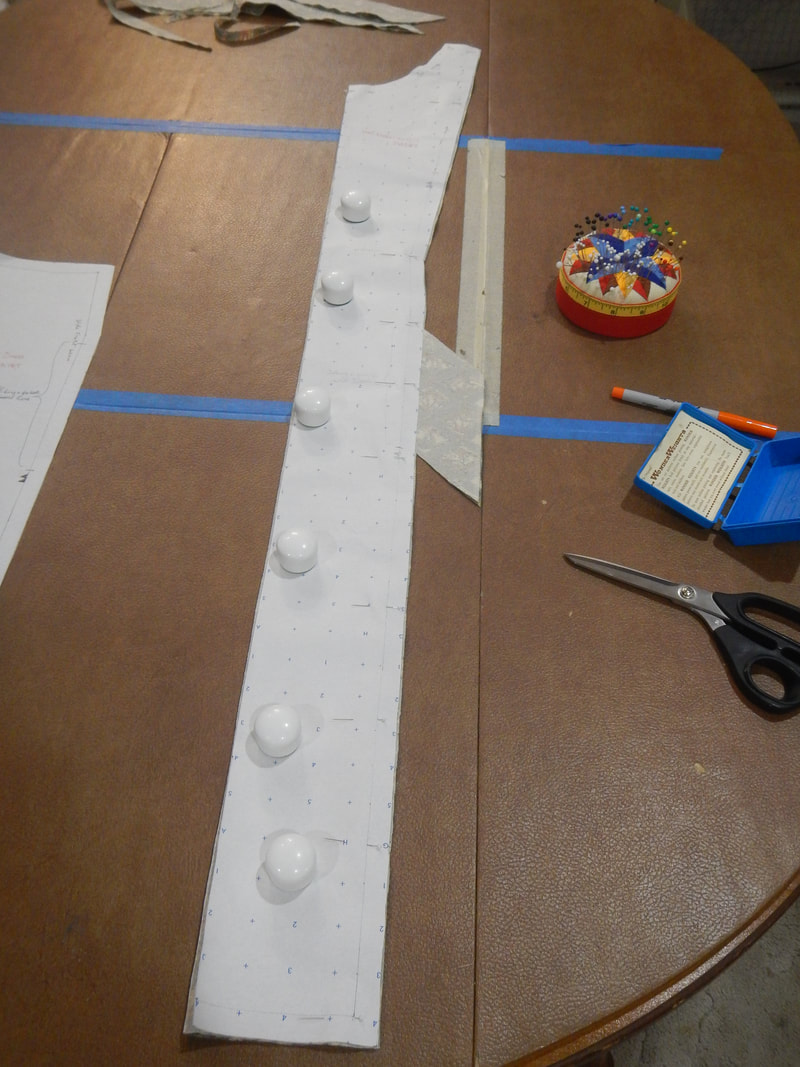
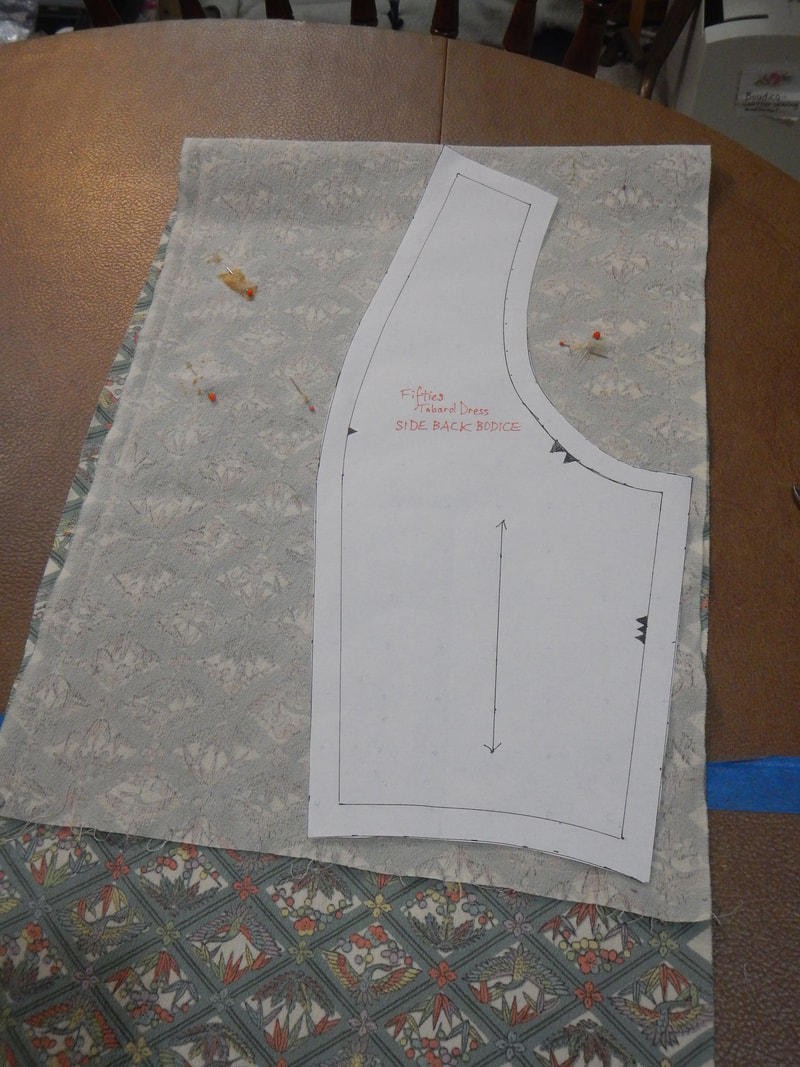
Robes de Coeur
  • Blog
  • Quilting
  • Clothing
    • Menswear
    • Womenswear >
      • Self-Made Patterns
      • Commercial Patterns
    • Hats
    • Miscellany
  • About
  • Blog
  • Quilting
  • Clothing
    • Menswear
    • Womenswear >
      • Self-Made Patterns
      • Commercial Patterns
    • Hats
    • Miscellany
  • About

60's Tabard Dress - CONSTRUCTION

9/18/2019

4 Comments

 
Picture
I have decided to call this pattern my 60's Tabard Dress.  (Ignore all the pictures of the pattern where I clearly wrote "50's Tabard Dress".... the pattern I'm replicating is from the 60's, so 60's Tabard Dress it is!)

​In its construction, I took over 86 photos, but I'll only be highlighting the especially interesting parts today!  
Picture

CUTTING OUT

Because kimono silk is woven quite narrow (14 inches or so, but mine was closer to 12.5 after I washed it and hung it to dry), my pattern has all long narrow pieces.  Here are pics of cutting the pattern.
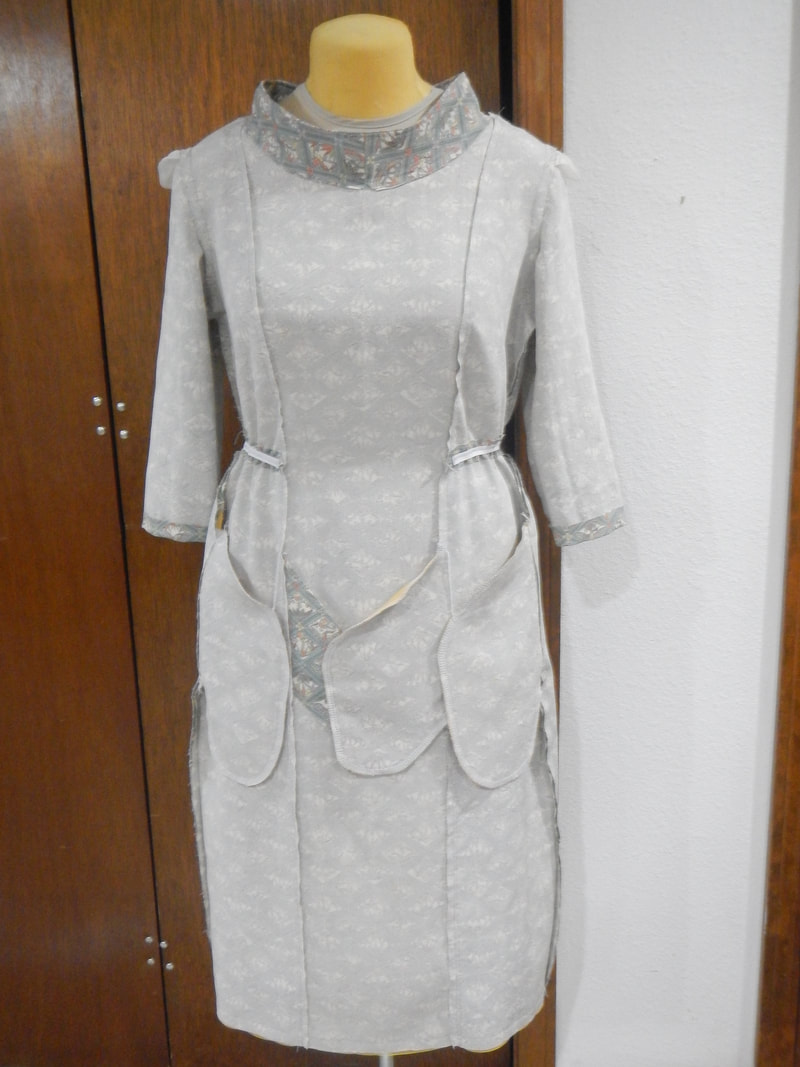
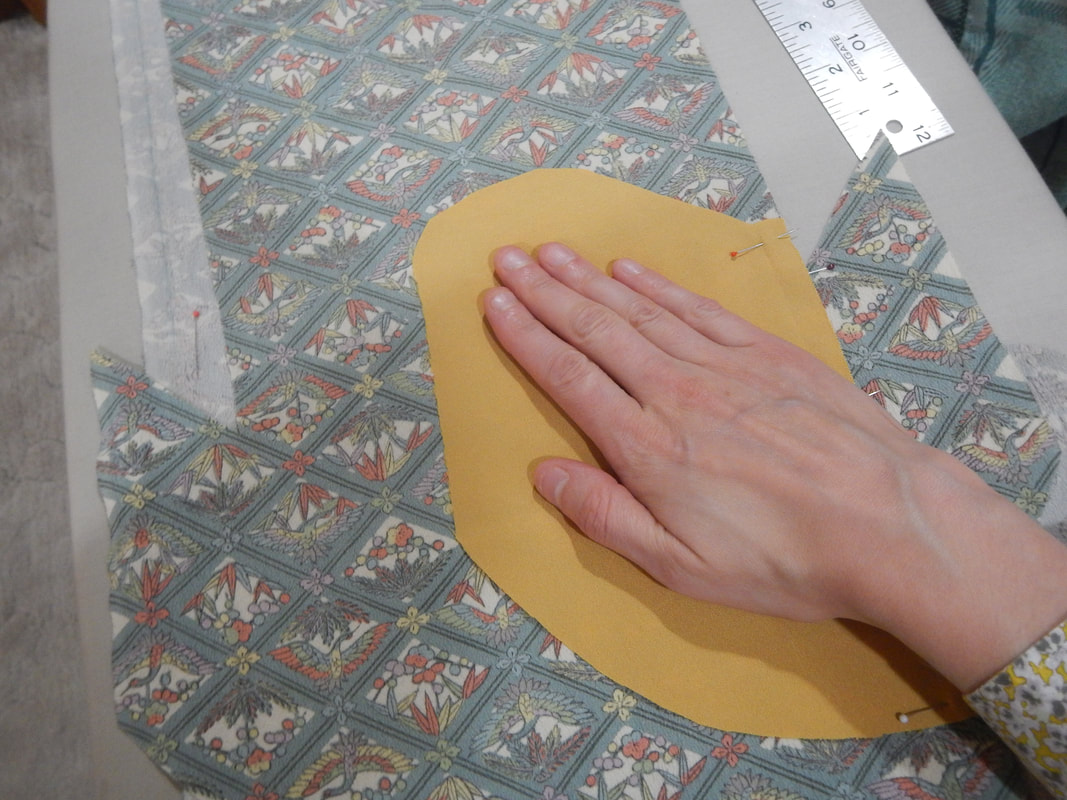
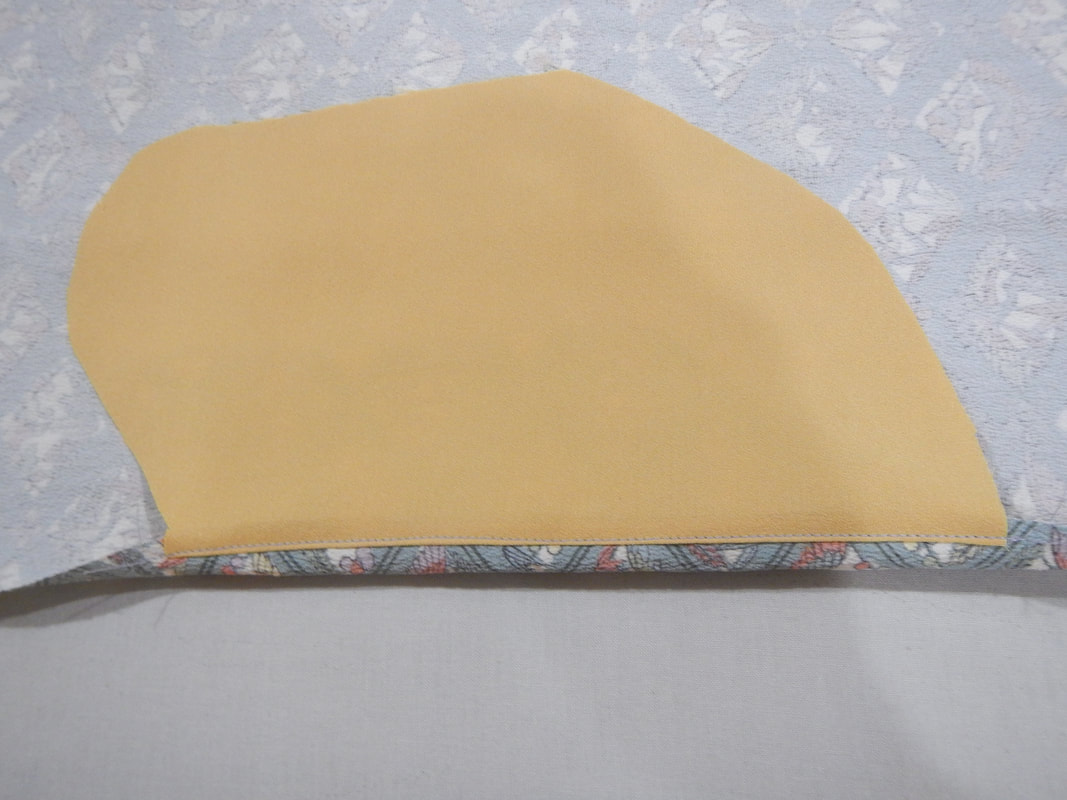
Picture
laying out the front panel on the fold
Picture
Here, all cut out, you can see that I left some extra fabric for attaching pocket.
Picture
using every last scrap
Picture
avoiding stains
Here, with the pieces cut out, you can see that I found a way to cut pocket fabric out of the side-front panels.  I'll show you in the next section how the pockets came together.  The missing pieces from this pattern are the collar and belt pieces, which I make at a later stage.  
Picture

POCKETS

The dress ends up having three pockets... but let me start with the front pocket, which I enclosed in the front princess seam because that was what the pattern envelope inspiration pic showed.  So: I cut the front panel out with a bit of extra fabric in the pocket area, thinking I'll attach more fabric to make the pocket.  On the side-front panels, I do the same, but because they are narrower, I am able to cut a whole pocket from the same fabric!  
Picture
front panel with little "wings". The orange silk is the original kimono's facing fabric.
Picture
Orange silk pocket sewn onto one of the "wings" with the excess "wing" fabric trimmed away.

When I put the front together, I experiment with how to support the pocket, to keep it from hanging funny and making my crotch look lumpy.  I decide to sew it to the "wing" of fabric from the other side of the front panel.  That'll hold it in place.  
Picture
how it hangs
Picture
pocket sewn to its support flap
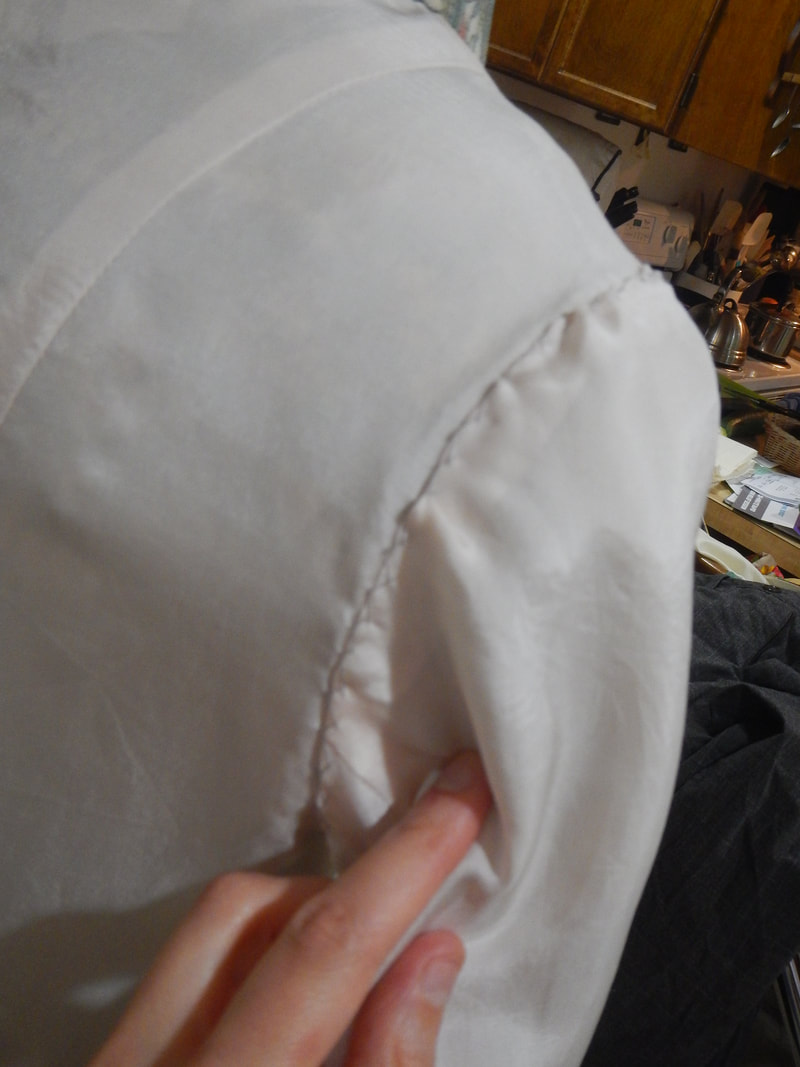
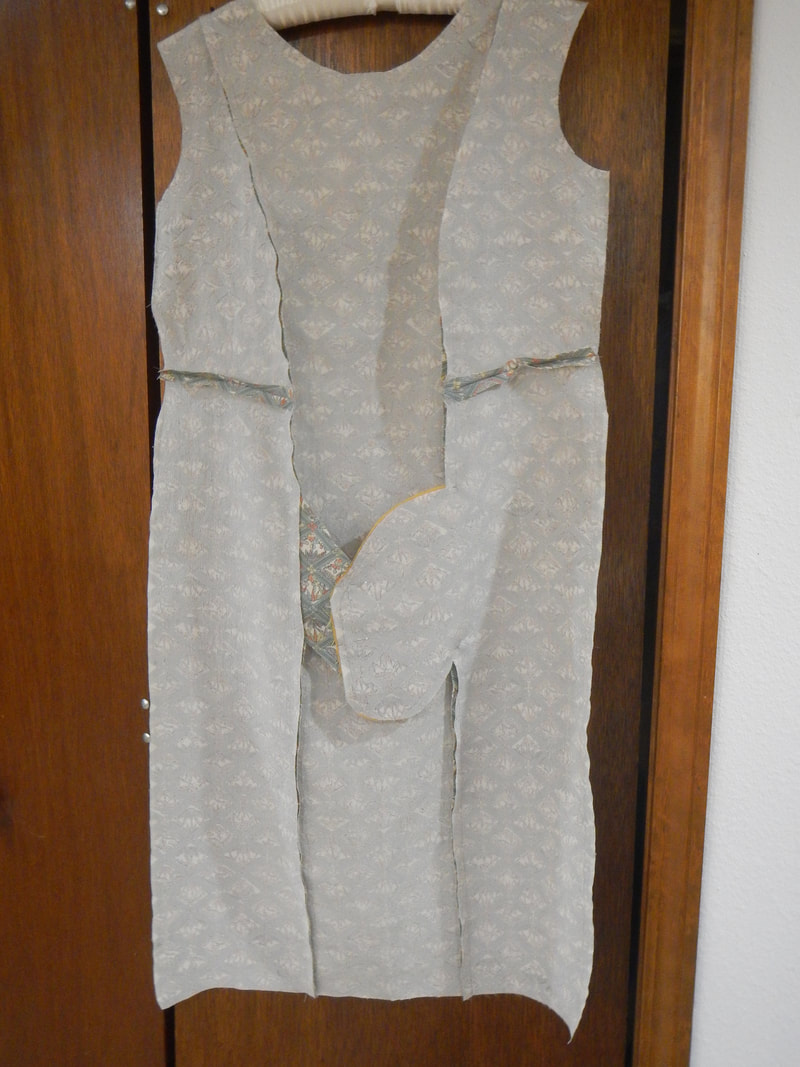
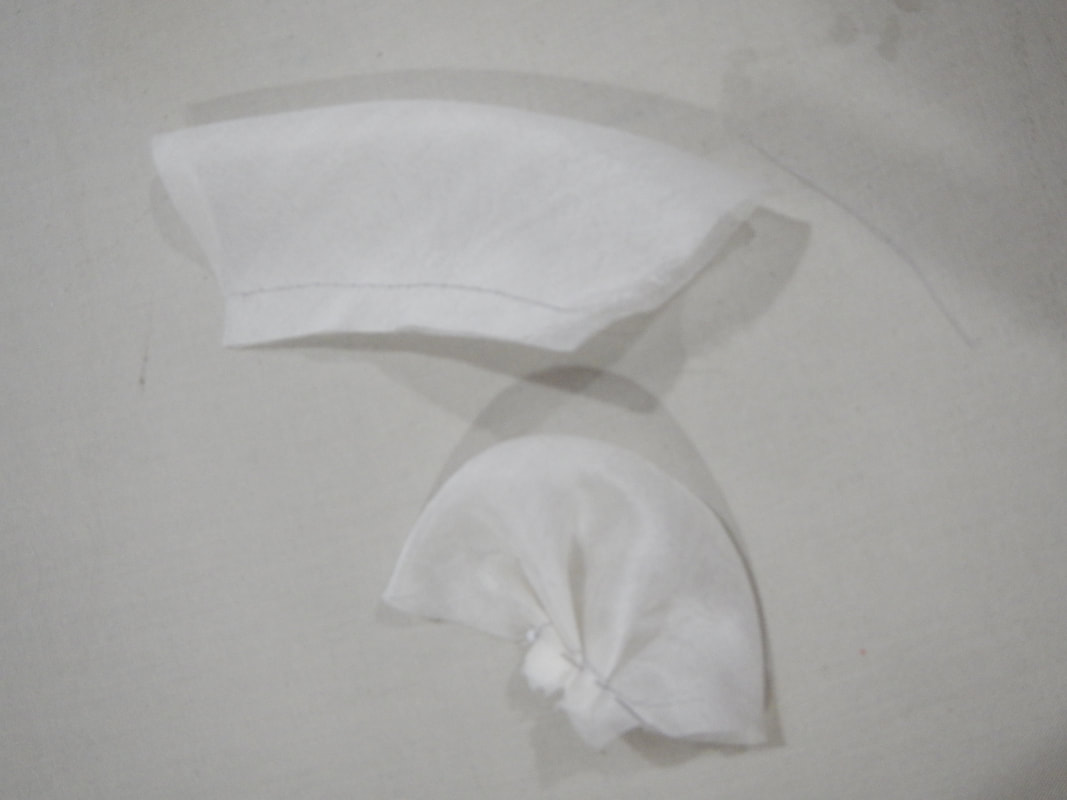
The thing is, that's a really awkward place for a pocket!  It's not like I'm gonna casually stick my hand in my crotch area, nor put something heavy or bulky there!  So obviously, I need side seam pockets, as well.  Those are easy enough to make: I just cut the pocket shape four times, sew them into the seam allowances for the side seams, and then put the side seams together.  I support the side pockets with some serger-worms (the chain stitch you can run off your serger by sewing nothing for a while) acting as french tacks to the front princess seams.  Ummm... that sounds confusing.  Have a picture!  
Picture
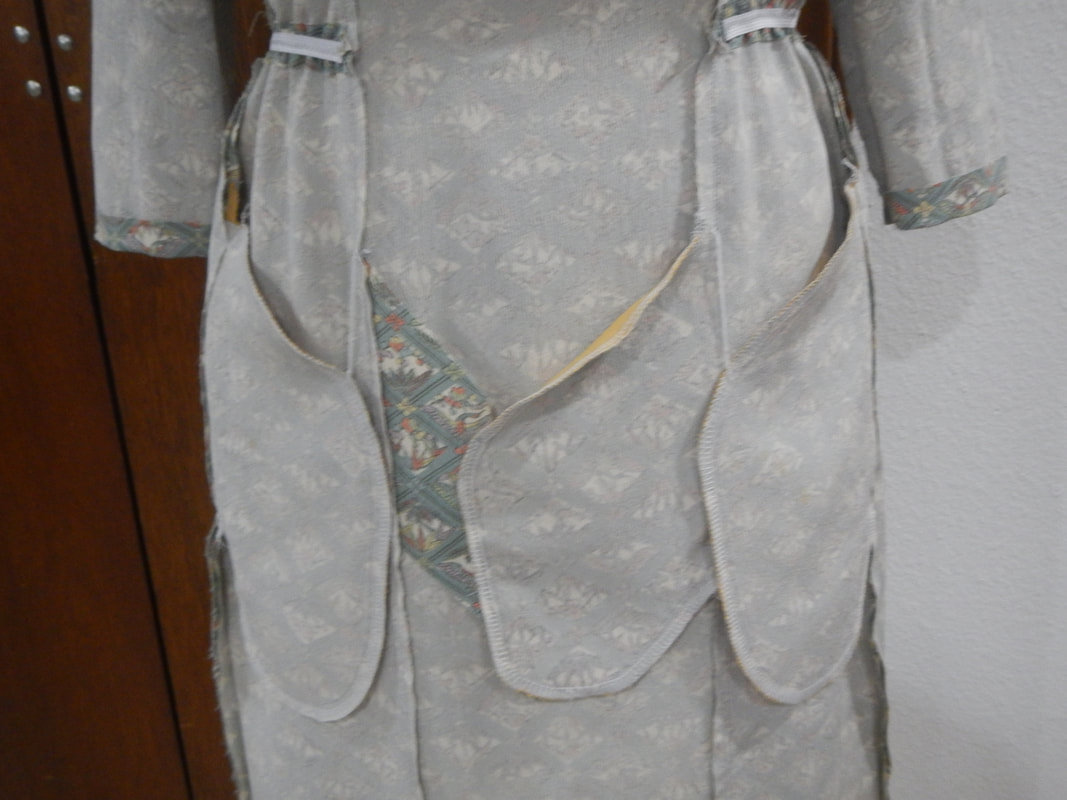
This pocket picture is from much later in the construction. You can see the two side-seam pockets hang loosely from french tacks to the front princess seams. When the dress is right-side-out, the pockets are very low profile and easy to use.

SLEEVE CAPS

When I get my sloper development blogged, I'll have a lot to say about developing these sleeves, but for now, suffice it to say they go together well and fit their armscyes well!  Hurray!  To support the sleeve cap a little, I take a bit of silk organza and cut it on the bias, then make a little puff wit it and sew it into the shoulder seam: 
Picture
silk organza puffs
Picture
sleeve cap with a little support
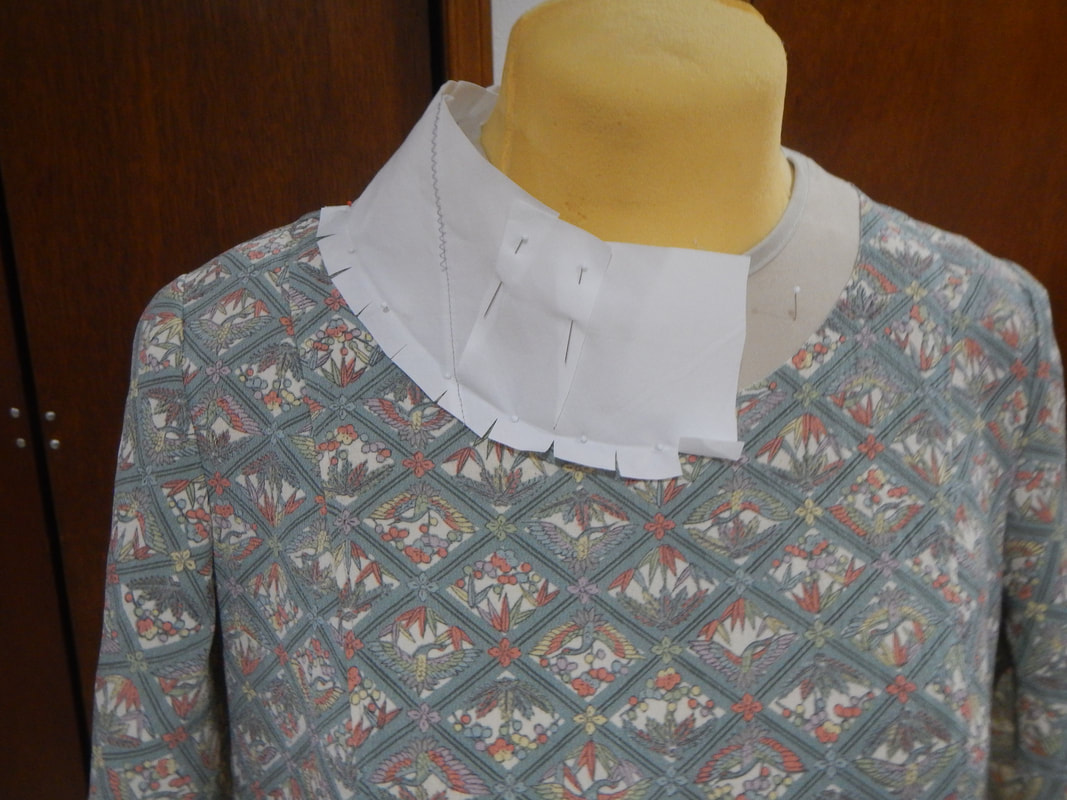
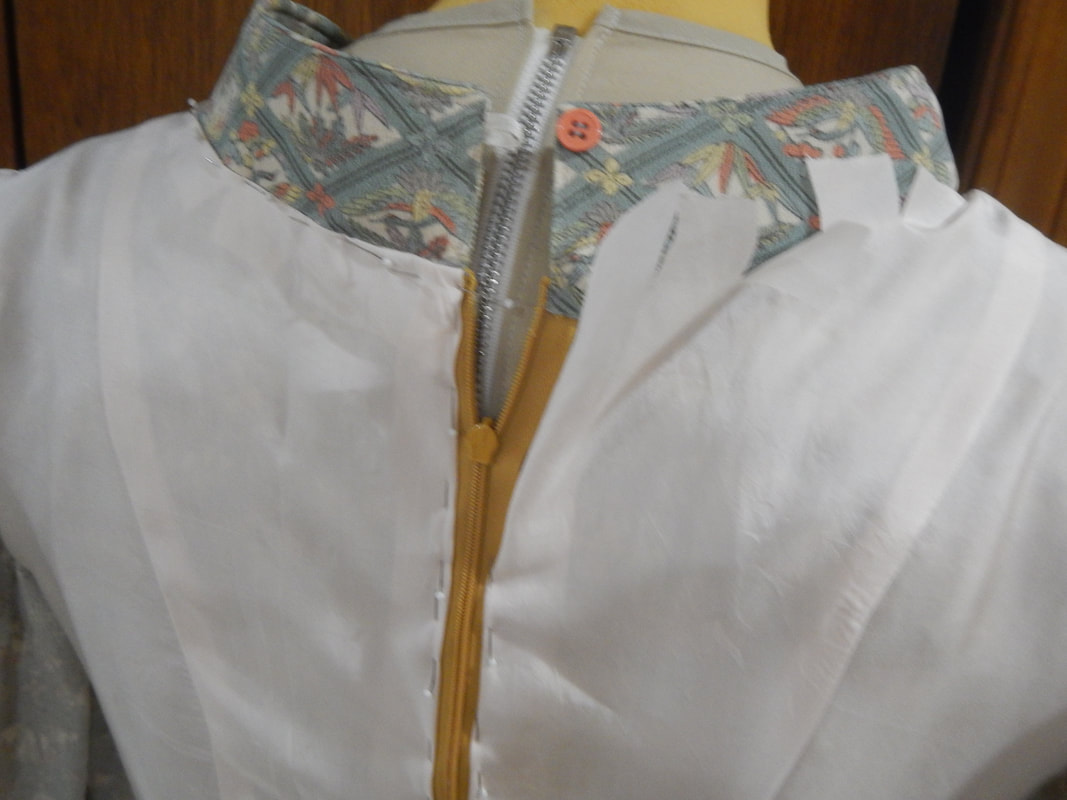
Notice the puff is under the seam allowance, on the sleeve side of the seam.  The purpose of the puffs is to round out the shoulder's shape, so it doesn't sag and show the seam allowances, or cave in or buckle there.  On a more structured wool suit, a padded roll would be used, but for silk crepe I think this is enough.  

DRAPING THE COLLAR

Let's review my two inspiration pics to see the collar I'm trying to imitate: 
Picture
Picture
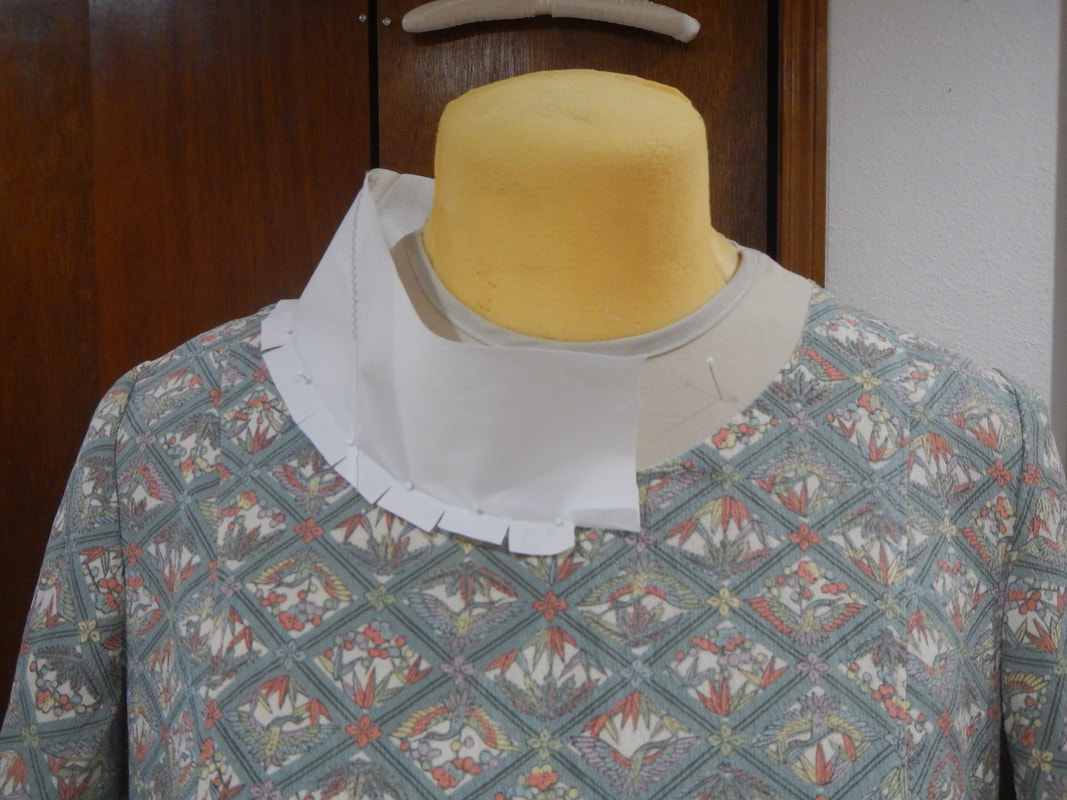
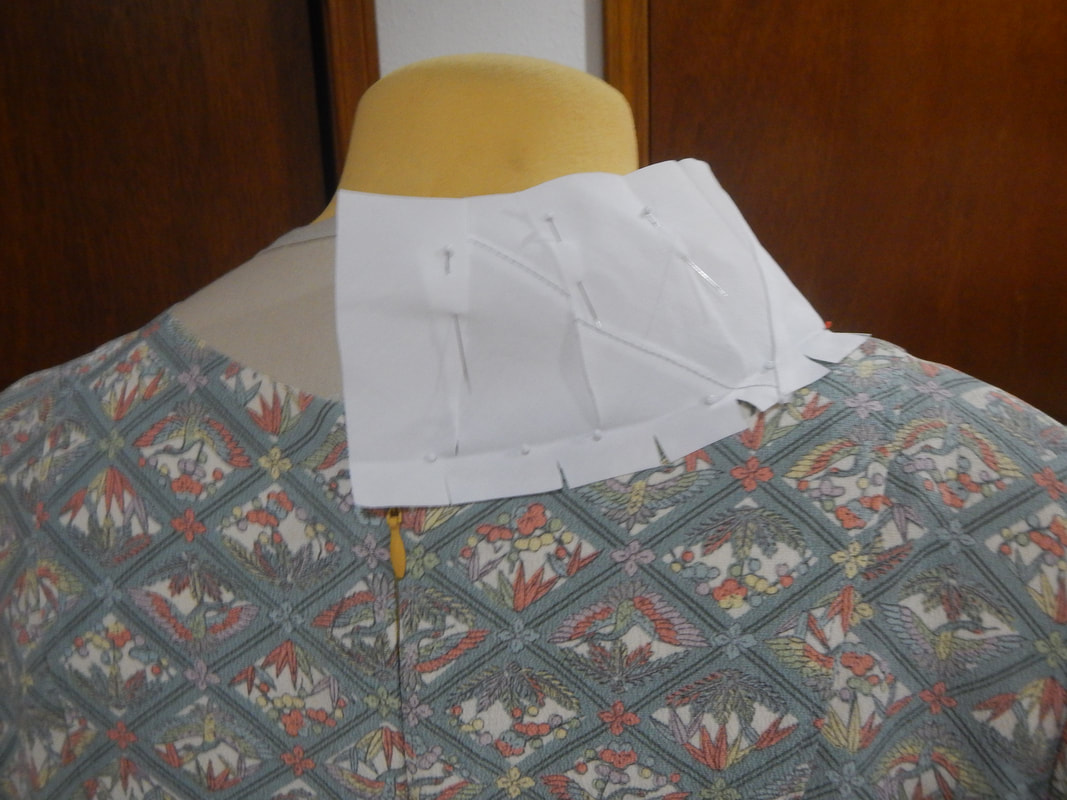
In both cases, it is a Mandarin collar (with or without notch), which is angled slightly inward, so it doesn't stick up straight from the neck, but creates a gentle slope that frames the neck and softens the shoulder.  Interesting.  
To drape it, I start with a long strip of muslin cut on the bias.  I pin it to the dress, seamline to seamline. 

Because it's a rectangle (long straight lines) pinned to a curving neckline, the collar ripples all over the place.  So now it's time to slash and fold the ripply edges until they sit right.   
​

Here are the front and back after I make a few slashes and tucks.  ​
Picture
Picture
FRONT
Picture
BACK
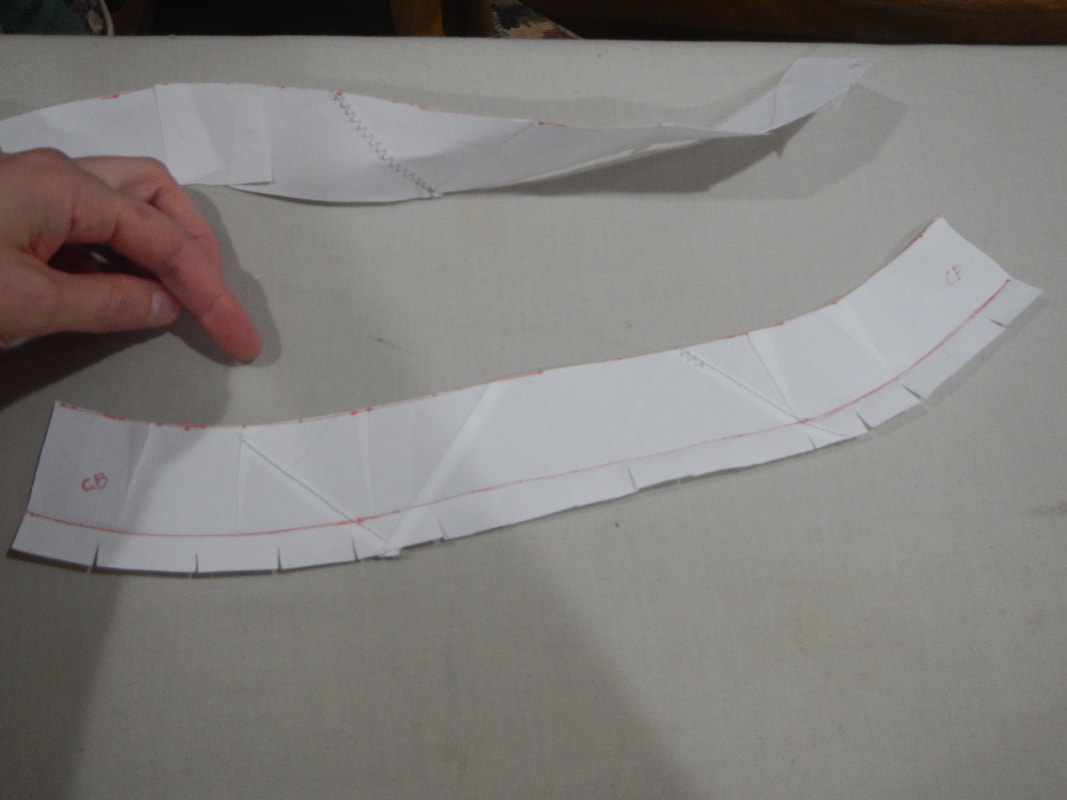
So I take the piece off the dress and flatten it, re-draw it, and shorten it.  Then I test my new, streamlined piece.  
Picture
Picture
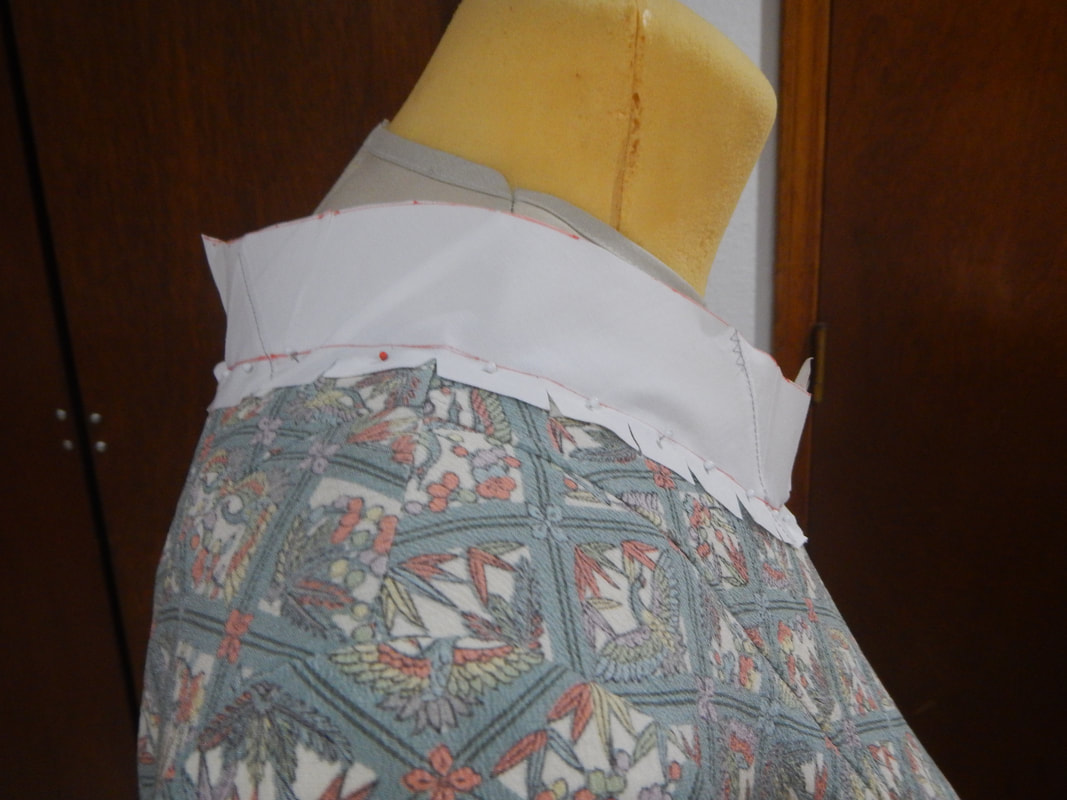
Then I make it up with silk, interfaced with hair canvas.  
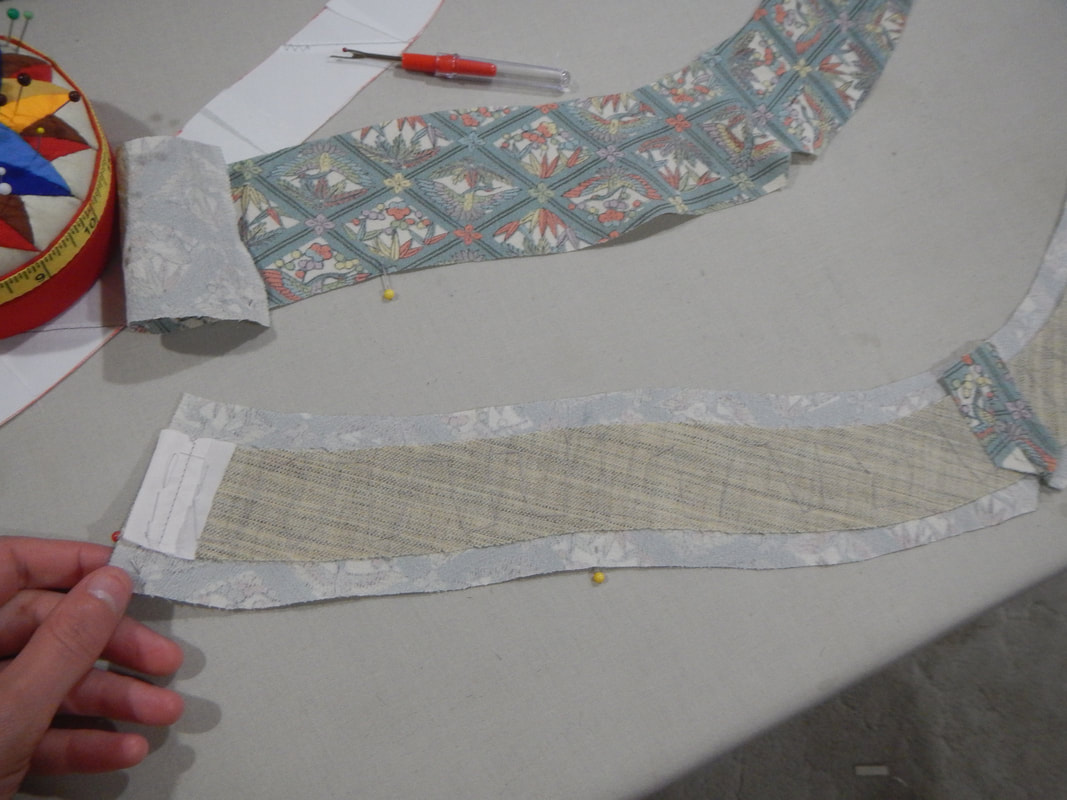
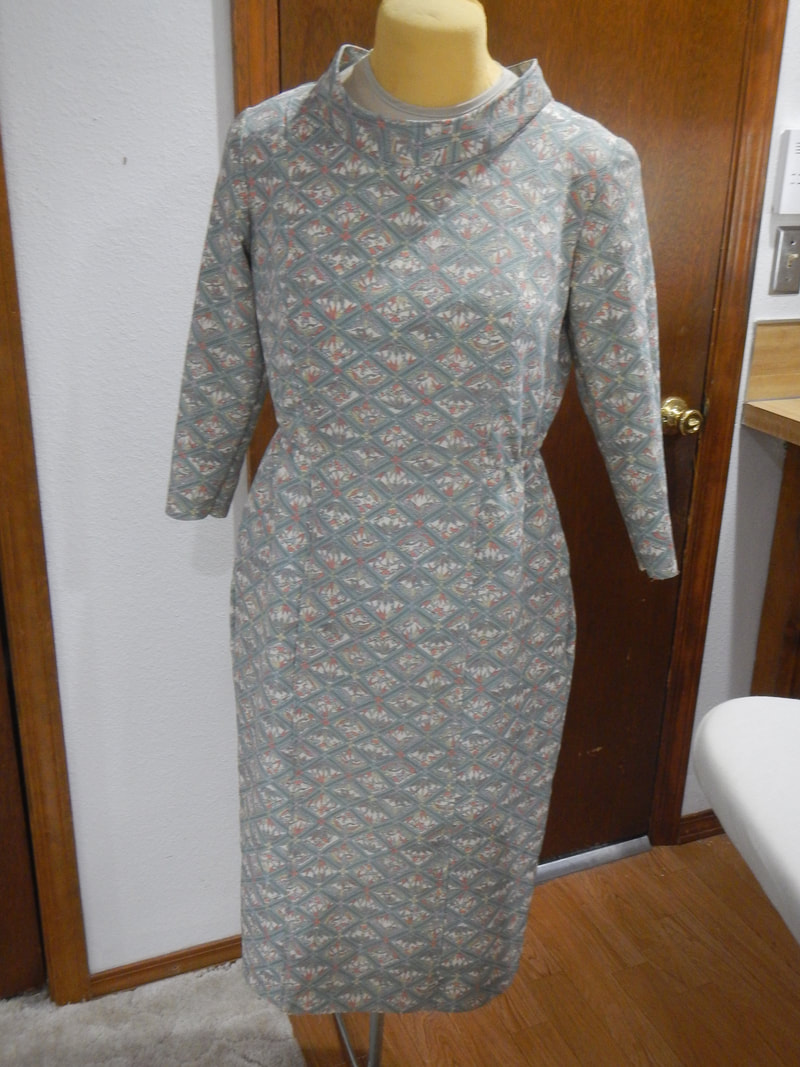
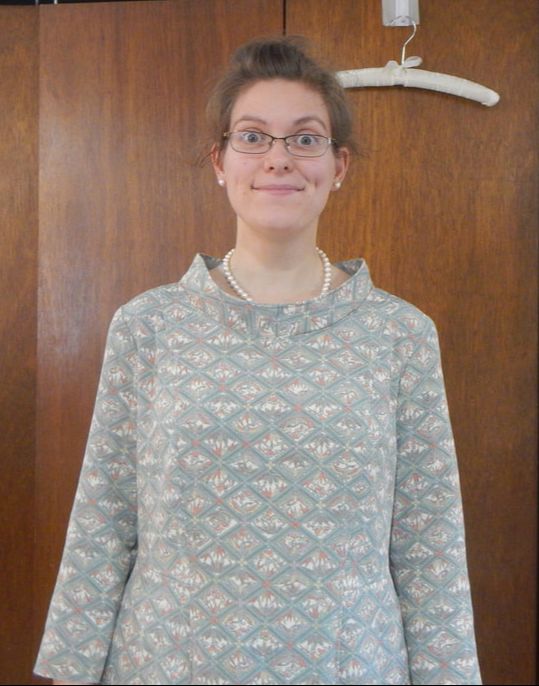
Picture
And here is the finished collar.  But you probably don't see it, because my face is so hilarious in this picture that you hardly notice the clothes!  Seriously, that's the face I'd make in a mugshot if I were arrested for climbing the outside of the Empire State Building pretending to be an alien.  "It's a Moo Moo!!!"  
Picture
Eeble, gleeep, gloib.

ALMOST DONE!

Before I add the elastic to the side seams and line it, I try it on to check the fit and the mobility in the sleeves.  It definitely needs the elastic and belt to give it some style, huh?  
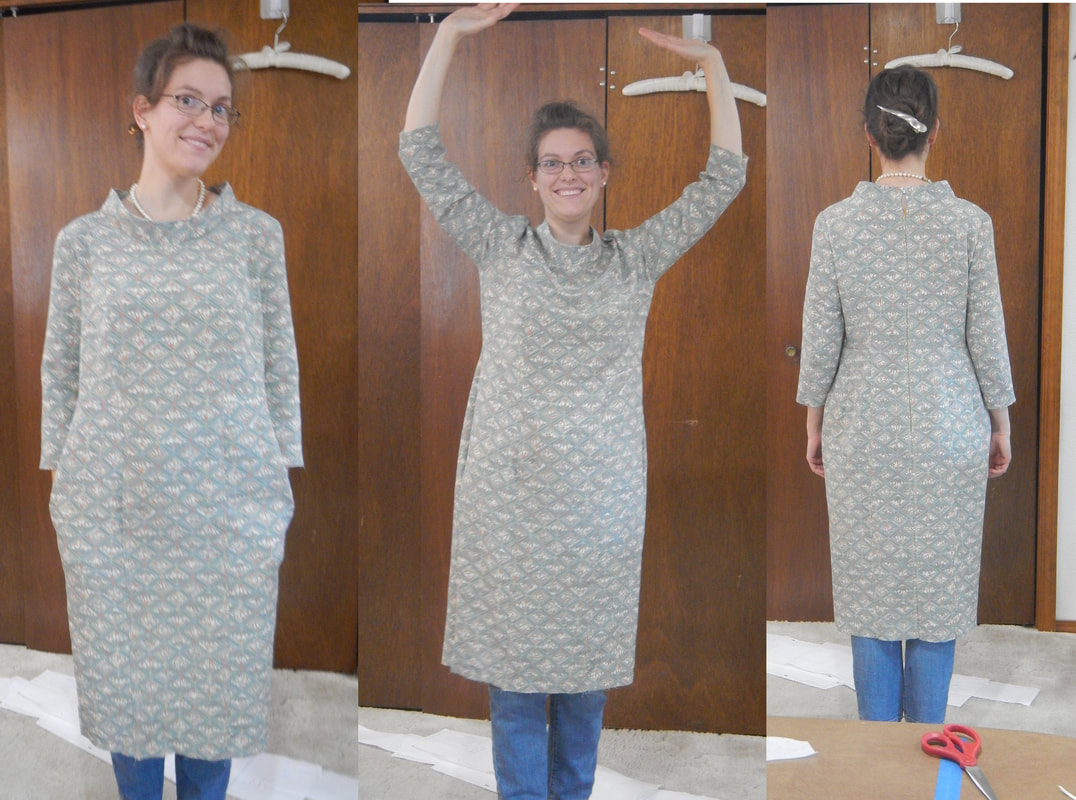
Picture
twirly twirly twirly!

FINISHING TOUCHES

To finish the dress, I put elastic in the side-waist panels to cinch the waist, I make a belt that secures at the front with two buttons, and I line it with the pale pink China silk that lined the original.  Hems, and done!  
Picture
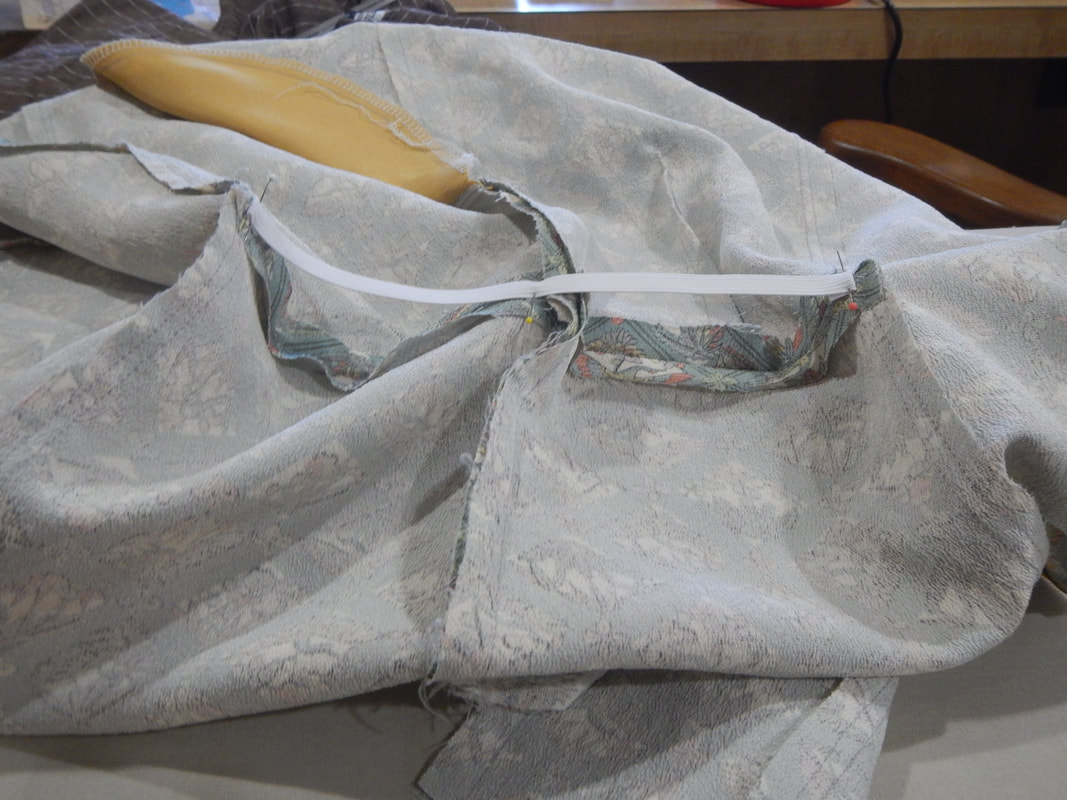
Putting elastic in. See how the waist seam was pressed open first so I could sew the elastic over it with minimal bulk?
Picture
Lining the back
Picture
I have a silk tag lying around, so I sew it in.
Picture

TIME & MONEY

   3 hours -- patterning this dress initially (not including pockets/collar/belt)
+ 9 hours -- construct dress (including the pockets/collar/belt)
12 hours TOTAL

Cost: $35
for the kimono that I used for fabric.

This post is long and image-heavy, so I'll post another one with photos of me in the finished dress, and compare my pattern to one of the vintage patterns to see how close I was to their design!  
4 Comments
The Sister
9/18/2019 10:31:11 am

"Serger-worms" sounds gross! Also, why didn't you just eliminate the front crotch pocket? I mean, what a weird and un-utilitarian place for a pocket.

Also, we Roy kids sure are dorks! Look at those pictures! :-D What a lovable dork - I can't wait to see you again! And I look forward to seeing the final, elastic waistband/belt photos.

Reply
Karen Roy link
9/18/2019 09:04:04 pm

Well... I made it as an exercise in copying the inspiration pic. Removing it now would be more work! But if it bothers me enough, I might baste it closed, like the pockets in suit jackets when you first buy them.

Dorks of the world UNITE!

Reply
Michelle M Harrison
11/14/2019 07:17:07 am

I hope to see this on you at work one day, but it seems like more of a church dress than a "Let's clean out the chicken coop!" dress.

I, too, wonder why the awkward pocket in the original design.

Reply
Karen Roy link
11/15/2019 01:56:15 pm

I might be able to wear it to work if I folded my apron at the waist, so as not to crush the collar...

Thanks for commenting, Michelle!

Reply


Leave a Reply.

    Karen Roy

    Quilting, dressmaking, and history plied with the needle...

    Categories

    All
    1910's
    Alteration
    Antique
    Dyeing
    Embroidery
    General
    Hand Sewing
    History
    Lacemaking
    Mending
    Menswear
    Millinery
    Modern Elizabethan
    Musing
    Other Sewing
    Philippians 4:8
    Project Diary
    Quilting
    Regency
    Retro
    Self Made Pattern
    Self-made Pattern
    Terminology
    Victorian
    Vintage

    Blogs I Read

    The Dreamstress
    Male Pattern Boldness
    ​
    Lilacs & Lace
    Tom of Holland
    Fit for a Queen
    Line of Selvage
    Mainely Menswear
    Bernadette Banner

    Archives

    January 2023
    December 2022
    November 2022
    October 2022
    September 2022
    August 2022
    October 2021
    September 2021
    August 2021
    July 2021
    June 2021
    May 2021
    April 2021
    August 2020
    June 2020
    May 2020
    April 2020
    March 2020
    January 2020
    December 2019
    November 2019
    September 2019
    August 2019
    July 2019
    May 2019
    April 2019
    March 2019
    January 2019
    December 2018
    November 2018
    October 2018
    September 2018
    August 2018
    July 2018
    June 2018
    May 2018
    April 2018
    March 2018
    February 2018
    January 2018
    December 2017
    November 2017
    October 2017
    September 2017
    August 2017
    July 2017
    June 2017
    May 2017
    April 2017
    March 2017
    February 2017
    January 2017

    RSS Feed

Blog

Quilting

Clothing

About

Copyright Karen Roy
​© 2017-2022