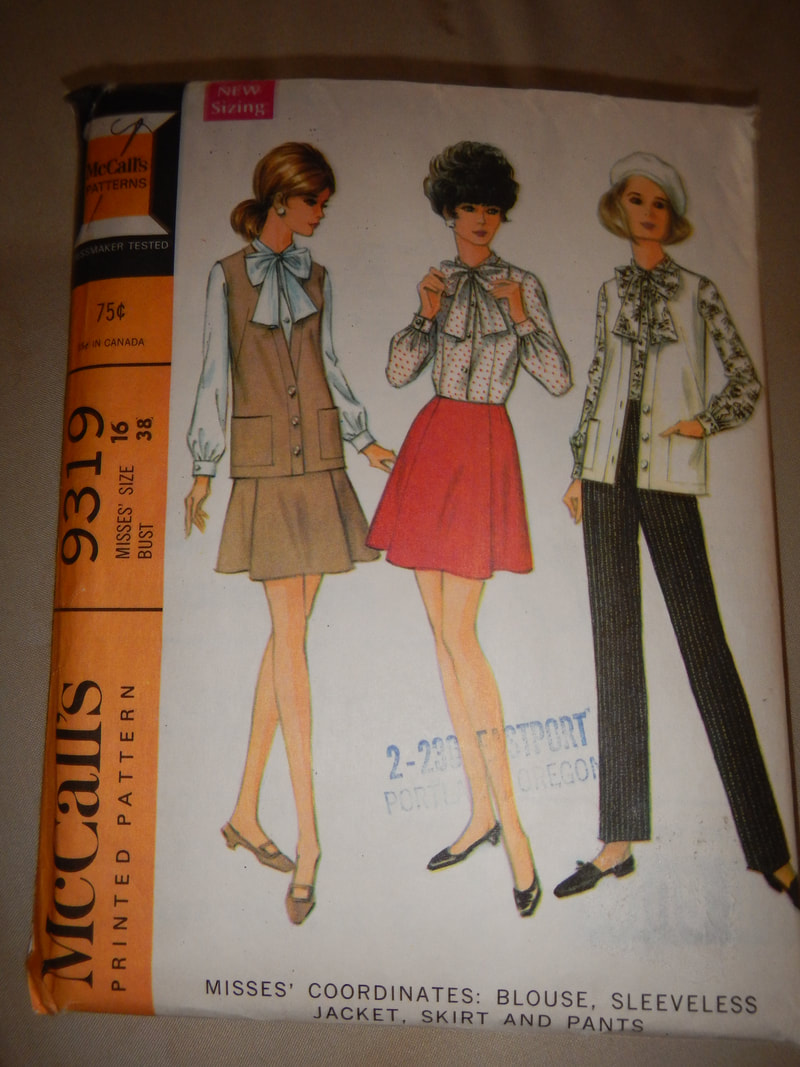
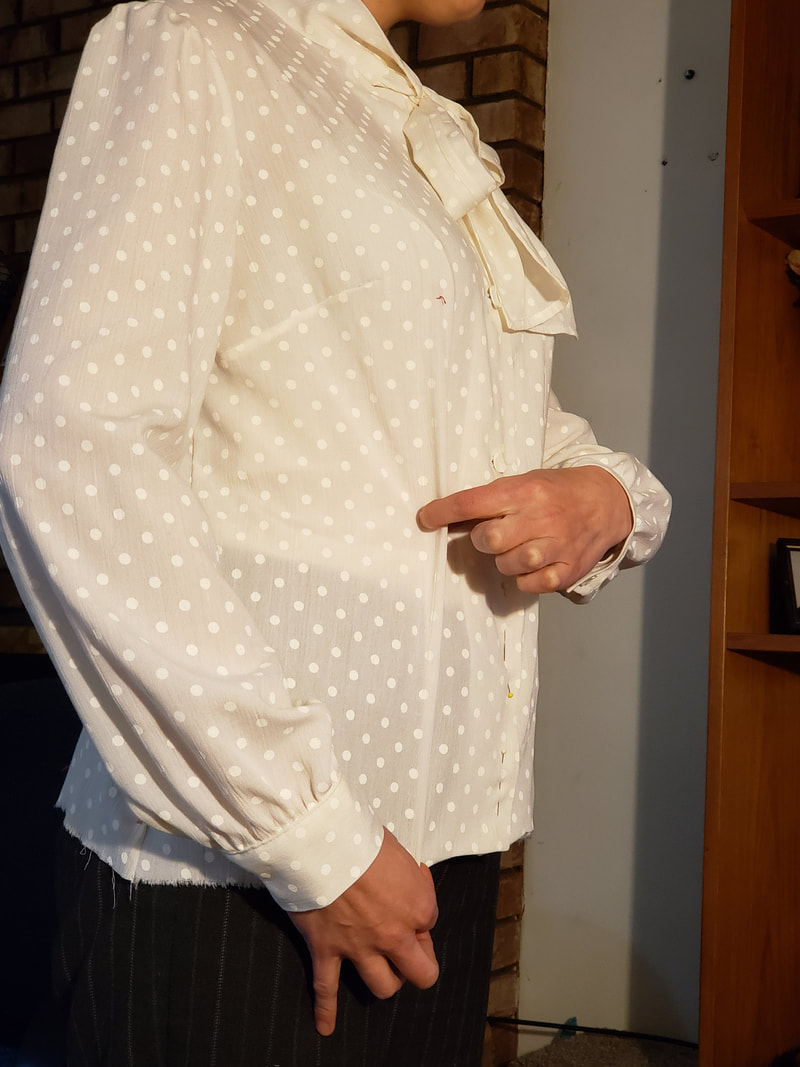
Now people have tied bows around their necks in many different times and places, but the modern (post 1930's) pussycat bow is distinct in that it's made as one with the shirt. In this McCall's pattern from 1968, the collar is a narrow band, like a Mandarin collar but not stiffened, and the bow ends are sewn into the collar piece at the front. This makes the bow easy to wear; I don't have to hunt for a scarf to accessorize, since the scarf is part of the shirt already. The pussycat bow has an odd public history: though it looks girly, it's famously associated with Margaret Thatcher, who was often perceived as a sexless old battleaxe*. More recently, Melania Trump wore a pussycat bow shortly after her husband's "grab 'em by the pussy" comments became public, and I like to believe she was giving him a sartorial finger. * Monty Python did a "Naughty Bits" animation where they kept pointing out "naughty bits" on various illustrations... but when they got to Margaret Thatcher, they couldn't find "naughty bits" and settled on her feet instead. I can't find the animation, now, but I think it was from Episode 2:9: How to Recognise Different Parts of the Body. FIRST SEWING SESSION
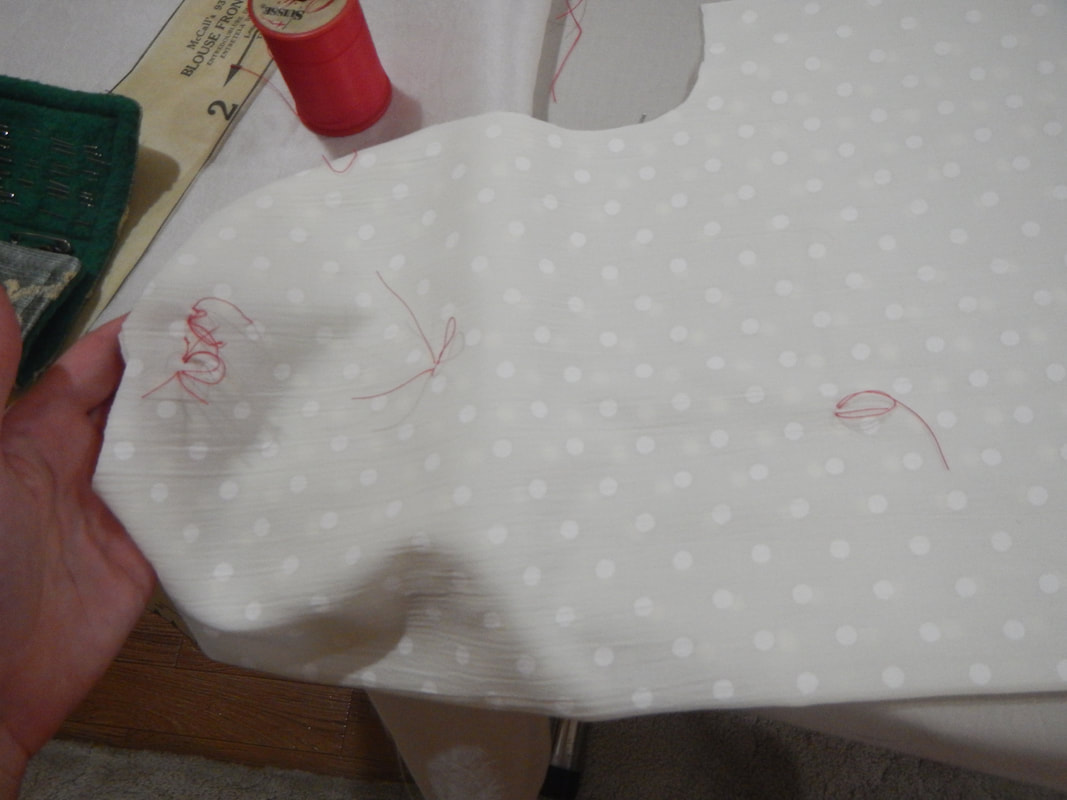
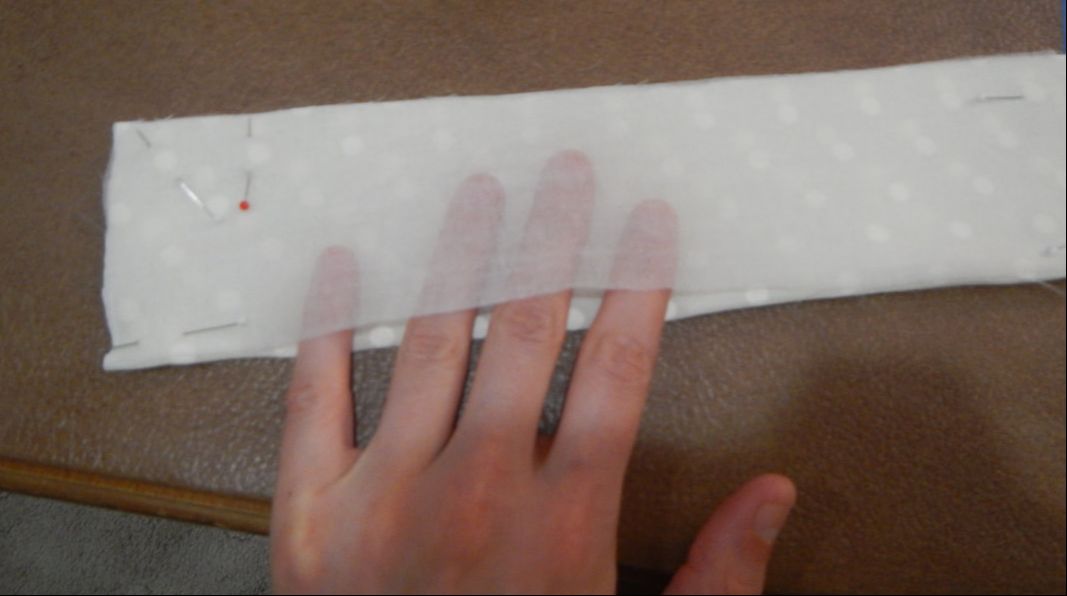
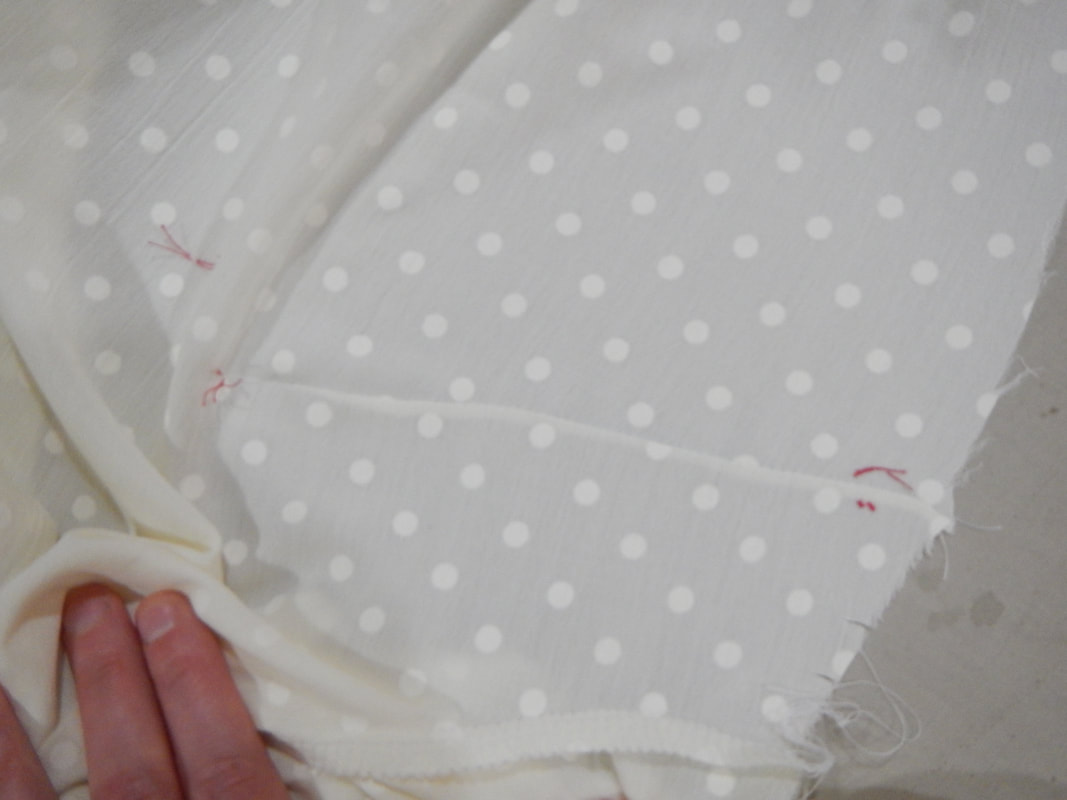
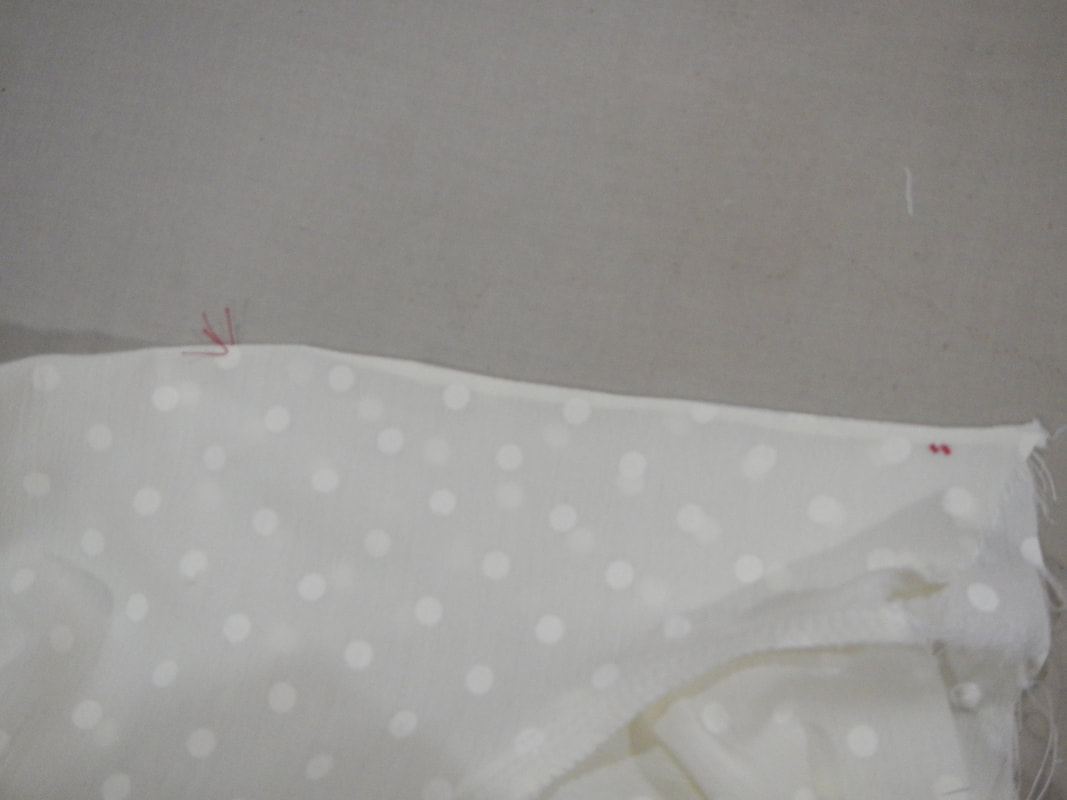
Below, you can see the way I use tailors' tacks to mark key points like the locations of darts or gathers. A tailors' tack is a large stitch or two, taken very loosely, in contrasting thread. I stitch right through both layers of fabric when the pieces are just cut out. Then I carefully tug the pieces apart so I can see the thread between them, and snip the thread. This leaves me with two pieces, marked at important points with little tufts of thread. Woolly, fuzzy thread is nice to use because it's less likely to slip out while the pieces are being handled. I use regular all-purpose thread here because it's a bright color.
(As far as pattern marking goes, I know that there's a method involving some washable carbon paper and Wartenberg wheels, but I never learned it. Likewise, I know some sewists use temporary pens, but they make me nervous. I use chalk, which dusts right out, and tailors' tacks, which pull right out. If it's going to be completely concealed, I use pencil sometimes, but not on a sheer fabric like this.)
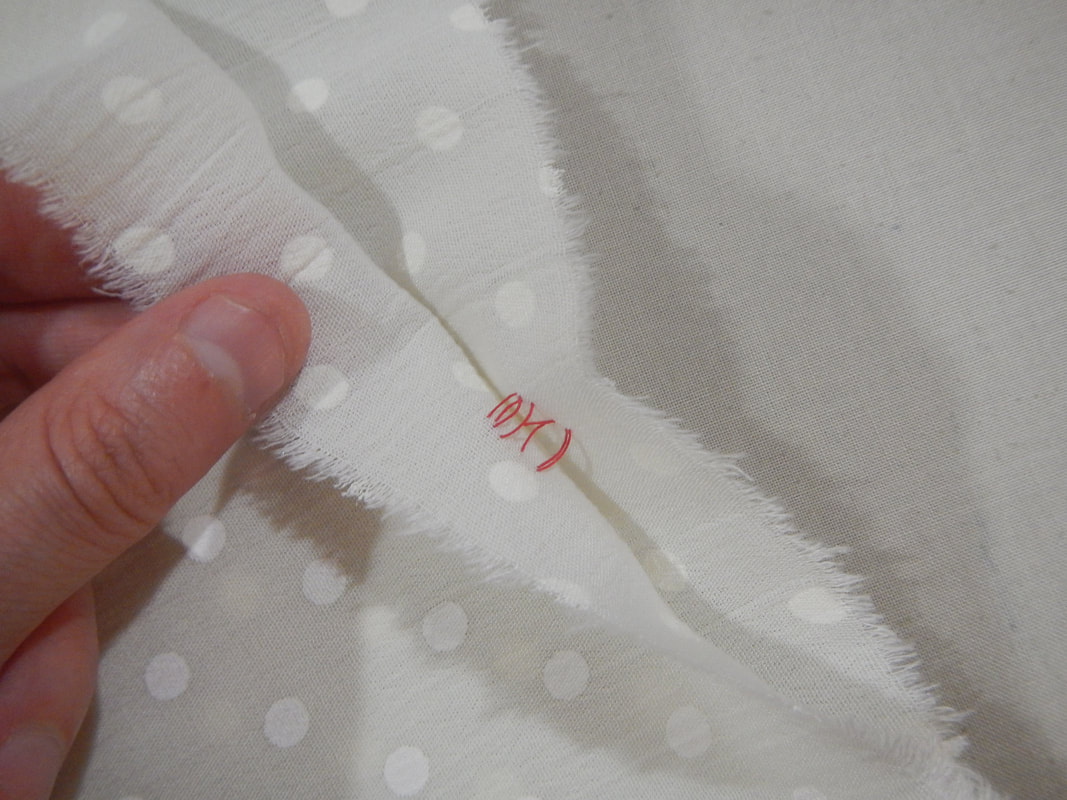
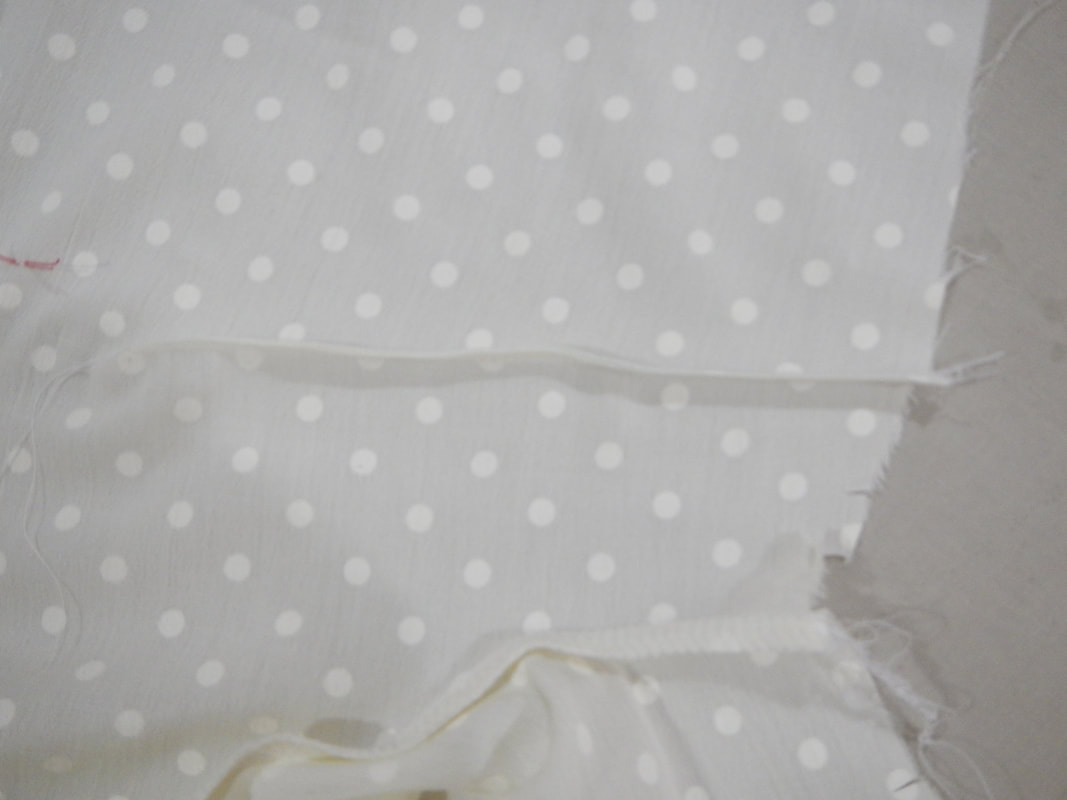
Because my fabric is a little sheer, I decide to do the darts with French seams. That means a little careful planning:
STEP THREE Press and turn the blouse so the dart is to the inside, now. The raw seam allowances get tucked into their own wee pocket. It's a little hard to explain; hopefully the pictures help: both THREE-A and THREE-B show the inside of the blouse. In THREE-B, with the dart folded again, you can see the seam allowances trapped in the crease.
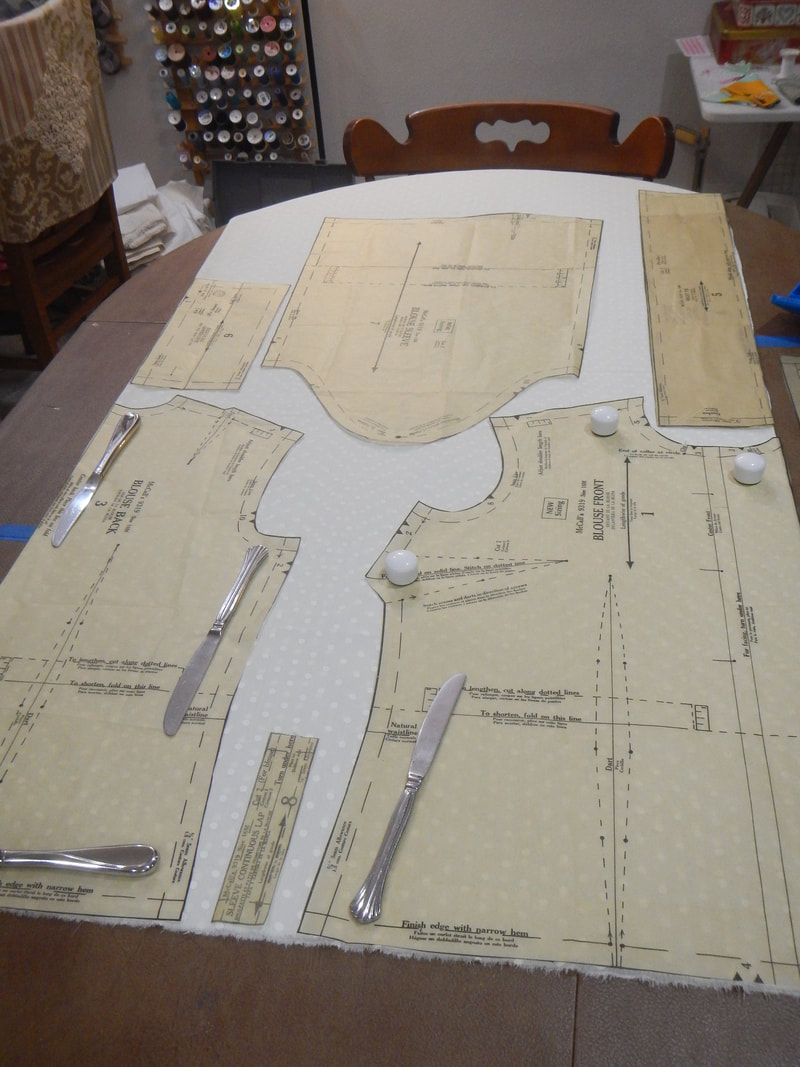
After this step, I set the blouse aside for months. When I find it again, I see I have my time invested written on a little slip of paper: 8:30-8:50 cut out pattern 8:50-9:05 read pattern 9:05-9:10 iron fabric and interfacing 9:10-10:03 cut out pieces; tailors' tacks 10:10-10:20 baste-in front facings 10:30-11 sleeve placket and cuffs 8:40-45 back shoulder darts 6:20-6:30 sleeves into armscyes: sew, serge, press. This list is incomplete, since it doesn't include doing the French seamed darts or the collar, so clearly I got lax in my recording. SECOND SEWING SESSION When I pick it up again this week, I don't quite remember what my plans were, but I'm eager to finish. All that needs doing are the vertical darts (front and back), the buttons and buttonholes, the bottom hem, and the top-stitching on the cuffs. I start with the darts. I don't follow the pattern exactly, for these, because I'm making the shirt for myself, not for McCall's fit model. Instead, I use the tailors' tacks as guidelines, but I decide on the dart's depth by fitting the shirt.
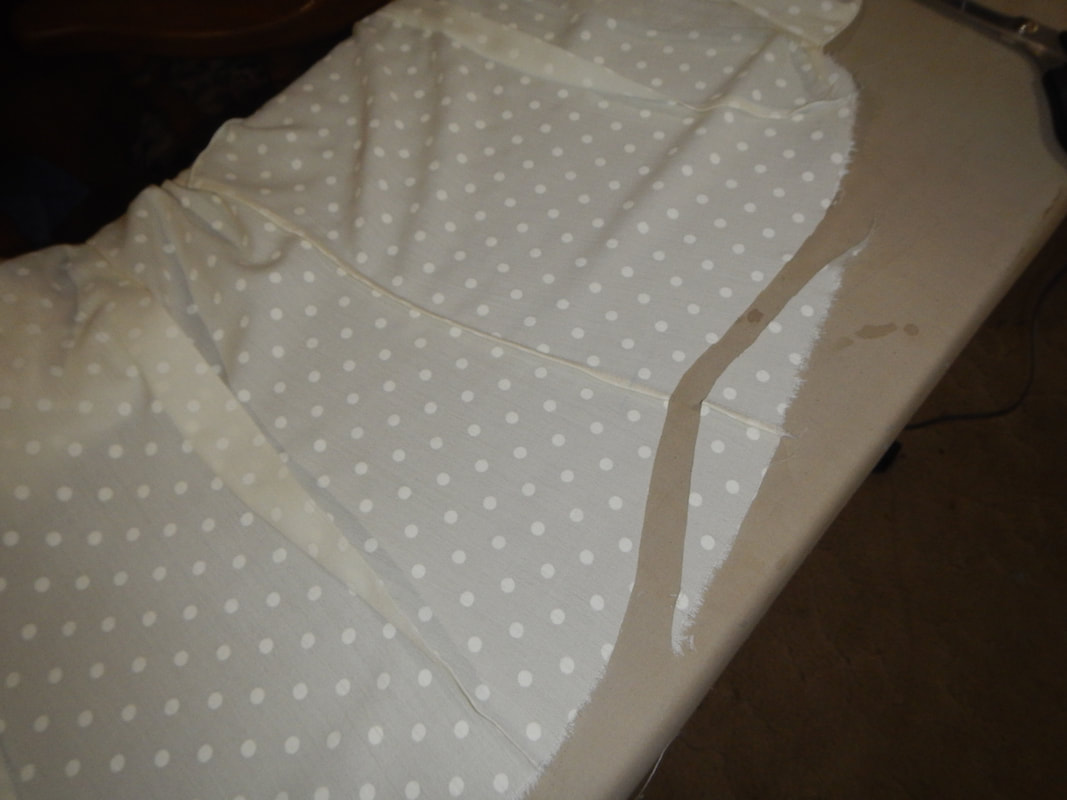
Forgetting about my desire for French darts, I sew these darts like normal, and end up with a shirt where the side bust darts and back shoulder darts are made with one method, and the underbust and back darts with another! I could fix it... but I won't. I just want to finish at this point*.
When the finished shirt hangs on a hanger, you can see one aspect of it that puzzled me when I was making it: the right side tie is longer than the left, by a few inches! 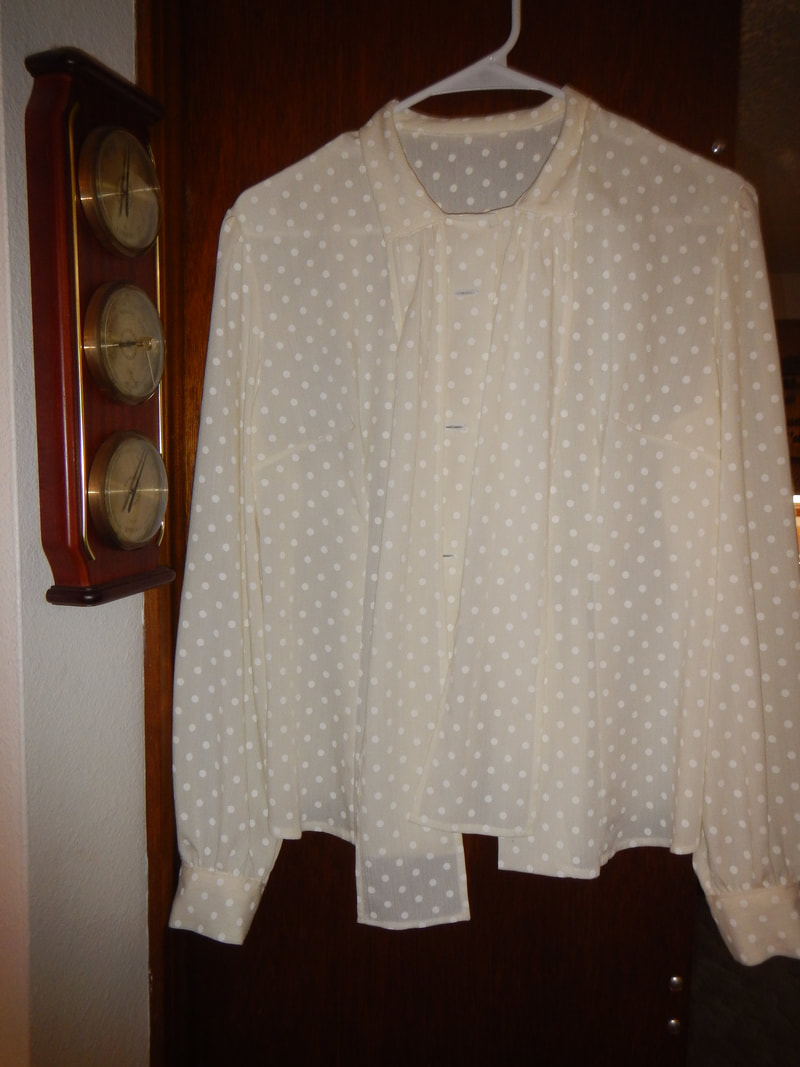 Once I try it on, though, it makes sense! The right side closes over the left, so the right tie travels just a bit farther to meet the left tie, and the bow ends up looking even despite being made from uneven lengths. Cleverly done, McCall's! Trying it one, I find myself dissatisfied with the closure. The pattern calls for only three buttons down the front, and none from the waist down! I add snaps to the top--between buttons--to prevent gaping, and to the bottom--below the waist--because I don't like it flapping open. I'm also mildly dissatisfied with the fit over the bust... I will tweak the dart some more so it's not so tight there. But not now... later, when my annoyance with it reaches critical mass. For now, I'm happy to have a new shirt! FINISHED!  YIKES! My hands look terrible. All that Covid 19 inspired hand washing.
1 Comment
The Sister
3/23/2020 02:09:08 pm
I absolutely agree about a curving bottom hem being more flattering than a straight one. Good call! Furthermore, bravo to McCalls for their longer-but-will-be-even-when-tied bow lengths! Leave a Reply. |
Karen Roy
Quilting, dressmaking, and history plied with the needle... Sites I EnjoyThe Quilt Index Categories
All
Archives
March 2024
|
 RSS Feed