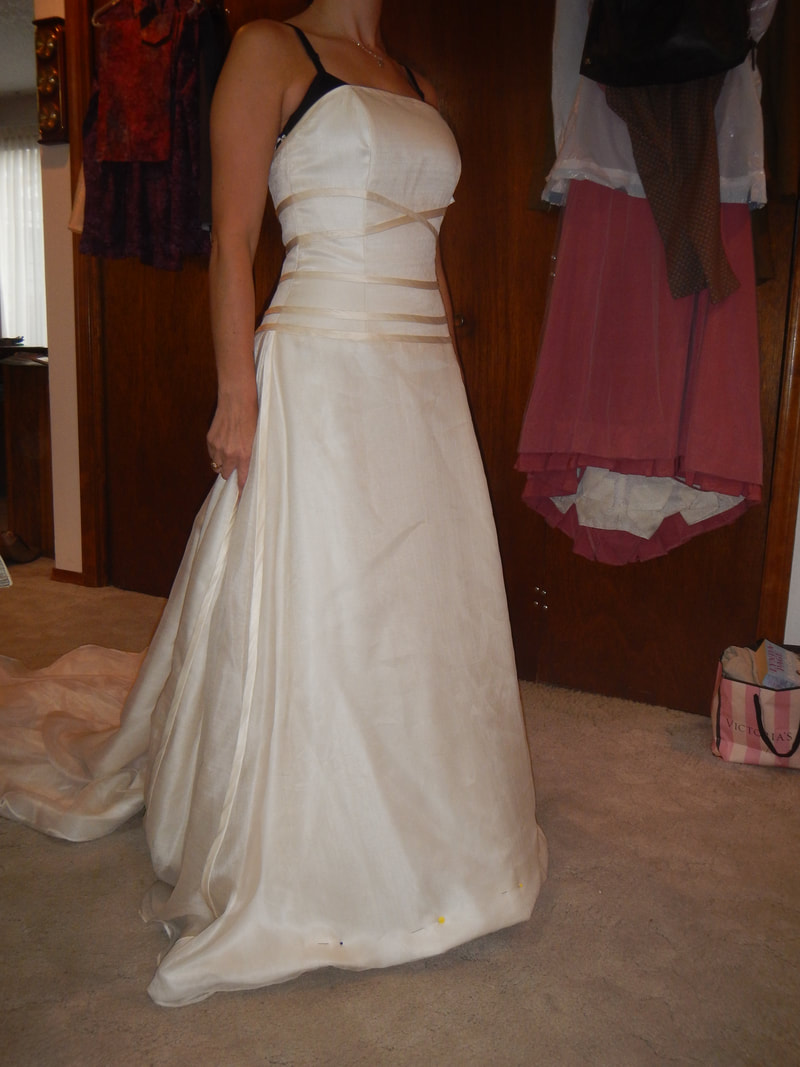
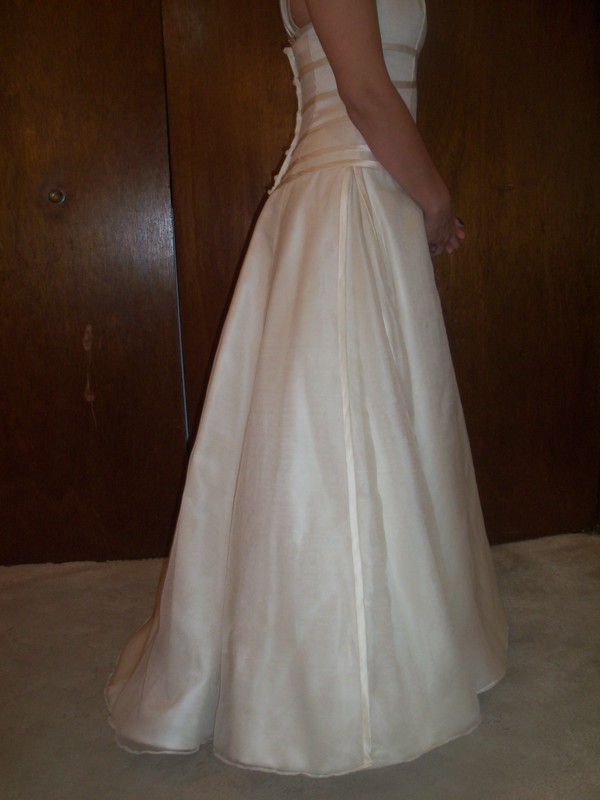
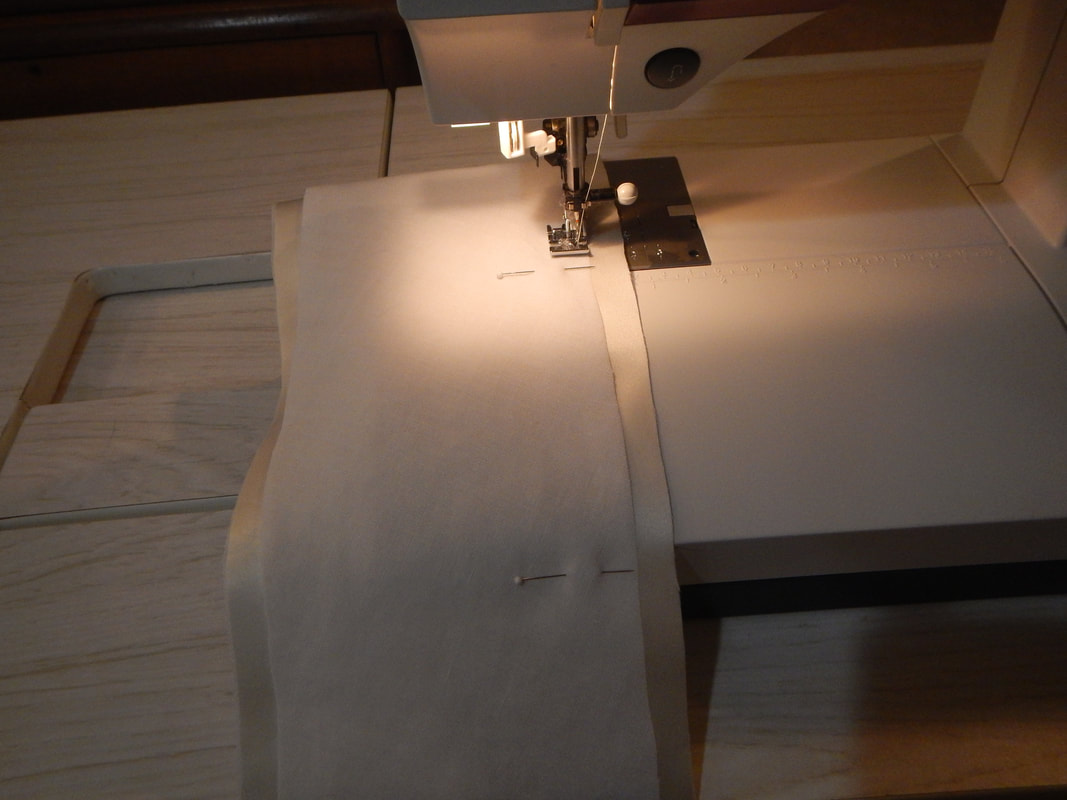
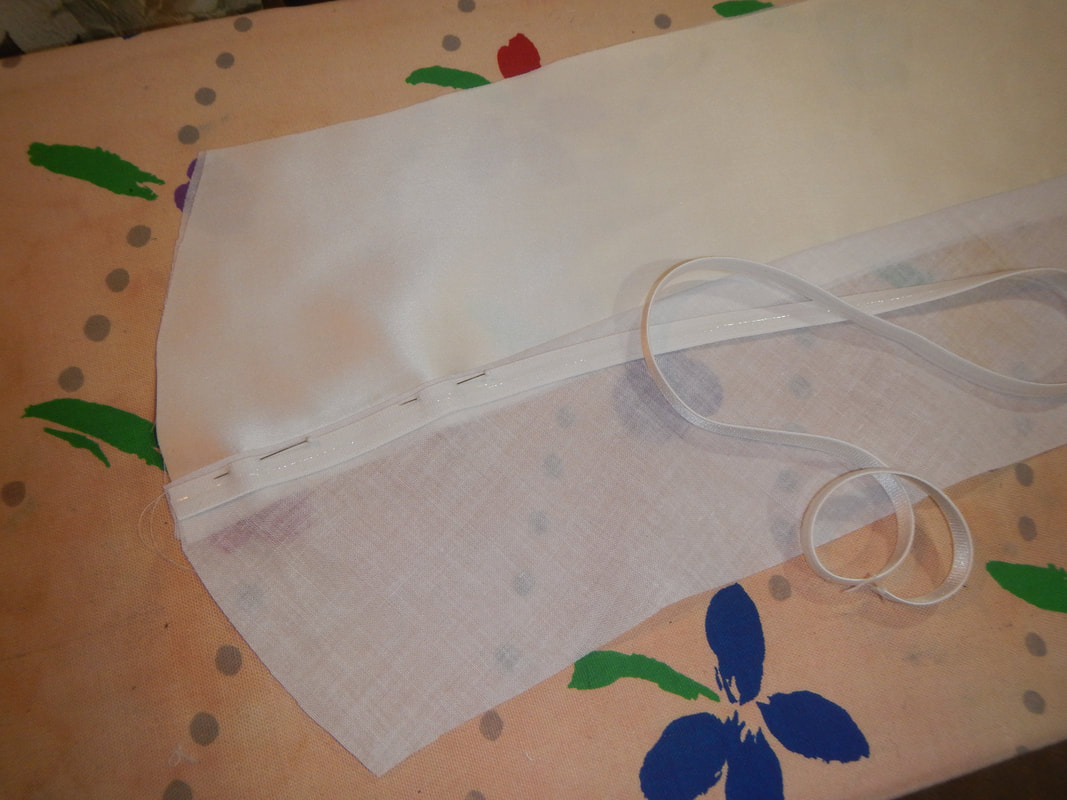
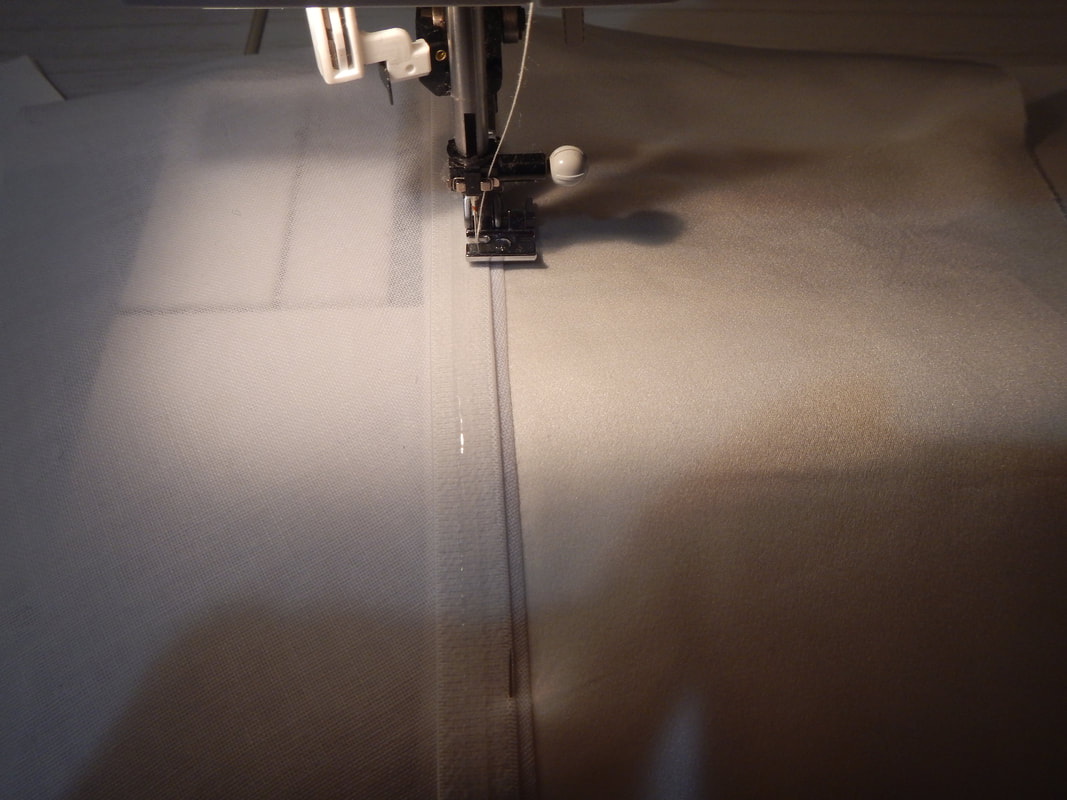
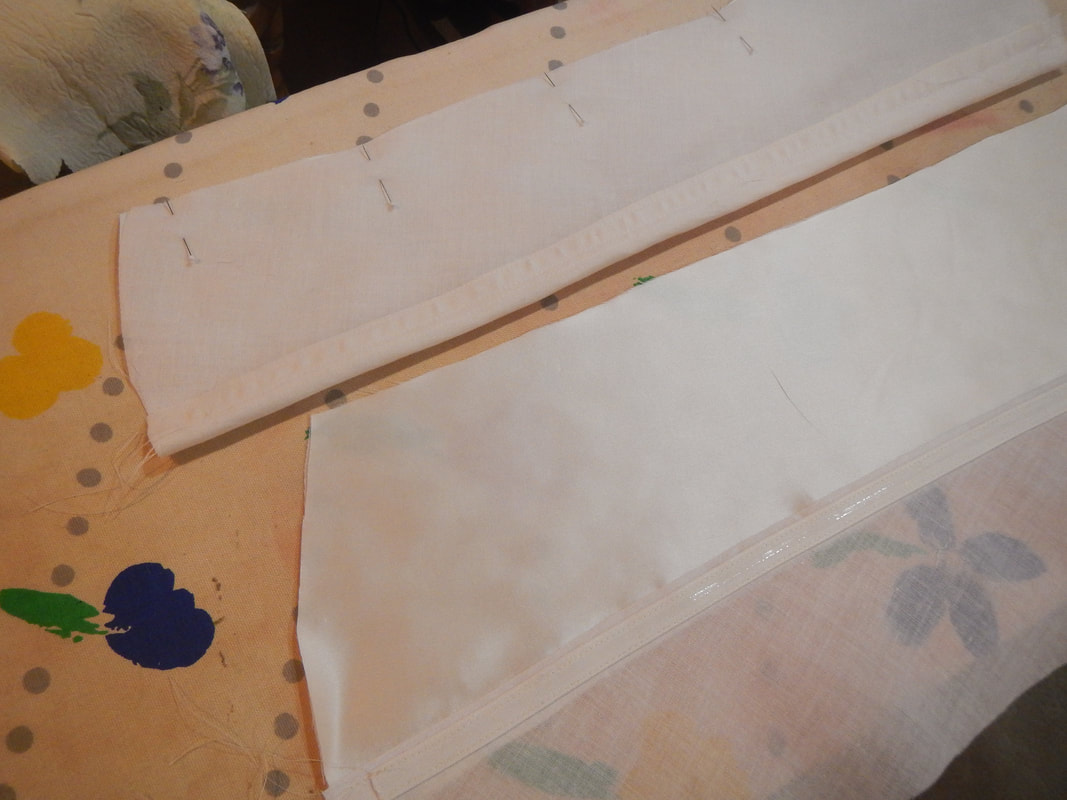
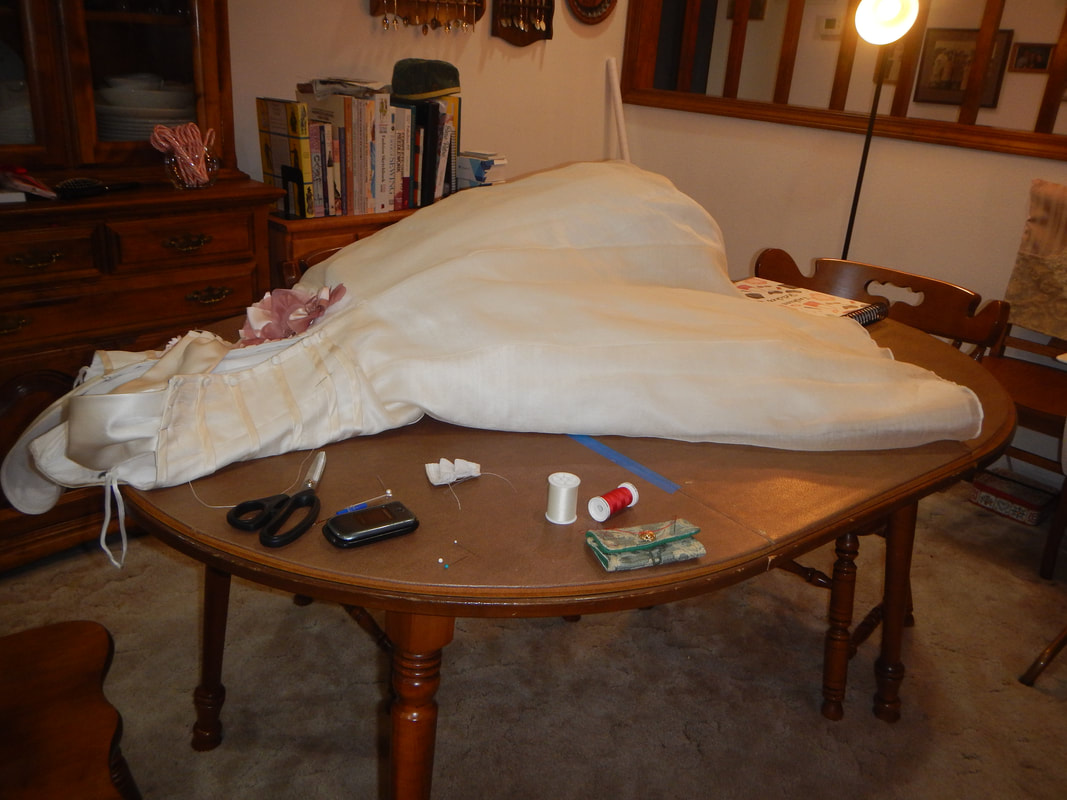
Robes de Coeur
  • Blog
  • Quilting
  • Clothing
    • Menswear
    • Womenswear >
      • Self-Made Patterns
      • Commercial Patterns
    • Hats
    • Miscellany
  • About
  • Blog
  • Quilting
  • Clothing
    • Menswear
    • Womenswear >
      • Self-Made Patterns
      • Commercial Patterns
    • Hats
    • Miscellany
  • About

Rose on Snow - An Embellished Gown

1/4/2018

2 Comments


​A friend (B.) found a lovely wedding dress at a thrift store.  Check out the pricing history: originally $3,000, marked down to $350, then marked down to $19.99!  The tags were all still on, so the dress has never been worn for a wedding.  But it's clearly been tried on... a lot.  I suspect it was a floor model at a bridal salon, and when it got shop-worn, they discounted it.  Eventually it landed at Goodwill, where B. bought it. 

B. has a vision for the dress, though.  She planned to attend a Leukemia survivors' ball, and wanted to wear this wedding dress, but embellished with flowers to look less bridal, more fairy-like. 

Now, as Mark Twain put it in The Prince and the Pauper, "Let us change the tense for convenience".  (If he could do it halfway through a novel, I can do it in a blog post!)  Present tense for the project diary...
Picture

VISION

The project has three parts: shorten the gown; add shoulder straps; and embellish the gown with flowers.  B. and I begin with a brief sketch of the concept:
Picture
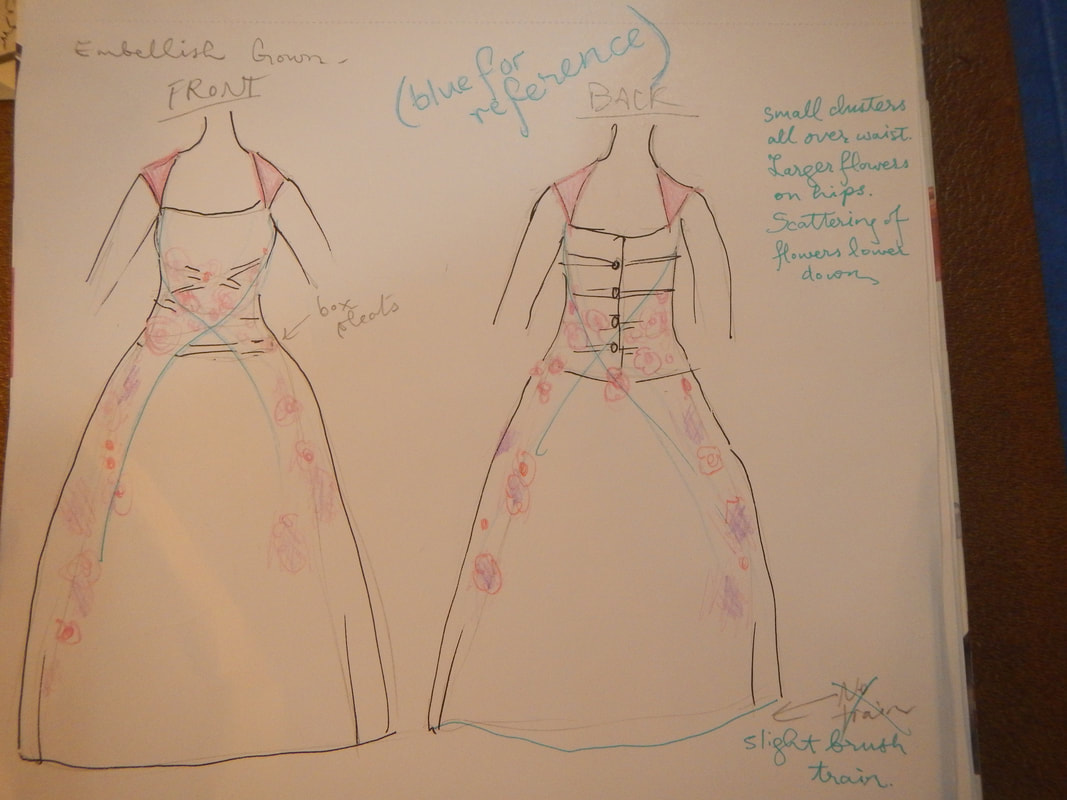
The goal is to have enough flowers to really make a statement, clustered all around the bodice and trailing down the skirt.  

HEMS

I hem the two layers of the skirt: the sheer silk organdy with a Calvin Klein hem, and the silk charmeuse (which was flat-lined in cotton) with horsehair braid.  While I am cutting the bottom, I cut the back just a little longer than the rest, to give it a brush train.  Here are the before and after pics:
Picture
BEFORE, with the front pinned up
Picture
AFTER
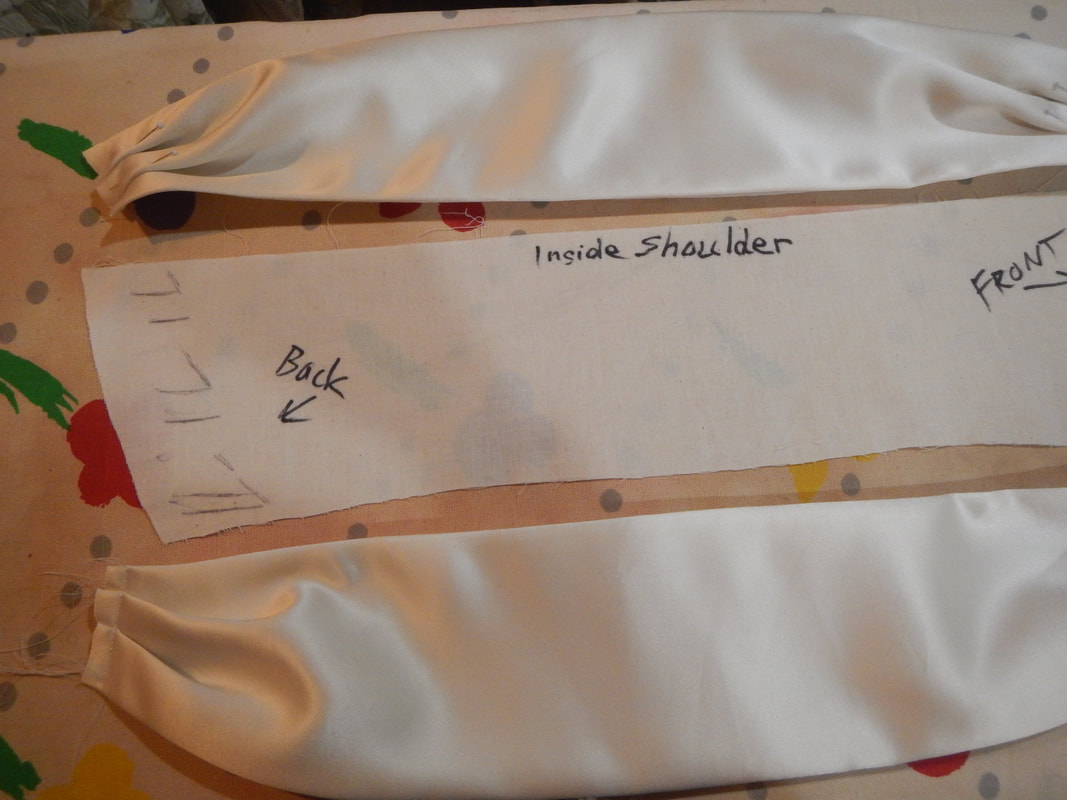
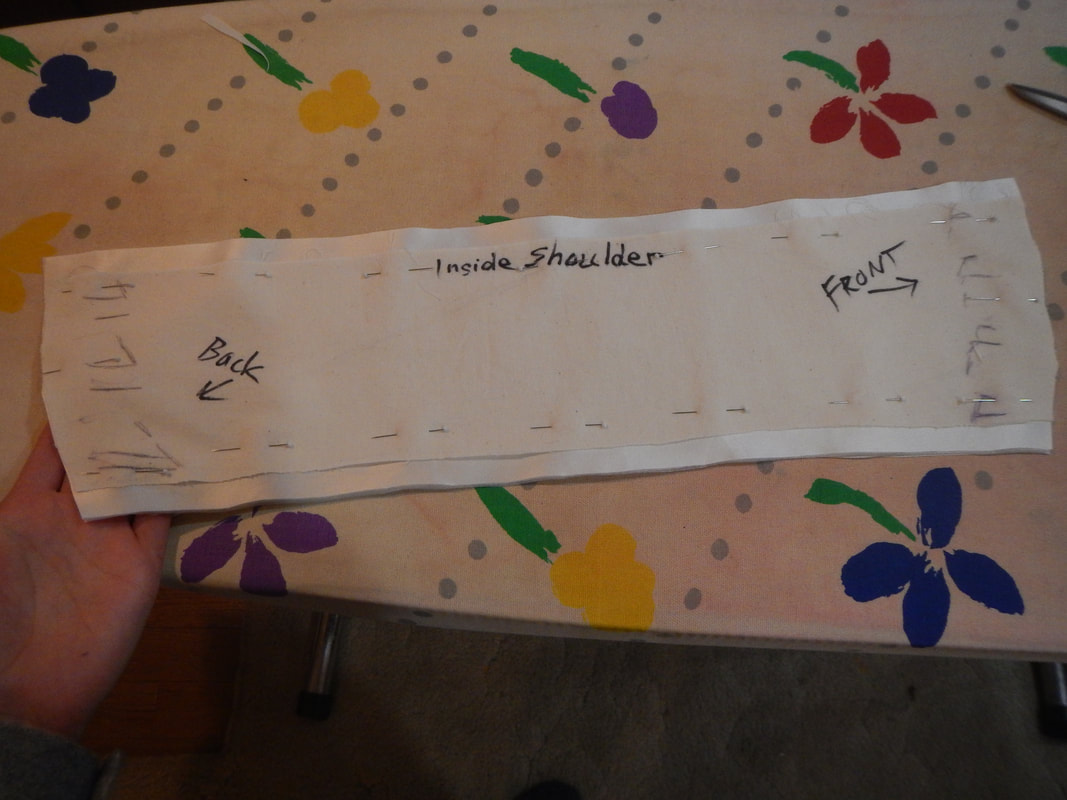
And here, for your delectation, is a cat who's convinced that we're doing this whole project to give her something to hide under: 
Picture
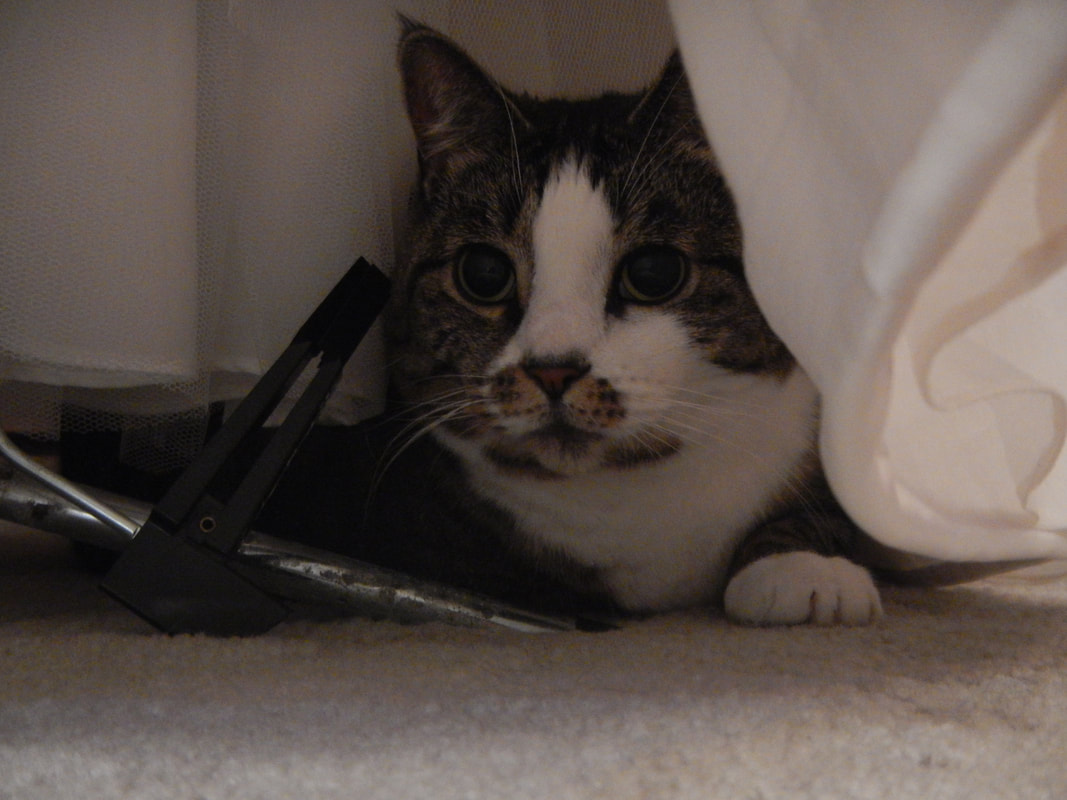
Pretty Kitty prefers a train... for pouncing on!

MAKING THE STRAPS

I start with a bit of muslin, pinned to fit:
Picture
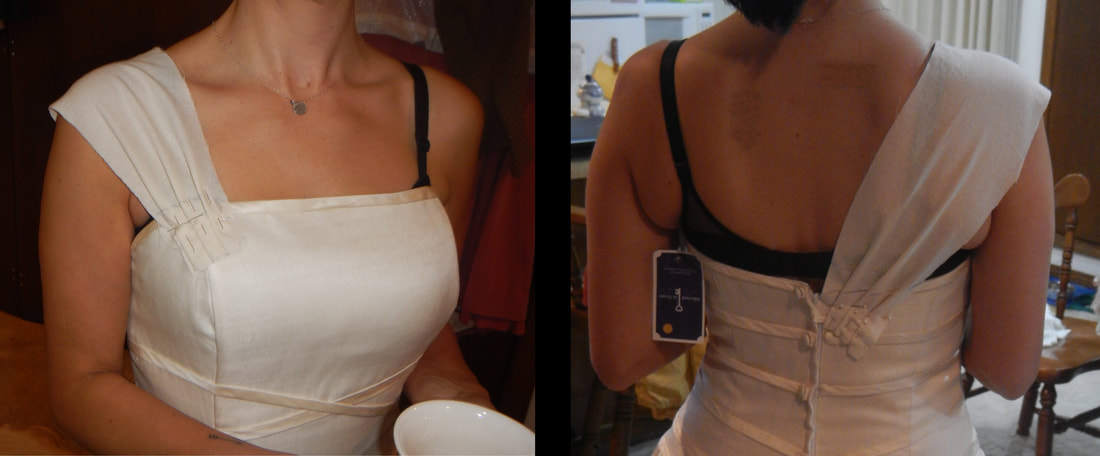
That gives me the pattern.  Then, using fabric from the removed train, I make the straps. 
Picture
The pattern is the piece of muslin I pinned on her.
Here is the pattern for the straps pinned on the fabric I'm cutting.  I add seam allowance on the long sides, but not on the ends because they are already longer than needed. I cut two layers like this: cotton lining fabric and silk charmeuse sewn together to be used as one outer piece.  

I also cut a slightly skinnier version of just cotton lining fabric.  The reason it's skinnier is so that when I sew it into a tube with the rest and turn it, the silky outside will wrap around the edges on the  strap and not allow the cotton to show.  
Picture
Here's the first seam, the inside shoulder seam.  I don't give the stiff cotton much seam allowance, but I give the other layers a little more seam allowance, to give me a foundation to sew the non-slip stuff to in a few minutes. 
Picture
I press the seam allowances toward the skinnier cotton strip, and pin a strip of non-slip stuff (I don't know what it's called... grippy strip?) to the edge, on top of all the seam allowances.  This is an elastic strip with gooey rubbery stuff on it to keep the straps from sliding around on the bare skin. 
Picture
I don't pull the elastic tight as I sew, because I don't want the straps to buckle.  Using a zipper foot, I sew a line on each side of the gooey stuff. 
Picture
Here are the two straps.  The grippy-strips are sewn on to the inside shoulder seams, and then I fold the straps inside out and sew the outside shoulder seams. The grippy-strips help me figure out which side goes out when it's time to turn the tube! 

Below are the finished straps.  They have a nice heft to them due to being made with the same fabrics as the skirt.  I end up giving them one less pleat than I'd planned, because of their thickness. 
Picture

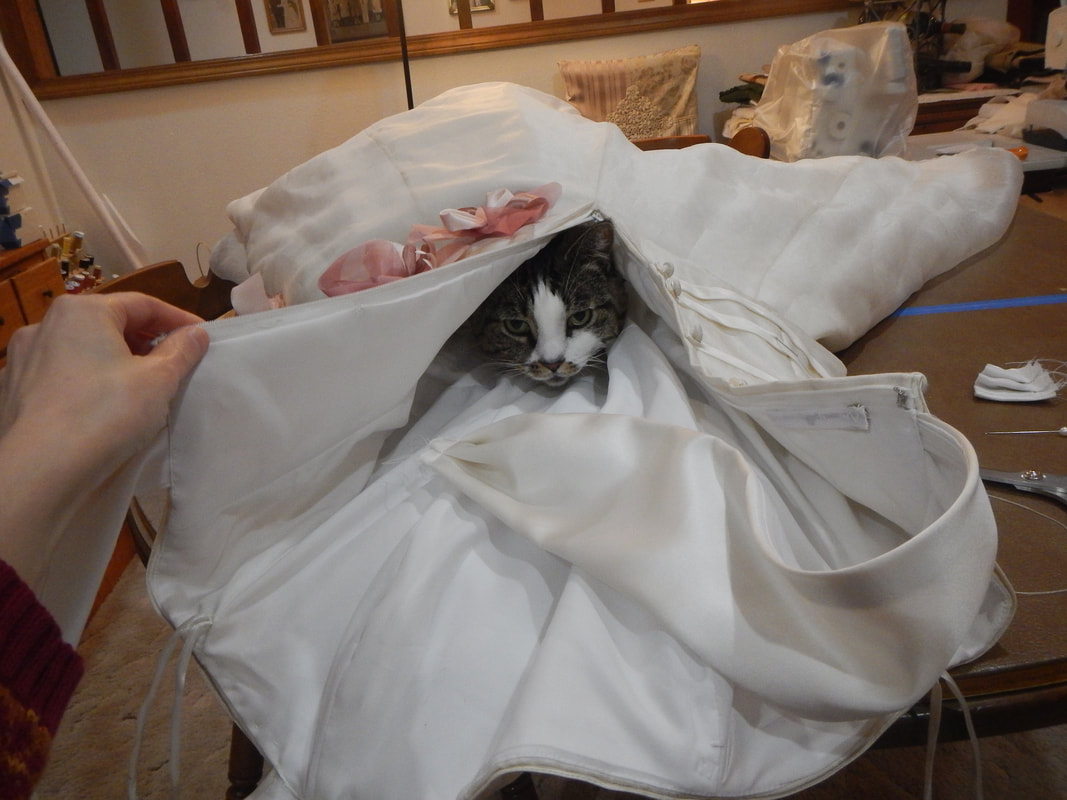
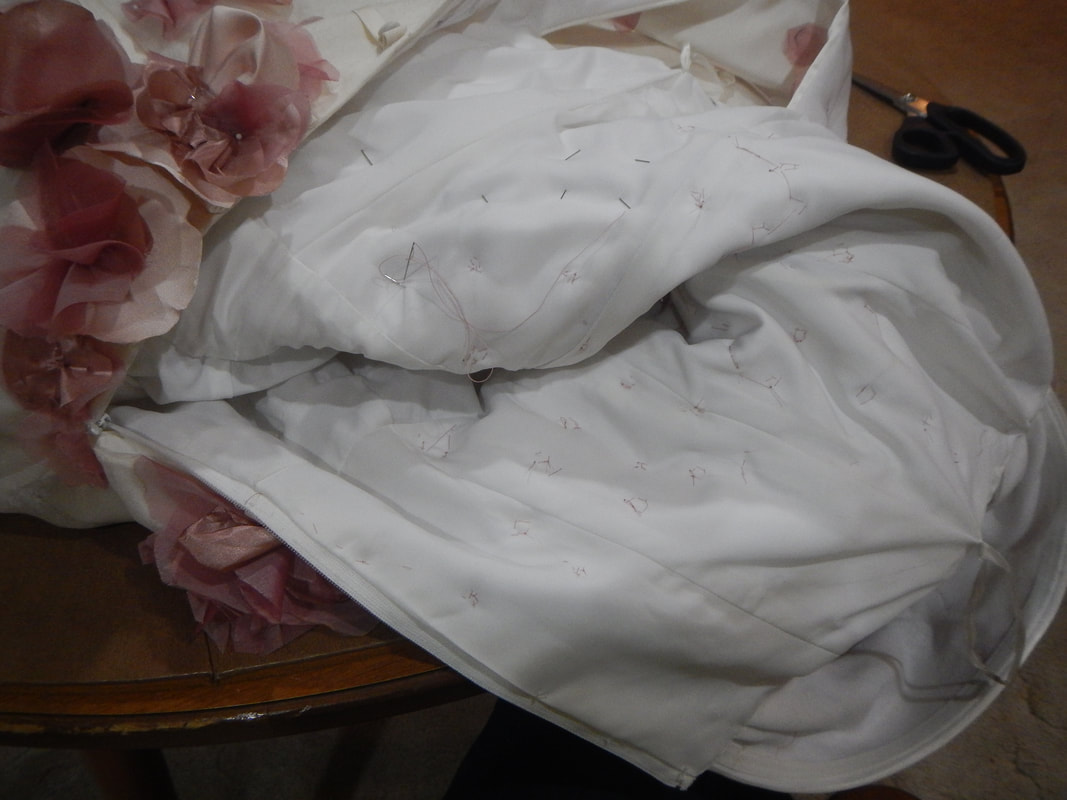
INSTALLING THE STRAPS

The dress is lined with acetate.  To put the straps in, I must separate lining from exterior fabric, slide the straps in between, and sew it back together.  For strength, I want all the weight of the dress to be hanging from the stronger acetate lining, not the weaker silk exterior, so I sew that seam first, and then just slip-stitch the exterior down.  Here's a slideshow of how I do it:

A KITTY INTERLUDE

While I'm hand-sewing the straps in, I turn away to get some tea.  Then hearing a rustling noise, I turn back and see a mysterious lump in the skirt of the dress!  I investigate:
Picture
Picture
Well hello, Pretty Kitty!

FLOWERS

Picture
B. working on flowers
For the flowers, we go to the Mill End Store and buy some silk organza, synthetic scraps, and rayon lining fabrics, selecting the fabrics based on color only, not fiber content.  Here B.'s vision is paramount: she rejects several pinks I would have otherwise bought because they weren't "dusty" enough.  Her color choices have a softly antiqued look.  When we get the fabrics home and I compare them to the dress, I agree with her.  Then we have a little flower assembling party!  

It is a very organic process, and each flower goes together differently.  They are mostly asymmetric, which I like.  And though none is based on a real life flower, I nonetheless have a sense for each that there's a right way to turn it, to make it look right. 

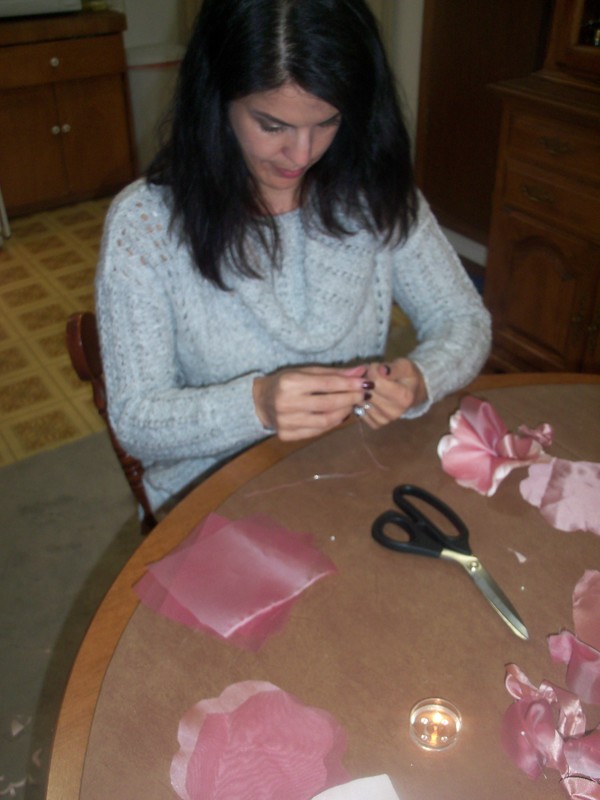
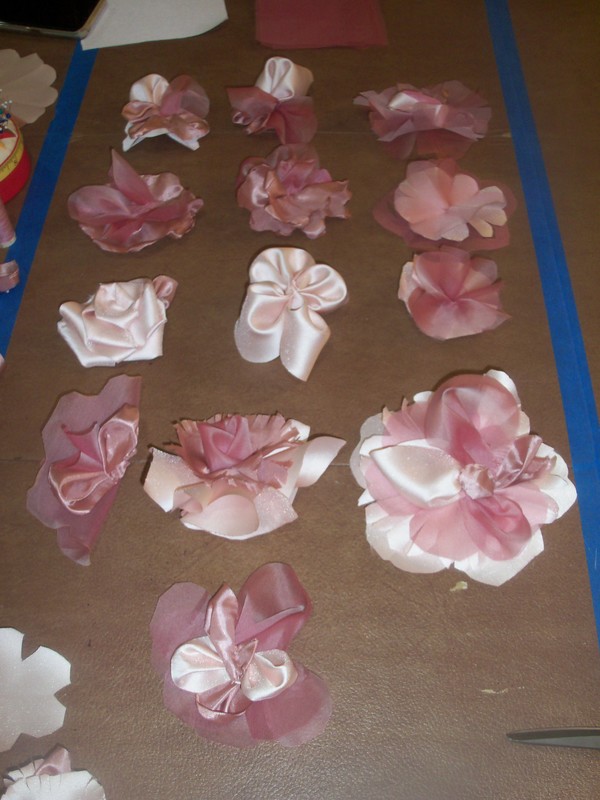
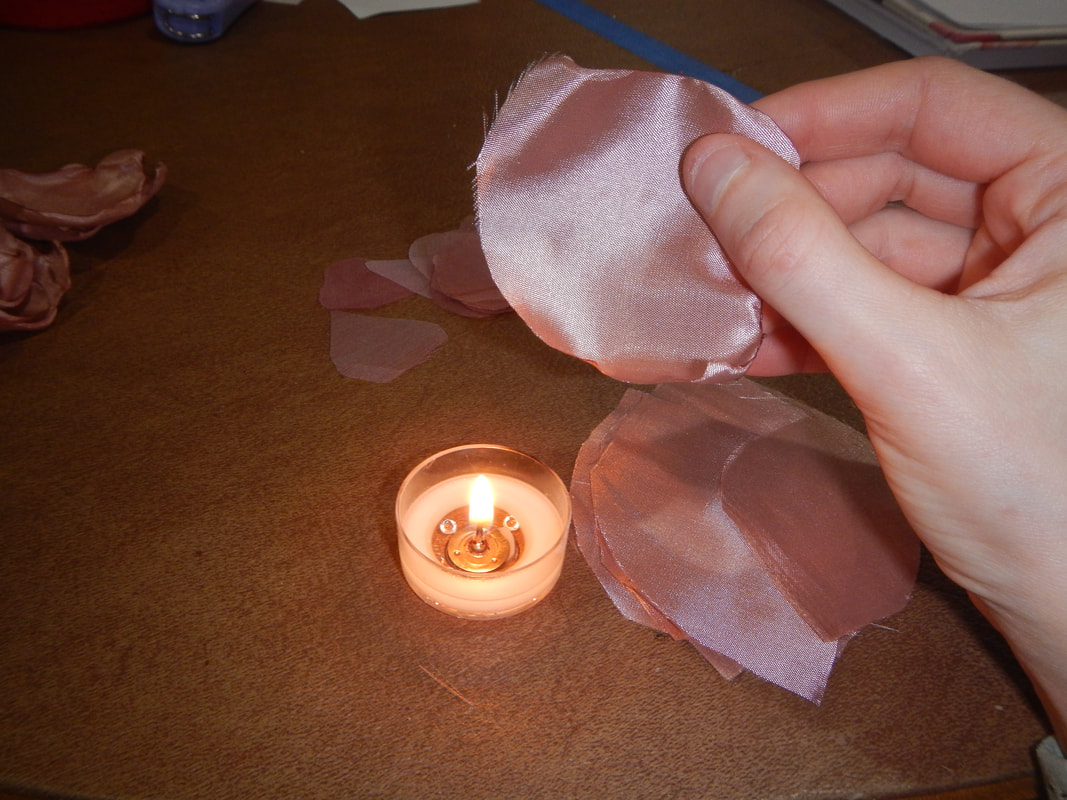
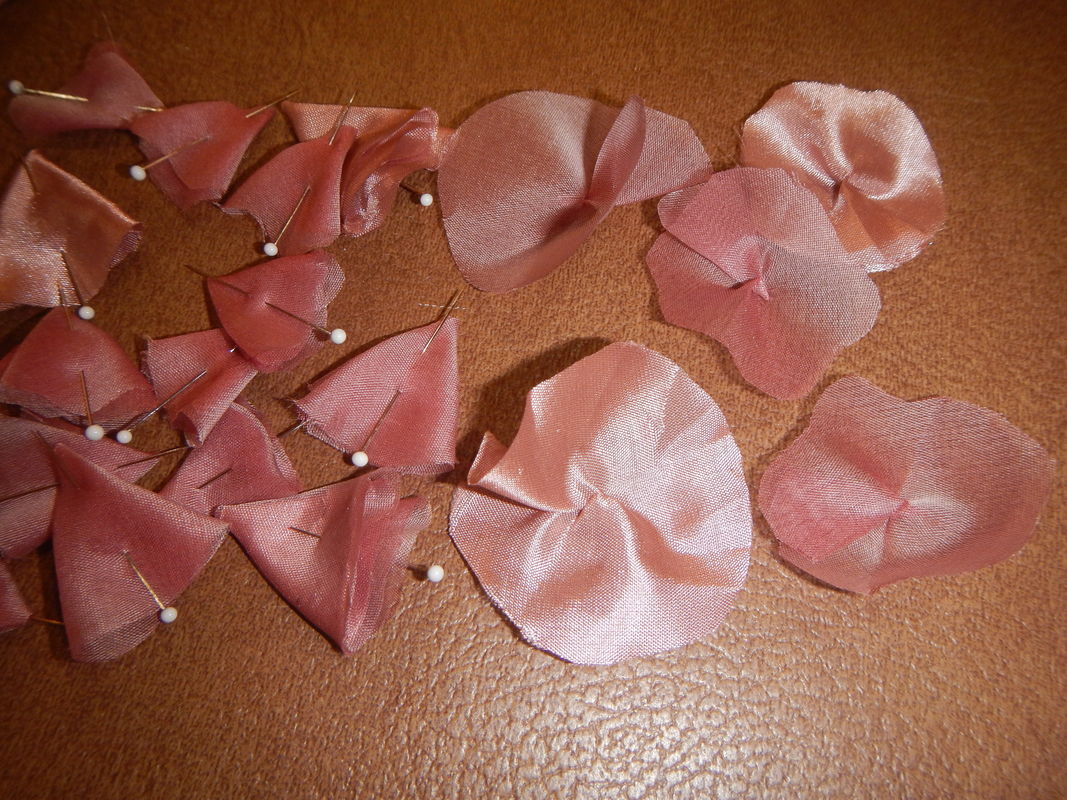
Thinking that there ought to be smaller flowers and petals on the gown, to fill in the gaps and allow me to distribute the larger flowers more strategically, I take time another day to cut a bunch of thumb-sized petals in kidney and heart shapes.  I use a flame to sear and curl the edges of the synthetics, and leave the silk as it.  I also cut lots of small circles of fabric, fold them in quarters, and stitch up the corners.  When I unfold them, the stitches make them buckle in the center, so they won't lie flat.  That makes them look floral, too. 
Picture
Big flowers finished
Picture
Curling the edges of petals
Picture
Making little flowers

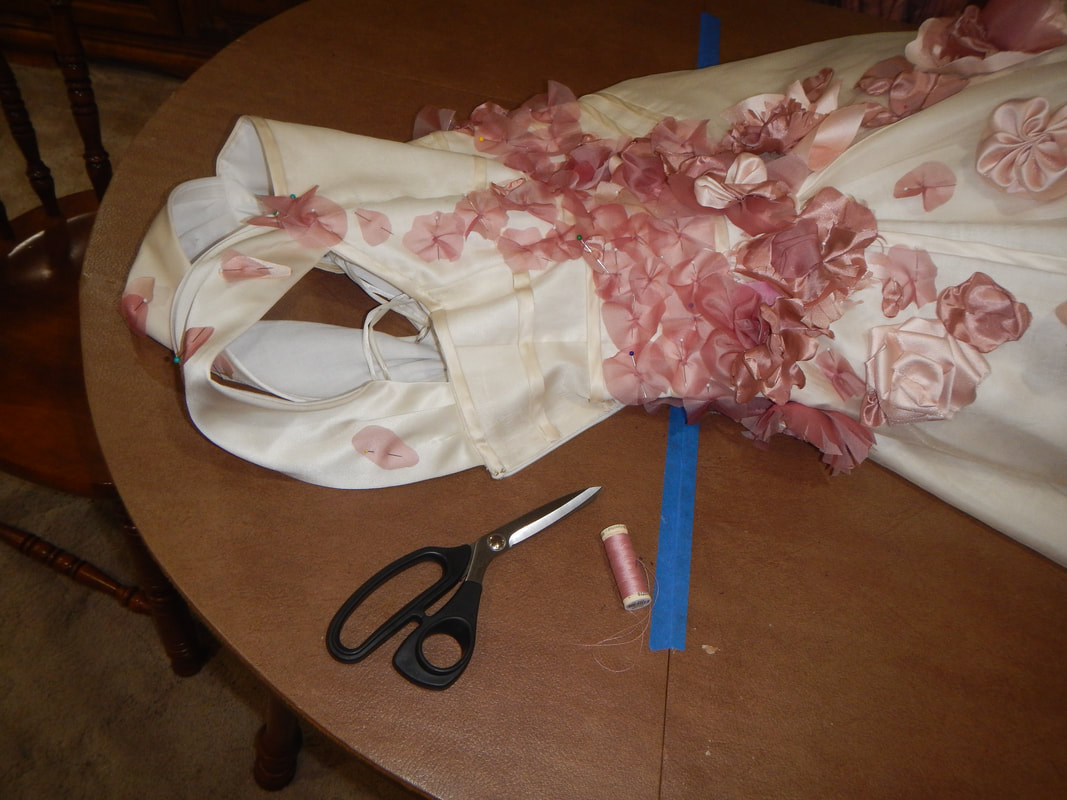
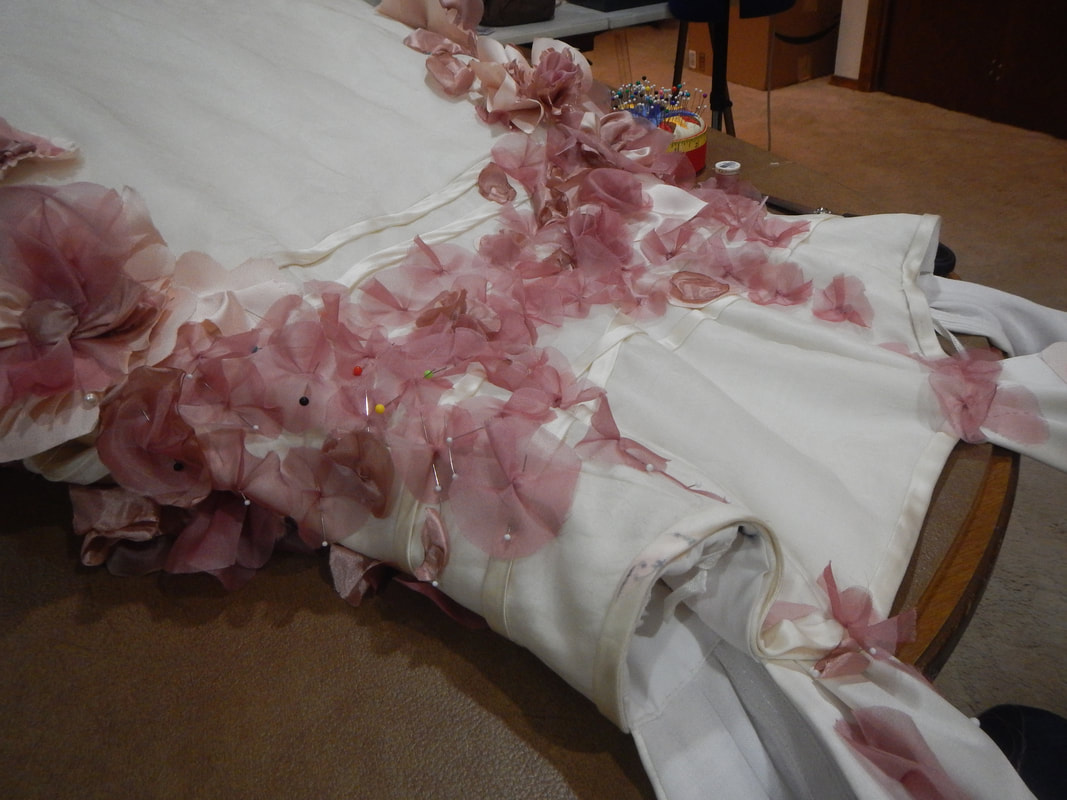
APPLYING FLOWERS TO GOWN

Picture
Applying the flowers to the gown is simple, but tedious, so it takes me forever.  First, while the gown is on the dress form, I pin the flowers all over.  Then I take the dress to the table and hand-sew each flower to the dress.  On the bodice of the dress, I sew through all layers, clustering my stitches around the center of each flower so as to let the edges flutter.  On the skirt, I sew the flowers only through the sheer layer, so they flow freely when she moves.
Picture
Outside the bodice, half-pinned, half-sewn
Picture
Inside the bodice; you can see the stitches through all layers.

FINISHED! 

Everyone loves pretty pictures! 
Picture
Picture

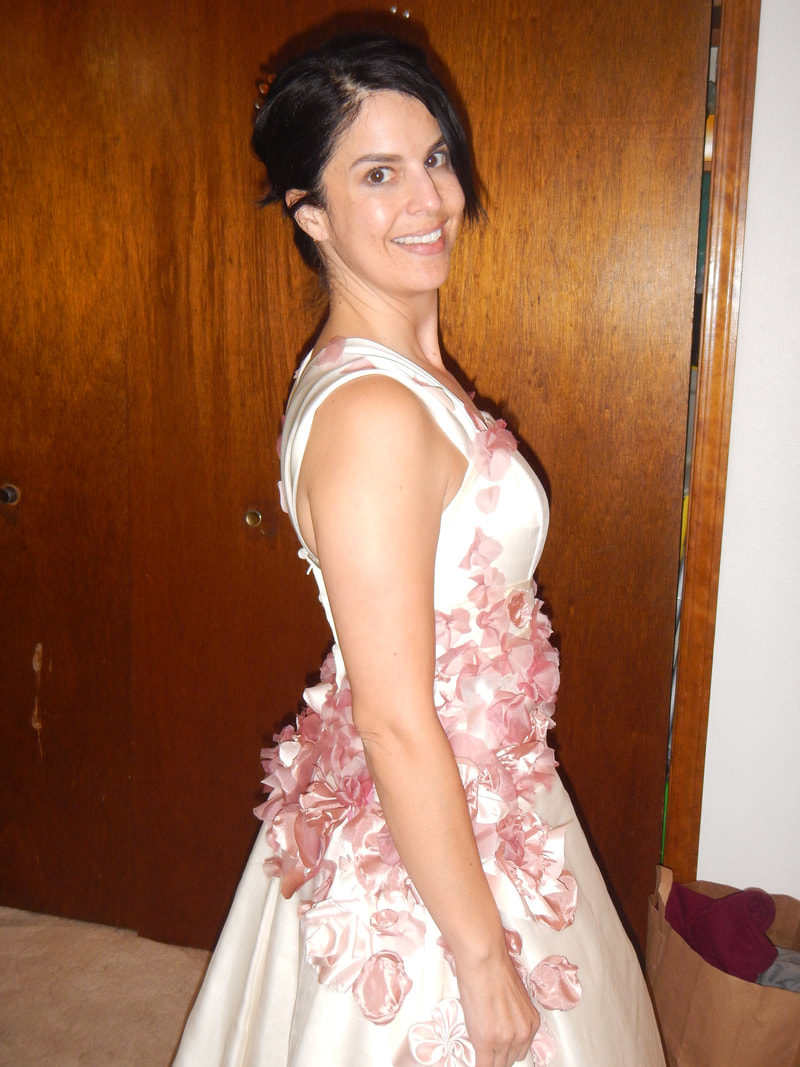
THE BEST LAID PLANS...

 . . . gang aft agley.  Alas, B. was unable to make it to the ball this year.  However, she plans to go next year, and in the meantime has a splendid ball gown for any formal event that comes up!  It was a privilege to work with her to bring her vision to reality; the gown is lovely and so is she. 
2 Comments
The Sister
1/9/2018 01:50:02 pm

Oh, how beautiful! What a treat to work on such a quality gown, and to bring to life B's vision! How delightful. It looks really lovely.

Reply
John Luke link
3/5/2021 02:41:23 am

Great!
It is a great blog post. I am always read your blog. Helpful and Informative blog. Thanks for sharing this information with us.
Thanks For sharing.

Reply


Leave a Reply.

    Karen Roy

    Quilting, dressmaking, and history plied with the needle...

    Categories

    All
    1910's
    Alteration
    Antique
    Dyeing
    Embroidery
    General
    Hand Sewing
    History
    Lacemaking
    Mending
    Menswear
    Millinery
    Modern Elizabethan
    Musing
    Other Sewing
    Philippians 4:8
    Project Diary
    Quilting
    Regency
    Retro
    Self Made Pattern
    Self-made Pattern
    Terminology
    Victorian
    Vintage

    Blogs I Read

    The Dreamstress
    Male Pattern Boldness
    ​
    Lilacs & Lace
    Tom of Holland
    Fit for a Queen
    Line of Selvage
    Mainely Menswear
    Bernadette Banner

    Archives

    January 2023
    December 2022
    November 2022
    October 2022
    September 2022
    August 2022
    October 2021
    September 2021
    August 2021
    July 2021
    June 2021
    May 2021
    April 2021
    August 2020
    June 2020
    May 2020
    April 2020
    March 2020
    January 2020
    December 2019
    November 2019
    September 2019
    August 2019
    July 2019
    May 2019
    April 2019
    March 2019
    January 2019
    December 2018
    November 2018
    October 2018
    September 2018
    August 2018
    July 2018
    June 2018
    May 2018
    April 2018
    March 2018
    February 2018
    January 2018
    December 2017
    November 2017
    October 2017
    September 2017
    August 2017
    July 2017
    June 2017
    May 2017
    April 2017
    March 2017
    February 2017
    January 2017

    RSS Feed

Blog

Quilting

Clothing

About

Copyright Karen Roy
​© 2017-2022