THE PATTERN
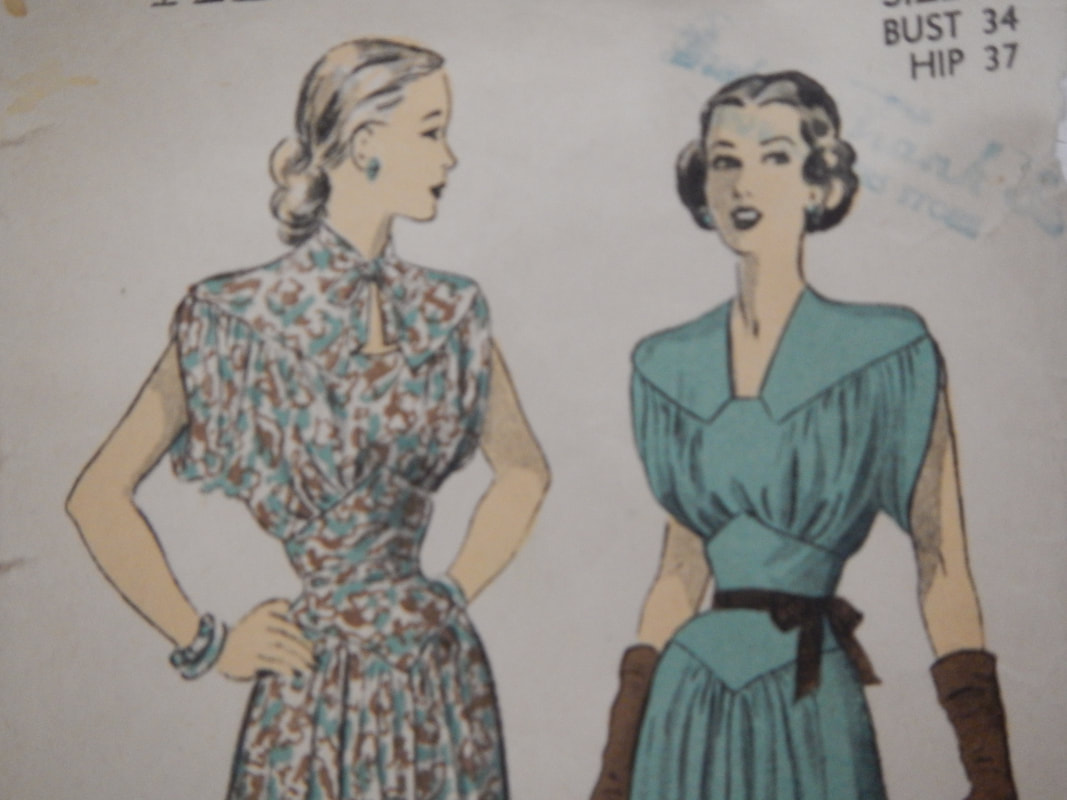
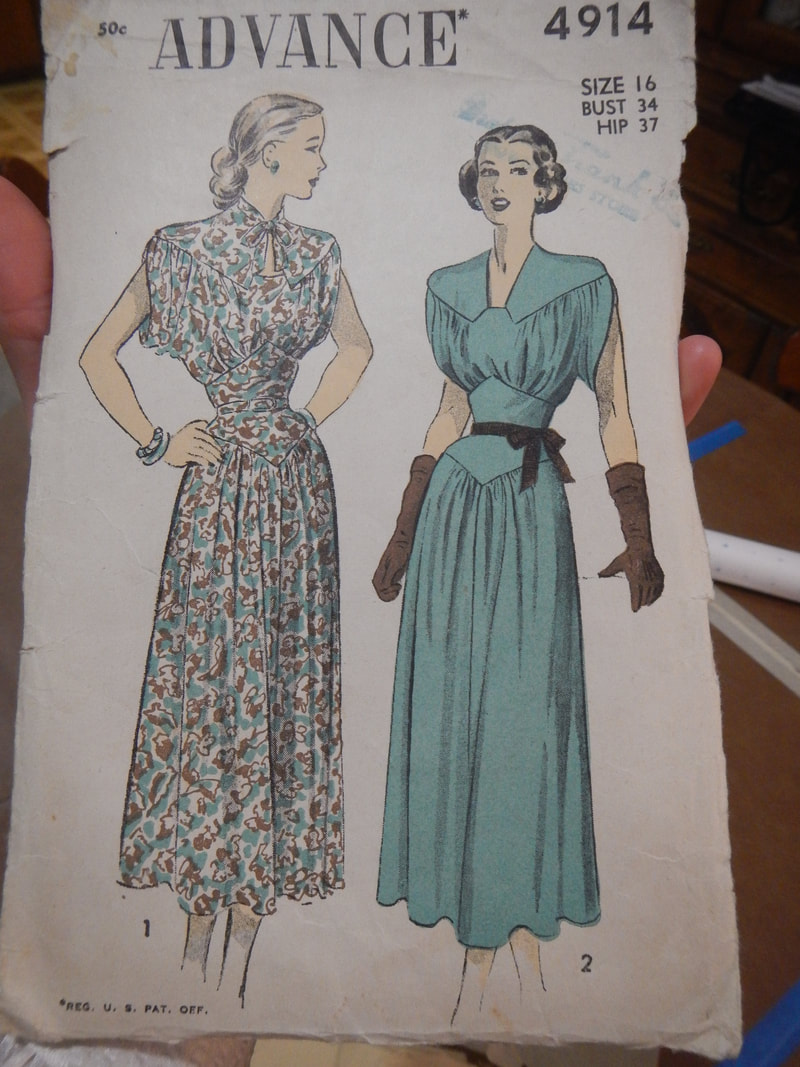
STYLING My best guess, from watching films of the era, is that view 1, with the closed neckline, tie collar, and printed fabric, is meant to be a daytime look. The pattern gives the option for a self-fabric belt, and shows the model with a relaxed (for the time) hairstyle and bangles on her wrists. View 2, with the open neckline, made up in a solid fabric, might be the evening look. Notice she styles her hair up, and wears long evening gloves. Her belt is a ribbon. Now, I have already selected my fabric, a polyester microfiber which is super soft and drapey. It has a busy print of Rainier cherries on it. Though the pattern envelope uses a printed fabric for view 1, I think the combination of busy print with busy style-lines is distracting. I feel like, with that much going on around my neck, I'd have to wear really simple earrings... and I already have cool dangly earrings to go with my fabric! So I will make view 2, the open-necked version. I also have a super fluffy petticoat I want to try beneath this dress... we'll see if it works! SIZING The pattern is a size 16, which at the time meant 34 inch bust, 28 inch waist, and 37 inch hip. This size would have fit me a few years back, when I acquired the pattern, but I have thickened a bit, and now measure 36 inches around my bust (with my bra on), 30 inches around my waist, and 39 inches around my hips. On the other hand, except for the yoked waist, it's a loose pattern. I'll do a muslin and see if I can make it fit me with only a few adjustments, rather than trying to size the whole thing up.
PATTERN WORK
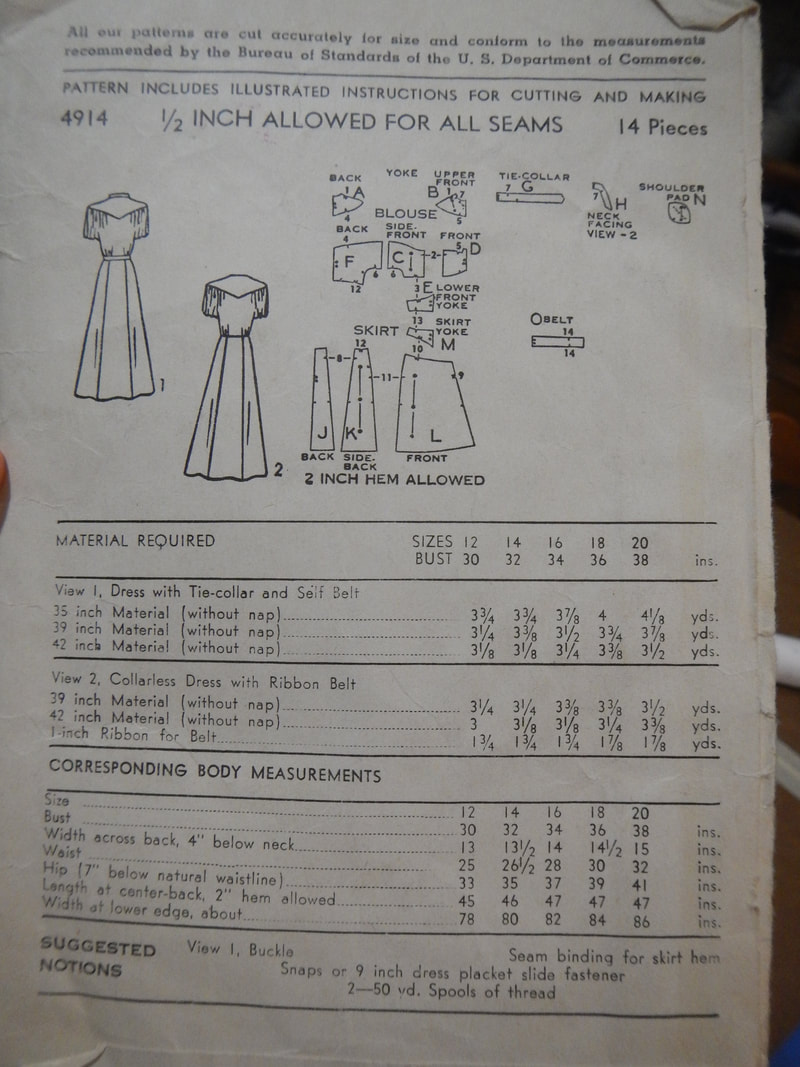
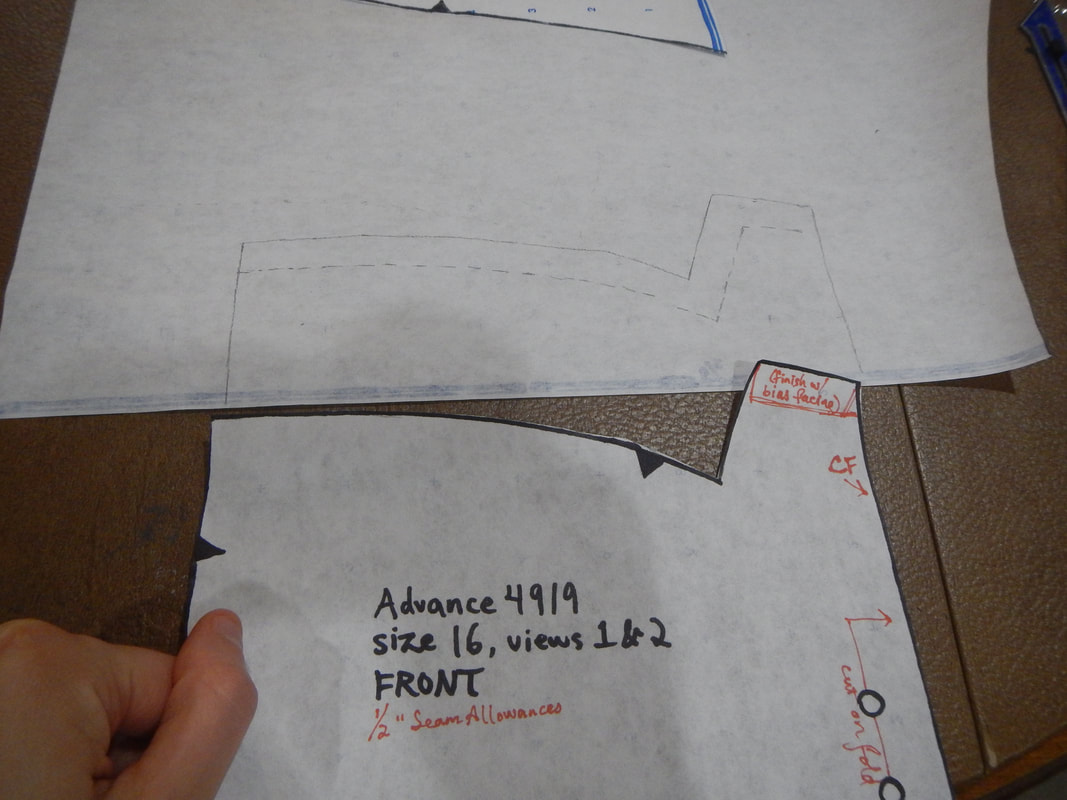
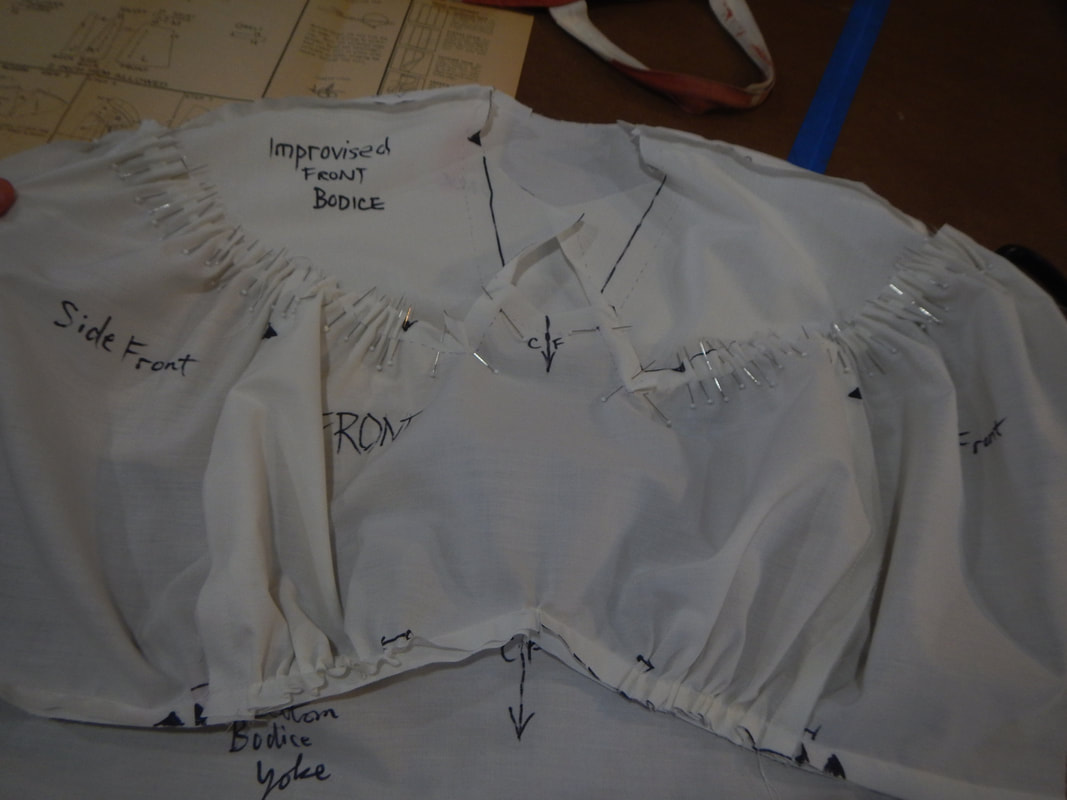
In the process, I discover to my dismay that there is a piece missing! I don't have the upper front yoke, piece B! Not only is it a vital piece, it's also the only piece with a variation (the different necklines). Thankfully, the back of the envelope has a drawing of the piece, and the directions show how to lay it out when cutting (which gives me the grainline), so I improvise. I use three pieces for reference: the back yoke (which must match the front at shoulder seams), the front facing for view 2 (which gives me the shape of the front neckline), and the bodice piece that shows the shape of Center Front, where the yoke fits in. I trace, measure seam-lengths, and check angles. As I do so, I'm careful to match seam-lines, not the edges of seam allowances! The pattern pieces have 1/2" seam allowances, so I trace the patterns, measure a half inch in, and draw in the seamlines, which I use for making my new piece. Then I add a half-inch all around my new piece when I'm done.
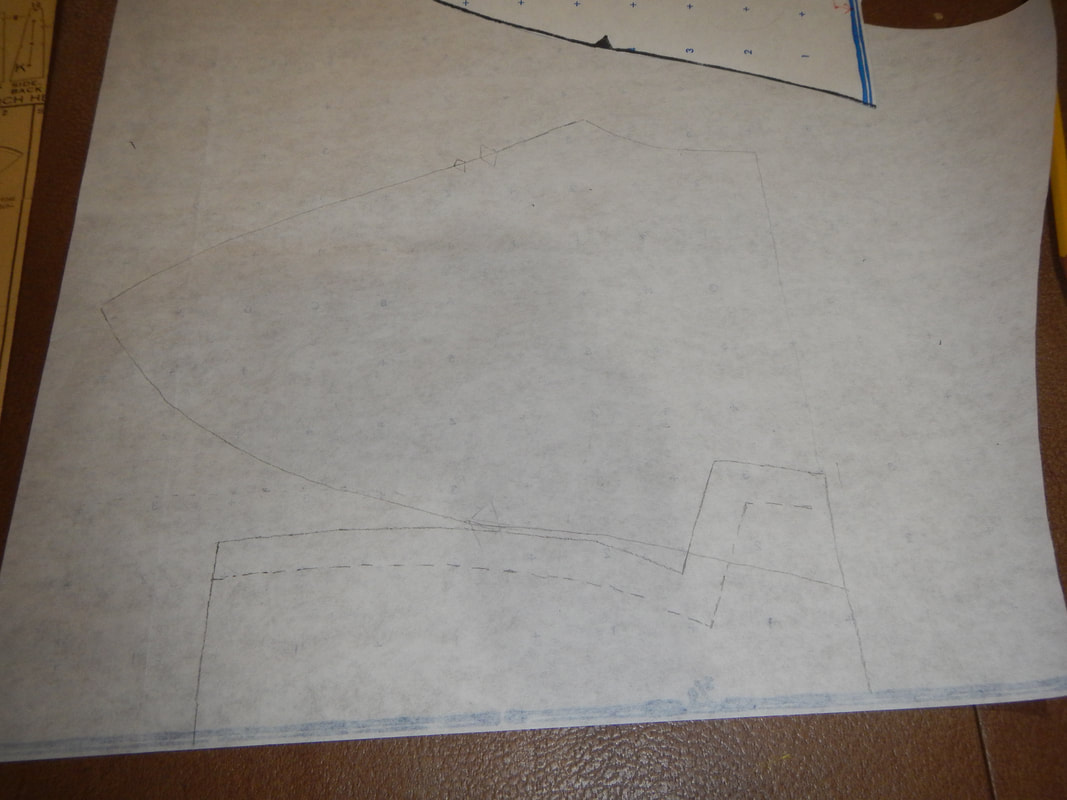
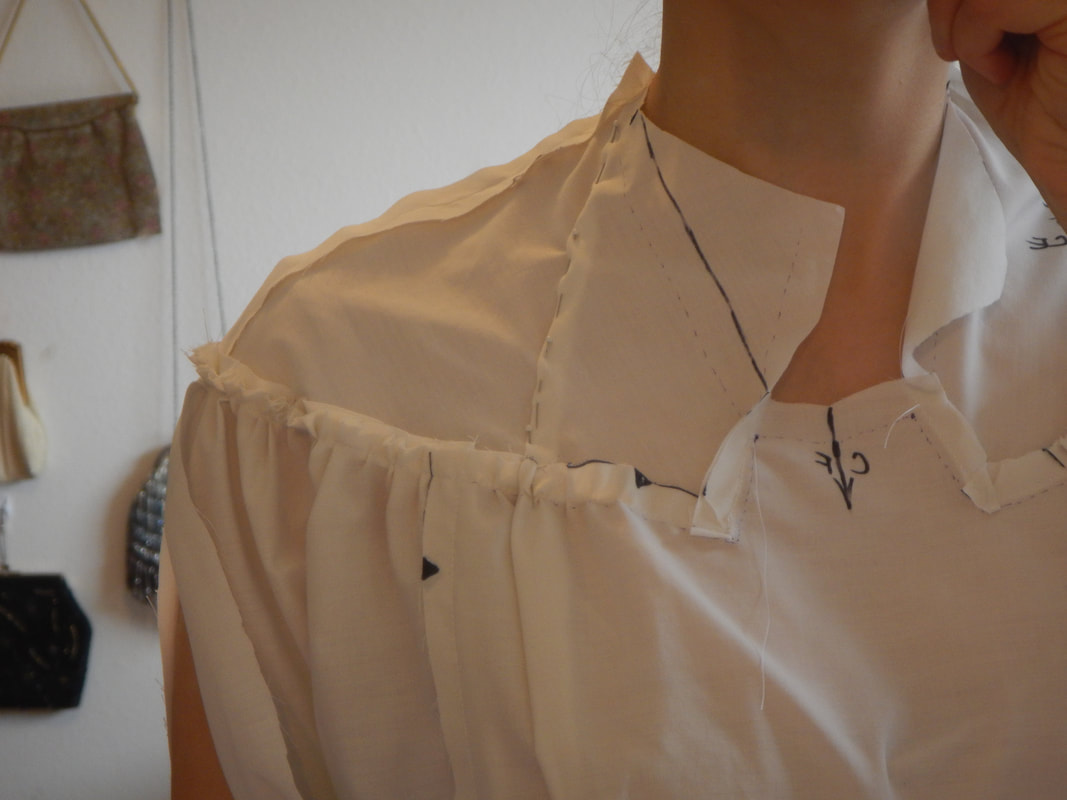
My improvised yoke piece (with seamlines marked with dotted lines) is ready for testing: 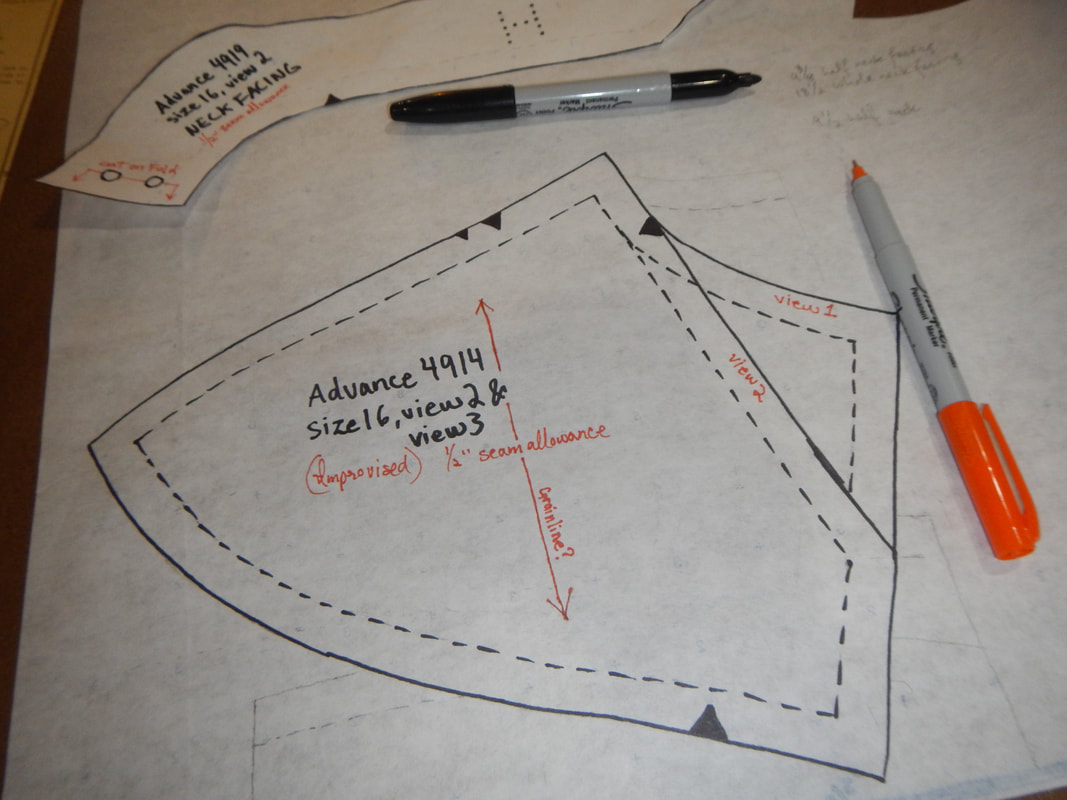 MUSLIN & FITTING An old sheet suffices, as usual, for a test garment. It is softer than my actual muslin. I only feel the need to test the bodice, since the skirt is so loose-fitting.
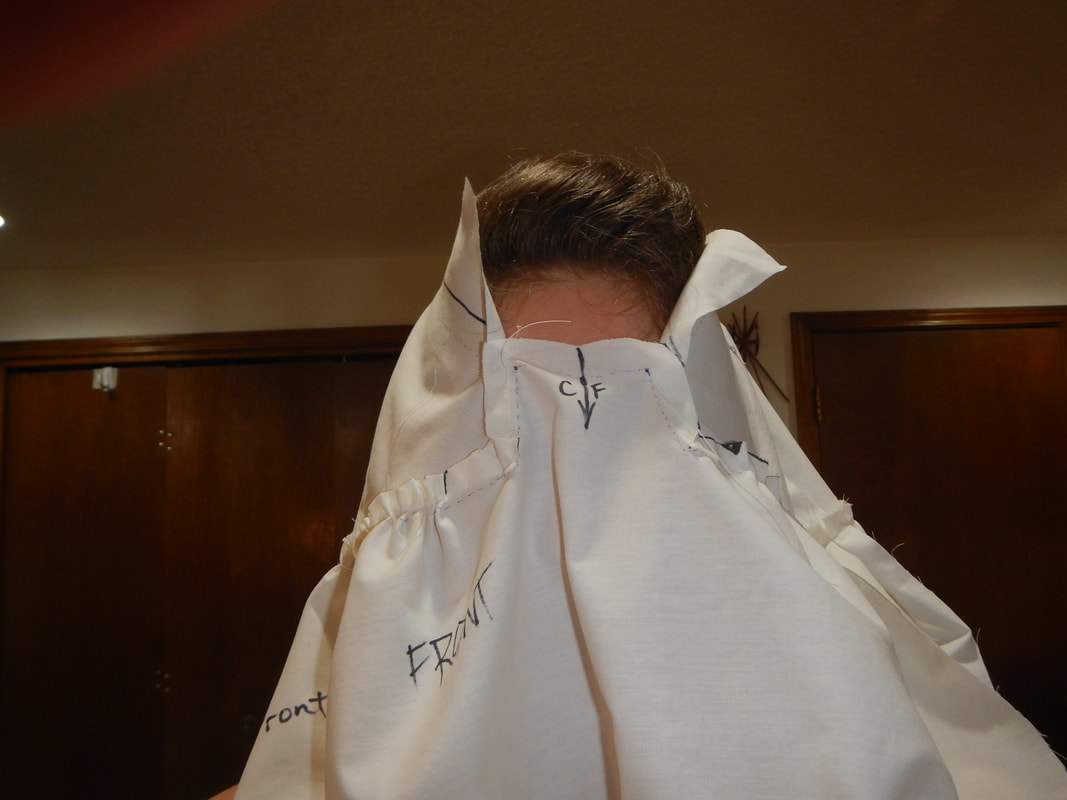
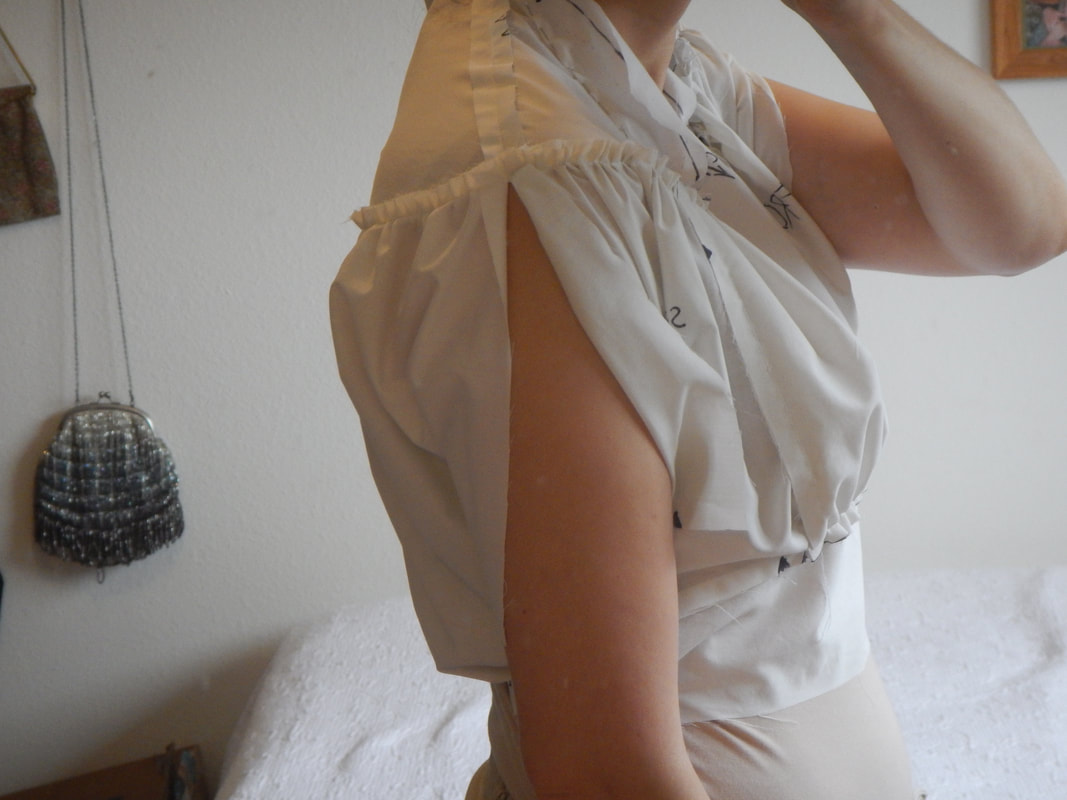
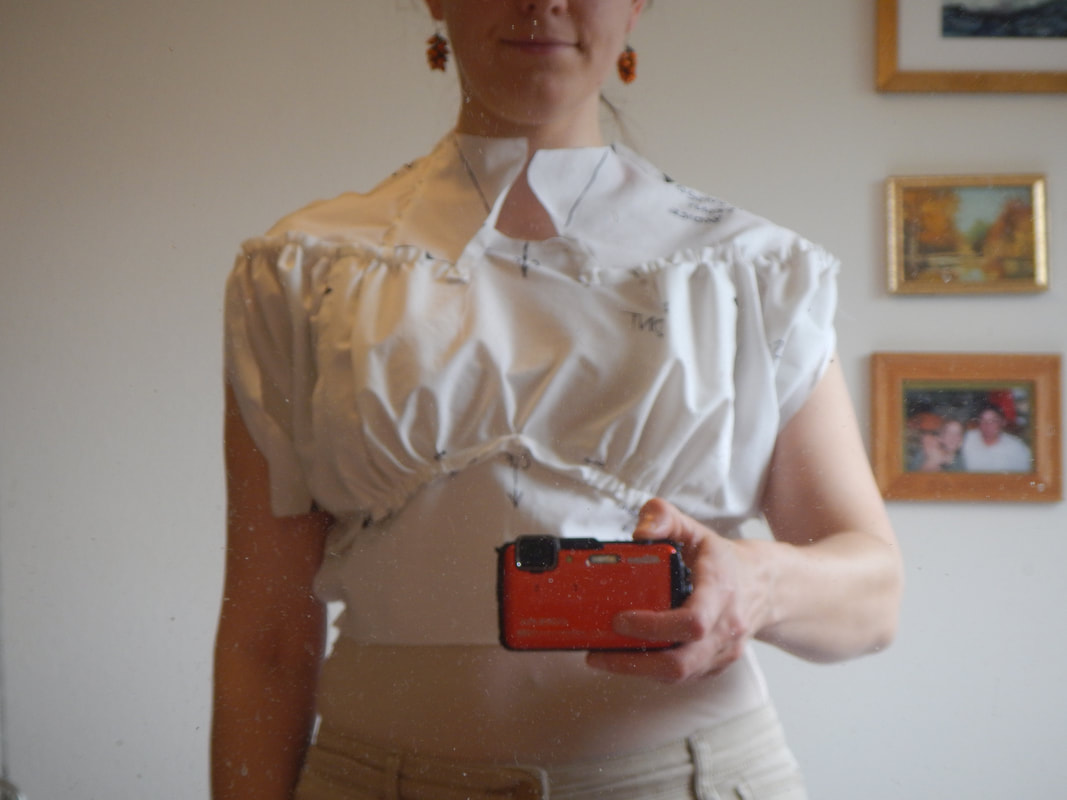
Ready for some awkward mirror pictures? Below is the improvised upper yoke piece, as drafted. From the front, you can see it looks okay, but there are some pull lines from my armpit area up toward my shoulder. There is a problem, however, visible from the side view. The front piece is too big, so the seam slips back over the shoulder, causing a baggy back, and an obstruction in the front when I put my arm forward.
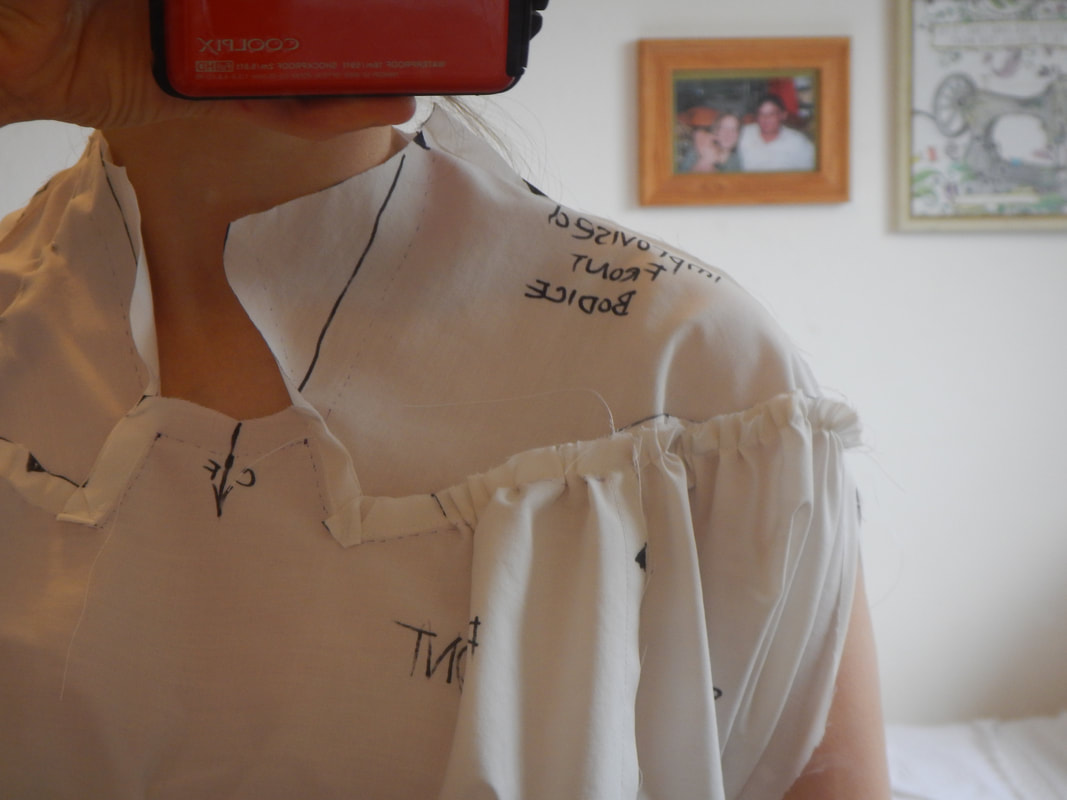
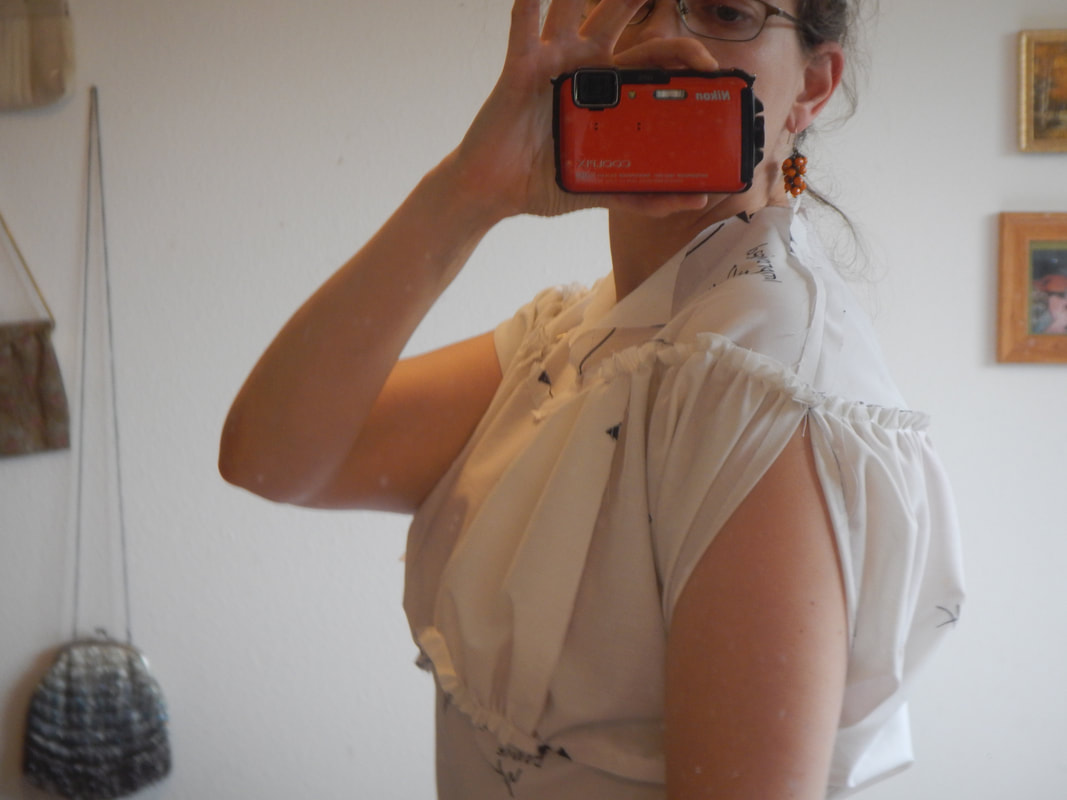
On the other side, I pin a dart from the upper neck seamline down ward, which solves both the problems. See how the side view now shows a straight shoulder seam and the parting of the sleeve halves is vertical, not skewed over my upper arm? Best of all, the dart doesn't impinge upon the front facing or the neck circumference , so I don't have to alter any other pieces.
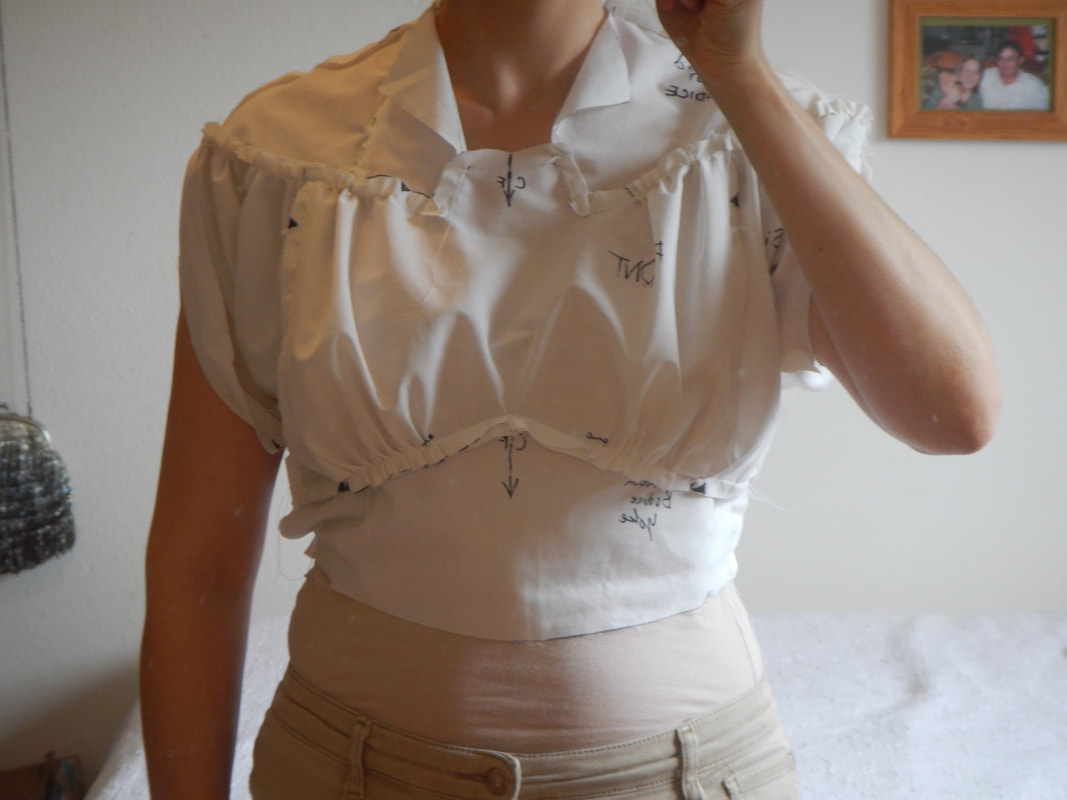
Here's the front view. The seam allowances of the bodice are pressed upward and all seam allowances are on the outside, which makes the the yoke look smaller than it really is. The proportions of the actual yoke are right.
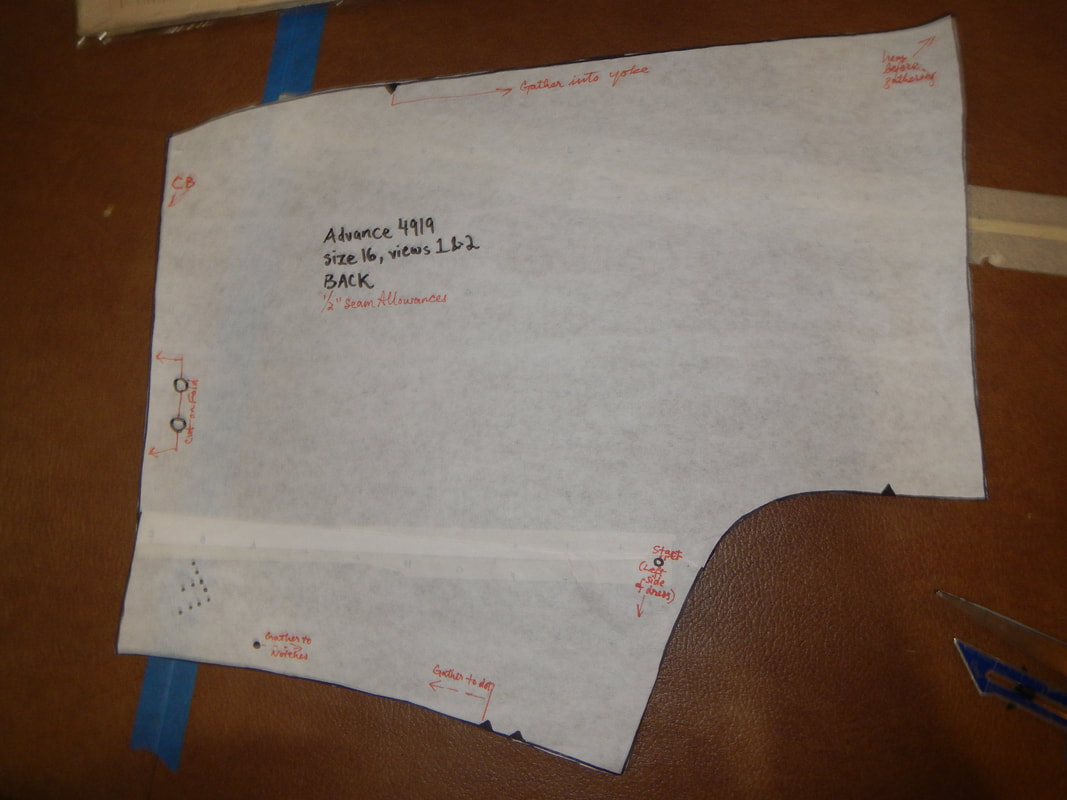
The other alteration I did was a swayback adjustment, removing a triangle of fabric from the baggy back to make it look more trim. It's funny: I don't think I have a swayback... maybe this particular pattern just had a ton of unneeded ease in that area. 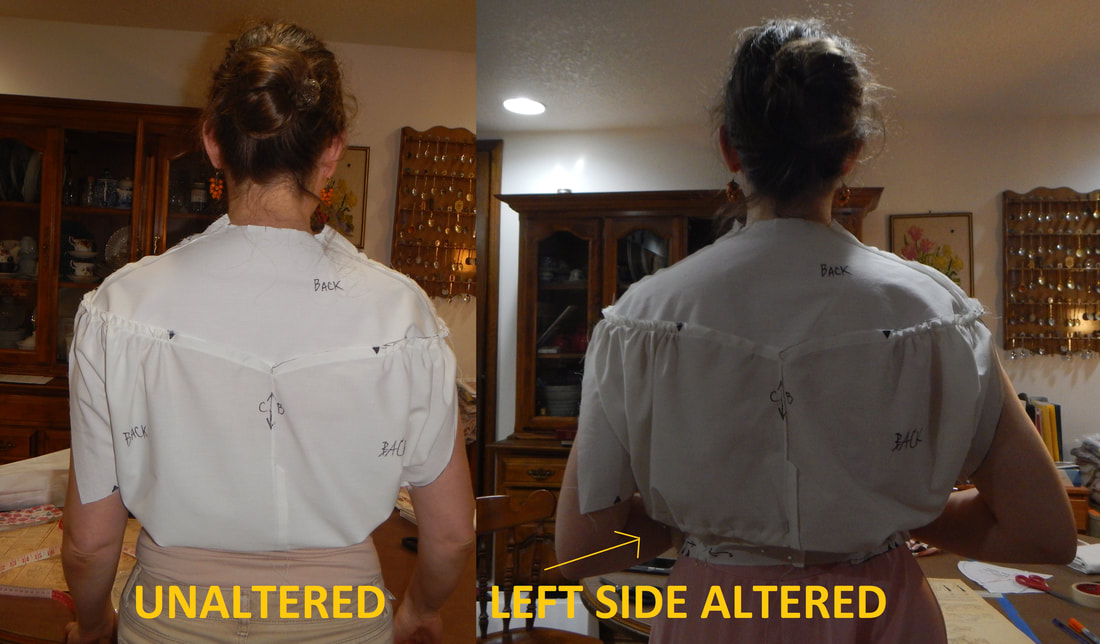 The bag will still be loose, but not a shapeless sack! Again, looking at the toile, I wonder if I should re-distribute the gathers to be closer to the center line. It really looks very broad like this. Maybe it'll look better in the printed microfiber? I'll experiment. Below are the two altered pieces, after the changes are transferred to the paper:
The last thing that I do is measure the front waistline of the muslin and the back waistline of the skirt (the pieces without gathering), add them together, and get the waist circumference: 16.0" across the bottom front of the bodice + 13.5" across the top back of the skirt 29.5" waist circumference. My waistline is more comfortably 30 inches, so I think I'll simply add a half inch to the CB when I'm cutting. Then I can gather the back bodice a little less when putting them together. Easy-peasy. Now that I have a working pattern, it is time to sew it!
1 Comment
The Sister
7/29/2019 08:08:53 pm
I like the side view with the seam allowances appearing like ruffles on your shoulder, and the two drapes of fabric down each side like parted curtains. You should make a top like that! Leave a Reply. |
Karen Roy
Quilting, dressmaking, and history plied with the needle... Sites I EnjoyThe Quilt Index Categories
All
Archives
March 2024
|

 RSS Feed