|
The task is three-fold:
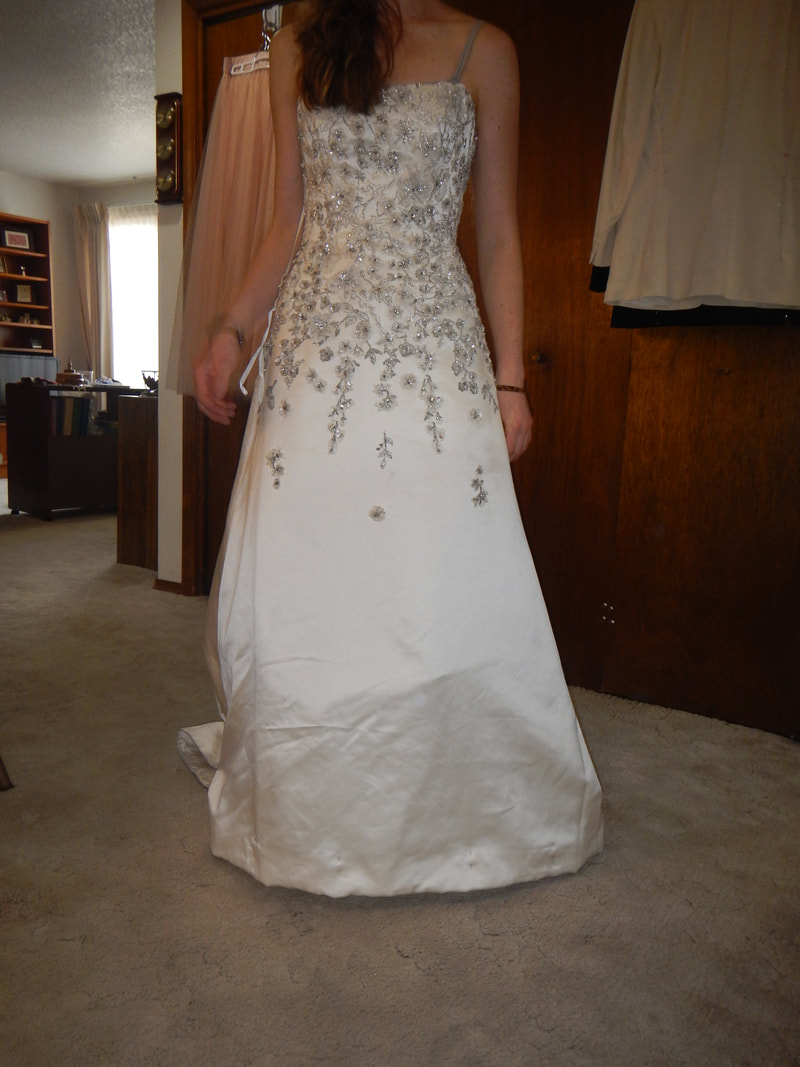
FIRST FITTING
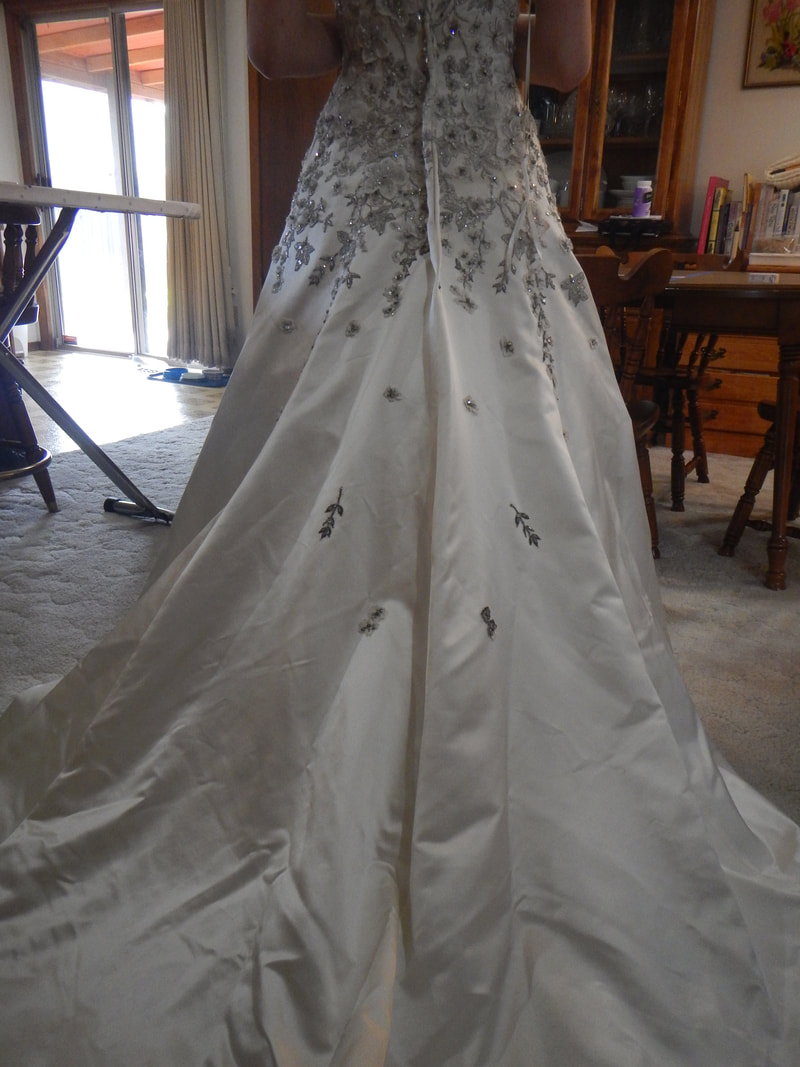
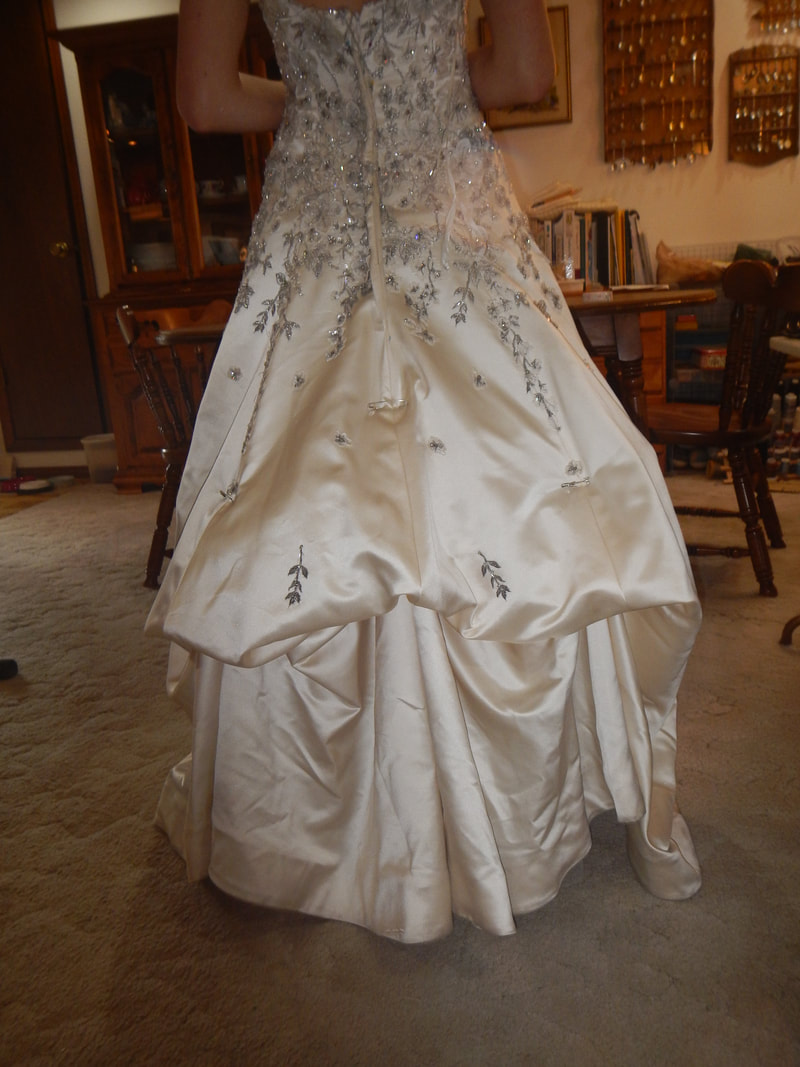
I also pin up the hem so she can walk. Because the dress is second hand, there's a lot of ingrained dirt in the hem, which I'll be glad to cut off! To keep the proportions of the dress, I'll hem the train as well. The next consideration is bustling the train. I experimentally pin up a French bustle, to see if that's the right kind of bustle for this dress. It is, but dang, I do an ugly job on my first try, huh? Now that I look at the picture, I think what I need to do is make the two side points higher, and pull them closer to the center, so the French bustle shape is more bulbous. However, I can't be sure of the bustle points until I have hemmed the skirt, so I'll get another shot at it! But first, the other alterations.
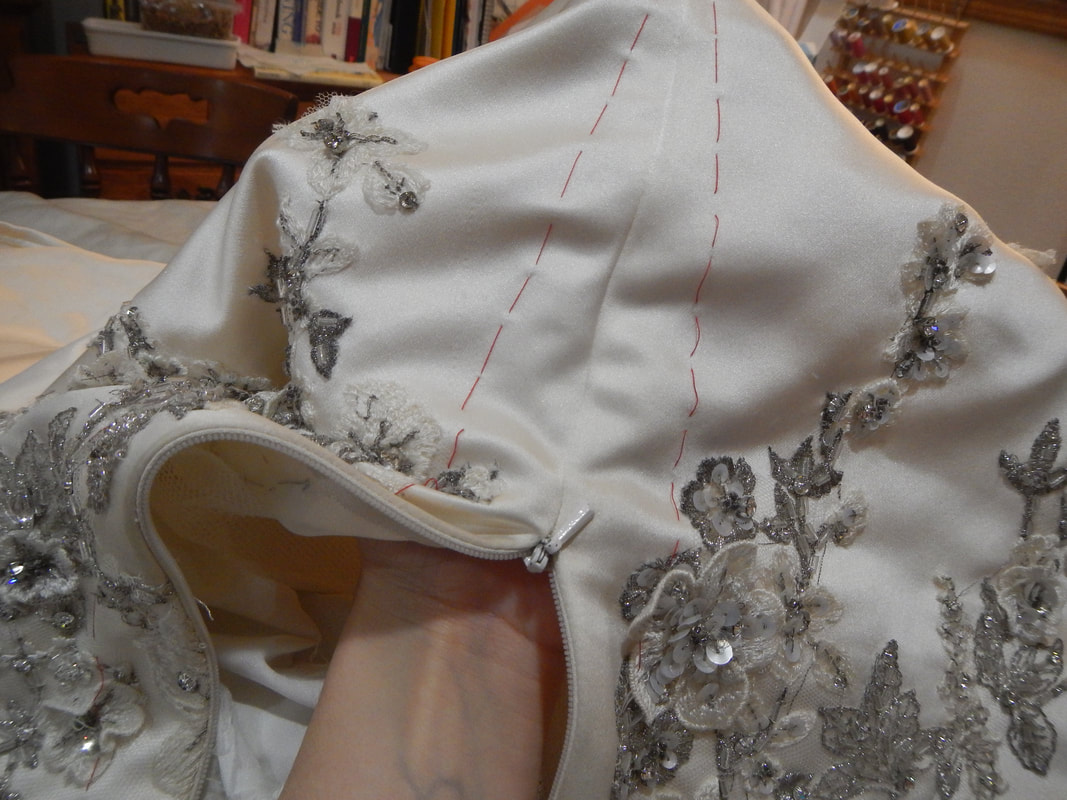
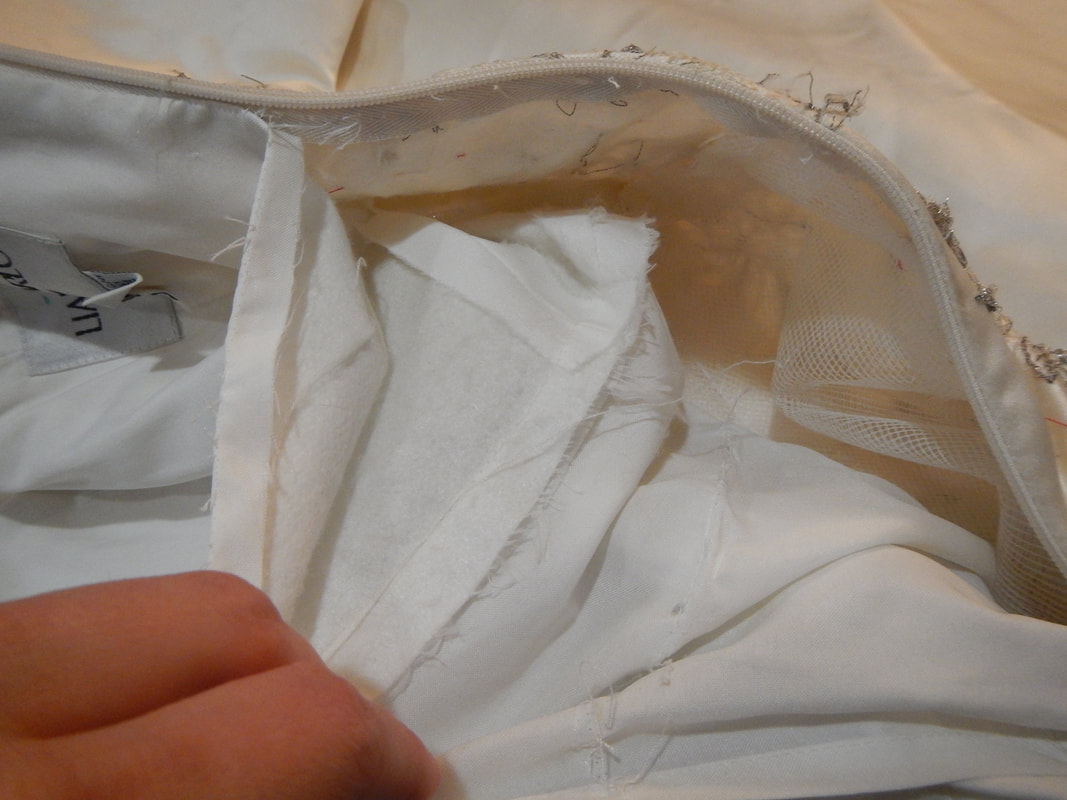
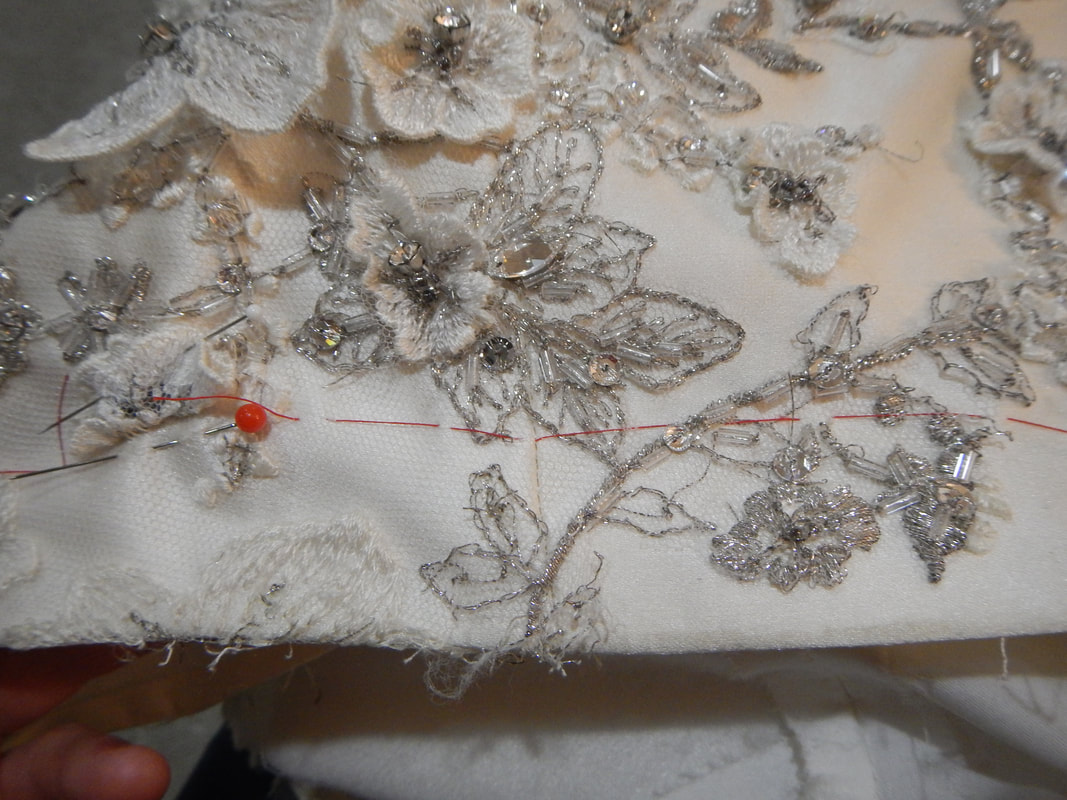
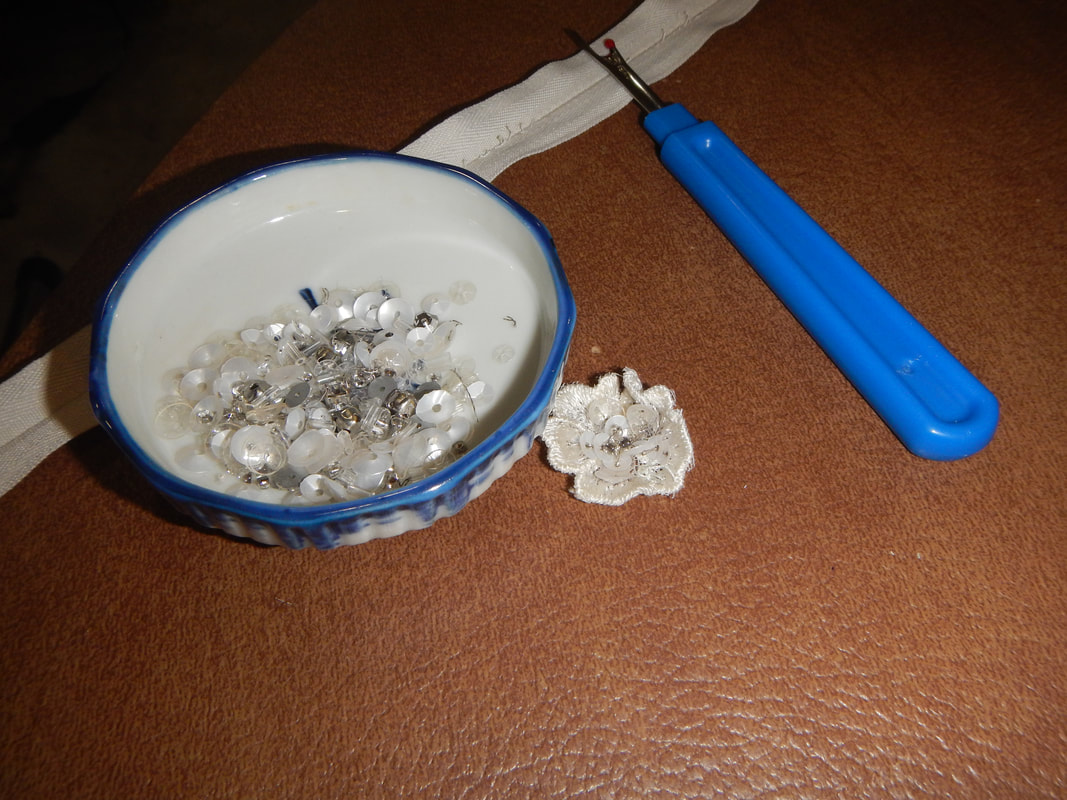
MOVING A ZIPPER Moving the zipper takes me an evening. 7:40-9: removing zipper, removing beading, moving appliqued motif. 9:30 -11: basting new zipper on, sewing it in place, re-sewing the bodice lining in place, and securing loose beads.
"Splitting the difference" Despite my best attempts to pinch and pin neatly during the fitting, the red thread tracing isn't perfectly centered around the Center Back line. Once the zipper is out and the beading removed, I carefully fold the back pieces right sides together as they need to be sewn, and I poke pins up through the red tracing on one side, then turn and look at the other side, comparing its red thread tracing with the line of pins from the red tracing opposite it. They do not match. Which one should I follow? The answer is to draw a pencil line down the middle between the red thread tracing I can see and the pin points telling me where the other red tracing is.
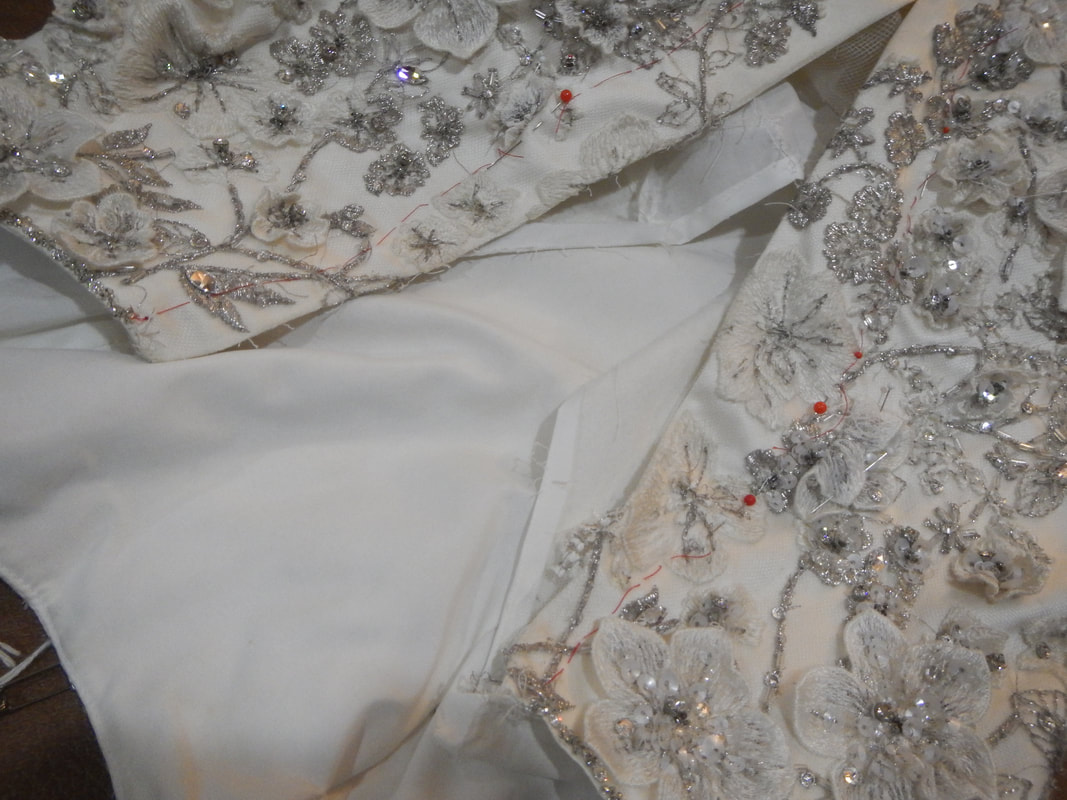
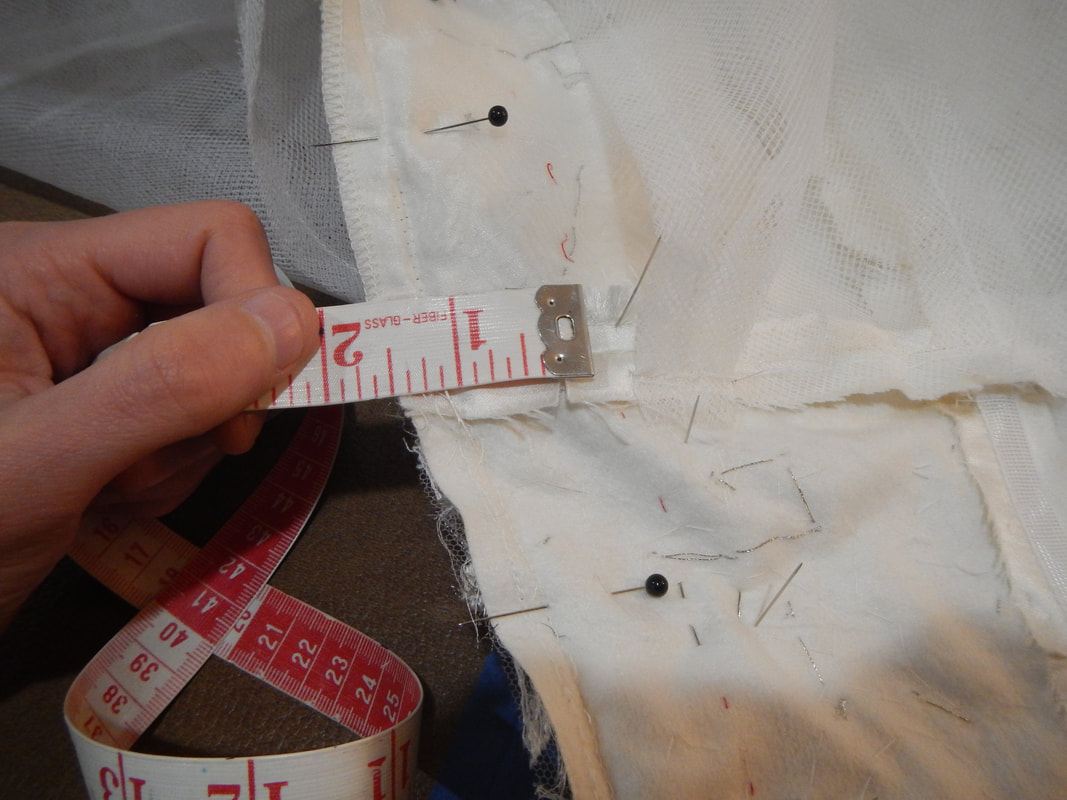
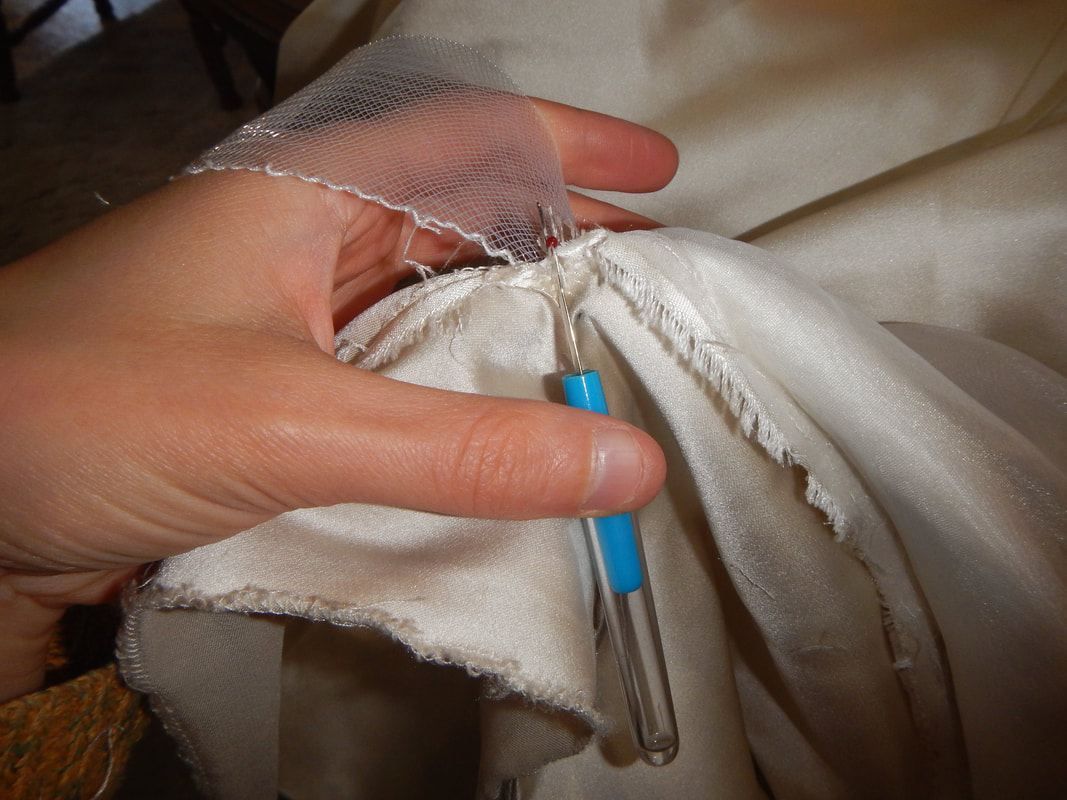
To confirm that this is the right method, I do a quick test. At the waist seam, I measure the distance from thread tracing to the edge of the seam allowance on both sides: 1.5" + 2" = 3.5" Then I draw my "splitting the difference" pencil line between the two points. Now I'm taking 1.75 off of each side: 1.75" + 1.75" = 3.5" See? I'm brilliant. ;) HEMMINGYet another horsehair braid (HH braid) sewn into a hem. The original hem has several lines of stitching: the HH braid is stitched to the skirt, then the edge serged into the skirt (for no good reason!), then the whole thing faced with satin, then turned and topstitched. So much unnecessary stitching to pick out!
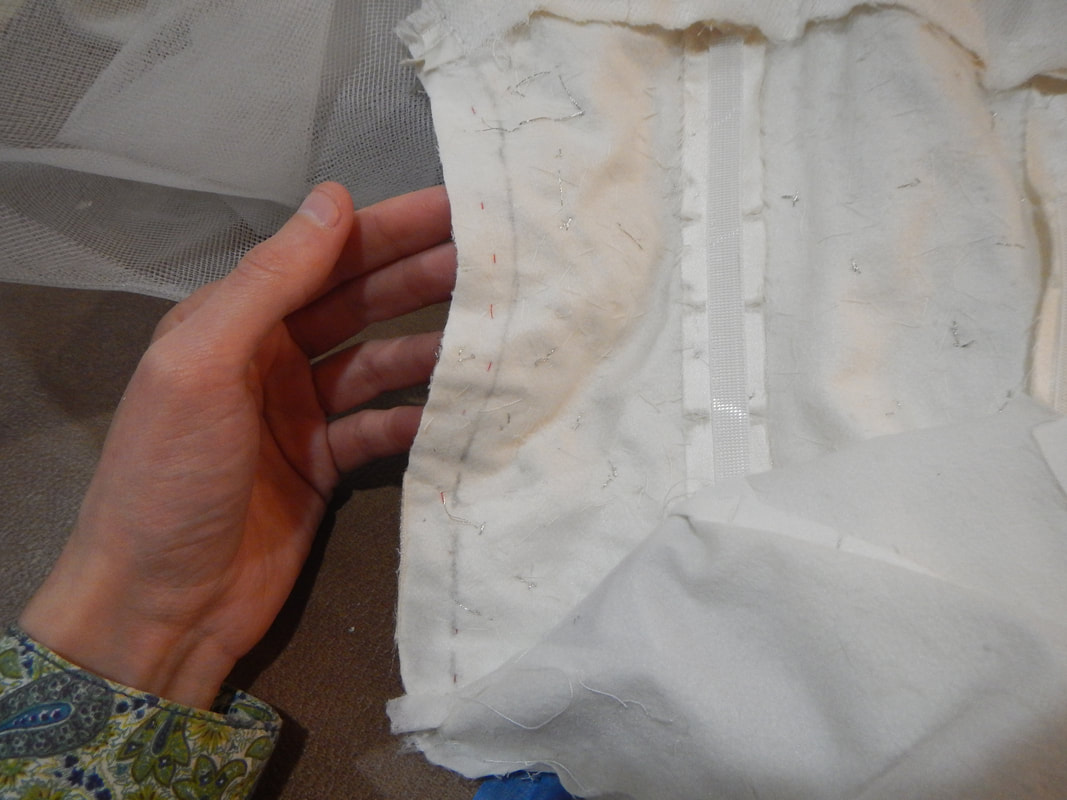
To move the hem up, more math is required... 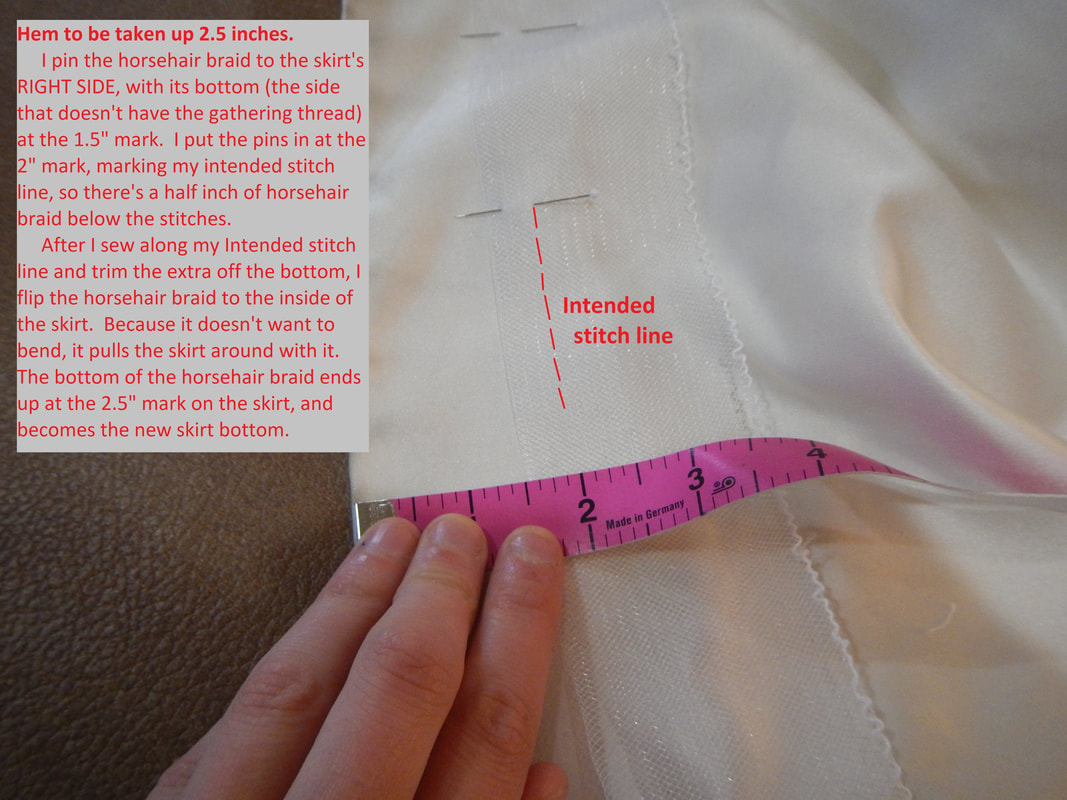 Here's the first line of stitching, the HH braid sewn to the outside of the skirt bottom: 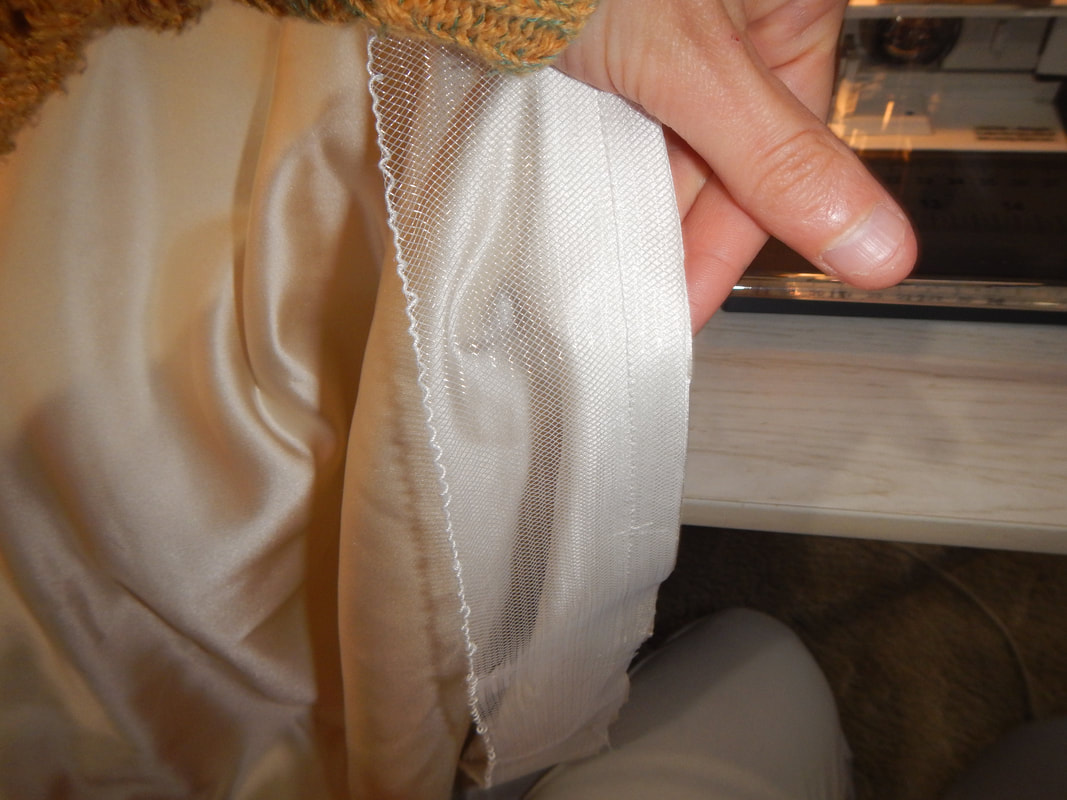 Here I've turned the HH braid down, and top-stitched the satin of the skirt to hold it in place. So far, I've only done two lines of stitching through the HH braid. 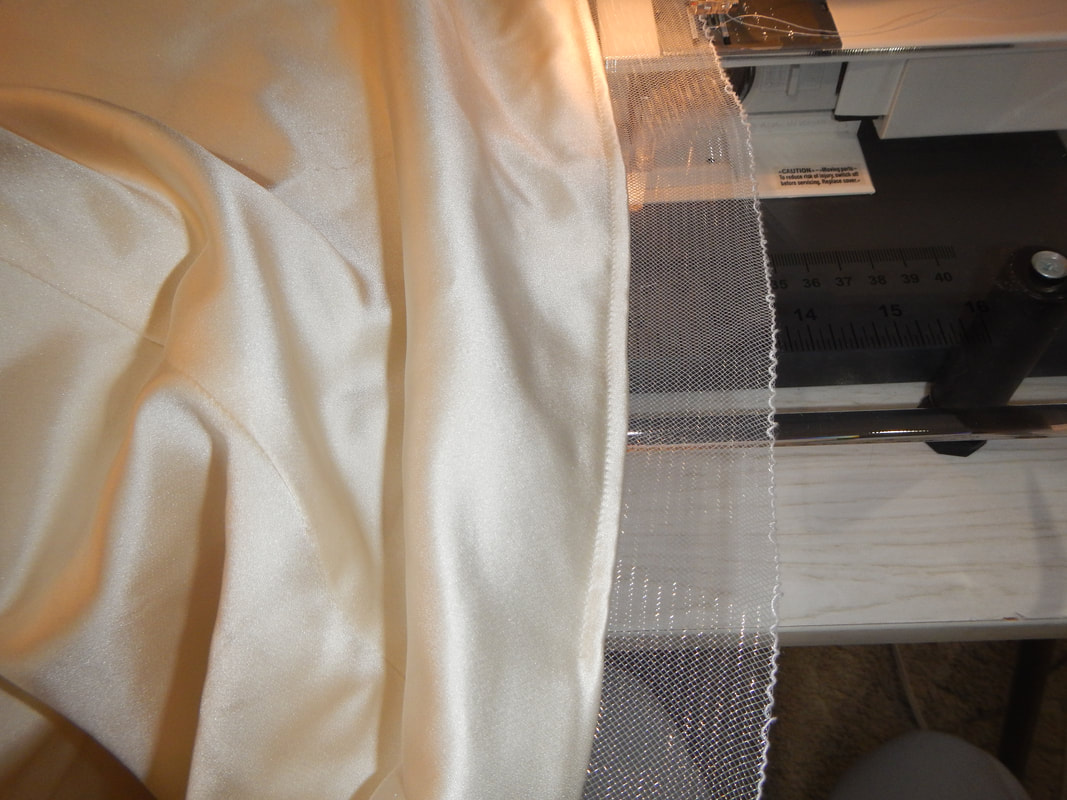 I turn the HH braid up into the skirt, and pull the gathering stitches at the top of it to help ease it around the tight turn of the train. I push it snugly downward into the bottom fold and pin it in place. 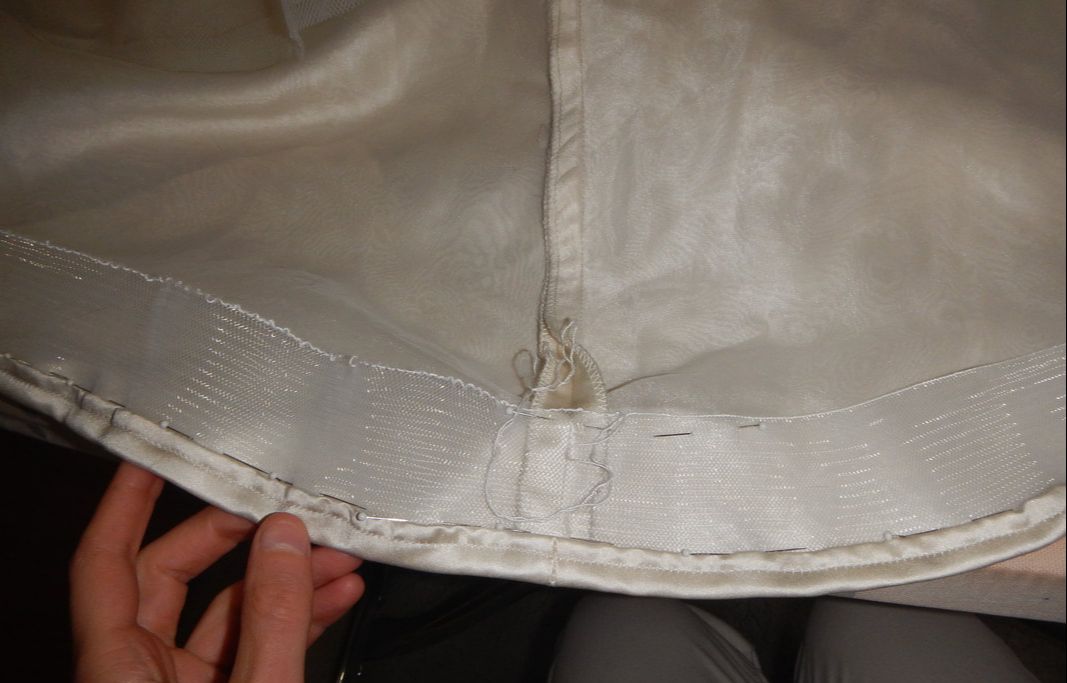 The gathering stitches on the left have not been pulled yet; the ones on the right have been.
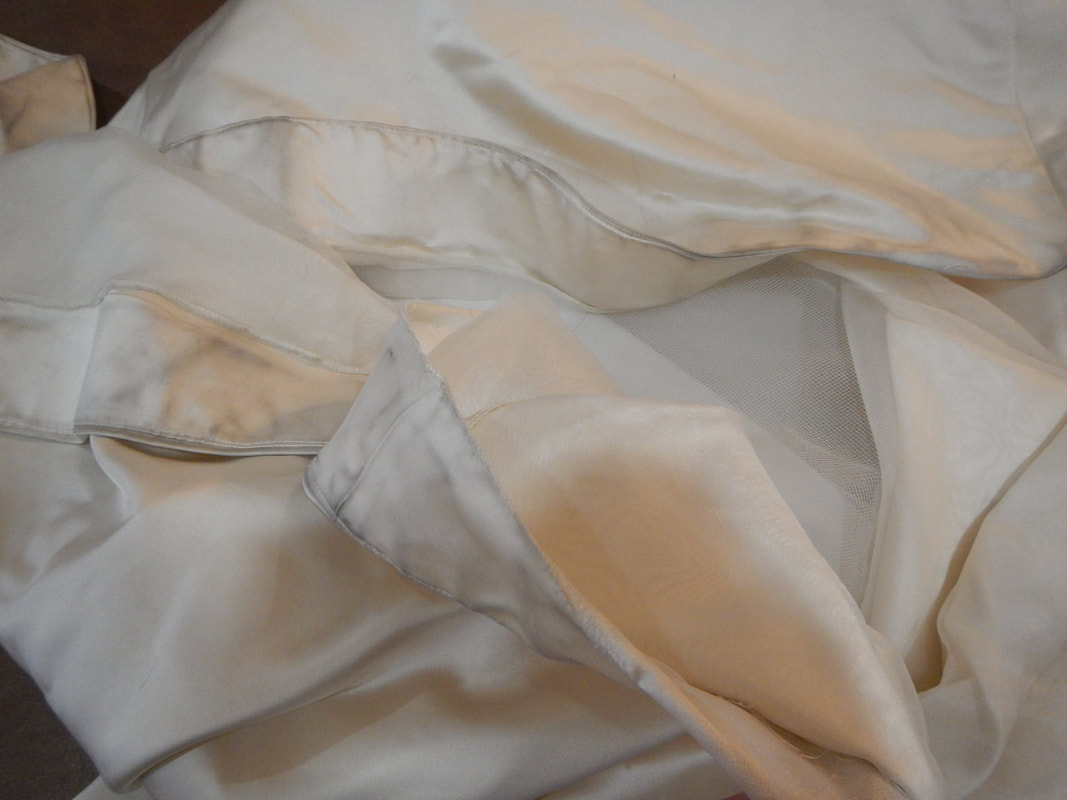
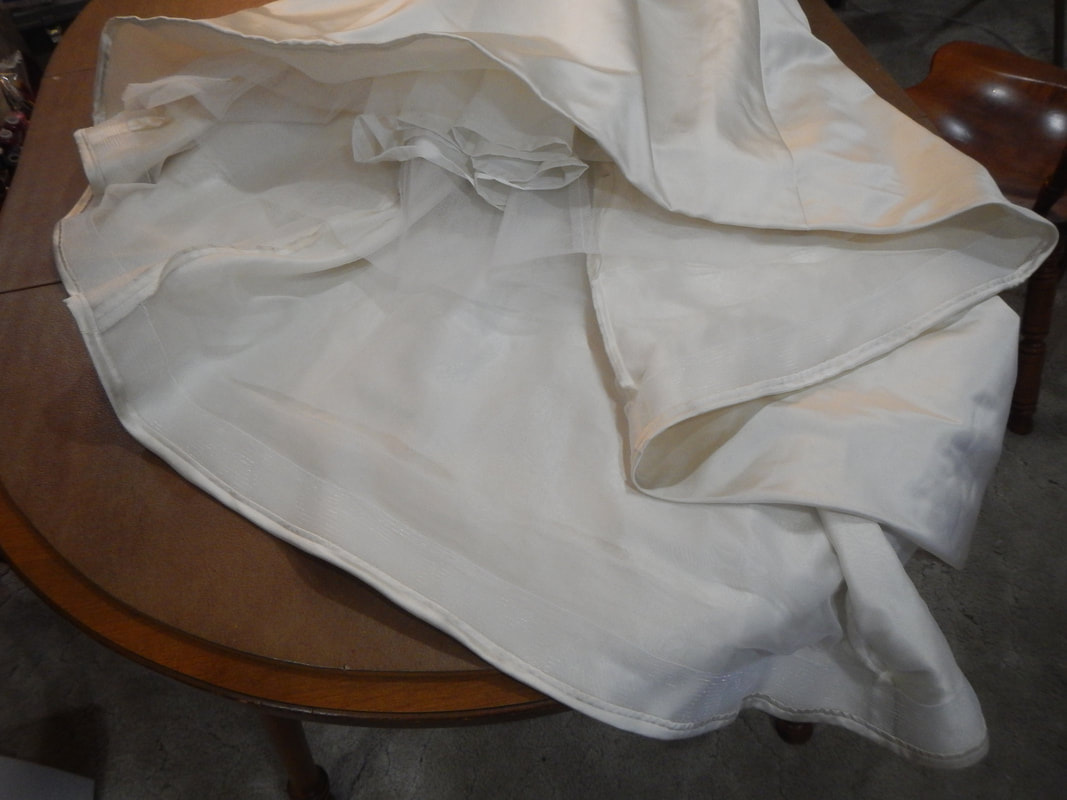
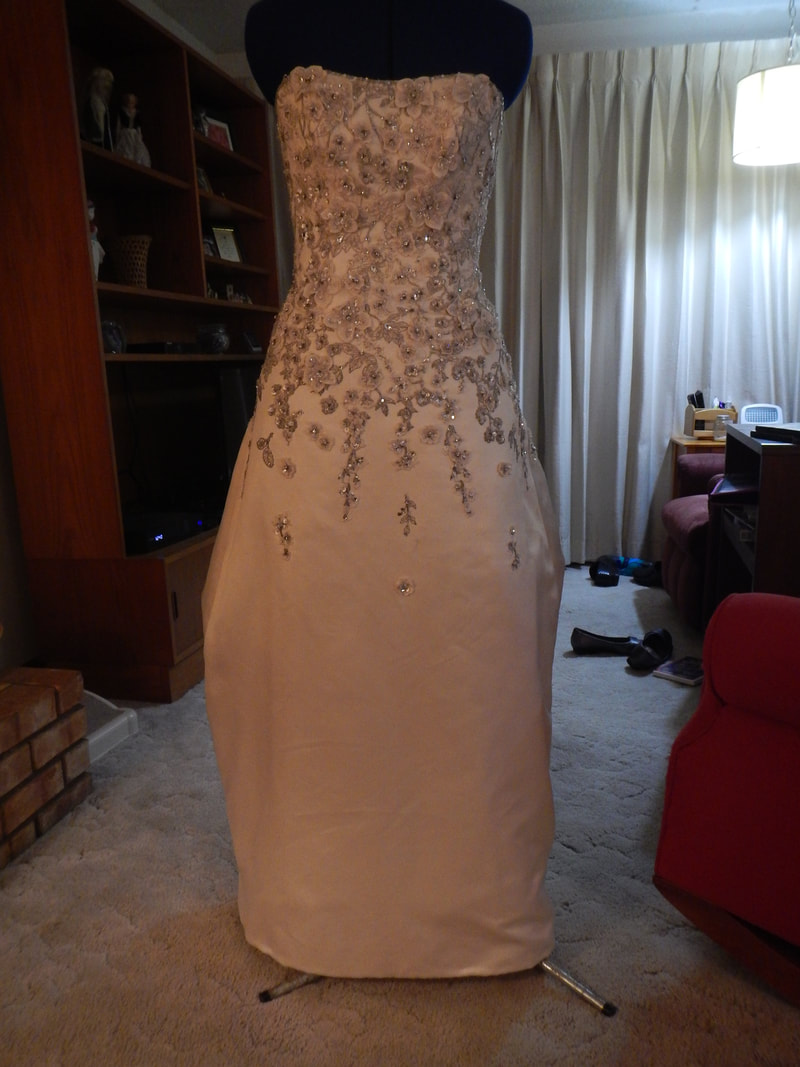
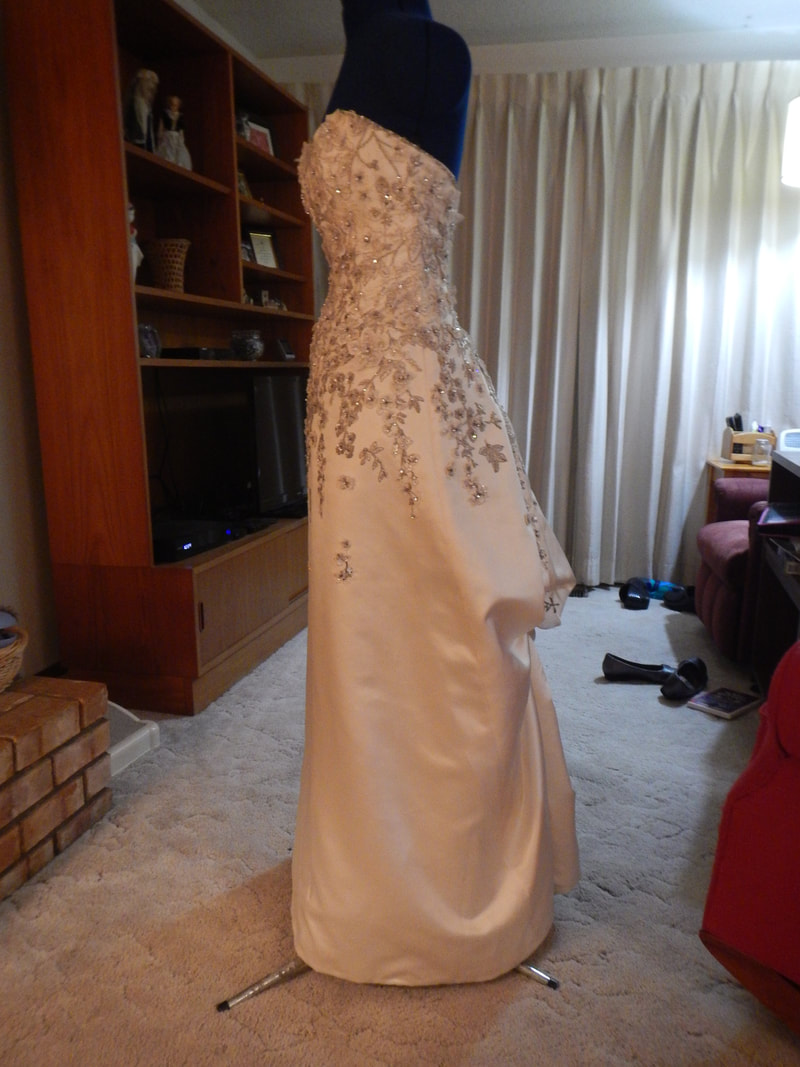
The finished pictures below show the finished hem and how it doesn't show on the outside. In the right-hand picture, I pull the HH braid away from the skirt so it balloons outward, and you can see that no stitches go through the outer silk layer.  My only regret about this hem is that I can't do a really thorough steam pressing like I want to. The dress has some spots and needs dry-cleaning before the wedding, and I don't want to press the stains in and make them permanent. Instead, I press lightly only where needed to shape the hem, and advise the bride to have it done properly by a dry-cleaner. BUSTLING I already posted about the bustling (a separate post just for the bridesmaids), so look there to see how I did it and how the bridesmaids can adjust it on the wedding day. For this post, suffice it to say that the final bustle looks much better than the pinned version from the fitting! FINISHEDAt the second fitting, the bride finds the new length right and the bustle comprehensible. The bodice is a little tighter than expected, but she doesn't object because the dress is strapless and she really doesn't want to be yanking it up all the time. I, however, do wonder why it ended up tighter than expected. Was it because of a problem in my marking or a change in her body? We're talking about a half-inch, perhaps, of tightness, so it could well be a natural fluctuation in her body. Next time I do this, I will have to be extra careful to mark and measure precisely.
2 Comments
The Roommate
6/7/2018 08:33:22 am
Thank you for featuring Pretty Kitty! She's always so helpful any time we want to make sure fabric doesn't escape!
The Sister
6/11/2018 12:37:27 pm
What a lovely gown! I hope she has a beautiful wedding day! Leave a Reply. |
Karen Roy
Quilting, dressmaking, and history plied with the needle... Sites I EnjoyThe Quilt Index Categories
All
Archives
March 2024
|

 RSS Feed