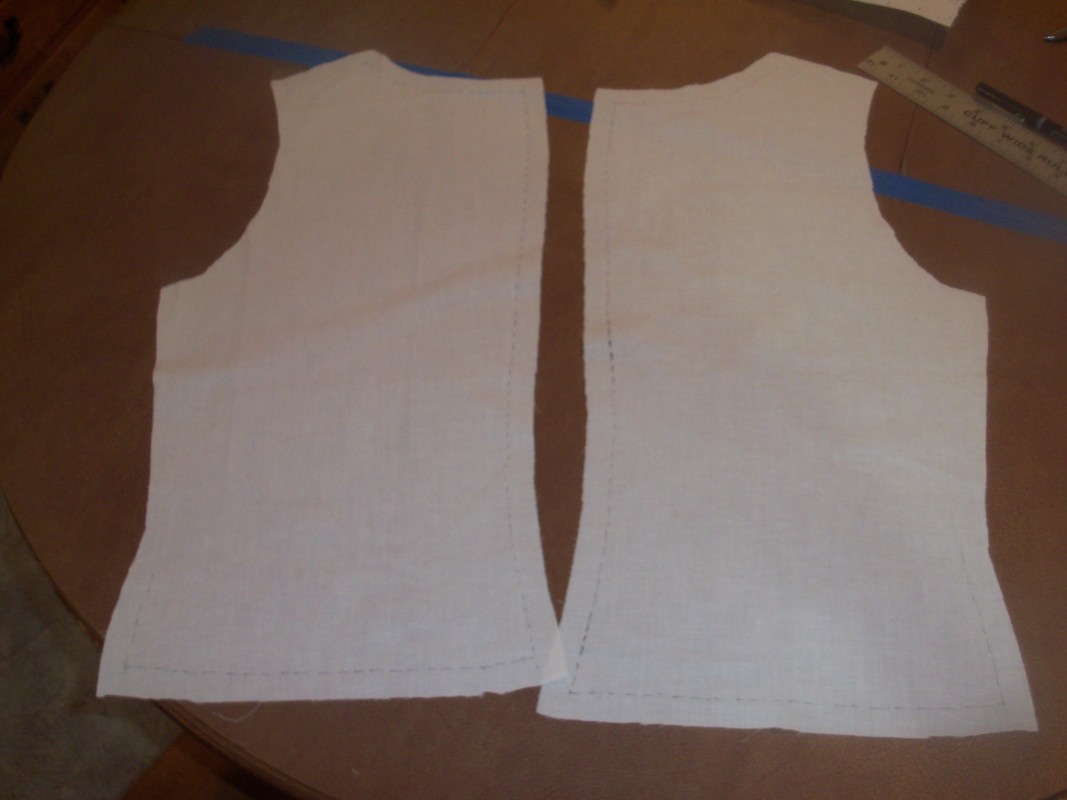
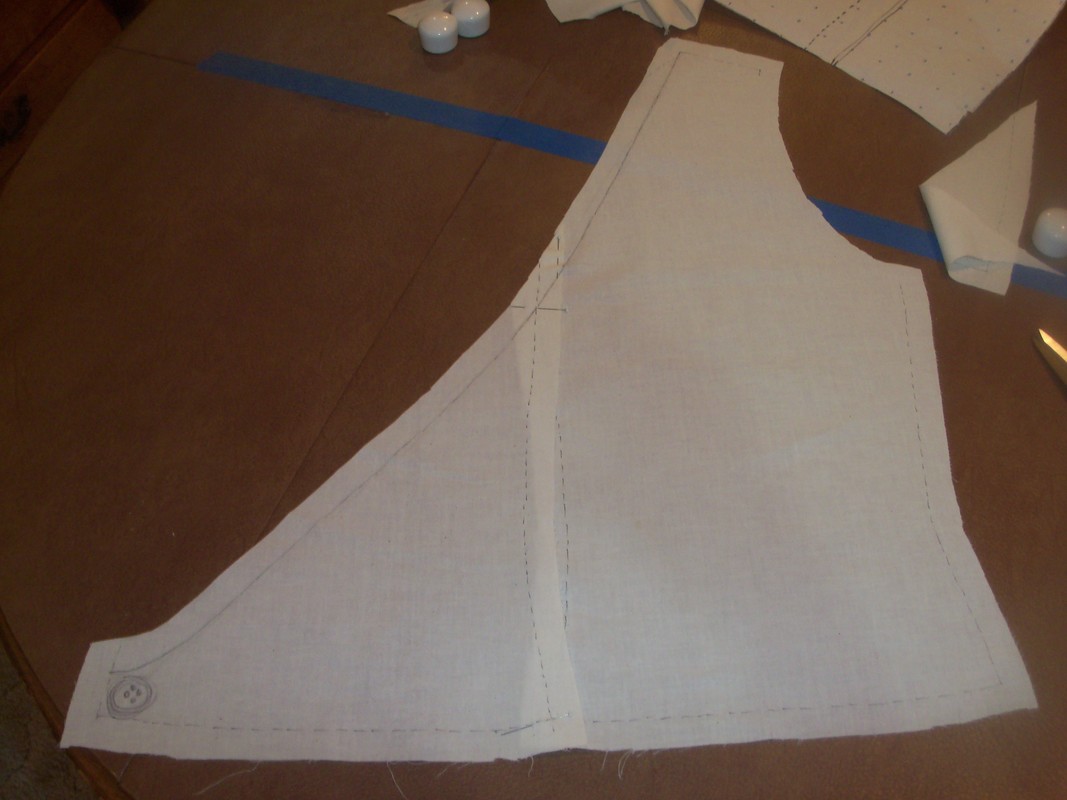
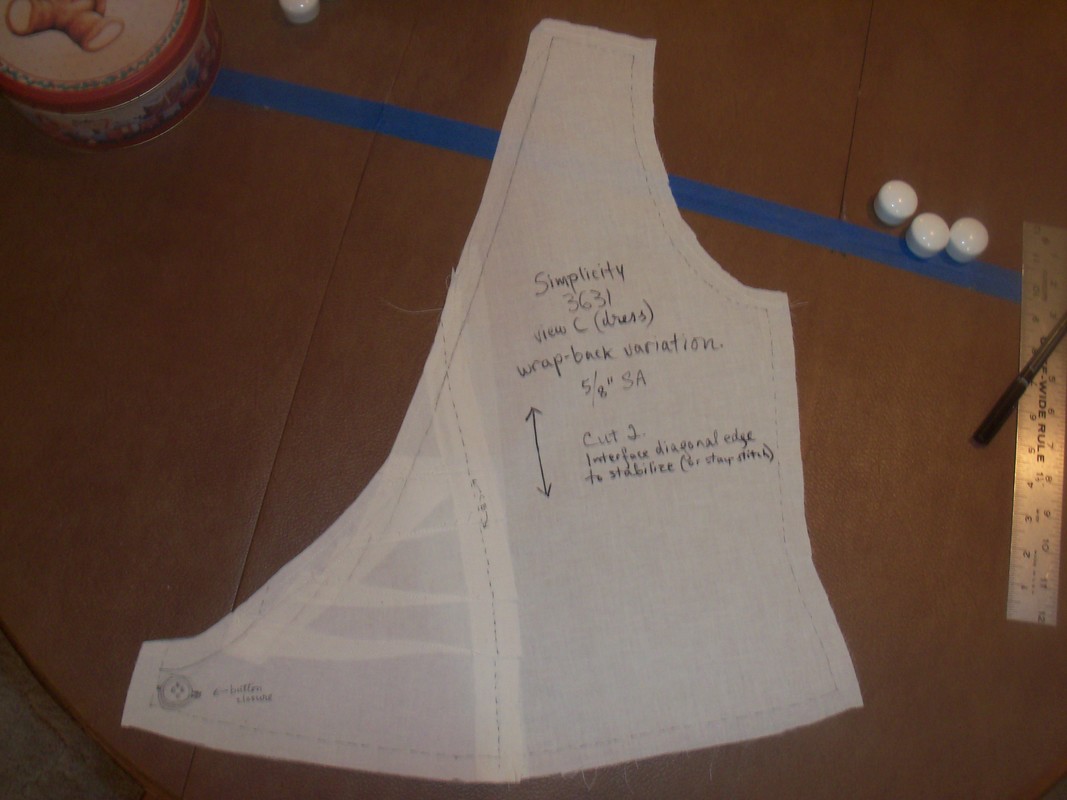
The whole thing started in a vintage shop dressing room, with an interesting wrap dress that closed with an overlap in the back, not the front. The back, consequently, had a v-neck. Alas, it was a dreadful khaki color and too small for me, so I didn't like it; but I liked the idea of it, and came home to try my own version, using (yet again) Simplicity 3631's bodice. PATTERN WORK First I cut the bodice pieces in muslin, and add a triangular extension to the back piece to make it cross the body and reach the opposite hip.
So when I am done, the front bodice piece is unchanged, but the back is this funky shaped thing. I cut two, and plan on putting buttons on the underlapping one, and buttonholes on the overlapping one. I interface the front neckline and the diagonal cuts at the back, 'cause I've learned my lesson! 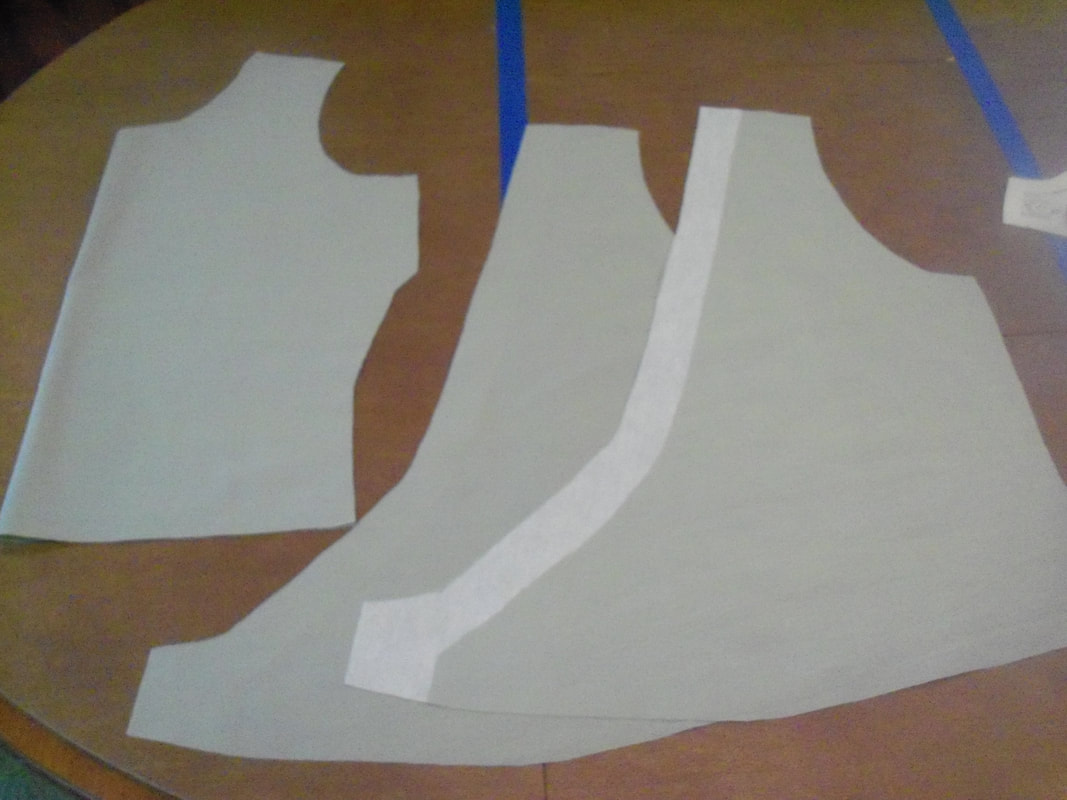 APPLIQUÉ
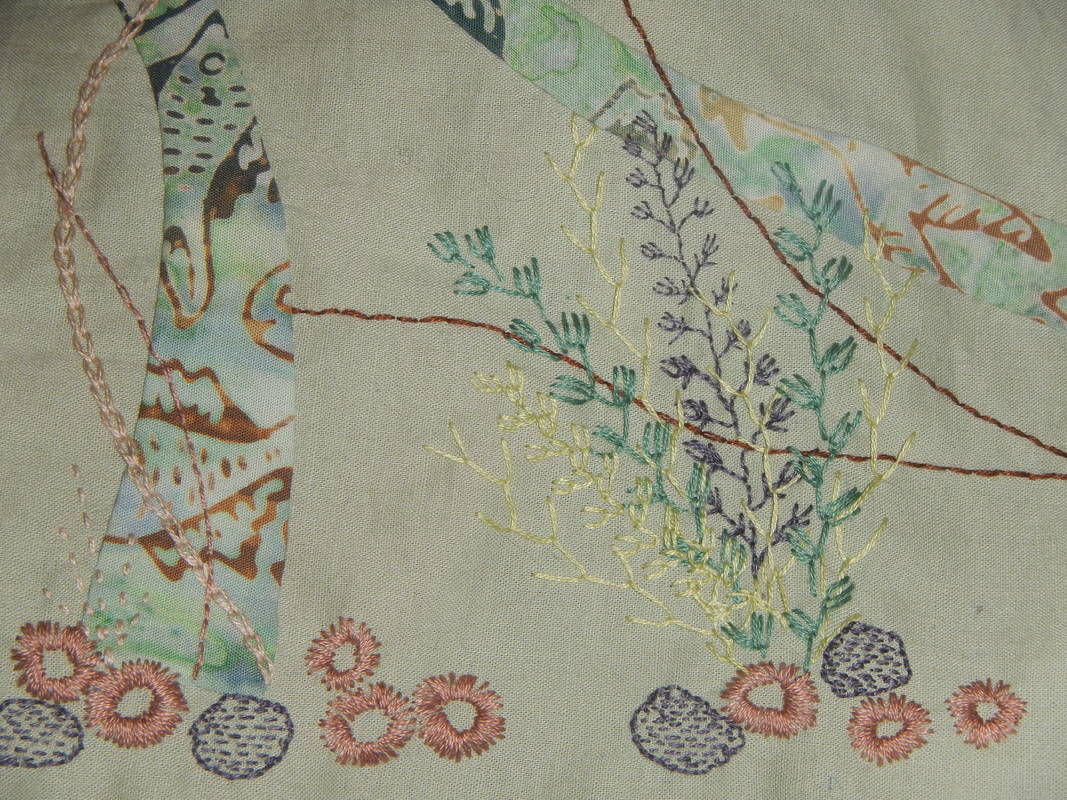
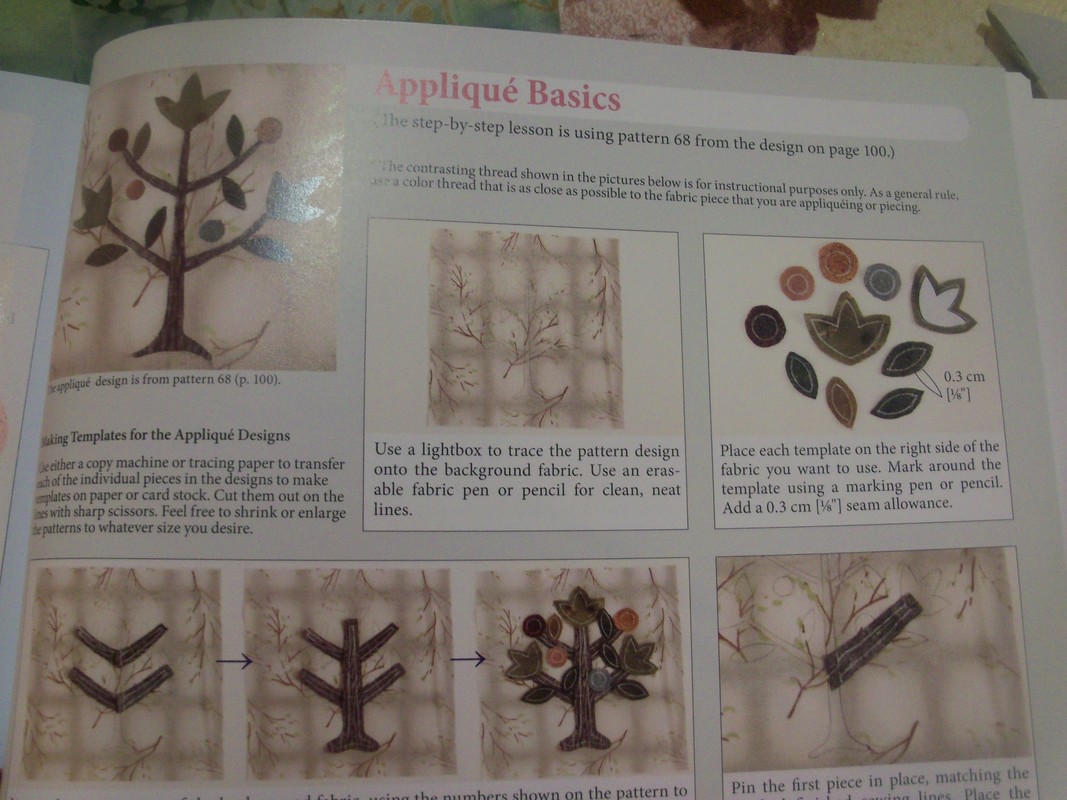
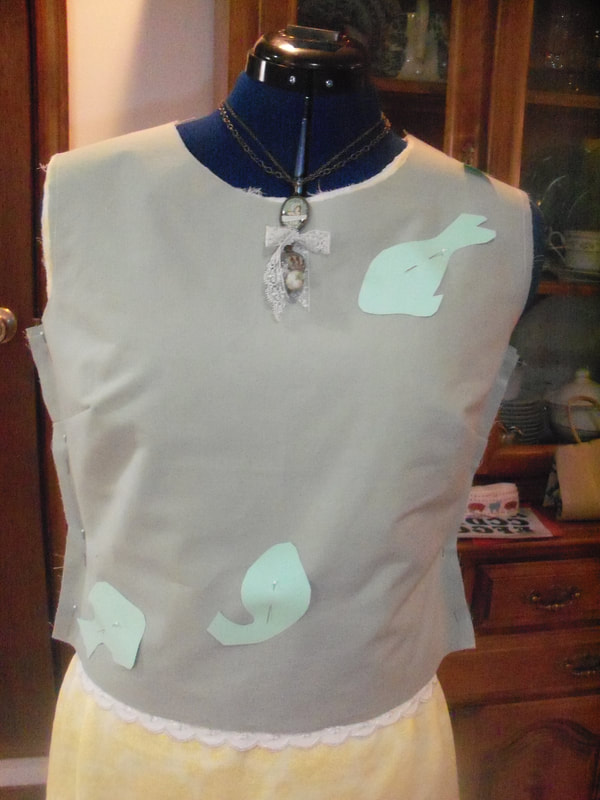
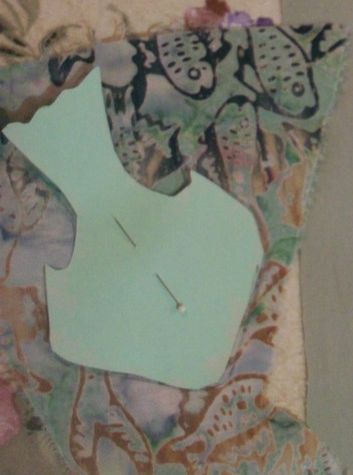
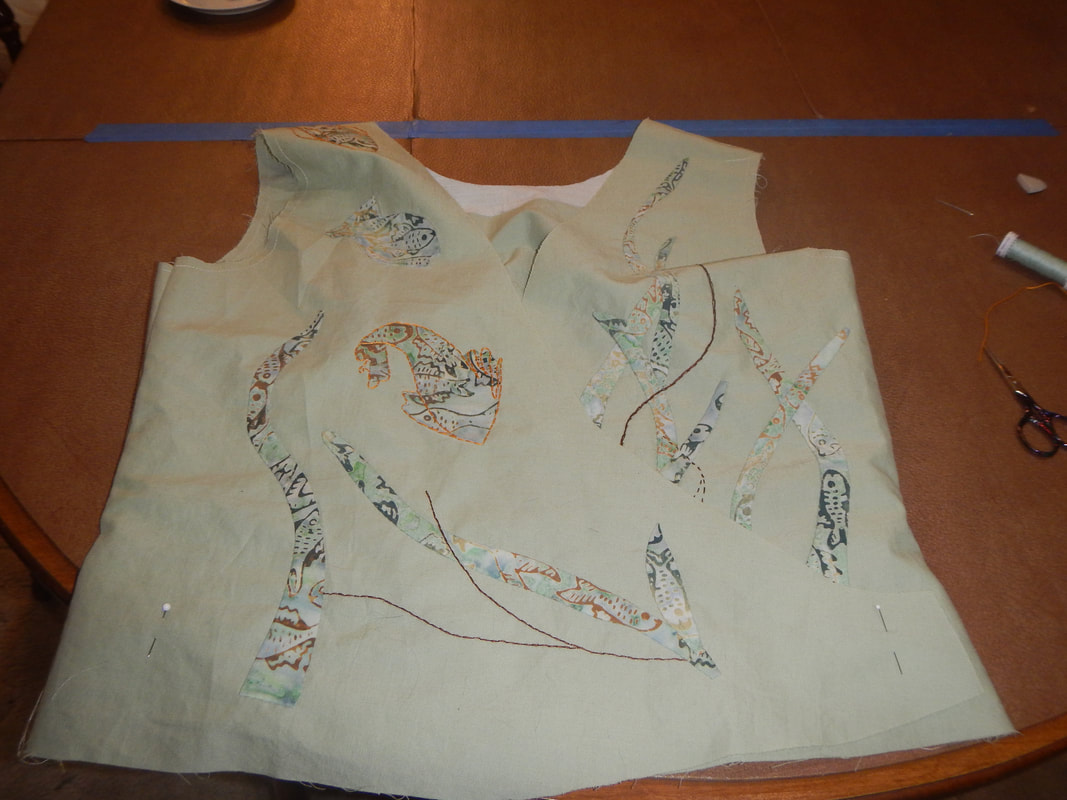
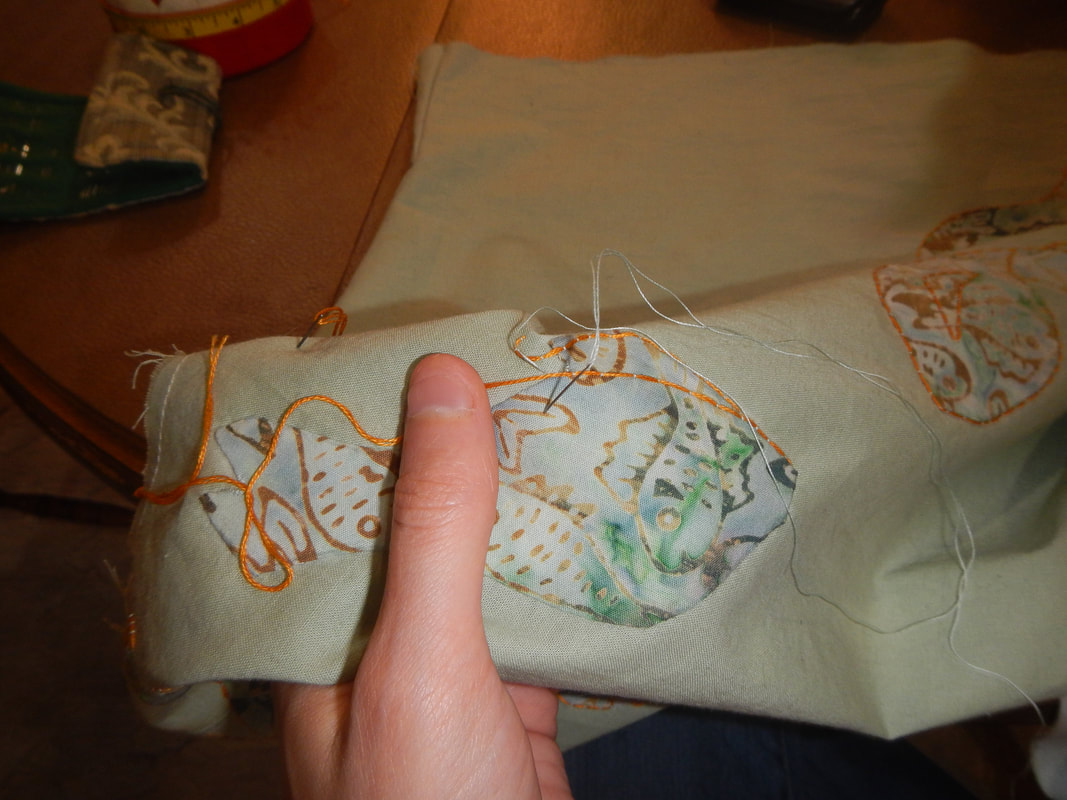
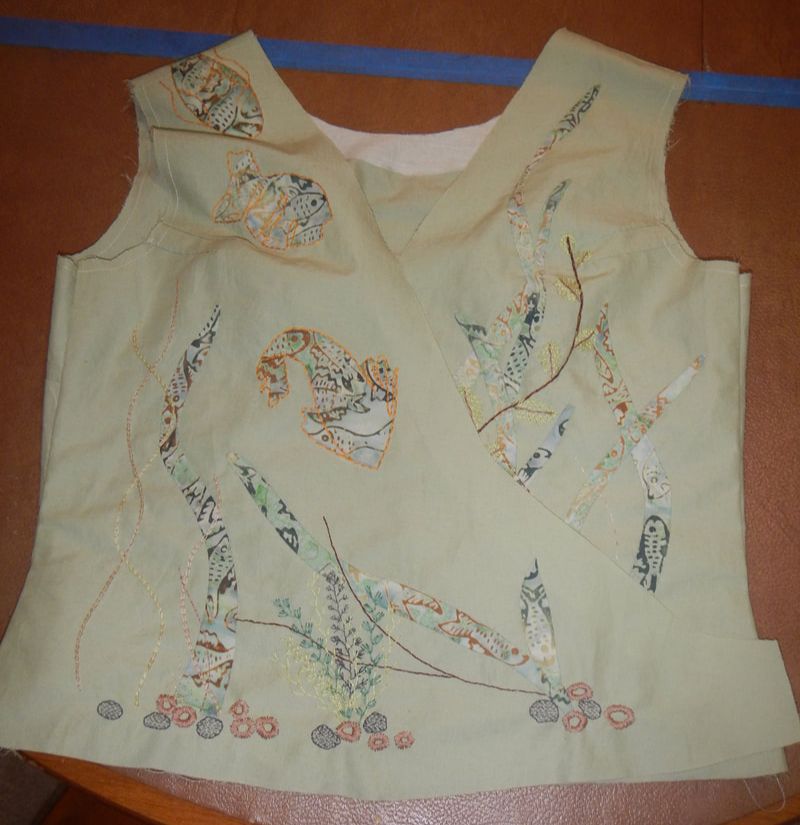
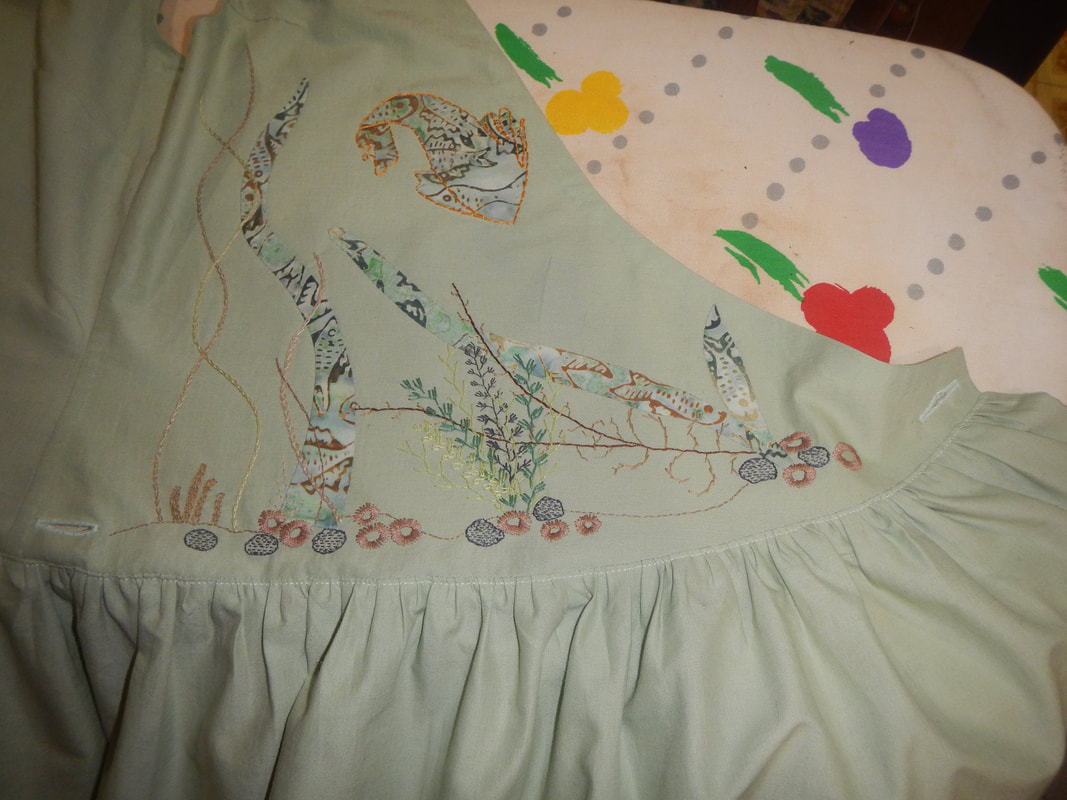
For the shape of the fish, I draw fluid fishy shapes that are not too precise or identifiable. Below, the results of my doodling. The greenish paper is the pattern for the appliqué, and the black sharpie lines are how I might embroider on top of the appliqué to make it more artsy. 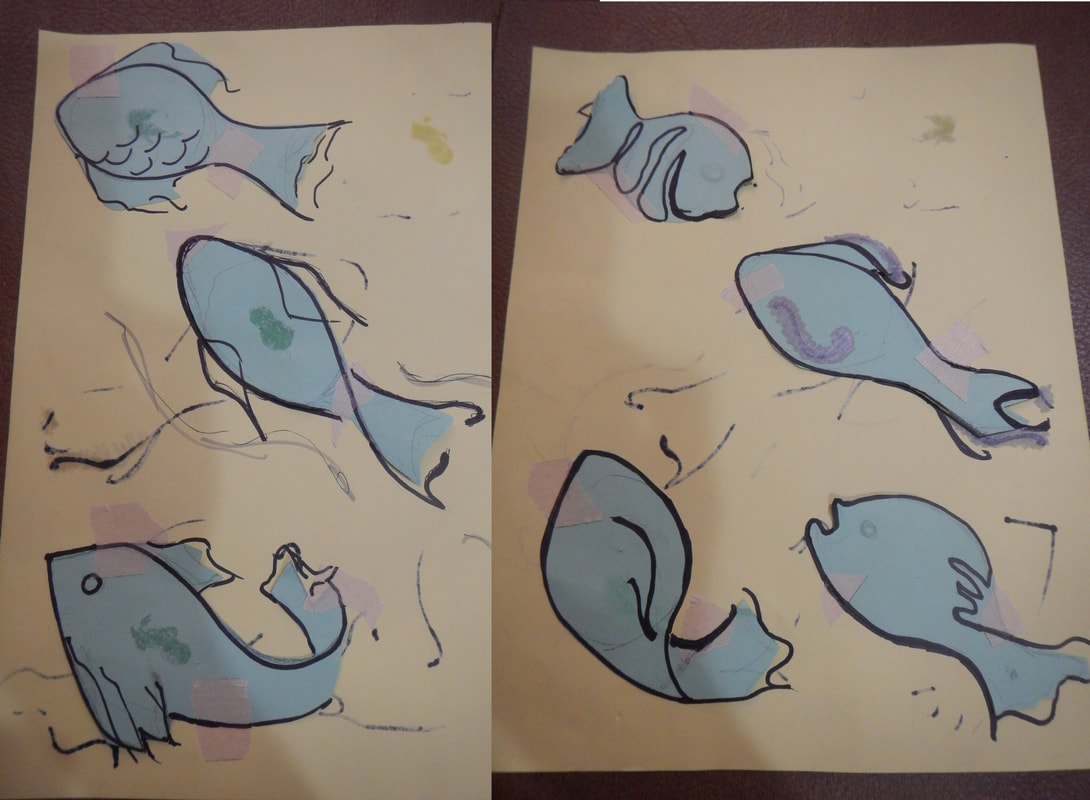 Fish appliqué ideas I position the fish on the dress front as if they are a sash, swimming up from hip to shoulder (except for one, who turns to look at my necklace because fish like shiny things), then over the shoulder and down the back overlap, into a bunch of seaweed.
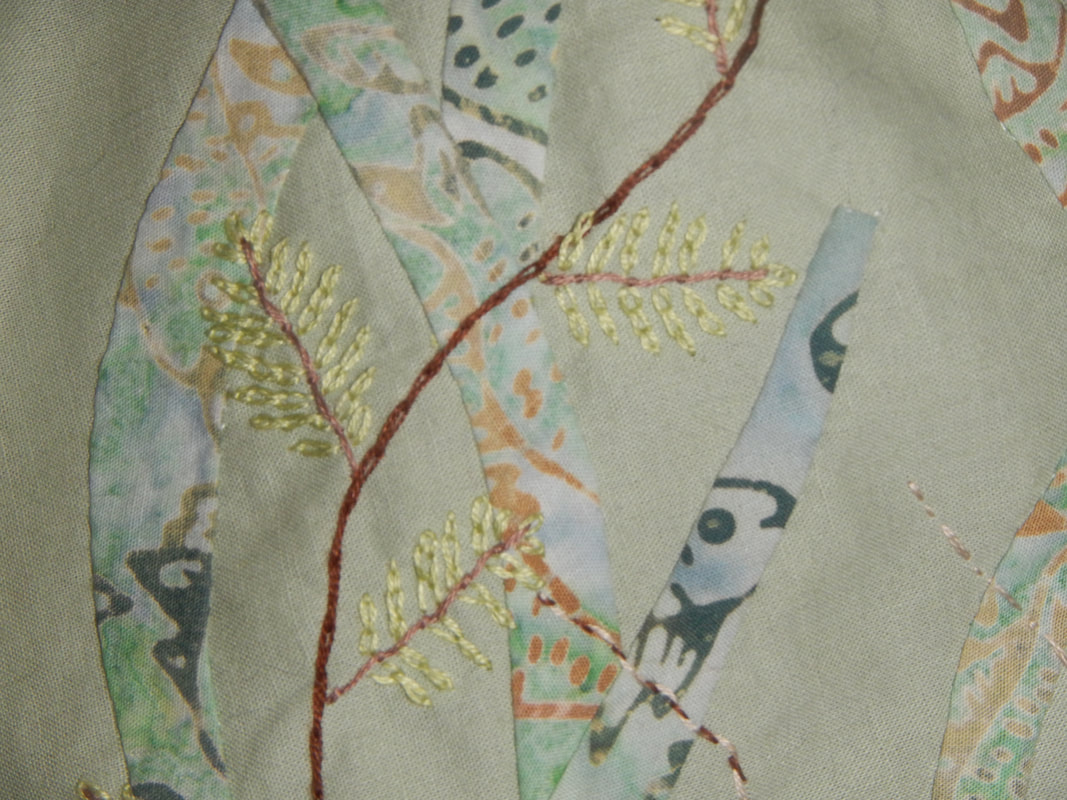
Since the colors are all so watery, I think the fish need extra definition. So once they are appliquéd, I outline and detail them with gold embroidery floss, simply couched down.
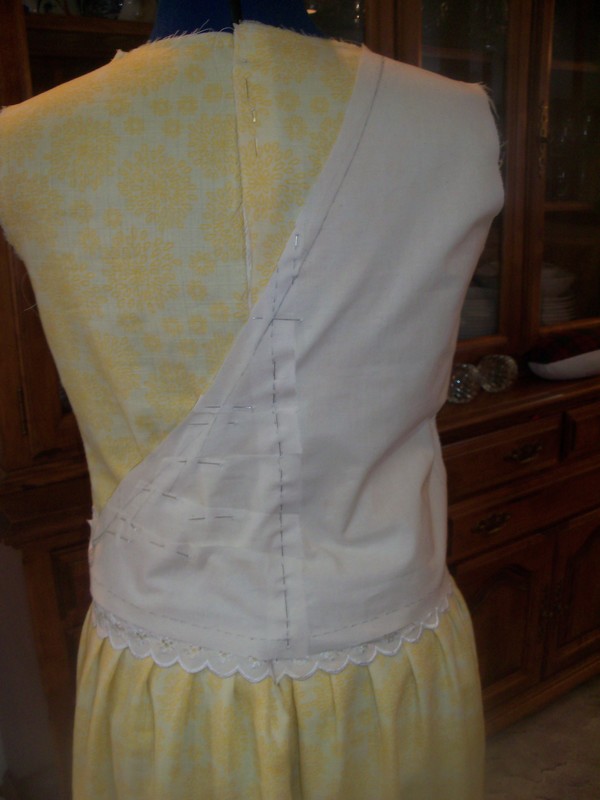
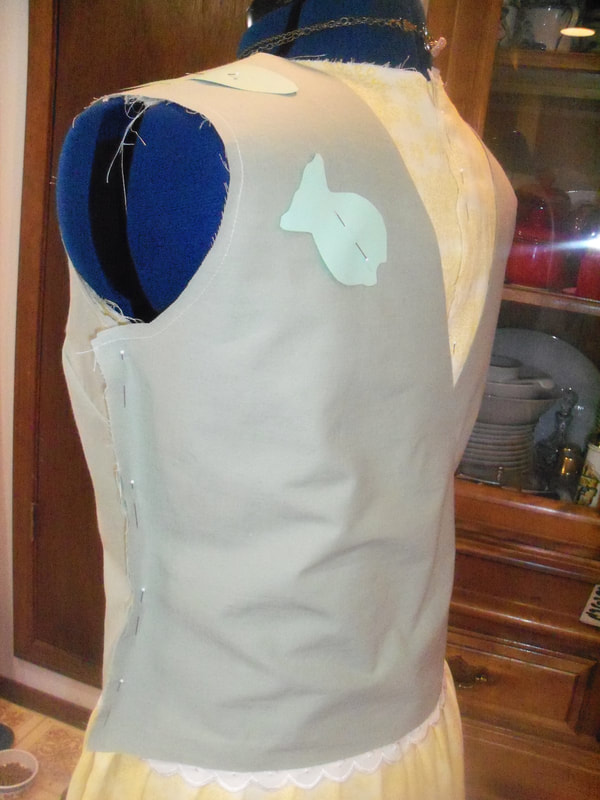
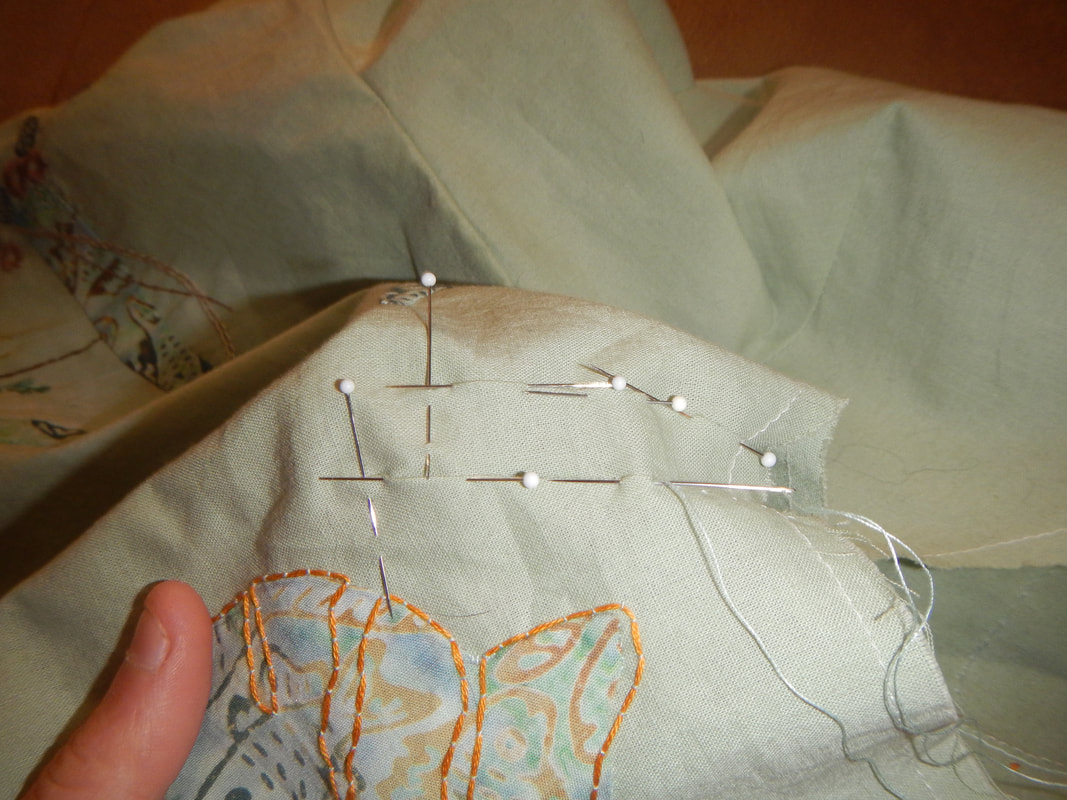
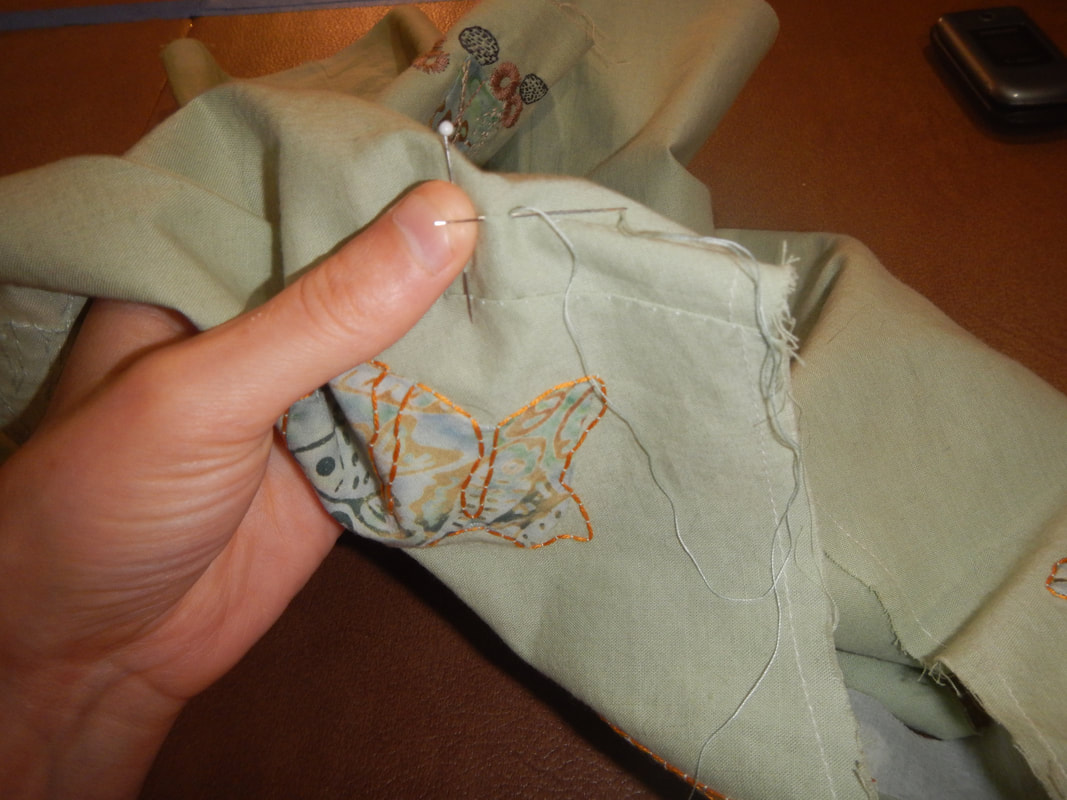
SLIGHT FIT-CHANGE Now let's talk about structure and engineering. Again, I press my mad MS Paint skills into service: 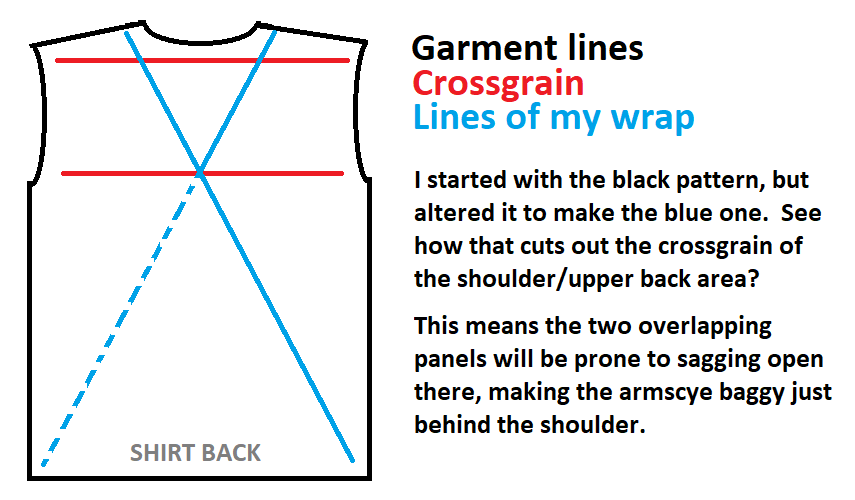 I try the bodice on, pinning the bottom edges of the back to the hips, as they'll be buttoned at the end, and take some terrible pictures of myself in the mirror to show what the gaping armscye looks like. Then I pin tiny darts to curve the armscye in around the back of my shoulder, which closes up the armscye a bit and makes the back more fitted. I figure that's the place to start; later, when the dress is done, if it still wants to fall open I can add a snap or hook-and-eye to hold the panels in place about the level of my bra band. 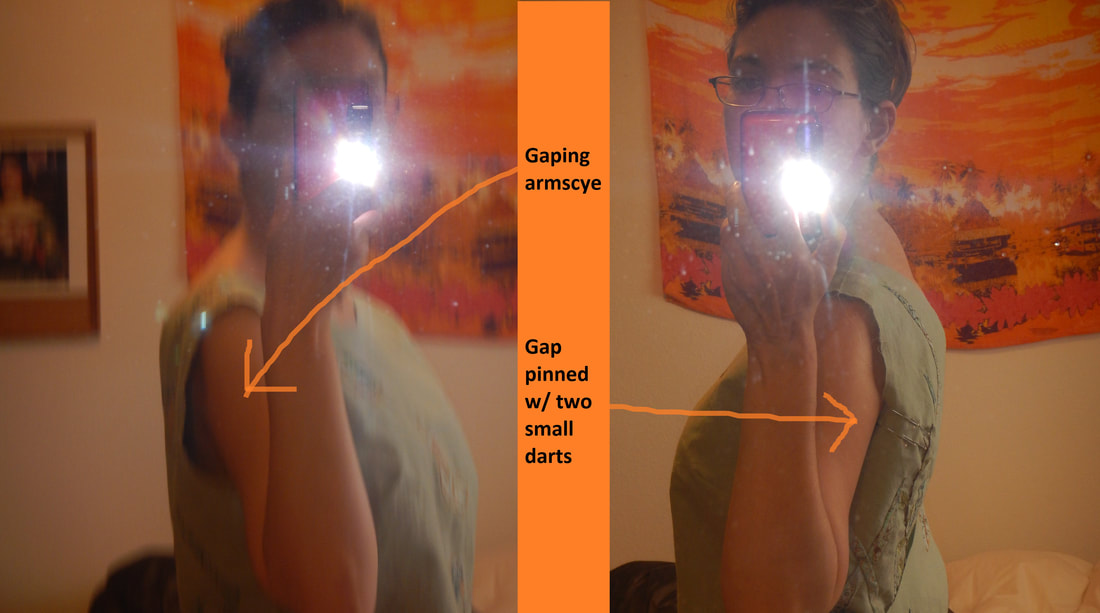 Gap in armscye on one side; same gap pinned on other side Then I hand-stitch the darts down. Usually when making a dart, you sew it on the wrong side and iron it in the direction you want it to go, but in this case the darts are so tiny that I'm afraid I'll lose them if I unpin them, or that I'll have trouble getting them symmetrical if I work from the wrong side. So I hand-stitch them down with a few widely spaced prick stitches. I love visible hand-stitching on a garment... it looks so careful and neat! Plus I find it relaxing to do.
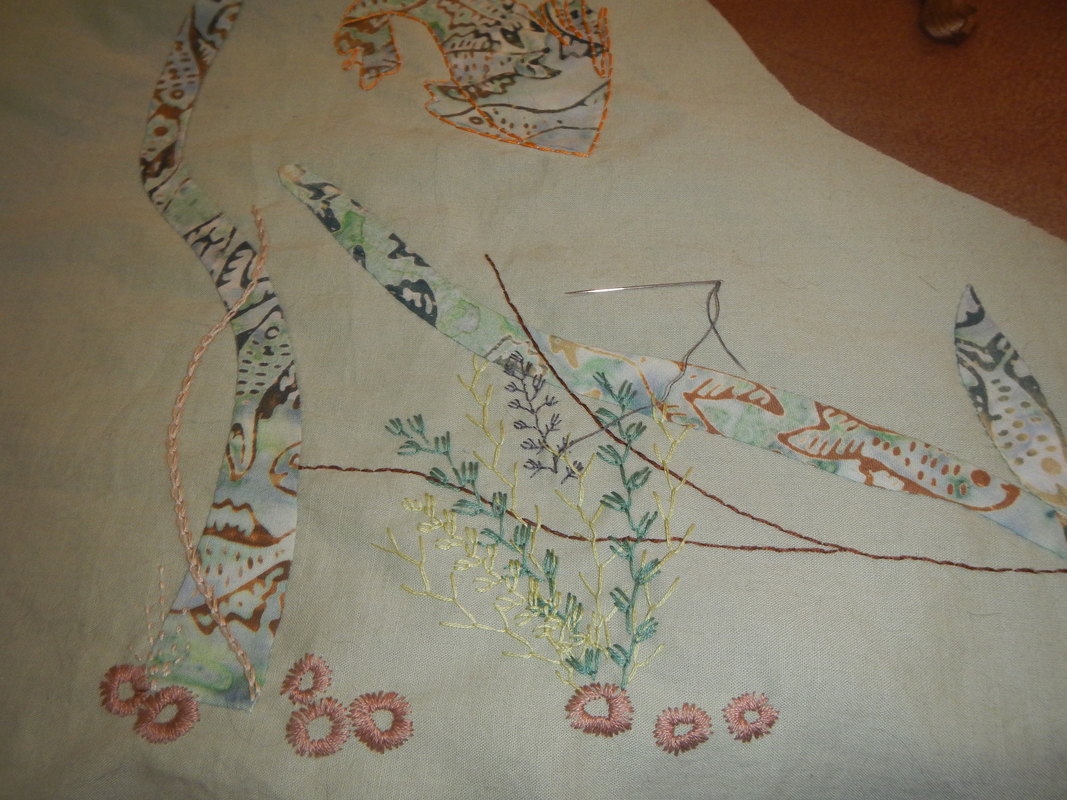
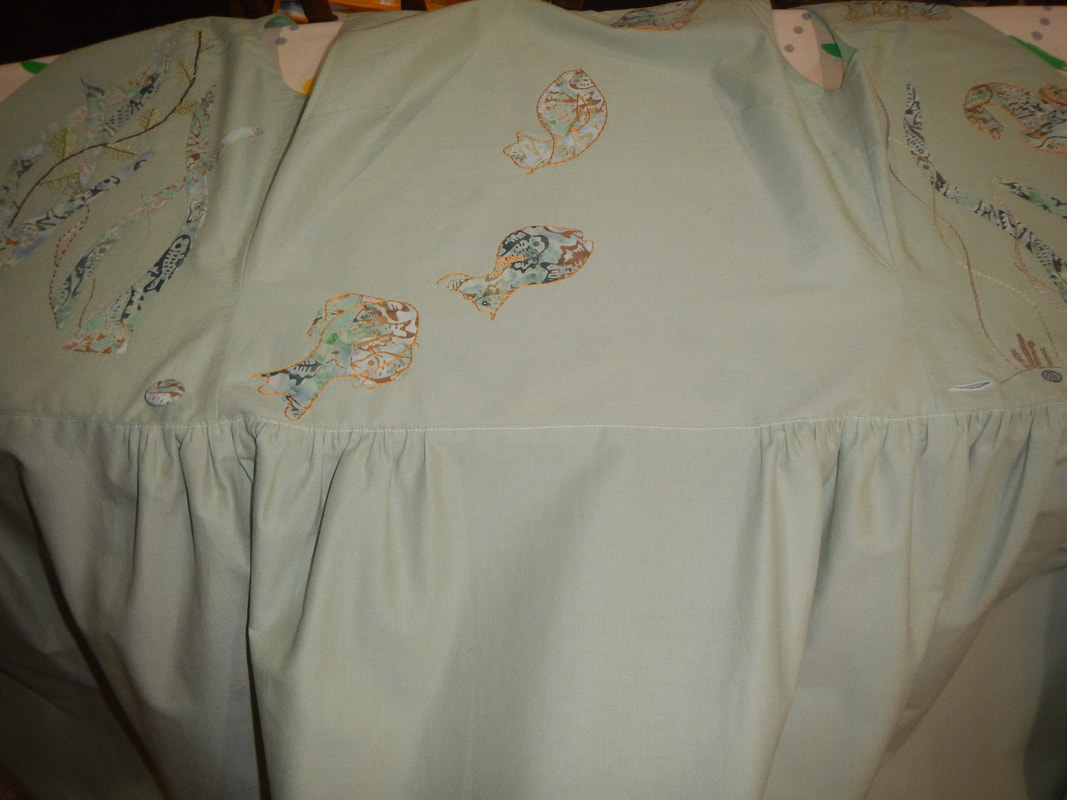
EMBROIDERYWith the darts done, it's time to embroider! Both the appliqué and embroidery are long-term projects, as I mention in this post about Memories in Stitches. I started the dress way back in June 2017, worked on it intermittently as a hand-work project on the bus, and eventually put it in a pile, to be forgotten about until I made my list of UFOs. Here are some close-ups of the embroidery. I've gone with low-contrast and analogous colors, which give a subtle textured look rather than an obvious-from-afar picture.
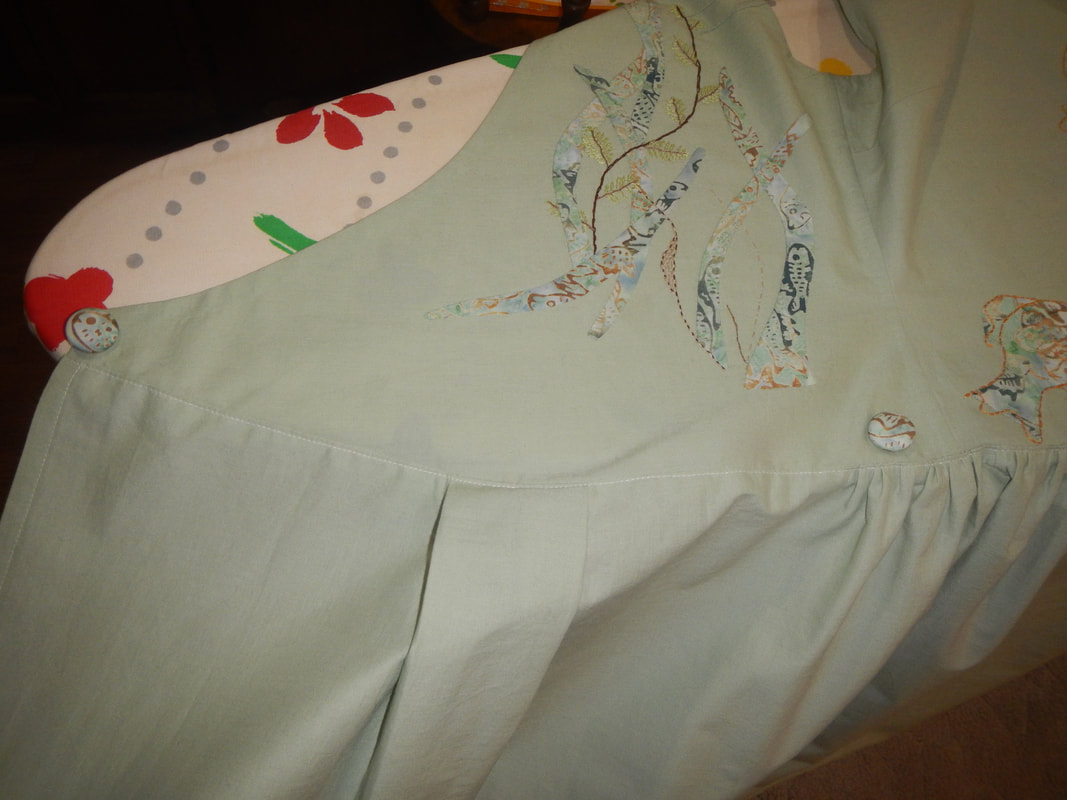
FINAL ASSEMBLY After all the work on the bodice, assembling it into a dress is super easy. I bind the neck and arm holes with bias tape, then sew a rectangle of fabric to the waistline. I don't measure the skirt, really, just start ripping it off the main yardage and pinning it to the bodice. When I run out of bodice to pin to, I cut the rectangle off a little longer than needed and fold the excess over into a facing on the overlap. That way the hemmed edge will be hidden when the dress is worn. Ultimately, the rectangular skirt piece measures 22 inches long by 88 inches wide, plus about three inches of foldover facing. Since it's cut crossgrain, I let the nice-looking selvedge serve as the bottom so I needn't hem. 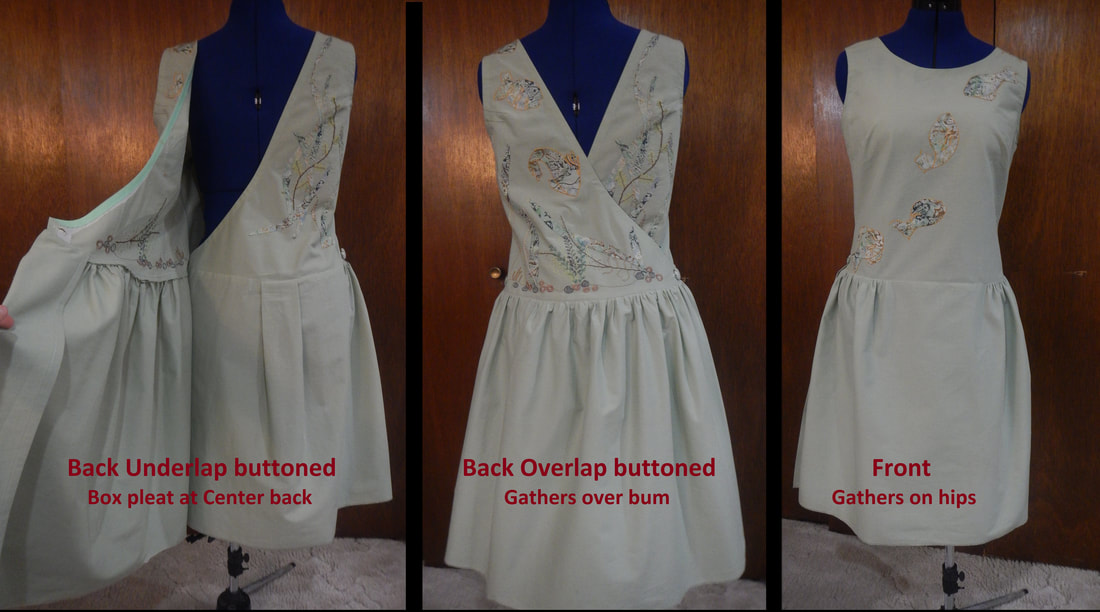 The back panel is fully gathered, but the fold-over facing is flat.
My buttons, which you can see in one of the CLOSE UP pics above, are fabric-covered buttons I made with one of Dritz's "cover button" kits. They were really easy to make-- they just snapped together-- and the faux batik is so elemental to the dress that I'm really happy with the effect. WEARING THE DRESS First of all, it's oddly thrilling to put on a wrap dress with just two buttons at the back. I put it on my front like a hospital gown, and feel really naked for a second, then really covered up as soon as the second button is done! The skirt hangs nicely, if a little stiffly (well, the algae-colored cotton wasn't ideal for dress making), and holds the dress in a quaintly childish A-line. But best of all, once the dress is on I don't have to fuss with it at all. The shoulders stay put, as long as I maintain reasonably nice posture (and any clothes that improve my posture are a good thing). The first time I wore it, it was cold outside, so I wore it over a green shirt. My housemate raised an eyebrow and said "Oh it's sweet. It looks like a pinafore." I guess it is, kind of! 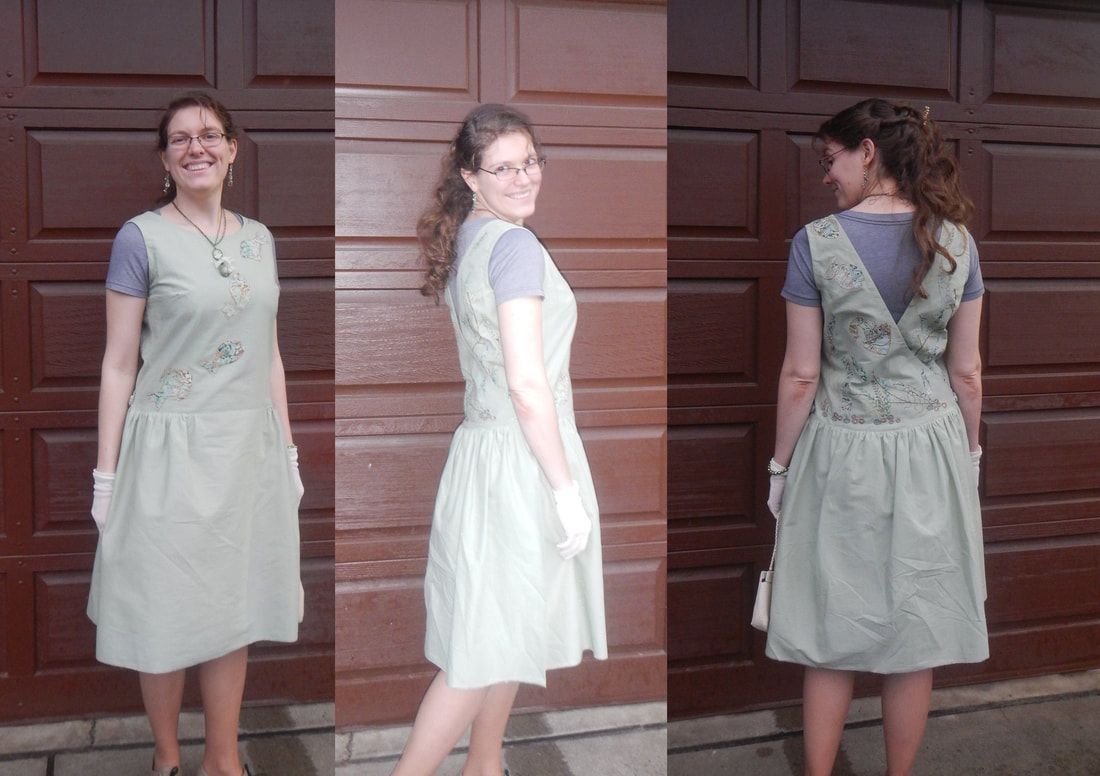 wearing it on an overcast day CARE INSTRUCTIONS As with any garment that's heavily embroidered or embellished, it's a good idea to wear something between it and your skin, to save the garment from your body's oils and reduce the number of times you need to wash it. I could have lined the dress, I suppose, but that would have made ironing it tricky, so I will just whip up a shift-style slip to wear under it. When I need to wash it, I'll do so like my other clothes (cold water), but will not put it in the dryer. I'll hang it to dry and then press it.
1 Comment
The Sister
4/16/2018 02:45:52 pm
I raised an eyebrow myself during the process, but the final product comes together and I like it! It is like a pinafore. I really like the gold embroidery outlining the fish... my favorite fish is the one diving down towards the seaweed on the back panel. He's cute. :-) And so are you! Leave a Reply. |
Karen Roy
Quilting, dressmaking, and history plied with the needle... Sites I EnjoyThe Quilt Index Categories
All
Archives
March 2024
|


 RSS Feed