So simple that I can just explain to you right now, which is a good thing, since Maw-Bell might not be in business anymore. (At any rate, their website is gone and their blog hasn't been updated since 2014.) HOW TO DRAFT A BERET PATTERN The hat is a beret: a round, flat-topped hat. To make this beret pattern, measure your head around where you want the hat to sit. In my niece's case, it was 21 inches, which corresponded to size 7 on Maw Bell's Pattern. But you don't have Maw-Bell's pattern, so here's what you do next: Let X = your head measurement. There are three pattern pieces we need to get: the hat band, the hat "doughnut" and the hat top.
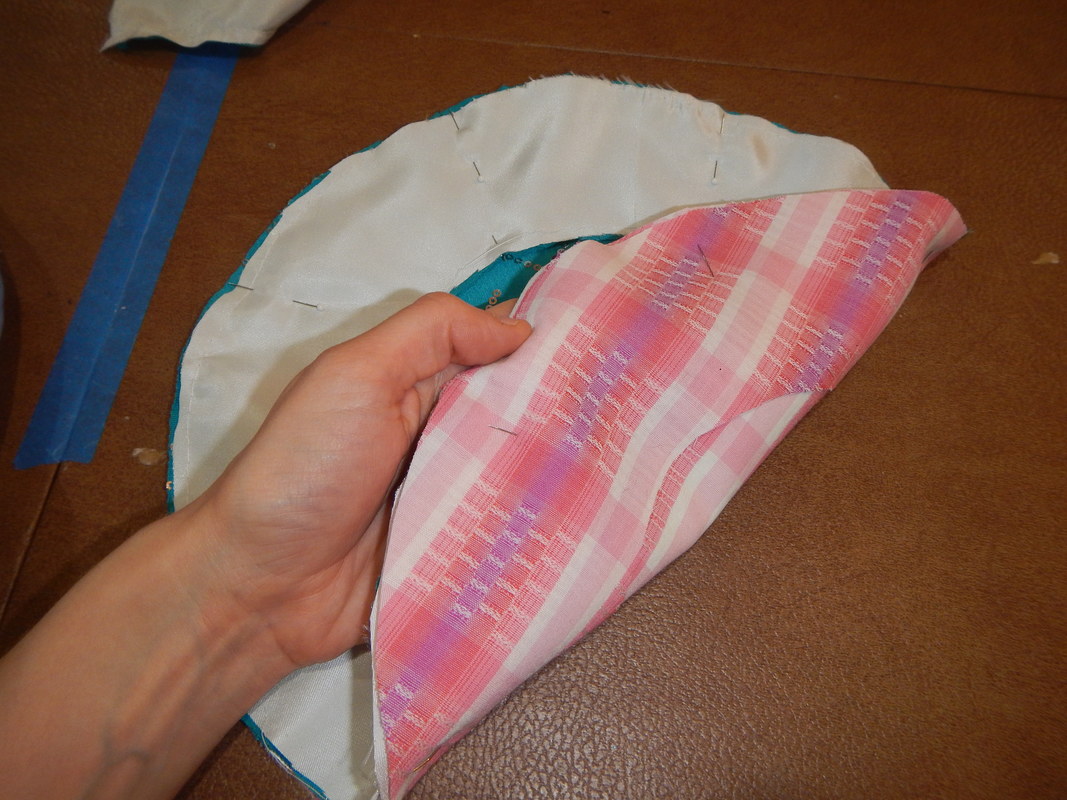
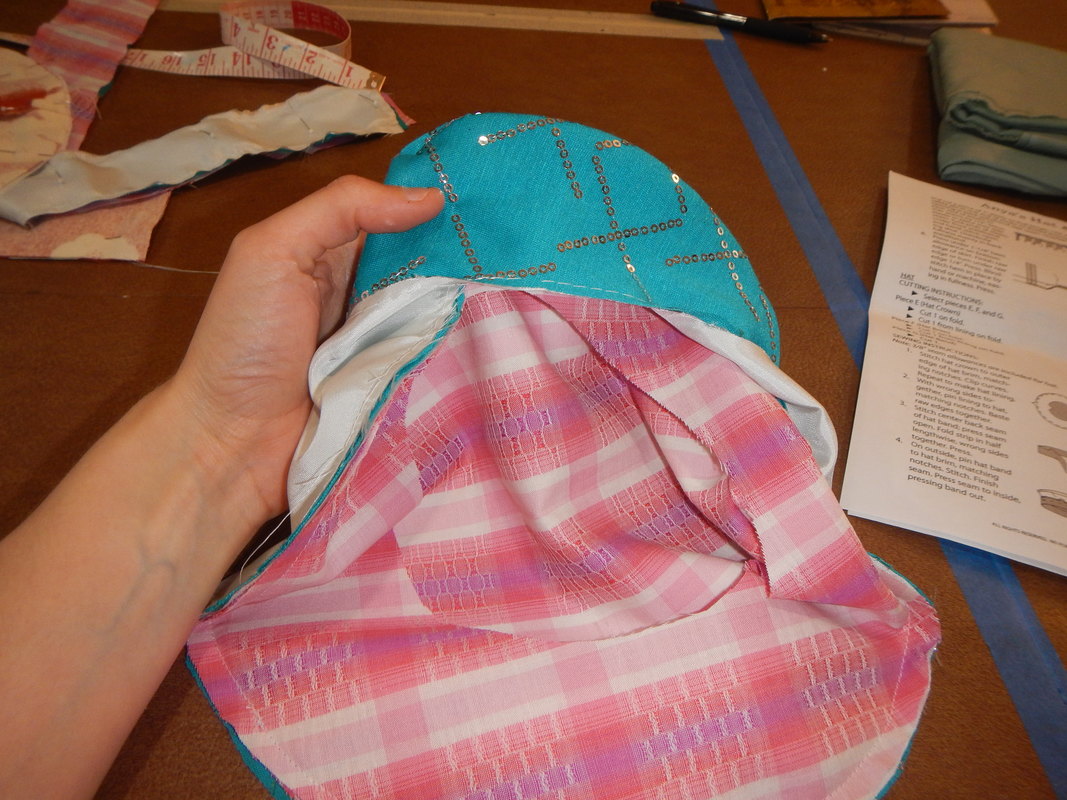
MY FABRIC The sparkly teal I've chosen for the exterior is a jersey knit with sequins sewn on it, found at the Mill End Store. Since jersey is stretchy, I fear it'll make a floppy hat, and I want a little structure to show the cool circles and angles of the beret. Therefore, I cut the pattern once in jersey and once in polyester bridal satin (bright white), layer them together, and baste around the perimeter of each piece within the seam allowances. This is called flat-lining, and once it's done I treat the pieces like one piece, like I've made a new fabric that is jersey on one side and woven on the other. Flat-lining is a good way to give a pretty but flimsy fabric the qualities of the hidden one, in this case the stability of a stiff woven cloth. For the lining, I pick a pink plaid from my stash. And since the sequins are potentially scratchy, I cut the hatband as a skinnier version of itself and do the same with lining, so that I can sew them together and get the inside of the hatband pink instead of sequins. Then I pull out some scraps of the organic cotton I used for my lunch bag, and cut the pieces out again for a second hat: red floral exterior and poly satin lining. For the red hat, I cut the regular hatband and fold it lengthwise, since there are no sequins to scratch the forehead or get stuck in the hair. 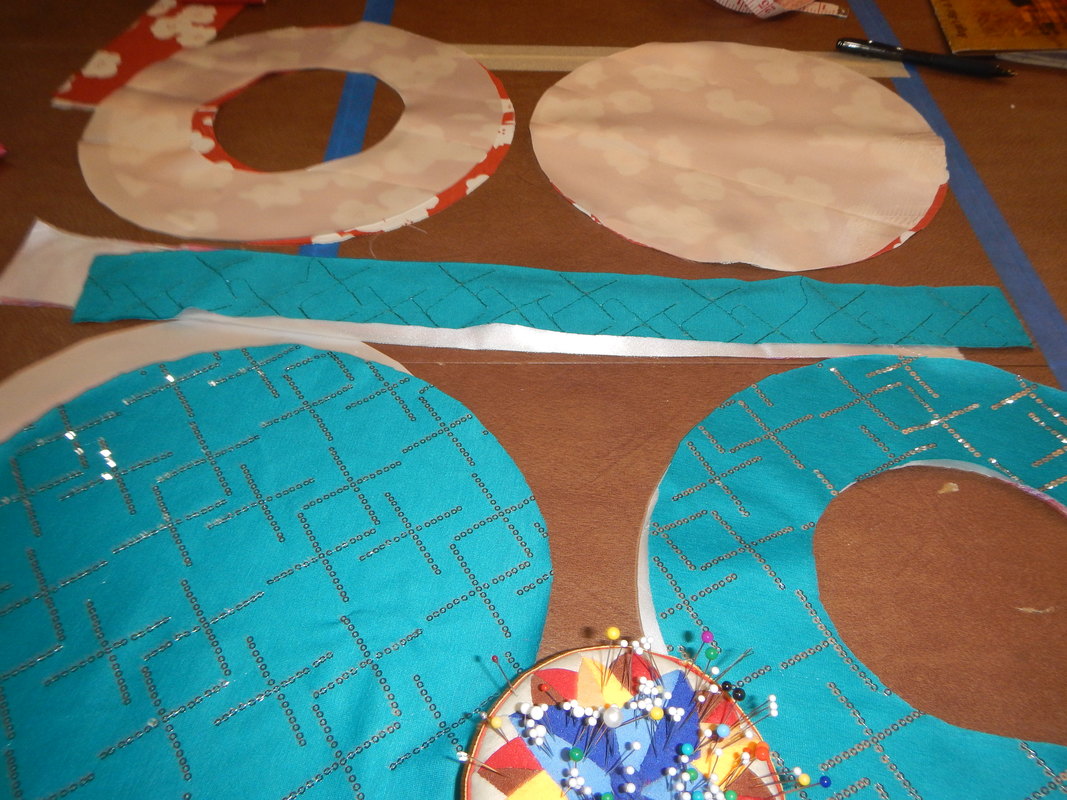 pieces SEWING THE HAT Maw-Bell's instructions call for making the bag part of the hat twice: once in the outside fabric and once in the lining, then putting one inside the other and attaching the hatband. Looking to sew as quickly as possible, I make a change. I put the hat top and hat doughnut right sides together, and do the same with the lining. Then I put the two hat tops wrong sides together, so there are four layers of fabric: outer fabric doughnut, outer fabric top, lining top, and lining doughnut:
In one seam, I trace the circumference of the hat. I clip the seam allowances and turn the hat by pulling one doughnut right side out. Thus in one seam I make the bag of the hat, line it, and attach the lining to the exterior. (The only reason not to do it this way is if you intend to wear the hat until the lining falls apart, in which case, you should use the bag-lining method so you can easily replace the lining when it's time.)
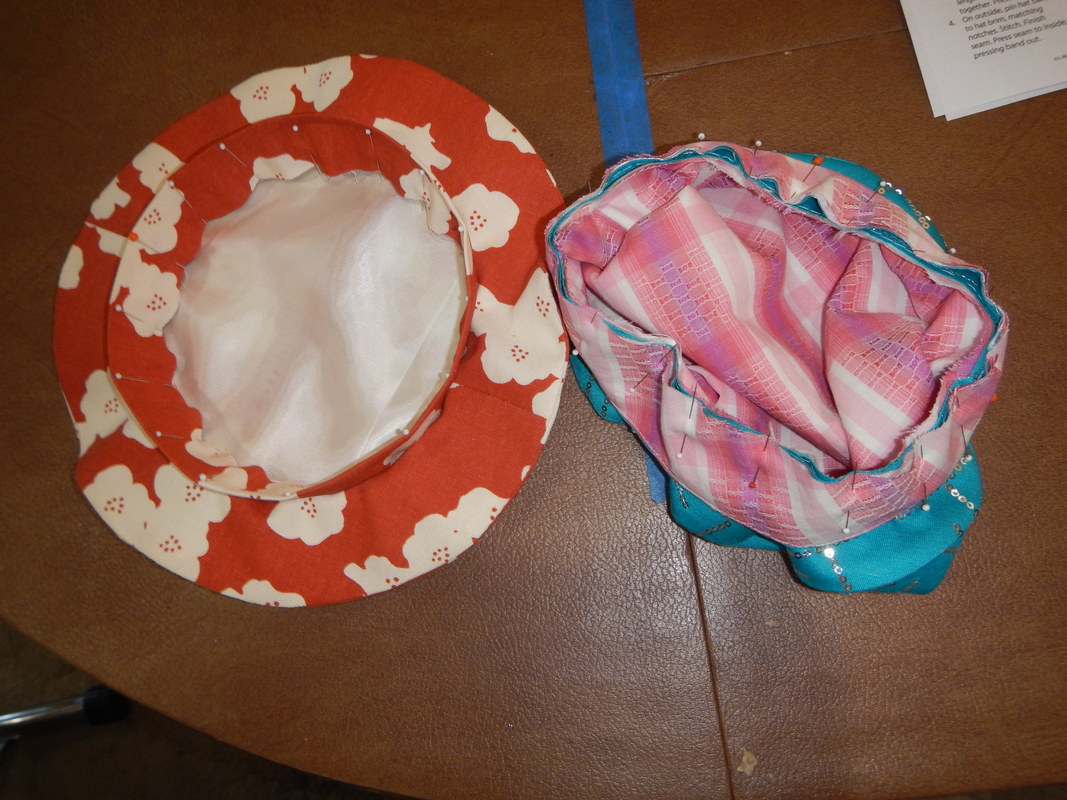
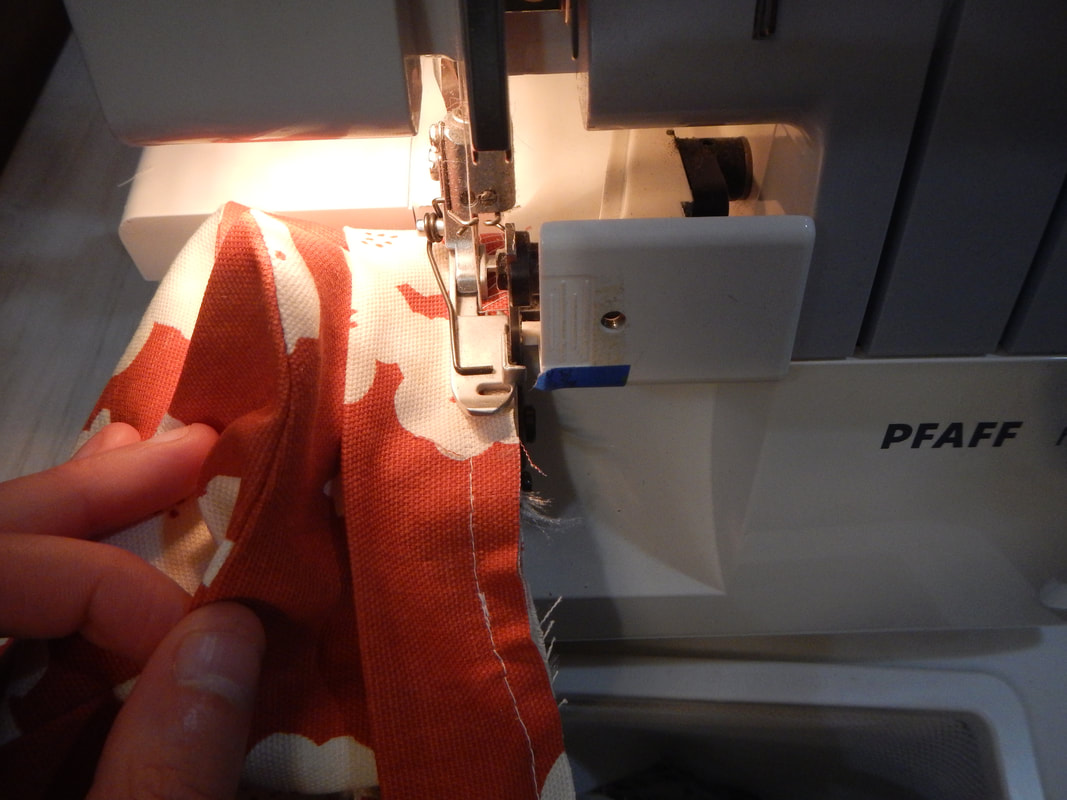
Using a press cloth so as not to melt sequins, I press the edges of the hat bag to make them crisp and nice. The bridal satin concealed within the cap creases nicely and the jersey follows its shape. Now it's time to pin and sew the hatband. For the teal hat, the hatband is made of two fabrics, because I want the smoothness of the pink lining. For the red hat, the hatband is just one fabric folded the long way. Again, I deviate from Maw-Bell's instructions. They call for me to sew just one layer of the hatband to the hat, then turn the other layer's seam allowances inside, then finish with top-stitching. This would conceal all raw edges, and I've done it before... but I'm in a hurry and I have a serger, so I choose to sew the hatband to the hat in one seam and serge it to finish the edges.
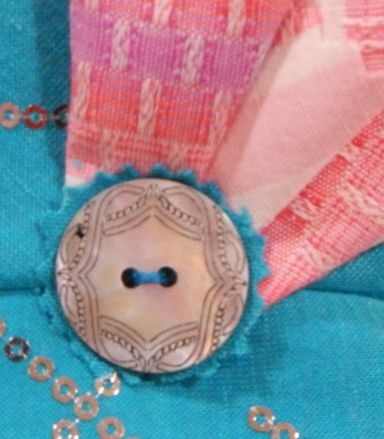
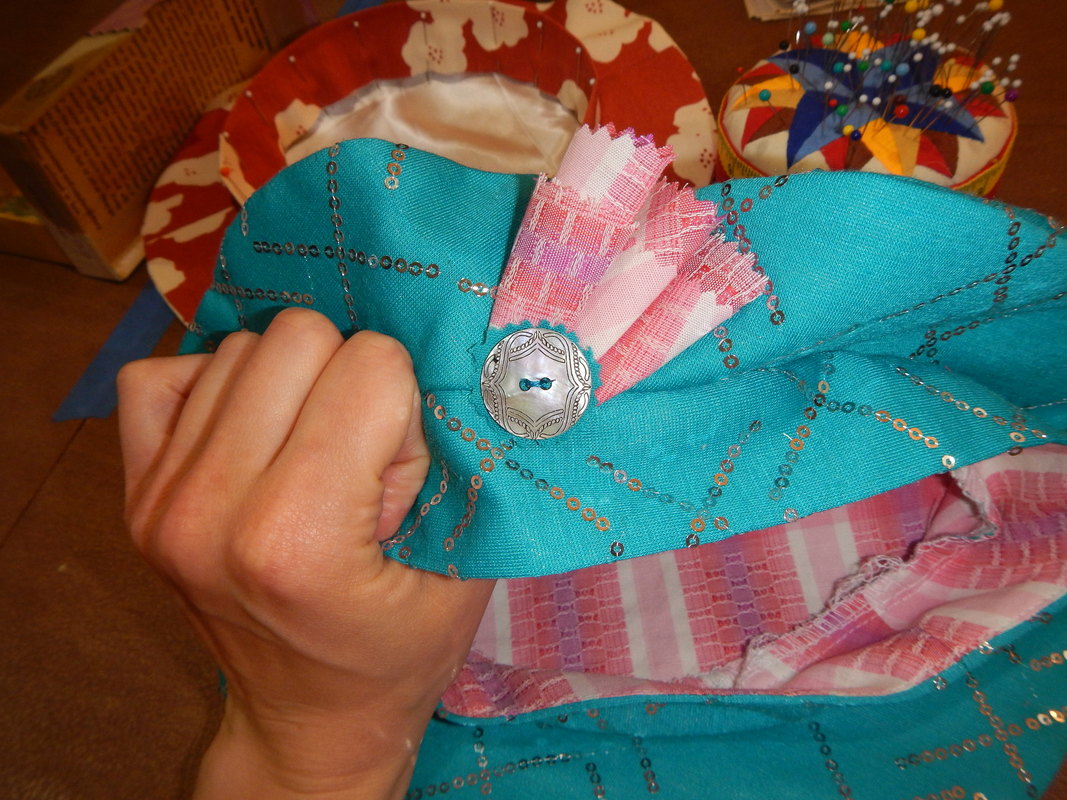
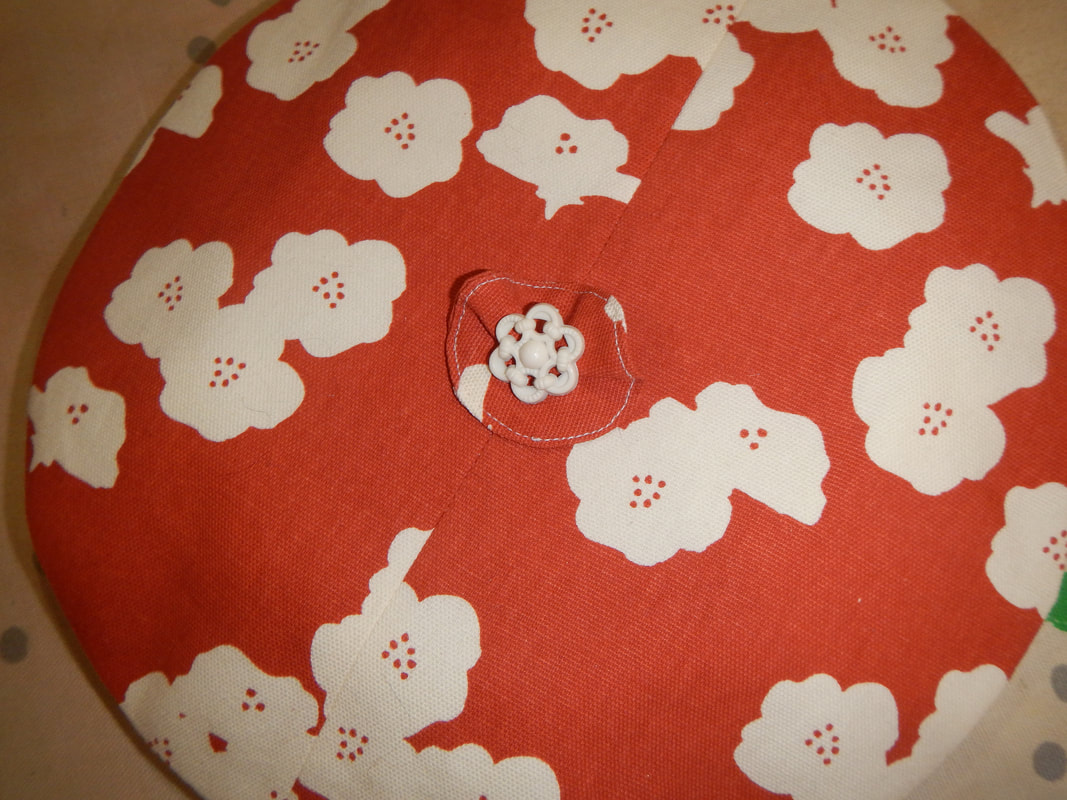
FINISHING TOUCHES The hats are all but done... now they just need personality! I use my pinkers to pink the circle of lining fabric leftover from cutting the doughnut, and make a cockade for the teal hat, embellished with a mother of pearl button. The red hat gets a self-fabric flower and a plastic button. I also do some top-stitching on the red beret.
GLAMOR SHOTS! (The hats are on a metal bowl, up-turned on a ceramic cup, for this photoshoot!) 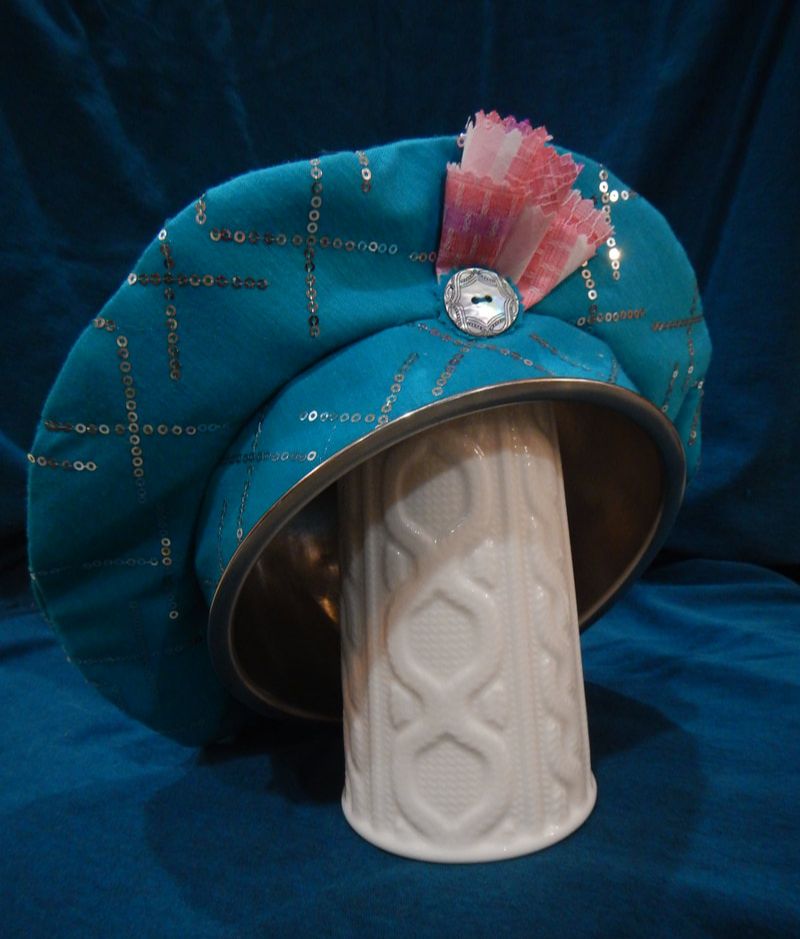 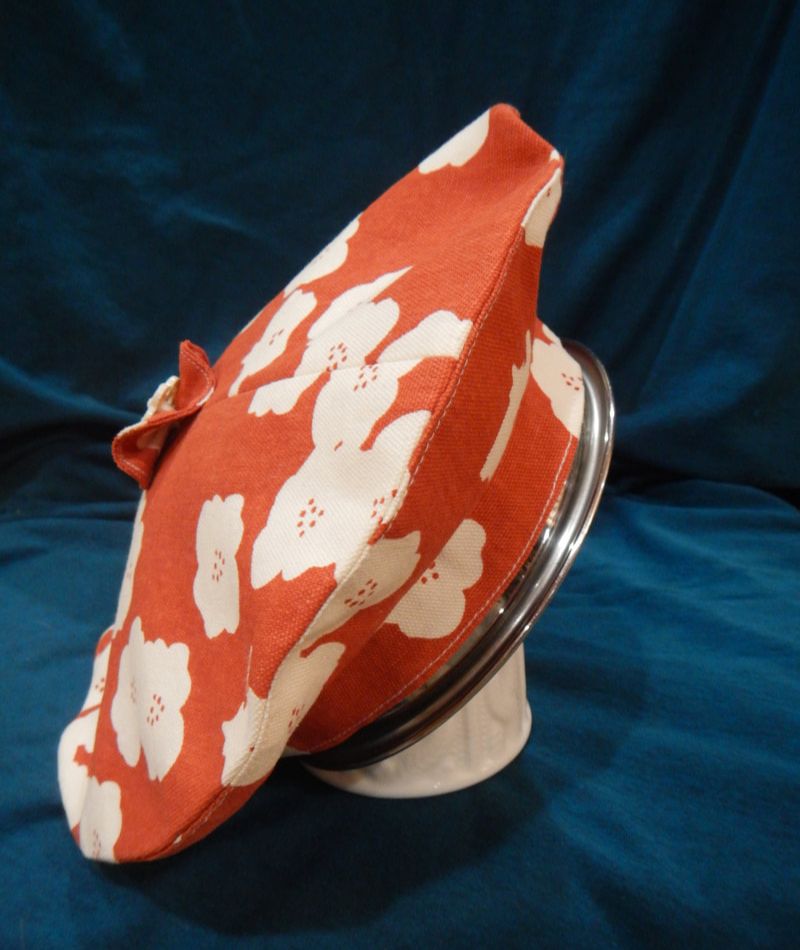 You can see I had to piece the top to make these scraps work.
2 Comments
|
Karen Roy
Quilting, dressmaking, and history plied with the needle... Sites I EnjoyThe Quilt Index Categories
All
Archives
March 2024
|


 RSS Feed