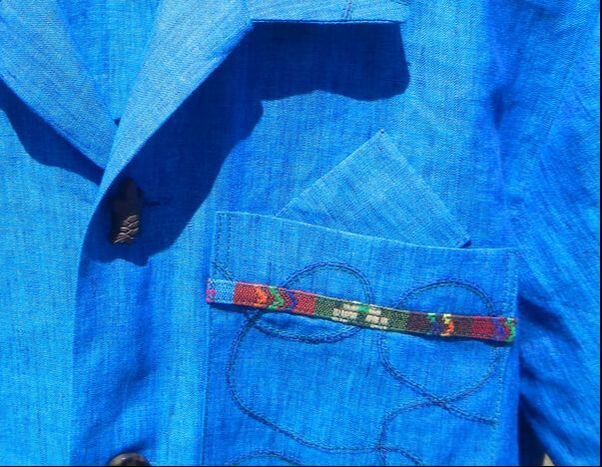
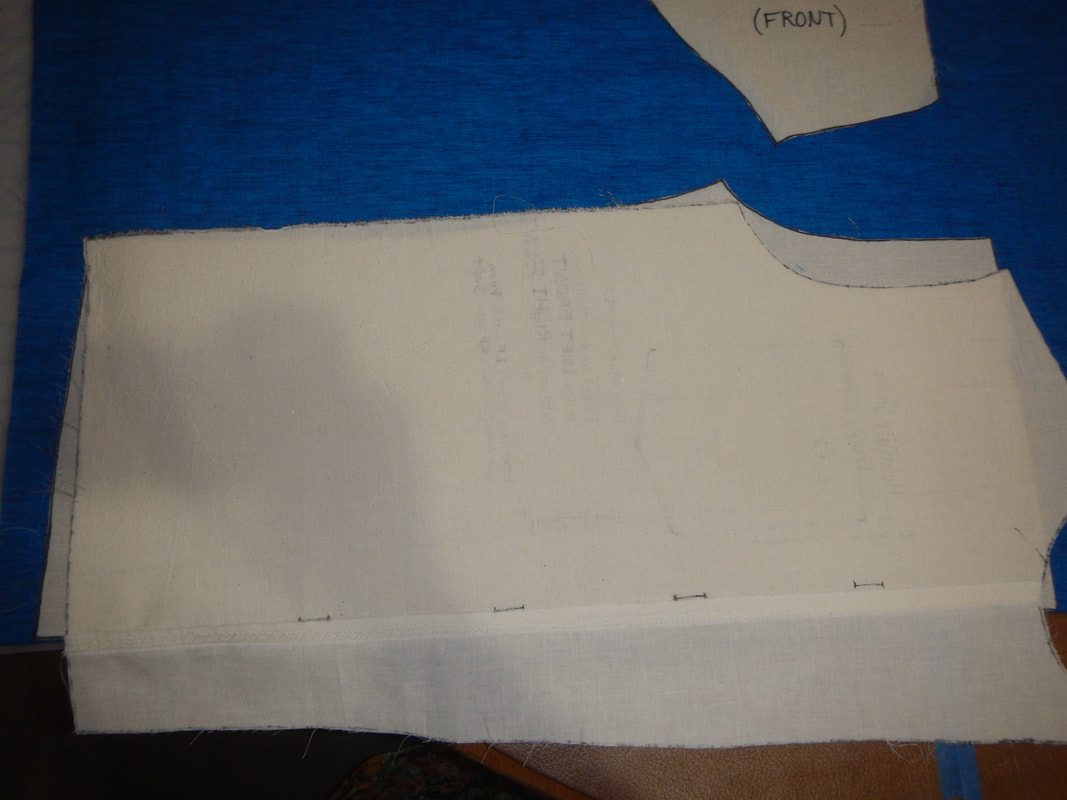
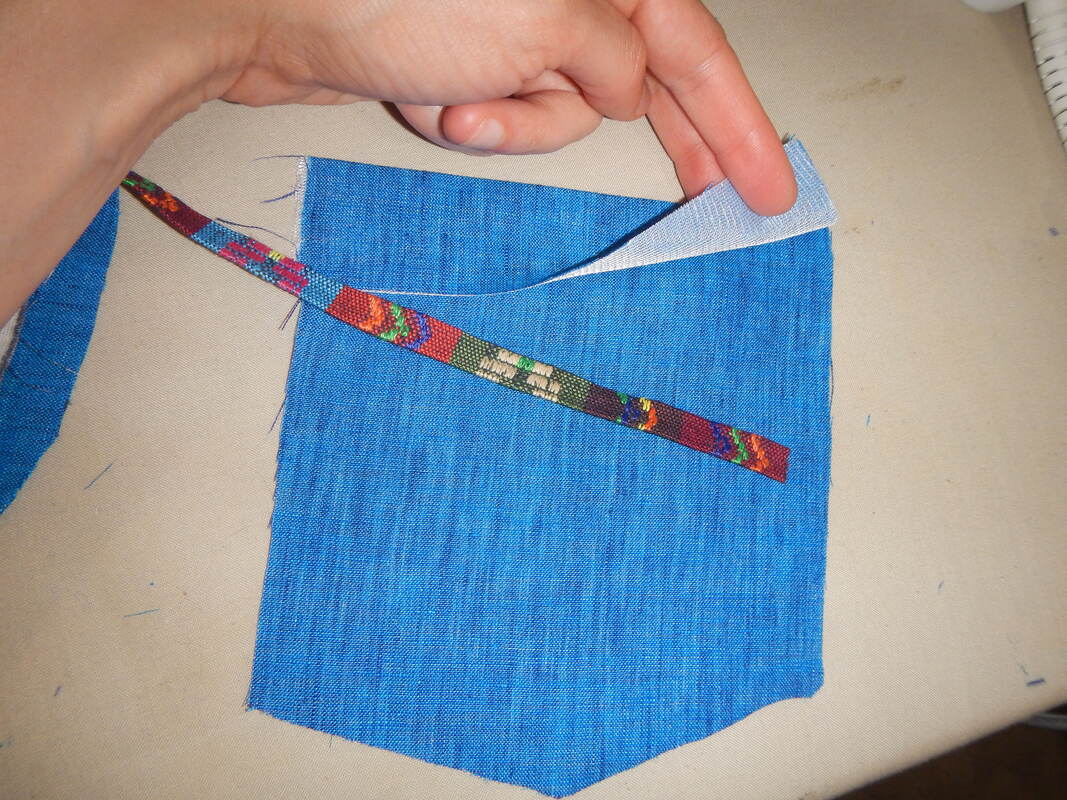
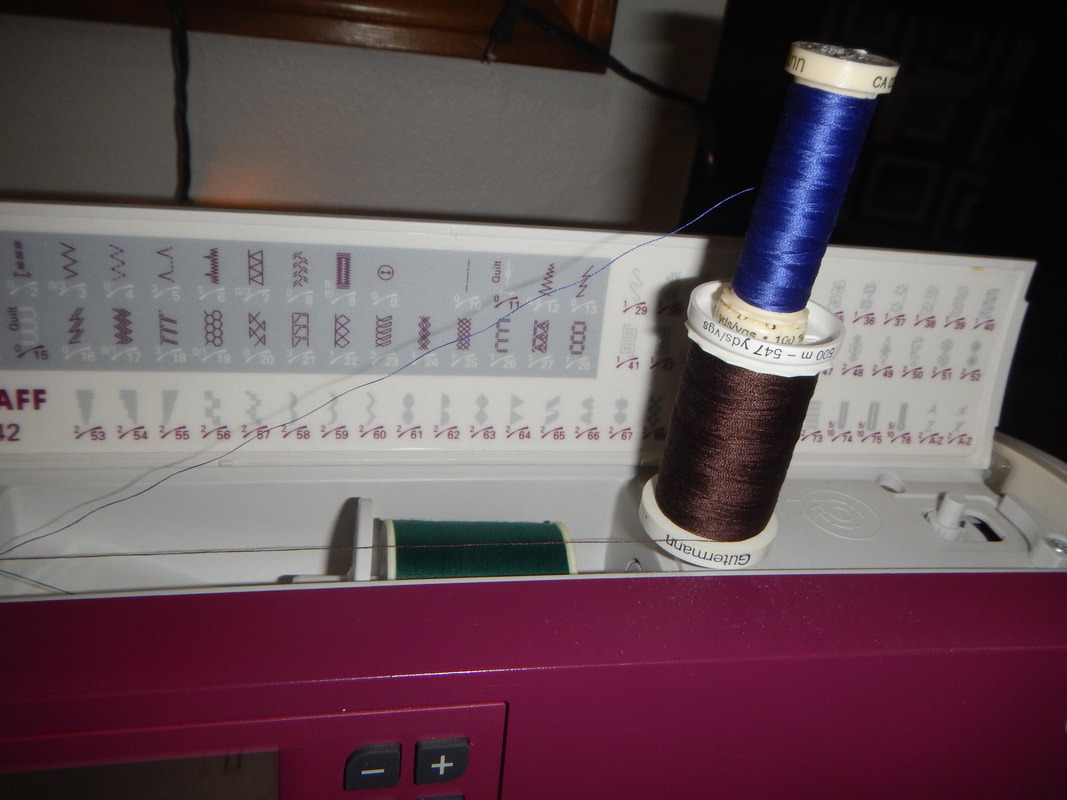
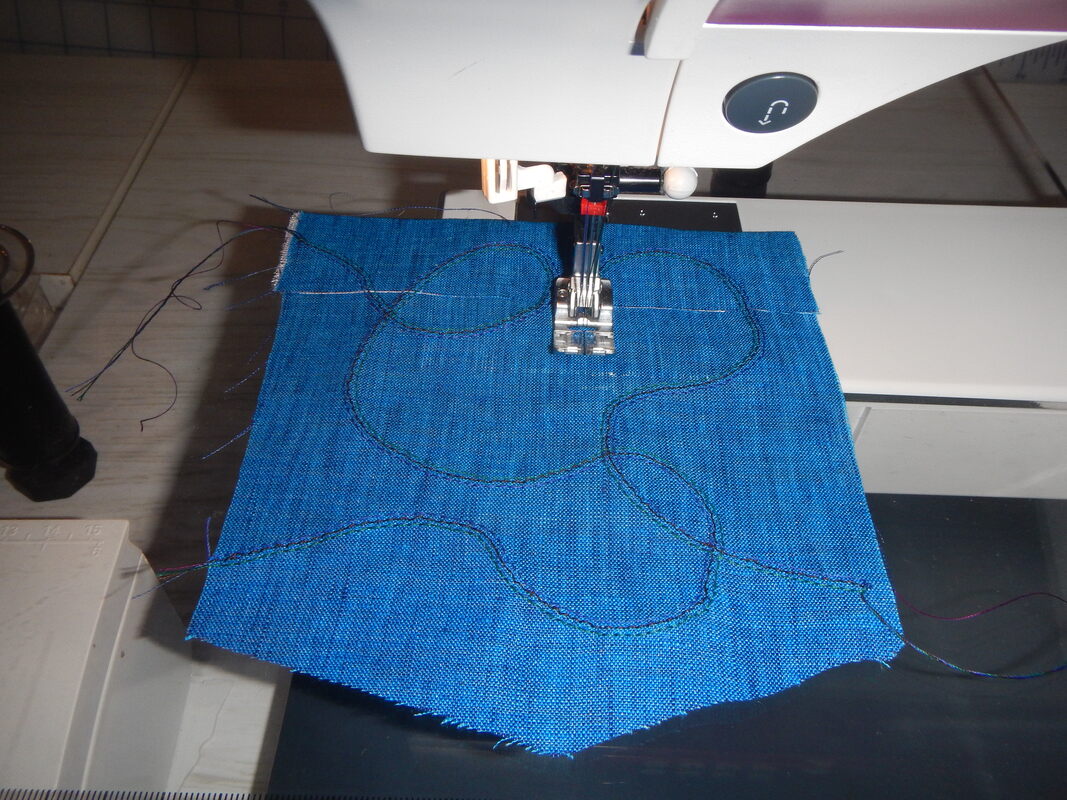
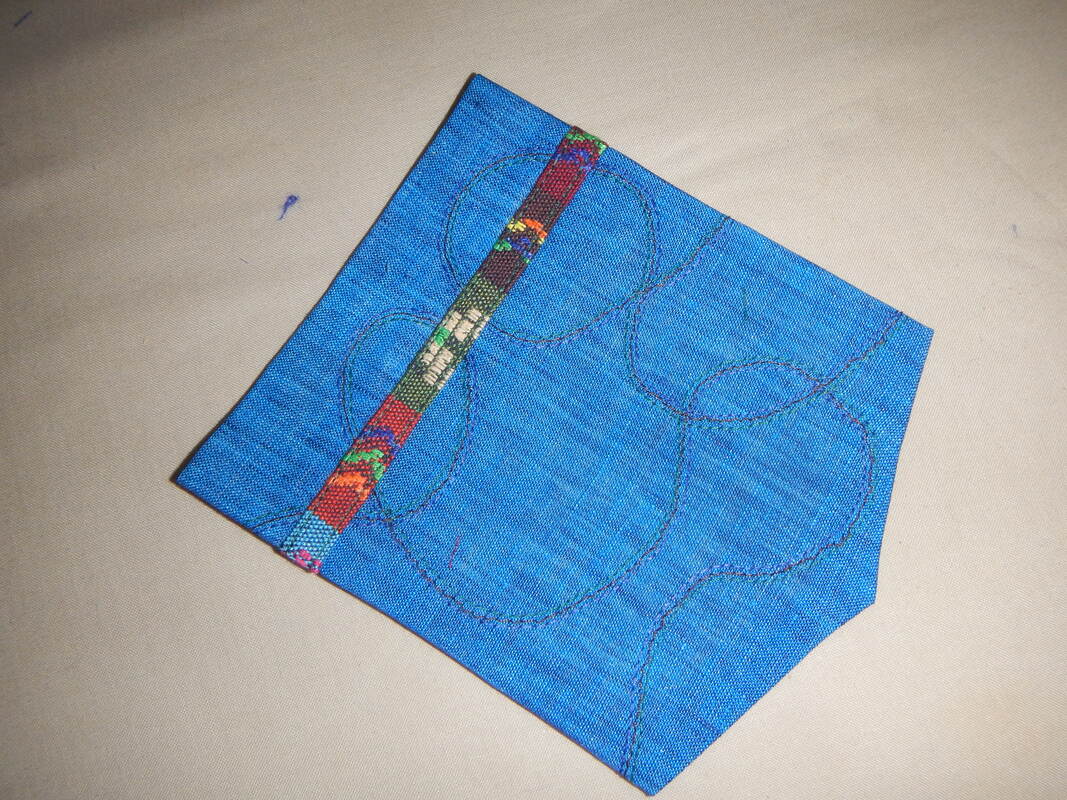
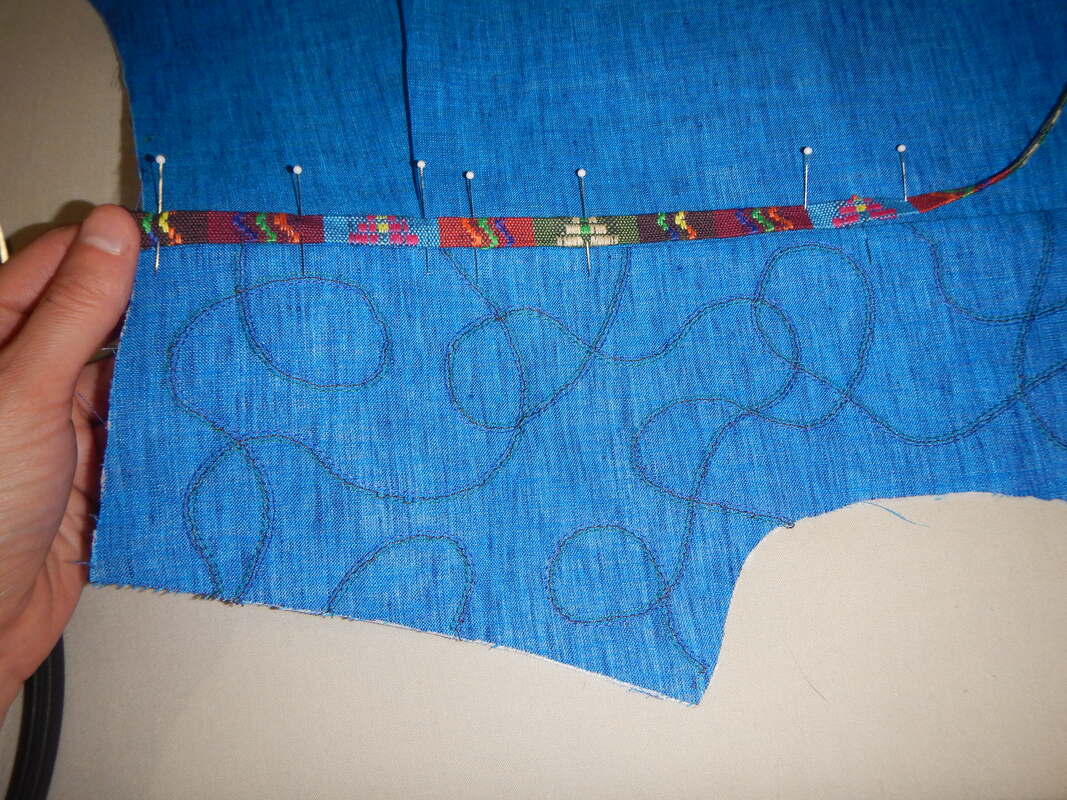
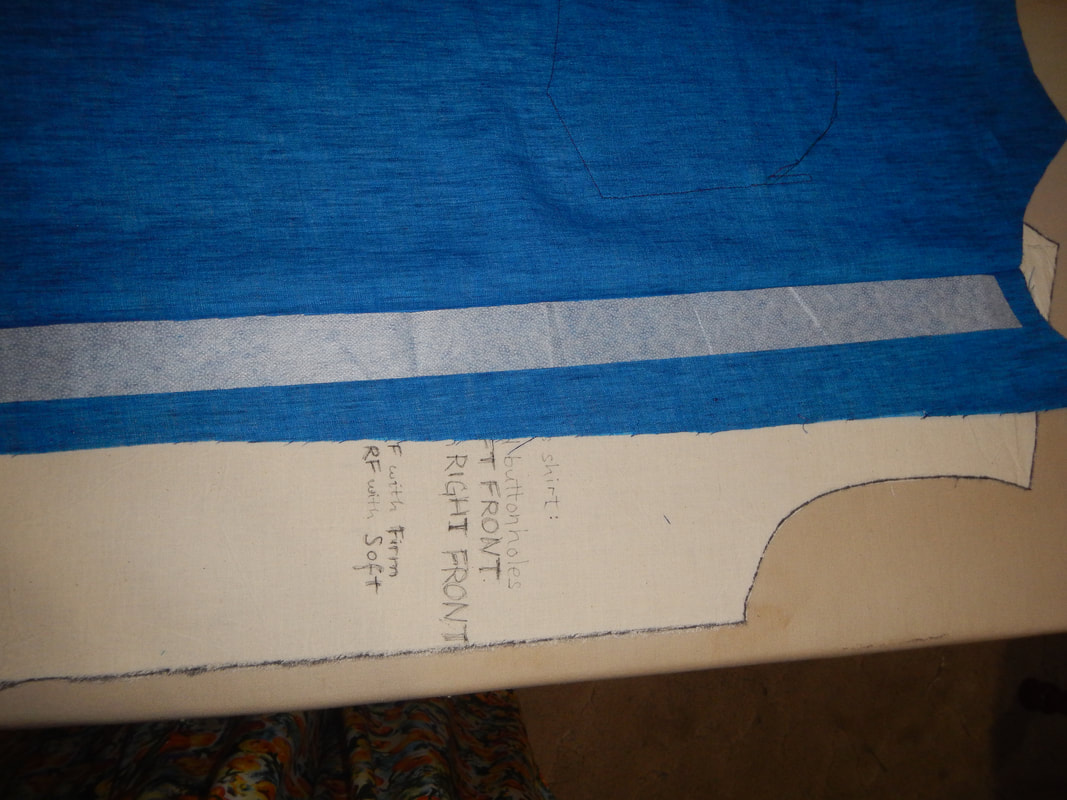
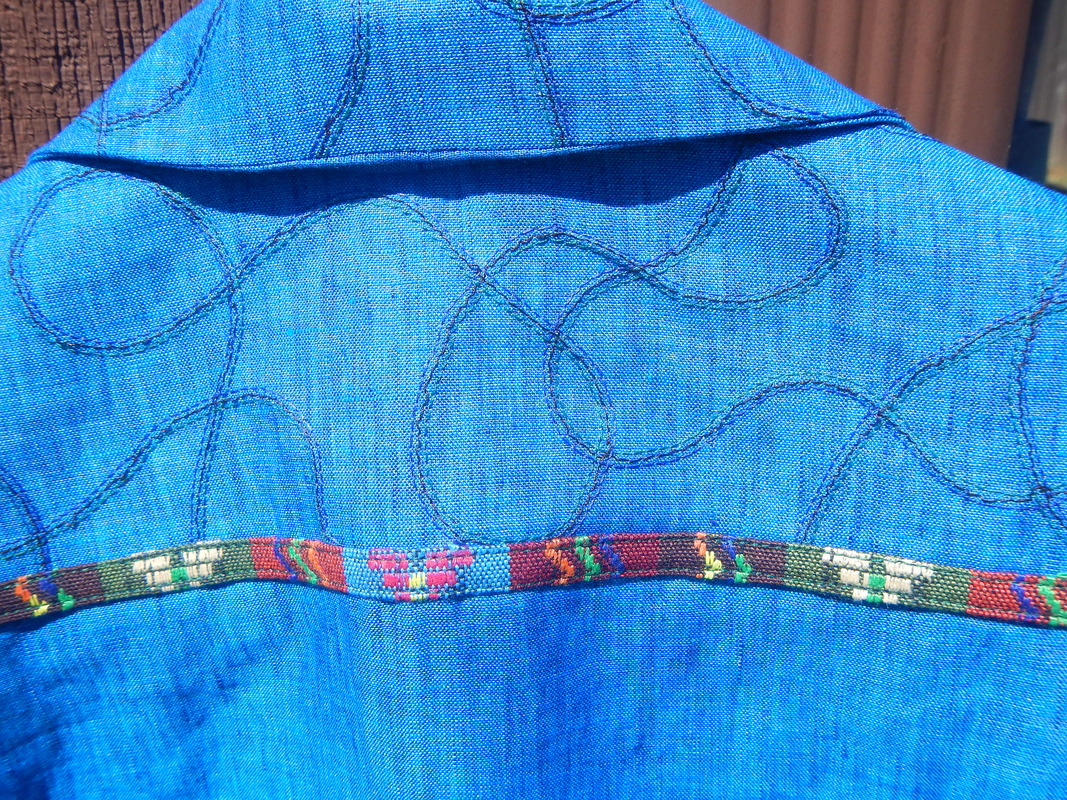
PATTERN WORK Last time I made this shirt, I wondered why the front was hanging shorter than the back when it was on a hanger. My brother assured me that it fit fine, but it still bugged me, so this time, I started by adding a sliver to the bottom of the pattern, making the front hemline mirror the back. EMBELLISHMENT I cut out the pattern pieces. The linen is a joy to work with: light and airy, but crisp and stable. Since the pattern is so simple to make, I am looking forward to embellishing the pieces. I start with the pocket. I interface the foldover flap at the top, and fold it to the front. I intend to cover the raw edge with some Guatemalan woven trim. But first, a little embroidery! I thread my machine with three different colors and bring them down to a triple-needle. Then I just doodle on the fabric, making big swirls. Because there is only one thread in the bobbin, this triple stitch has a right side (the one you see while sewing) and a wrong side (the bobbin thread side). The right side has three parallel lines in the three thread colors. While I have the machine triple-threaded, I do the same doodling on the collar and the yoke pieces. I think it looks really neat! CONSTRUCTION NOTES I've made this shirt three times, now, so there's not much to say about construction, except that I can do it faster! I cut out and construct it in one evening, and finish it the next. Attaching the collar to the neck is still the most time-consuming part.
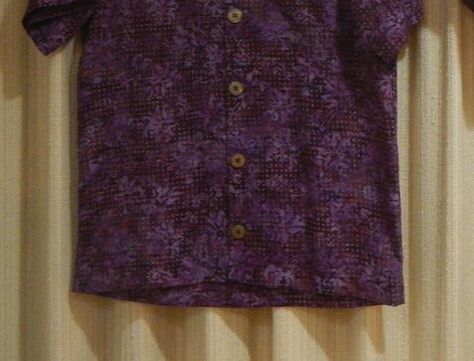
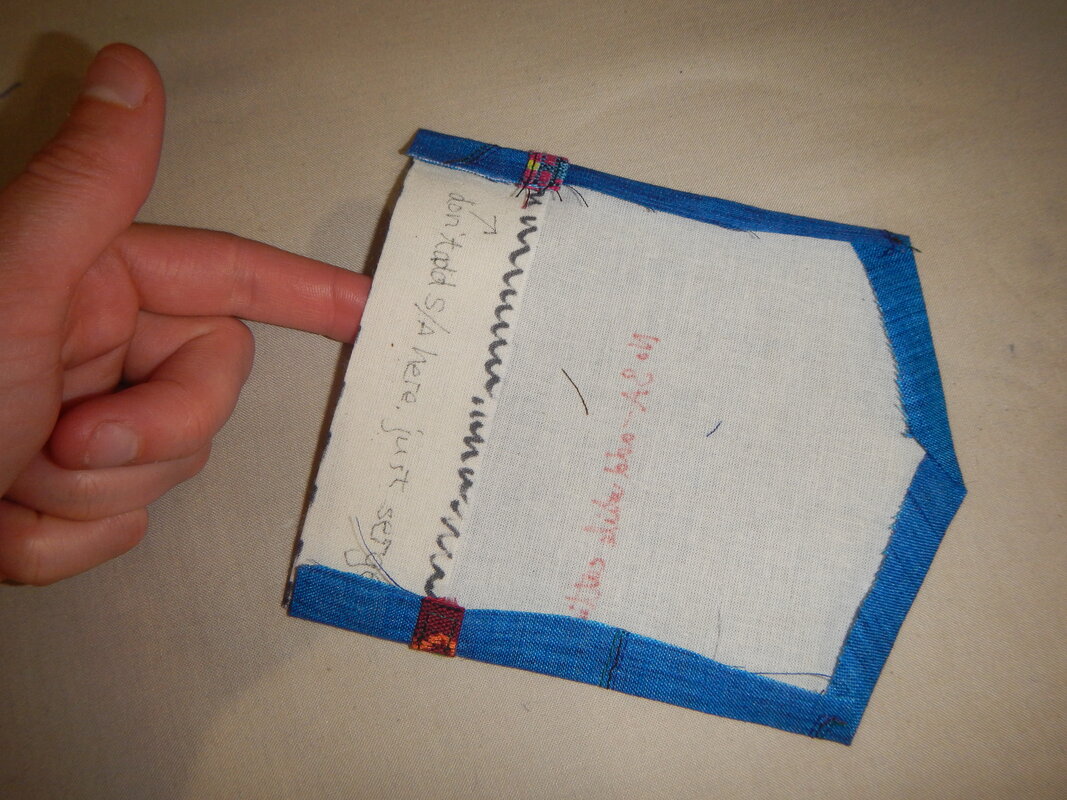
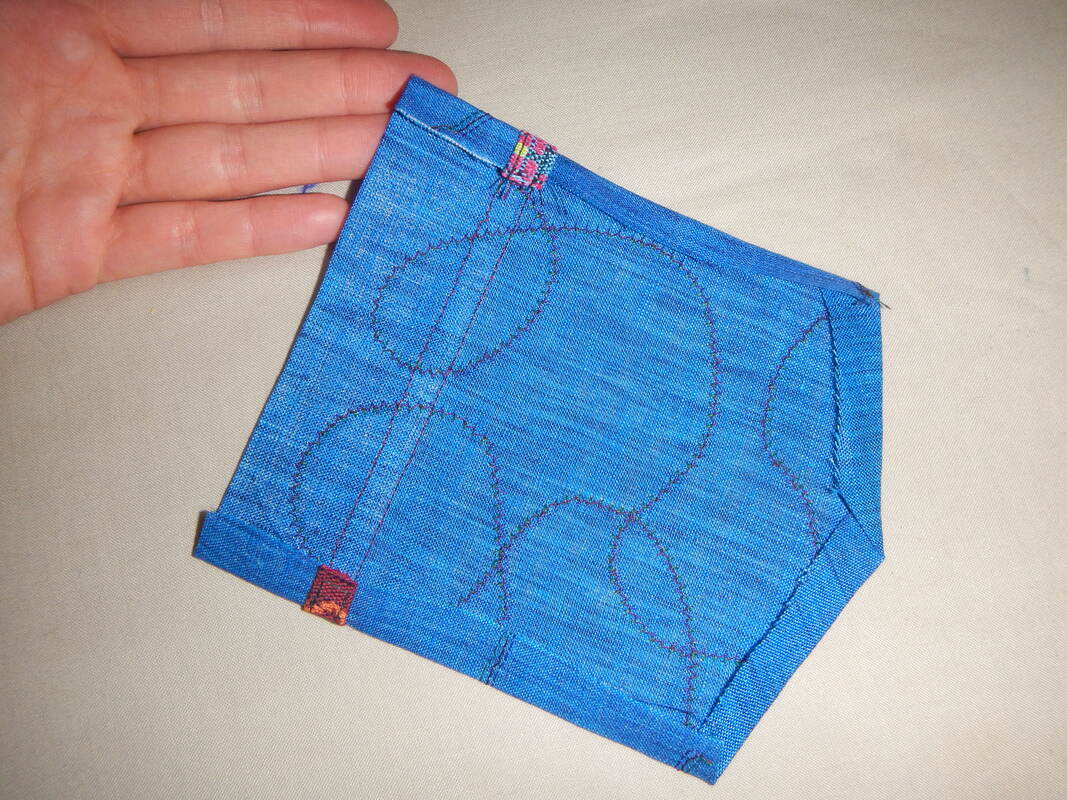
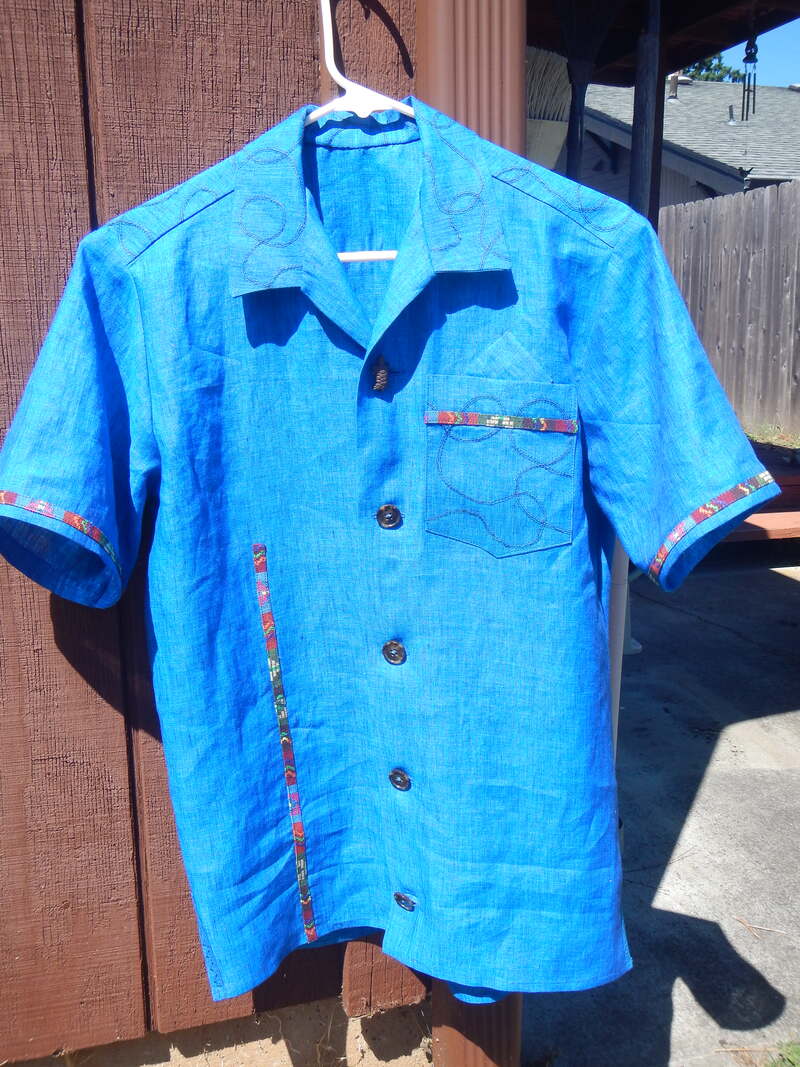
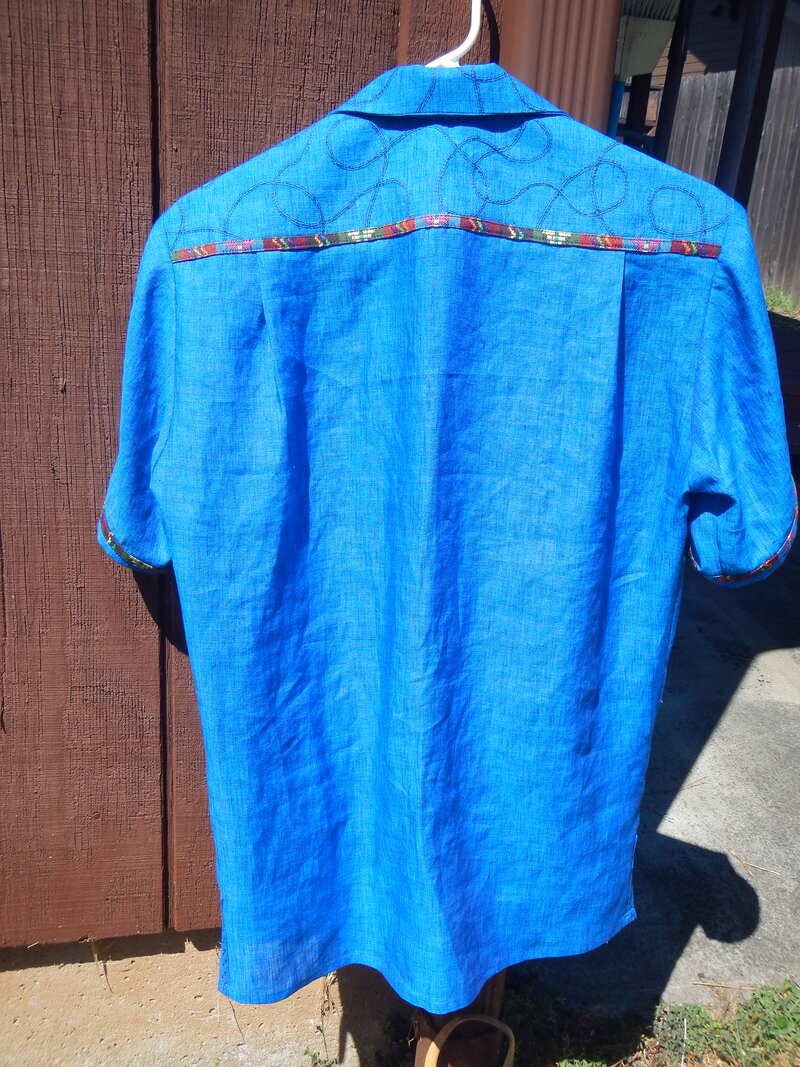
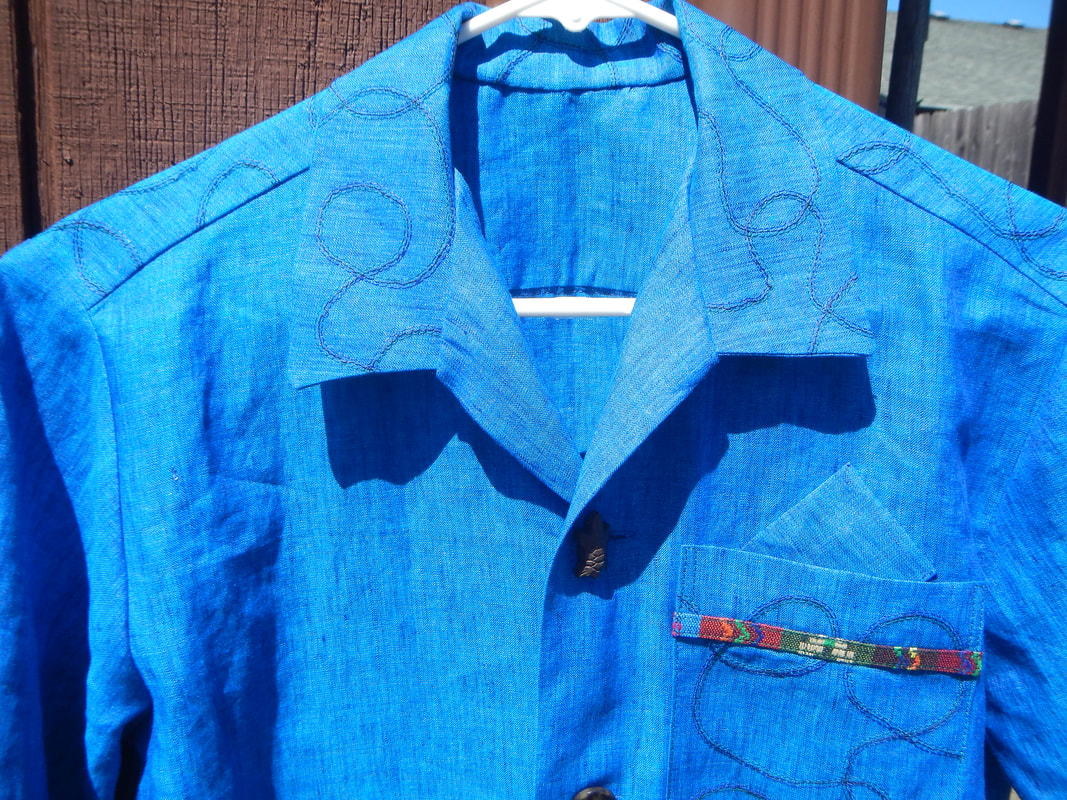
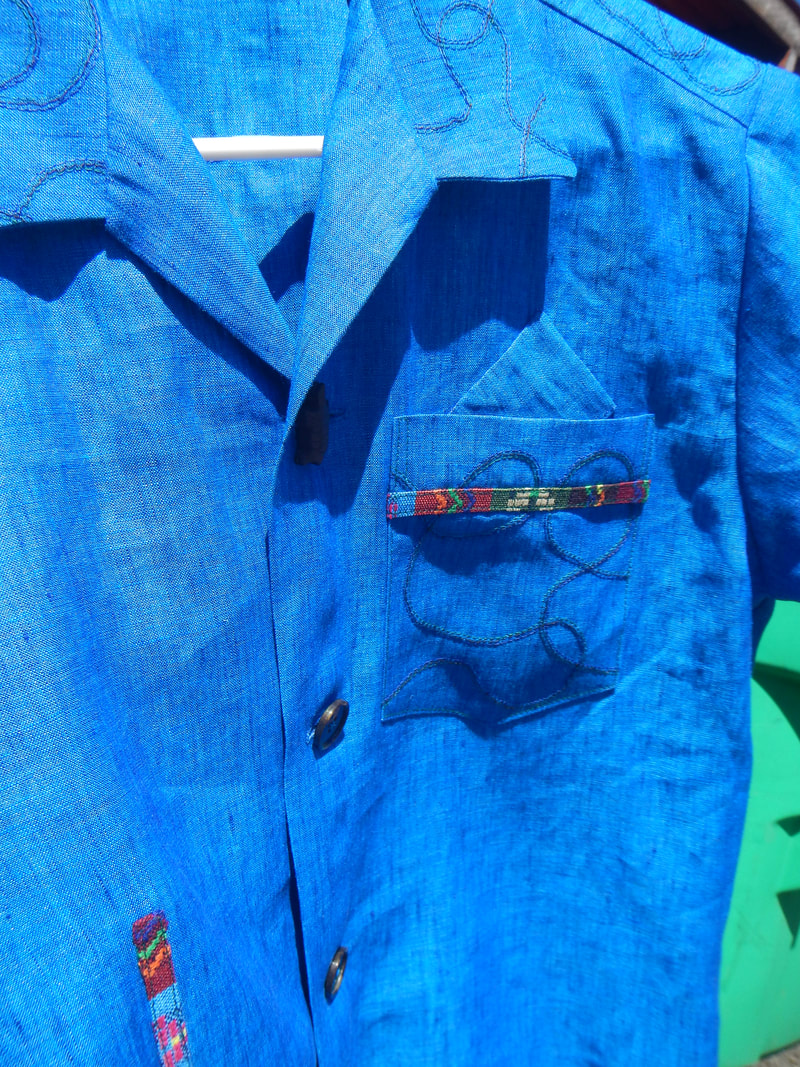
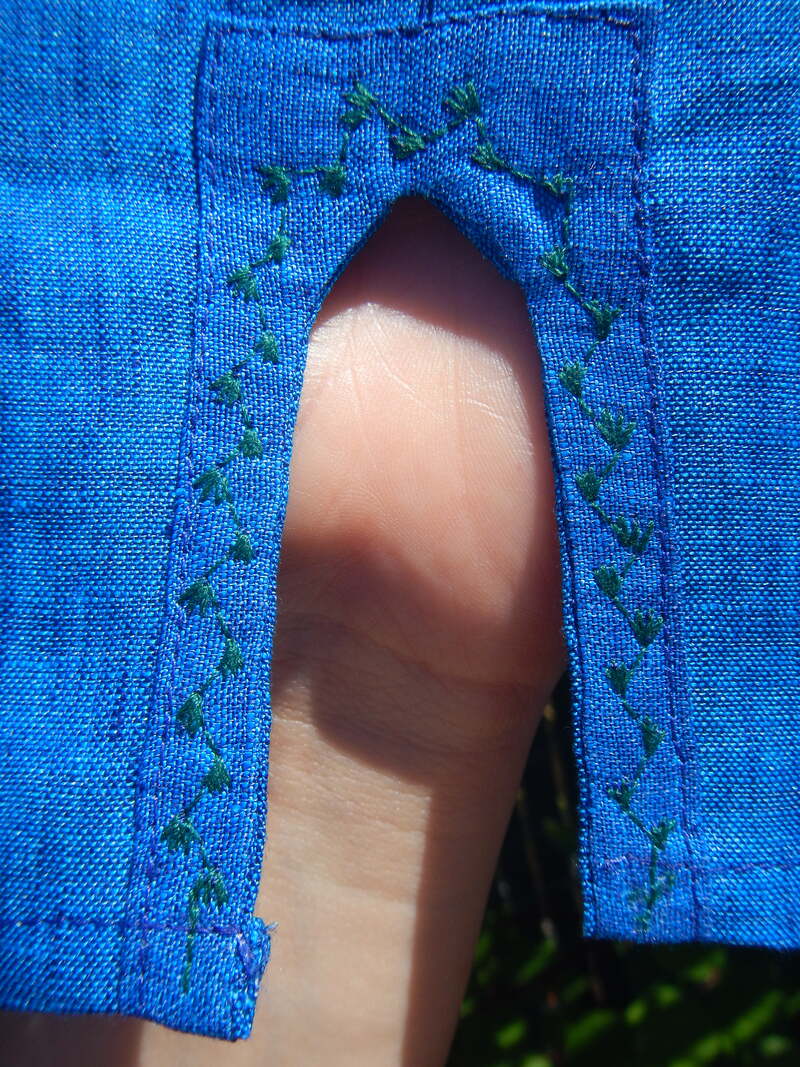
I use my serger a bunch in this project, rather than felling and french seams like before. In the side seams, I decide to add vents. I do that with pulled-to-the-front facings, with machine embroidery on top. It's Becky-Home-Ecky, but I am owning it! I like it! And... I have become dissatisfied with the pointy wee tip of the foldover facing. I think I'll change that part of the pattern soon, to make it go all the way up and into the shoulder seam. That'll look better, more finished, on the inside. GLAMOR SHOTS Here is the shirt on the hanger! (Yes, that sentence deserved an exclamation point.) I thought the pocket trim was making the shirt look lopsided, so I balanced it with some trim on the other side of the shirt. And some close-ups of the yoke and collar. Do you like the joke I put in the pocket? It's a pocket square! :D Left, below, shows the subtle "pocket square". It's nearly invisible from three paces back, but visible for my brother when he wears it. I think he'll get a kick out of it. Right, below, is a close-up of the side-vent. COST 2.333 yards of fabric at $8.99/yard: $20.97 Round buttons: $2.00 Turtle Button: $3.89 SUB-TOTAL = $26.86 (less 35%) TOTAL = $17.46 FINISHED!
4 Comments
Cynde Roy
9/8/2019 09:31:26 am
Karen, that looks great on him! You certainly know his style and he shows it off well. Nice work.
Reply
The Sister
9/13/2019 01:53:00 pm
I love this ocean blue; it's a great color for him. (I like to line my brown eyes in a bright blue like this to make them "pop", so I know his must do the same in this shirt!) Good job!
Reply
Andrew Ryan
9/17/2023 08:07:55 pm
Karen, I love the embellishments! Such a fun pop of color and design! Hope you're doing well!
Reply
Leave a Reply. |
Karen Roy
Quilting, dressmaking, and history plied with the needle... Sites I EnjoyThe Quilt Index Categories
All
Archives
March 2024
|


 RSS Feed