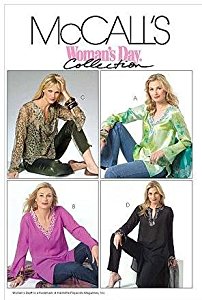
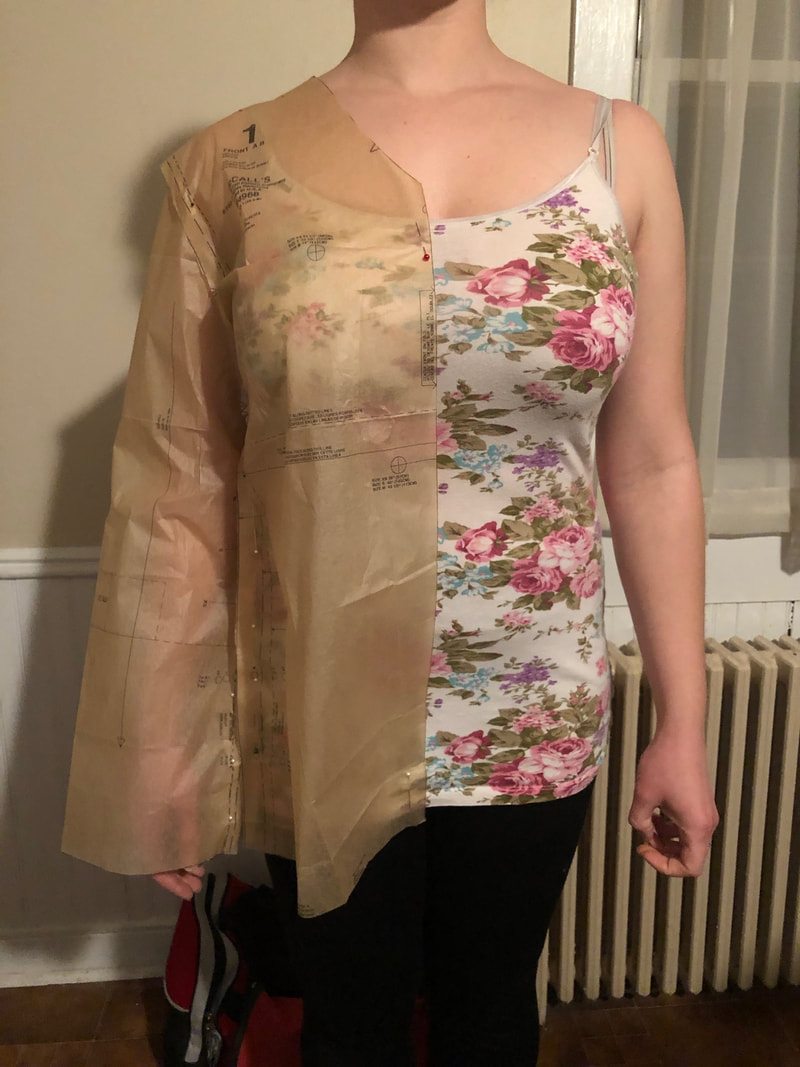
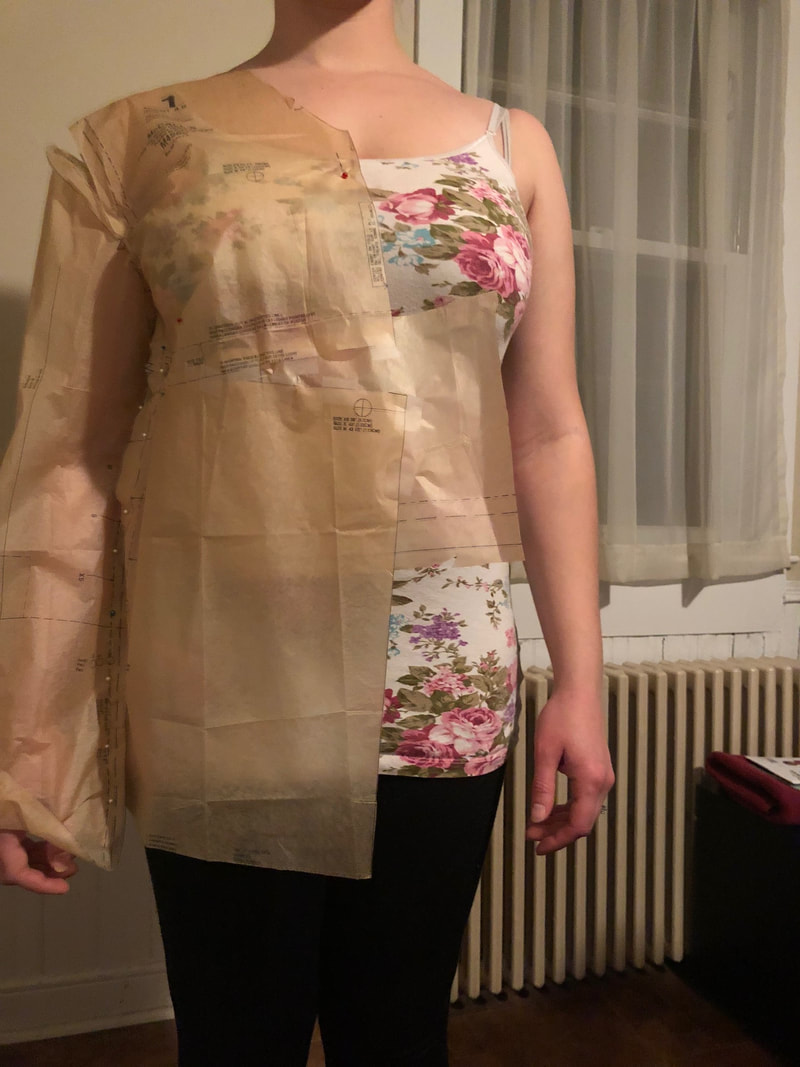
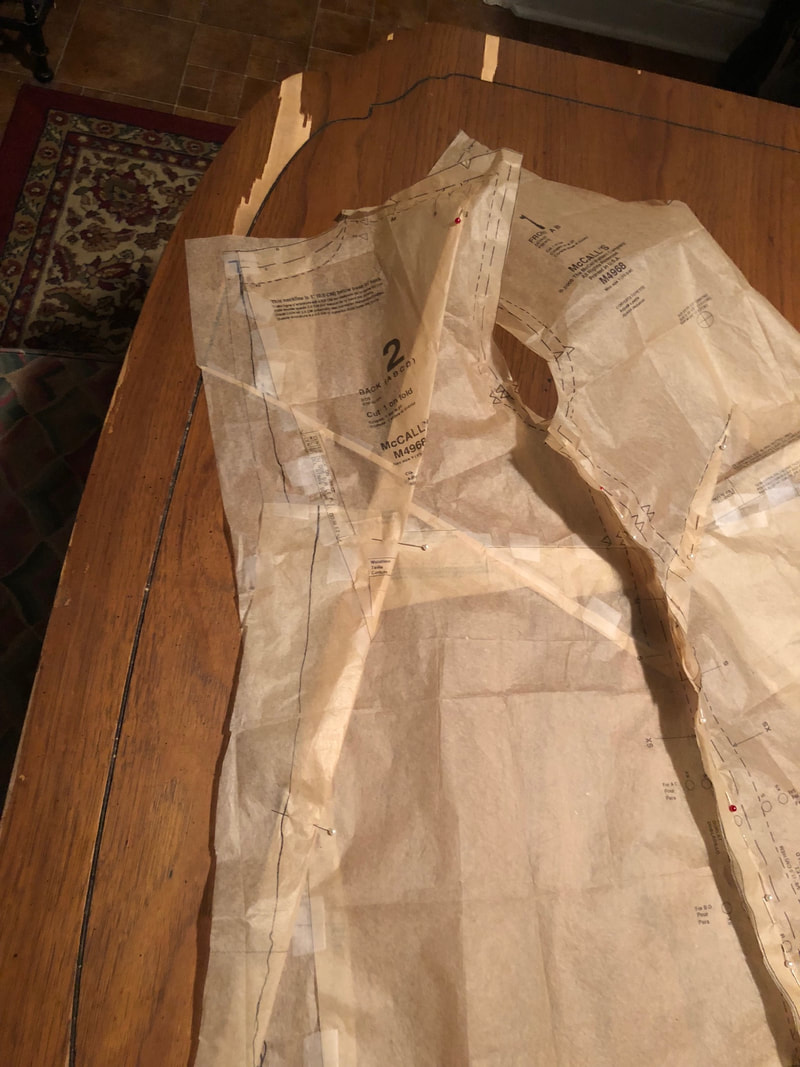
DRESSING PEOPLE, NOT STICKS Let's pause to talk a bit about design and body types. When the pattern is clearly meant to fit very loose and oversized, at least going by the pictures on the envelope, why am I altering it to fit more close to my sister's body? Two reasons. First of all, I just don't think that oversized shirts are a good look on anyone; they make people look bigger. The McCall's models are stick-thin, and they look bigger in the shirts. They have waists and figures... somewhere. Why obscure their assets? And my sister is not a stick figure, so why should she be flapping around with eight to ten inches of design ease around her middle, obscuring her assets? In stores, larger clothes tend to come in boxy shapes with lots of extra fabric, like batwing sleeves, big floaty muumuus, and lots of gathers. But that's not actually a good look for larger bodies, and certainly not a good look for my sister, who has a larger bust but not a larger body. I want to give her something more flattering than the options in the store. Second, my sister's posture is unusual. Since she stands with her hips tilted forward/downward, her bosom is significantly in front of her hips. This means that a looser garment will either hang from her bosom like a curtain (if it's lightweight fabric) or stand out from her bosom like a tent (if it's sturdier fabric). In either case, she looks so much larger than she really is! Below, I've attempted to draw this problem: 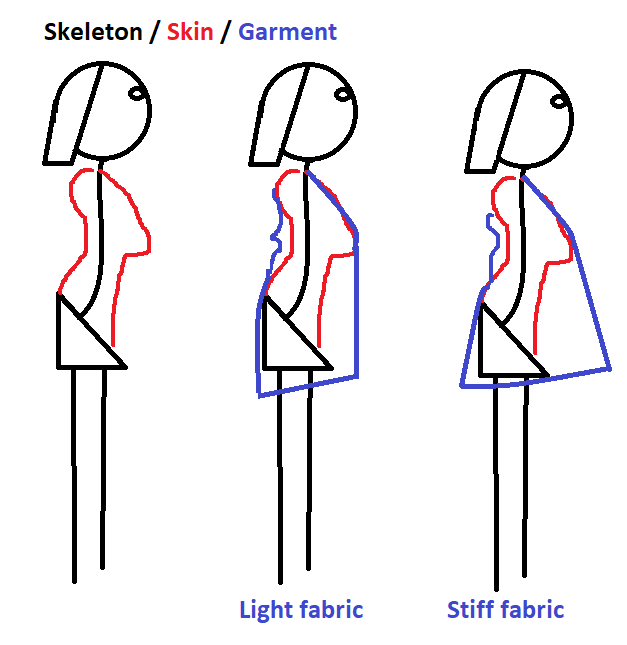 (Mad Microsoft Paint skills, huh?) The triangle shape is her hips, which, if they were a bowl, would be spilling water in front of her. Their tilt elongates her front and shortens her back, causing the hem to hang short in the front* and fabric to pool in the back on top of her bum. And her cute waist under her bosom? Completely lost under hanging fabric! That's not a look I want for her. I want her tunic top to cut in under the bosom to highlight her waist and figure. *As it happens, my sister likes the high-low look because she likes to cover more of her bum, but that ought to be accomplished by lengthening the back panel below the hips, not by having an ill-fitting front panel. All of this just goes to show that the more simple a garment seems to be, like a tunic top, the more complicated it may actually be to make it look good on a human body! Human bodies are not simple shapes, after all. I tried to explain this to my sister by showing her the Mondrian dress, but she just got distracted by how much she hated the dress! (I love the Mondrian dress.) PIN FITTING THE TISSUE PATTERN I start this one by pin-fitting the paper pattern. I measure her bust, waist, and hips, and pick a size based on her largest dimension. Then I cut the pattern out in that size and pin it together at the seams, and try it on her. The paper pattern hangs tent-like, as a stiffer fabric would. Here is the original pattern, no alterations:
At this point, I should probably go online and look up step by step instructions for pin-fitting patterns. But do I? Nope. I don't even think of that option. I just jump straight into fixing the biggest problems first:
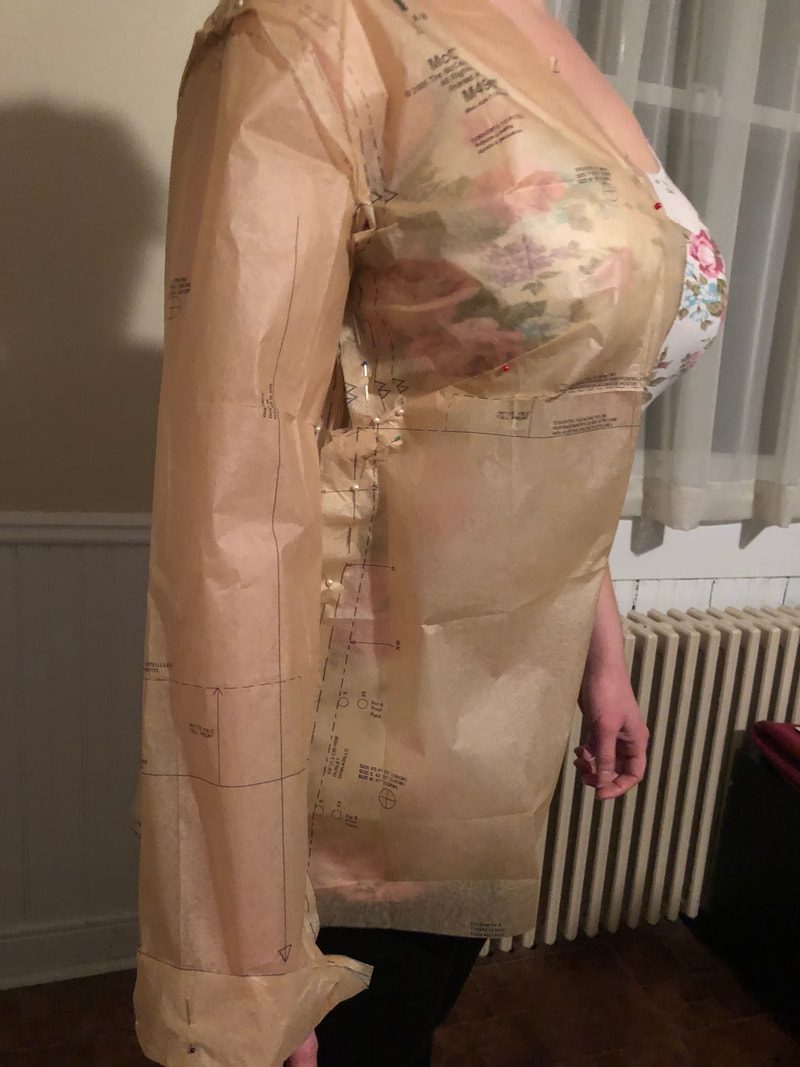
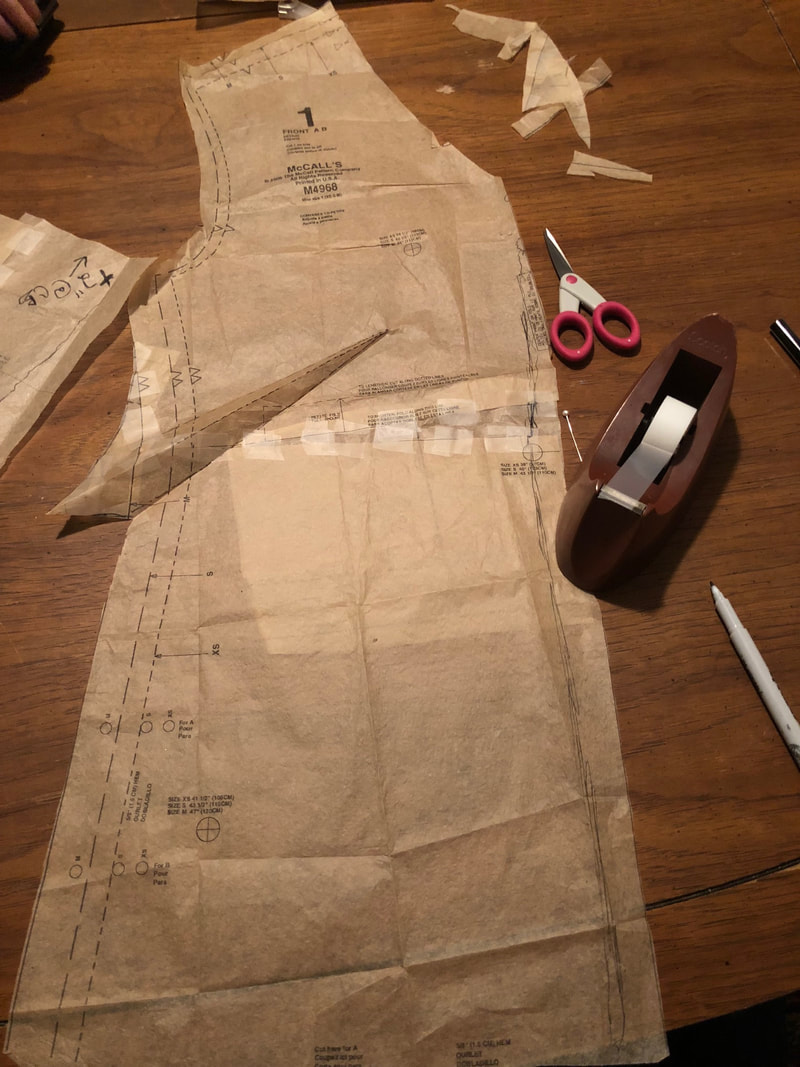
These changes cause side effects, or sometimes further problems. The bust dart pulls in some of the front tenting, but shortens the side, so the front panel is now shorter at the side seam than the back panel. The front hem is riding high. I have to decide between adding length to the bottom or slashing the middle and adding length there. I'm not sure which is correct, so I go with my gut: because my sister's posture elongates her torso at the solar plexus area, that's where I slash and add some length. When I lay the paper pattern piece flat, I have to add some tissue around the seam allowances of the dart, so there's enough fabric to fold over there. As for the added triangle in the center, since I slashed all the way through the pattern piece, the pattern piece still lies flat even with the new triangle. However, the Center Front is now wonky, so I re-draw it.
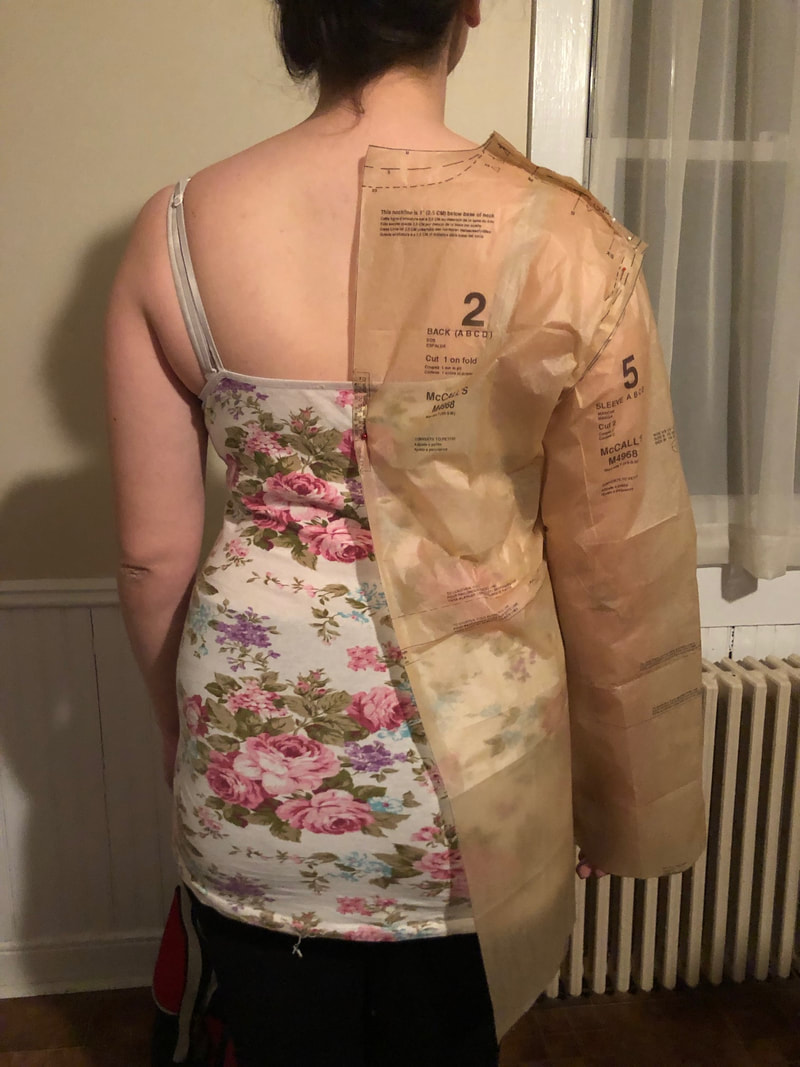
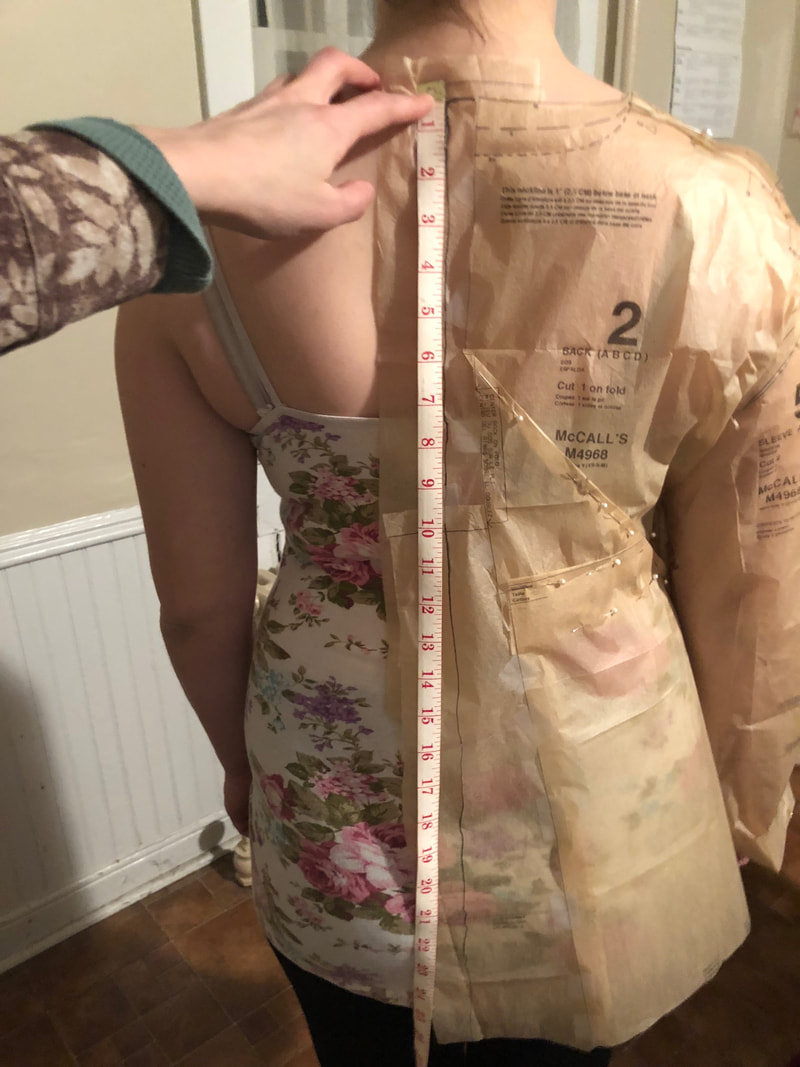
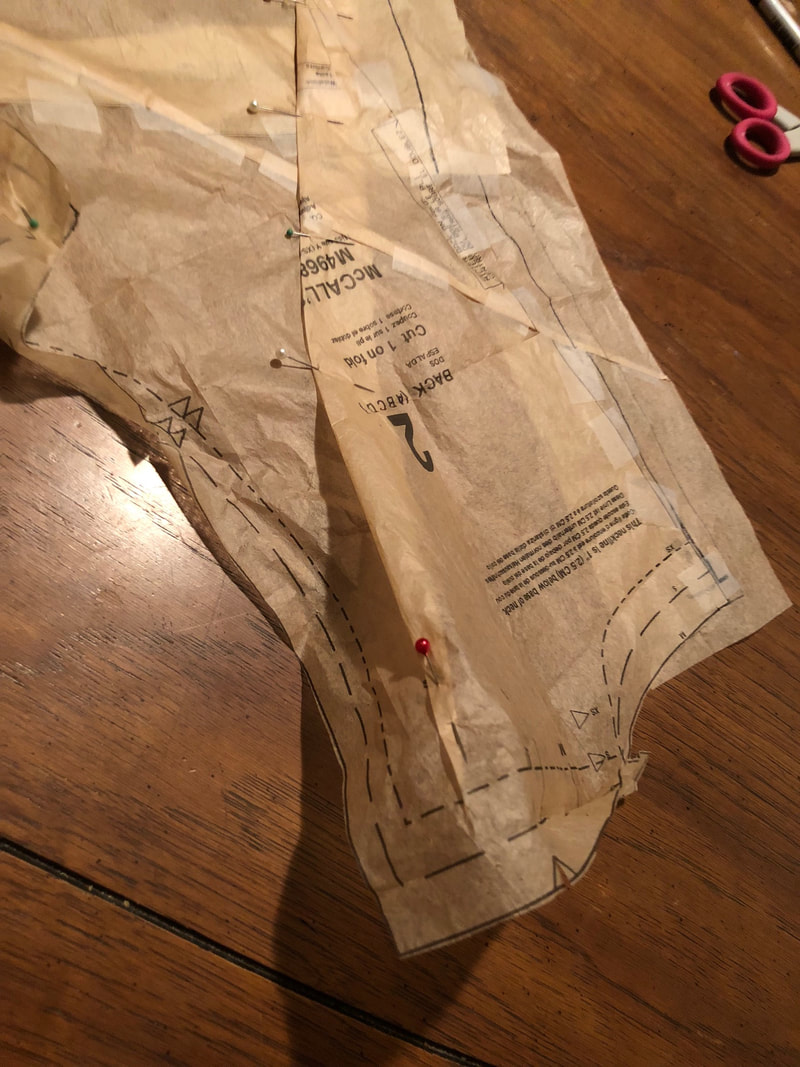
As for the back... I'm afraid I make a hash of it. I previously tucked up some of the excess puddling in the small of her back. Now I see a diagonal crease, so I fix that by tucking it out. So far these changes are complete slashes that leave my pattern piece flat. But when I add some tissue to the Center Back area, I do so on her body instead of taking the piece down to the table, so now my piece isn't flat any more! But I don't realize this, so I carry on, drawing a new CB using a tape measure as a plumb line.
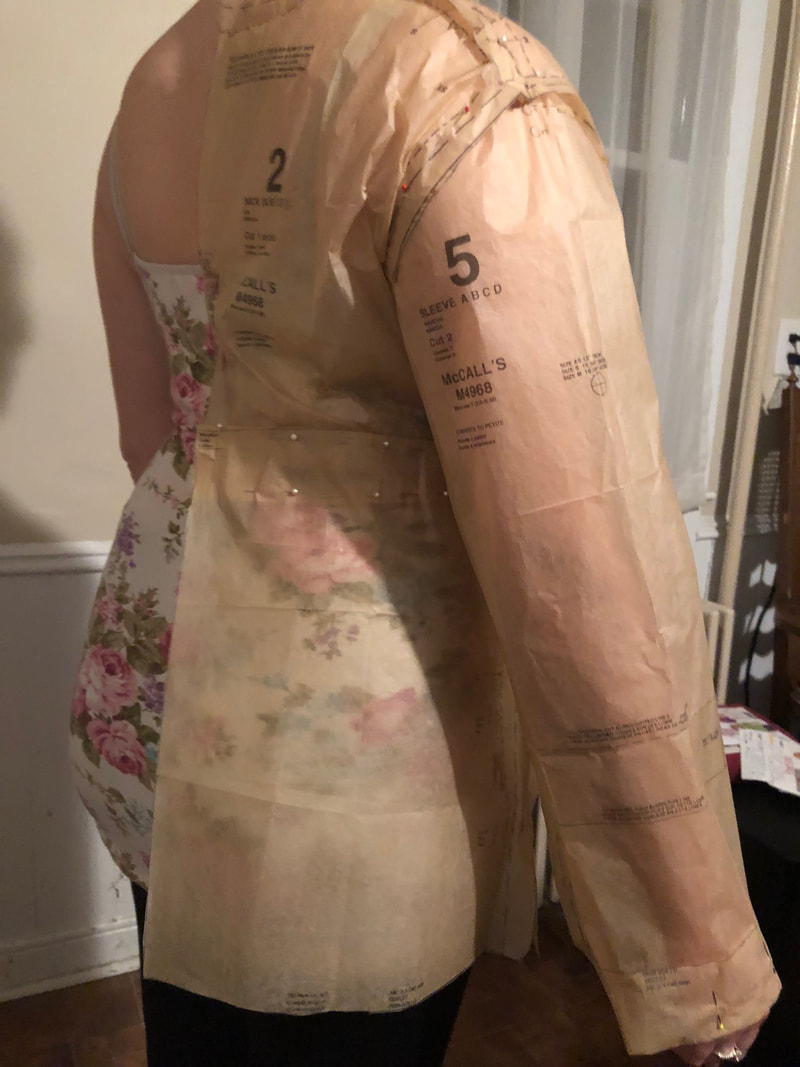
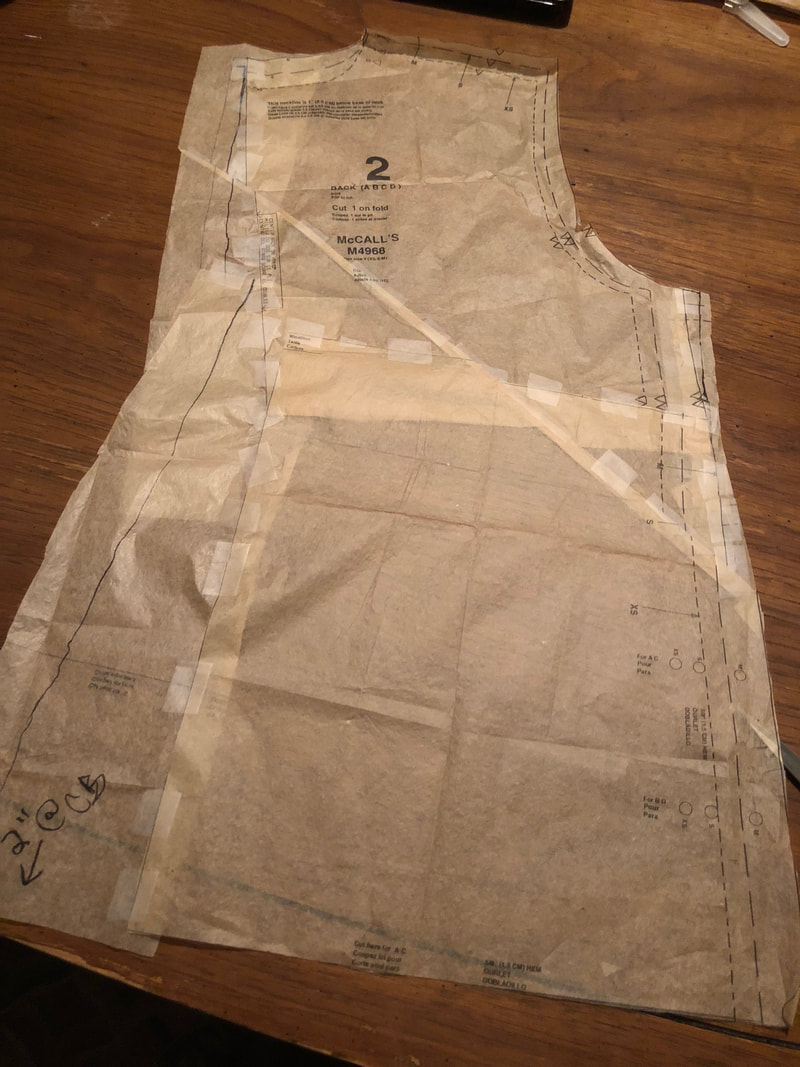
Since the back piece now doesn't lie flat, I fuss with it, which skews the CB line, which leads to more fiddling... and I should really stop. I wish I could explain what-all's going in the following pictures, but truthfully, I have no idea! What a mess! My mom and sister tease me as I work: "People pay you for this, huh...". Snarky!
The final result is... interesting. 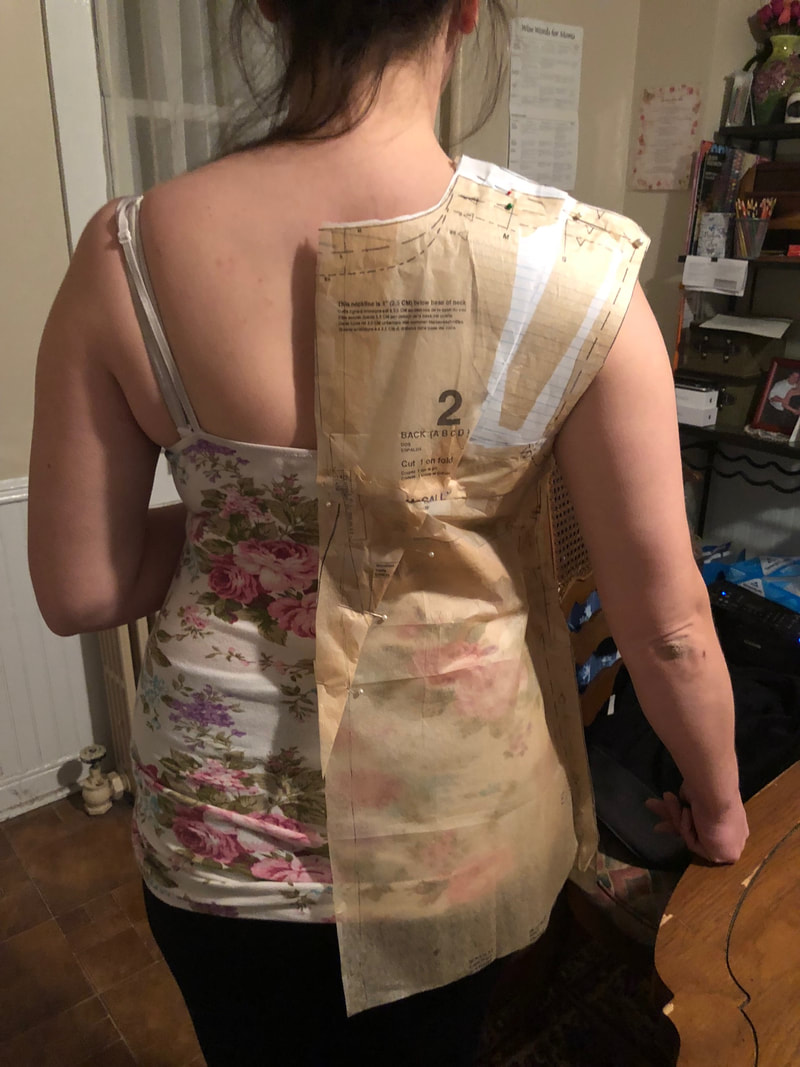 I... have no idea. My sister says the back is still not long enough to cover her bum when she's wearing leggings, so I add some length to the paper pattern, and taper it up to match the shorter side seam. MAKING THE MUSLIN I stop fussing with the tissue because I'm afraid I'll ruin it if I don't. Plus, as the denim blazer taught me, a tissue fitting is no substitute for a muslin. So it's on to making the pattern in some simple cotton. The result: 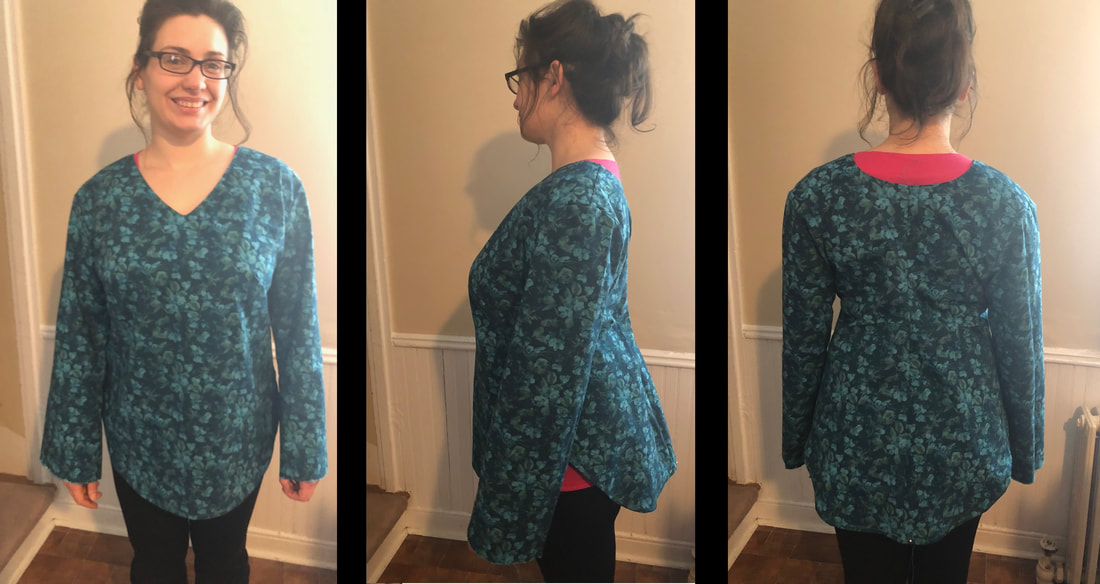 What I like:
Overall, I'm pleased with this muslin, and looking forward to making it up in a different fabric.
1 Comment
The Sister
3/2/2018 11:08:02 am
The irony is that you sketched out my form in a stick figure. :-D Boy do I look tired in the final photo. I think that's my "unenthralled" face, but looking forward to a different fabric that will hang better. Thank you for trying to dress me well! I love you! Leave a Reply. |
Karen Roy
Quilting, dressmaking, and history plied with the needle... Sites I EnjoyThe Quilt Index Categories
All
Archives
March 2024
|

 RSS Feed