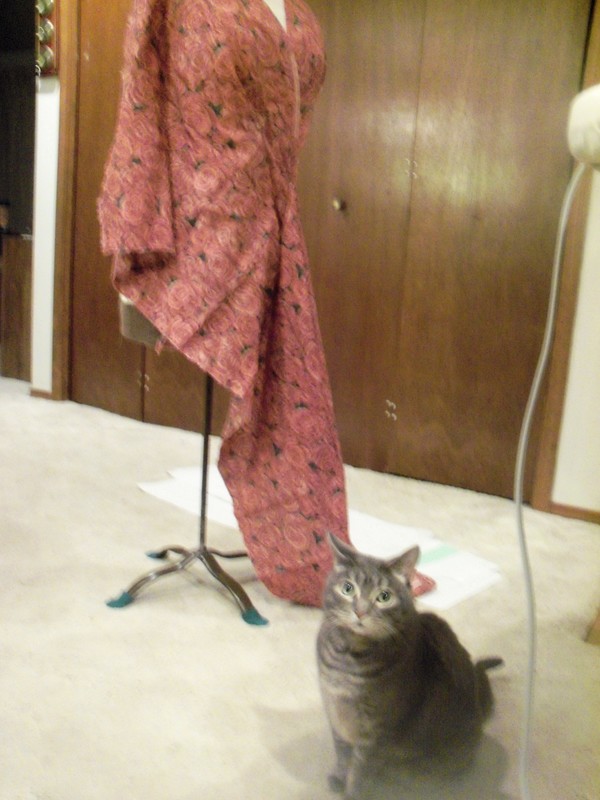
The first thing I do is take some fabric and throw it on Claudia to see how it hangs and how much I have. This fabric is from the same source as the fabric for the rose chintz bodice, and also has a rose motif. Cutie-Pie enjoys this part of the process, and keeps circling around sniffing the yardage. DRAPING THE BODICEWell, I have enough of that rosy cotton for a top, so I set it aside and grab some muslin of a similar weight to make the bodice pattern. I take one corner of the fabric and pin it to her shoulder, so the V-neck that criss-crosses her front is on grain (meaning the grain runs parallel to the V), not on bias. (Previous experience with this type of wrap top taught me that! If you cut the V-neck fabric on the bias, you have to interface and stabilize really well, or it'll stretch a little every time the garment is put on, and eventually it'll gape and ripple.) I take the other side of that corner and make it a side seam. (That side seam eventually changes, but for now, it's pinned.)
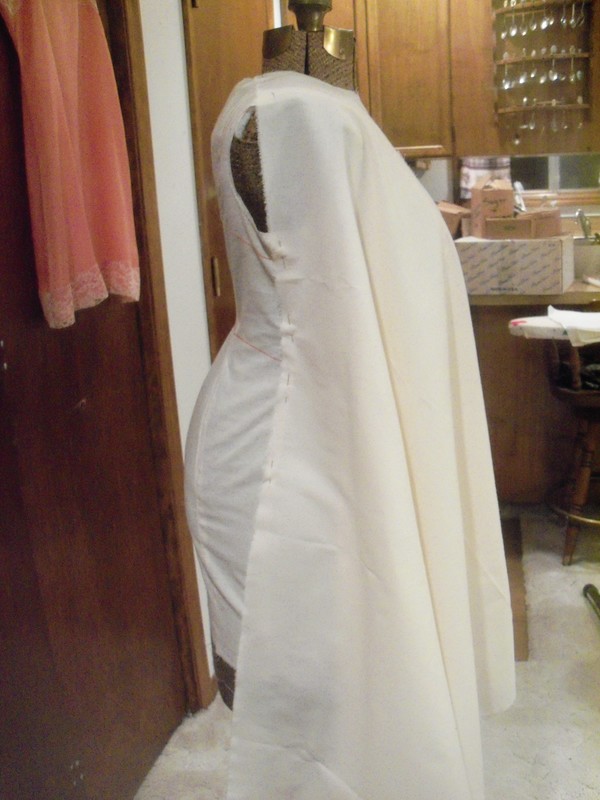
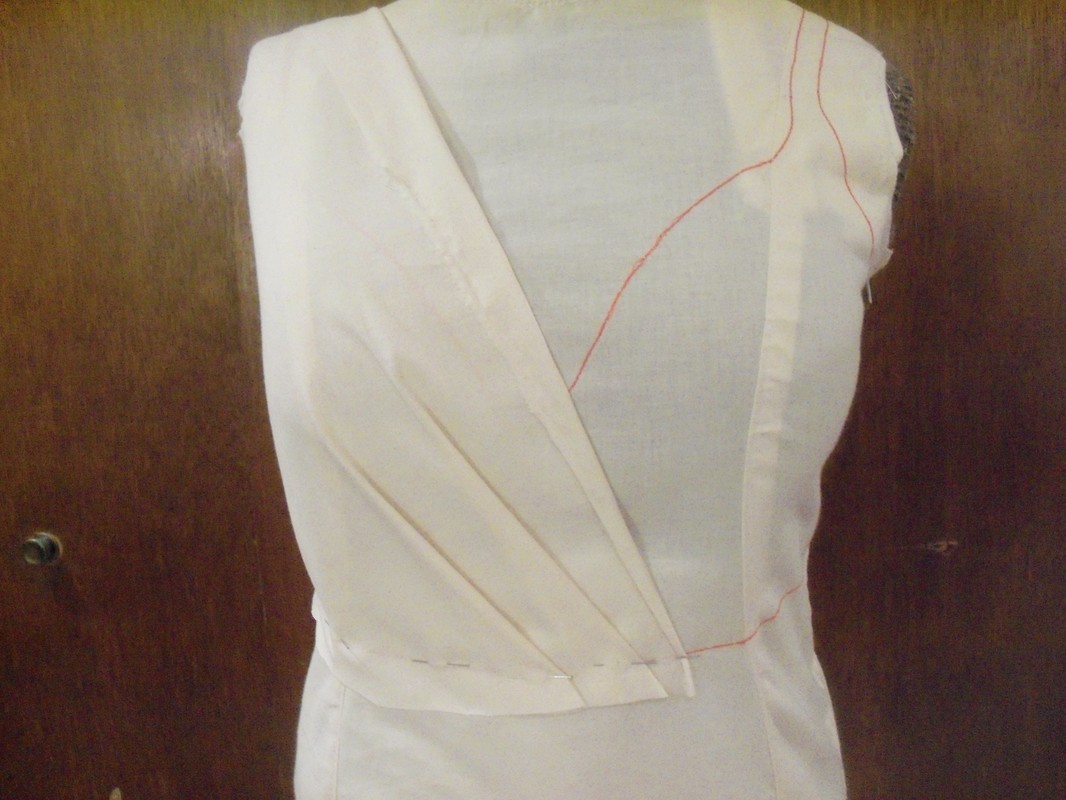
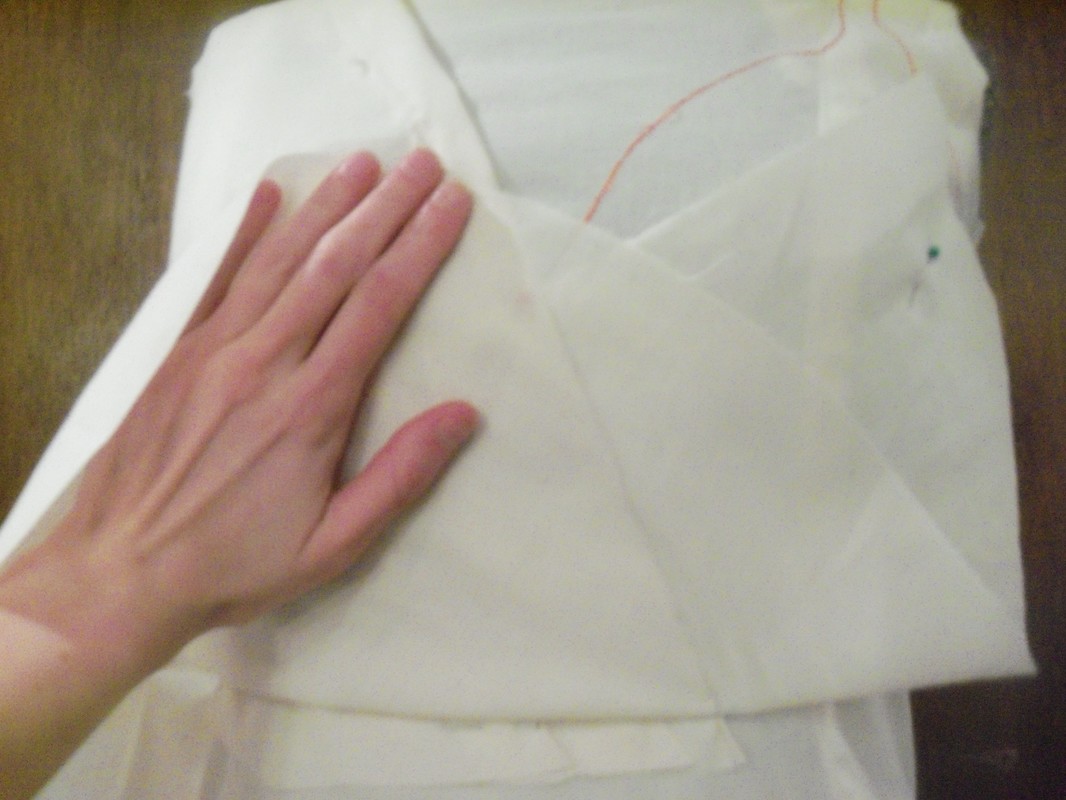
Next I pinch and pin and fiddle with things at the front, eventually making two slanting darts to take in the excess fabric under the bust. The darts create a pleasing fan effect at the center front. However, they don't take in all the fabric, so I take the rest out at the side seam, making it no longer on grain. That's okay. Finally, I cut the armscye out, a sliver at a time. You can always cut more, but it's hard to put back!
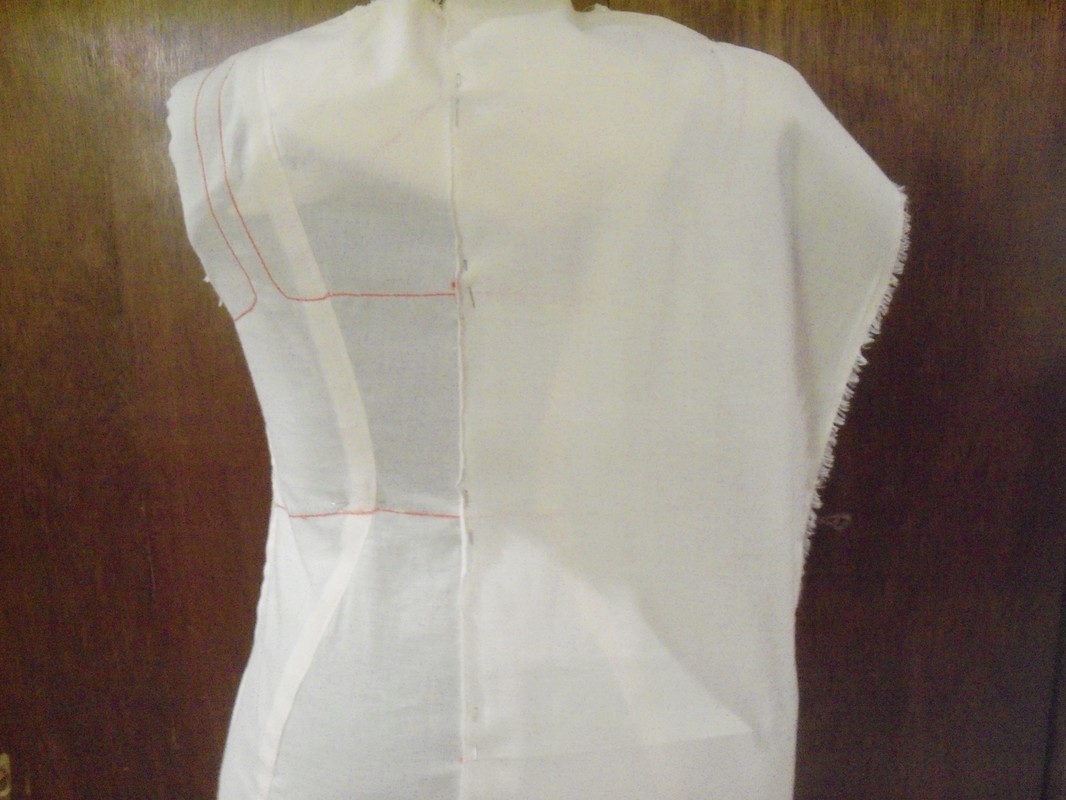
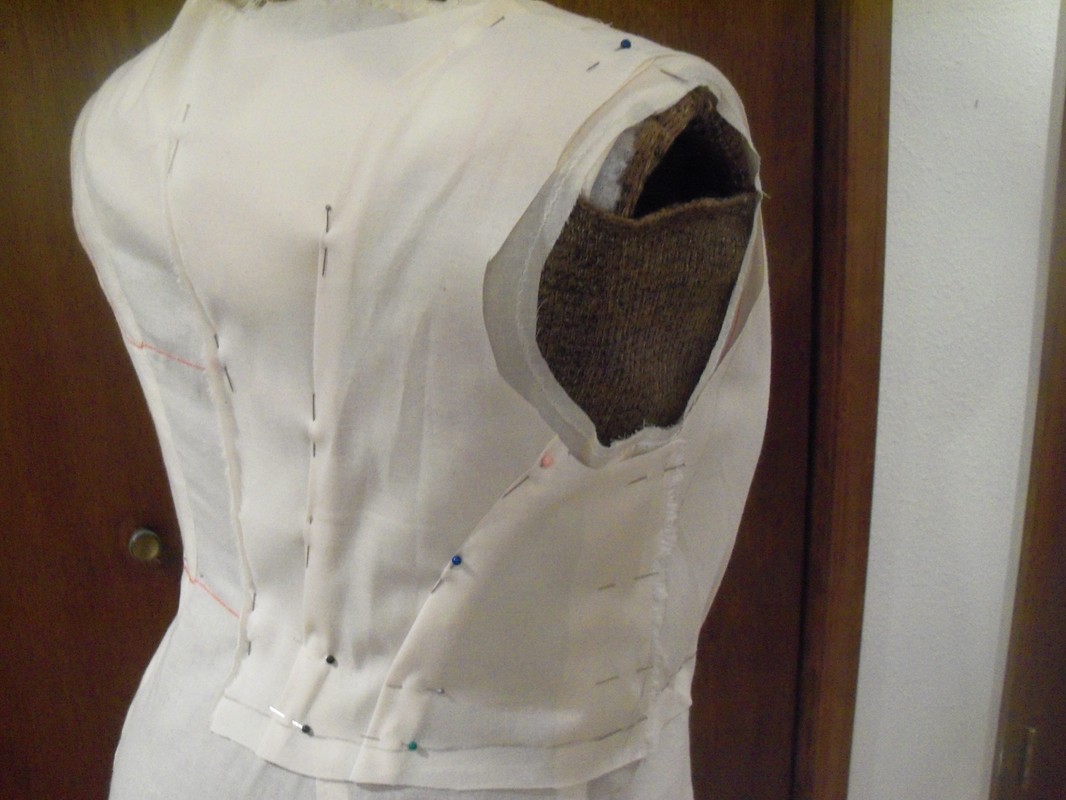
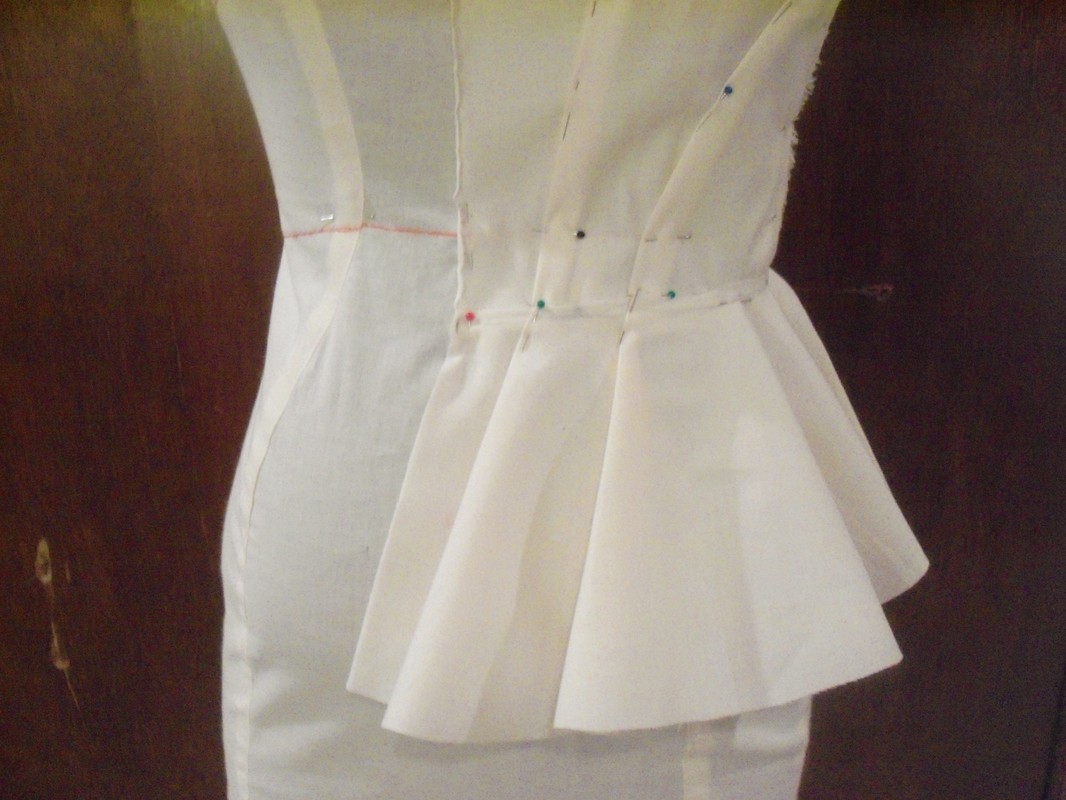
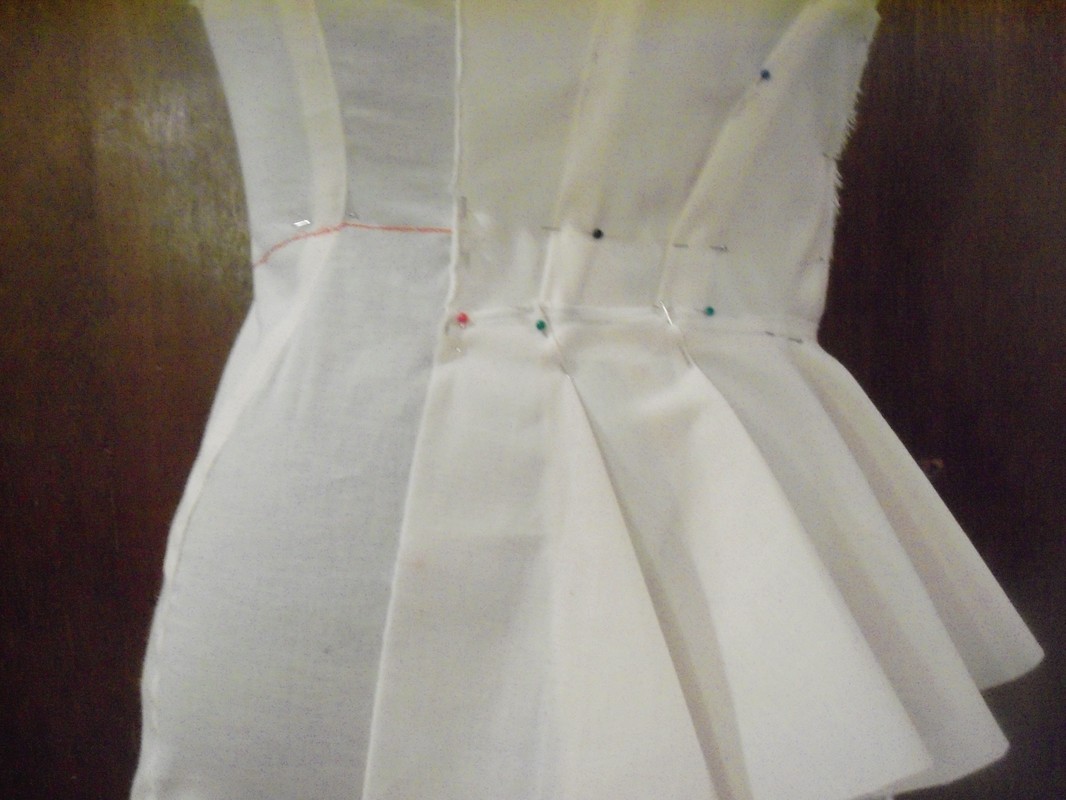
The back is next. I pin the Center Back on grain, and pinch and pin various seams to make a Victorian style multi-paneled fan back. I like these multiple seams for detail and to get an exact fit in the small of the back. I cut the back armscye.
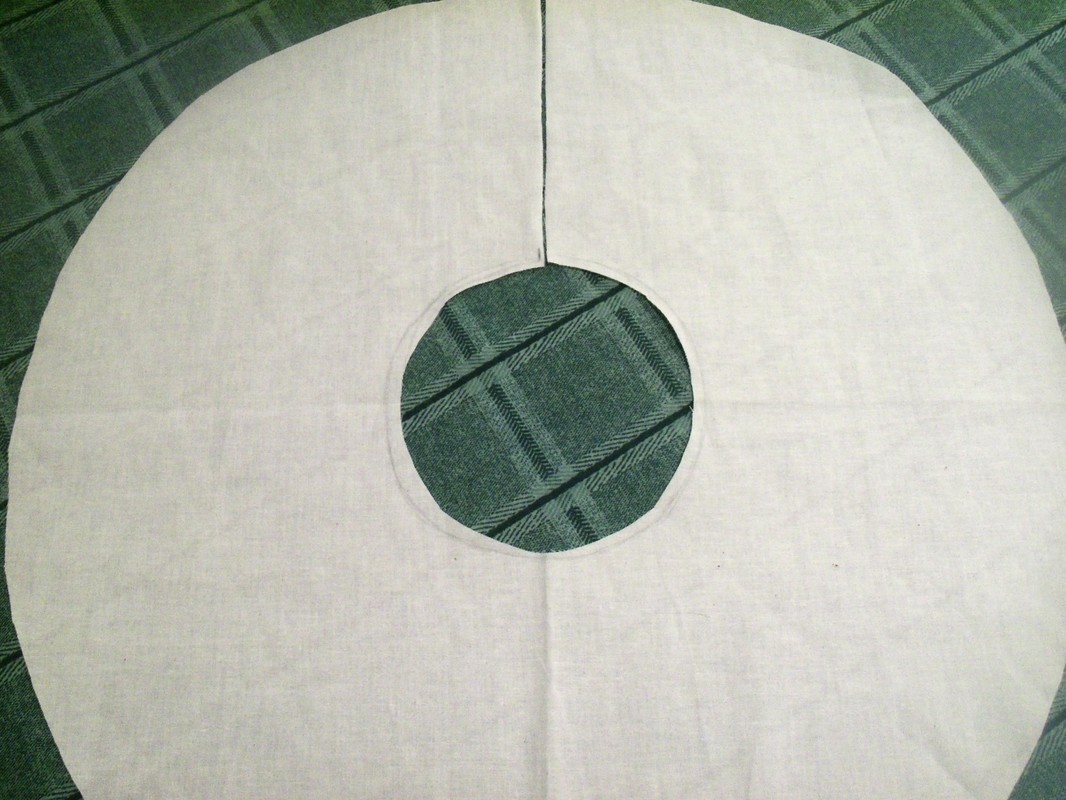
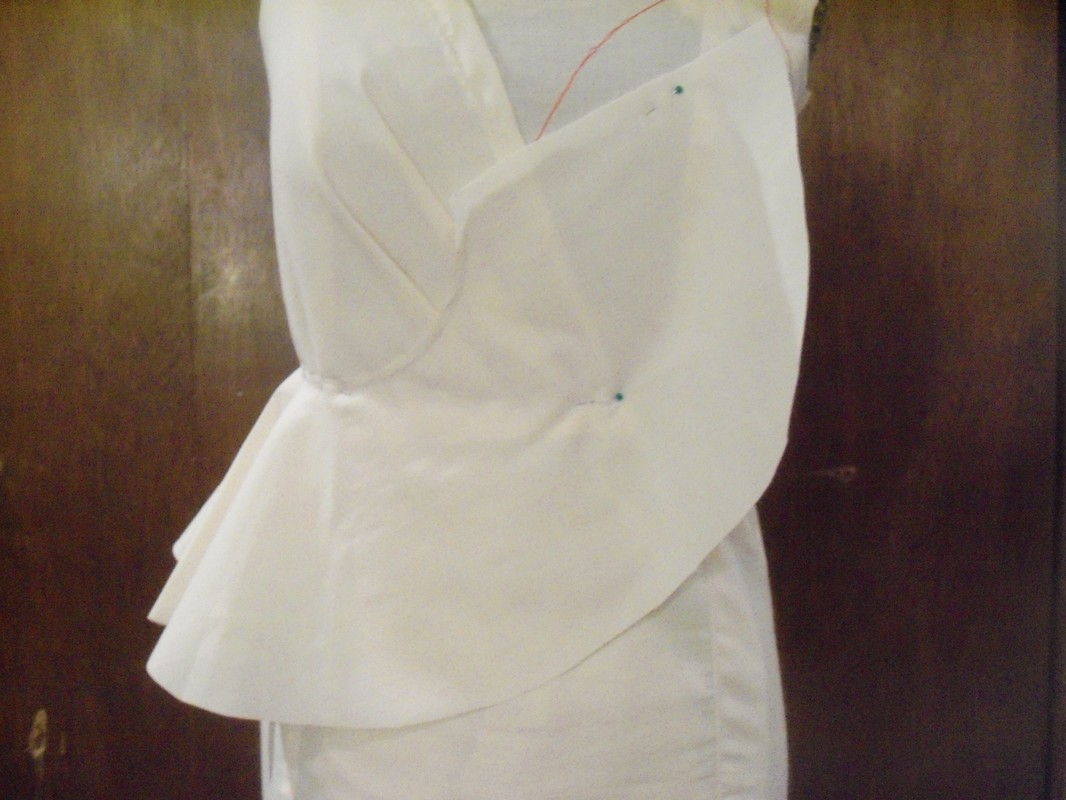
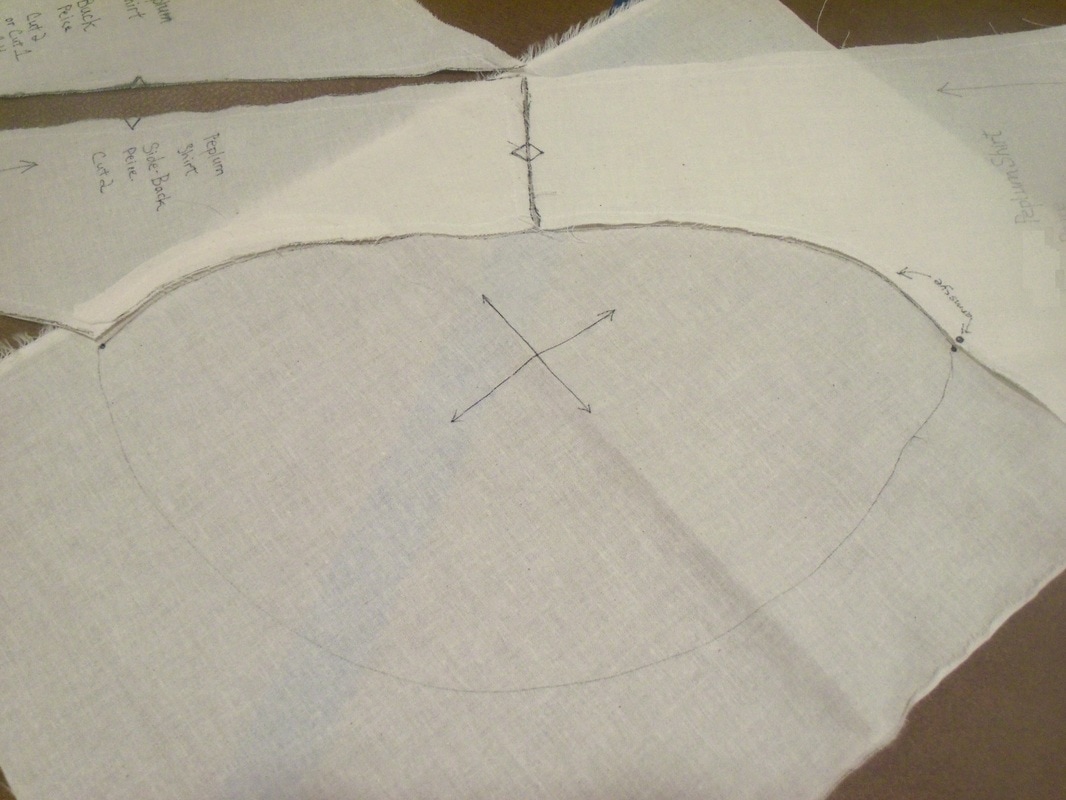
SAGA OF THE PEPLUMSo far, I haven't ventured into new territory: I've made wrap tops and Victorian fan backs before. However, now I get to have some fun with the peplum! To start, I cut a circle to make the flounce. The inside of the circle is the length of half the waist (since I'm only draping half the dress form). Actually, it's a bit smaller than the length I need, since I know it'll stretch on the bias as I work with it. I pin it on.
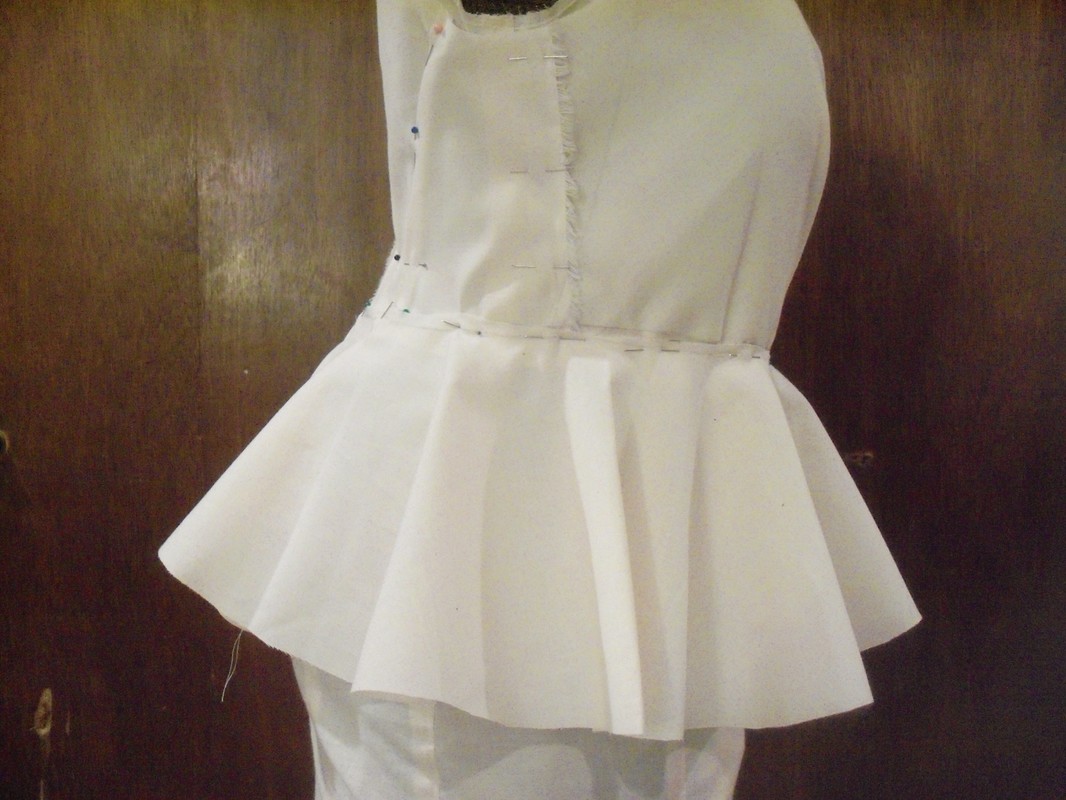
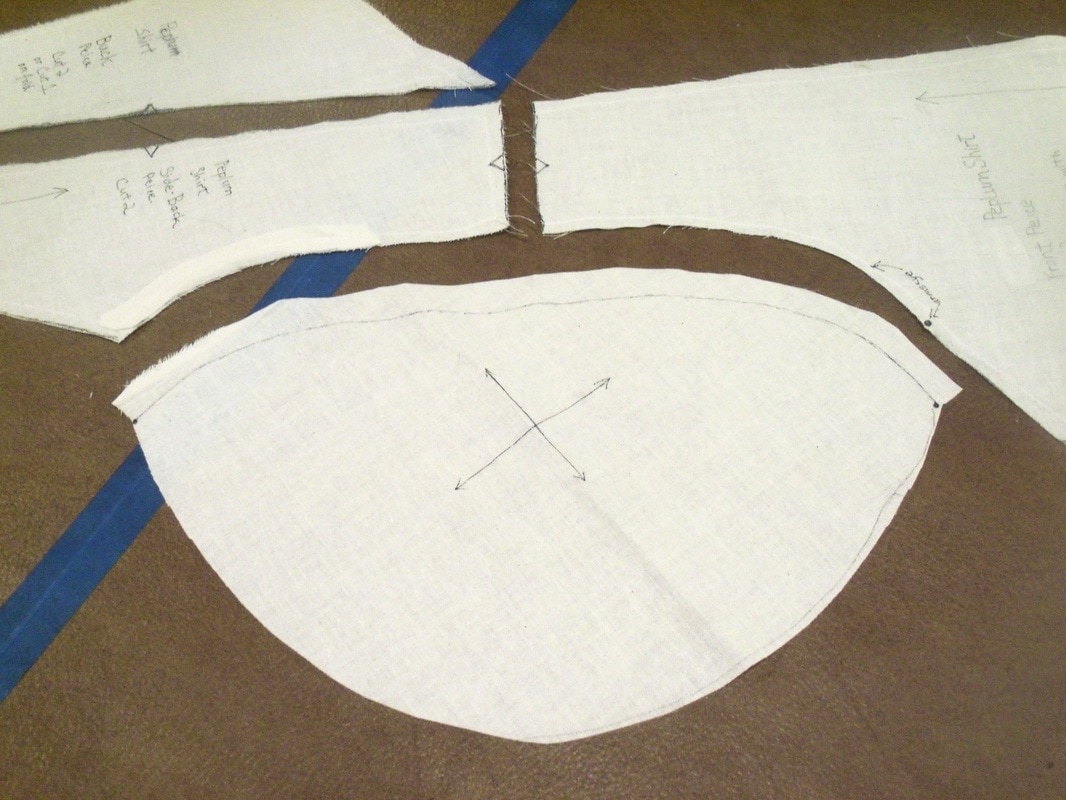
Now, the funny thing about circular flounces or circle skirts is that they never hang quite the same all the way around; some parts of the circle are on grain, and others are hanging on the bias. So here's where I start to have fun... First, the front is really dorky: 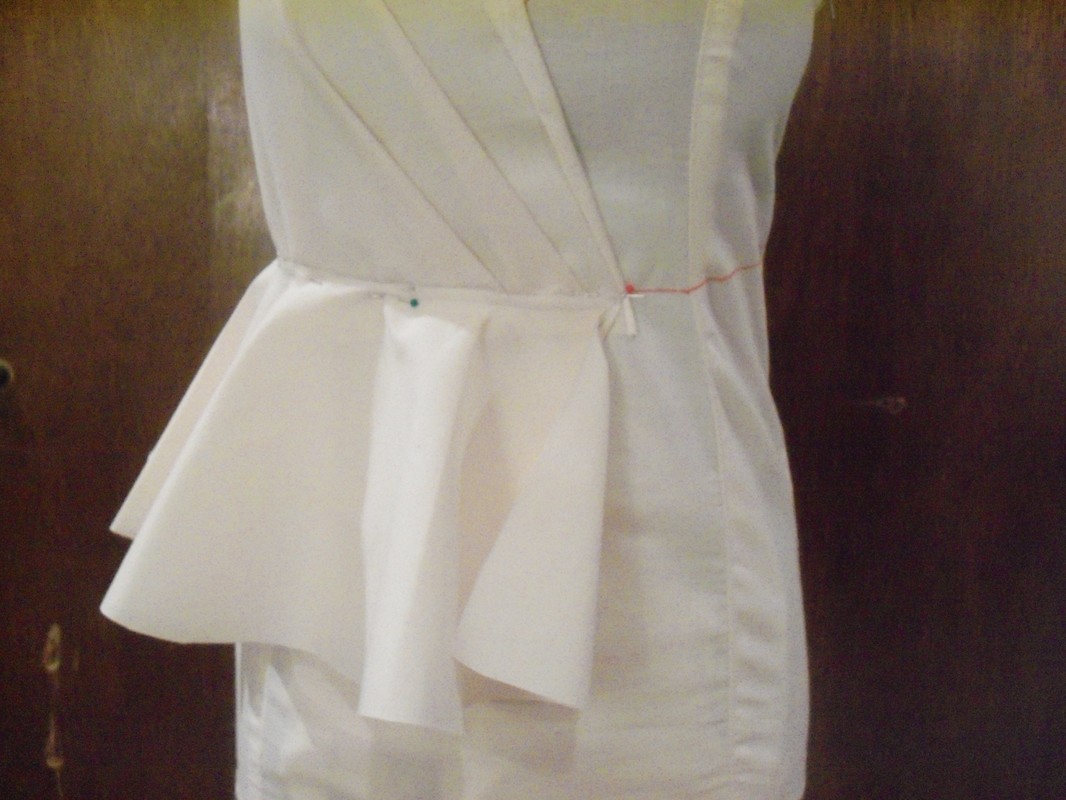 No-one would wear this! So I pivot the circle up and try pleating it... 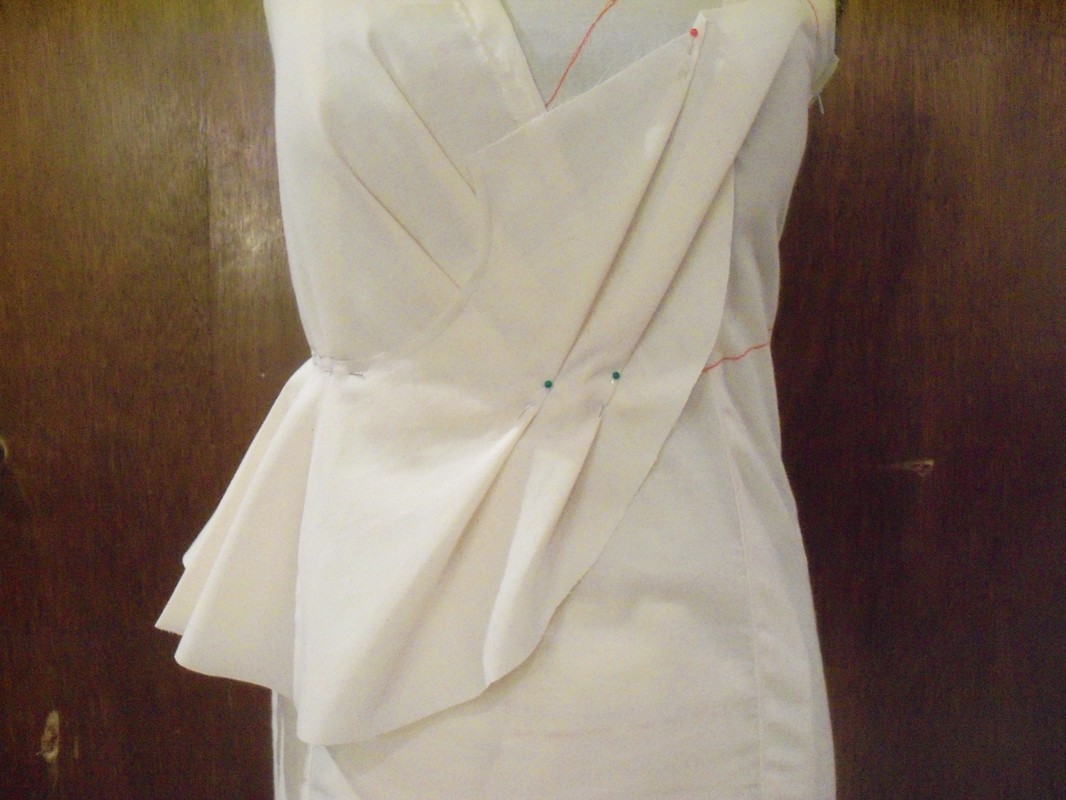 Better, but the crisp pleats might not translate to my fashion fabric. Finally, I decide just to flatten the front. I open the circle up to flatten it out. Then I lift the front skirt and trace the line of the V-neck.
When I cut along that line, and curve the bottom, I get a mirror image of the top. 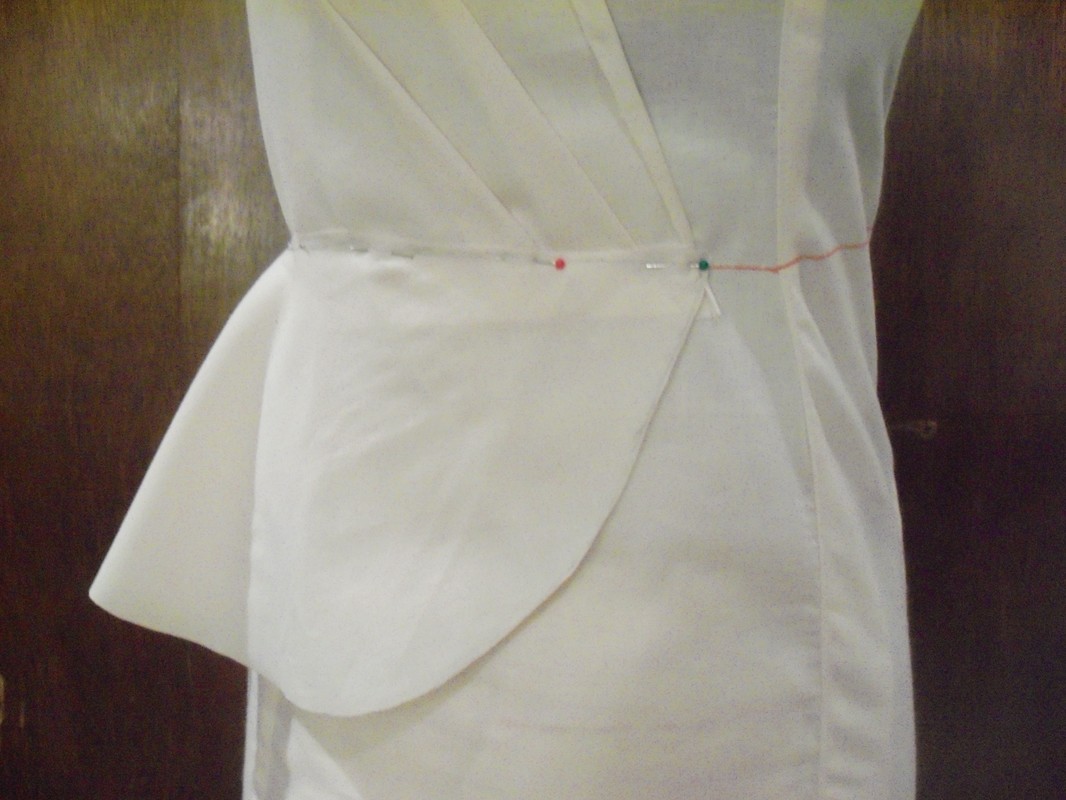 Front peplum trimmed and done. And what about the back? I play around some more:
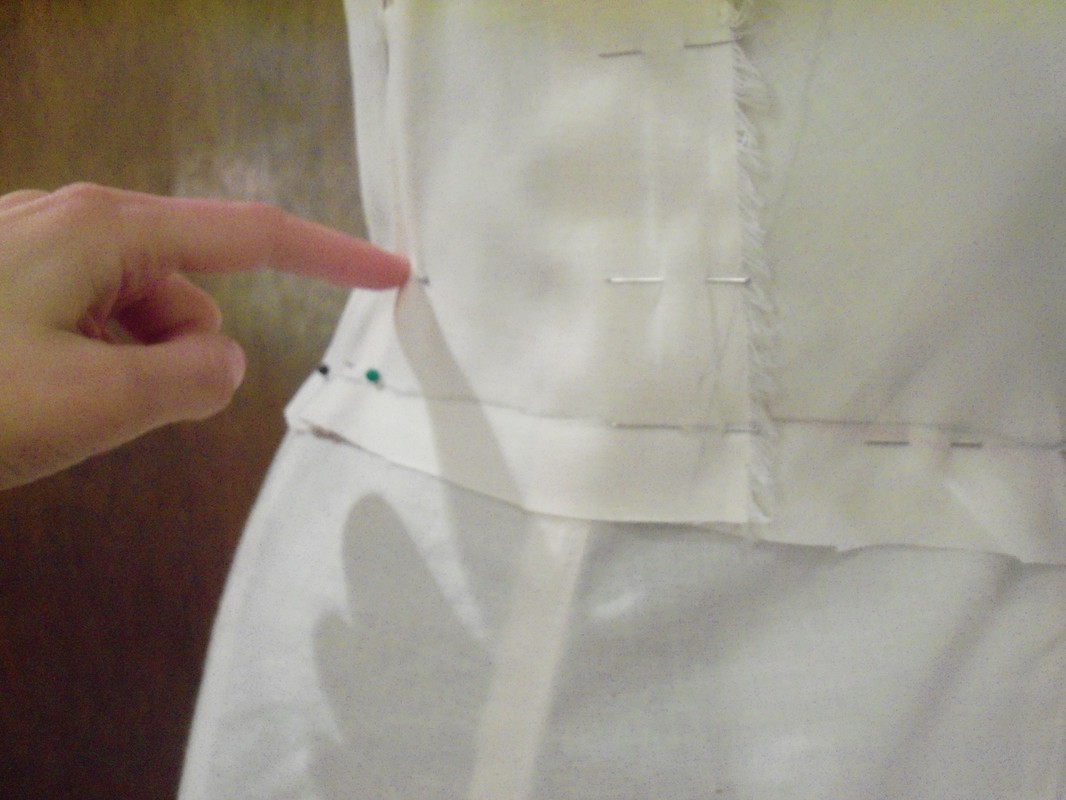
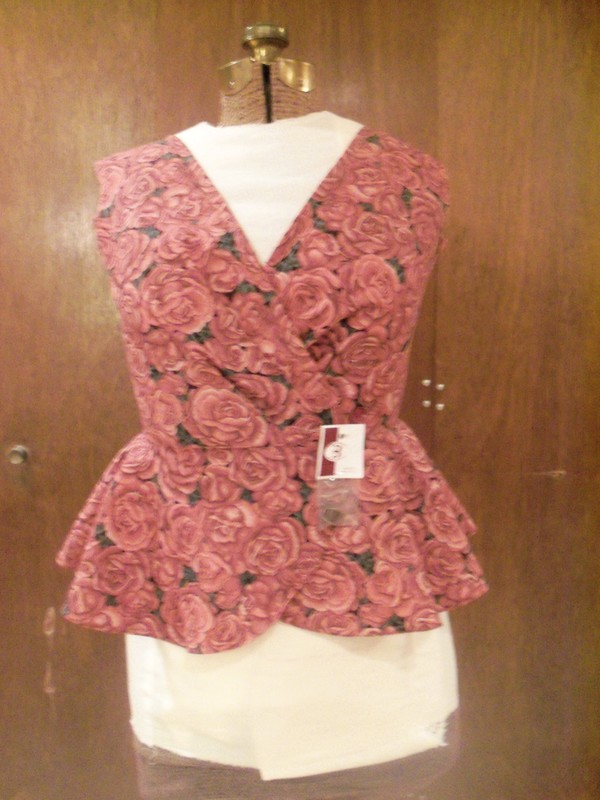
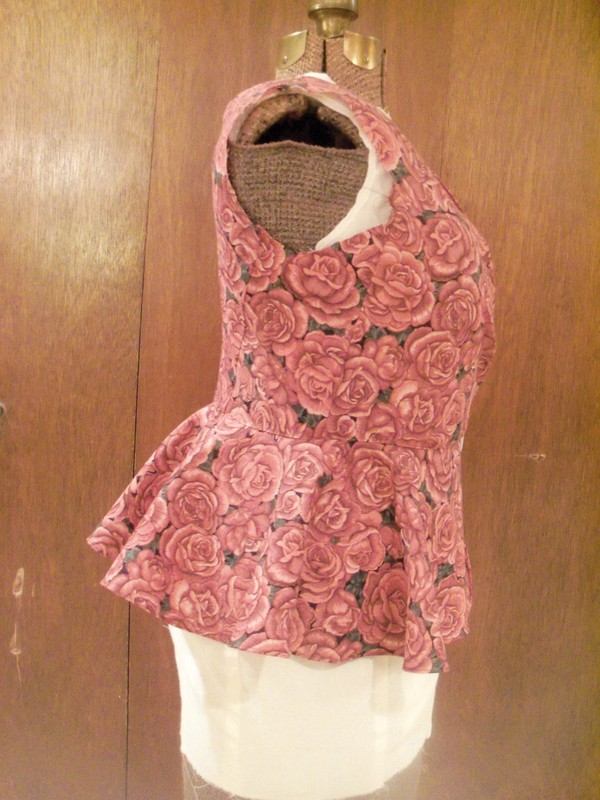
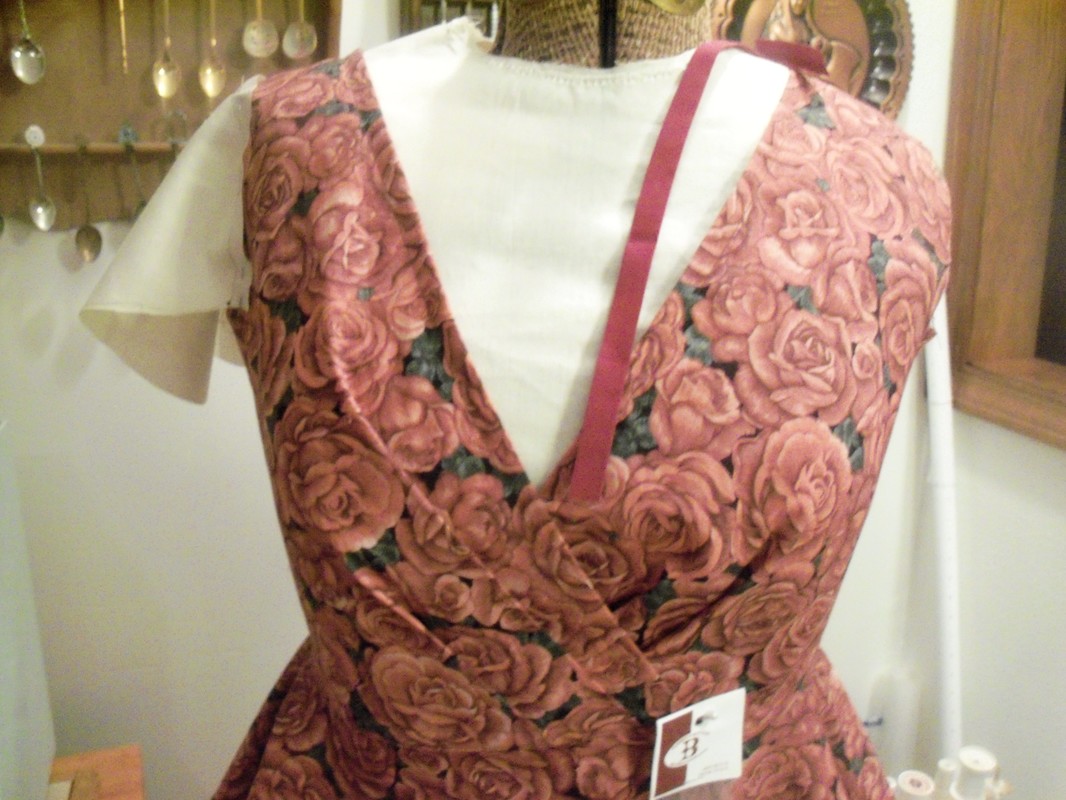
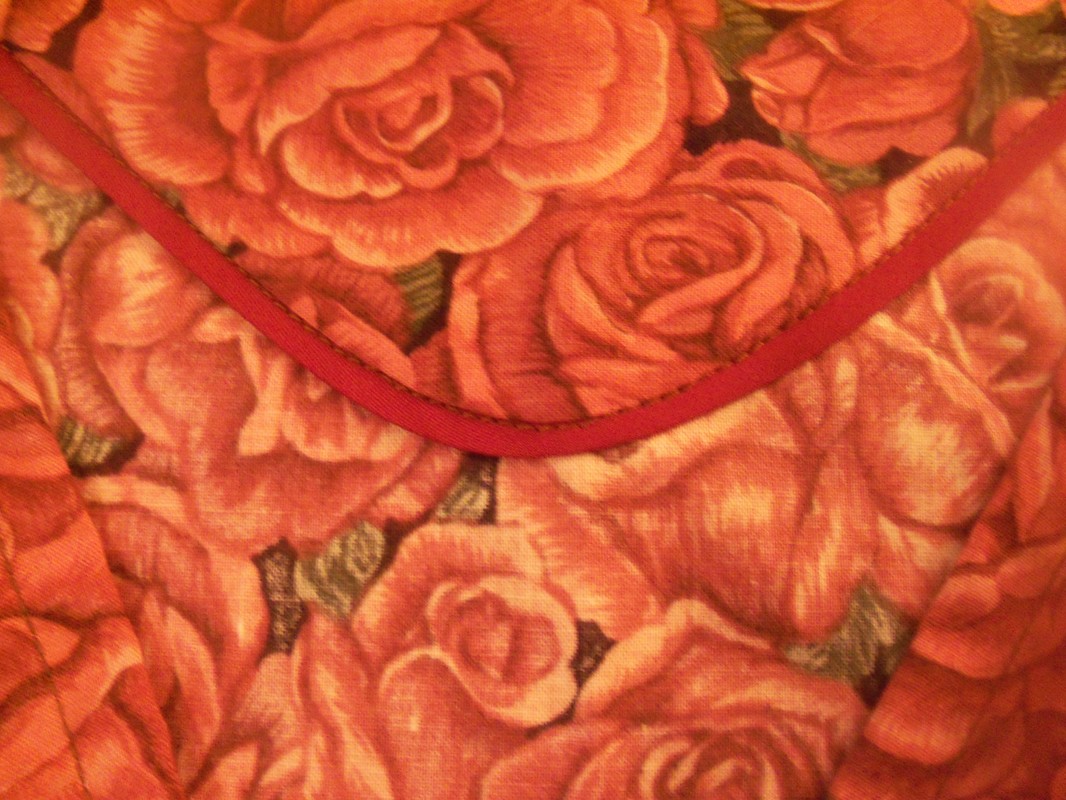
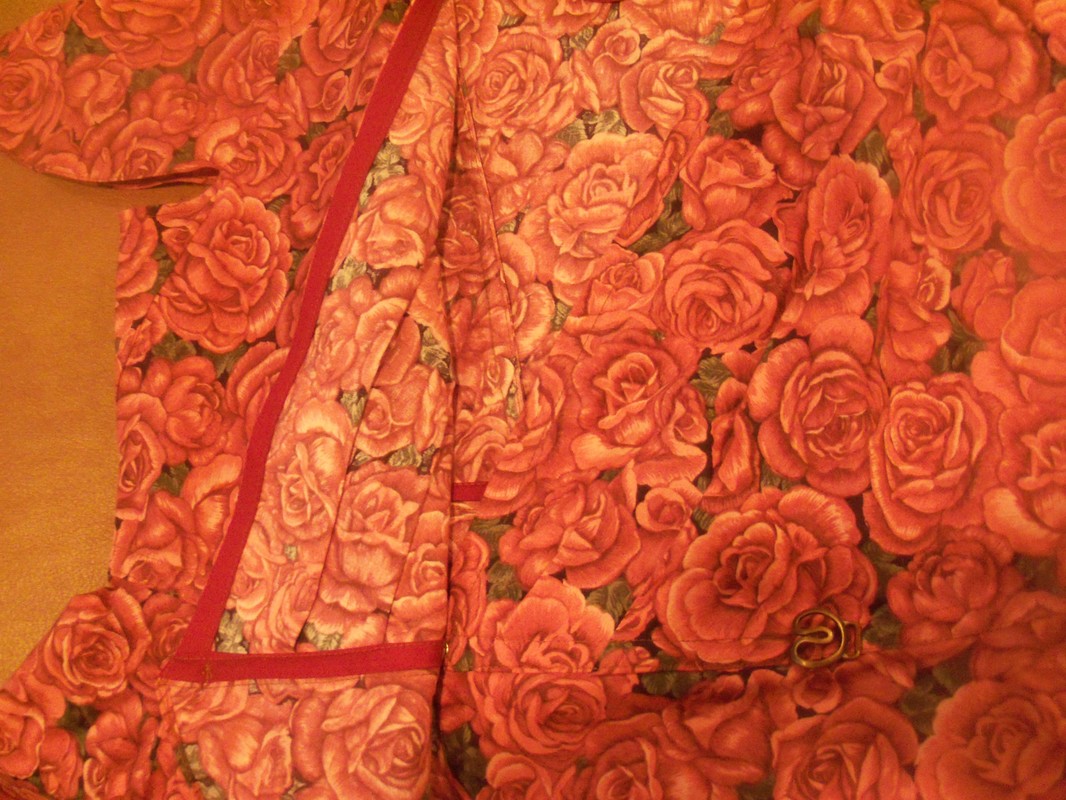
In the end, I settle for not pleating the back at all, just letting it drape. Here's the finished garment on Claudia:  NOW FOR THE FLAT PATTERN...Using a fine-tip Sharpie marker, I mark all the important points, pleats, grainlines, et cetera, before removing the muslin from Claudia. I then stay-stitch around each piece to prevent warping or distorting when I iron them or handle them. This pattern has no seam allowances, so I add them to the fabric as I cut. 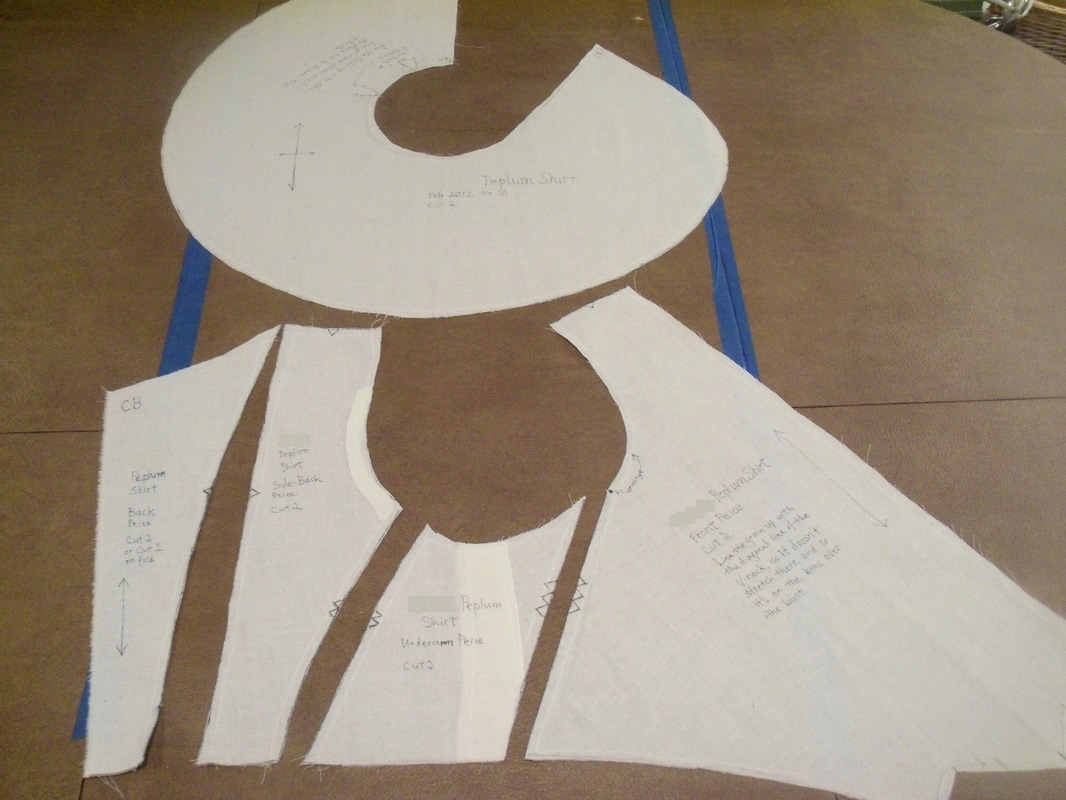 EVERYTHING IS COMING UP ROSESI don't do anything particularly fancy in the construction of this top. Seams are either French seams (vertical) or felled (shoulder seam). The waistline is sewn with bias tape covering raw edges. The V-neck is faced with more bias tape, and the back collar gets a self-fabric facing edged with bias tape. The hem of the peplum is a skinny Calvin Klein hem, so called because at one point Calvin Klein garments used it a lot, not because Calvin Klein invented it. (I'll do a tutorial soon on the Calvin Klein hem, since I'm rather fond of it.)
After looking at it a while, I start wondering whether I ought to give it sleeves. It's an unlined cotton wrap, good for putting on over a camisole in the summer, to be dressed but still breezy and cool. And the problem with sleeveless garments is that the sun beating on your shoulders actually makes you hotter, while a thin layer of cotton fluttering in the breeze would cool you down. (It's no accident that Arab men wear voluminous robes... perfect for protection from the sun, and cooler than wearing less clothing would be.) Plus, no-one wants sunburned shoulders... sunburns are painful, ugly, and dangerous. But, the problem with this garment is, if I add sleeves, won't it accentuate the shoulders, a feature I am trying to downplay? But then, the more I look at the top, the more I think it needs sleeves. SLEEVE DRAFTING
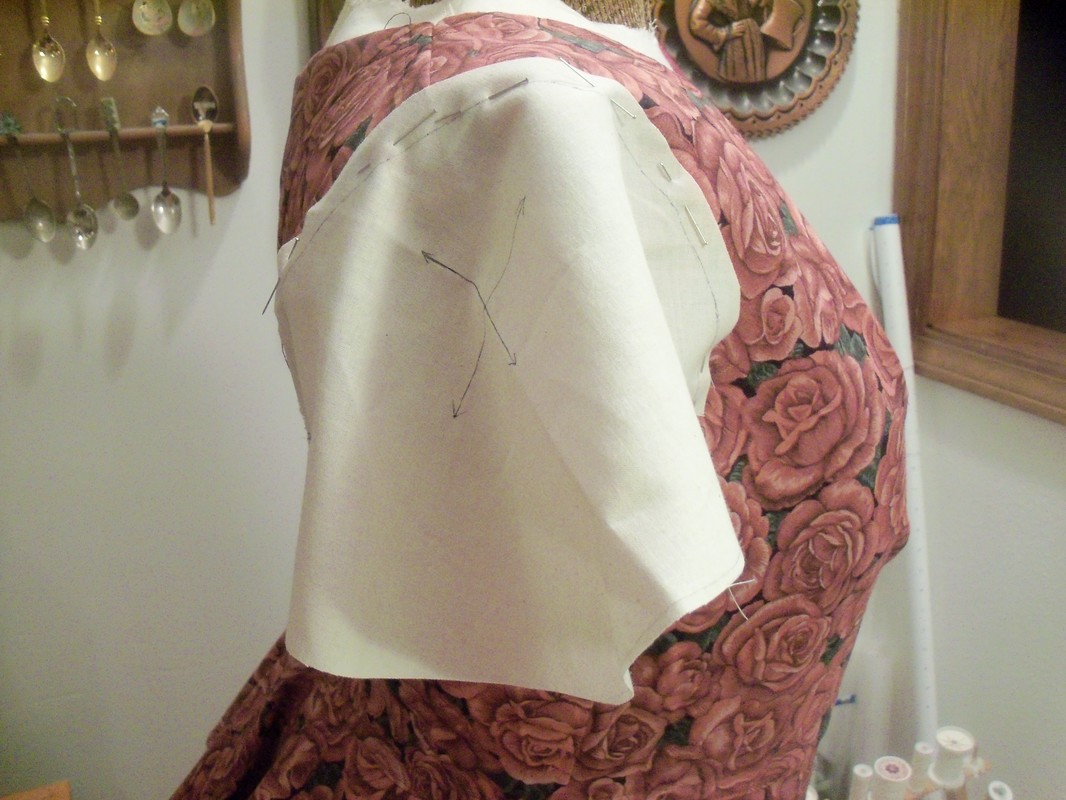
To make the sleeve, I lay out the bodice pieces, excepting the underarm piece, and trace the shape of the sleeve cap. I try to put the bias on the point of the shoulder so it drapes well, and doesn't stick out. I don't add the underarm piece because that's where sleeve drafting gets tricky, and I not in the mood to fuss with it. So this will be more of a shoulder cape than a complete sleeve. In the picture labeled "new pattern piece" there is a tiny seam allowance at the top, just so I can test the sleeve in place:
FINISHED PEPLUM TOP! Click the first picture to enter the gallery and read the captions. Now I just have to send it to my sister and see how it works for her! If it fits, I'll feel more confident in making more things for her using this method!
1 Comment
The Sister
5/8/2017 11:53:13 am
You did a good job fitting the back to my funky self. Thanks for being so sweet! Leave a Reply. |
Karen Roy
Quilting, dressmaking, and history plied with the needle... Sites I EnjoyThe Quilt Index Categories
All
Archives
March 2024
|


 RSS Feed