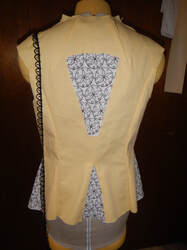
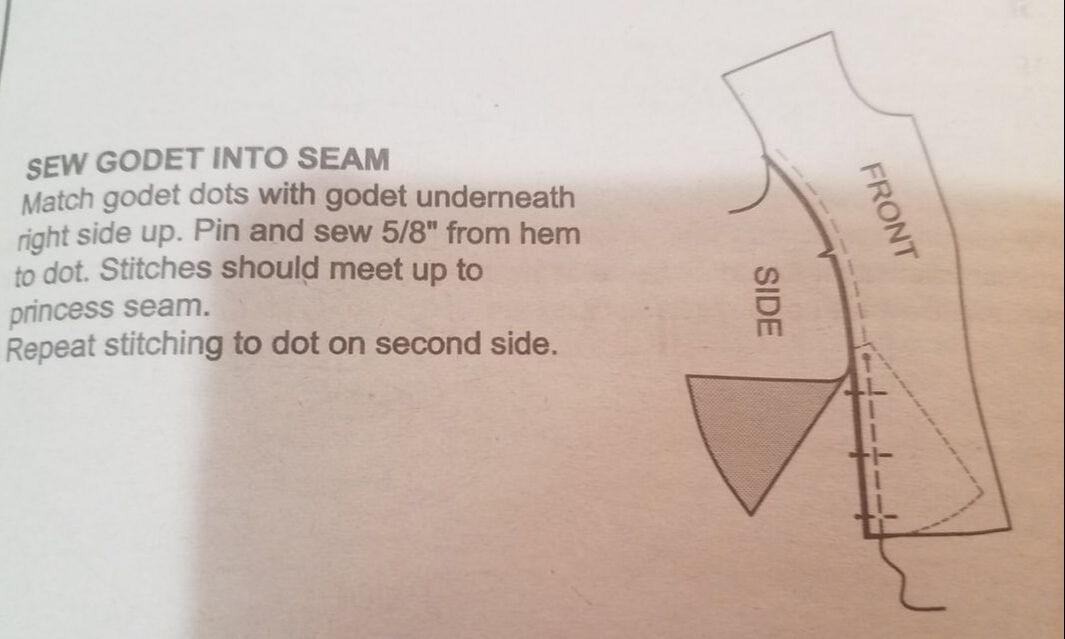
ETYMOLOGY Gusset, godet, and gore: all three of these words refer to pieces of fabric inserted into the garment to give ease. Sarai Tindall Sogliano (her SCA name) has a splendid breakdown of the differences between them, including illustrations, so I'll give you a link rather than repeating the information: Godet, Gore, and Gusset: What Are They and Why Can't We Use Just One Term. My contribution to the discussion will be to talk about where these words come from. Gusset (say "GUH-set") - a triangular or pod-shaped piece inserted in a garment in its middle somewhere, like the armpit, to give more ease. Since gussets are inserted in the middle of other pieces of clothing, they tend to have two skinny ends so the clothing can come back together again. Their name reflects their shape: the word comes from "gousse", meaning "nutshell", which in Old French became "gosset" for a nutshell shaped piece of armor used in the armpit. For armor, it dates from the early 14th century; for clothing, it dates from around the 1560's. When clothing is made of rectangles and squares, the addition of triangles helps shape the garment around curves. European men's shirts from the early Middle Ages through to the early 1900's often had gussets under the arms, and at the neck. Cutting patterns with curving lines is more advanced construction, but from what I've seen in my casual research, both methods were often used in the same outfit. For instance, in the Elizabethan Era, which inspires my current project, underwear (smocks, partlets, et cetera) was simple squares, rectangles, and triangles, put together. Jane Stockton's Warwick shirt is a good example; scroll down to see all the simple shapes laid out. But the doublets had shaped seams, fitted to each wearer's body. Here's my example of inserting a crotch gusset in a pair of jeans to replace a worn area. Godet (say "goh-DET") - a triangular piece inserted in the edge of a garment to add fullness at the hem. It can be inserted into a seam, or into a slit cut into a piece of whole cloth. Godet has an etymology a bit less clear... "From Middle French 'godet', from Dutch 'kodde' ('piece of cylindrical wood')". Confused, I followed this "piece of wood" trail. All its meanings were... longer than they were wide: "tail", "penis", "club". "Kodde" is the same root as the English "codpiece". So I was confused what it had to do with triangles of fabric. Wondering if "gode" might be a more likely source, I read up on its meanings in different languages: "good" or "god" are common meanings of "gode"... but in French is could mean "dildo" (short for "godemiché"), and in Italian "to enjoy or cum" (third-person singular present indicative of "godere"). Dear me. I think it's safe to safe that I have no idea how the word "godet", which otherwise has such... interesting meanings, came to mean a triangle of fabric. Gore - A roughly triangular piece of cloth that is sewn into clothing to give more ease on one side than the other. Distinct from a godet in that a gore runs the whole length of the garment or seam, and a godet is a smaller insertion. The etymology of "gore" is very simple: whether it referred to a spear (Old English "gar" for "spear") or a pointy bit of land (Old English "gara" for "corner, point of land, cape, promontory") or a wedge (Dutch "geer", German "gehre"), all its senses have to do with being shaped like a triangle. By the mid 13th century, "gore" was referring to skirt panels or the front of a skirt. GODETS IN JACOBEAN JACKETS In all the pictures I found of jackets from this era, I didn't see a single example where the godets were a different color than the rest of the garment. The closest thing was this jacket, where the underside of the collar and revers of the cuffs are a contrasting fabric... but not the whole collar or cuffs, and certainly not the godets if there are godets. That doesn't mean it never happened, just that I can't prove it happened. So I am out, unsupported, on a historical limb! Of course, I have only seen a few examples. I only have the internet, after all; I can hardly call this research! I don't mind. Remember my original vision for this project was to borrow freely from the past for inspiration, but make something modern I can wear for fun without being in costume. So I am happy to use my fabric thus: the godets, standing collar, and sleeve caps are all in the black & white embroidered linen, while the rest of the jacket is the yellow cotton twill. INSERTING GODETS
Dawn Anderson's instructions for inserting the godets in the slashes, on the other hand, make me nervous. 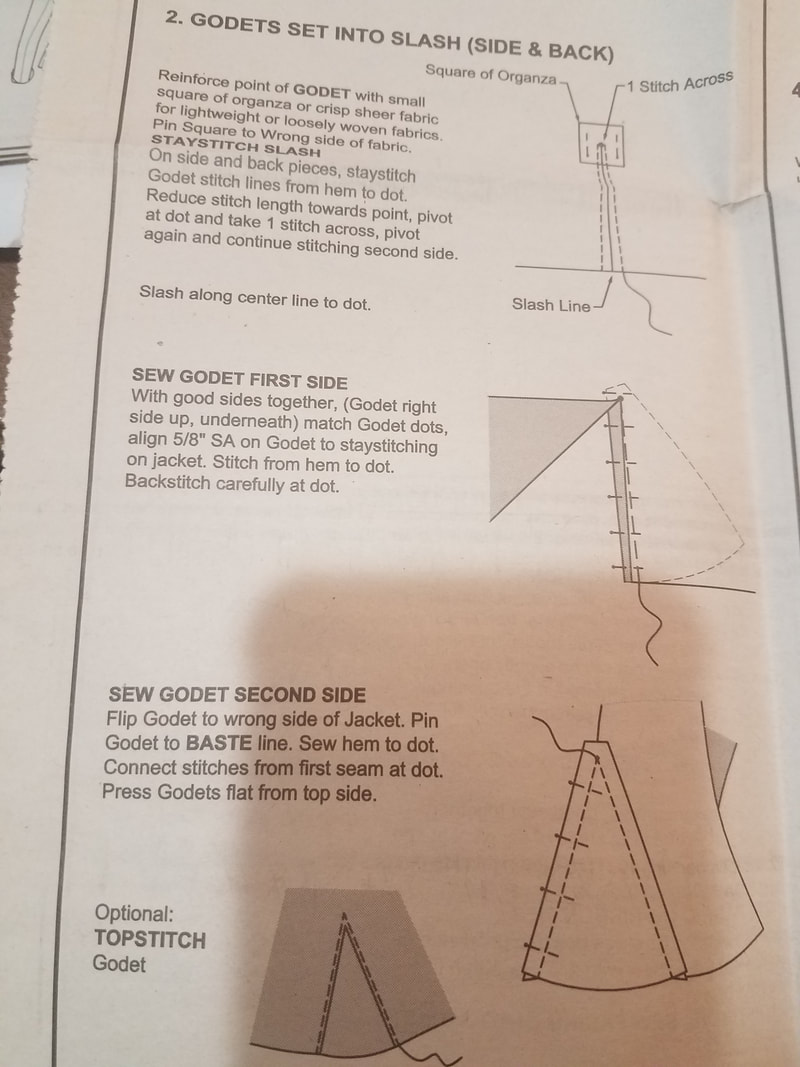 (c) 2004 Dawn Anderson Designs, LLC. Look at the second picture: you can see that the seam allowance of the godet remain the same, but the seam allowance of the slashed edge gets skinnier closer to the tip, disappearing to almost nothing. This seems very unstable to me. Granted, the godets won't receive rough wear and tear, but still... a millimeter or less of seam allowance? Really? I decide to do it a little differently. I head over to Lilacs & Lace to refresh my memory of how Laura Mae reinforced the corner of a gusset she was making. Then I get to work on my slashes. Here's what I do.
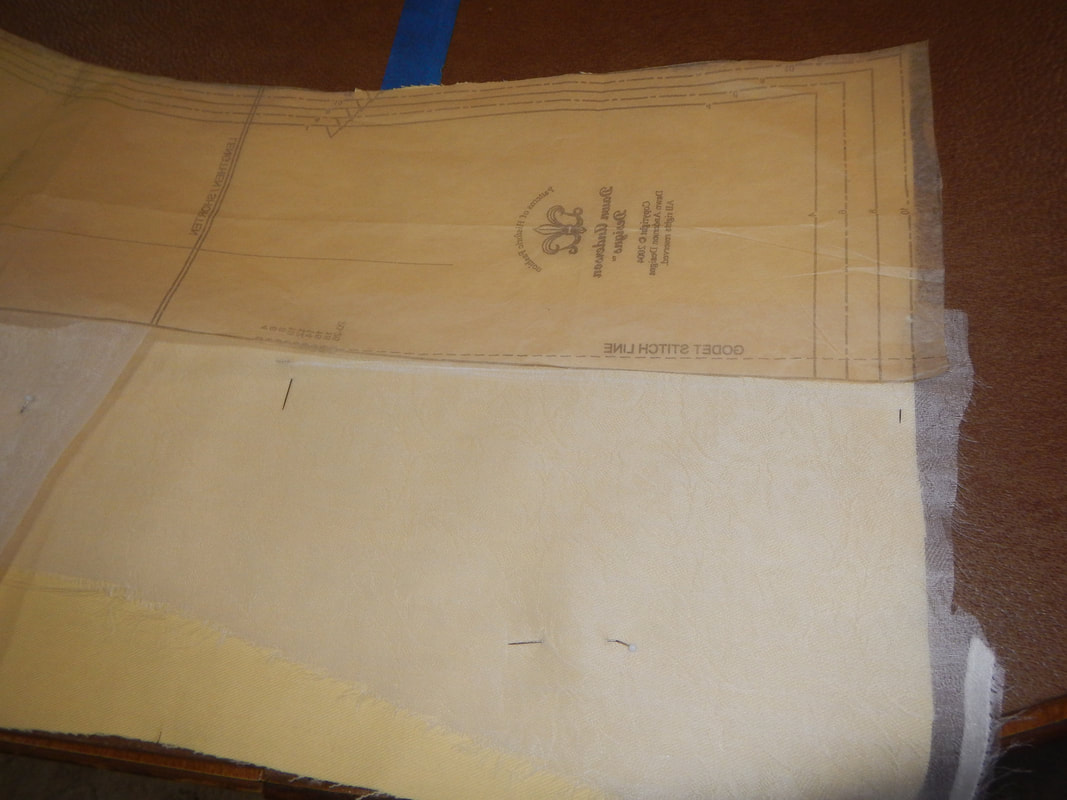
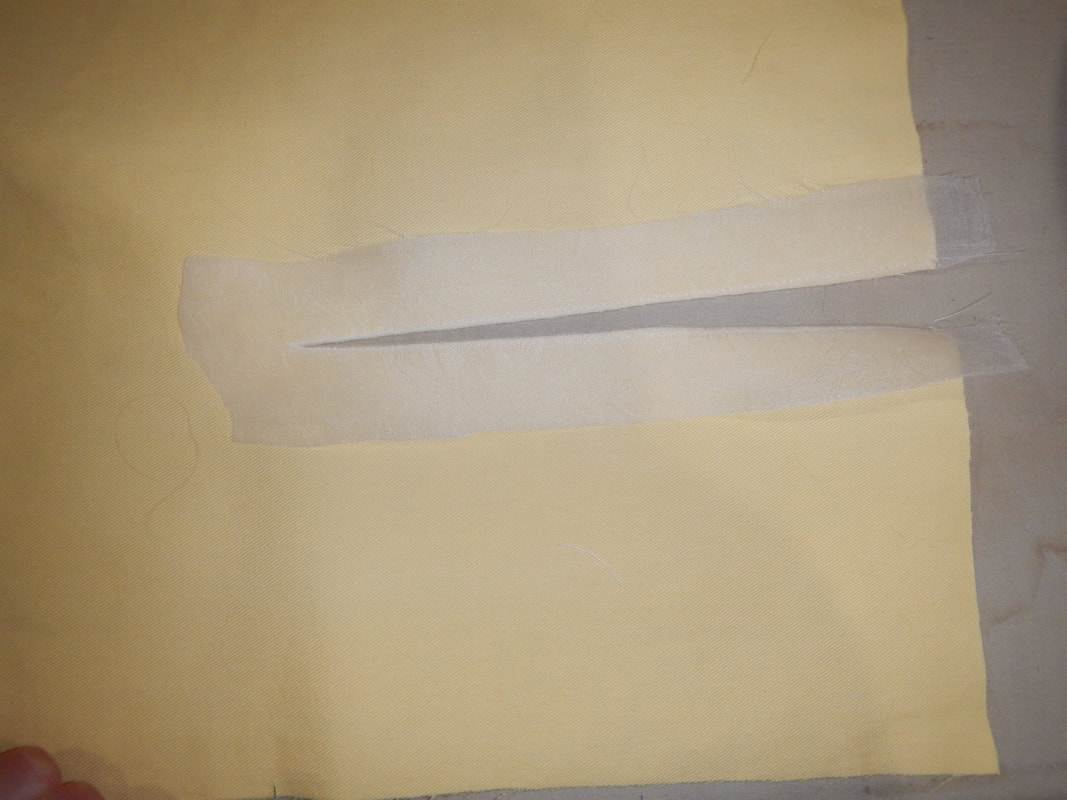
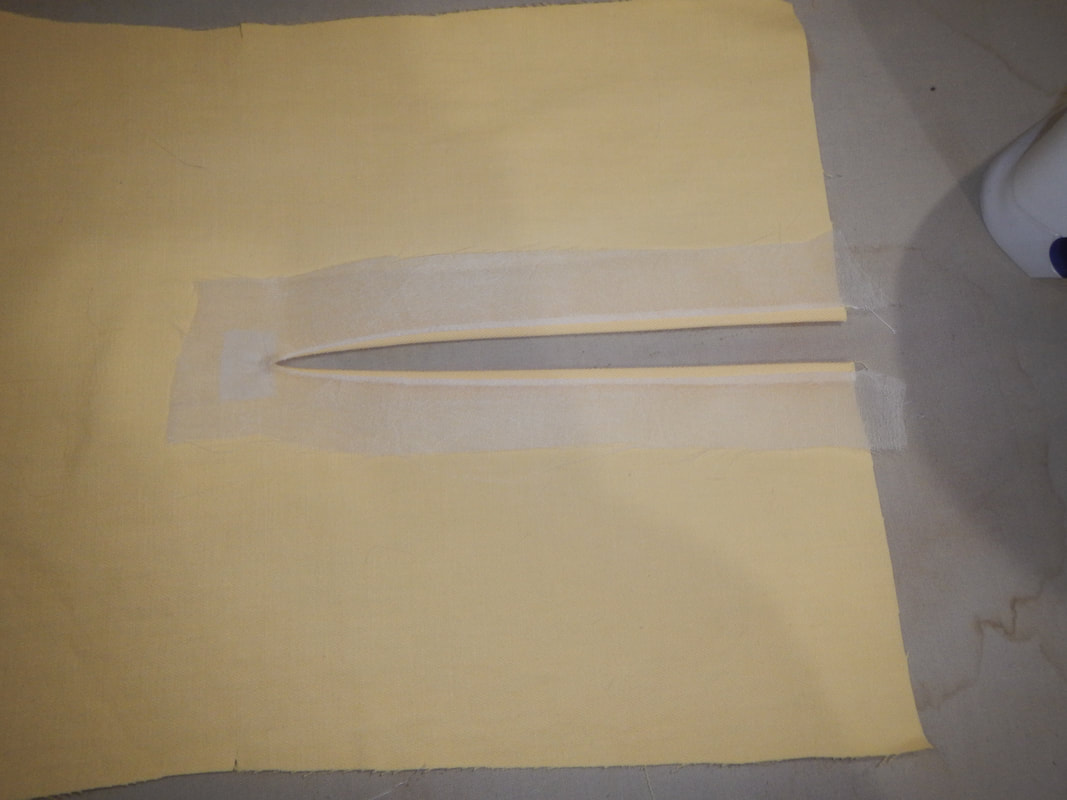
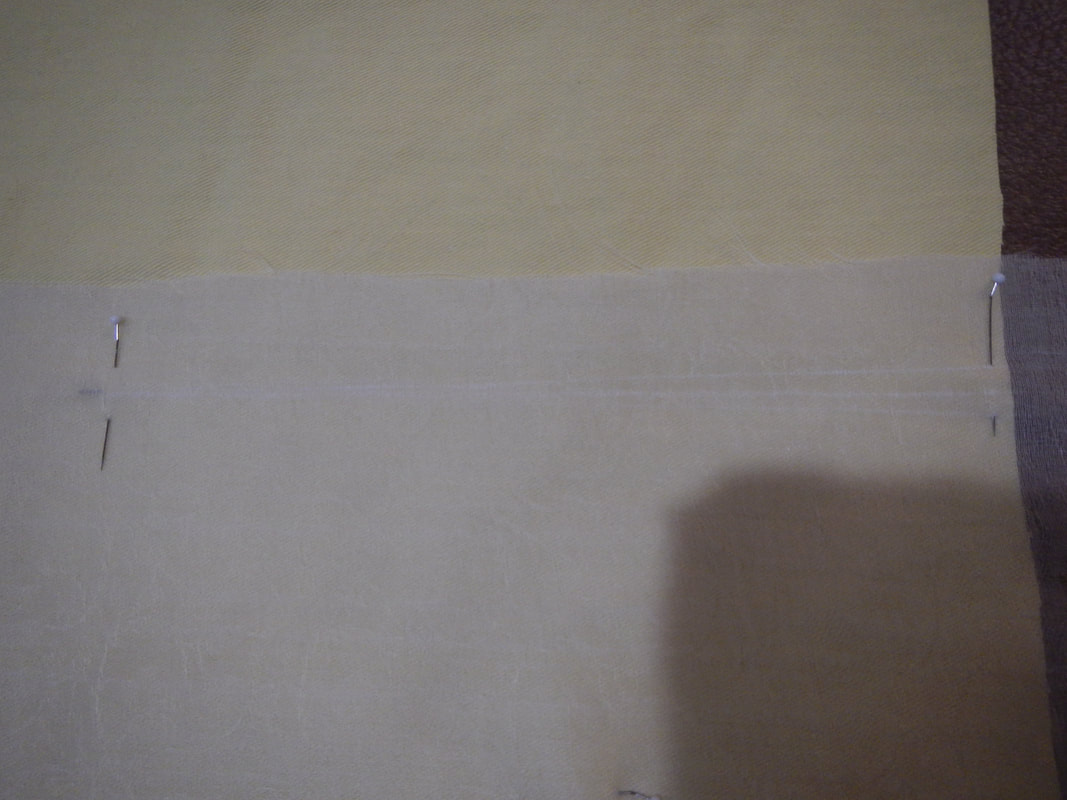 Silk organza pinned in place and marked with white chalk. STEP 2 I sew along my chalked lines, making a long skinny triangle of stitches. I adjust the stitches to be shorter as I near the tip of the triangle. I also square off the tip of the triangle... i.e. instead of getting to the tip, planting my needle, turning the fabric 180 degrees, and sewing back to the bottom edge, I get to the tip, plant the needle, turn the fabric 90 degrees and sew one or two tiny stitches, turn another 90 degrees, and head back to the bottom edge. This blunts the tip of my triangle and gives me a little more room to fit the scissors in the next step. STEP 3 I cut down the center of my stitched triangle, getting quite close to the tip. The two pictures below show the garment's face side, with the silk organza trimmed a bit, and its inside, with a small square of interfacing ironed over the tip to help glue those threads together and keep them from unraveling.
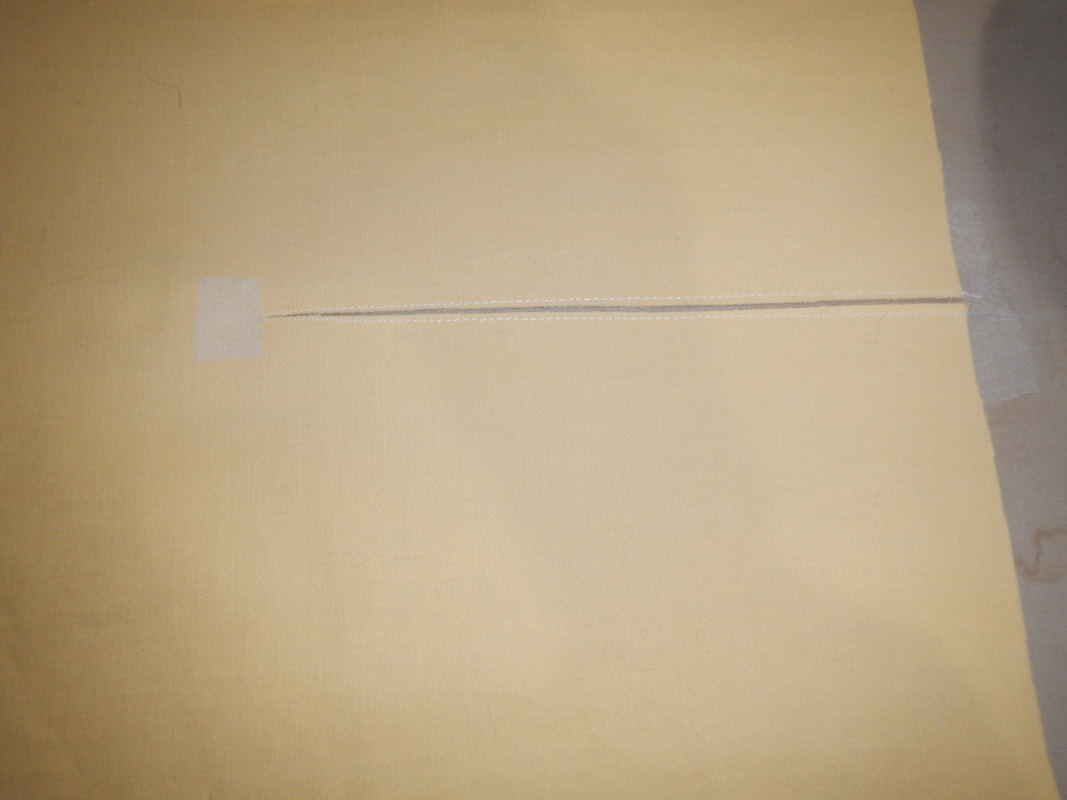
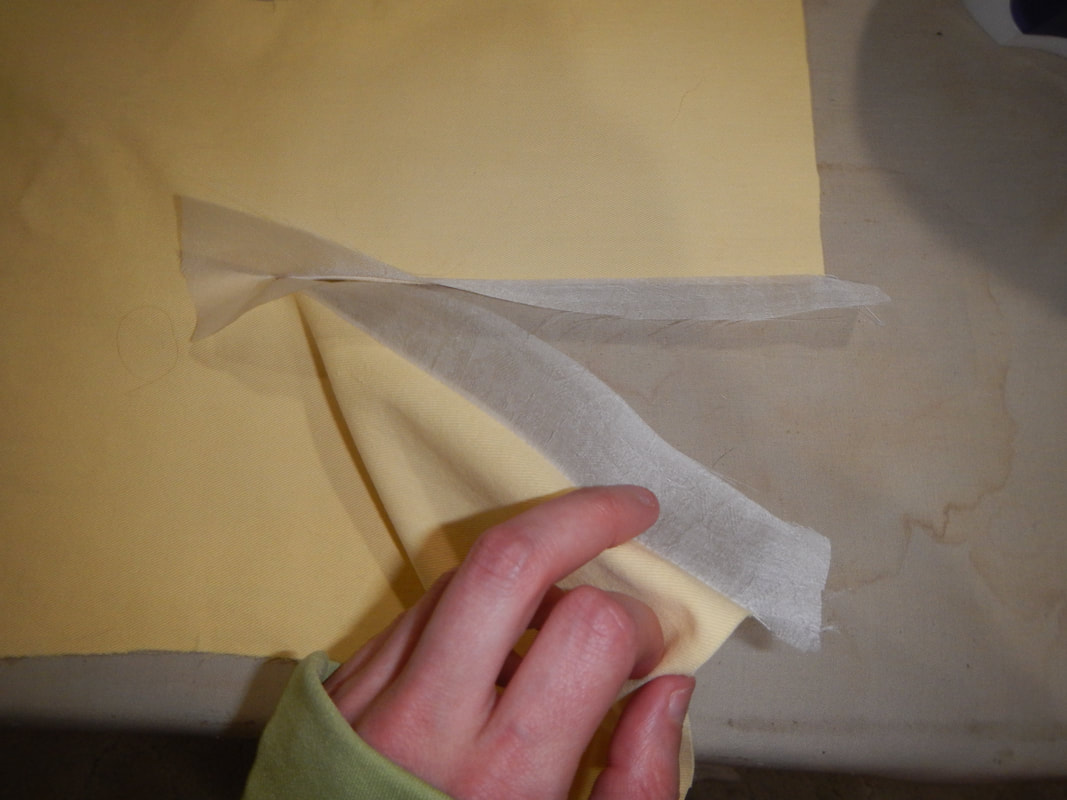
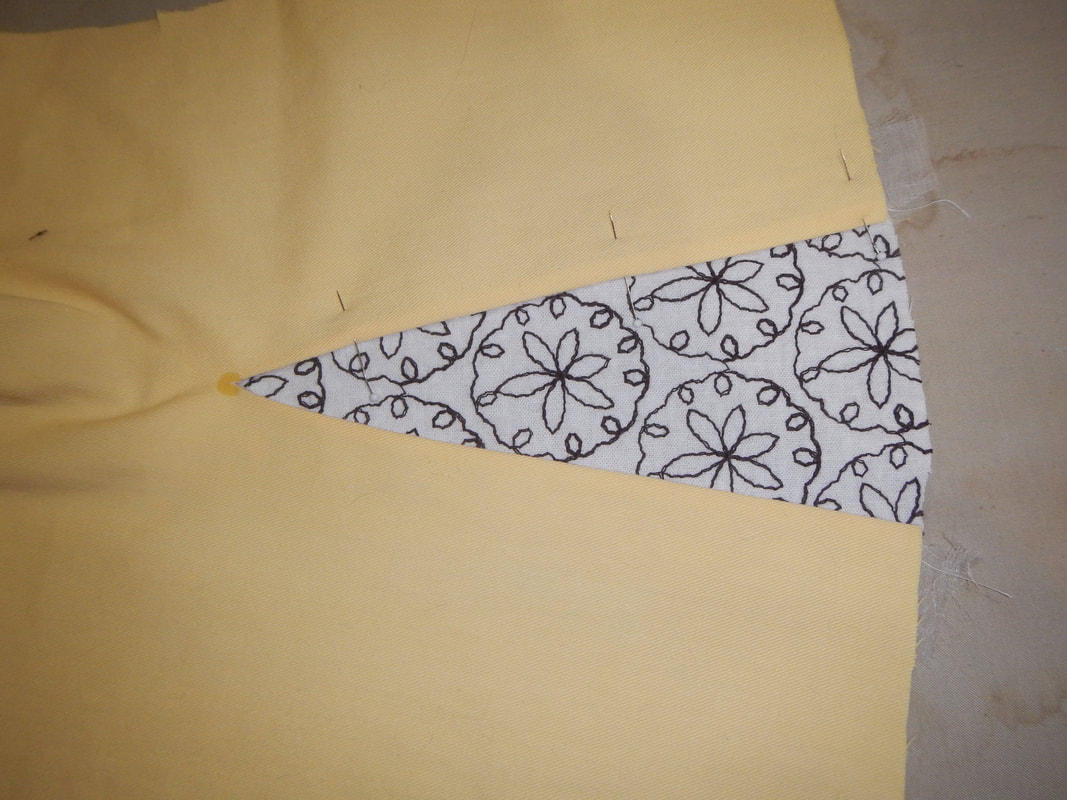
STEP 4 I press the silk organza toward the raw edges of the slash, then turn the silk to the back side of the fabric, making it a facing for the slash. I press it nice and flat, paying careful attention to the tip, because I don't want the white silk to be visible on the face side of the fabric. I also dab a bit of Fray Check there, because I'm over-cautious. Fray Check is liquid nylon; it makes a wet dot when you put it on, but it dries clear.
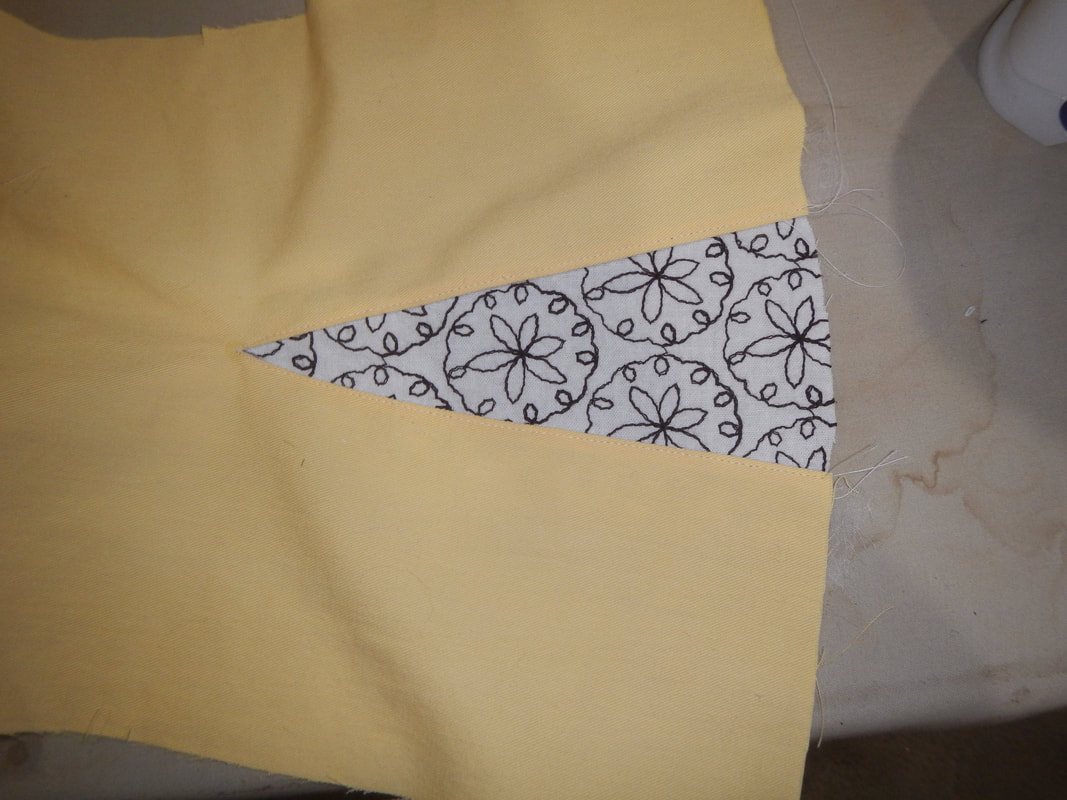
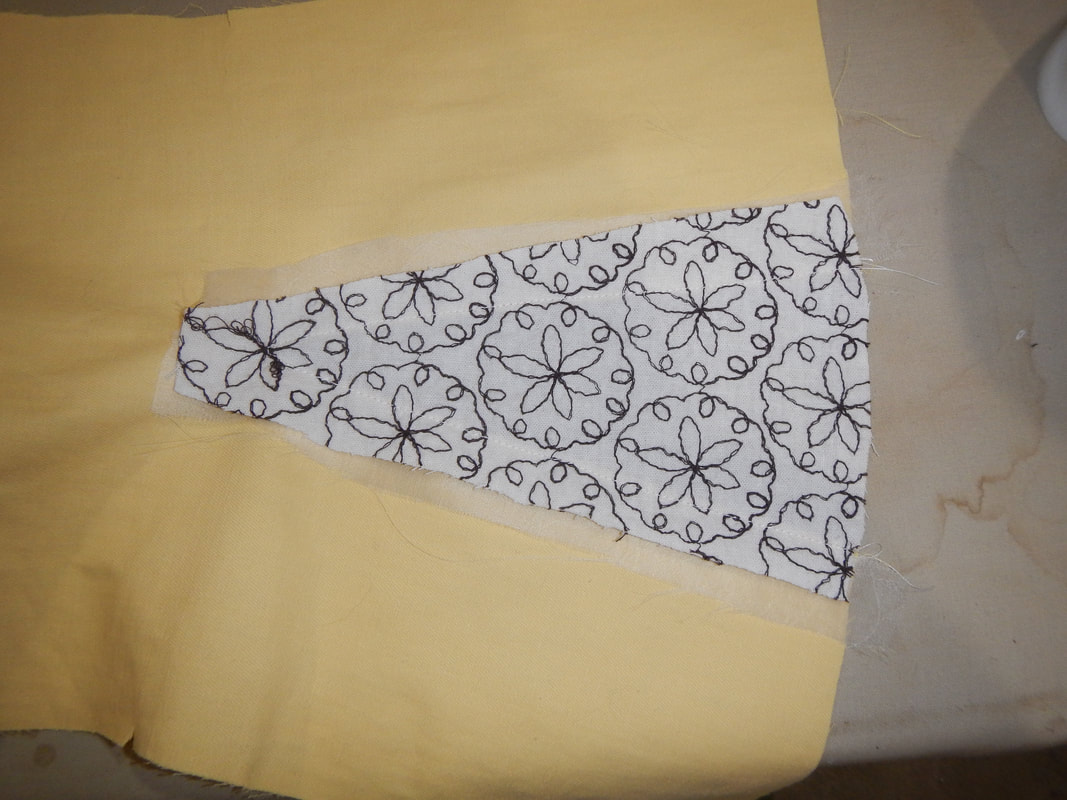
STEP 6 I sew the godet in place, from the face side of the garment, top-stitching just on the edge of the yellow. The seam allowances for godet and slash are both pressed out, so my stitches go through three layers of fabric (four if you count the silk organza, but I don't because it's so light).
AN EXTRA PIECE...!
2 Comments
|
Karen Roy
Quilting, dressmaking, and history plied with the needle... Sites I EnjoyThe Quilt Index Categories
All
Archives
March 2024
|

 RSS Feed