Robes de Coeur
  • Blog
  • Quilting
  • Clothing
    • Menswear
    • Womenswear >
      • Self-Made Patterns
      • Commercial Patterns
    • Hats
    • Miscellany
  • About
  • Blog
  • Quilting
  • Clothing
    • Menswear
    • Womenswear >
      • Self-Made Patterns
      • Commercial Patterns
    • Hats
    • Miscellany
  • About

Leather Costume - Modified Jacket

4/26/2018

2 Comments

 
The next part of the leather costume was the leather jacket.  I suggested starting with an existing jacket and modifying it, so we went to Goodwill and picked up a black leather jacket.  Being a motorcycle jacket, it had the following features:
  • leather, to protect against road rash in case of fall
  • tight snaps at wrists and elastic at the waist to prevent wind from getting in and ballooning the coat
  • double closures: a CF zipper to close the coat, and a double-breasted snapped closure to keep wind from getting in at the zipper.
It was very 1980s style, with raglan sleeves.  Since my client is big boned, the cuffs were too tight to snap shut on him, but the rest fit. 
Picture
the jacket after I removed the elastic at the waist Some chalk marks on the shoulders, from the first fitting. He's wearing the pants.

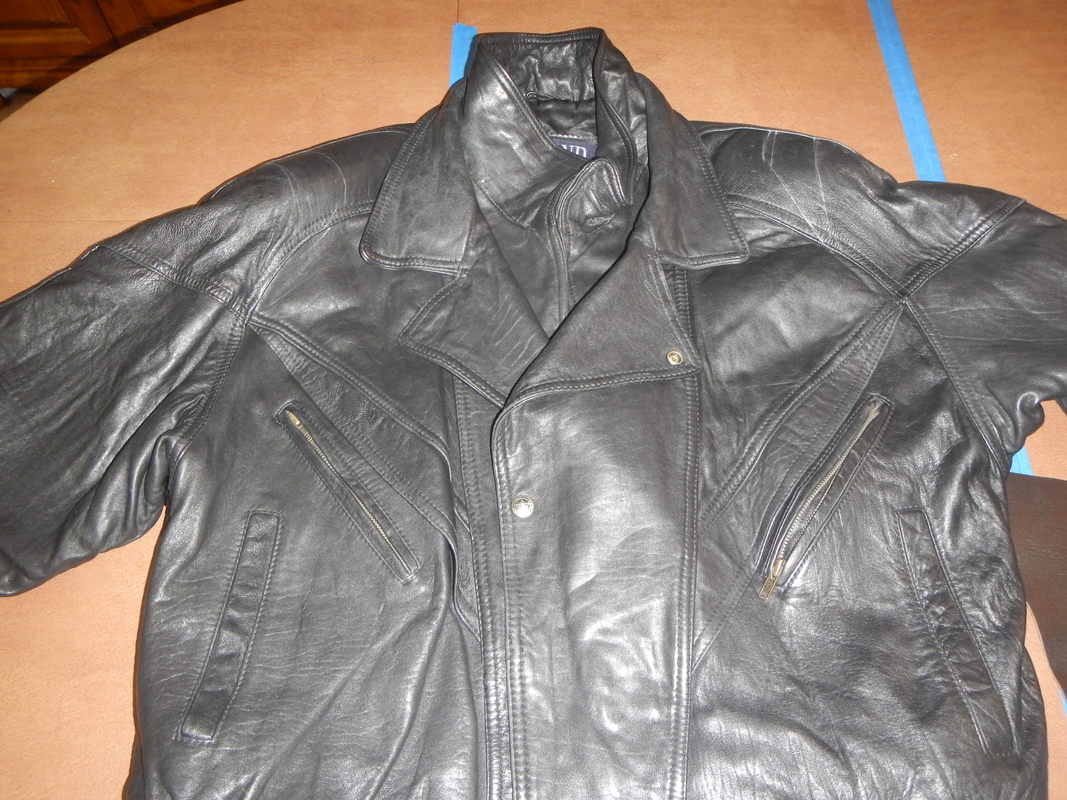
INSPIRATION: TYRION LANNISTER

Picture
Peter Dinklage as Tyrion Lannister in Game of Thrones, wearing perforated black leather over dark red.
How awesome would it be to be an actor, and have people make you costumes that fit perfectly all the time, and build you a wardrobe of unique, interesting--oh wait: I sew, so I can do that for myself!  ;) 

In Game of Thrones, Tyrion Lannister is a much-reviled but nevertheless decent aristocrat, who drinks too much, pays for sex, and hogs all the good lines in the series.  His costumes are generally leather (to distinguish him from the more effete aristocrats), finely made (to distinguish him from the burlier wild Viking style characters), and restrained in color (because he's a man of taste not ostentation).  It's clear that the costume designers worked out a good basic doublet pattern for him and made it up in several variations, as you can see. 
Both these costumes feature the same lovely perforated leather, most likely laser cut in the swirling patterns.  I don't have a laser cutter, alas, but I do want to get a similar leather-lace look. 

I also like the metal clasps used to close the doublet, and the epaulette-like shoulder things.  And I like the closed up neck, which looks protective. 

First off, I removed the front zipper so I'd have access to the inner construction of the coat. 
Picture
Screenshot: Episode 3.08. Red leather over green

LAPELS

Picture
I knew right away I would take full advantage of the double layers already present on the jacket.  I was thinking of Tudor menswear, the wide-set revers and broad shoulders, and of 1820's men's suits with their broad shoulders and nipped waists. 

To start, I pulled the outer layer open and covered it with perforated brown leather to highlight its lines and cover its snaps. 
Picture

To the left, you can see how I traced the shape of the lapel on paper to make a pattern.  Below, how I cut the brown leather pieces in that shape. 
Picture
The first time I cut two right lapels, forgetting to turn the suede sides together. My second attempt was more successful.
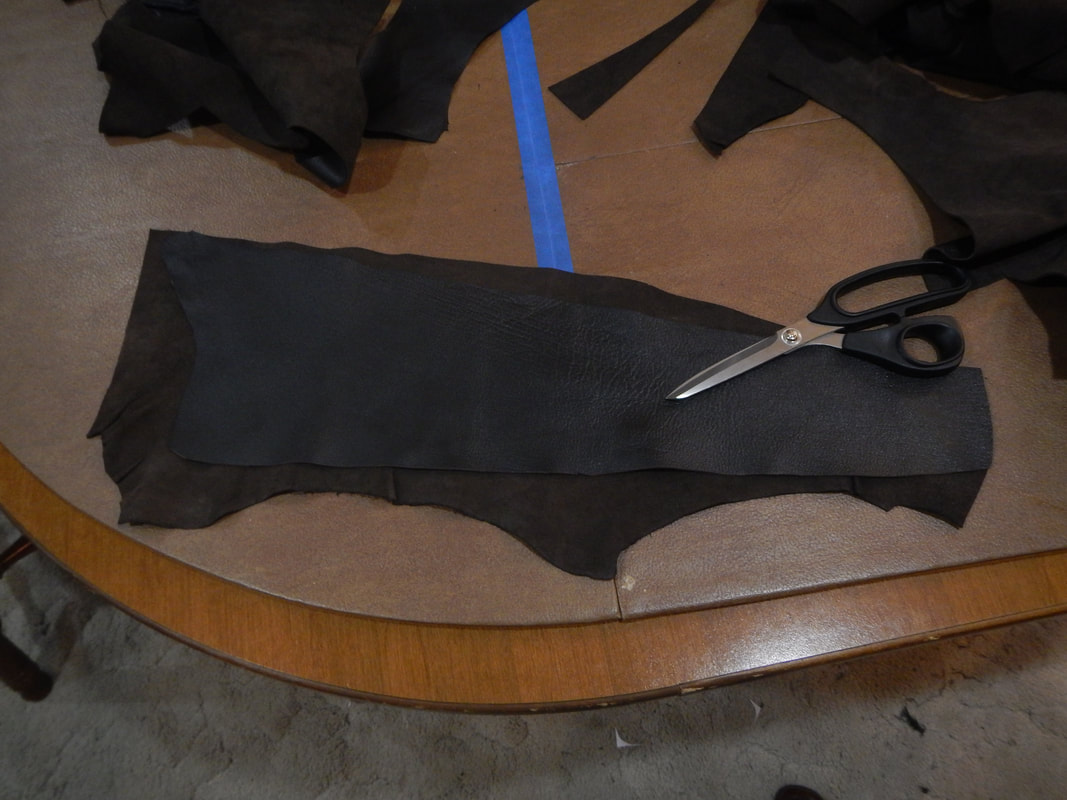
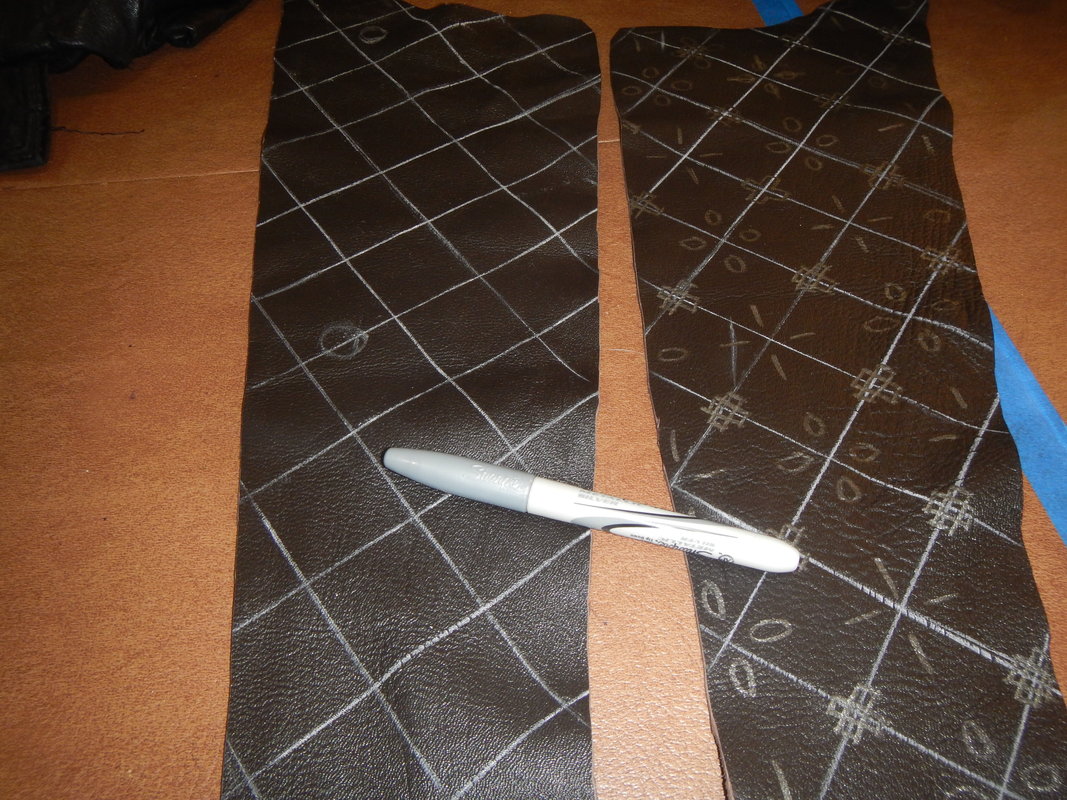
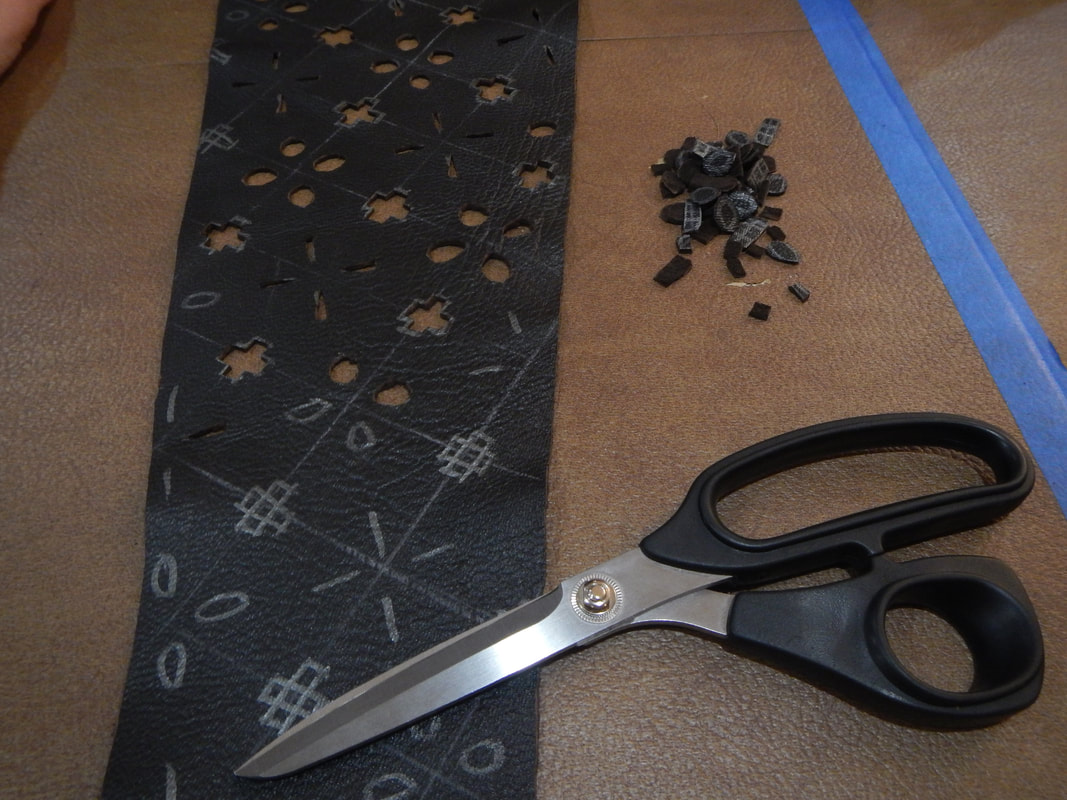
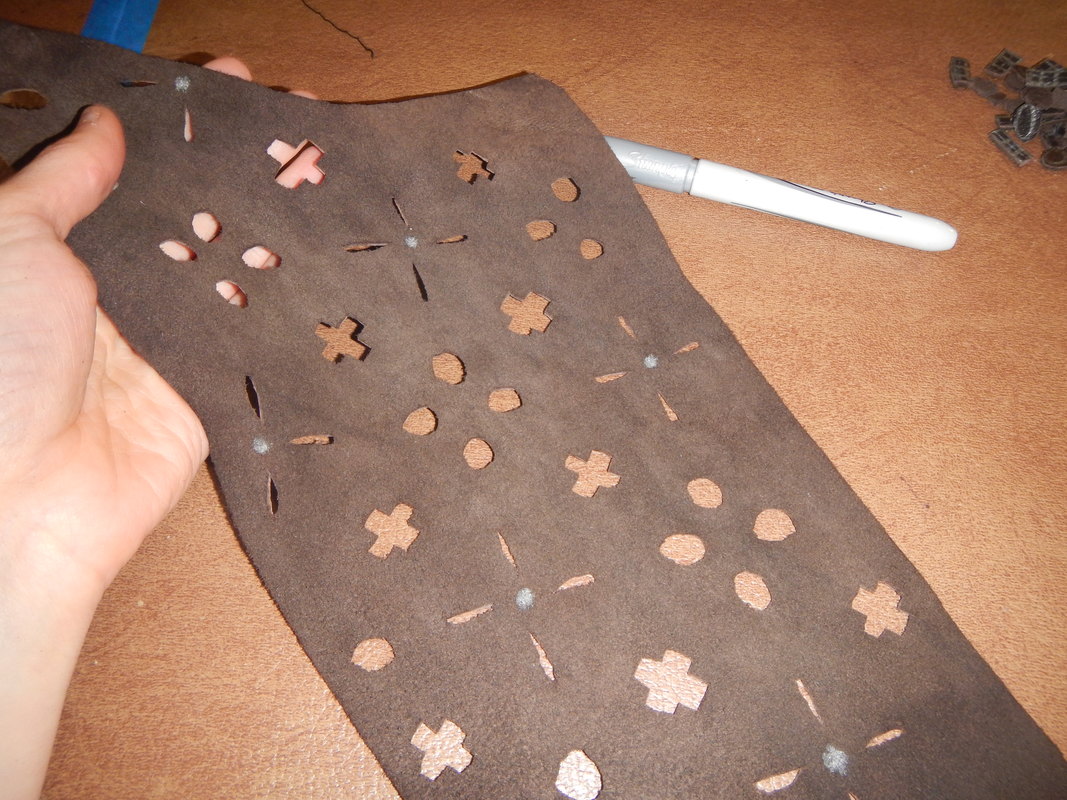
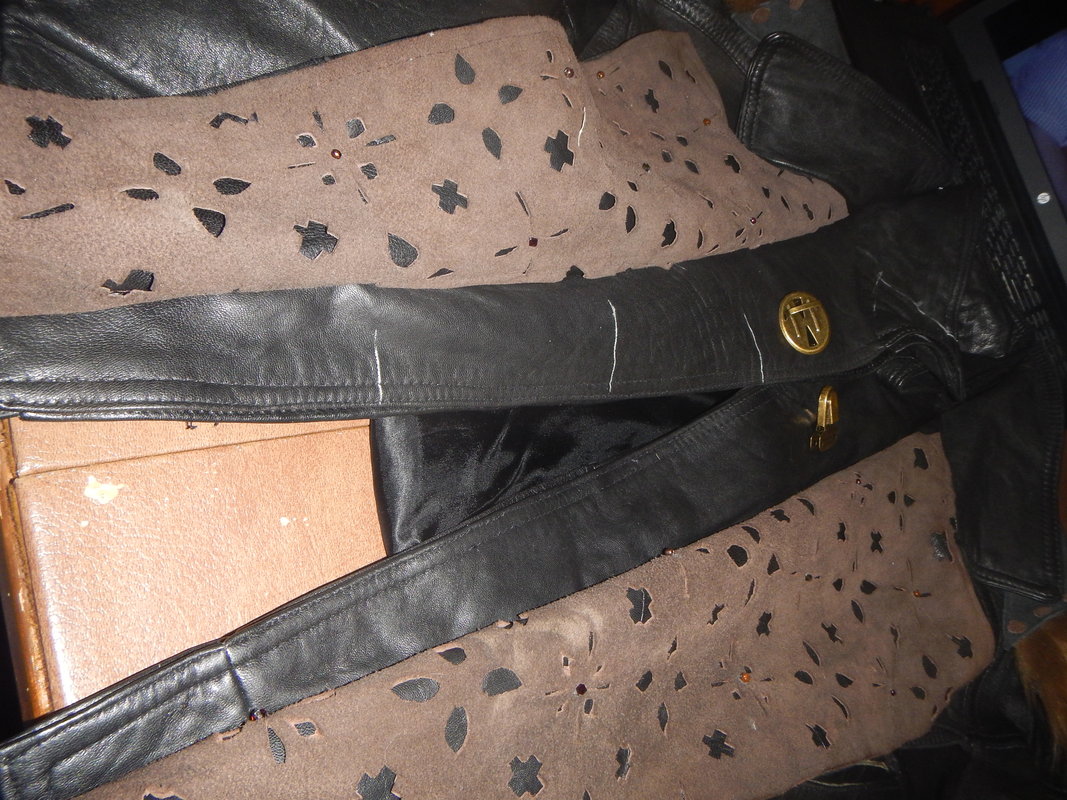
I wanted to use the sueded side of the leather, because it made more of a contrast with the shiny black.  So on the non-suede side, I used silver Sharpie to draw a grid, and used that grid as the basis for my holes.  I make sure not to cut holes where the original jacket has silver snaps, because I want to cover them up!  This process was time consuming and hard on my hands, but the finished look, while not as ornate as Tyrion's, was pretty unique and cool. 
Picture
Sharpie lines make a grid, and circles mark location of snaps to remain covered
Picture
cutting out the patterns
Picture
the front side
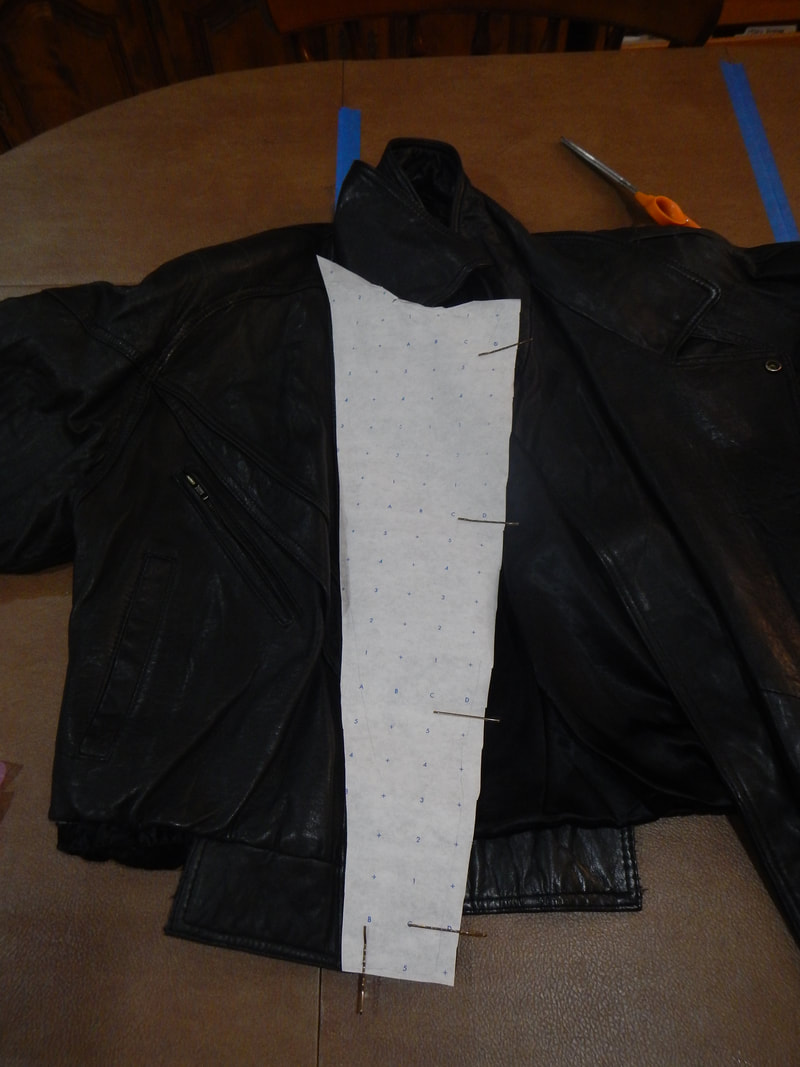
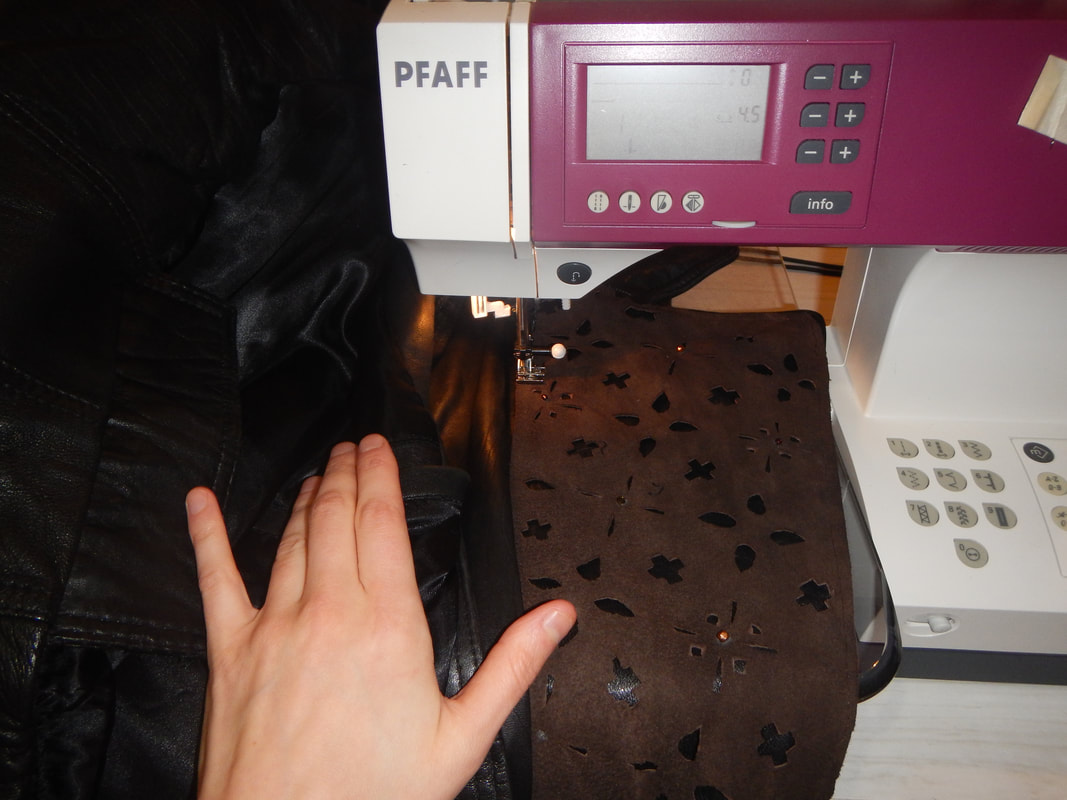
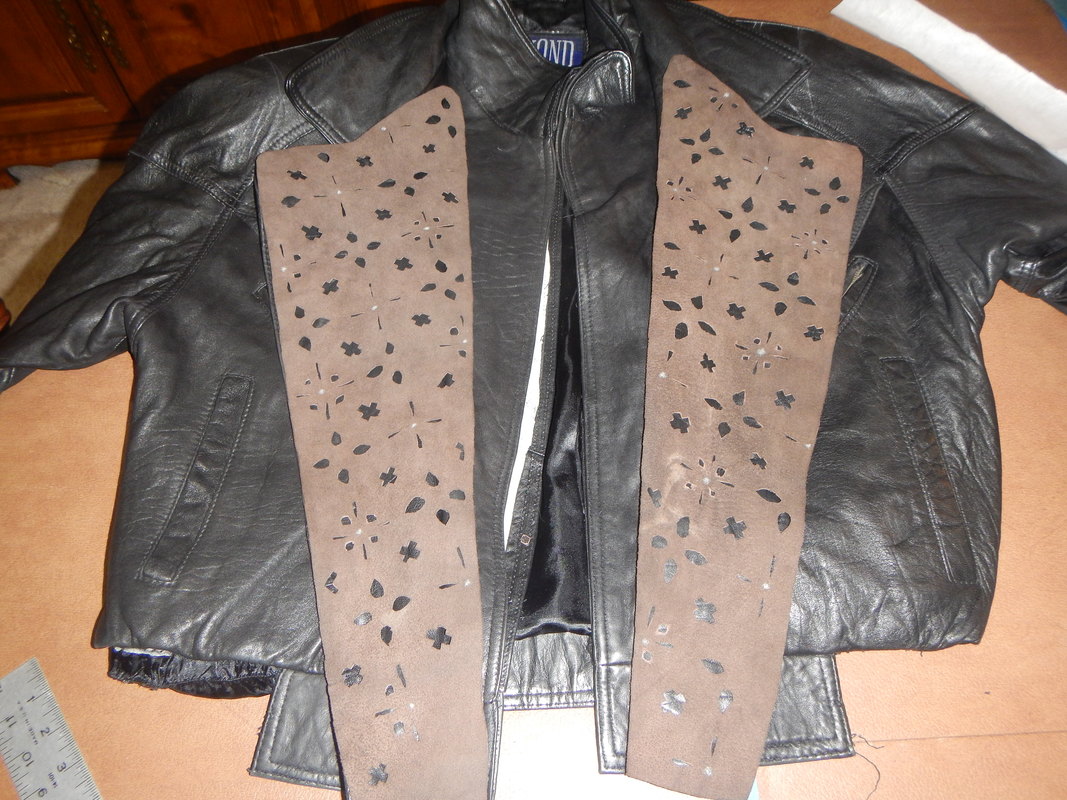
Then, pressing bobby pins into service again, I pinned the leather-lace onto the lapels of the jacket and sewed.  This was hard, too, since the jacket was heavy and unwieldy, and the corners tight, but I went slow and steady and got it done.  As a final touch, I took some iridescent brown seed beads from my stash and sewed them at intersections of the grid, to add a touch more detail, a la Yoshitaka Amano.  You'll see them in a later picture.  I had to tack the lapels in their open position to keep them from flopping around. 
Picture
Sewing the leather-lace in place
Picture
The enhanced lapels!

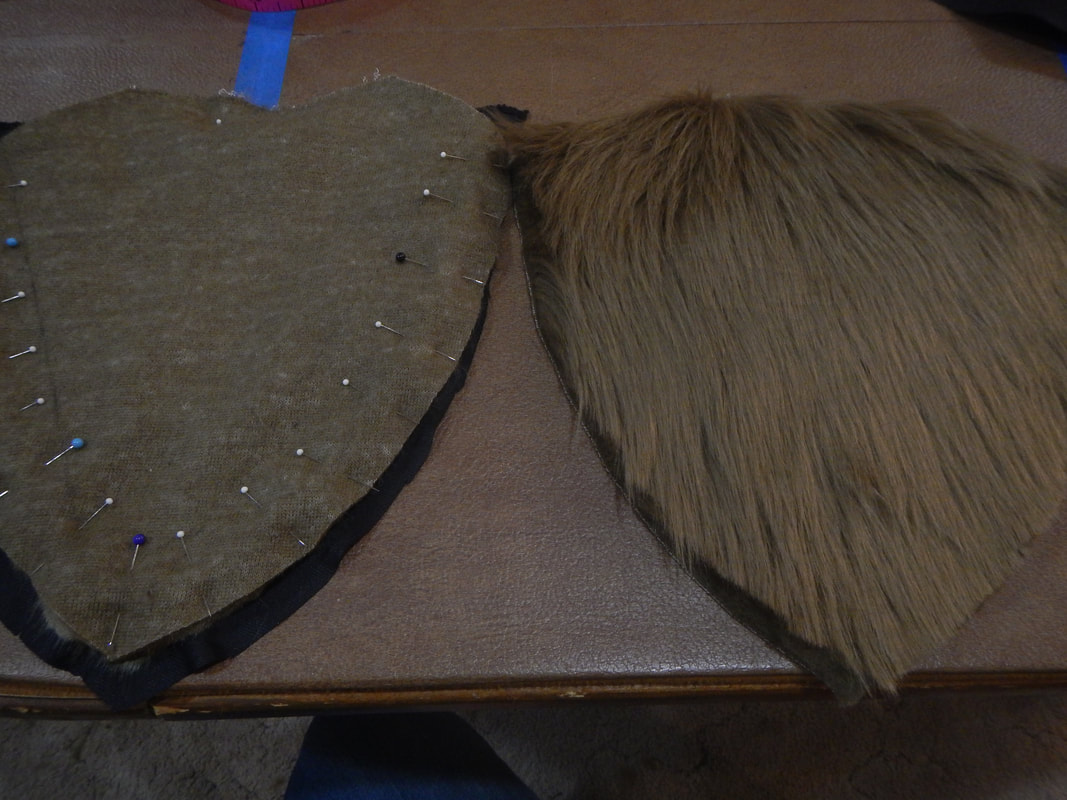
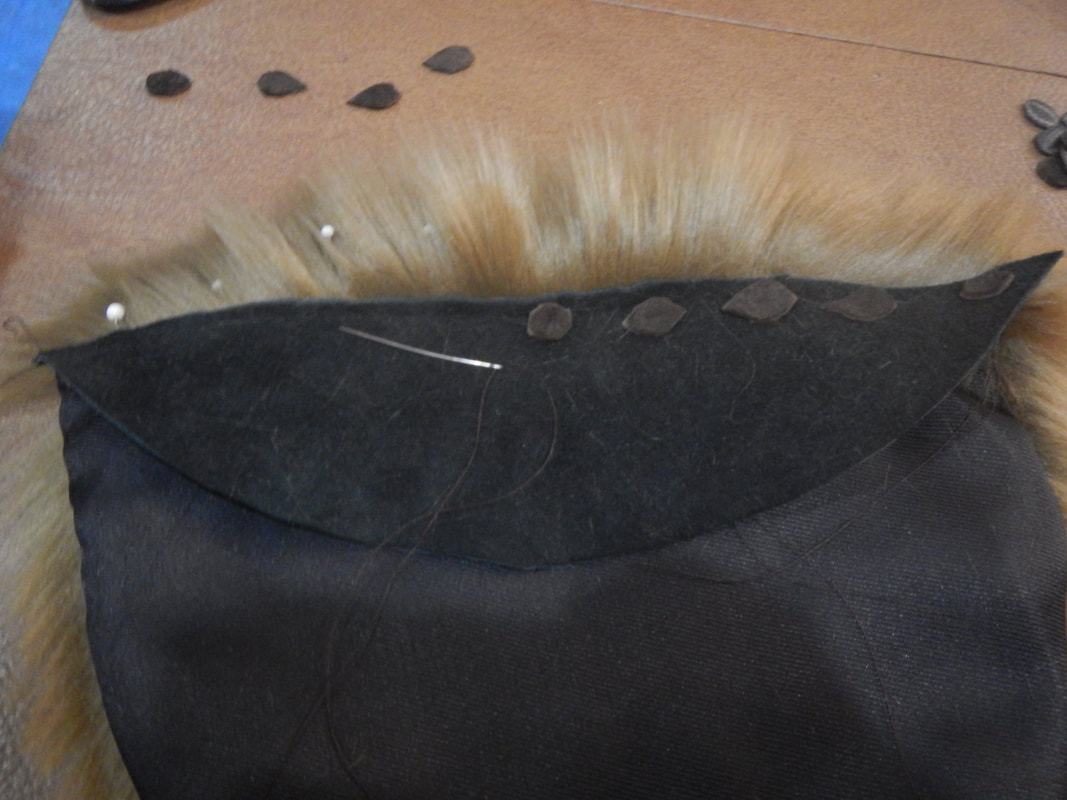
EPAULETS

Then, thinking that the raglan cut of the sleeves too dated to the 1980's, I decided to accentuate the shoulders with sleeve caps or epaulets, and what better material than faux fur?  Of course... there's an internal logic to all this madness: fur covering the shoulders is to keep the sword arm dry!  ;)

First, I cut the faux fur and some black lining fabric in rounded triangles.  Faux fur everywhere!  I sewed the pieces right sides together along the bottom points.  When I turned them, the fur was trapped in the seams. 
Picture
Picture
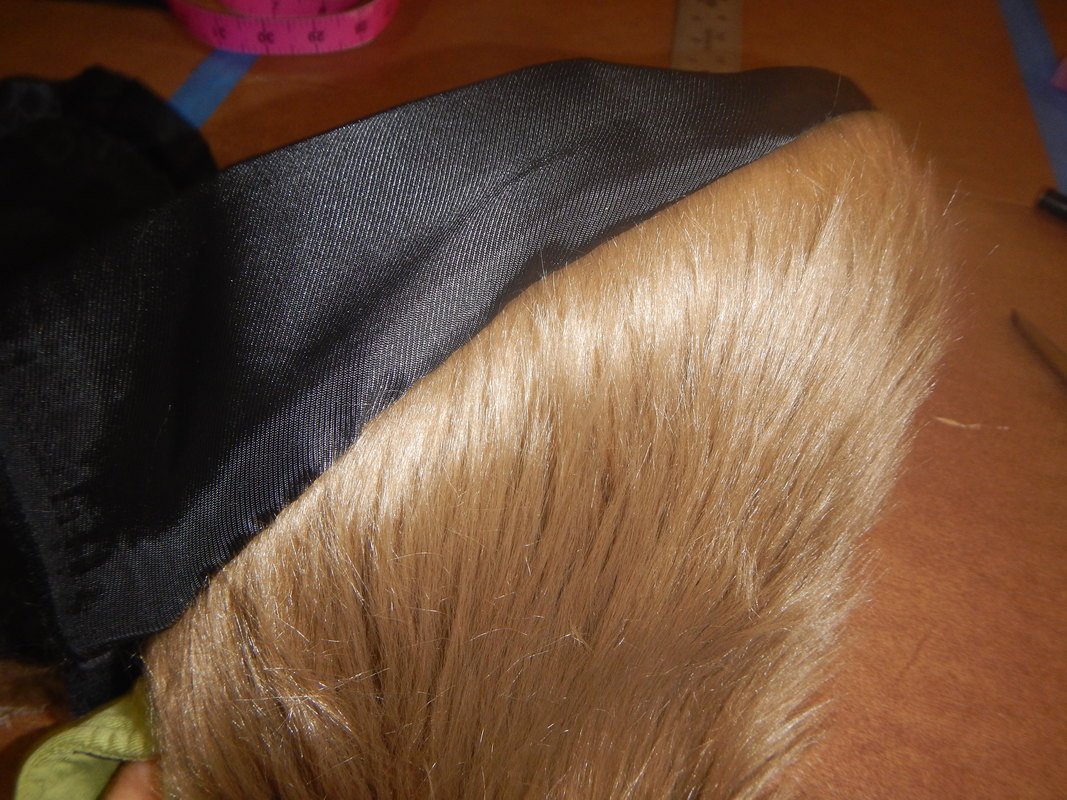
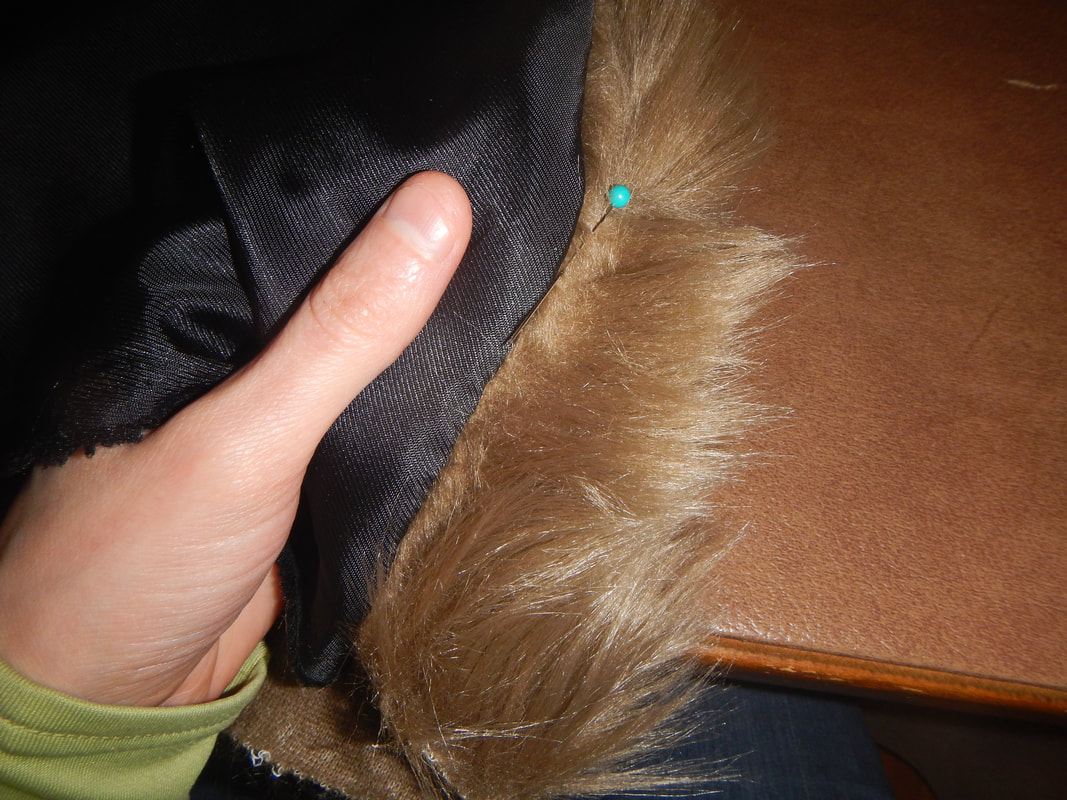
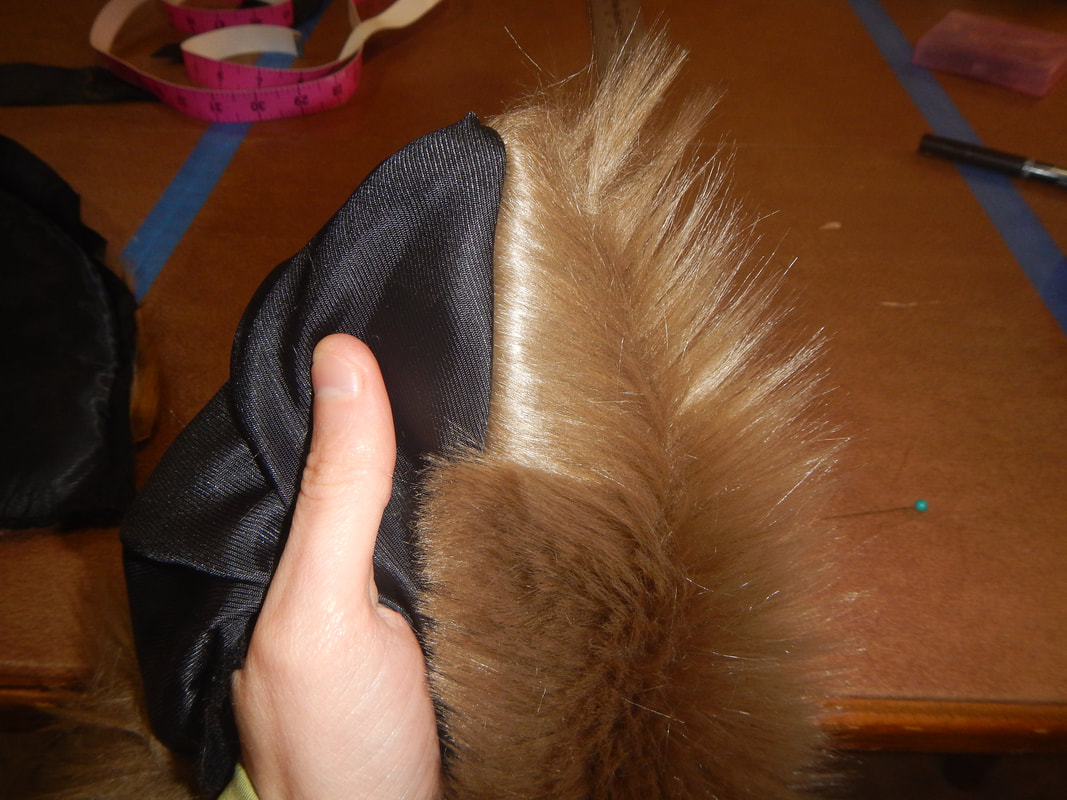
So I used a pin to pull the ends of the fur out of the seams.  Below, some in-progress pics:
Picture
Picture
Picture

On the inside, I used scissors to trim excess fur from the seam allowances, giving the knitted base a close shave.  These scissors with the yellow tape on them have slightly curved blades, so I could use them to get pretty close to the stitching without piercing anything.  (After doing so, I saw Peter Lappin's Instagram post about how he does it with electric trimmers before sewing... clever!)
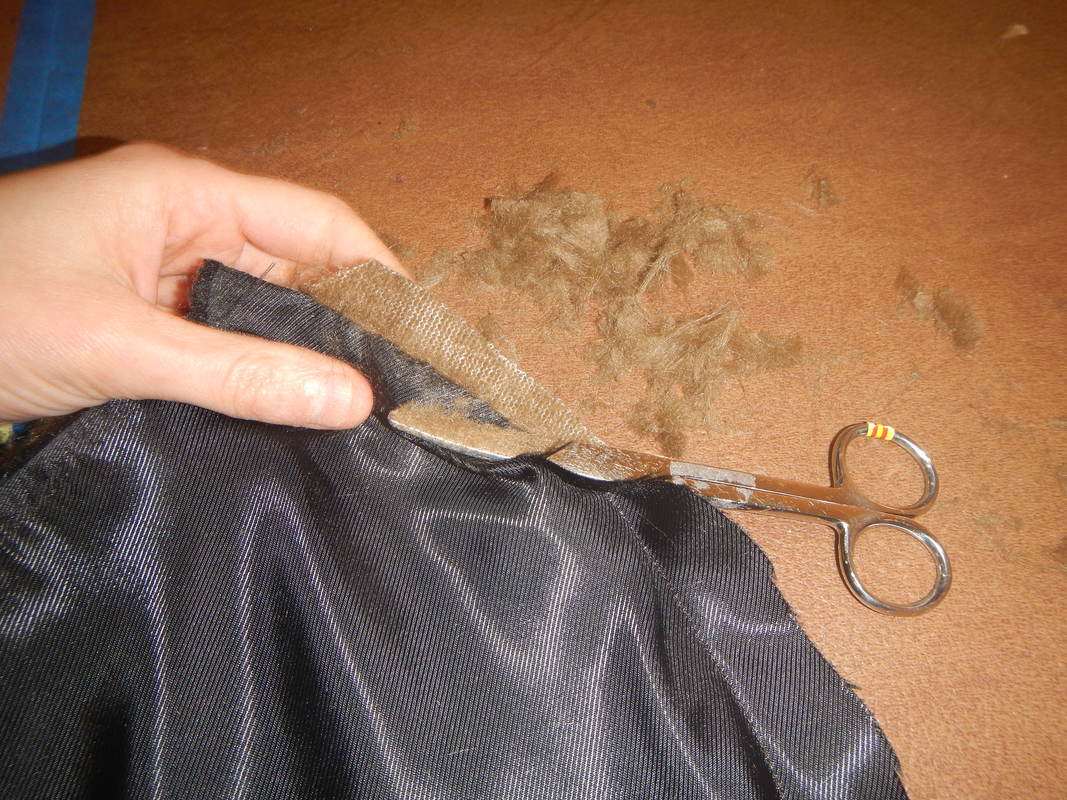
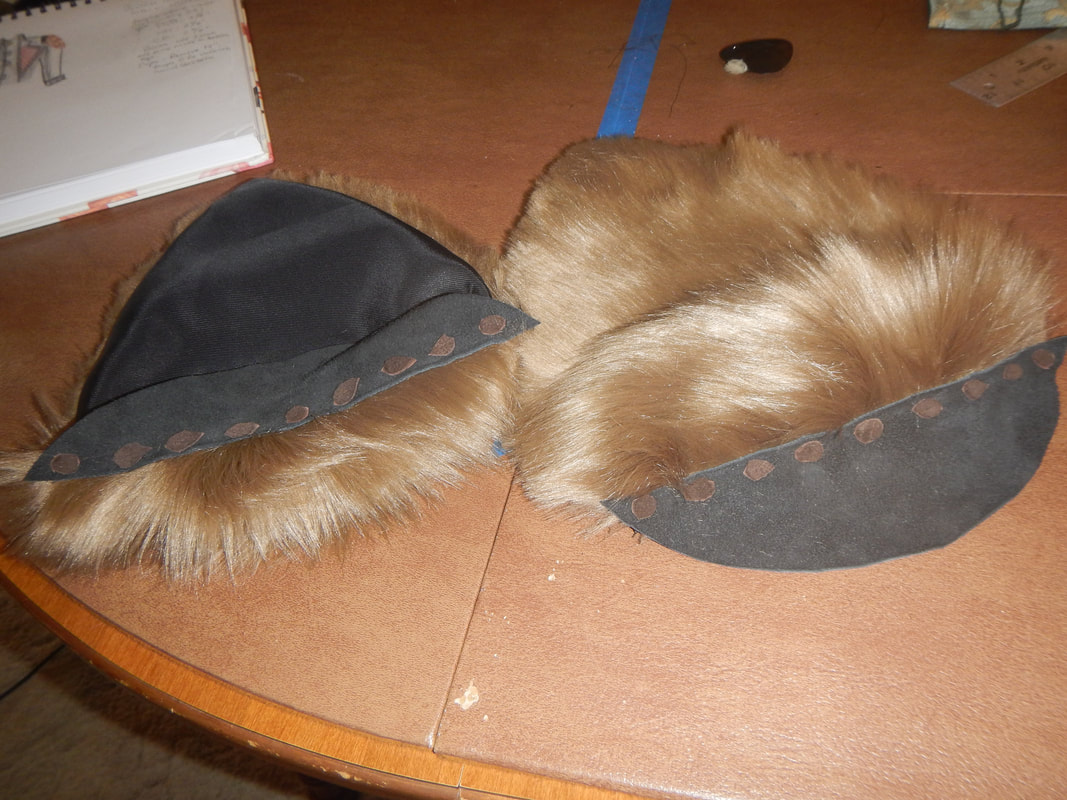
Then I took some black suede and hand-stitched it to the top of the fur, adding brown suede details (cut-out bits from making the lapels). I think they ended up looking like lacing, like the thing was sewn with brown suede strips. 

Now, the edges of the fur were choppy and unnatural looking, like a fresh haircut always is, so I spent some time with my scissors, thinning and layering until they looked like the fur had grown in that shape.  This was finicky work... I didn't want any strand of fur on the edge to be the same length as its neighbor.  Eventually I got the edges to match the center in terms of how they reflected light. 
Picture
Picture
The finished epaulets, and in the corner, a glimpse of my sketch for the jacket...
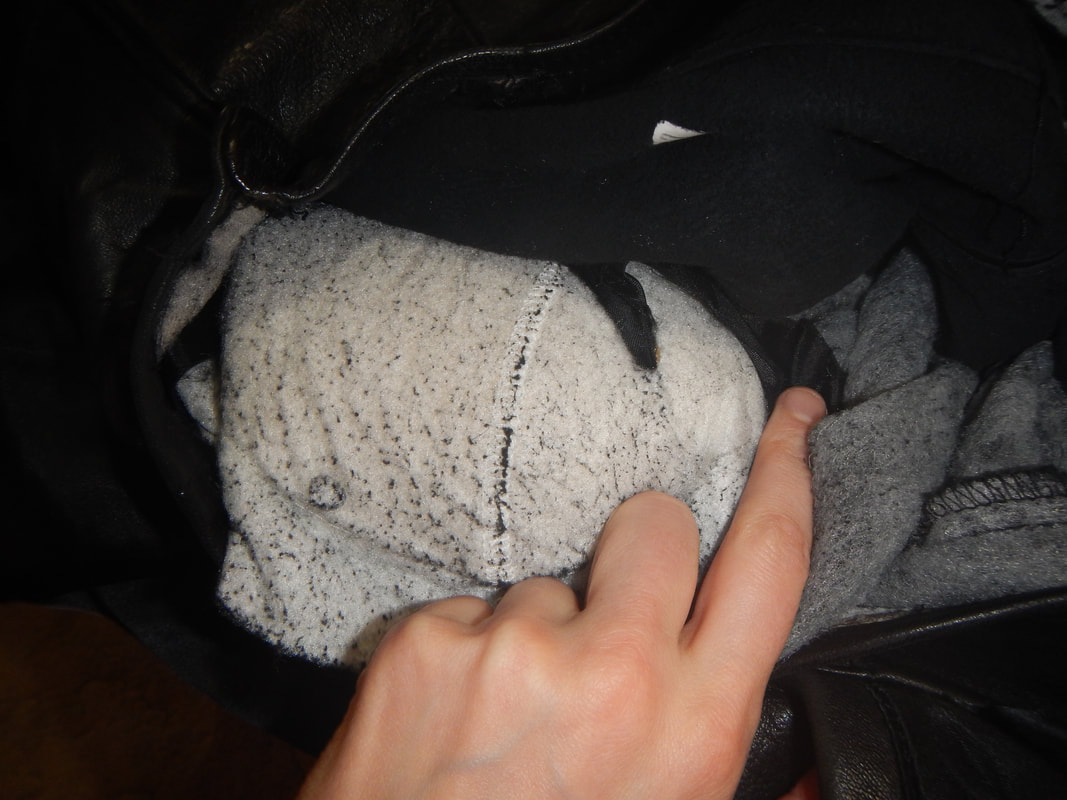
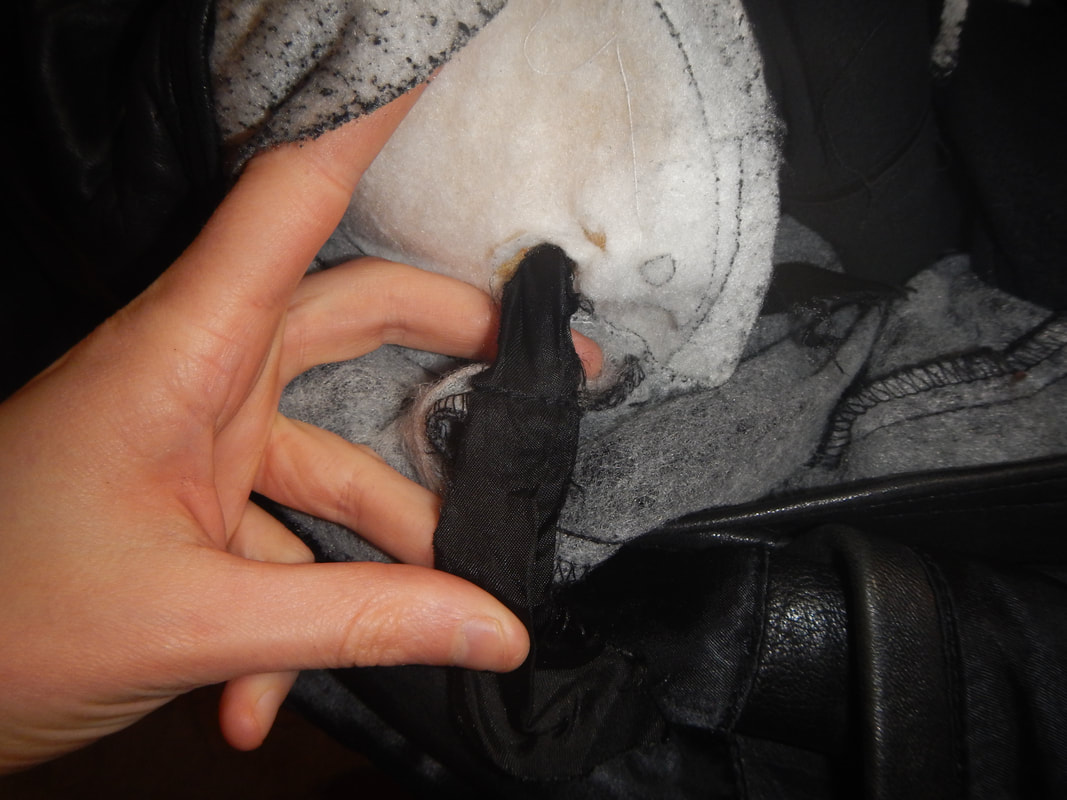
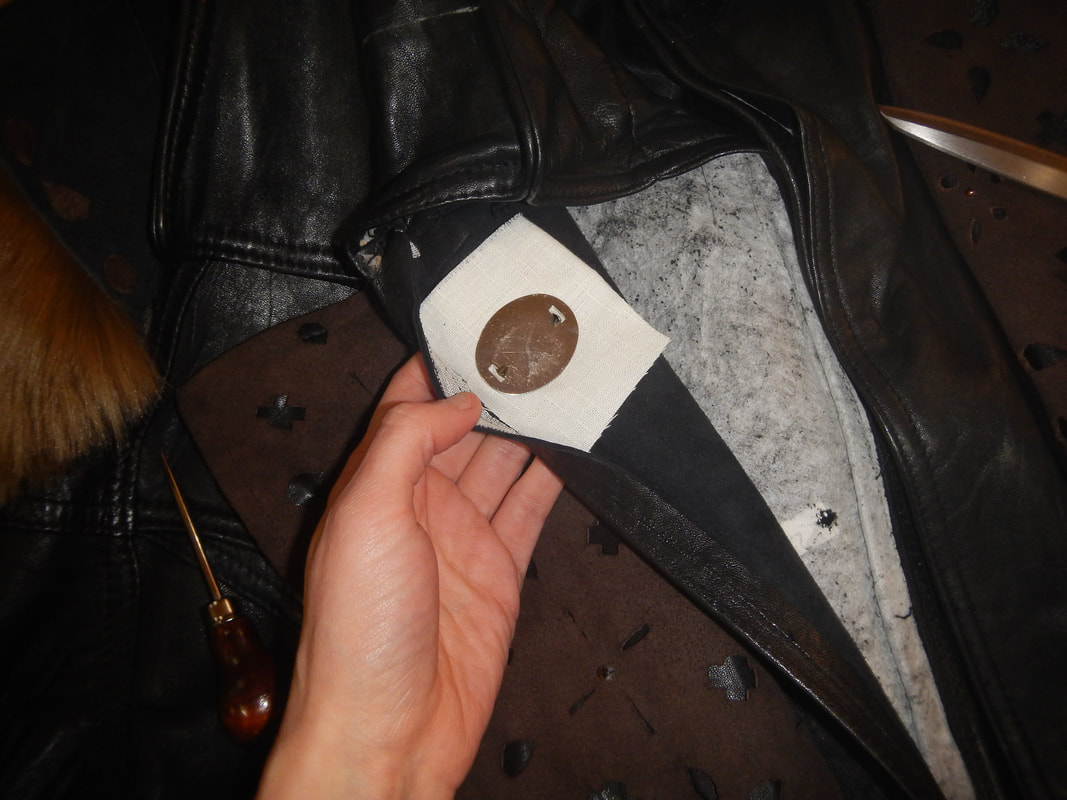
The front being still open from when I removed the zipper, I went into the lining to get at the shoulders, and discovered an interesting surprise: the raglan shoulder pad was sewn to the inside through the use of a strip of lining fabric actually piercing the pad, and being sewn to the seam allowances of the jacket on either side!  Hopefully, these pictures make some kind of sense, since I don't think that sentence did...
Picture
Here's the raglan shoulder pad. The black strip is going through a hole in the pad.
Picture
The black strip emerges on the other side and is tacked to the seam allowance below it.
In order to get to the leather of the shoulder top, I had to unsew one end of the strip and remove the shoulder pad.   Then I was able to hand-sew the epaulet in place:
Picture
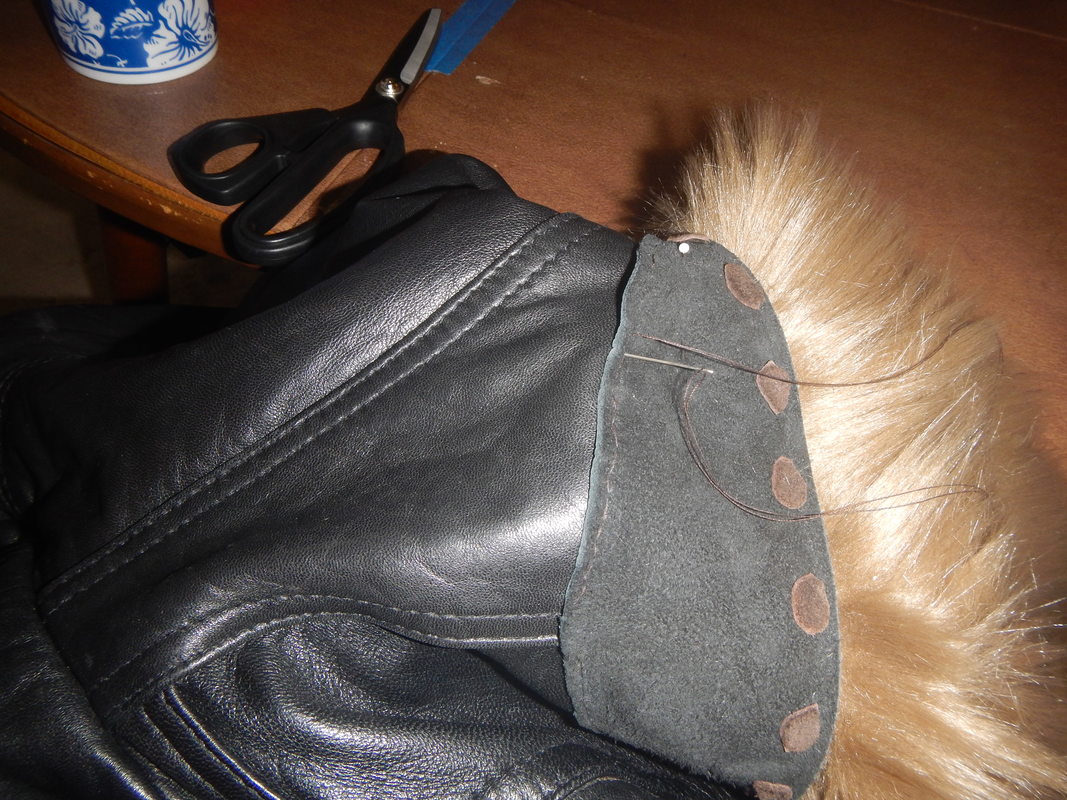
It was tough on my hands, trying to pierce the leather so much, but there was little hope of getting Boudica's head into that leather beast!  When I was done, I put the shoulder pad back in its impaled position. 

CLOSURES

As for the inner layer, the final closure, I used some neat clasps for the front:
Picture
positioning the clasp
Picture
The back of the clasp is inside the jacket, and reinforced by interfacing canvas.
I re-sewed the front shut, and criss-crossed the top to make a more aristocratic high collar.  My client had selected several metal or metallic buttons he liked, and I used one large one to close the collar.  I hand-sewed the buttonhole with waxed thread:
Picture
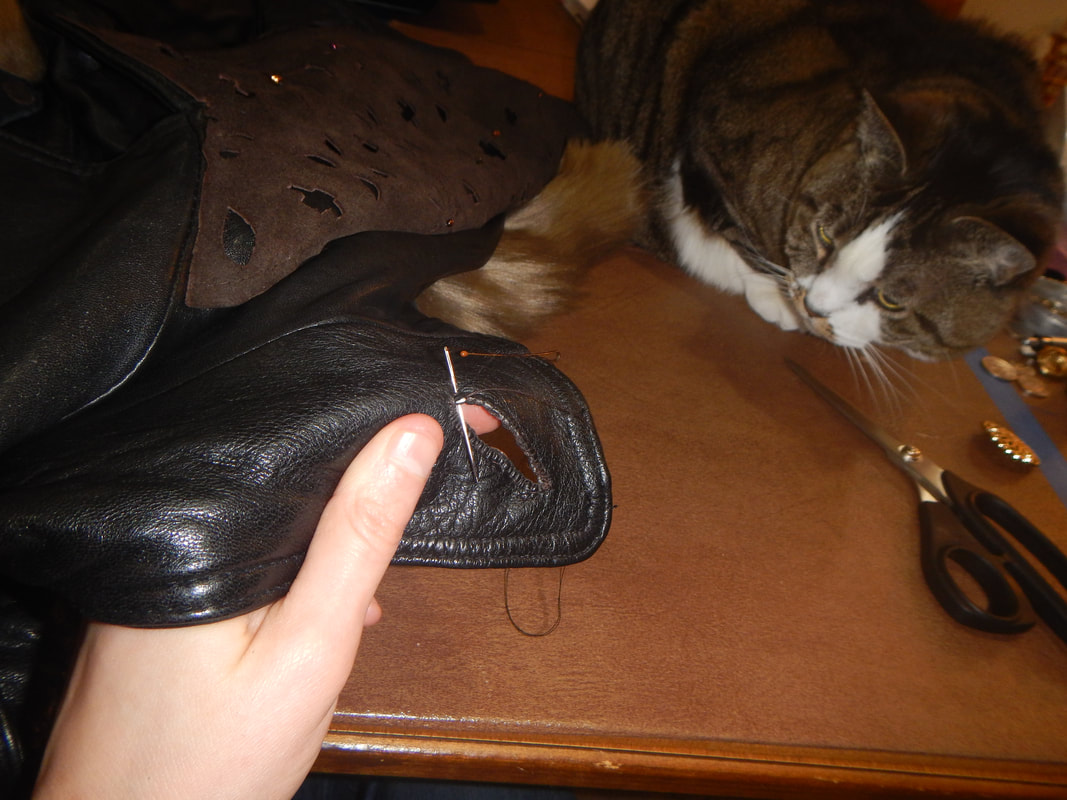
A final rub with some leather conditioner, and it was ready to go.  I think the final effect is quite nice! 
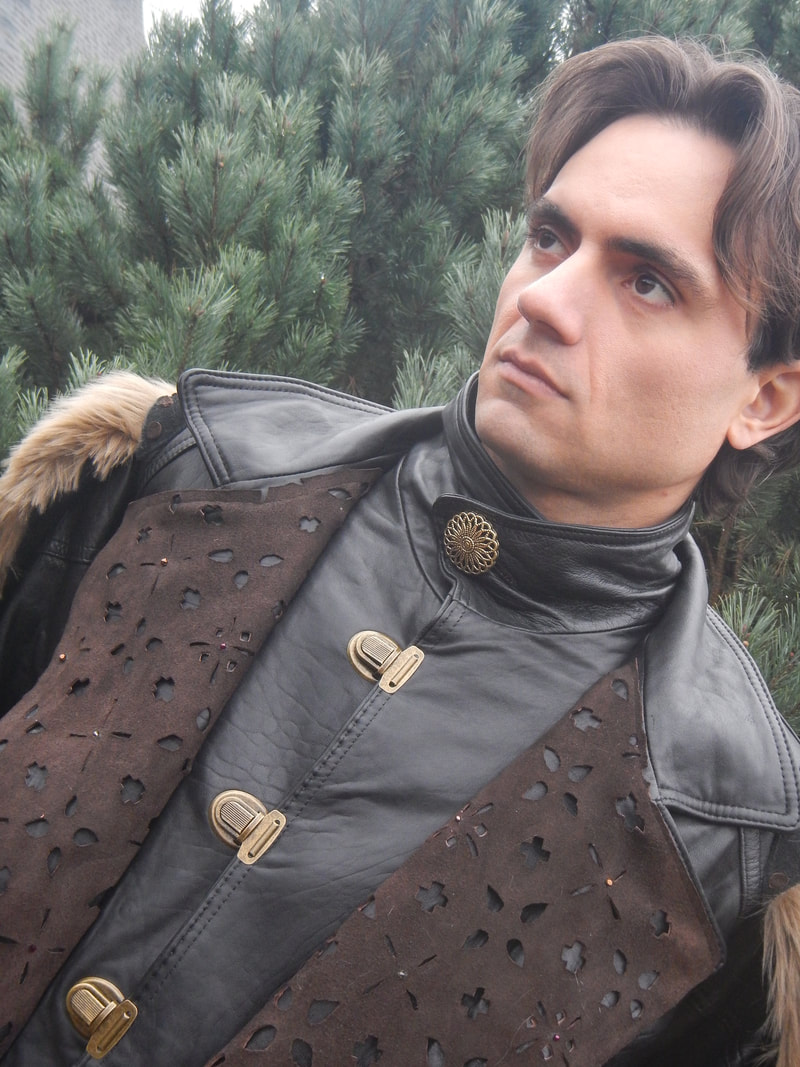
Picture
2 Comments
The Sister
5/16/2018 03:06:29 pm

Oh, well done! I'm proud of your attention to detail, like the tiny brown beads and making sure the fur all caught the light in the same direction. The big brooch-like button at the neck is fabulous, and I think your customer looks smashing in the jacket! Great tribute to the inspiration pieces as well.

Reply
Michelle M Harrison
11/14/2019 07:27:14 am

Simply amazing!

Reply


Leave a Reply.

    Karen Roy

    Quilting, dressmaking, and history plied with the needle...

    Sites I Enjoy

    The Quilt Index
    r/Quilting
    Wonkyworld

    Categories

    All
    1910's
    Alteration
    Antique
    Dyeing
    Embroidery
    General
    Hand Sewing
    History
    Lacemaking
    Mending
    Menswear
    Millinery
    Modern Elizabethan
    Musing
    Other Sewing
    Philippians 4:8
    Project Diary
    Quilting
    Regency
    Retro
    Self Made Pattern
    Self-made Pattern
    Terminology
    Victorian
    Vintage

    Archives

    April 2025
    March 2025
    December 2024
    March 2024
    December 2023
    November 2023
    September 2023
    August 2023
    June 2023
    May 2023
    March 2023
    February 2023
    January 2023
    December 2022
    November 2022
    October 2022
    September 2022
    August 2022
    October 2021
    September 2021
    August 2021
    July 2021
    June 2021
    May 2021
    April 2021
    August 2020
    June 2020
    May 2020
    April 2020
    March 2020
    January 2020
    December 2019
    November 2019
    September 2019
    August 2019
    July 2019
    May 2019
    April 2019
    March 2019
    January 2019
    December 2018
    November 2018
    October 2018
    September 2018
    August 2018
    July 2018
    June 2018
    May 2018
    April 2018
    March 2018
    February 2018
    January 2018
    December 2017
    November 2017
    October 2017
    September 2017
    August 2017
    July 2017
    June 2017
    May 2017
    April 2017
    March 2017
    February 2017
    January 2017

    RSS Feed

Blog

Quilting

Clothing

About

Copyright Karen Roy
​© 2017-2024