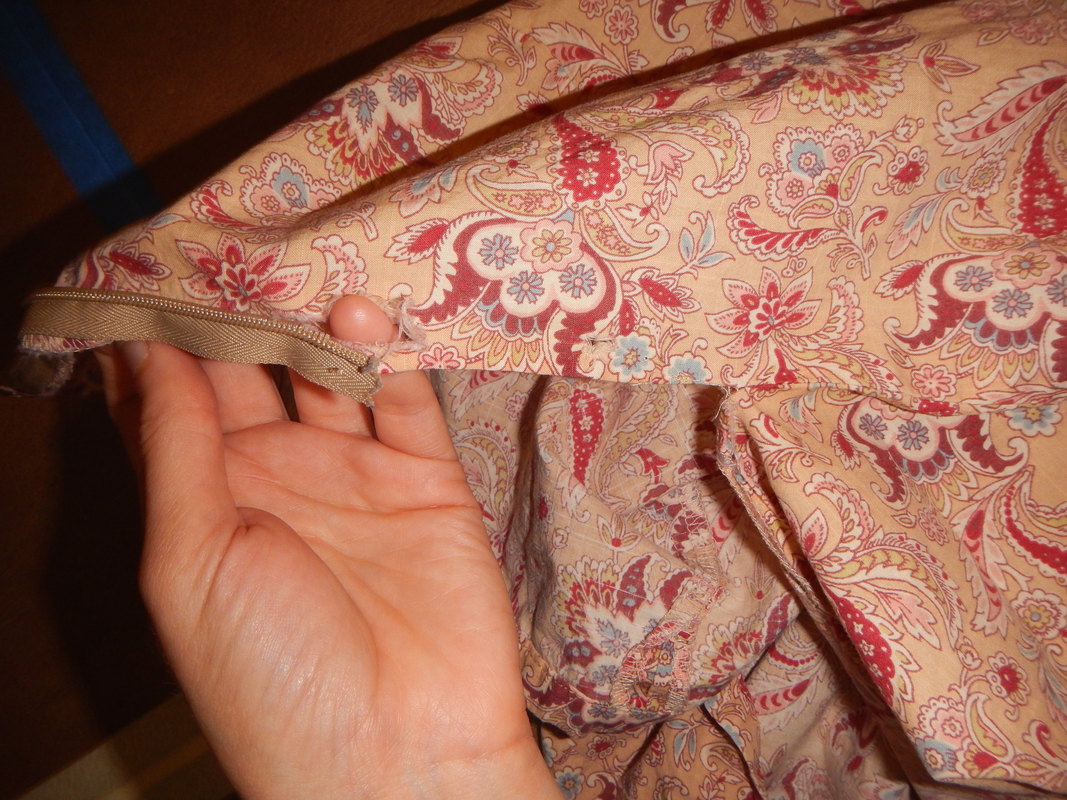
ASSESSING THE DAMAGE
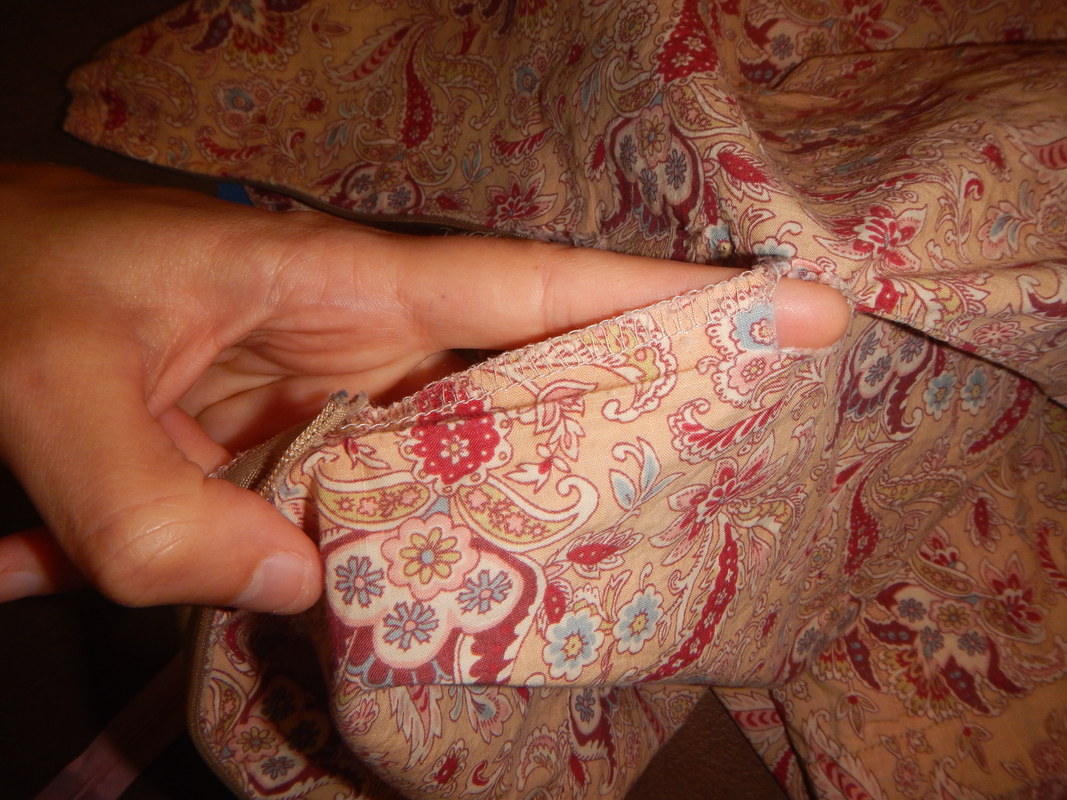
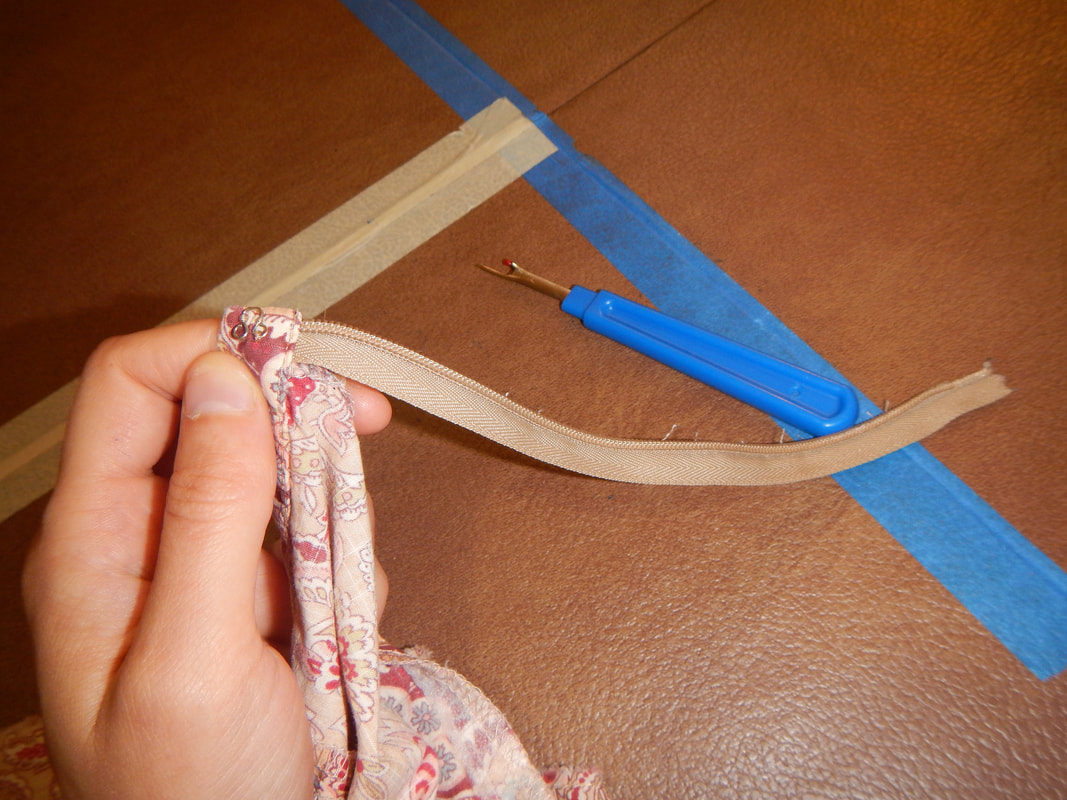
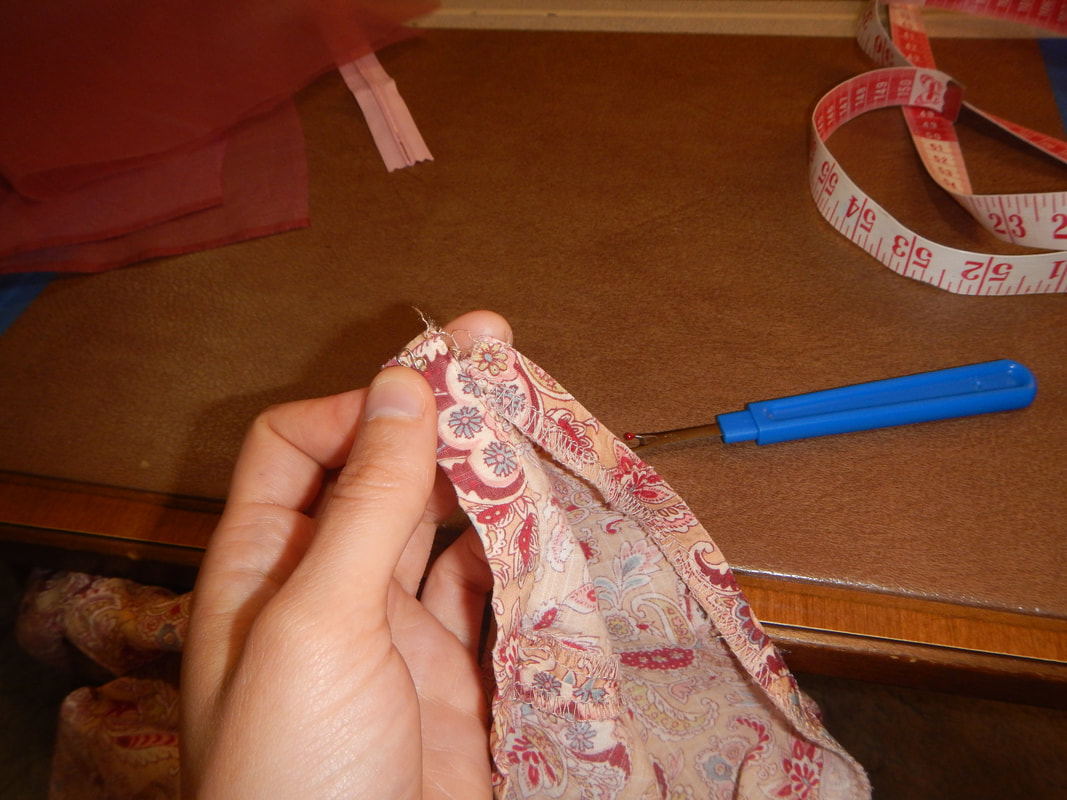
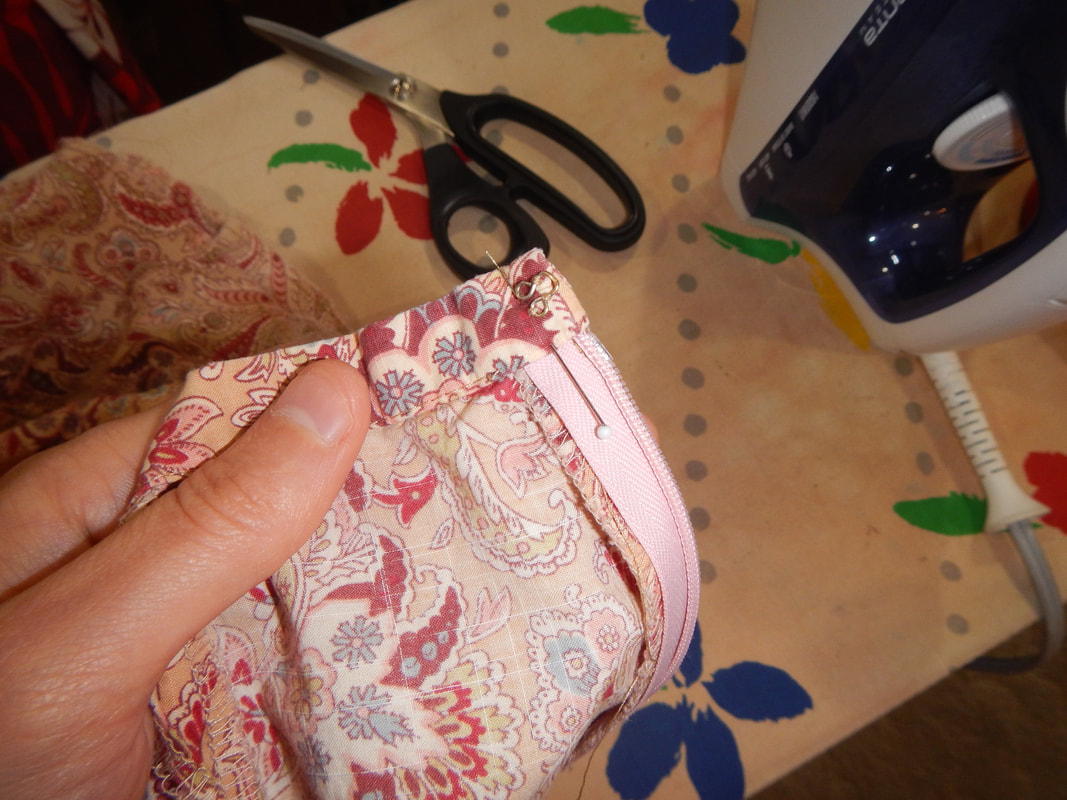
REPAIRS The first thing I need to do is remove the old zipper and open the seam up above and below the damaged points so I can work with flat fabric. I use a seam ripper to remove the old stitches, trying not to make the holes worse. 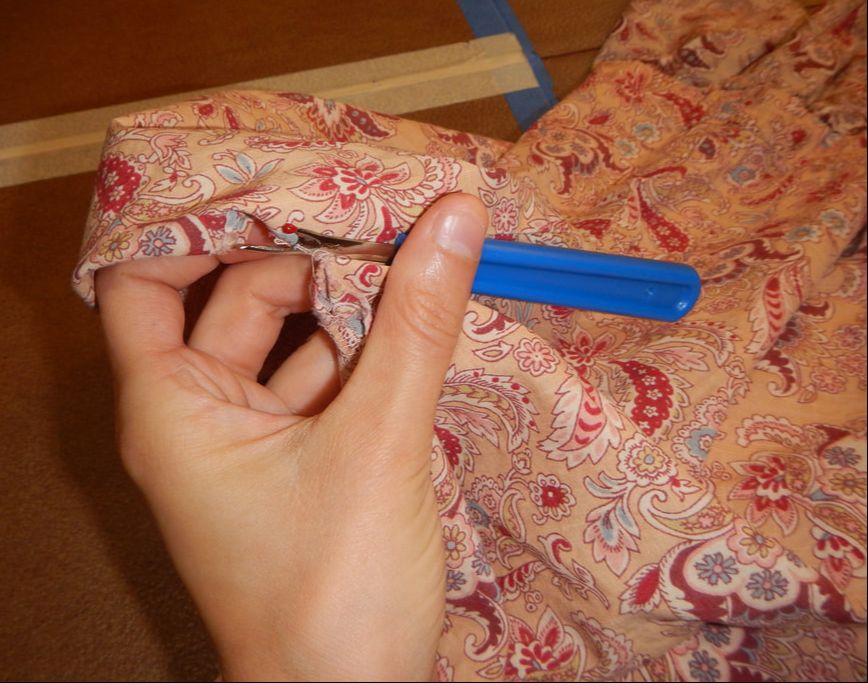 (I'm not actually using the seam-ripper with my left hand; I'm just holding it while my right operates the camera.) At the top, the zipper end is sewn into the waistband, so the order of assembly was to make the skirt with its zipper, then enclose the raw edges in the waistband. That means that I have to un-pick the waistband to release this seam and put a new zipper in. Here's the top getting un-picked:
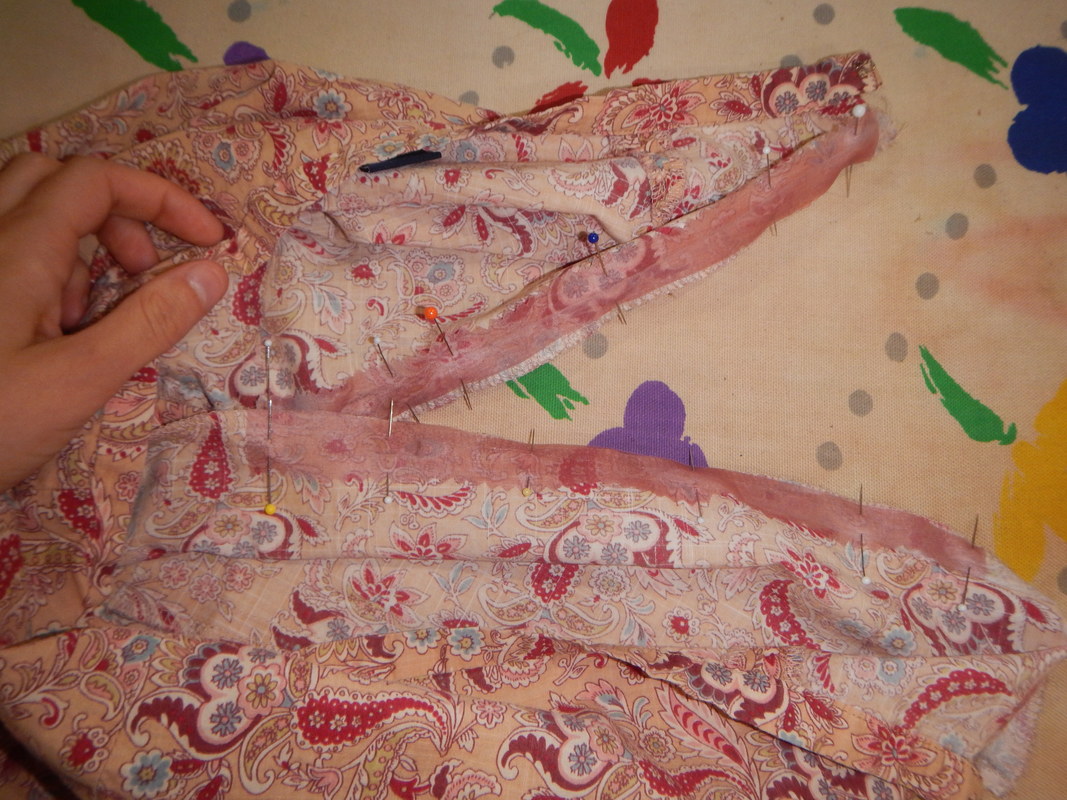
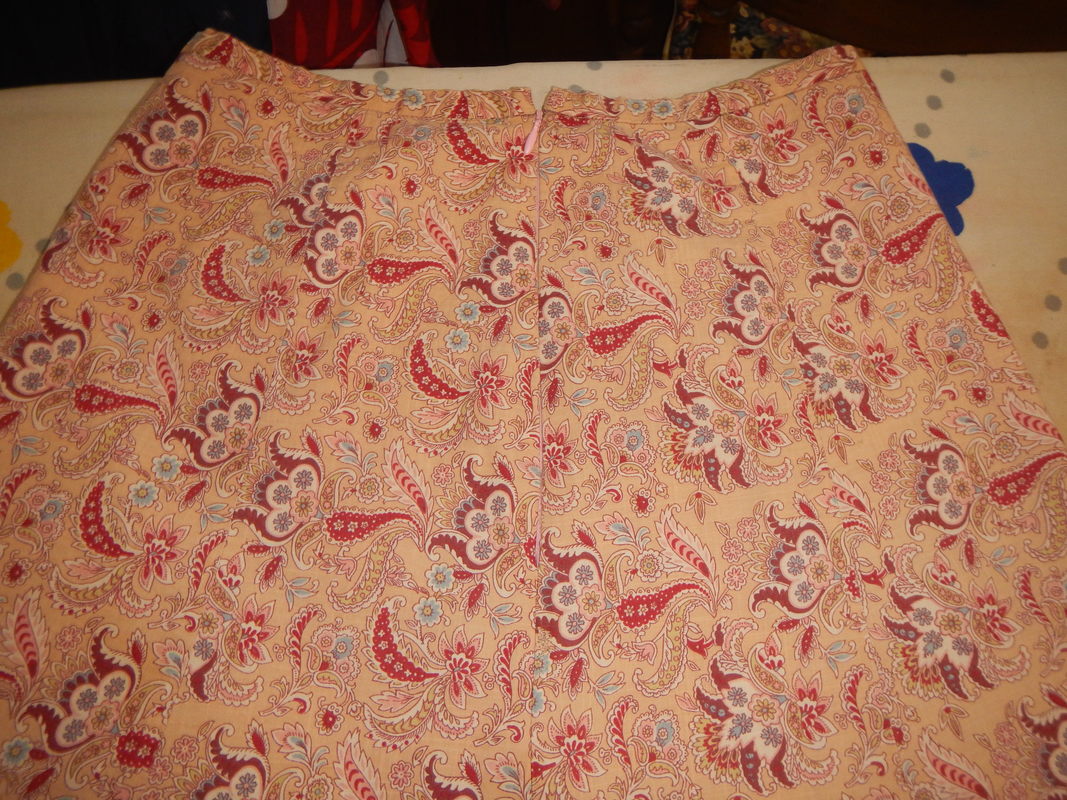
Once the zipper is out, I press the fabric flat and overlay it with strips of silk organza on the wrong side. I sew the silk organza to the original fabric with a simple straight stitch within the serged seam allowance. Then I reinforce the areas with holes by going over them with the three step zig-zag stitch.
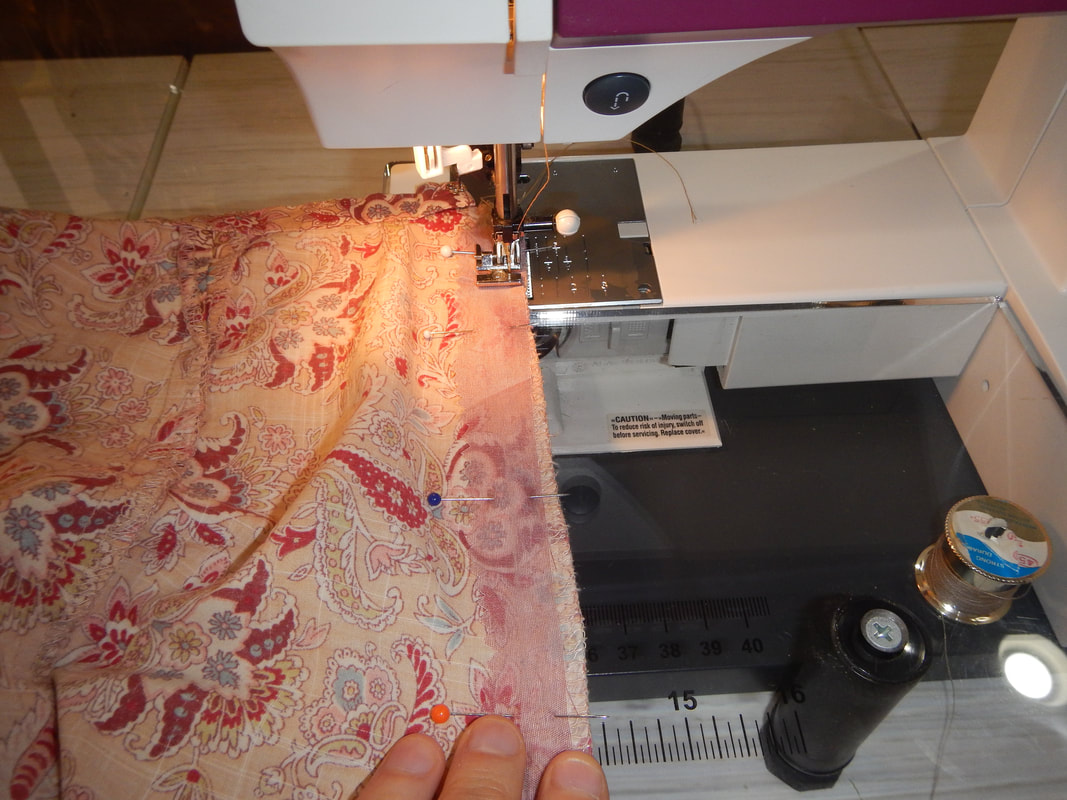
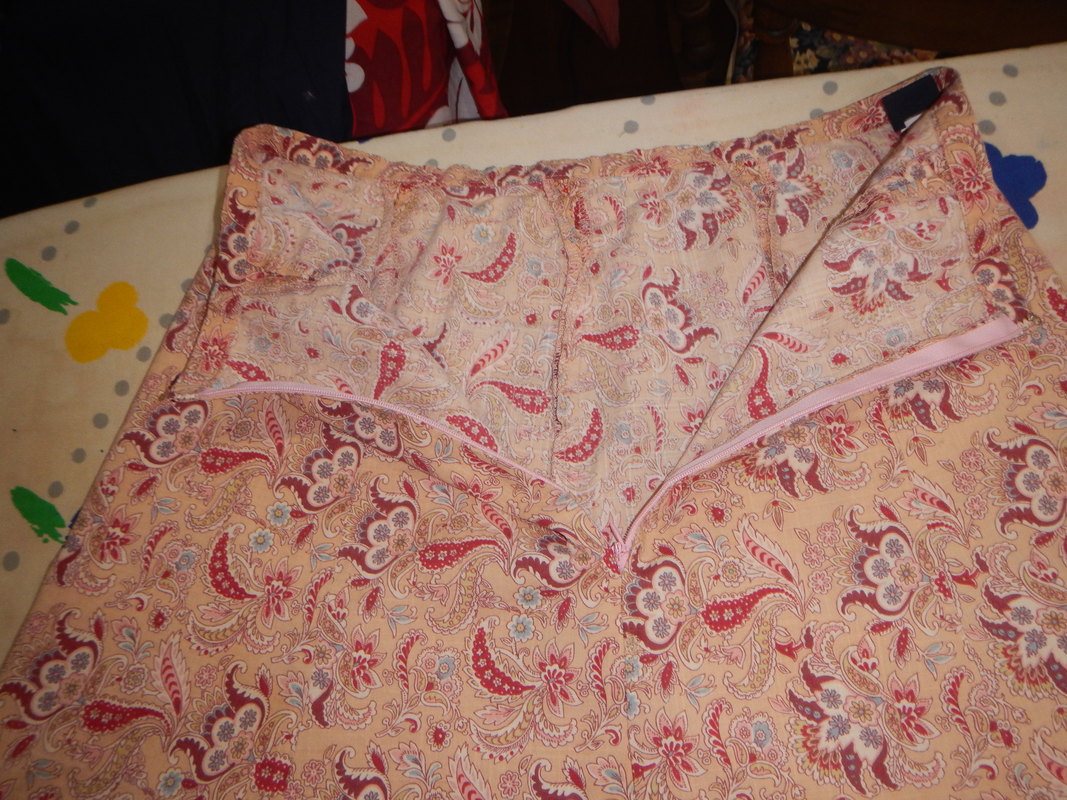
What's the purpose of the silk organza strip? Well, the original treatment of the seam area was an iron-on interfacing, to make the fabric sturdier before applying the zipper. However, now that the fabric has holes, I can't use iron-on interfacing because it'll show through and be gluey. So the silk interfacing becomes reinforcement for the seam and zipper area (which needs it because it's been stressed already) and patch for the holes (the pink organza blends nicely with the skirt). NEW ZIPPER AND DONE! I install the new zipper in the top of the open seam, then close the hole beneath it, then tuck the top ends into the waistband and re-sew the waistband. When I press the folds over the invisible zipper, the hidden silk organza holds the crease and supports the skirt wonderfully! (This is my first time sewing with silk organza, and it's so much more manageable than the synthetic organza I've used before that I feel encouraged to use it again.)
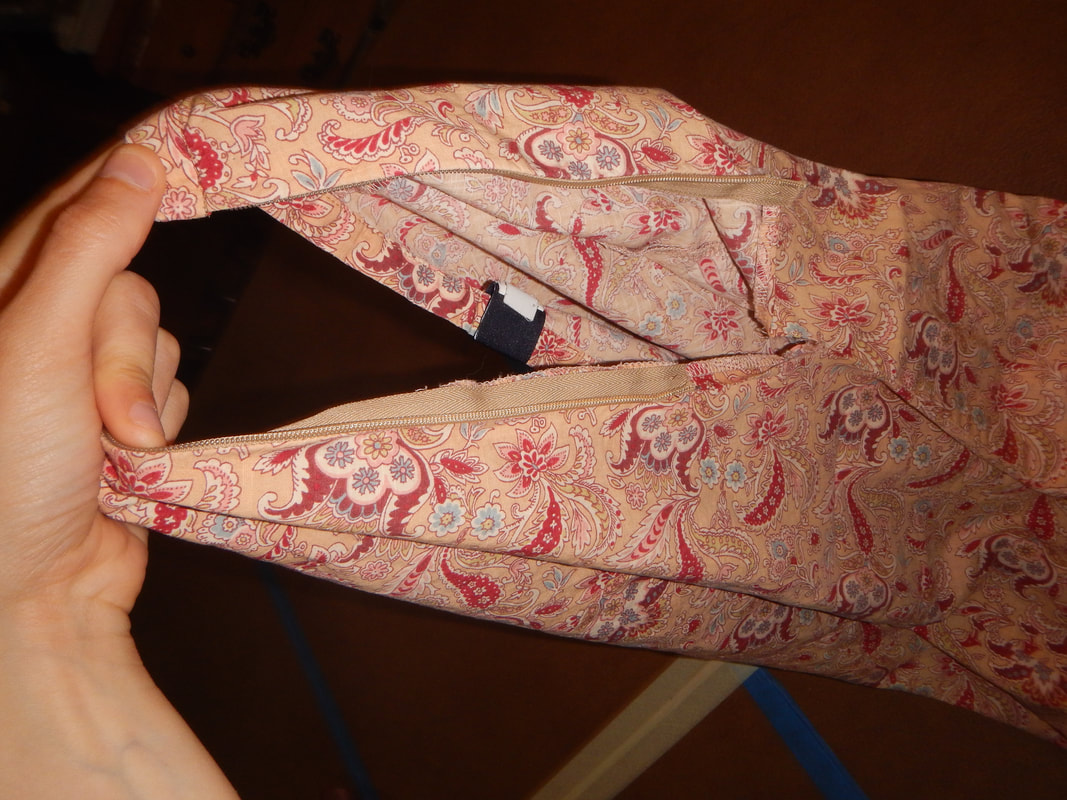
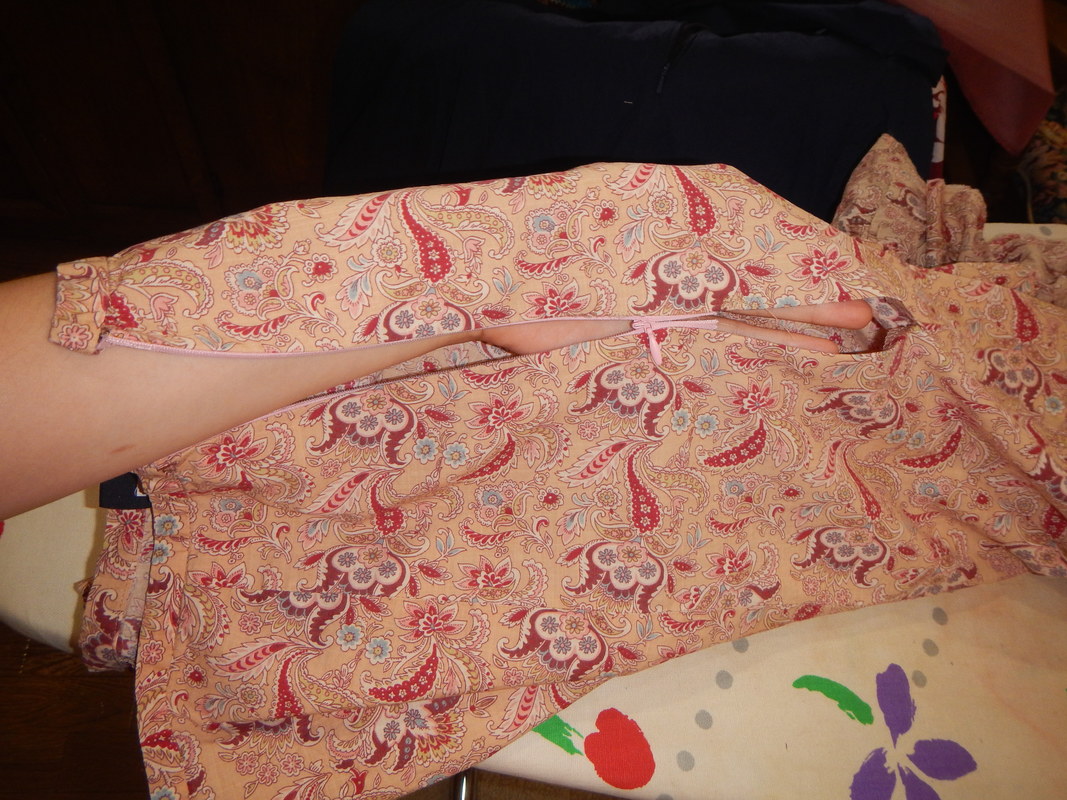
And here's the zipper closed and open. (It's a side zip, but I positioned it in the center for the picture.)
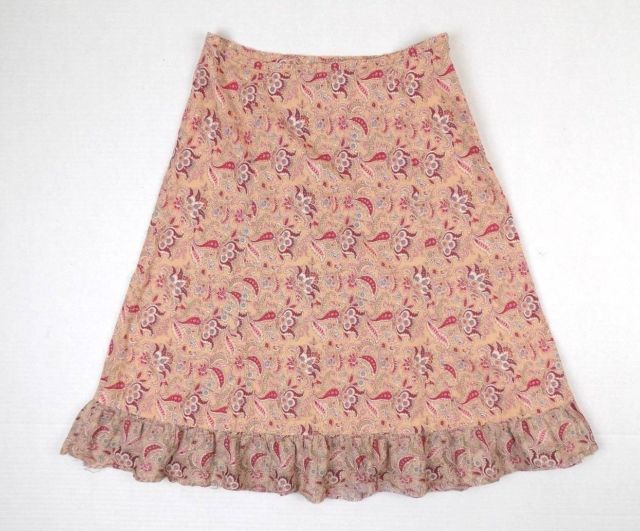
The last thing is to hem the ruffle on the bottom. It must have had a hem once, because there's a line of stitching. But the stitching only goes through one layer of fabric, and is frayed beneath there. On the up side, that line of stitching makes it really easy to turn up an even amount of fabric all the way around for a doubled hem: 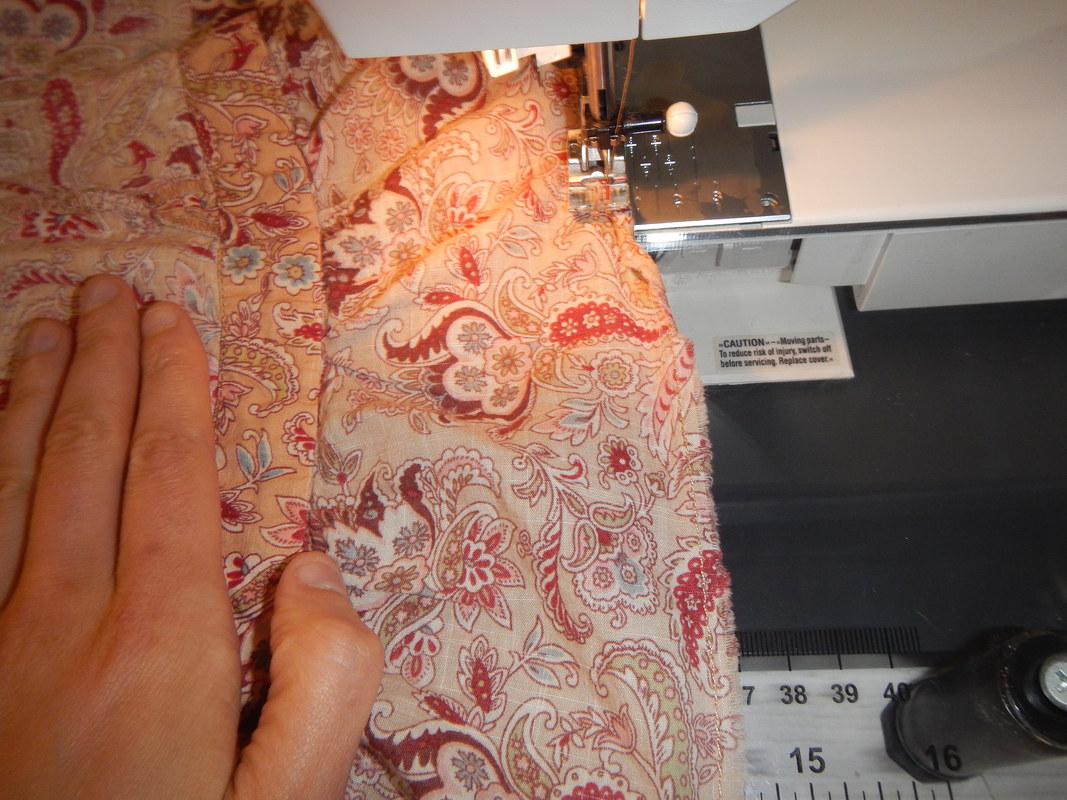 hemming the ruffle PATTERN AND CONSTRUCTION In its pattern, this is a super simple skirt: an a-line skirt that sits just at the natural waist. It's made with four gores, so the basic pattern would have been a darted pencil skirt, separated into gores so the darts became vertical seams, and the gores expanded from the hips downward. The flare doesn't need to be extreme on any piece, because there will be six gores when you're done, so that flare is multiplied. Add a thin waistband and a ruffle, and you have the Gap's look. 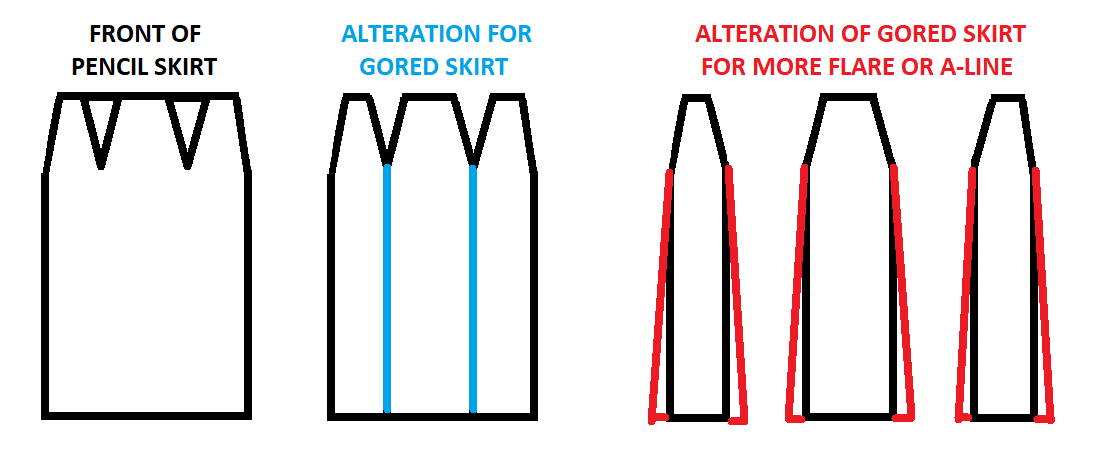 However simple the pattern may be, the construction is a much more interesting. For instance, while Gap could have serged vertical seams together, they chose instead to serge each seam allowance individually and then press them open after sewing. All six vertical seams are pressed open inside the skirt. I'm not sure what the rationale was for this, but it was extra work for the makers. Then they could have serged the horizontal seams--ruffle to skirt and waistband to skirt--but chose instead to finish the ruffle with a self-fabric facing that folded up and was top-stitched (see the hemming picture above for a view of that), and the waistband with a two-step process of sewing right sides together, folding over, and stitching in the ditch. These finishes look really professional. It's worth noting that the wear-and-tear on this garment didn't in any way damage the well-constructed horizontal seams. The fix wasn't hard at all... it took me longer to blog about it than to do it. And now I have a new summer skirt! Lovely!
1 Comment
The Sister
7/27/2018 06:07:35 am
A quick fix! Clever girl. Now you have something else to wear with your pretty pink jewelry! Leave a Reply. |
Karen Roy
Quilting, dressmaking, and history plied with the needle... Sites I EnjoyThe Quilt Index Categories
All
Archives
March 2024
|
 RSS Feed