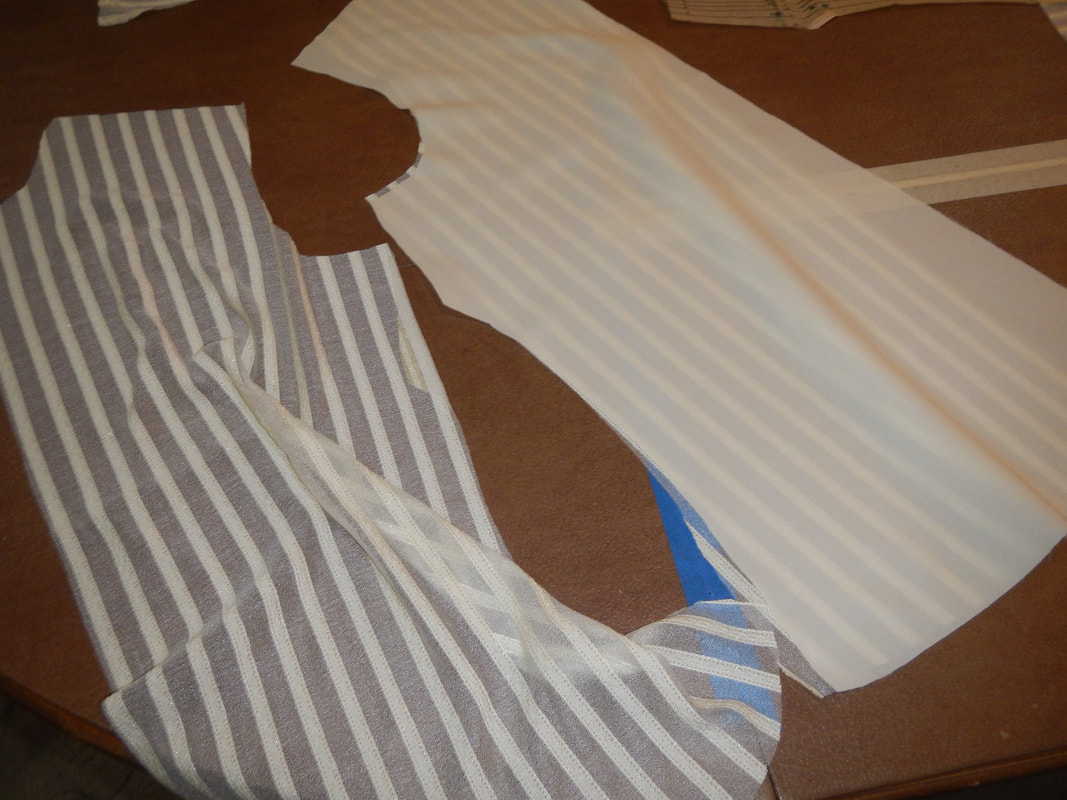
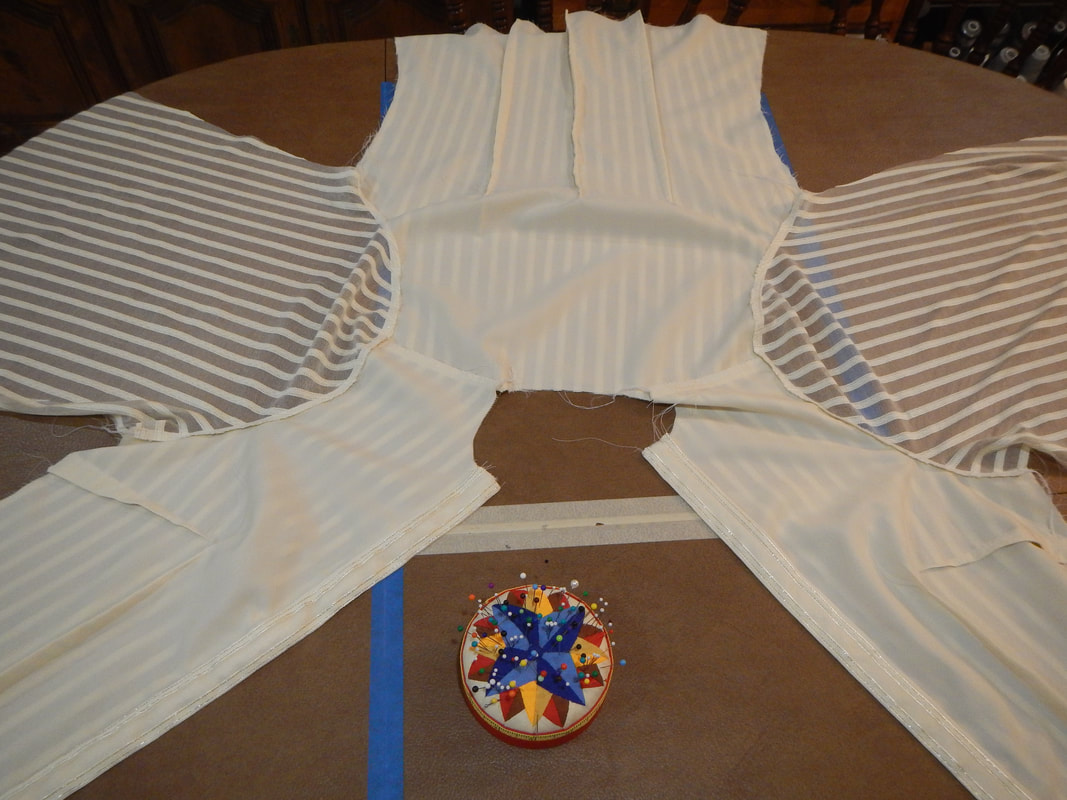
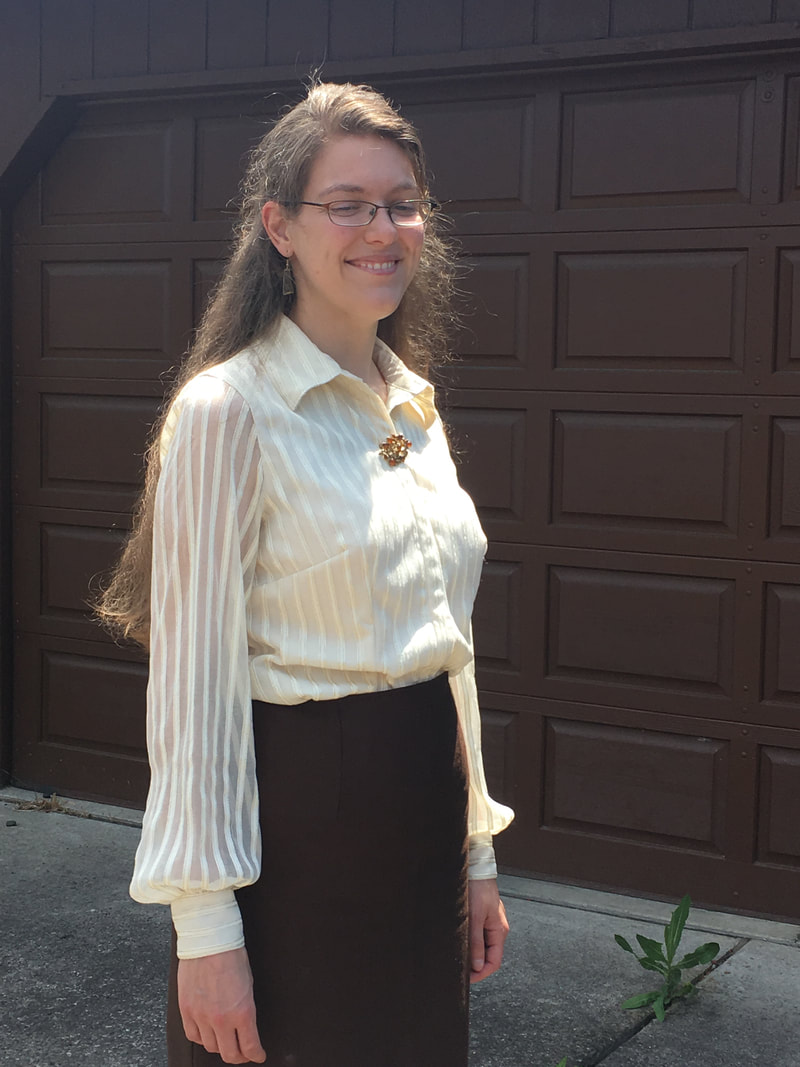
Robes de Coeur
  • Blog
  • Quilting
  • Clothing
    • Menswear
    • Womenswear >
      • Self-Made Patterns
      • Commercial Patterns
    • Hats
    • Miscellany
  • About
  • Blog
  • Quilting
  • Clothing
    • Menswear
    • Womenswear >
      • Self-Made Patterns
      • Commercial Patterns
    • Hats
    • Miscellany
  • About

Simplicity 2758 - Made in a Sheer

7/2/2018

2 Comments

 
Picture
This time, the fabric on the right.
Last time I made this shirt, I cut it in size 14 and found the fit perfect except for the bust darts, which were positioned too wide for my bust.  The busy print of the cotton sateen (left side of picture) conceals the darts (as does the fact that I wear a bib-apron at work!), and the shirt is a new favorite in my wardrobe.  However, I want to make it again, changing a few things to fine-tune the fit.  This time, I'm using the sheer striped fabric on the right. 

PATTERN ALTERATIONS


The simplest alteration is to make the cuff smaller in diameter.  I just cut it down to a size 12.
Picture
Picture


The next task is to move the underbust dart toward Center Front.  I use blue marker to make my changes.  The new vertical dart is parallel to the darts already drawn.  Originally, I sewed the far left dart; now I'll do the far right one that I drew in. 
For the bust dart, I originally thought I'd rotate it into the armscye and merge it with the underbust dart to make a princess seam, but I decide to keep things simple and do one thing at a time.  So instead I just pin-fit the pattern and settle on a side-bust dart that's deeper than the pattern calls for.  Originally, I sewed the size 14 dart, but now I'll sew along the blue line, which merges size 14's width with size 8's depth. 
Picture
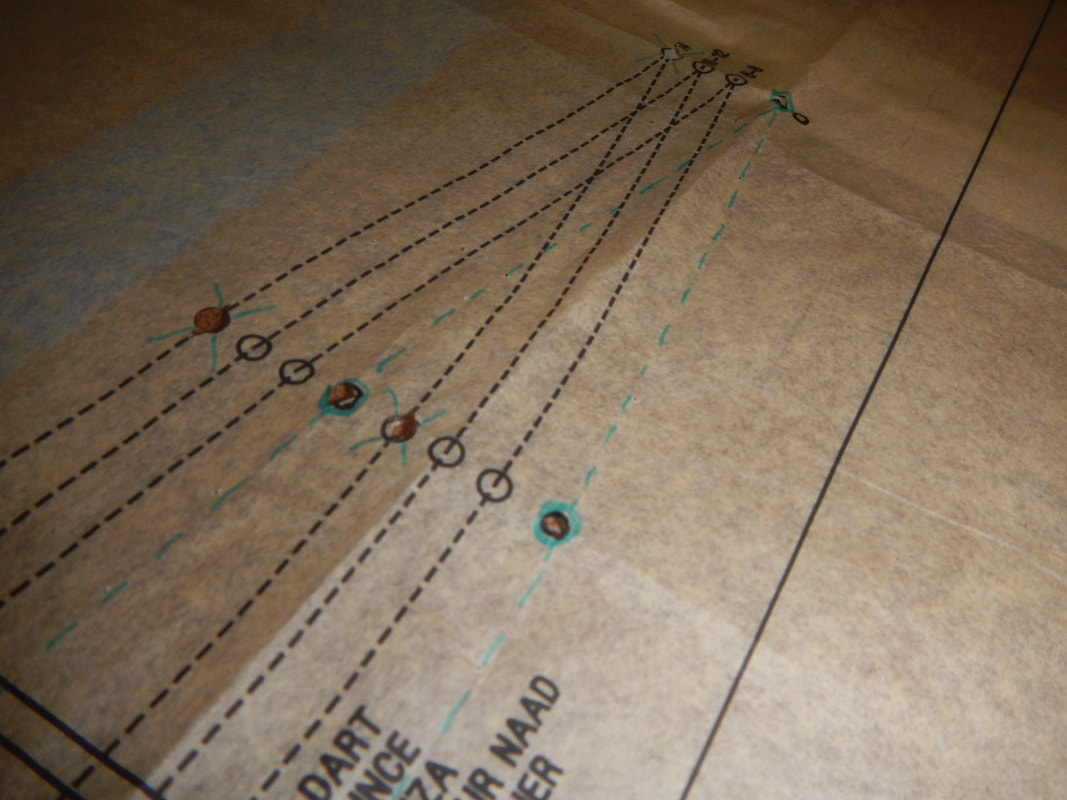
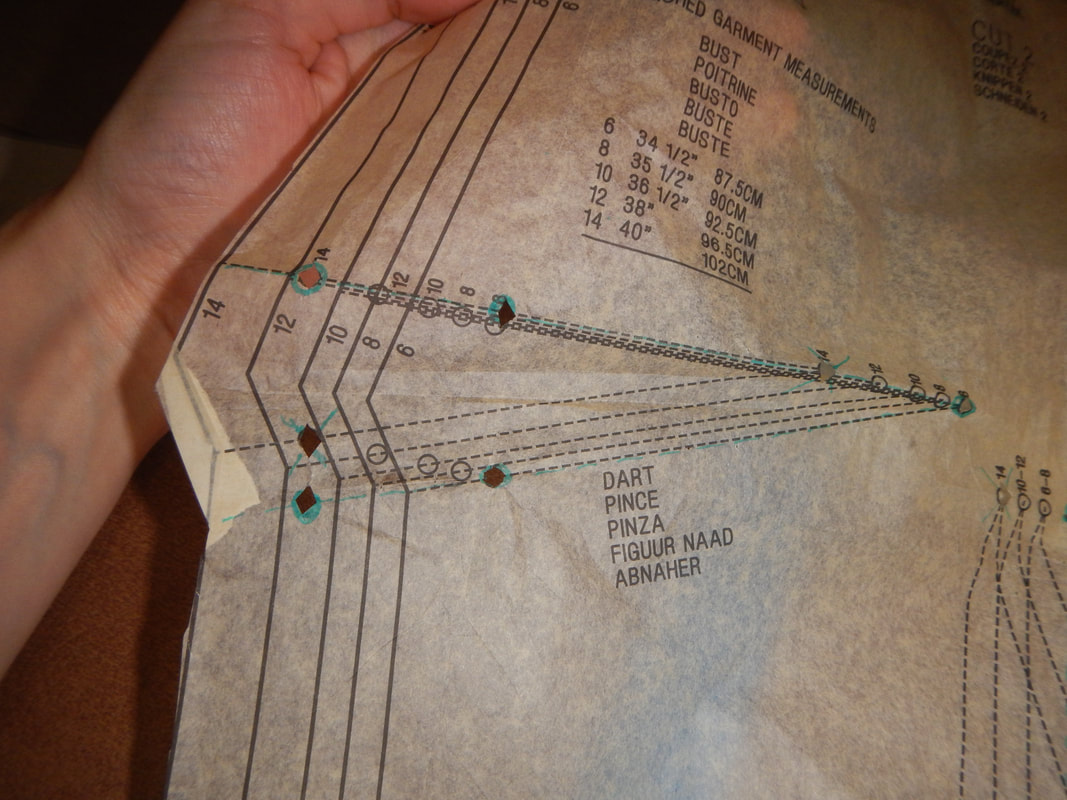
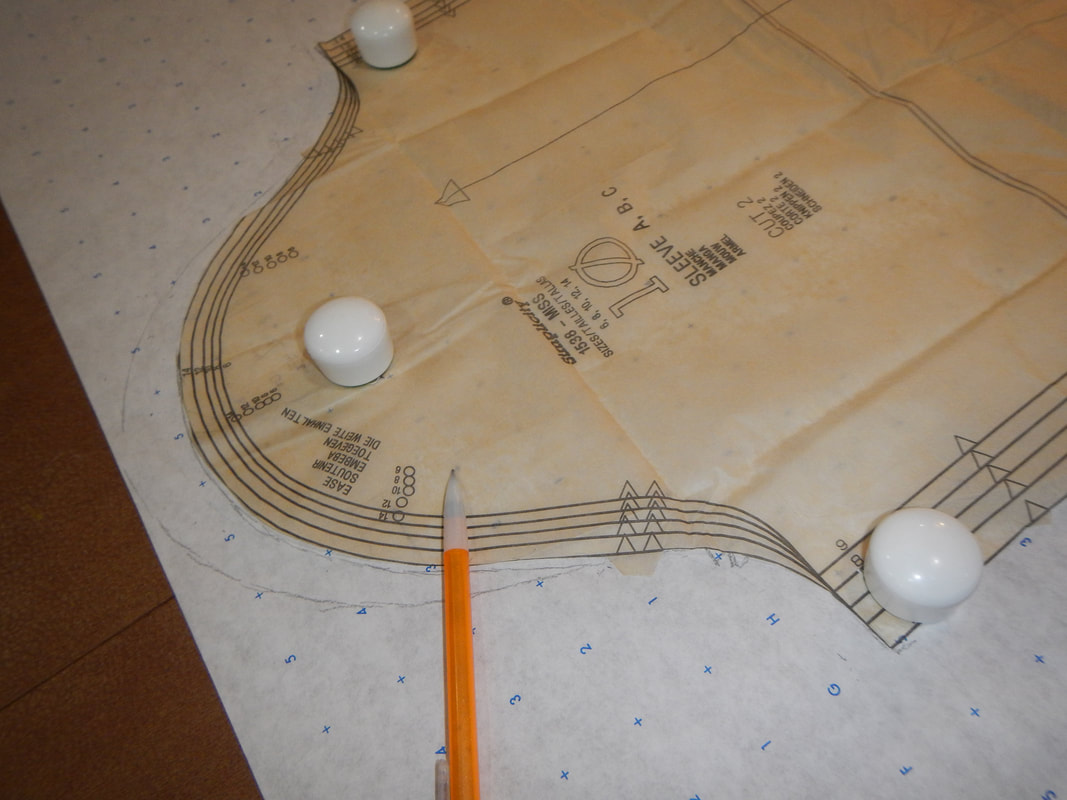
When I'm done fiddling, here's what the front panel looks like pinned up:
Picture
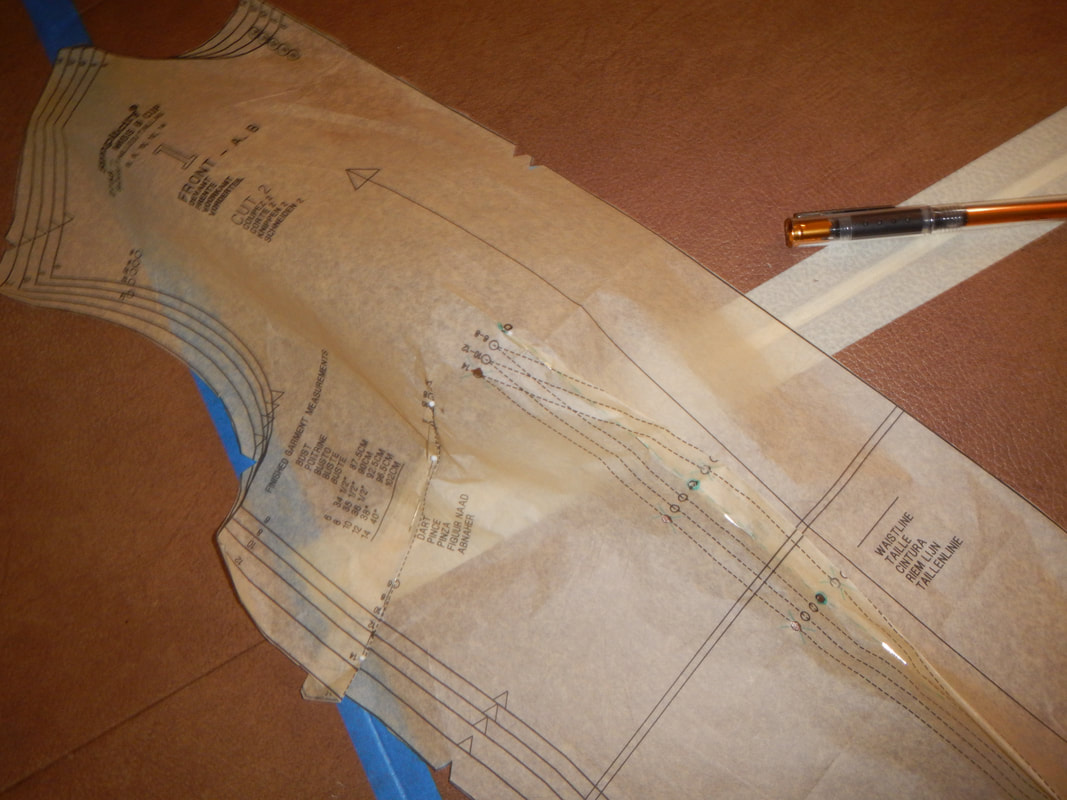
The next pattern change is to make the sleeves into proper bishop sleeves.  Simplicity 2758's sleeves have fullness at top and a little more fullness at bottom.  Made in a flowy fabric, they drape elegantly, but made in a firmer fabric they look bigger.  I called them bishop sleeves originally, but further research reveals that a proper bishop sleeve has a more extreme change from narrow at the top to full at the bottom, like a trumpet sleeve gathered into a cuff.  My goal: I want my new sleeves to have no fullness or gathers at the top, with all the fullness at the bottom, gathered into a taller cuff than the original pattern. 

Making the cuff taller doesn't require any major changes... the pattern calls for cutting two cuff pieces and folding each the long way to get the cuffs.  I'll use the same shape, but cut four and sew two together with interfacing for each cuff, instead of folding.  That will double the height of my cuffs. 

Altering the sleeve fullness is trickier.  It's easy to take a fitted sleeve and add width to the sleeve cap to make gathers, but if the width is already there, how do I know how much to take away to get it back to a fitted sleeve?  Working on the theory that Simplicity might have a block they re-use over and over, I pull out a similar pattern I have, Simplicity 1538, and lay it atop Simplicity 2758.  I am comparing the lines of the armscyes and the shape of the sleeve cap:
Picture
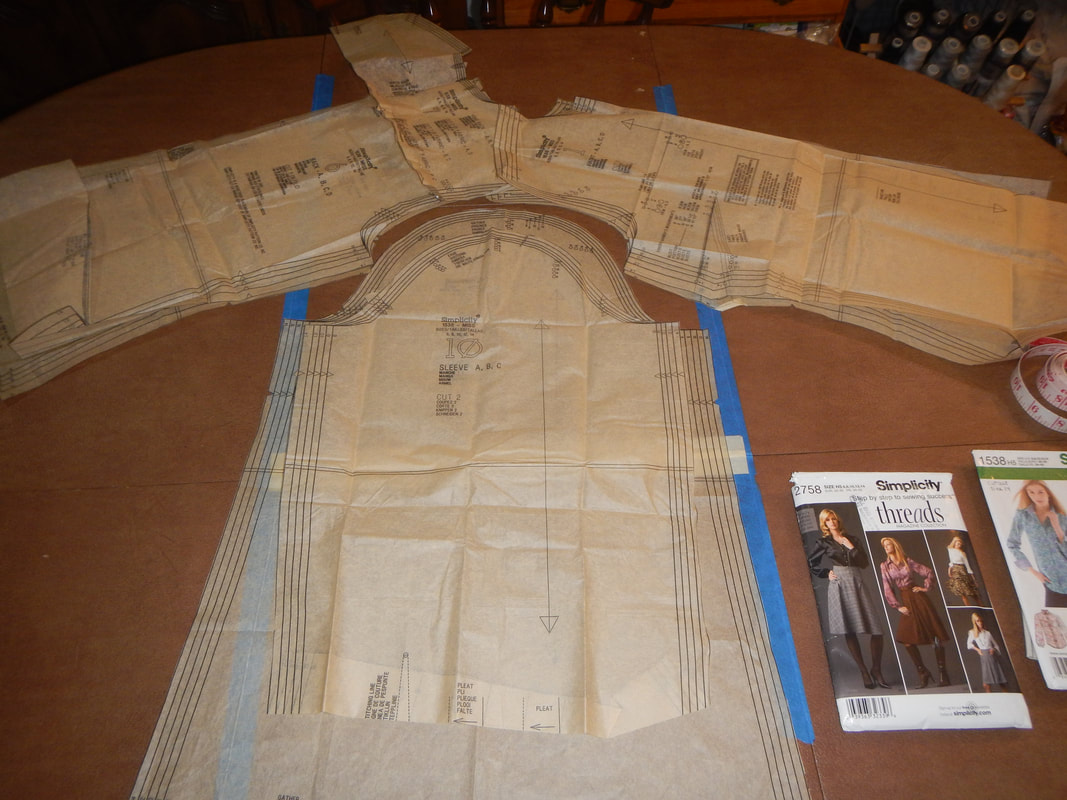
Simplicity 1538 atop Simplicity 2758
As you can see, the armscyes are nearly, if not exactly, the same.  The sleeves differ greatly, though: 1538, the more fitted sleeve, is narrower (because no gathers), shorter at the sleeve cap, and shorter in length (because it fits into a taller cuff); 2758 is wider at top and bottom, and taller at the sleeve cap.  Despite their differences, I know that Simplicity 1538's sleeve will fit Simplicity 2738's bodice because they have the same armscyes. 

I want to merge these two sleeves, keeping the narrow, fitted top of the one and the flared fullness of the other.  So I start by tracing the narrower sleeve cap.  Then I fold the wider sleeve to compress it so it fits, and trace its taller sleeve cap:
Picture
Simplicity 2758 (the wider one), folded to fit the width of the other.
Picture
Simplicity 1538's shorter sleeve cap compared to 2758's tracing.
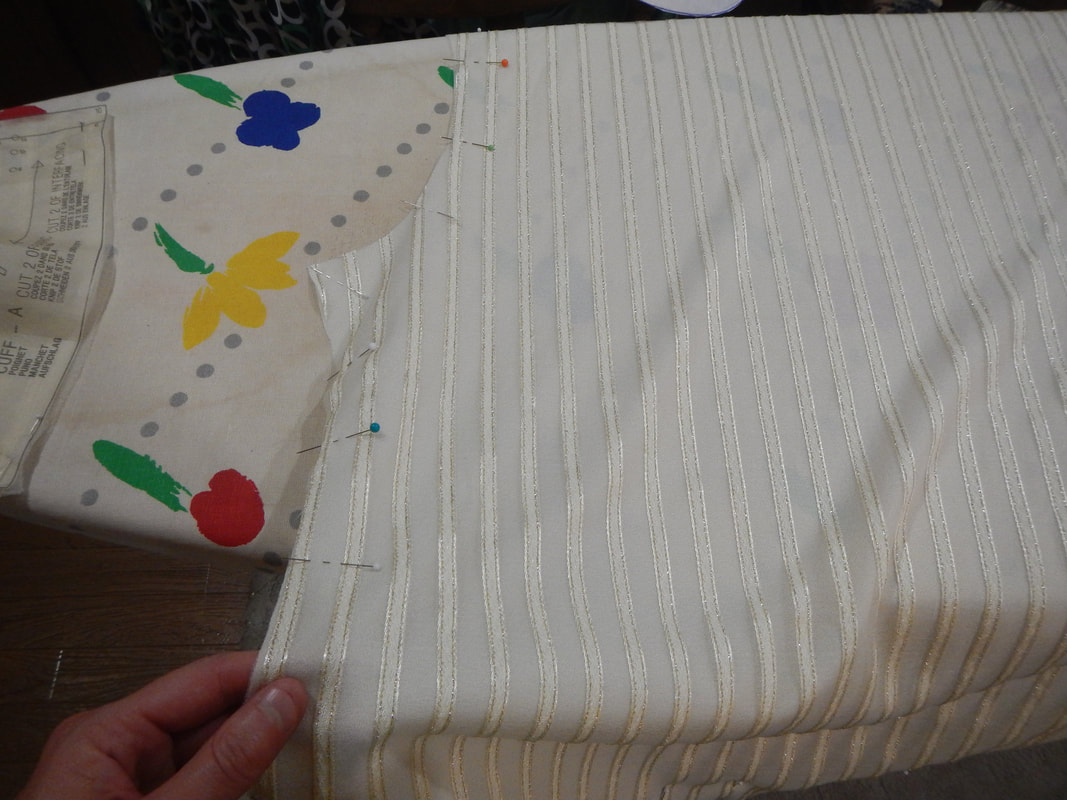
Once I have the two sleeve caps traced, I decide to keep the shorter one from Simplicity 1538, so I erase the taller line.  Then I open the bottom of Simplicity 2758 up again to its original width and trace that. 
Picture
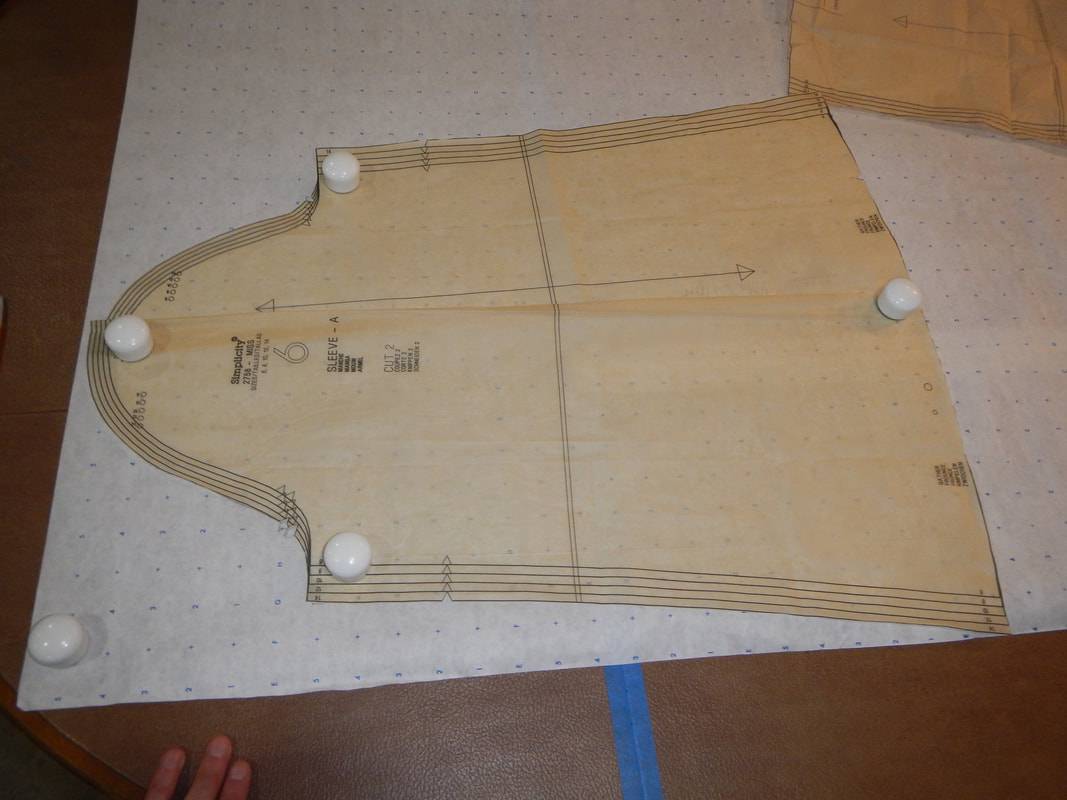
Knowing that my cuff will be taller, I shorten the sleeve a little and shape the bottom to a gentle curve, longer in the back and shorter in the front.  Hopefully, this shape makes the fullness of the sleeve drape more in the back and not fall over the top of the hand in the front.  Online, I find instructions on ClothingPatterns101 ("How to Draft a Bishop Sleeve").  In print, the same directions can be found in Threads #196, April/May 2018, but it's not online as of now. 
Picture
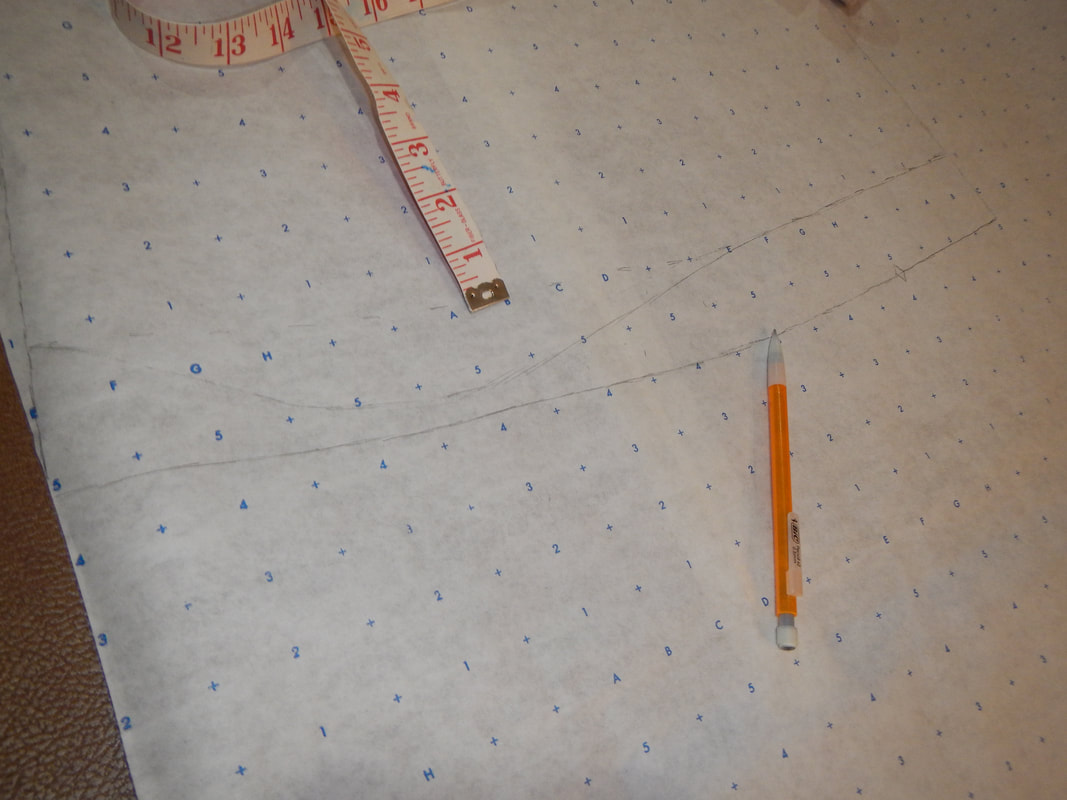
The final step is to trace my new pattern in dark marker, label it, and mark the location of the new slit. 
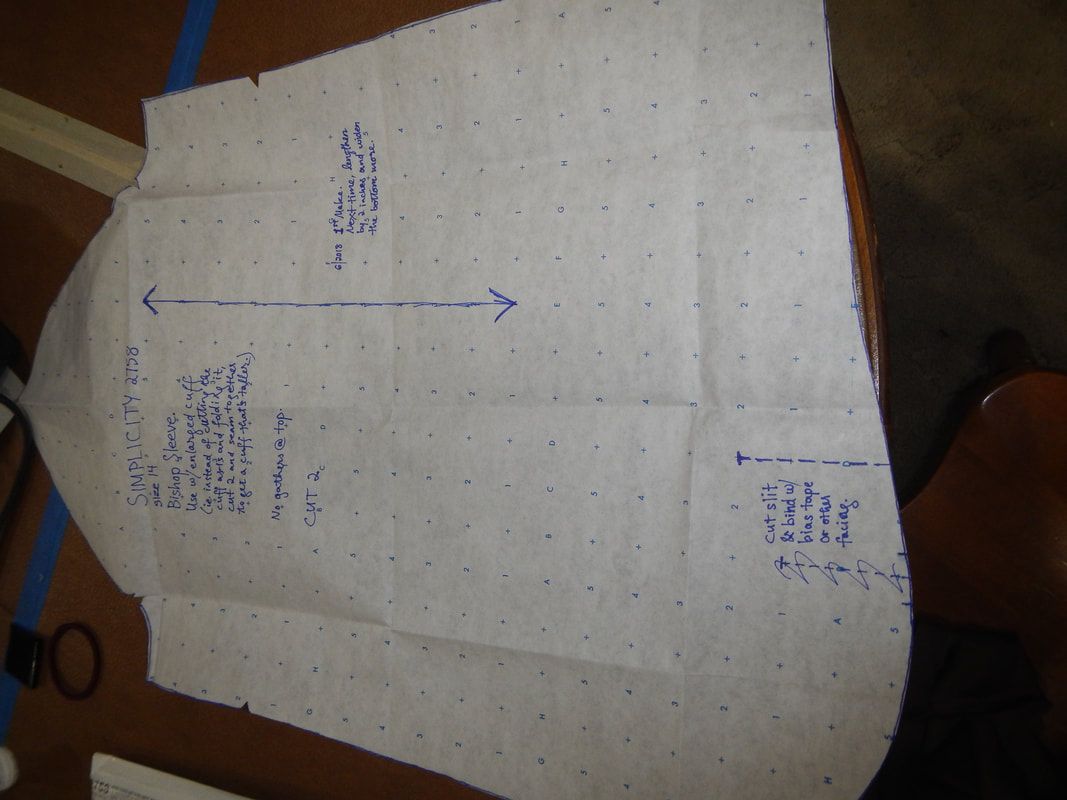
Picture

CUTTING OUT

The sheer synthetic fabric I'm using is another stash fabric of unknown provenance.  It's such a stable knit that when I cut it it neither curls nor ravels.  It has lengthwise stripes of more knit, with metallic borders and little lacy details inside.  The closer I look, the more marvelous it appears to me!  The stability of it and the sturdiness of the stripes make it act more like a woven than a knit: there is a definite "grain" and it doesn't want to skew at all. 
Picture
Picture
It's also very wide... so much so that when I fold it selvedge to selvedge it still doesn't fit on my table, and it seems wasteful to cut the pattern like that, so instead I fold one selvedge over just part of the way and cut from one side of the fabric, leaving me with quite a lot of leftover next to the other selvedge.  It must have been a home decor fabric... maybe for curtains.  Why else would it be so wide? 
I also use some creamy colored lightweight twill, also some kind of synthetic, for the lining of the bodice pieces.  I contemplate making the entire shirt sheer, and wearing it with a camisole underneath, but I decide that a lined bodice will give me more options.  Here is one side in the sheer, and the other side with the lining piece. 
Picture
Picture
I pin the sheer and the lining together, right sides out, and machine-stitch around the perimeter of all but the bottom edges.  This is called flat-lining; from here on out, I'll treat the two pieces as one.  The reason I don't stitch the bottom edges (yet) is that I know putting in darts and hemming and whatnot will make layers shift a bit, and I want to avoid ballooning or puckering by having some wiggle-room.  It'll all come together in the hem. 
Another important thing I do is stitch the two layers together in a wee triangle just inside the line of the eventual bust dart.  This'll keep the layers from sliding off each other when I go to fold and pin that dart. 

ASSEMBLY

Perhaps because this fabric is thinner than the sateen I used last time, I find that this shirt is a teensy bit too slack in the back, so I add a Center Back dart and it's perfect. 

I install the sleeves before sewing the side seams because that is so much easier than setting them in when the torso is closed.  For instance, doing the sleeve-first method makes it easy for me to top-stitch the seam allowances toward the bodice, which is important when the sleeves are sheer. 
Picture
Shirt starfish!
Picture
Ironing the shoulder seams toward the bodice
Picture
Seam allowances top-stitched
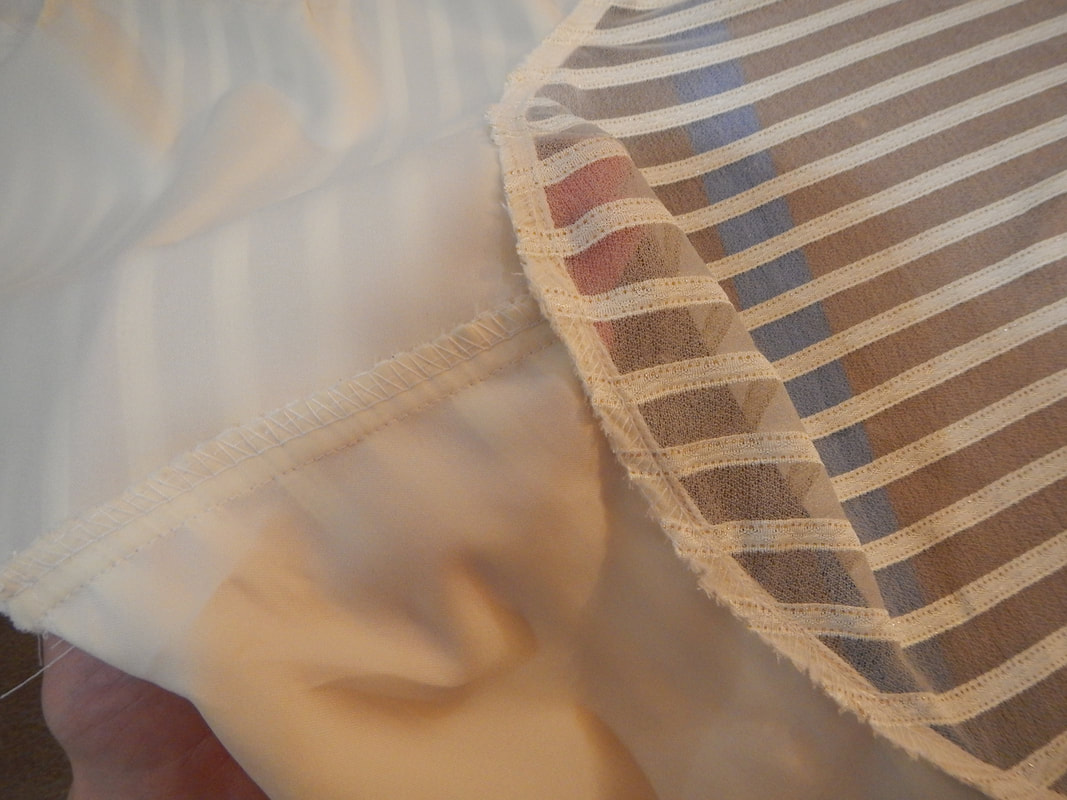
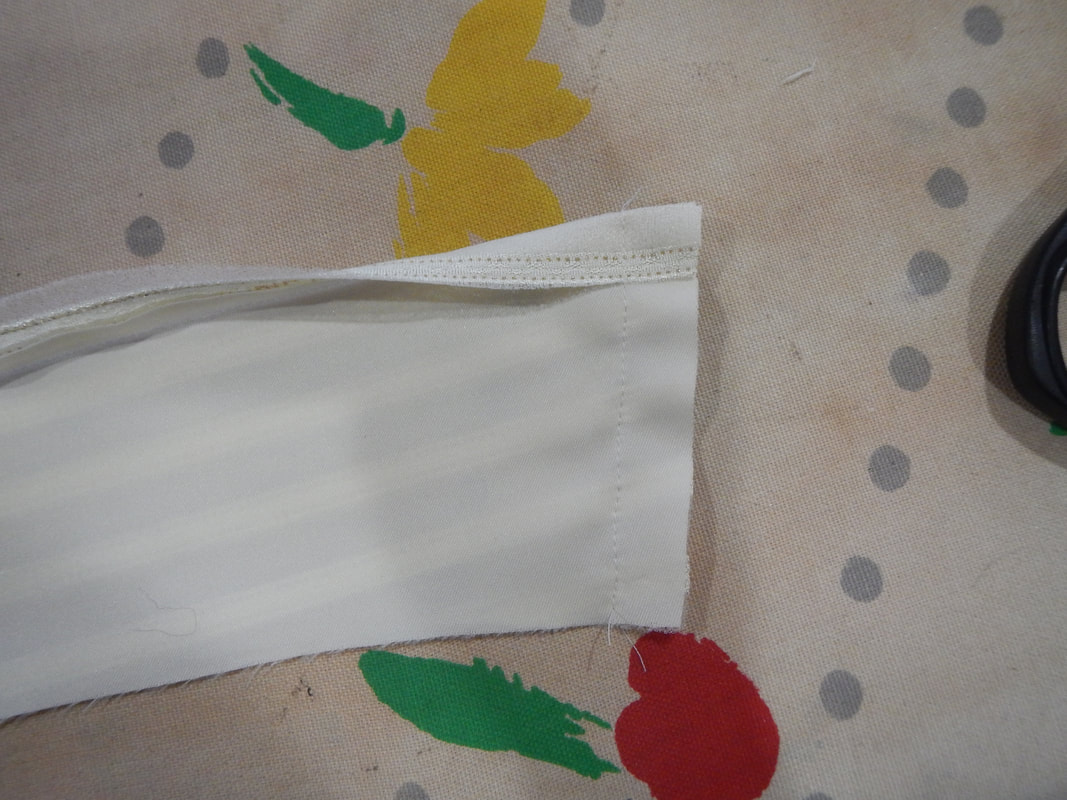
Taking advantage of the stability of the knit, I make the slits in the sleeves simply by cutting them, turning their edges inward, and stitching them. 
Picture
sleeve slits

THE COLLAR

Last time, I did the collar using Threads Magazine's advice about the turn of cloth.  This time, I try something different. 
In the following pictures, there are two pieces of fabric: the collar is flat-lined (sheer + lining) but is treated as one piece; the undercollar is a single layer of sheer. 

First, with right sides together, I sew the long edge (the top) of the collar.  One straight line of stitching, from edge to edge. 
Picture
Top seam sewn
Then, with the collar piece on top, I fold the whole seam over and press it.  This part bends my brain, so I struggle to explain it, but here goes: The collar is on the inside of the turn and the undercollar is on the outside of the turn, so the collar ends up "shorter" than the undercollar; but the whole thing is inside out, so when you turn it, they reverse, and in the finished garment you end up with the undercollar shorter and the collar longer.  The collar wraps the edges of the seam. 
Picture
Top seam ironed over
Pin and sew the side seams with the top seam in its folded position.
Picture
Side seam pinned
Picture
Side seam sewn
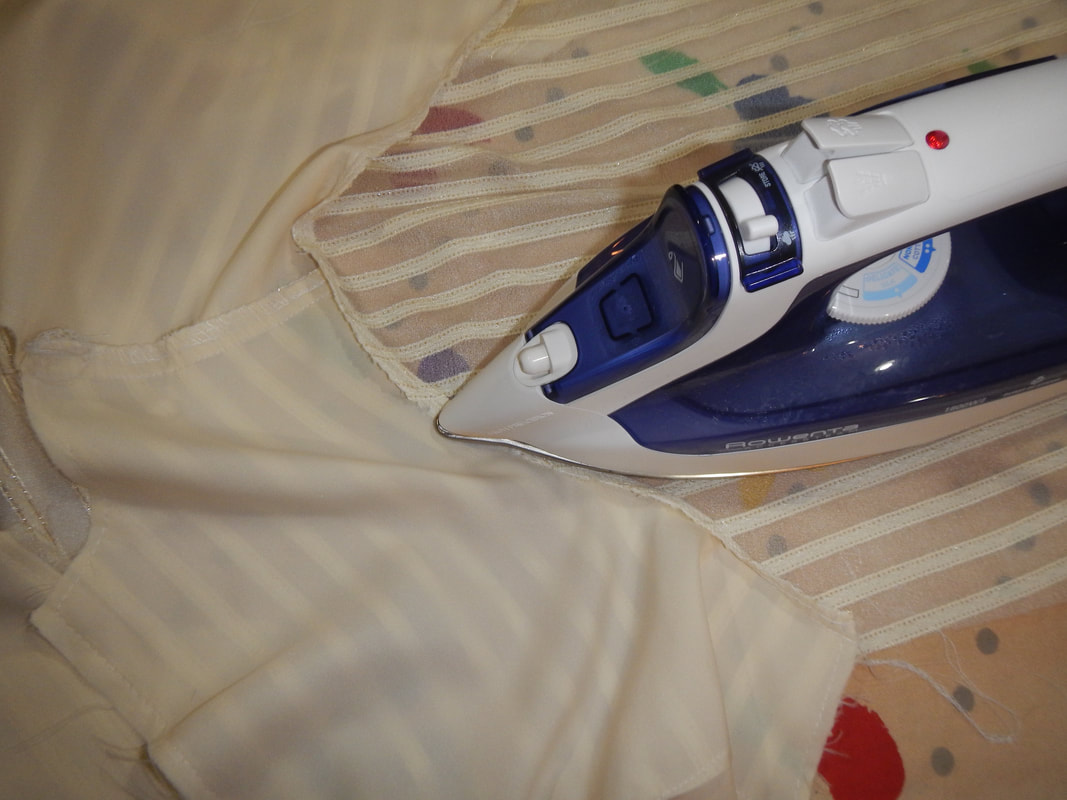
I turn the collar and press it.  I top-stitch around the sides and bottom.  Finally, I sew it to the top of the collar stand, then close the collar stand's lining. 
Picture
Collar and collar stand
Picture
Closing the collar stand's lining.

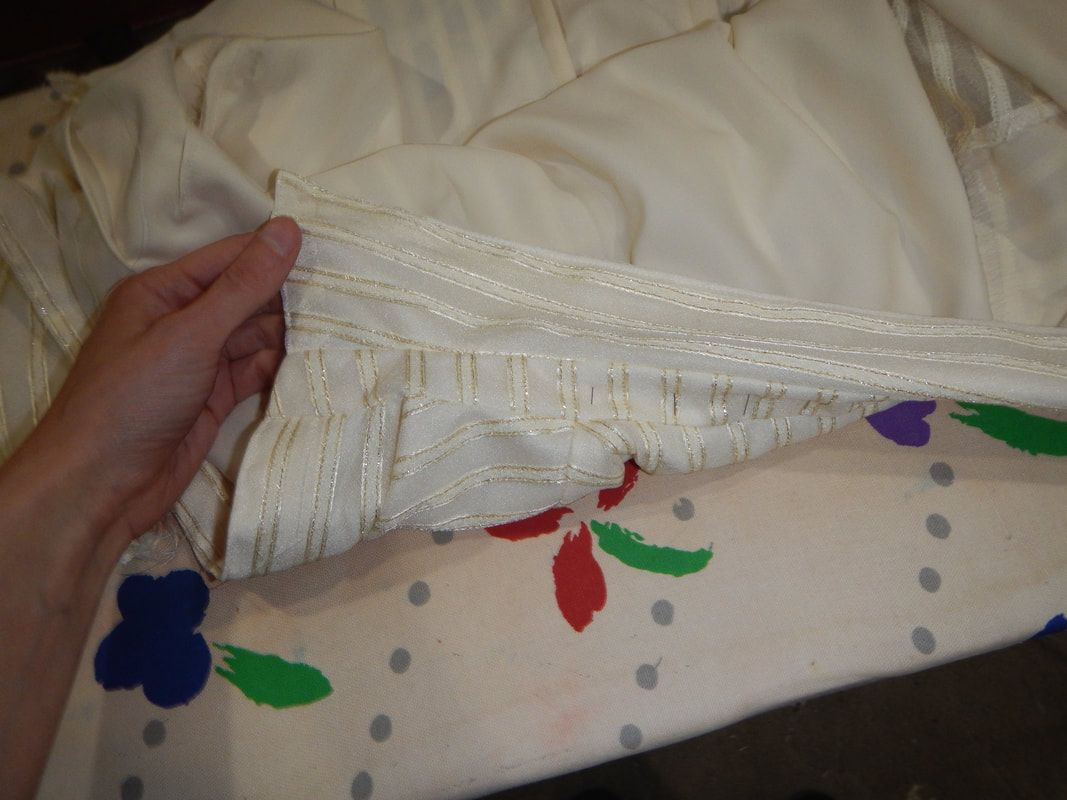
CLOSURE & FINISHING

I weigh the closure options briefly -- buttons, zipper, snaps, hooks and eyes -- and decide that hooks and eyes will be nicely unobtrusive on the inside of the front facing.  With no visible buttons, I can use the shirtfront as a display for my brooches!  (Not needing to sew buttonholes is a bonus.)  I do use faux pearl buttons on the sleeve cuffs. 

To hem it, I serge the whole bottom edge, turn it up once, and hold it with a single line of machine stitching. 

FINISHED!  THOUGHTS...

Picture
(mid-blink!)
Here's the finished shirt, accented with one of my brooches. 

I love the color, the sheer bishop sleeves, and the smooth front.  The darts are definitely better-positioned than on the retro shirt. 

The opening in the sleeve needs to be moved a bit, because it wound up more on the inside of my wrists than the outside/back; what's the point of pretty buttons if no-one can see them? 


And for next time, I want to make the bishop sleeves even more billowy!  I guess I want to look like I work at Grace Brothers... just look at those lovely shirts!  So on my increasingly modified pattern, I'll lengthen and flare the sleeves even more. 
Picture
Miss Brahms and Mrs. Slocombe, Are You Being Served.
2 Comments
The Sister
7/2/2018 12:04:15 pm

This looks very nice and comfortable, and it's a good color on you! Well-accented by gold jewelry, too! And how long your hair is growing! My lovely sister. <3

Reply
momsydoodle
7/10/2018 05:35:04 pm

Karen, you did a fine job. Grace Brothers missed a great opportunity of having a sales girl like you! You'd have been perfect there. Well done. Have a great day.

Reply


Leave a Reply.

    Karen Roy

    Quilting, dressmaking, and history plied with the needle...

    Categories

    All
    1910's
    Alteration
    Antique
    Dyeing
    Embroidery
    General
    Hand Sewing
    History
    Lacemaking
    Mending
    Menswear
    Millinery
    Modern Elizabethan
    Musing
    Other Sewing
    Philippians 4:8
    Project Diary
    Quilting
    Regency
    Retro
    Self Made Pattern
    Self-made Pattern
    Terminology
    Victorian
    Vintage

    Blogs I Read

    The Dreamstress
    Male Pattern Boldness
    ​
    Lilacs & Lace
    Tom of Holland
    Fit for a Queen
    Line of Selvage
    Mainely Menswear
    Bernadette Banner

    Archives

    January 2023
    December 2022
    November 2022
    October 2022
    September 2022
    August 2022
    October 2021
    September 2021
    August 2021
    July 2021
    June 2021
    May 2021
    April 2021
    August 2020
    June 2020
    May 2020
    April 2020
    March 2020
    January 2020
    December 2019
    November 2019
    September 2019
    August 2019
    July 2019
    May 2019
    April 2019
    March 2019
    January 2019
    December 2018
    November 2018
    October 2018
    September 2018
    August 2018
    July 2018
    June 2018
    May 2018
    April 2018
    March 2018
    February 2018
    January 2018
    December 2017
    November 2017
    October 2017
    September 2017
    August 2017
    July 2017
    June 2017
    May 2017
    April 2017
    March 2017
    February 2017
    January 2017

    RSS Feed

Blog

Quilting

Clothing

About

Copyright Karen Roy
​© 2017-2022