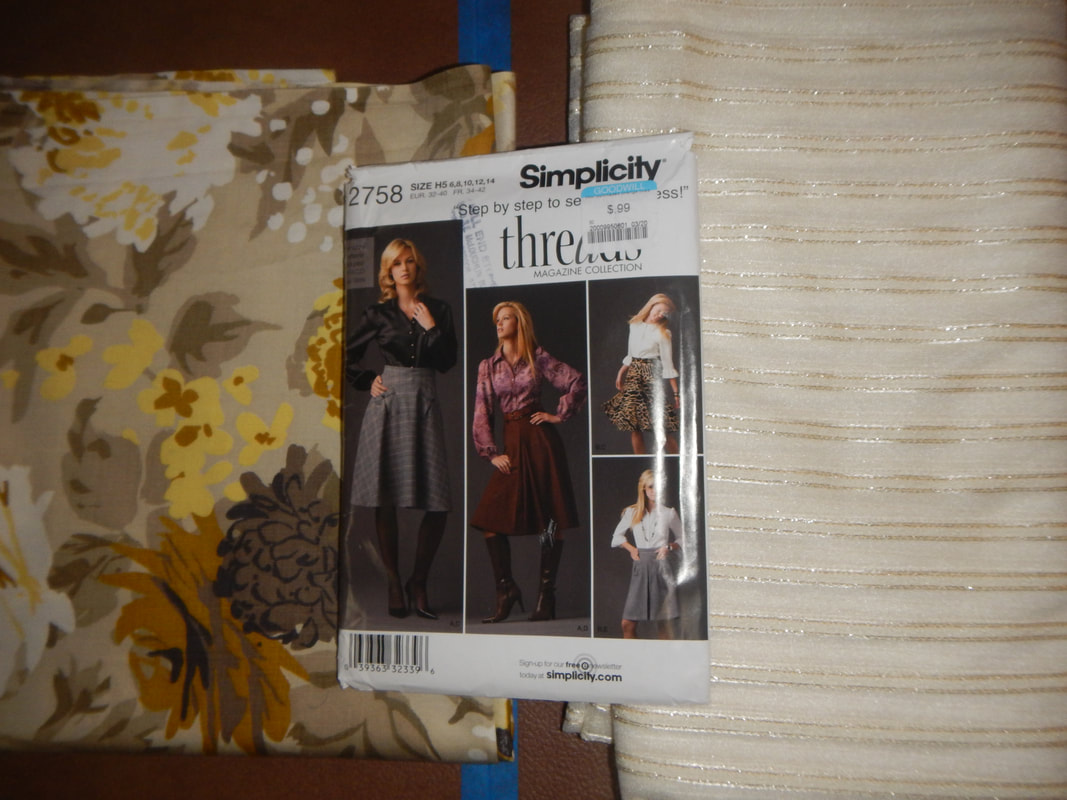
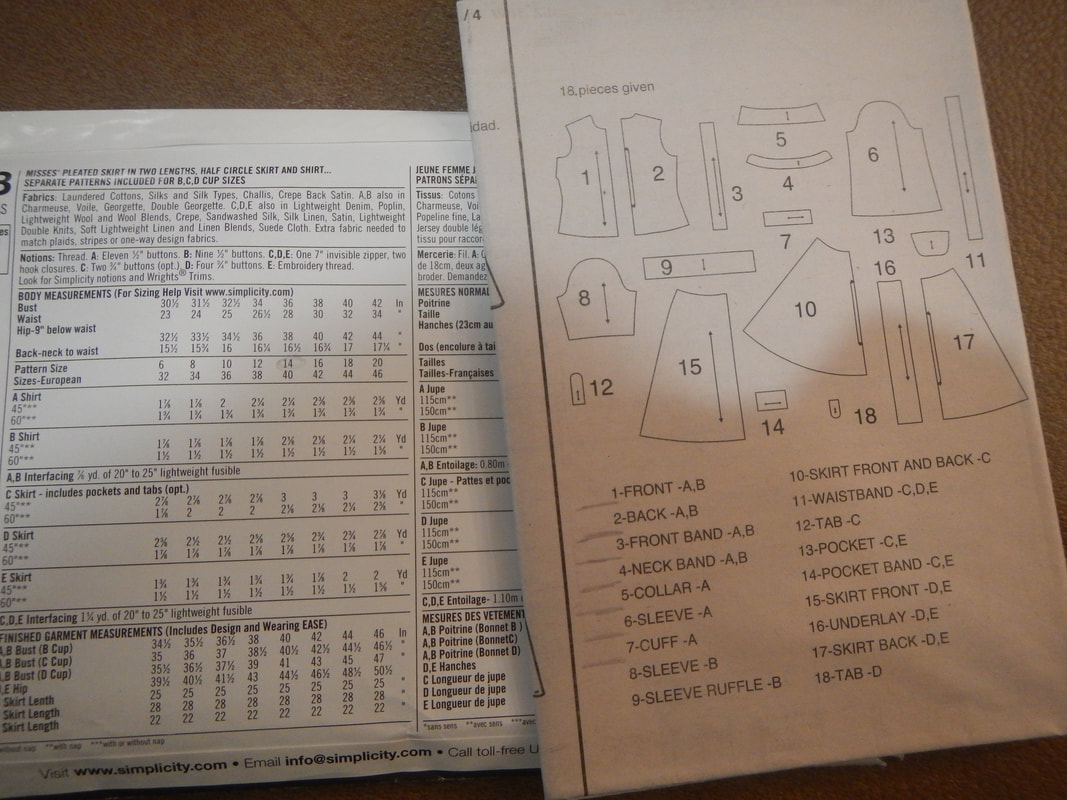
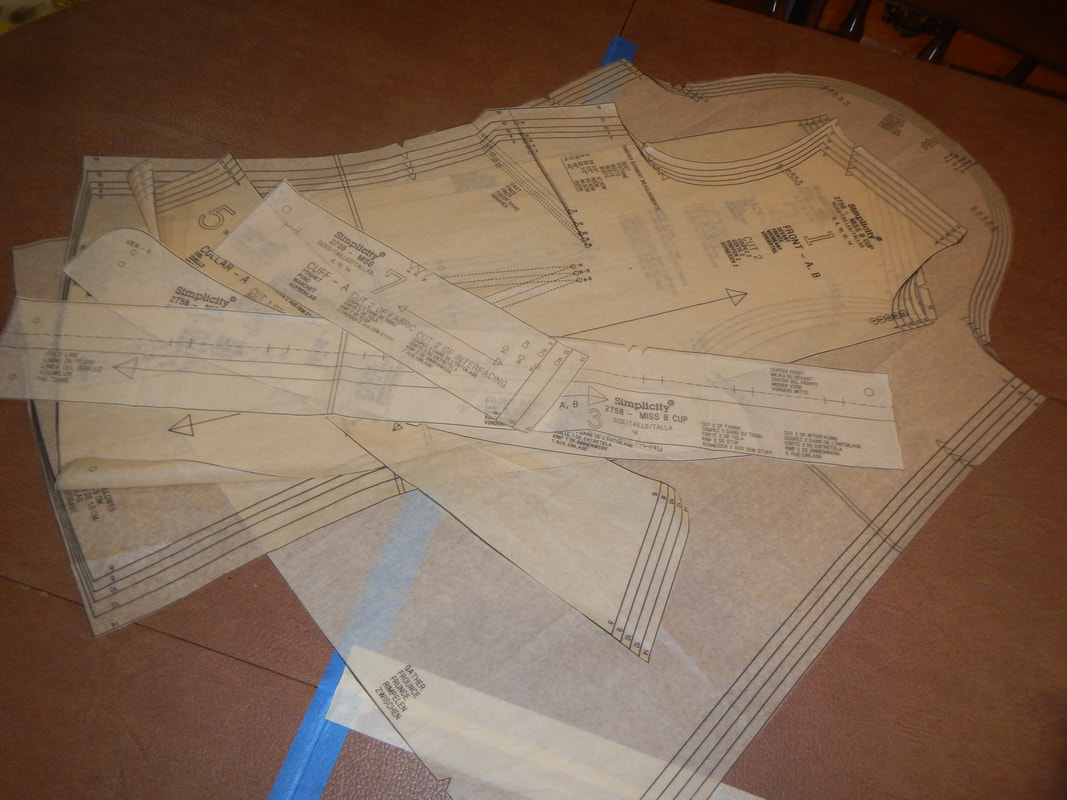
MATERIALSMy pattern is Simplicity 2758, view A. It's a collared shirt, with buttoned front and bishop sleeves. I like bishop sleeves! I bought it at Goodwill for $0.99. It's called a "misses" pattern, which usually means the apex of the bust is set too high for me, because I'm not a teenager anymore! But that's a easy fix in such an ease-y top.
April 27th The first night, I measure myself (36" bust, 28" waist) and figure out from the back of the pattern envelope that I am a size 14. Pattern sizing is very different from ready-to-wear sizing... in RTW, I can be anywhere from a 4 to an 8, an XS to a L, depending on the brand; I don't even look at RTW sizes any more, because they have no stable referent. In patterns, though, I'm nearly always a 12 or 14, depending on how fitted the pattern is. In the bustier pattern, I needed the smaller size because my bosom is small, and the bustier is meant to be skin-tight, but in this shirt I opt for a more comfortable 14, and figure I can always take in the darts if I need to. On the instruction sheet, I underline the pattern pieces I'll need to cut out: 1 through 7. Then I iron the tissue paper pattern sheets flat.
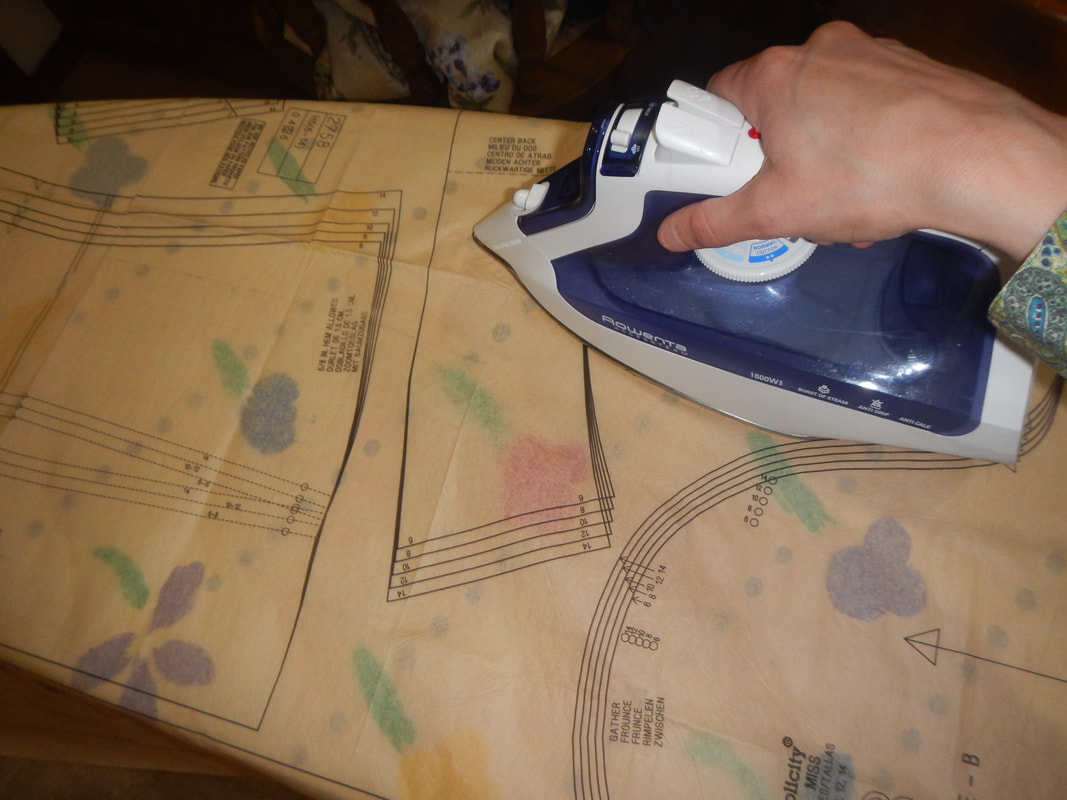
Pattern tissue is pretty amazing stuff... it's sheer and light, and floats away if you breathe on it, yet you can pin through it without tearing it. And when you cut it with scissors, you have to keep pumping the blades; you can't do that scissor-halfway-so-it-catches-and-then-just-push thing that you can do with other papers or even some fabrics. You can and should iron it before you start cutting pattern pieces out. I use my iron on the hottest setting but with no steam, and it works like a dream, and very fast. Once all the creases are gone, it's less frustrating to cut, and I can do a neater job. Read the pattern pieces carefully! This pattern has different front pieces for different cup sizes, so I can't just cut "piece number 1", I have to cut "piece number 1, size 14, cup size B". As I work, I try on a few pieces, to make sure 14 is a good size for me. I make sure to cut out the little triangle markers on the pieces. Some people cut those as "outies", and do the same on the fabric, but I cut them as "innies" in the tissue paper, and transfer them to the fabric with chalk. That makes the cutting faster for me, and means that I don't have little outies to trim off when I'm done. Soon I have all my pieces cut out and ironed, and the un-used pieces folded back into the envelope.
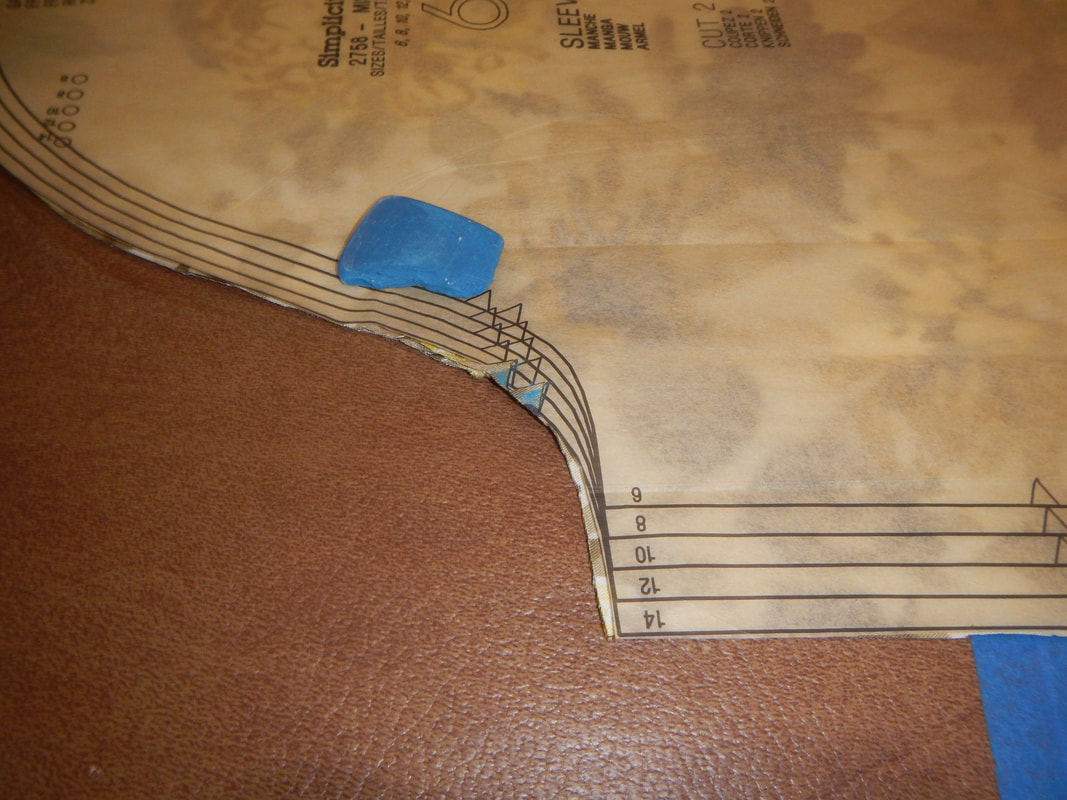
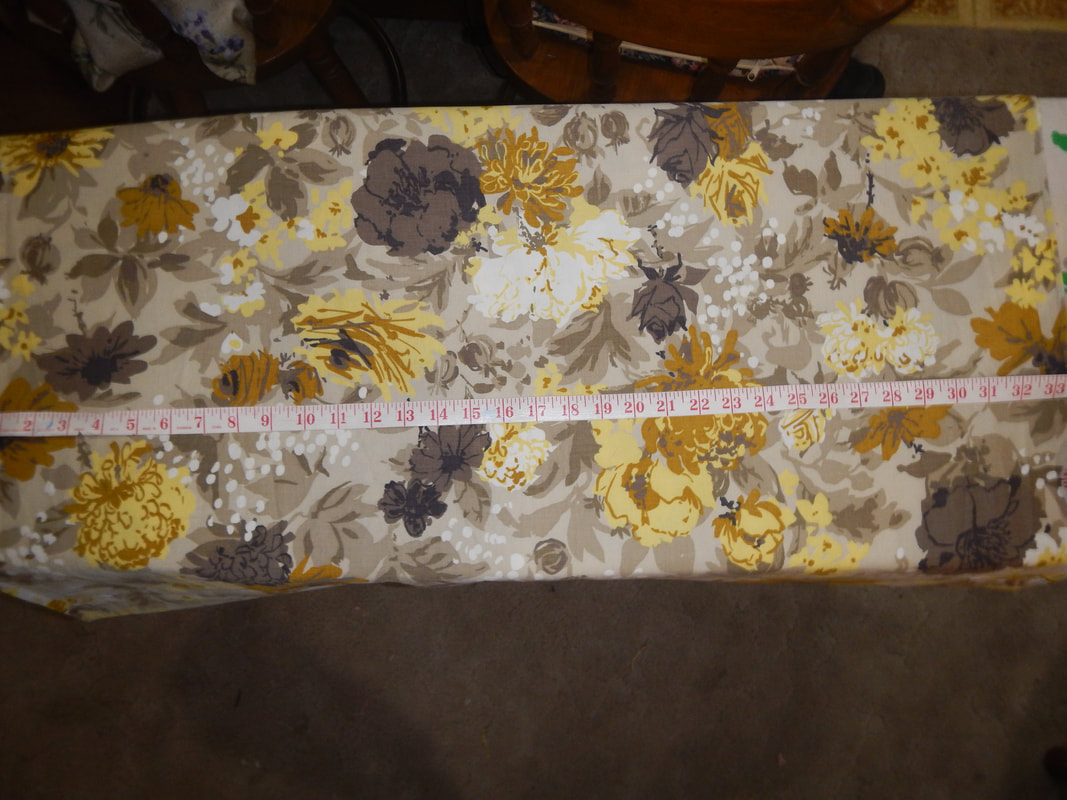
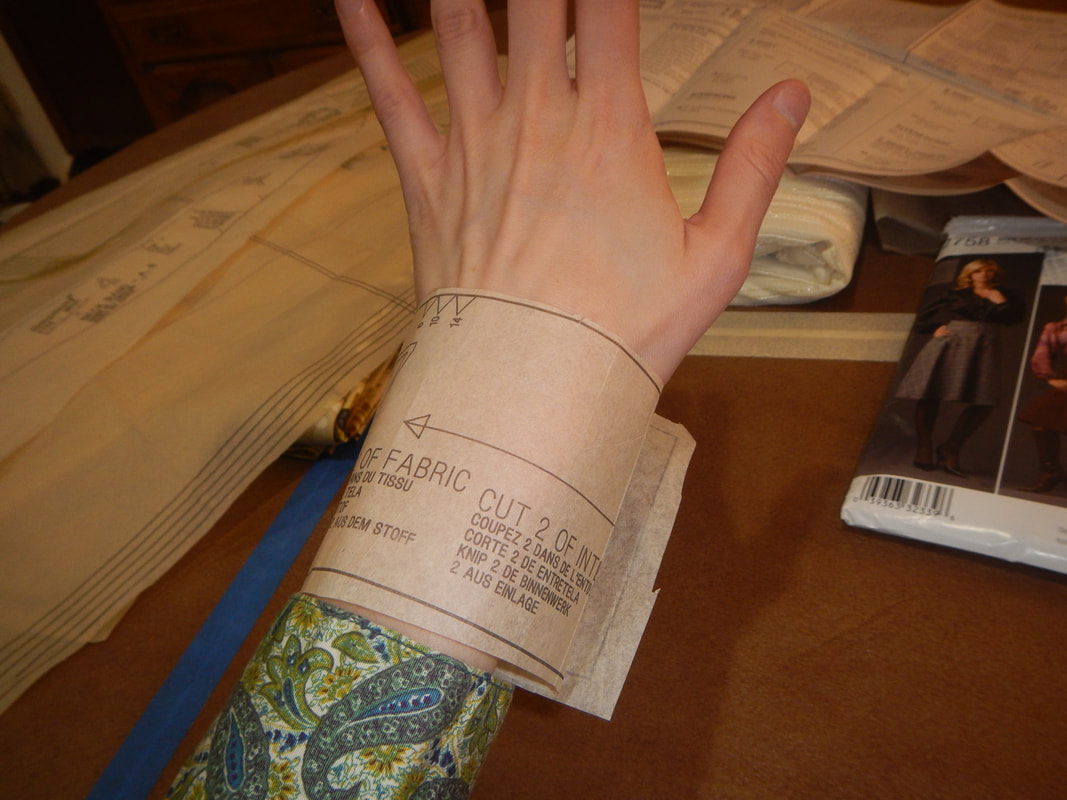
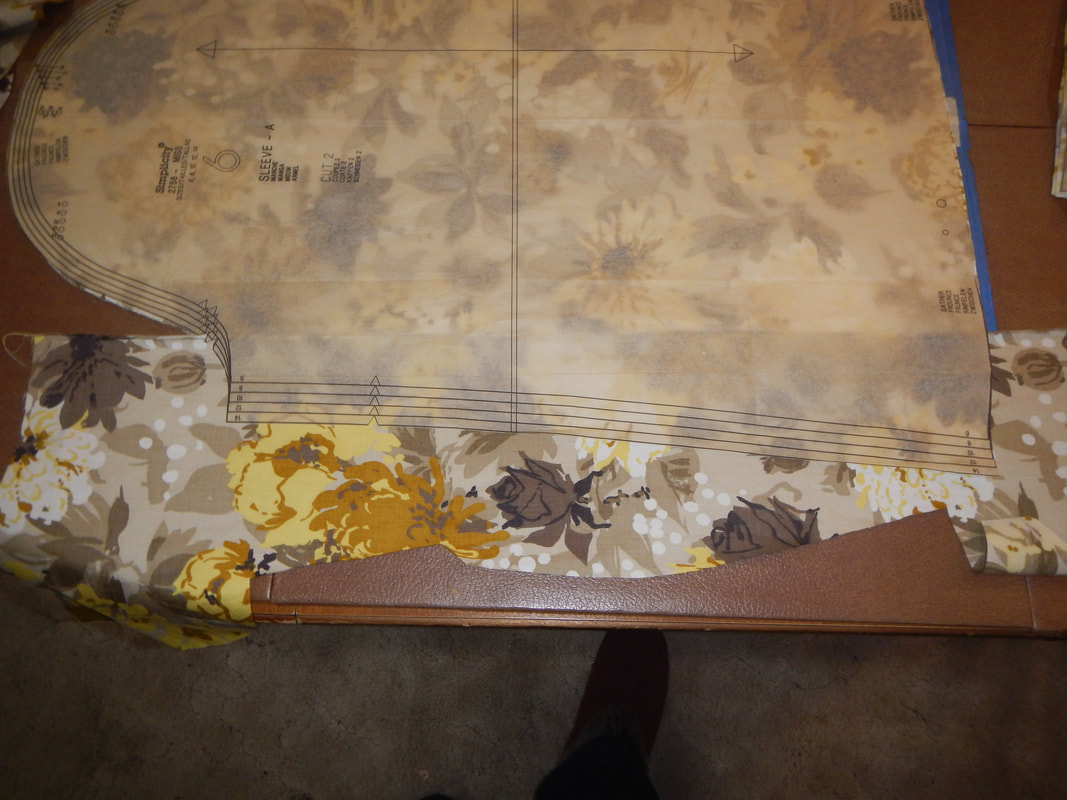
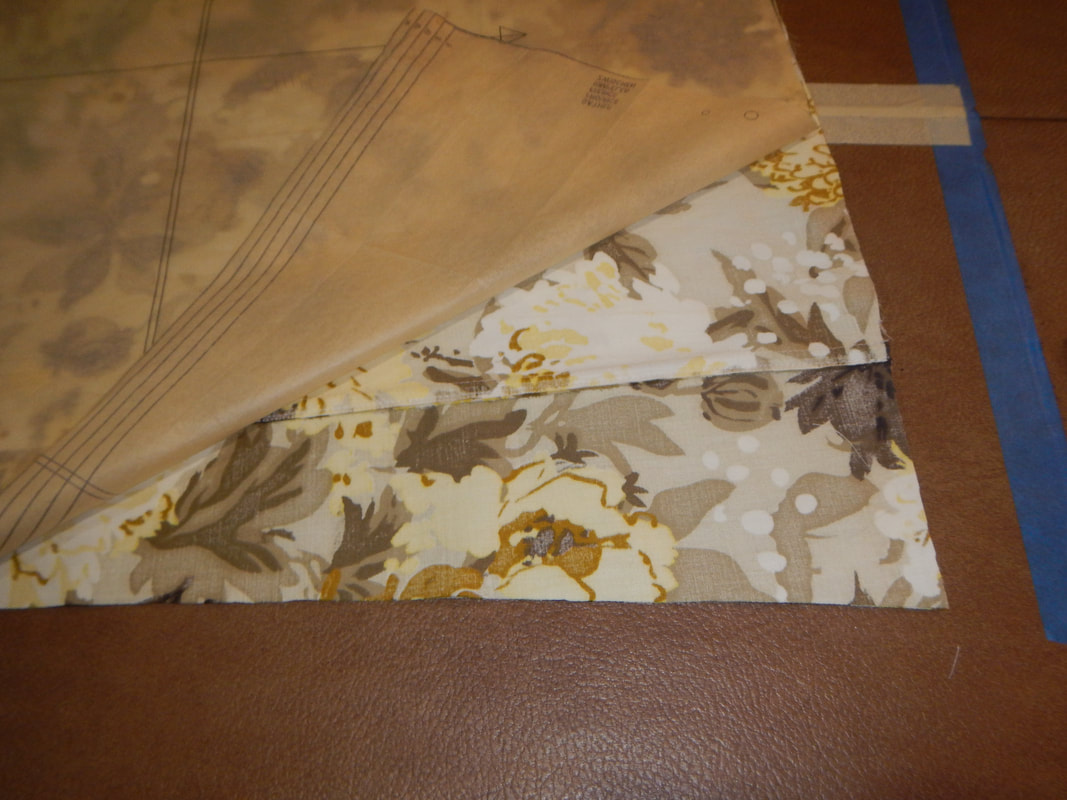
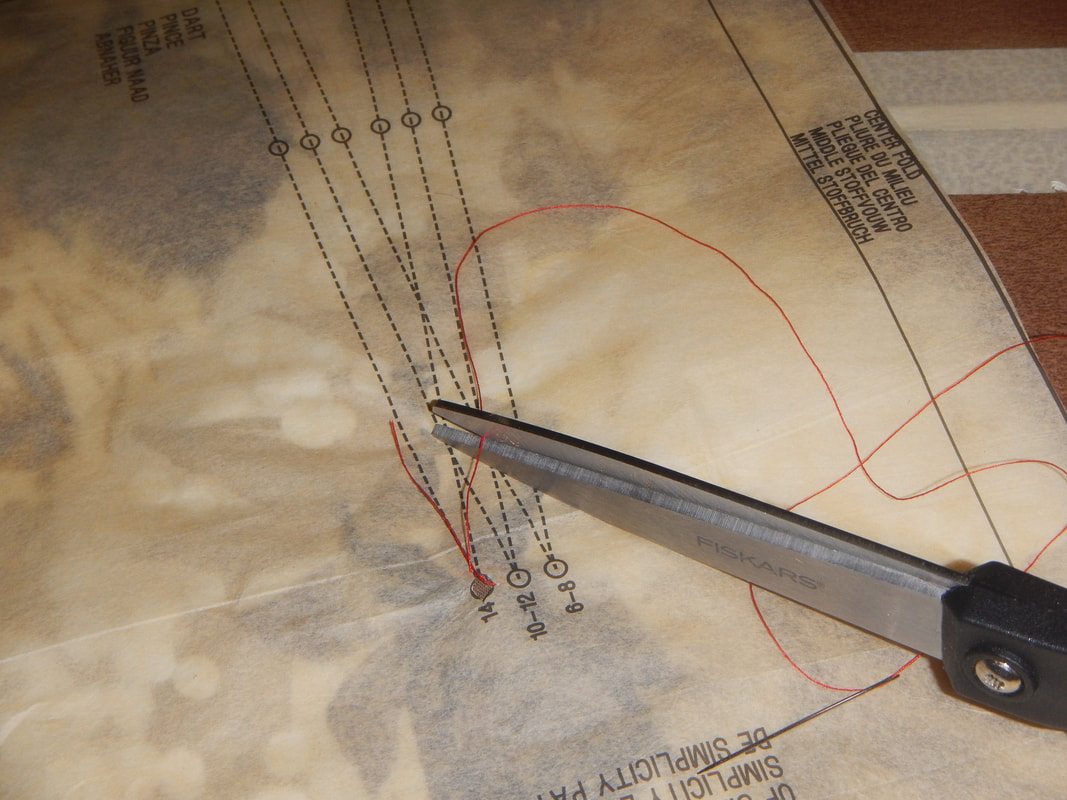
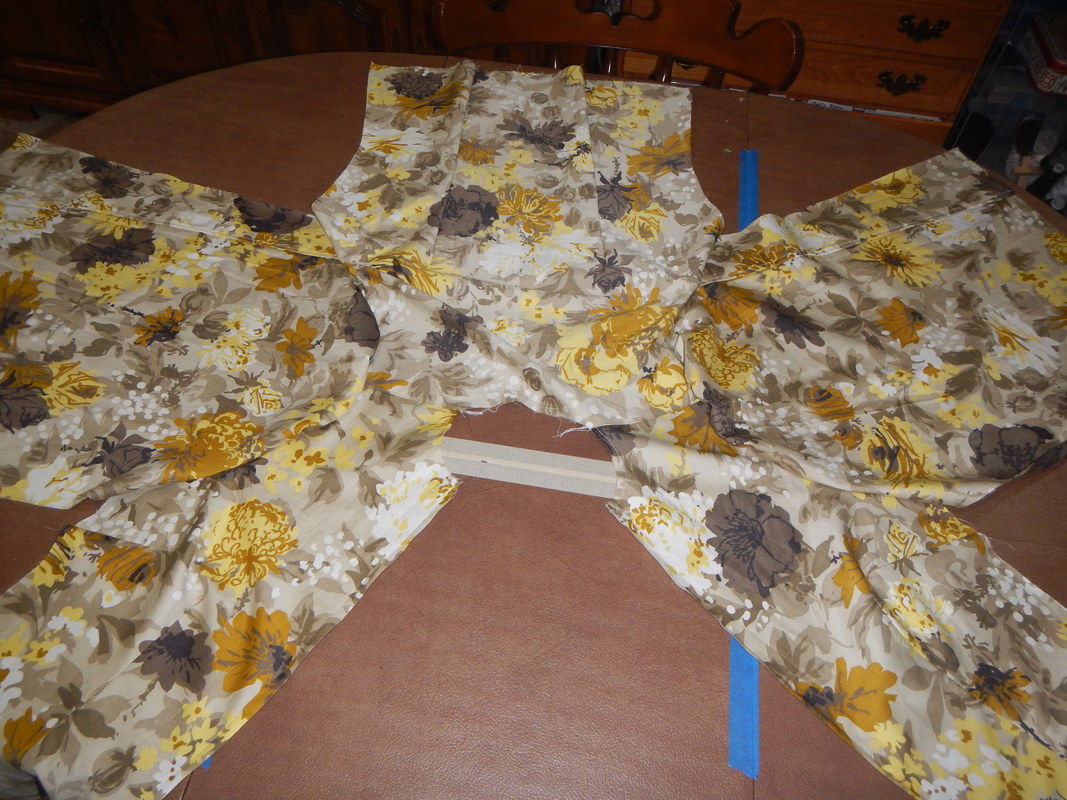
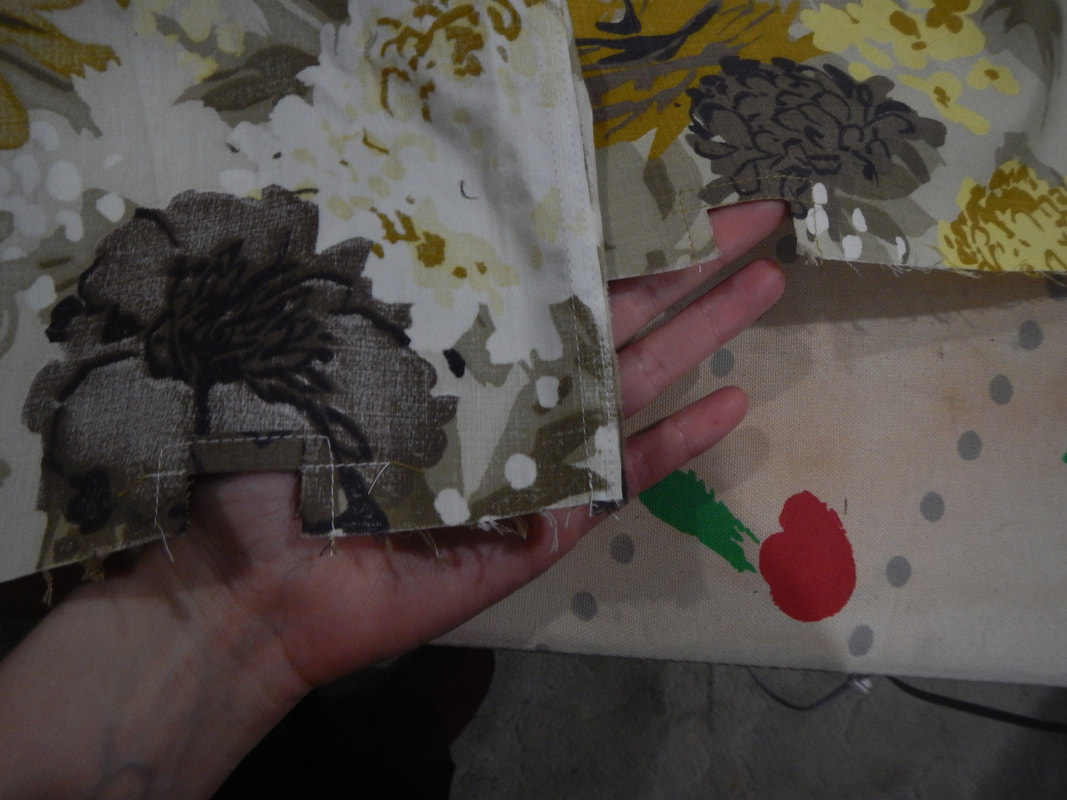
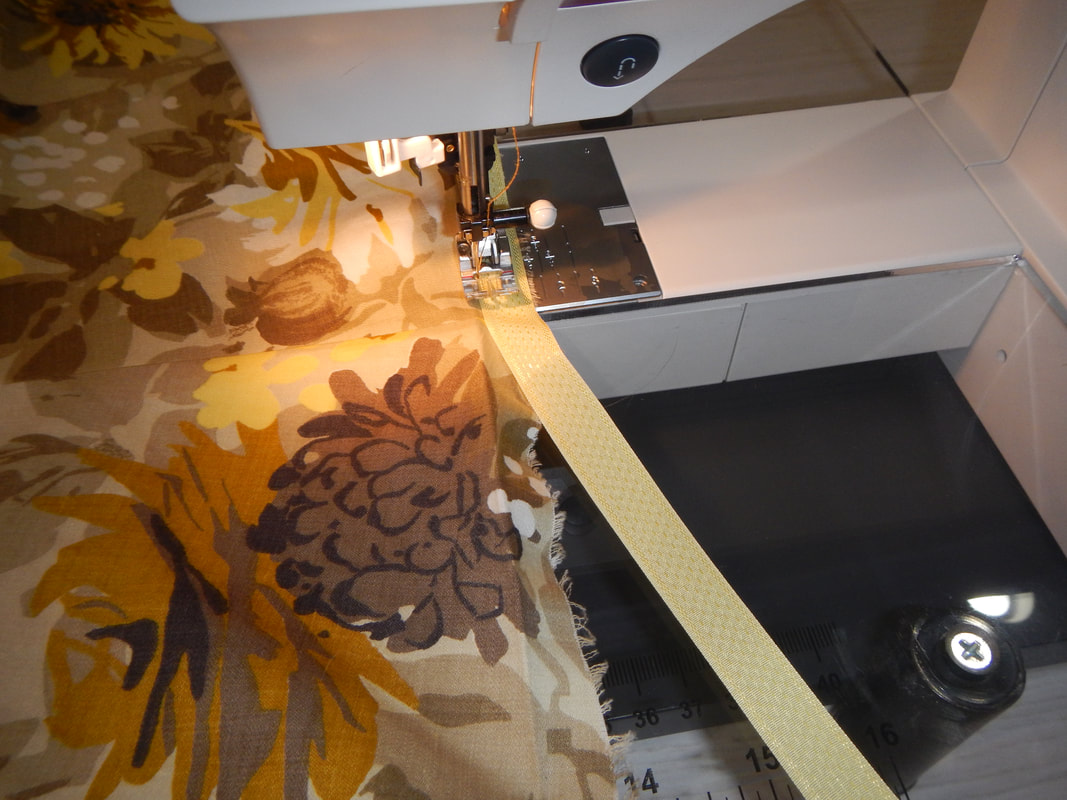
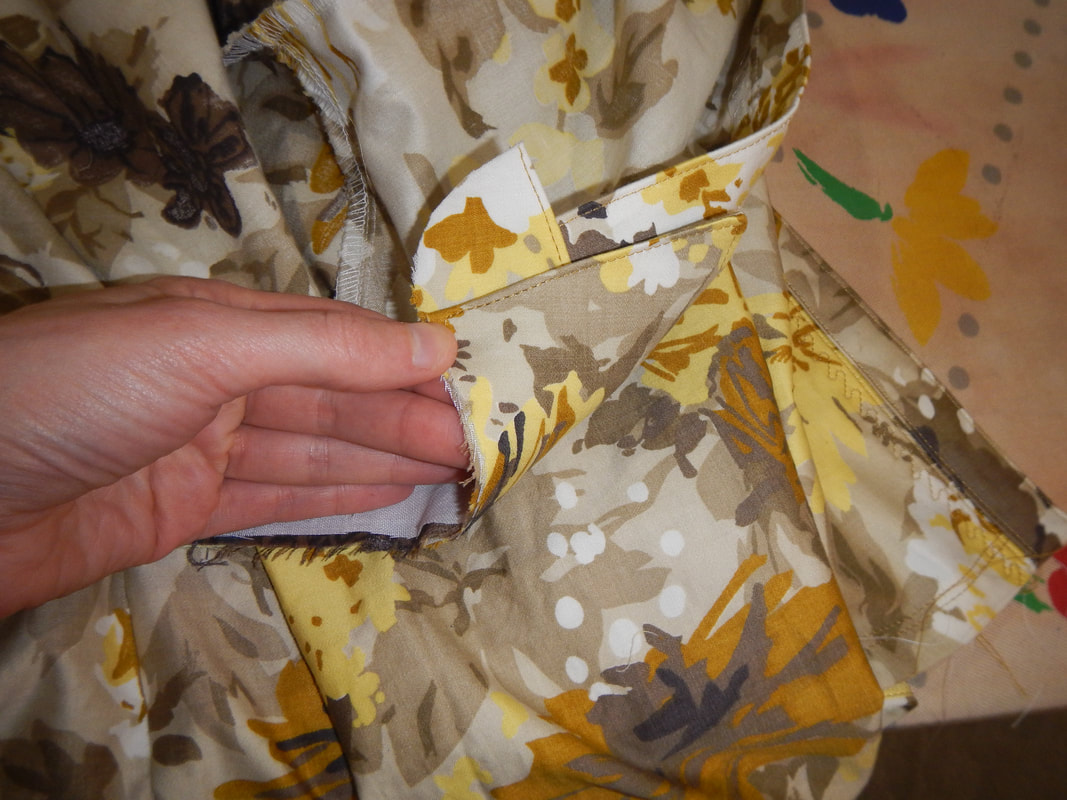
I probably work about an hour on this, but I'm also chatting on the phone and occasionally breaking to watch TV for a few minutes, so let's say a half hour of actual work. 30 minutes April 28th In the morning before I head to work, I take some time to read the assembly instructions fully, so I know how Simplicity intends the shirt to go together. The only change I'll make to their recommendations is that they suggest sewing the darts first, before shoulder or side seams, but I will make the shirt wearable before deciding on dart placement and depth. The suggested darts on a pattern are just suggestions, as far as I am concerned: a personal fit is always a better fit! Let's say 10 minutes for this. 10 minutes In the evening, I take an hour and cut out the pattern pieces for the cotton shirt. It wouldn't normally take that long, but the narrow weave made a problem with the full sleeves. The picture below shows the problem... the yardage is folded in half, with the fold at the top of the picture and the selvedges at the bottom. The sleeve pattern laid atop the fabric is too wide! If I had more yardage, I could unfold the fabric and cut out the two pieces separately, but the leftover fabric isn't long enough for that, so I need to piece the corner.  "Piecing" means sewing scraps together to make a full pattern piece. For this project, I confine the piecing to the back of the sleeve (the side with two triangle marks is always the back of the sleeve piece), so the seam will not be obvious. For each sleeve piece, I take a scrap of fabric and sew it to the selvedge edge, fold it over and fell it down with the selvedge covering the raw edge. Then I lay the pattern back on top of the fabric and finish cutting out the sleeve.
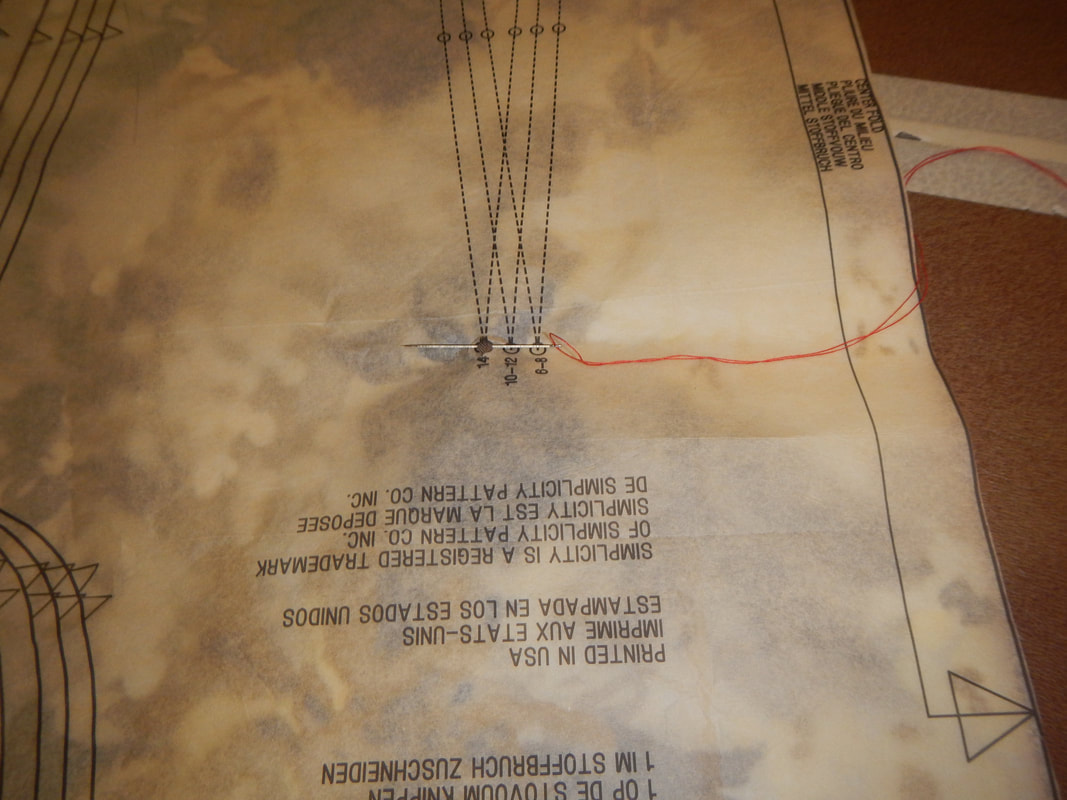
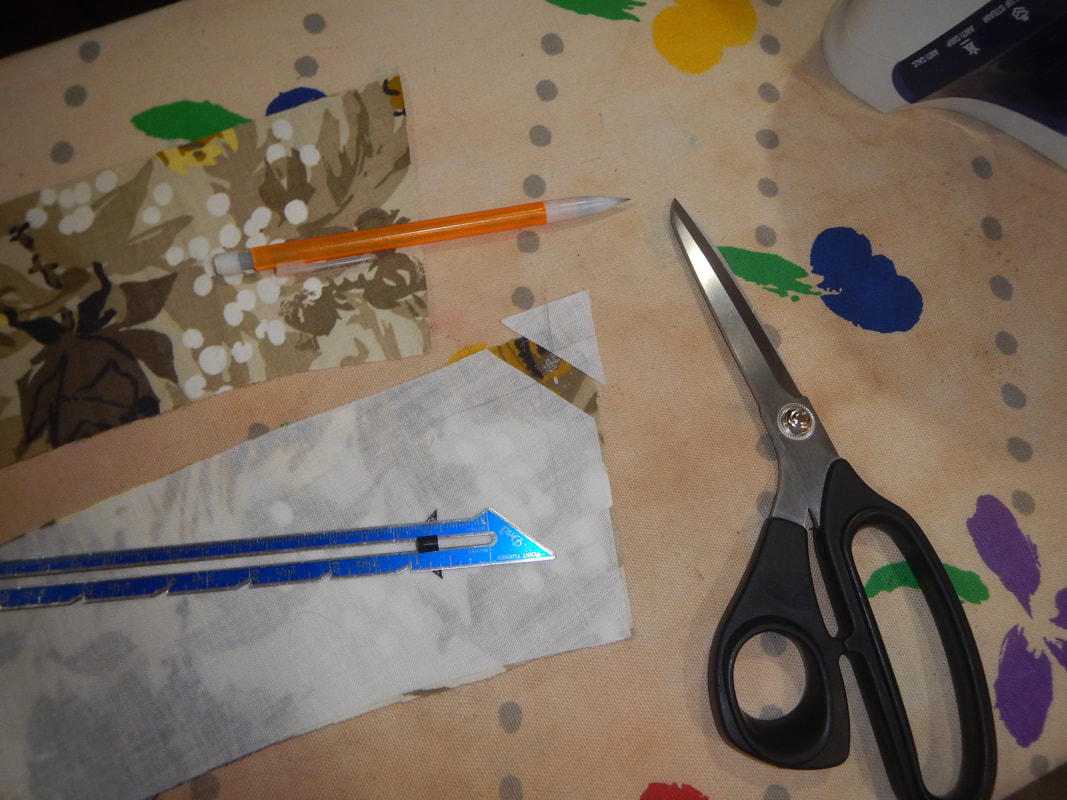
 transferring pattern marks with blue chalk The last step before going to bed is to chalk the triangular marks. Remember how I cut them out on the paper pattern? So now I just rub chalk over them and the triangles are stenciled onto the fabric. 1 hour May 2nd Tailor's tacks are another form of transferring pattern markings to the fabric. Chalking the edges is easy, but there's always the possibility that the chalk (which can be blue or white depending on color of the fabric) may stain the fabric. And it's only visible on one side of the fabric. So for the darts, which I may want to move, and which are in the middle of the piece, I use tailor's tacks. I take two little stitches, next to each other, through holes I've cut in the pattern. I make the stitches loose so that when I pull the cloth pieces apart gently, I get long strands in the middle between the layers.
With my scissors between the layers, I snip the stands so the two pieces can separate. Then the stitches stick out of the fabric like blades of grass, indicating where the darts will be. 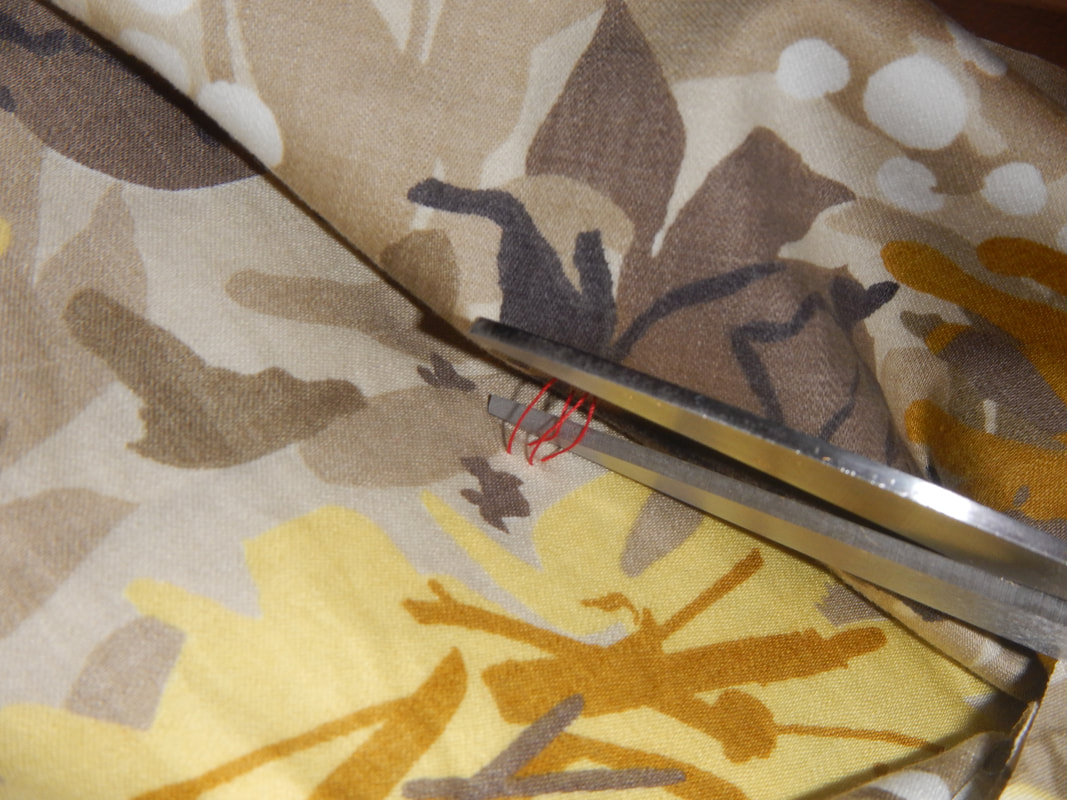 May 4th-6th Over the next few evenings, I put the shirt together, though I fail to keep good track of my time. (Like Duane MacLeod, I usually end up making "slow fashion", since the time-invested and time-away help me avoid mistakes.) Here are some highlights (and low-lights, I suppose)...
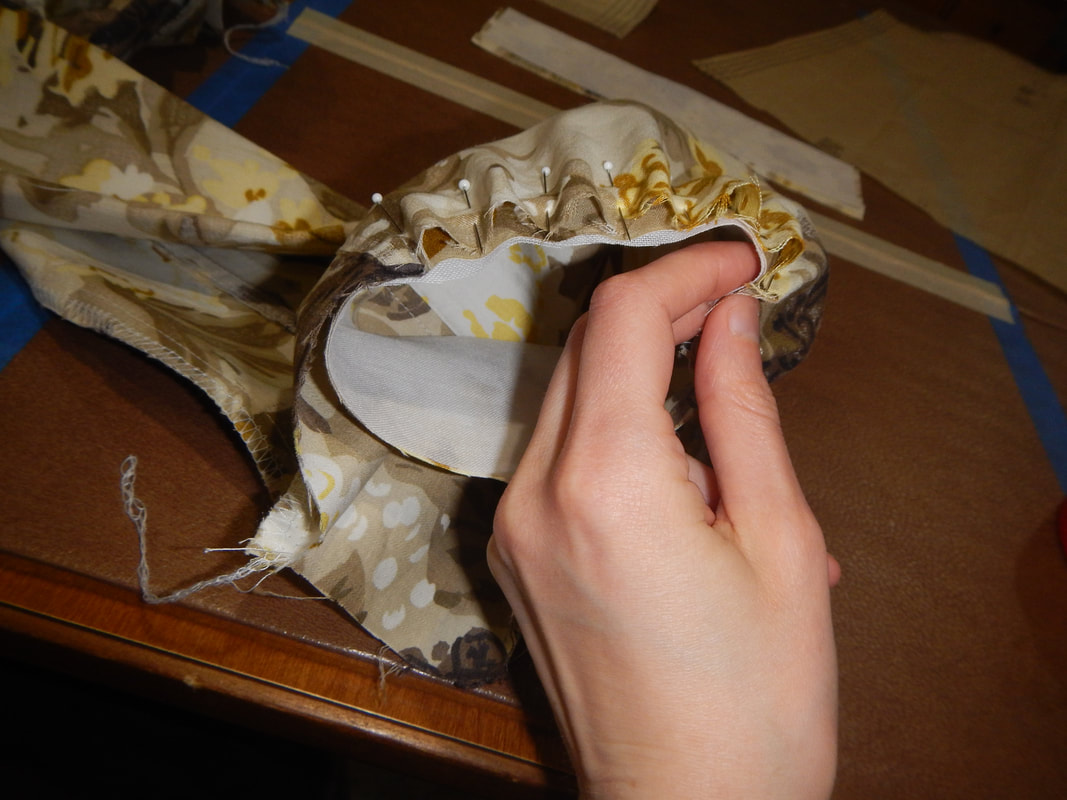
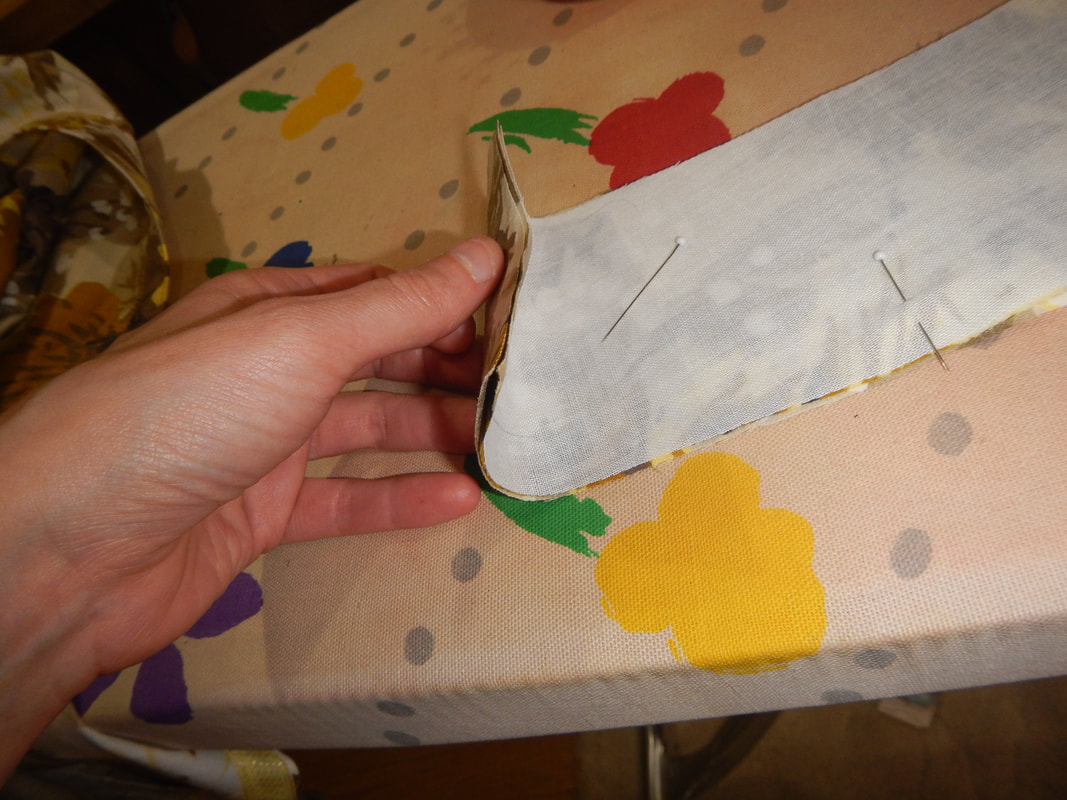
"Turn of Cloth" at the Collar When I made my brother's aloha shirts, I followed the instructions I'd found on various blogs and trimmed the undercollar a teensy bit smaller than the the collar, so the outside would wrap around the edges very minutely. This is called favoring the seam to account for the turn of cloth when there are several layers being folded together. (Debby Spence wrote an excellent article about turn of cloth and favoring seams in the July 2018/ Number 197 Issue of Threads Magazine.) Anyway, trimming the undercollar worked for the aloha shirts, but was a little finicky to do. I was not sure I'd trimmed evenly, and all the pins were awkward. This time, I try a slightly different tack.
I sew, press, clip the seams allowances, turn, and press again. Sure enough, the one side of the collar is minutely larger than the other, and curves around the edge, so that when you look at the collar from the side, you don't see a cross section of seam and two fabrics, you just see one layer curving down and covering the edge. I call that layer the top, and move on! Now, if I were doing a contrasting undercollar, I'd need to know ahead of time which layer was going to end up shorter. I think that in the pinning stage I'd want to layer the collar piece on the bottom, then undercollar, then interfacing on top. When I bent and pinned, the collar would appear shorter than the undercollar, but only because it would be traveling the longer distance in the curve... once I turned the thing right side out, the collar would be longer and the undercollar shorter (because the collar traveled the longer distance in the curve), and so the collar would wrap around the undercollar. It's one of those brain-bending things that I have to do a few times to really understand it. Despite evidence to the contrary, I'm really not a natural at spatial reasoning!
Alas, I don't get close enough to the facing of the shirt when I'm sewing around the curve of the collar stand, with the result that the collar stand ends up being a little longer than the facing. There's a little sticky-outy-bit (it's a technical term!); look for it in the close-up shot of the collar later. Next time, I'll sew this part with the zipper foot, to make a smooth transition. Another deviation from the pattern instructions: Simplicity suggests stitching-in-the-ditch from the outside of the shirt to finish off the collar stand's facing on the inside of the shirt. I don't do this because I suck at stitching in the ditch, and I like the invisible look of slip-stitching by hand. Overeall, I am pleased with the way the collar turns out, but want to do more of them to practice. Thoughtful Button Treatment
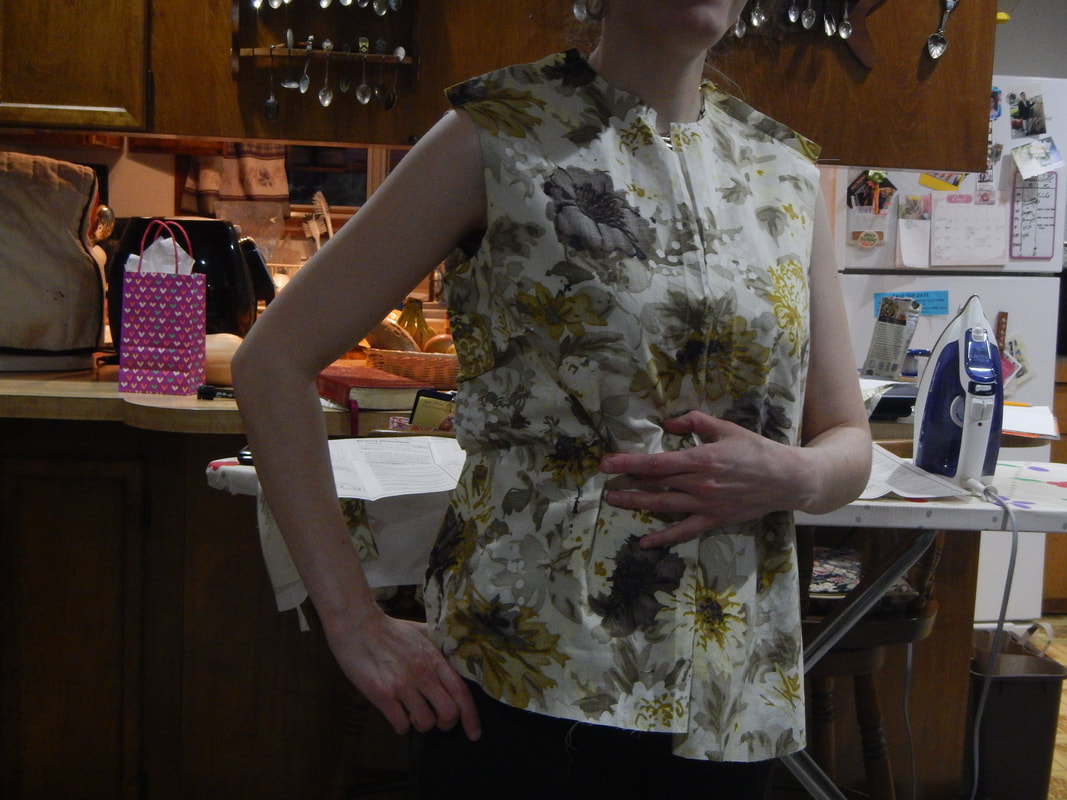
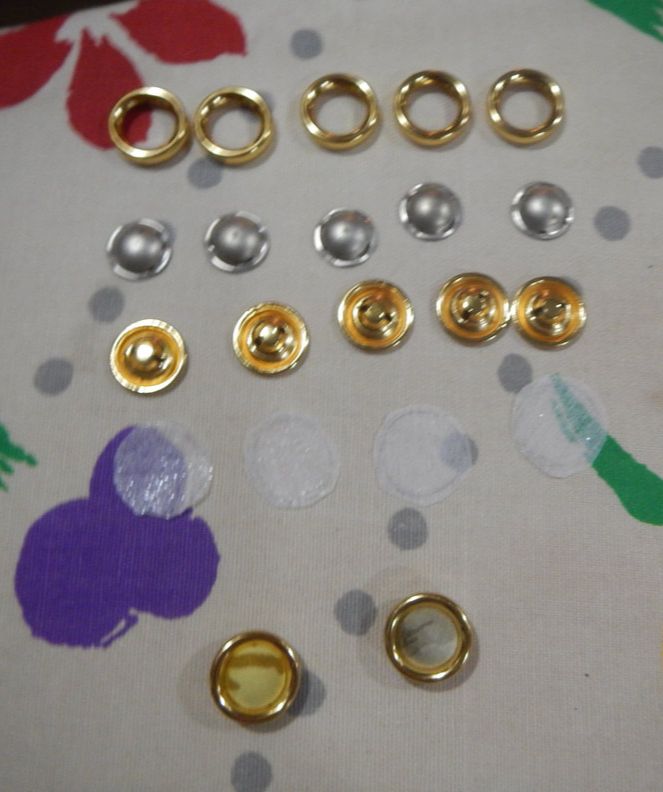
In the picture to the right, you can see the pieces of the buttons. The top row has the halo pieces. The second row down has the metal inserts (silver colored). The row under that has the backs with shafts (not very skinny shafts, which causes a problem later!), and below them are some circles of iron-on interfacing which I've cut to bulk up my fabric before putting it into the kit. On the very bottom are two finished buttons, with fabric inside. The buttons' packaging with instructions is long gone, but they are super easy to assemble: interface a circle of fabric a little larger than the halo; place it over the insert and push it into the halo; trim away any bulk that might get in the way of the backing; and push the back on until it's snug. I used my teeth to simply bite the button to make it all snap shut. I plan my button-making carefully so that the fabric in any button will blend nicely with the fabric of the buttonhole and facing behind it. Here's the finished shirt with me showing all buttons: 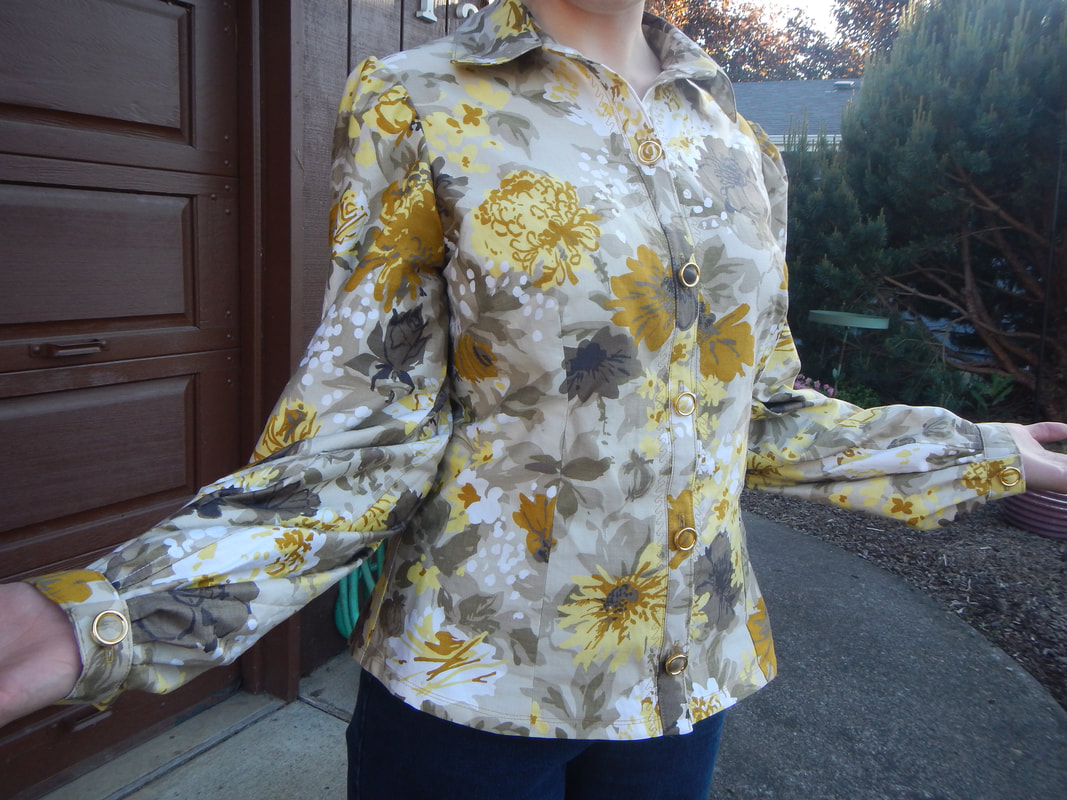 See what I mean? Button placement is also a matter for careful planning. Ideally, a woman should put one button at the apex of the bust (the widest part over the bosom), since that must not be allowed to gape open. Then you space the other buttons out from there. In this shirt, the dark-colored button is the first one placed, then the others are put about four inches apart at their centers, giving me five buttons down the front. I don't put a sixth at the neck because I'd never use it, and it would only be heavy. And remember I mentioned the halo buttons having thick shallow shafts? Yeah, they don't fit in the buttonholes very well at all, so I end up having to sew them with additional thread-made shafts to get the right fit! When the shirt is unbuttoned, the buttons hang their heads like naughty children, but when it is buttoned, the facing of the shirt holds them out at the correct angle. Meanwhile, the ones on my cuffs don't even fit in the buttonholes (too-small buttonholes by accident!), so I just sew the cuffs shut, and the buttons are decorative.
2 Comments
The Sister
5/17/2018 06:57:15 pm
First thought: when one uses the word "lurid" to describe a pattern AND it reminds you of a 1970's upholstery print... stay away! But upon seeing the final picture, I'll agree that this combo works for your coloring! And you like yellow, so rock those earrings! Leave a Reply. |
Karen Roy
Quilting, dressmaking, and history plied with the needle... Sites I EnjoyThe Quilt Index Categories
All
Archives
March 2024
|


 RSS Feed