Robes de Coeur
  • Blog
  • Quilting
  • Clothing
    • Menswear
    • Womenswear >
      • Self-Made Patterns
      • Commercial Patterns
    • Hats
    • Miscellany
  • About
  • Blog
  • Quilting
  • Clothing
    • Menswear
    • Womenswear >
      • Self-Made Patterns
      • Commercial Patterns
    • Hats
    • Miscellany
  • About

The "Wench" Top -- construction pics!

12/28/2017

2 Comments

 
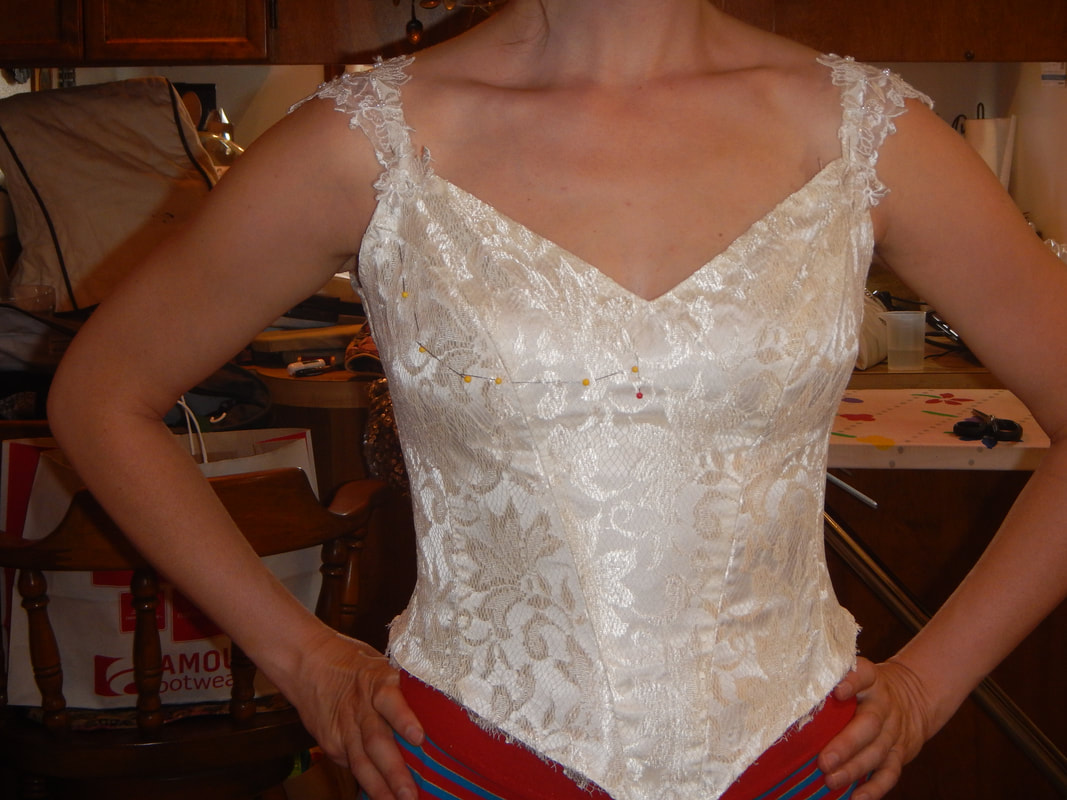
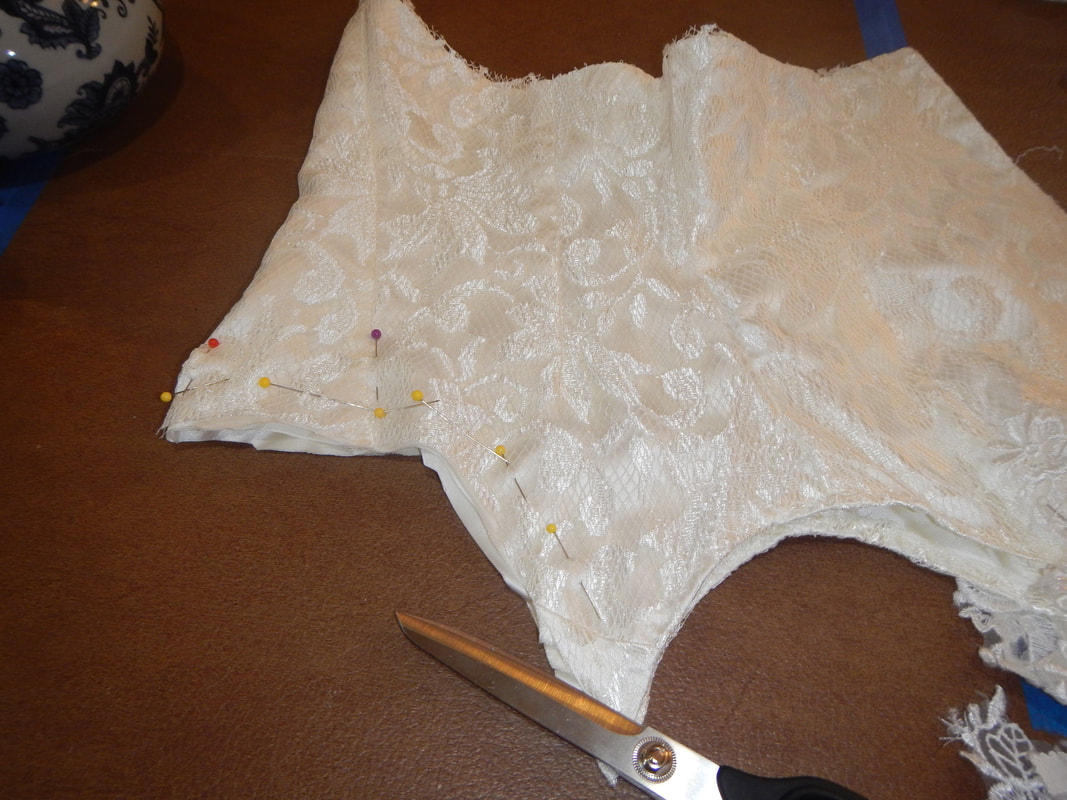
Ooh, look'it what I found!  In-progress pics of the construction of the "wench" top!  How fun!  Well, you've already seen the result of the alterations, but read on to see how I did the alterations on the bridal bodice. 

MAKING THE HIGH BUST

Picture
Here's the original bodice.  I have already taken off the poofy sleeves (which became my own bustier later!) and pinned on some lacy straps from a different gown.  See the line of pins on the left side?  They go from the front of the armpit, over the apex of the bust, to the center front (marked with a red pin).  The apex of the bust is the area of the most fullness, around the middle. 
And here I've cut the bust-holes out, leaving some seam allowance... in other words, I didn't cut exactly on the pinned line, I cut to the side of it.  The pinned line will eventually be the fold line, so it'll be the finished edge of the bust. 

Now why, you might ask, did I cut the holes for the bust so high, starting at the apex of the bust?  Because Eryn and I wanted a historical look, so we wanted to create a high "shelf" for the bosom to sit on, mimicking the look of stays. 
Picture
Picture
Here are the trimmed foam cups, covered with gold brocade fabric, pinned into place in the holes I just made!  I hand-stitched the brocade on, but machine-sewed the cups into place in the bodice. 

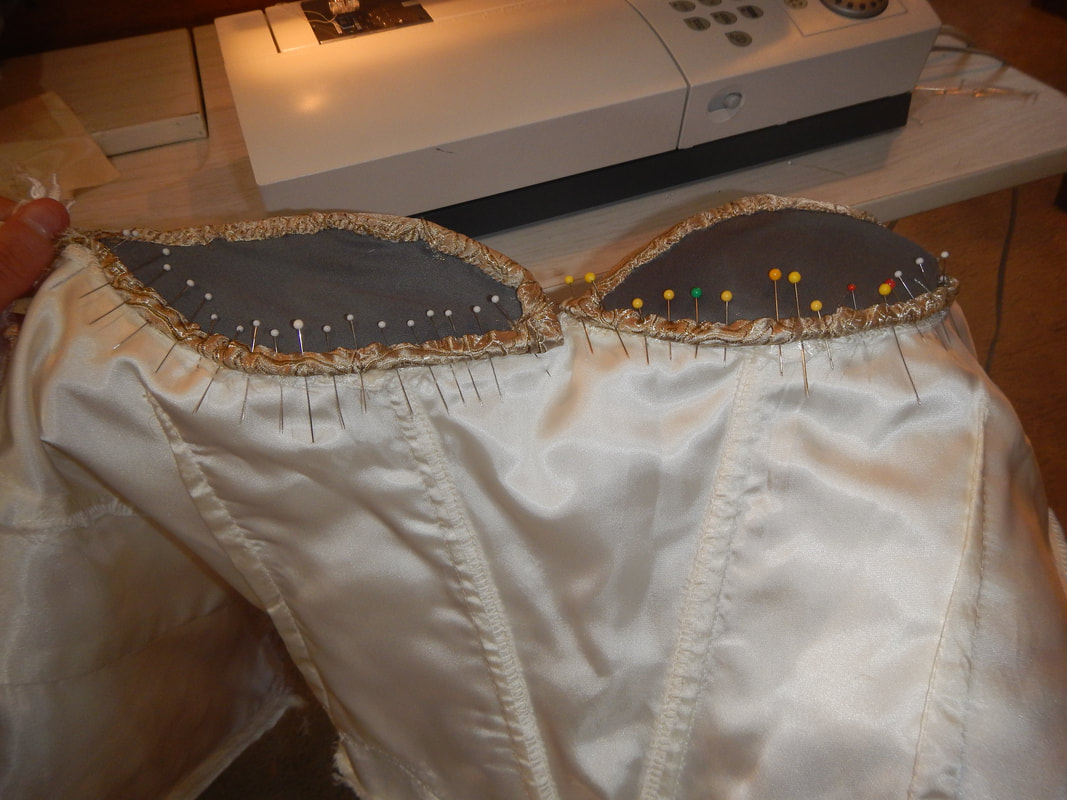
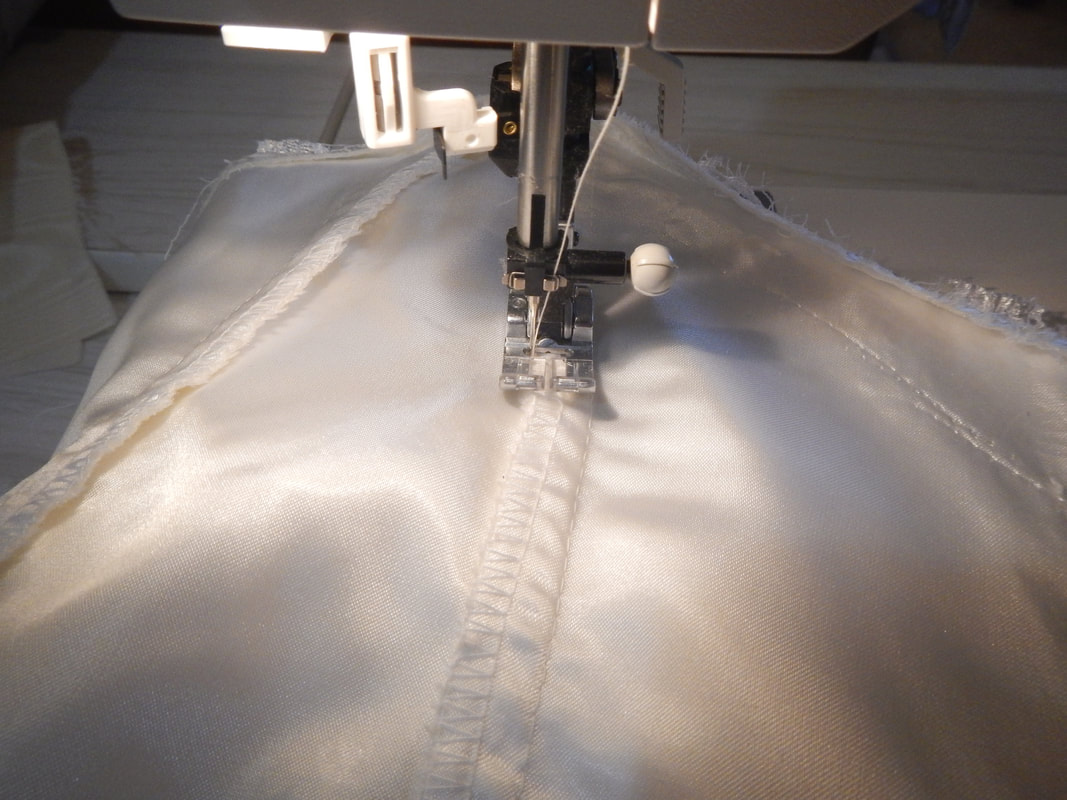
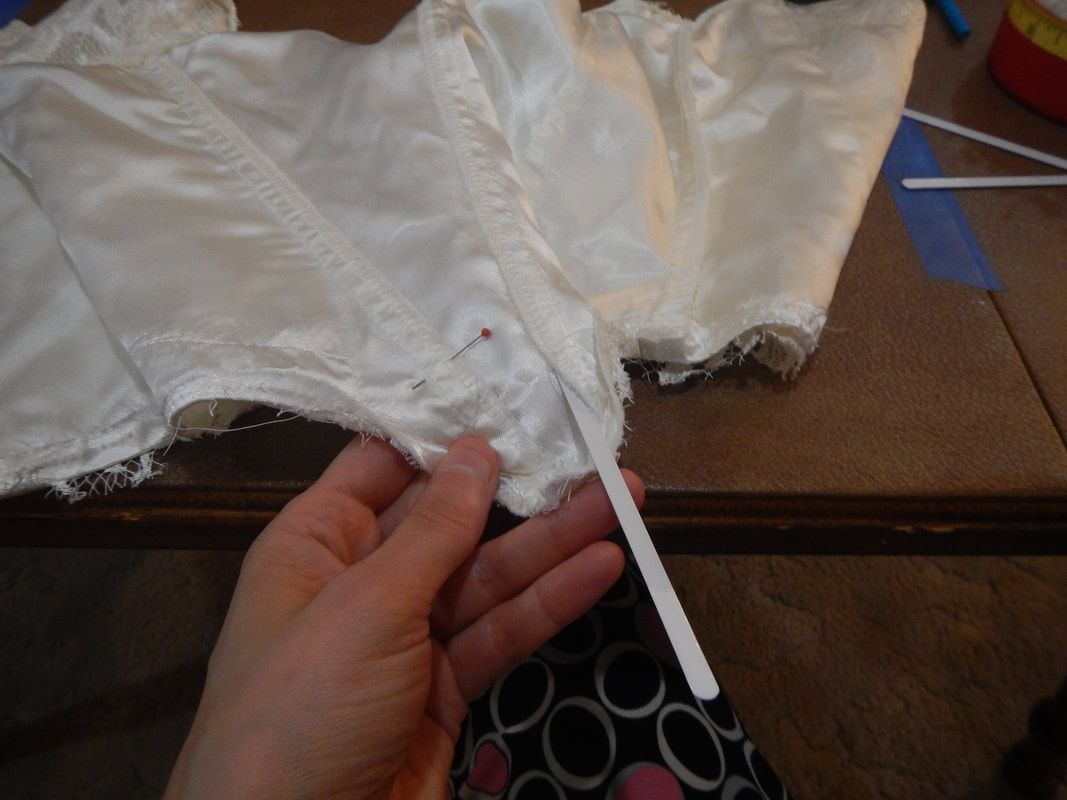
THE BONING

The boning was easy to insert, since the princess seams of the original bodice were already there and perfectly placed.  Think of the bones as stilts that hold the bosom up and the pointed bottom down.  They keep the bodice from wrinkling at the waist.  To insert them, I simply sewed the seam allowance from the front two seams down, making two channels.  Then I slid the spring steel bones into the channels, and sewed them shut at the bottom and top.  Easy!  And to be honest, the bones made the biggest difference in the perceived quality of the finished costume: they are so simple to add, but have you ever seen them in a commercially made Hallowe'en costume?  It's the little details that take any outfit to the next level. 
Picture
Sewing the boning channel
Picture
Inserting the bone.
And here's a reminder of what the finished bodice looked like after all this tomfoolery:
Picture
Elizabethan vampire? Fun!
2 Comments
The Sister
12/29/2017 05:39:56 am

Well, you made me smile with "tomfoolery". 'Cause that's funny. And, I know the historical ideas behind the alterations, but I must confess to preferring the bodice top in the BEFORE pictures. What a lovely elegant top, and I love the lacy straps! It fits Eryn so well. :-) But it's fun to dress up for events, and you did a good job modifying.

Reply
Karen Roy link
12/29/2017 01:40:26 pm

Ha ha! I like it better after the alterations... "Before" is a princess-seamed bodice, v-neck and pointy front. A good balanced style, but not terribly interesting on its own. What makes it look good is that it's the shape of a woman's body. But "After" the body and the garment both have something to say.

Reply


Leave a Reply.

    Karen Roy

    Quilting, dressmaking, and history plied with the needle...

    Categories

    All
    1910's
    Alteration
    Antique
    Dyeing
    Embroidery
    General
    Hand Sewing
    History
    Lacemaking
    Mending
    Menswear
    Millinery
    Modern Elizabethan
    Musing
    Other Sewing
    Philippians 4:8
    Project Diary
    Quilting
    Regency
    Retro
    Self Made Pattern
    Self-made Pattern
    Terminology
    Victorian
    Vintage

    Blogs I Read

    The Dreamstress
    Male Pattern Boldness
    ​
    Lilacs & Lace
    Tom of Holland
    Fit for a Queen
    Line of Selvage
    Mainely Menswear
    Bernadette Banner

    Archives

    January 2023
    December 2022
    November 2022
    October 2022
    September 2022
    August 2022
    October 2021
    September 2021
    August 2021
    July 2021
    June 2021
    May 2021
    April 2021
    August 2020
    June 2020
    May 2020
    April 2020
    March 2020
    January 2020
    December 2019
    November 2019
    September 2019
    August 2019
    July 2019
    May 2019
    April 2019
    March 2019
    January 2019
    December 2018
    November 2018
    October 2018
    September 2018
    August 2018
    July 2018
    June 2018
    May 2018
    April 2018
    March 2018
    February 2018
    January 2018
    December 2017
    November 2017
    October 2017
    September 2017
    August 2017
    July 2017
    June 2017
    May 2017
    April 2017
    March 2017
    February 2017
    January 2017

    RSS Feed

Blog

Quilting

Clothing

About

Copyright Karen Roy
​© 2017-2022