|
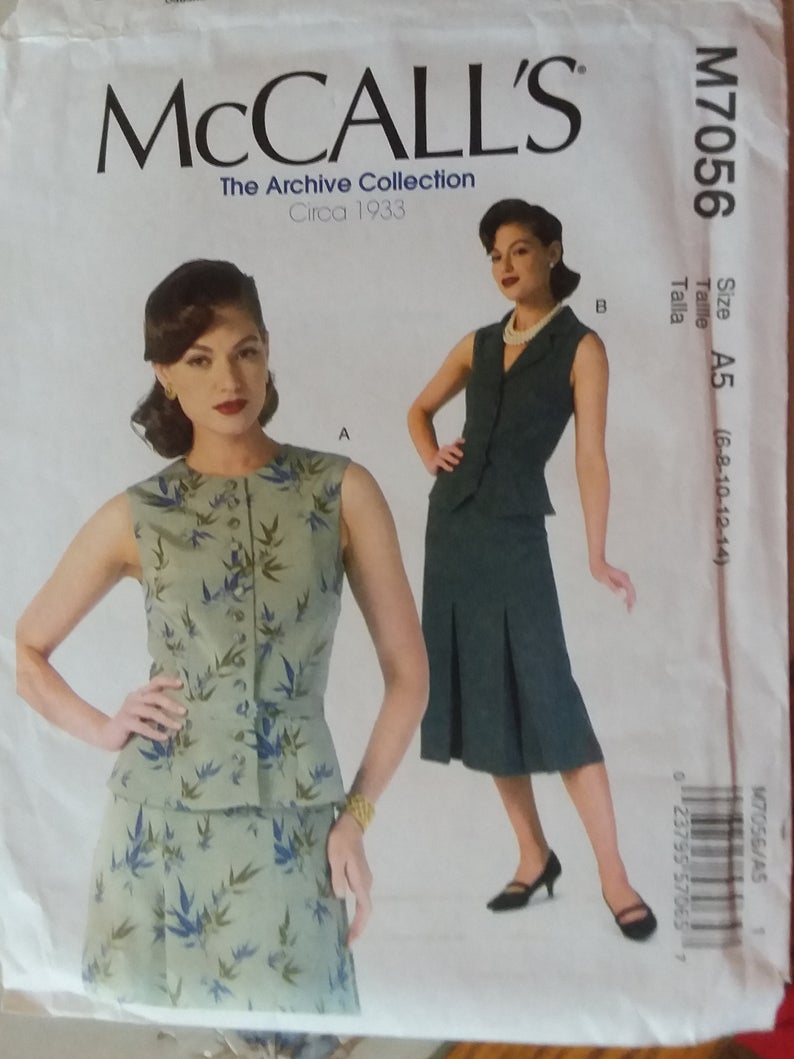
Today, I'll be making a modern pattern from a vintage collection. McCall's 7056 is a vest pattern, which can be made with or without notched collar/lapels. I opt for the collared version (view B). I wish they had the pattern for the skirt in there, but they don't. That's what I call false advertising!
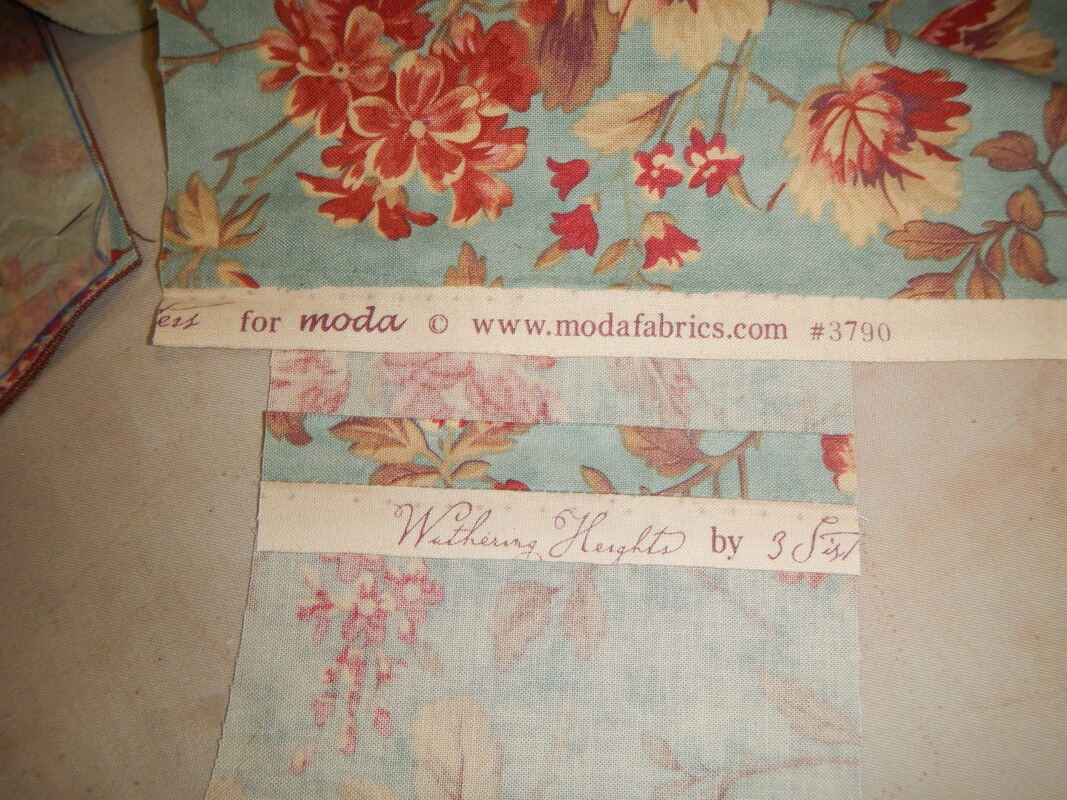
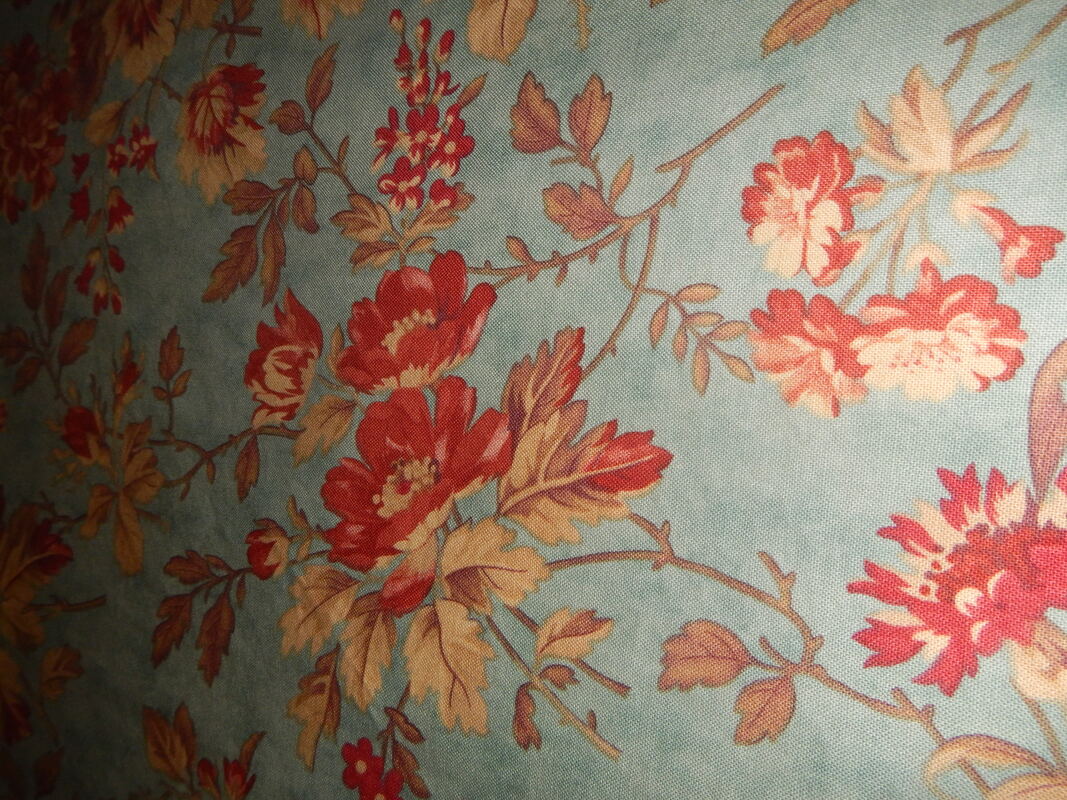
FABRIC CHOICES Since I'm staying at home during the Coronavirus, I work with what I have. What I have for this project is some quilting cotton. As a rule, quilting cotton is too stiff and unyielding for clothing. Many of my early clothes, from when I was a newbie sewist, were made in quilting cotton because it's what I had, but invariably, the fabric is what let the project down. (More recently, I used it to make the muslin for my Red Fox Vintage Dress, and it's unyielding nature worked in that case since it highlighted the problems with the pattern so I could fix them in the next version.) But since M7056 is a fitted vest, and doesn't need to be drapey or have a lot of movement, I am happy to use the quilting cotton for it. The cotton is by Moda. The print is called "Wuthering Heights" by 3 Sisters. It's a very 1930's color scheme, isn't it? That aqua, that brick red, the sepia, all in dusty pastels. It's like a WPA poster:
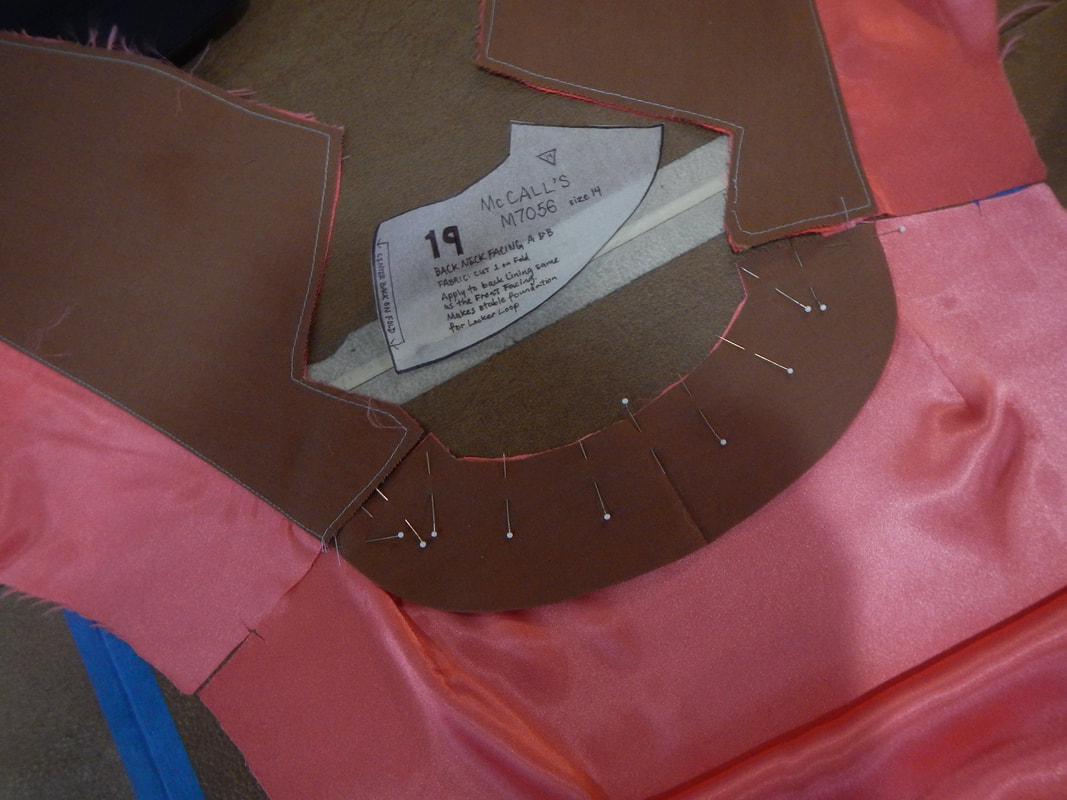
The background of the floral is an in-between color; depending on the lighting, it can be robin's egg blue, or aqua, or even a little green. I like the color a lot, but want to warm it up around my face. So for the collar, I use a brown cotton. For the lining, I have some pink polyester charmeuse. Together, the colors harmonize. PATTERN The most complex thing about this pattern is that there are different front pieces for different cup sizes. And this made me realize I don't know my cup size! So I follow the instructions in the pattern and find my cup size is D. Disbelieving this, I go online and follow different instructions and still get D. D?! I'm sure I'm not that big! Further research: it's not about size as much as ratio; since my bust measurement is four inches bigger than my underbust measurement, I have a D-cup. Despite feeling dubious, I cut out the D-cup front piece. I figure if it's too big I can fit it tighter, but there's no such remedy if I cut it too small. Golly gee, that's a big dart... 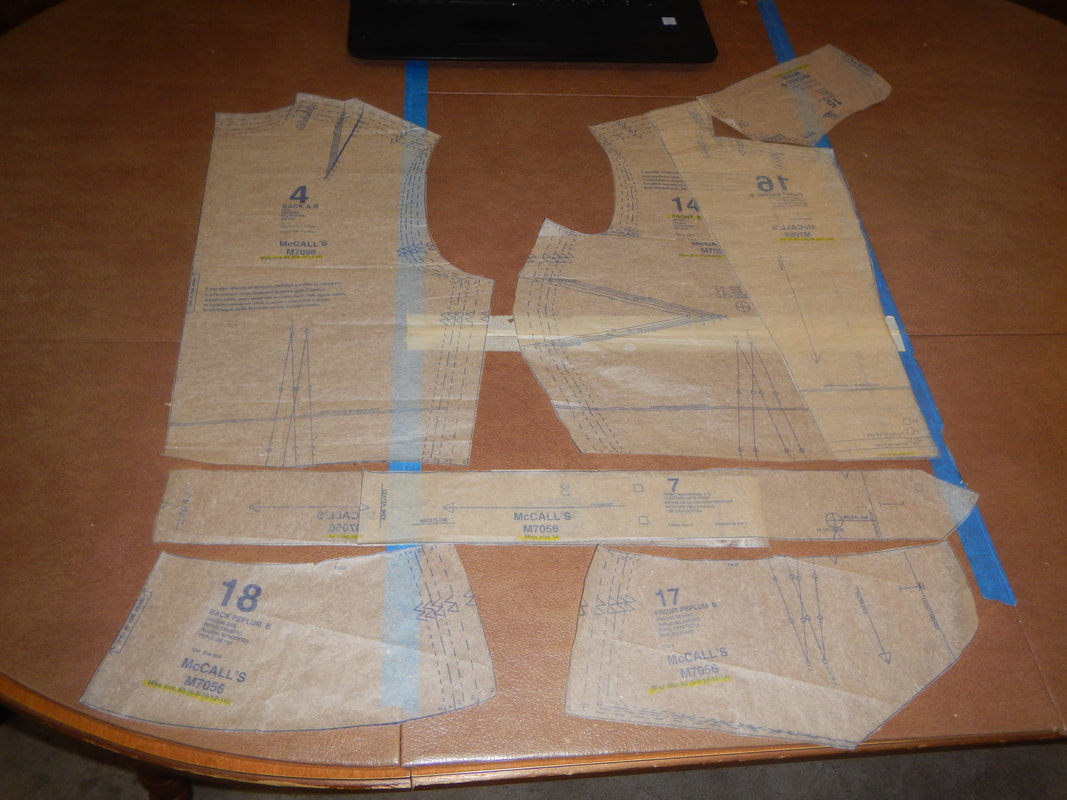 Ever notice that television shows which are set in people's houses rarely show those people's TVs? Like TVs are so ubiquitous and used so much as to be invisible? If you think about it, you don't so much look at you TV as you look through it, to the stories or information it offers. Computers are the same. This is a computer-based blog: I use a computer to make it, and you use a computer to access it; but rarely do you see pictures of a computer in it. Well, here on this table is my laptop, upon which I listen to YouTube documentaries while sewing, or interrupt my work to research something. That black keyboard in the top of the picture is the silent partner in this sewing/blogging enterprise.
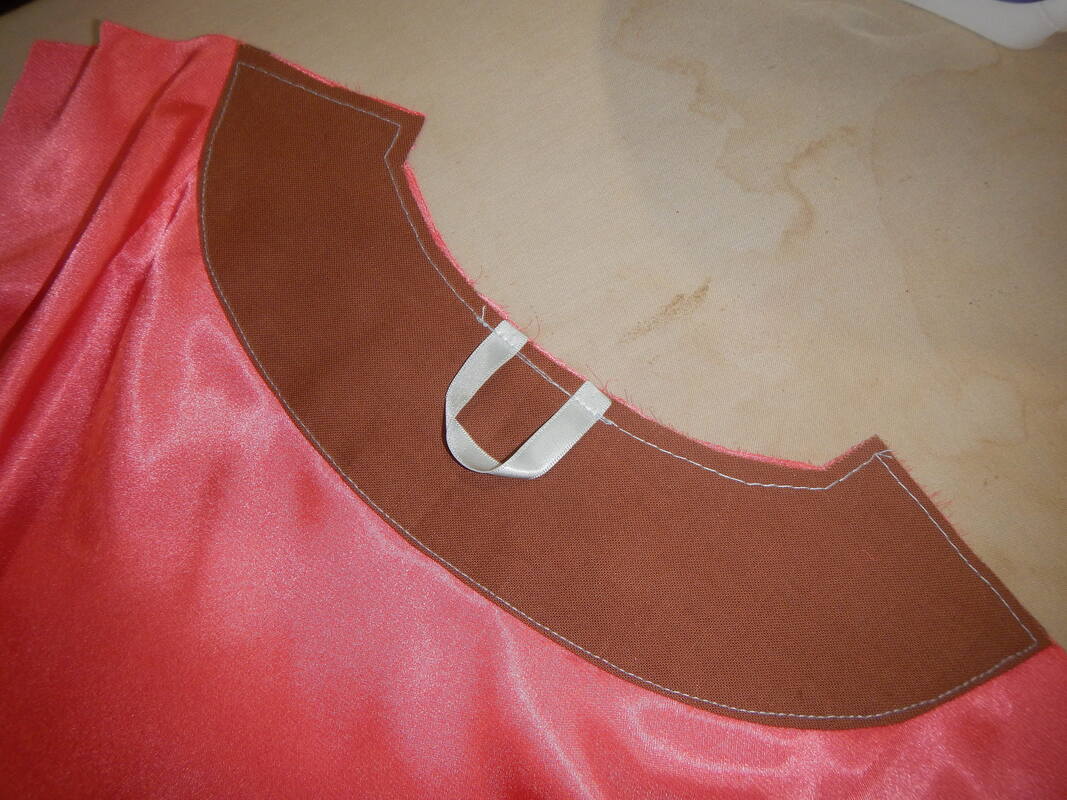
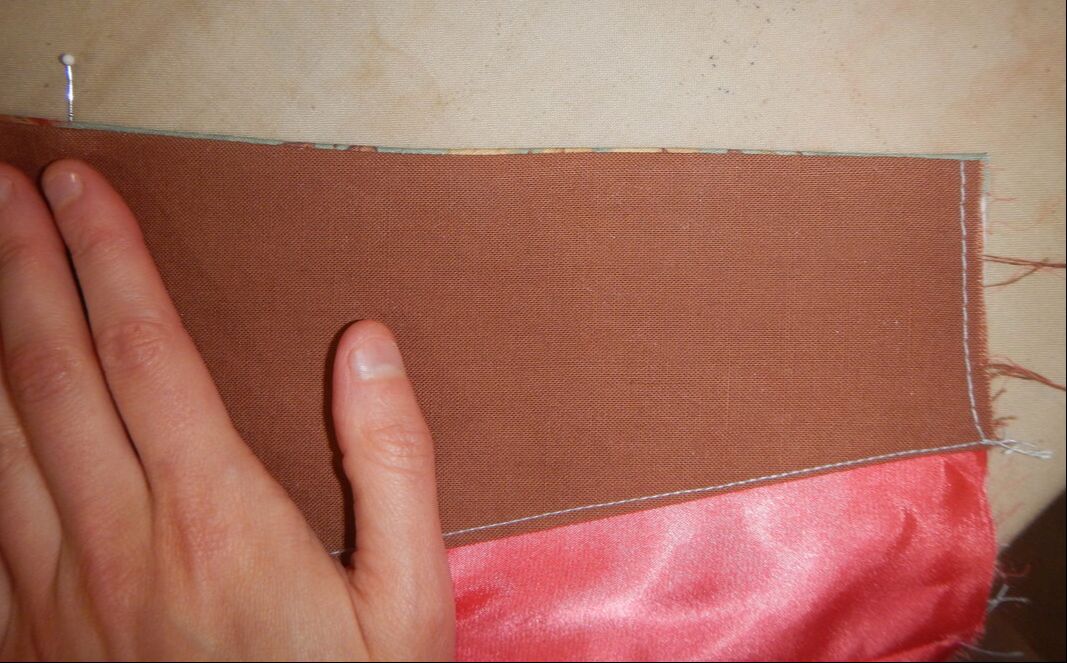
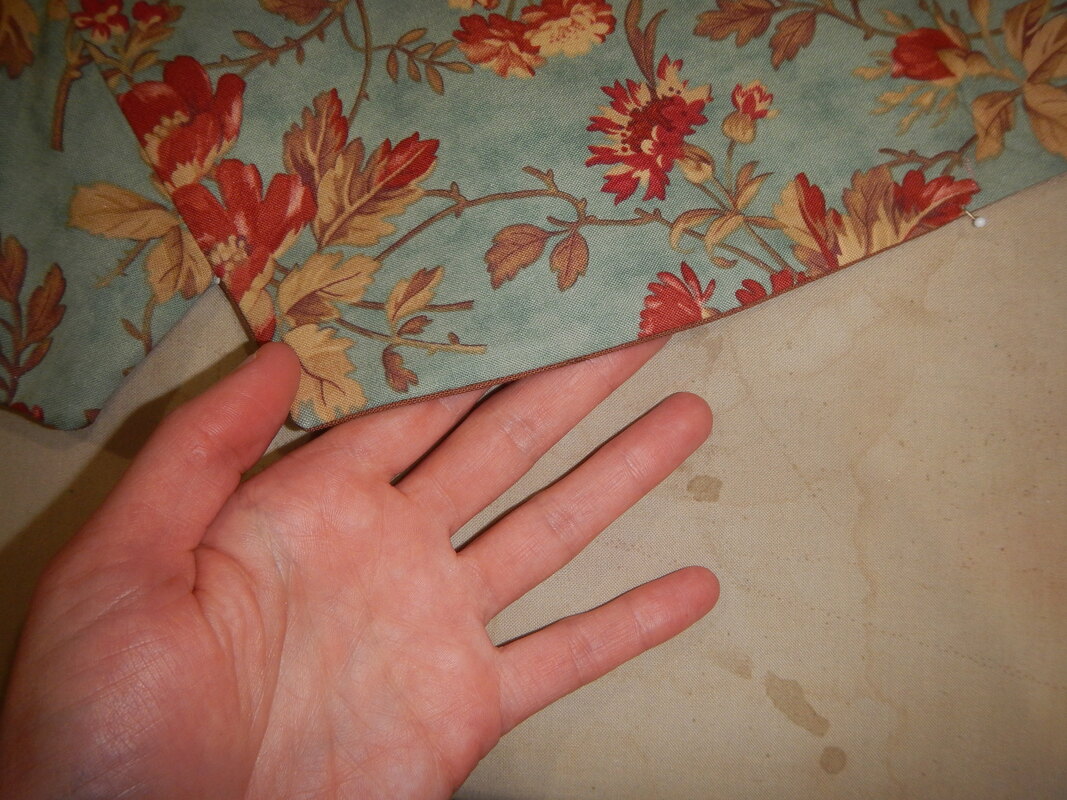
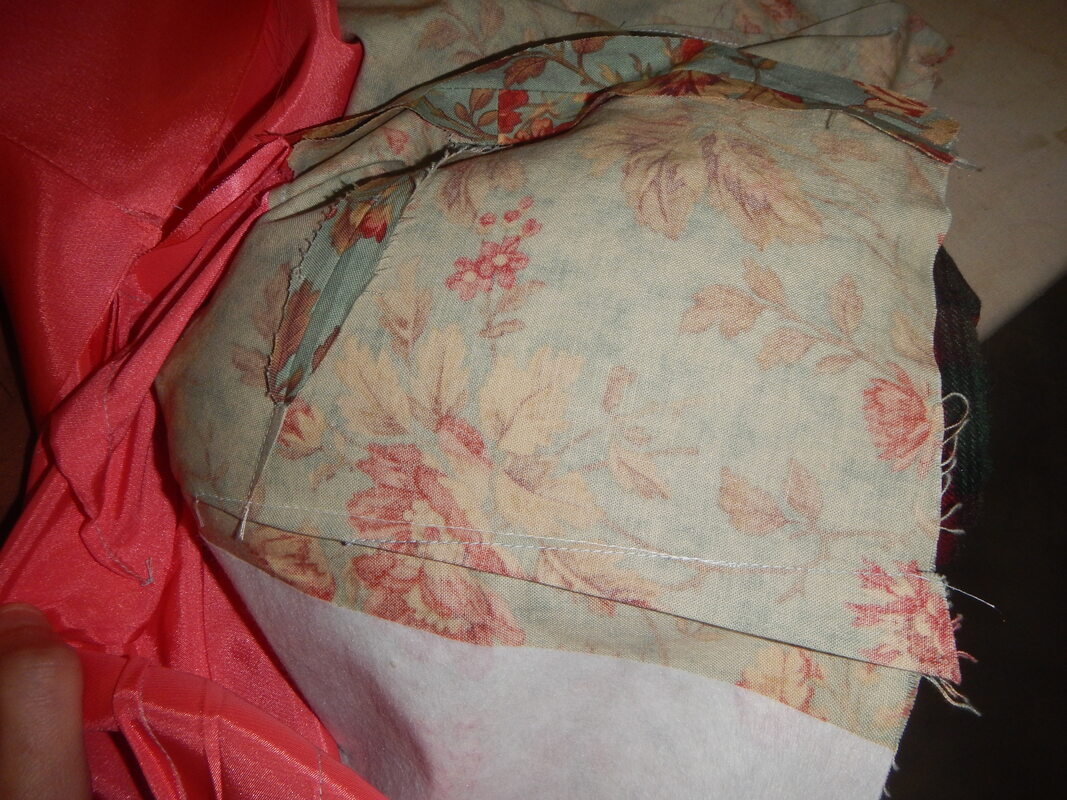
Once I cut out the facing pieces and the lining pieces, I press the facing edges under, and top-stitch them on top of the lining fabric. From here out, they can be treated like one piece of fabric.
PEPLUM The peplum goes together easily. There are two things of note. First of all, I want the points to be crisp and pointy, so before I turn it right side out I interface just the pointy bit using iron-on interfacing: 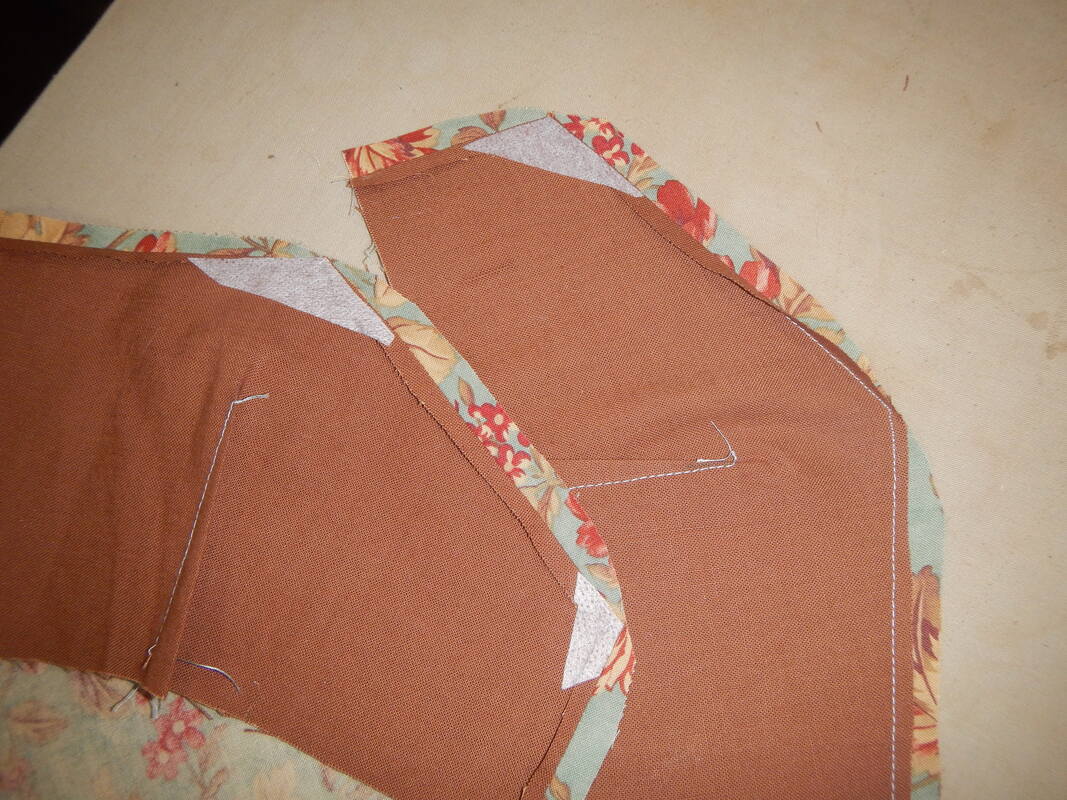 The second thing is that the peplum/waistband actually looks kinds cool as a shawl. I like dressing the dress-form in half-finished pieces:
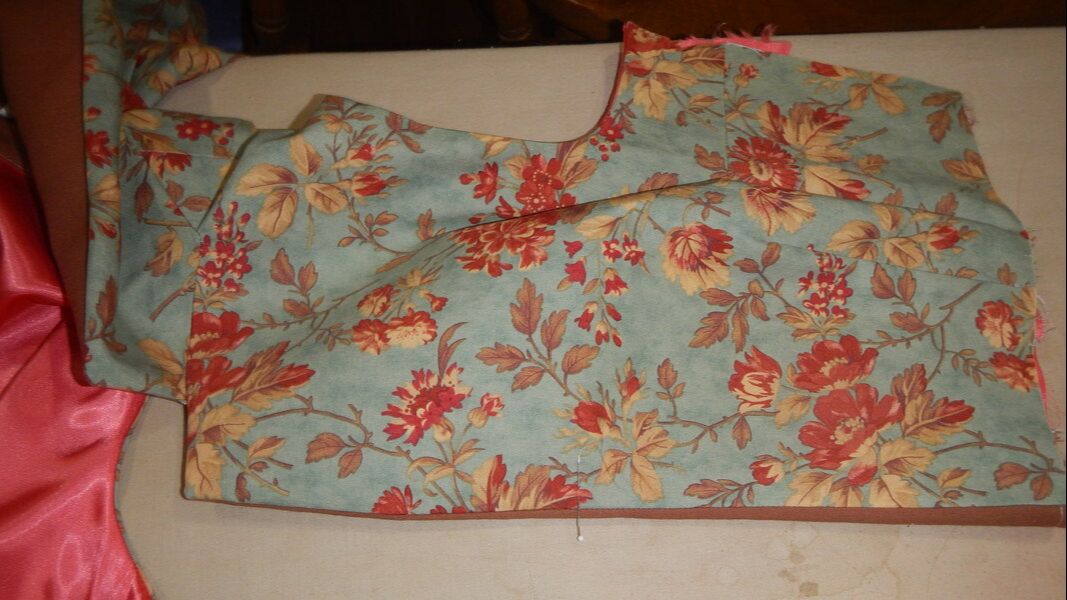
TRICKY CONSTRUCTION The notched collar is always puzzling and hard to explain. Even if I can put the rest of the garment together without consulting the directions, I have to read the directions for the collar bit. In this case, the instructions needed further clarification and parsing, so I wrote on them: 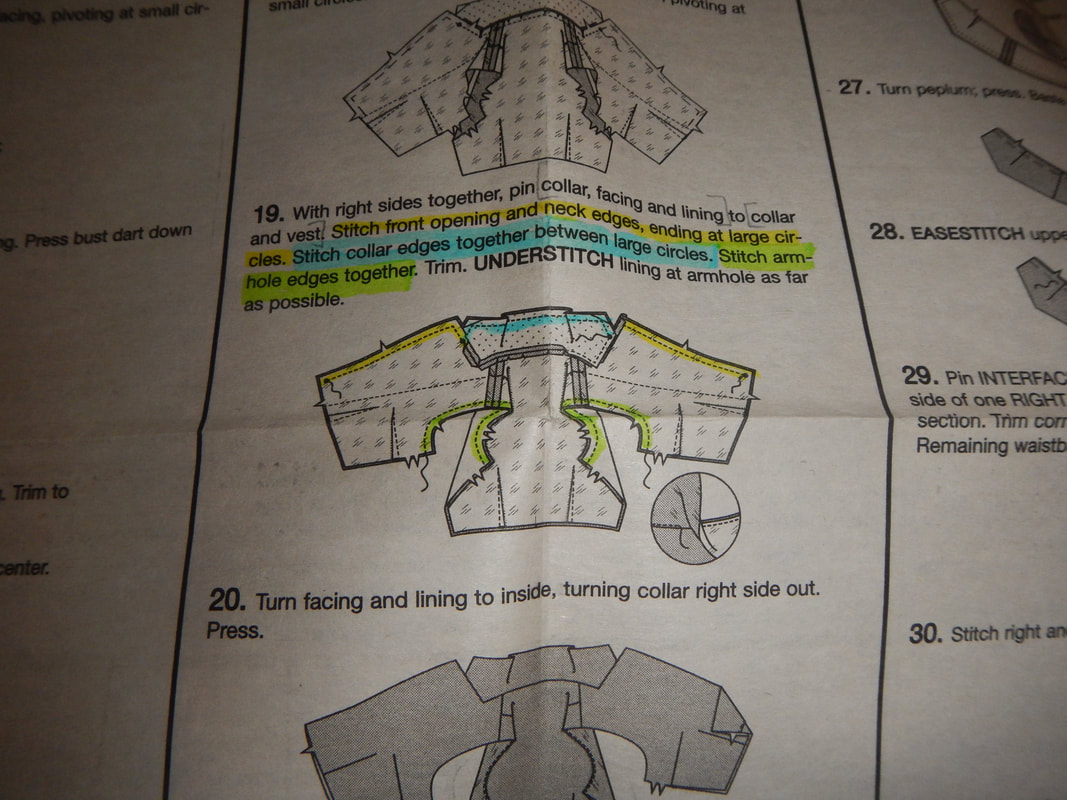 I sew, press, and press the seams open, so that after I turn the vest right side out, it's easier to press the seams.
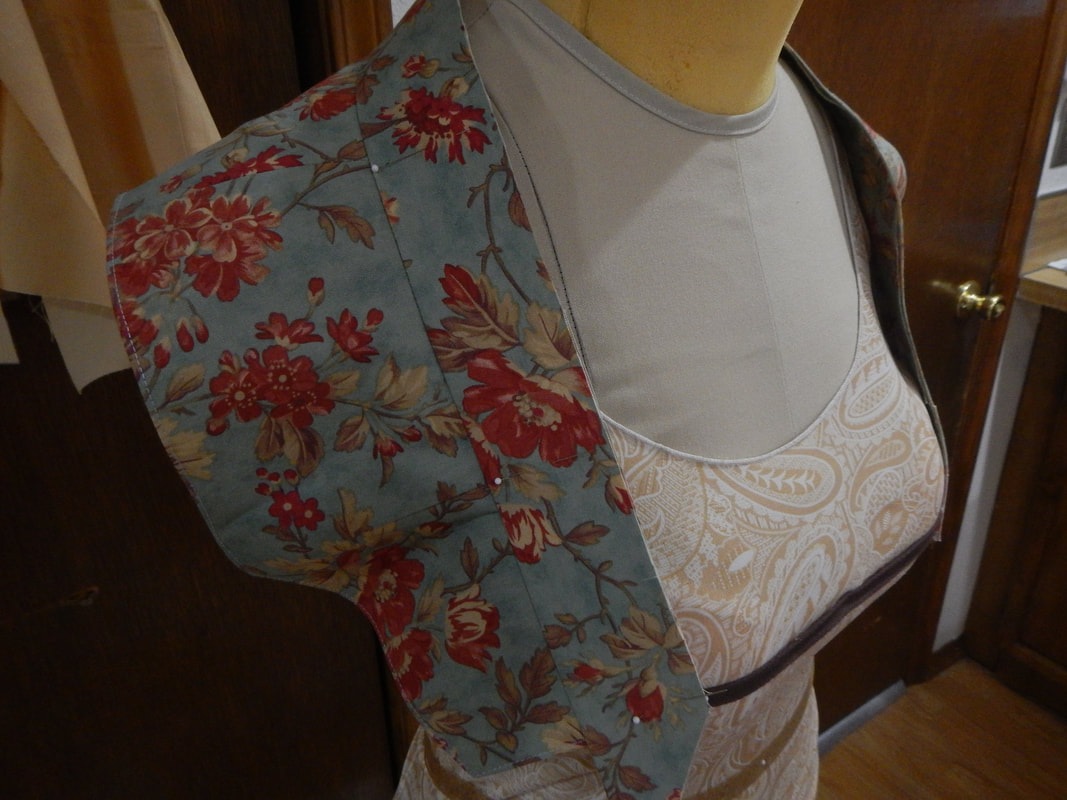
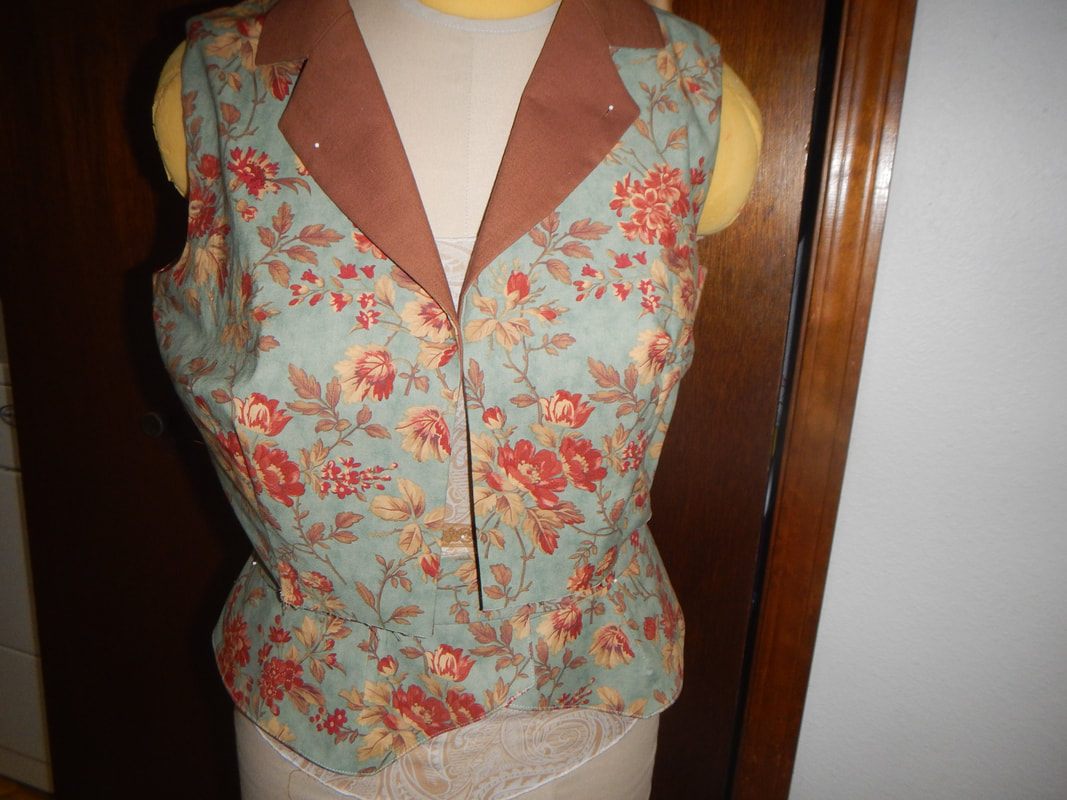
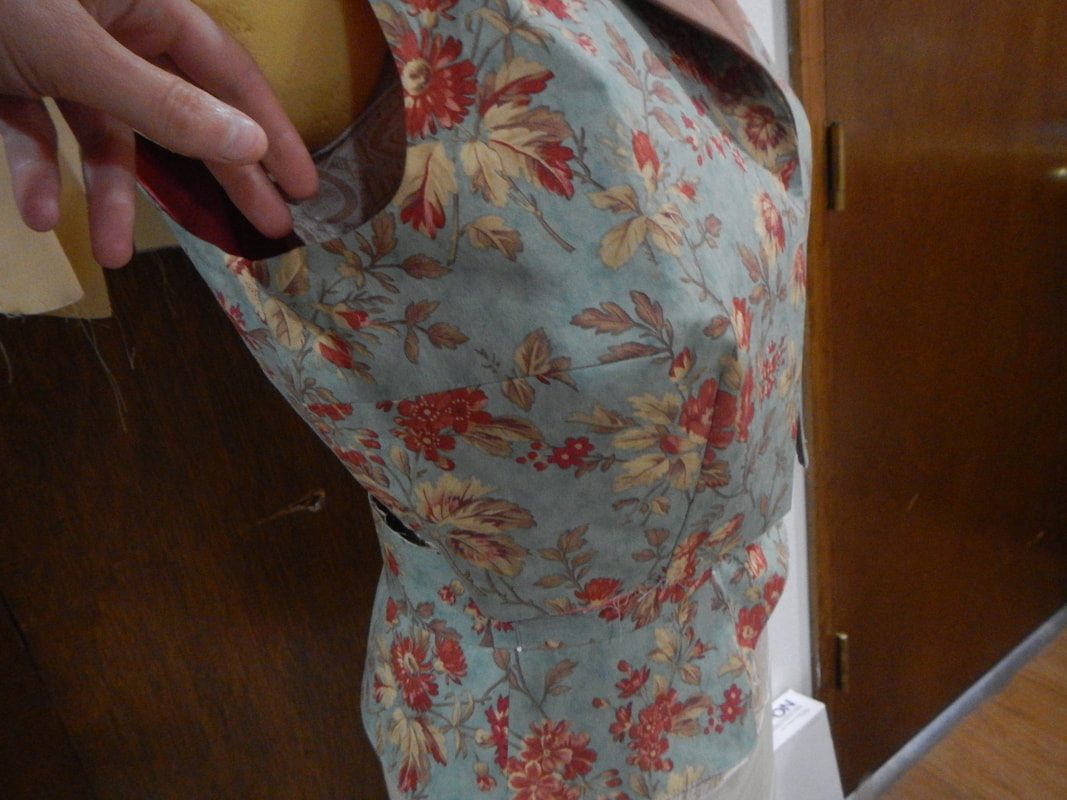
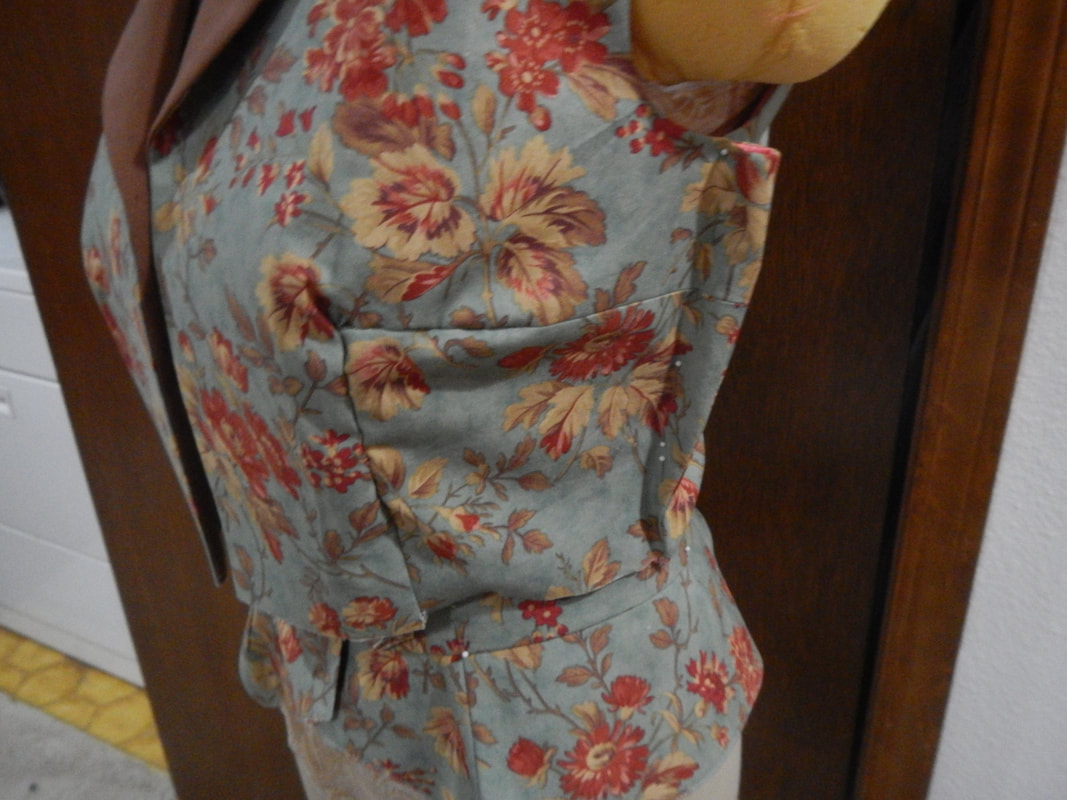
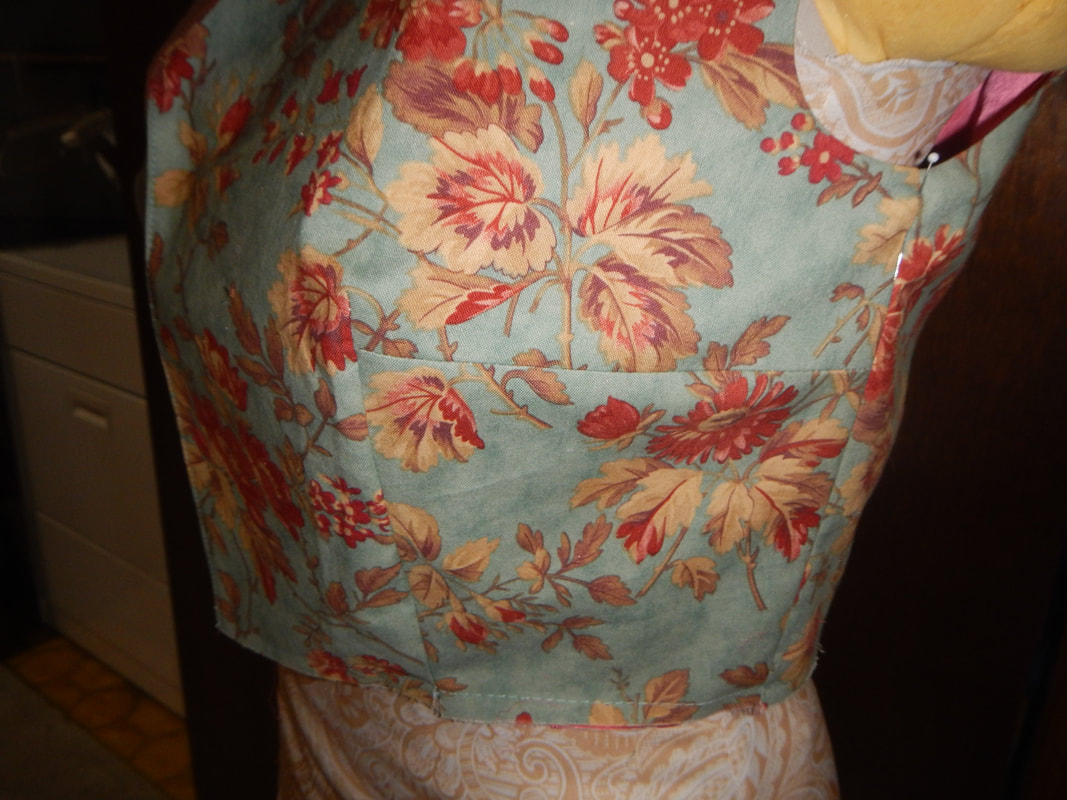
Finally, I sew the side seams, and it's time to try it on. BUSTY WOES So... am I really a D-cup?!
The waist is the right fit and the shoulders are fine, but the bust is very wrong. I wonder if I'm the only one with this problem, so I look up pattern reviews online. Krystin of Twistedangel Studio says in her pattern review to pay attention to the finished garment measurements written on the envelope before cutting. She doesn't say which cup size she cut out, but she does mention that in her finished vest her waist was snug but her bust had "plenty of room". I wonder if this is an artefact of the process of modernizing the pattern from the archive. Women in the thirties had bodies of all shapes and proportions, but McCall's would have had one block, based on the idealized shape back then. Perhaps their block was busty. Then maybe when they recently took the pattern out of their archive and cleaned it up, they didn't modernize the proportions? Just a thought. Anyway, I have to fix this somehow. I pin it and fiddle with it. Turns out what I need to do is take the side seam in at the top and taper it down to the waist, where there's no change. I extend the horizontal dart further into the chest and take the vertical dart up over the nipple area with a curve, like a wannabe princess seam.
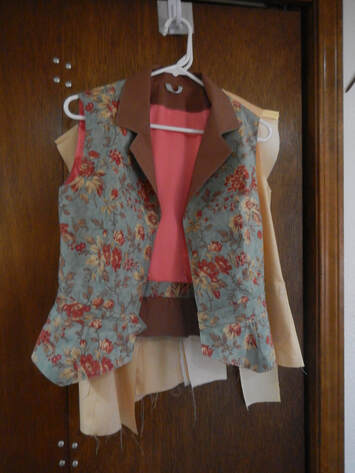
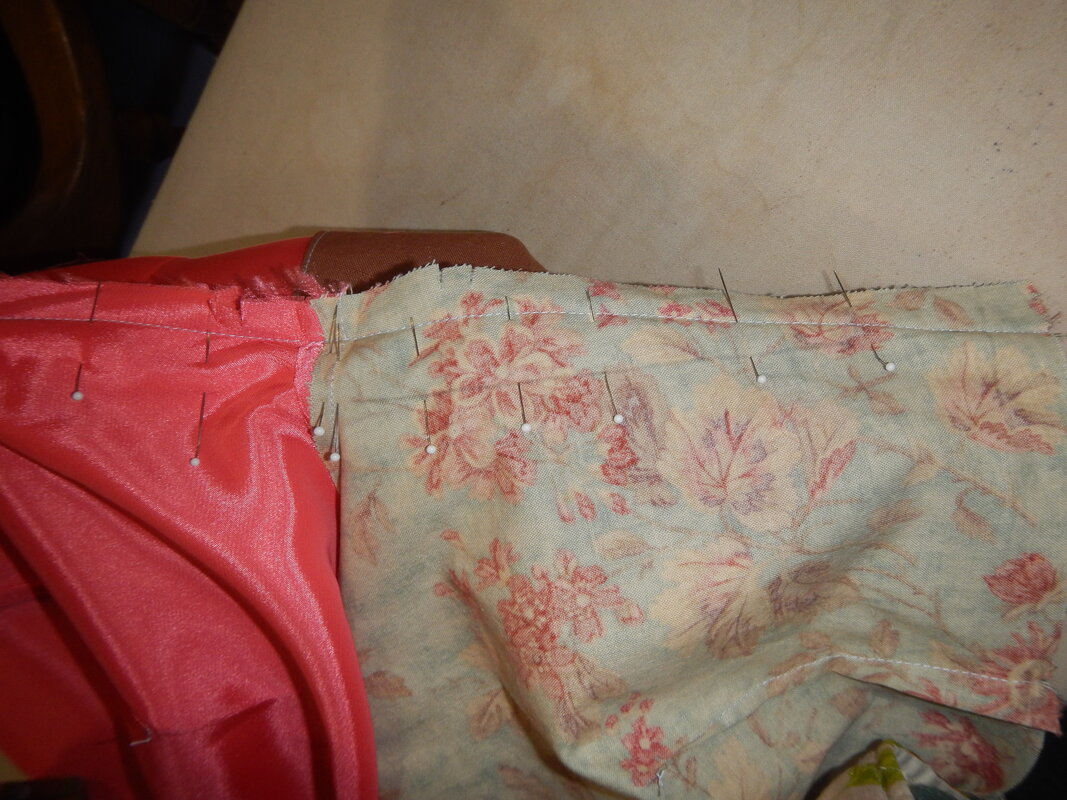
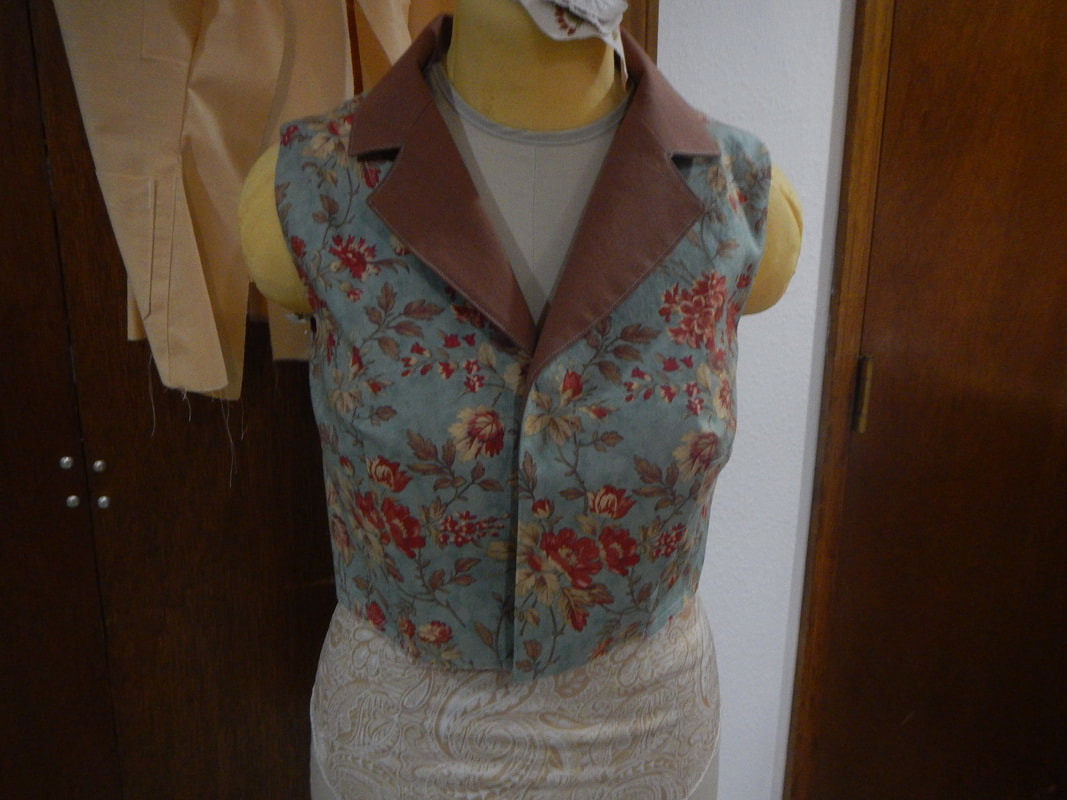
(ALMOST) FINISHED! I attach the peplum and now all that's left is buttons and buttonholes. Problem is, I have to send my machine in for maintenance, and so I can't do buttonholes for a while. So here is the vest as it stands, until I do the last step! 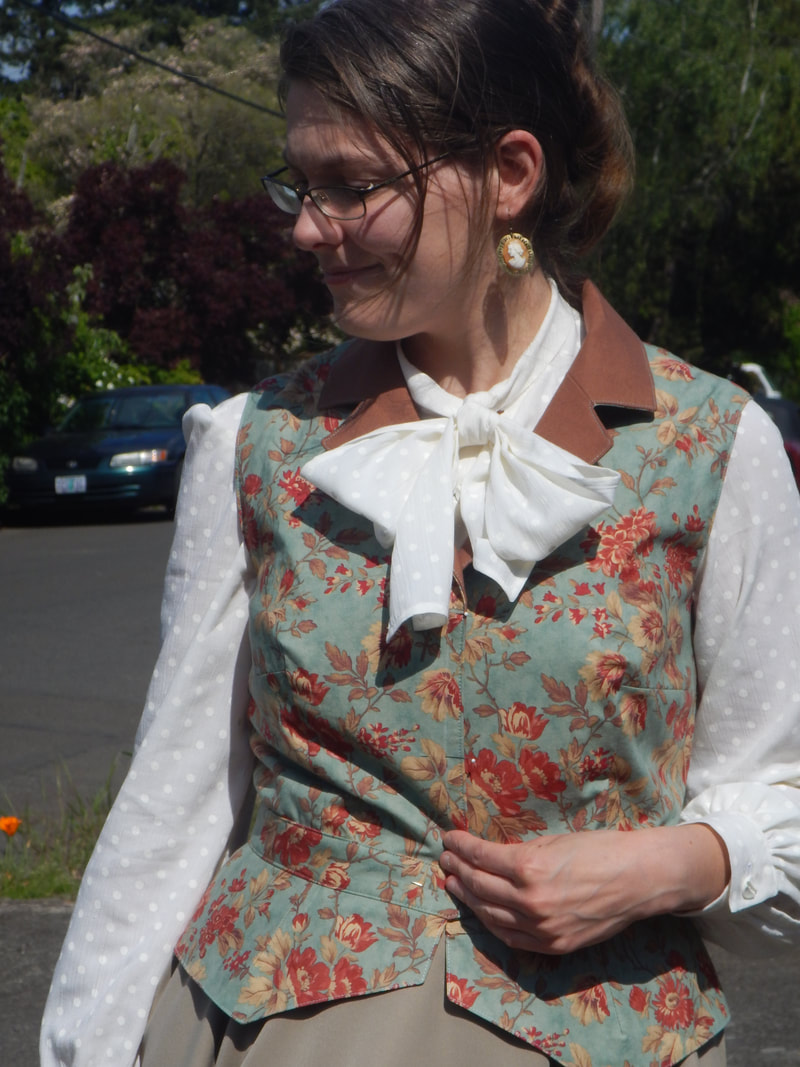 With my last few scraps of cotton, I make a face mask... because these are the times we live in. 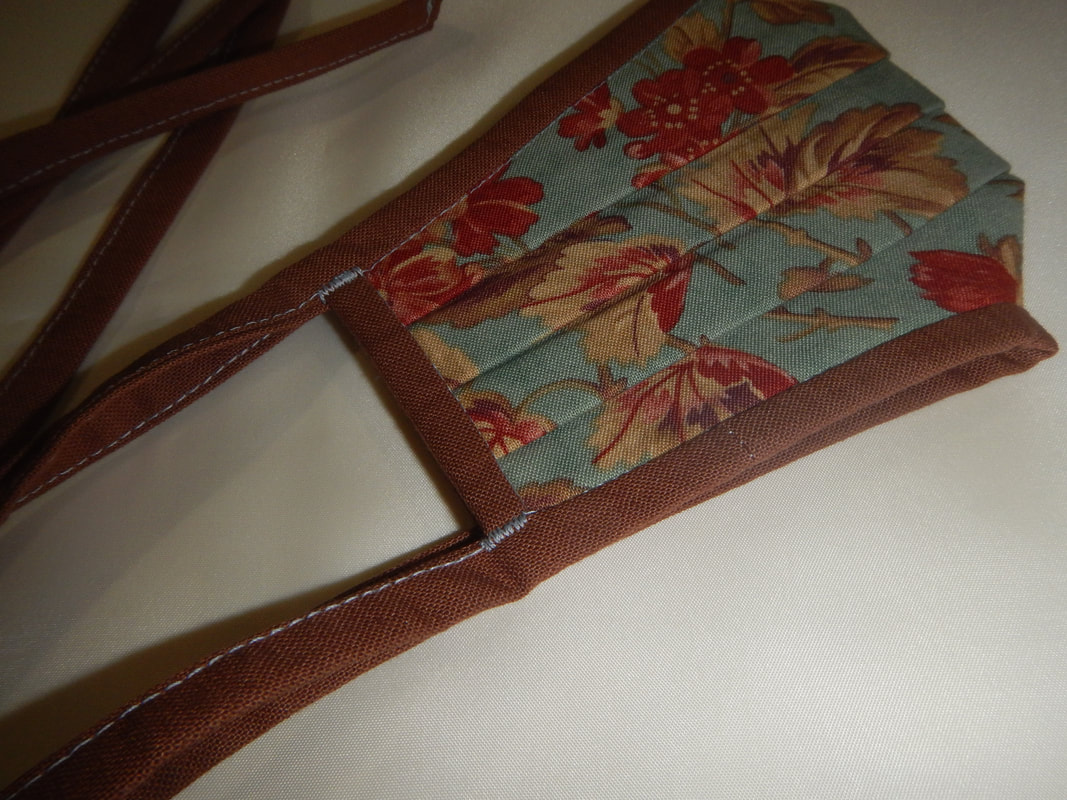
2 Comments
The Sister
5/16/2020 01:29:44 pm
Lovely colors; are you gonna put cute buttons on it? And how industrious to use the scraps for a mask - it'll be as fetching on you as a mask can be! I have plain wooden buttons, the same ones I used on our brother's cotton batik shirt: https://www.robesdecoeur.com/blog/aloha-shirts-finally-done . As for masks being fetching... yikes! I'm tired of not seeing people's faces. There's something off-putting about it: all the micro-expressions lost, all the politeness of a smile or a look blocked. It feels inhuman. Leave a Reply. |
Karen Roy
Quilting, dressmaking, and history plied with the needle... Sites I EnjoyThe Quilt Index Categories
All
Archives
March 2024
|


 RSS Feed