|
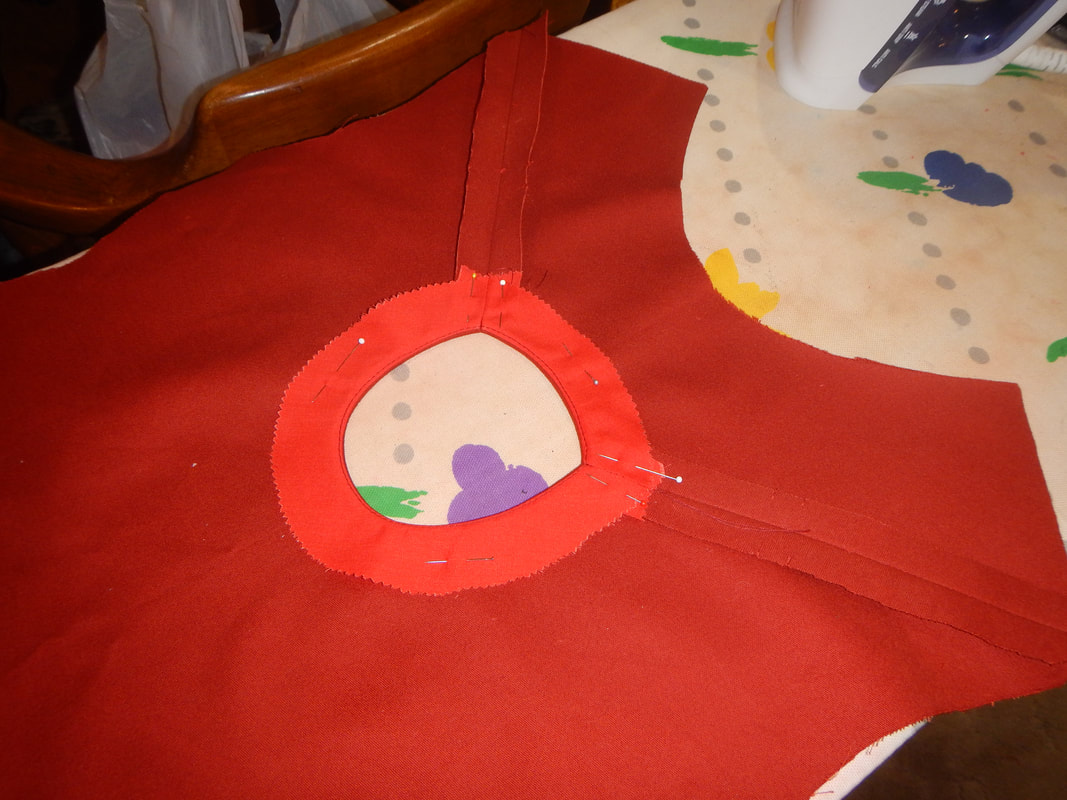
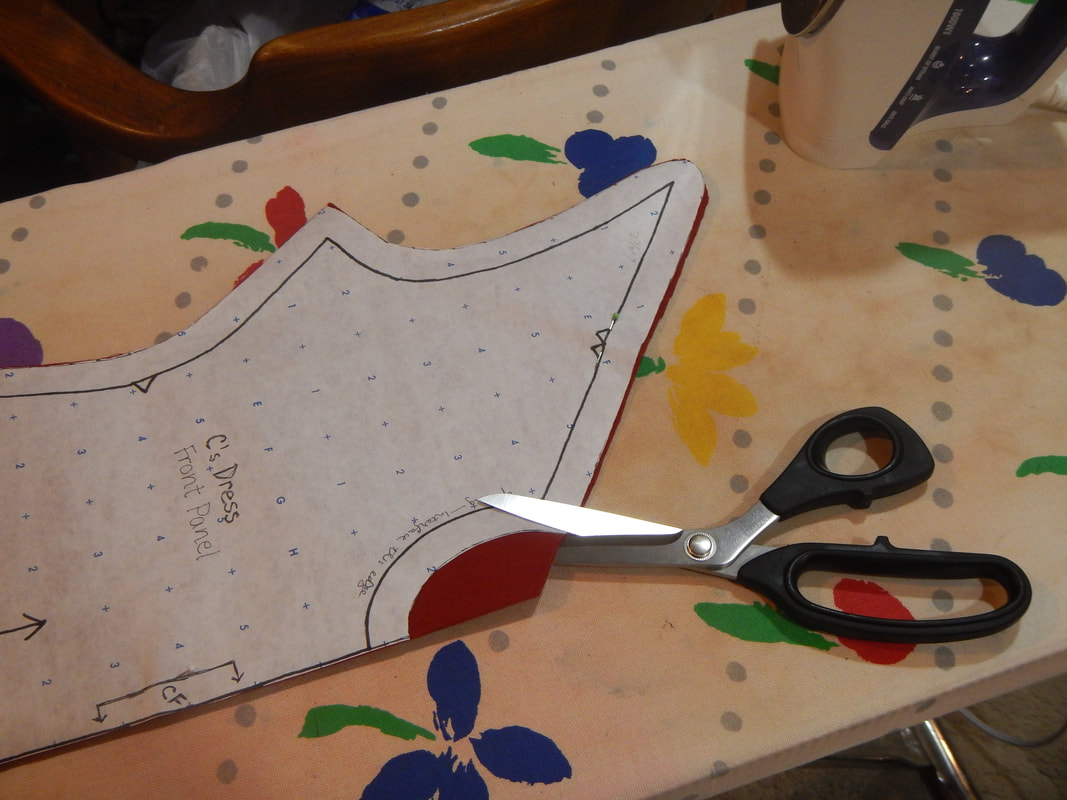
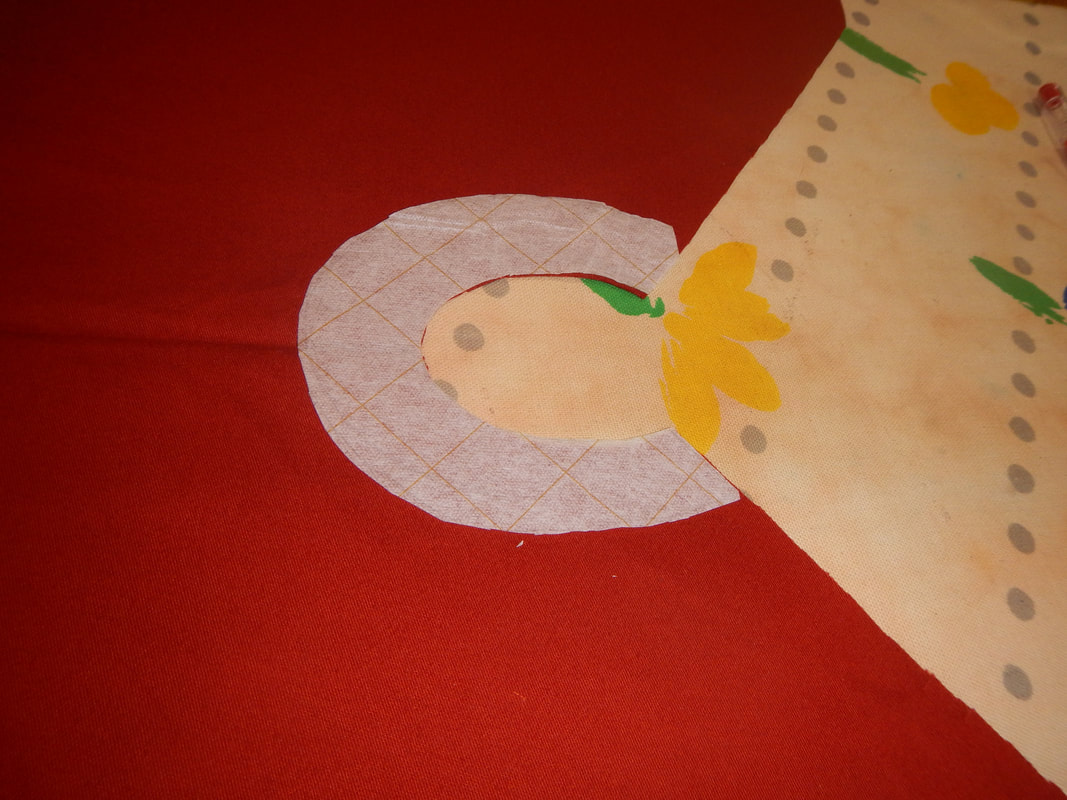
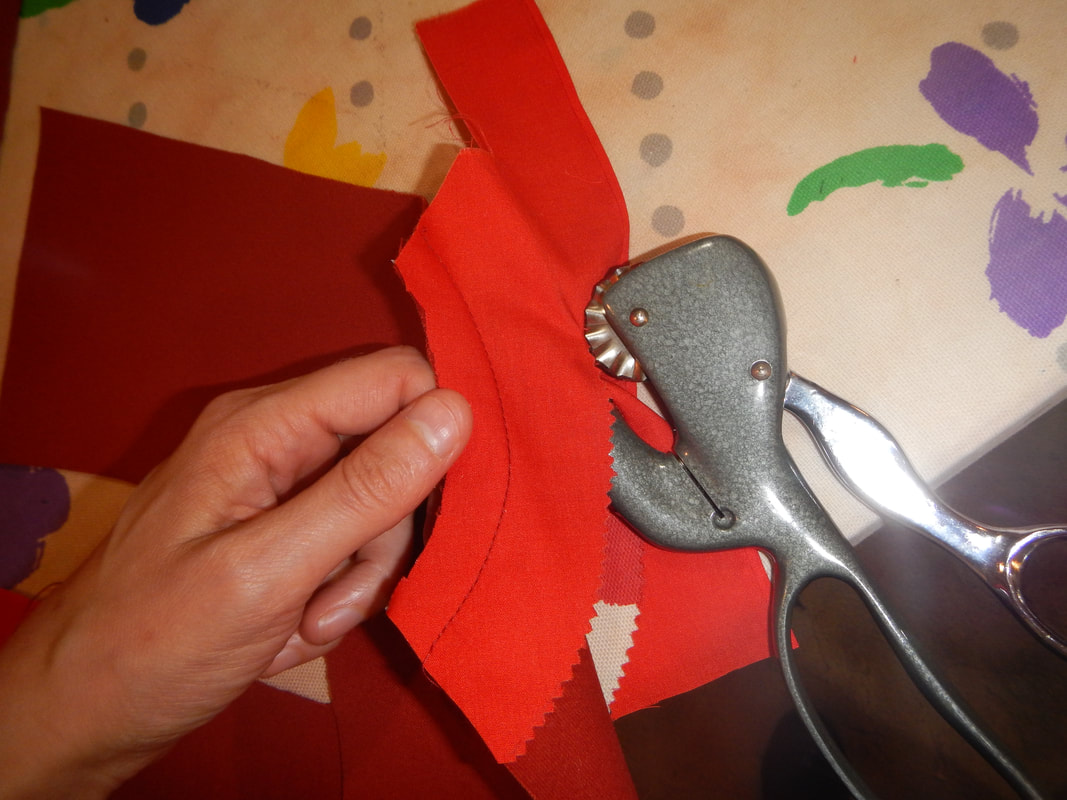
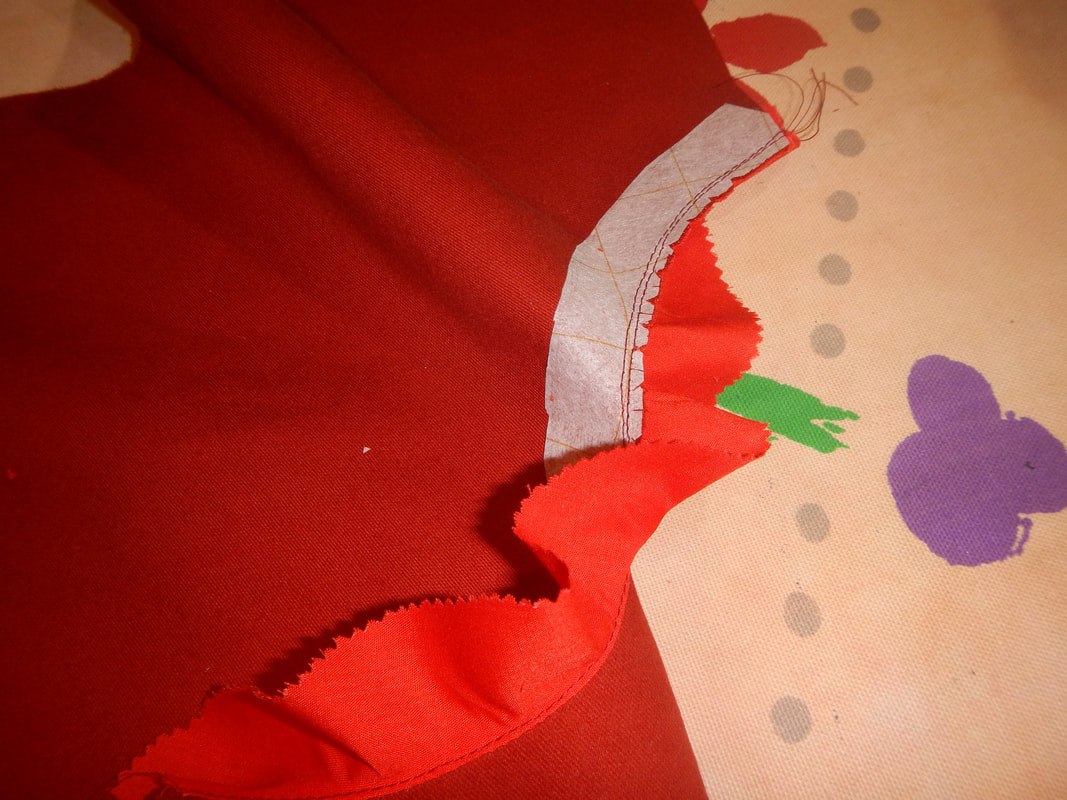
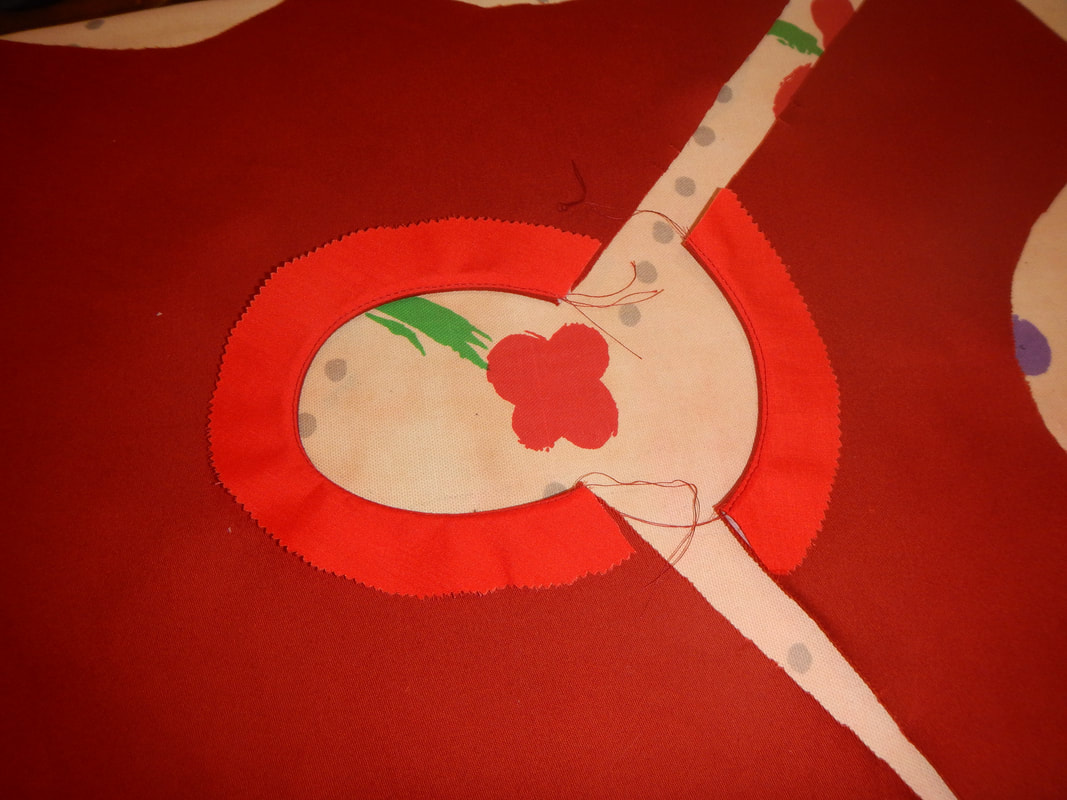
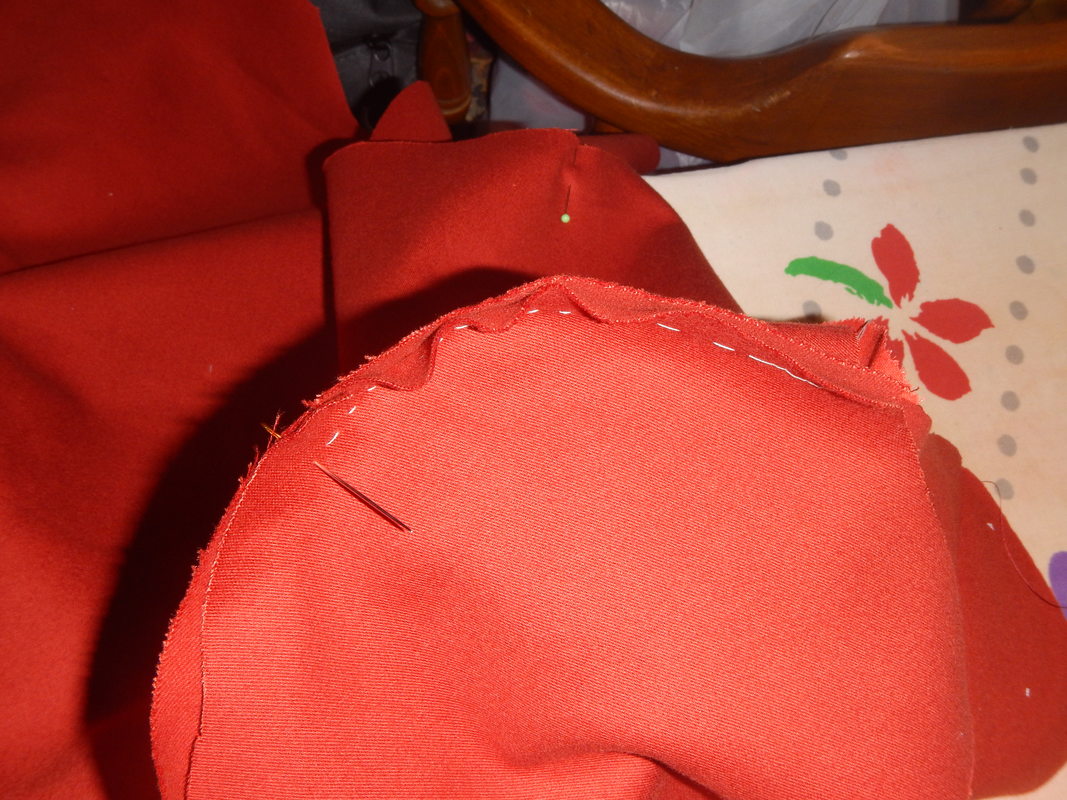
The Ahsoka Tano costume continues! After all my pattern work, I cut out the pattern pieces in the red twill. I have just enough 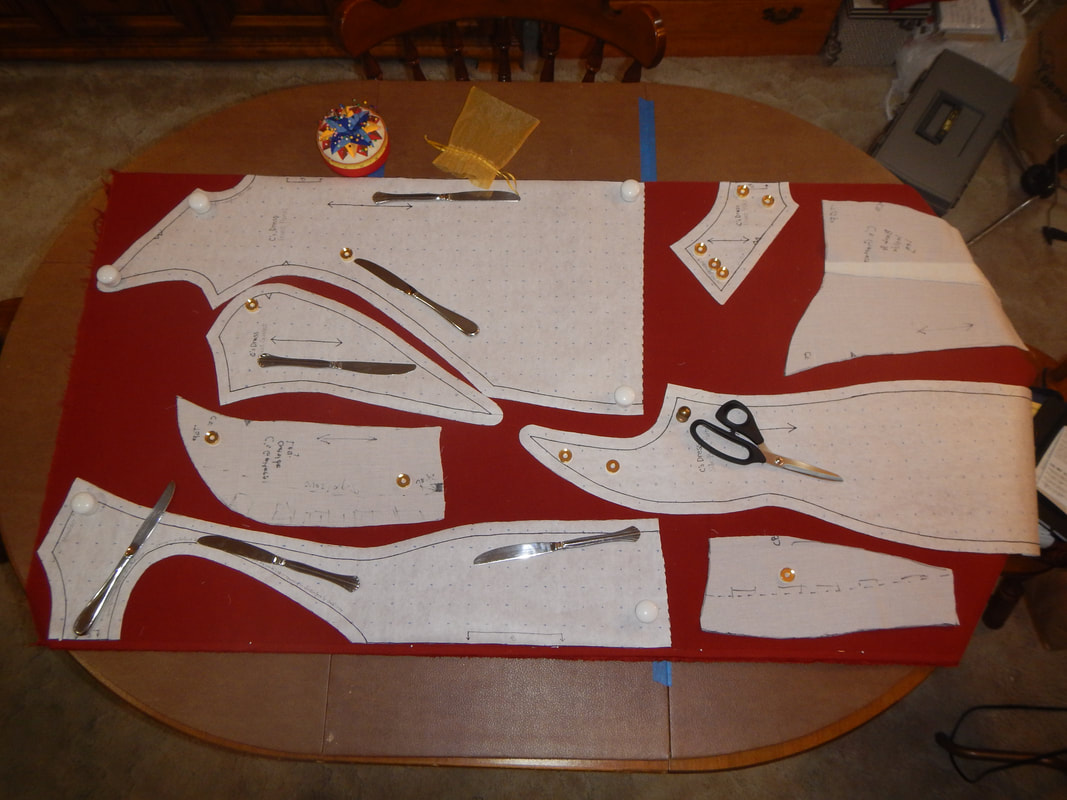 My pattern weights are a collection of heavy finials, nuts, paperweights, and (in a pinch) butter knives. THE CUT-OUTS The first thing I work on is the cutout for the front. I interface around it to keep it from stretching on its bias sides, then sew a facing on it, then turn and understitch the facing. I do the same for the back opening.
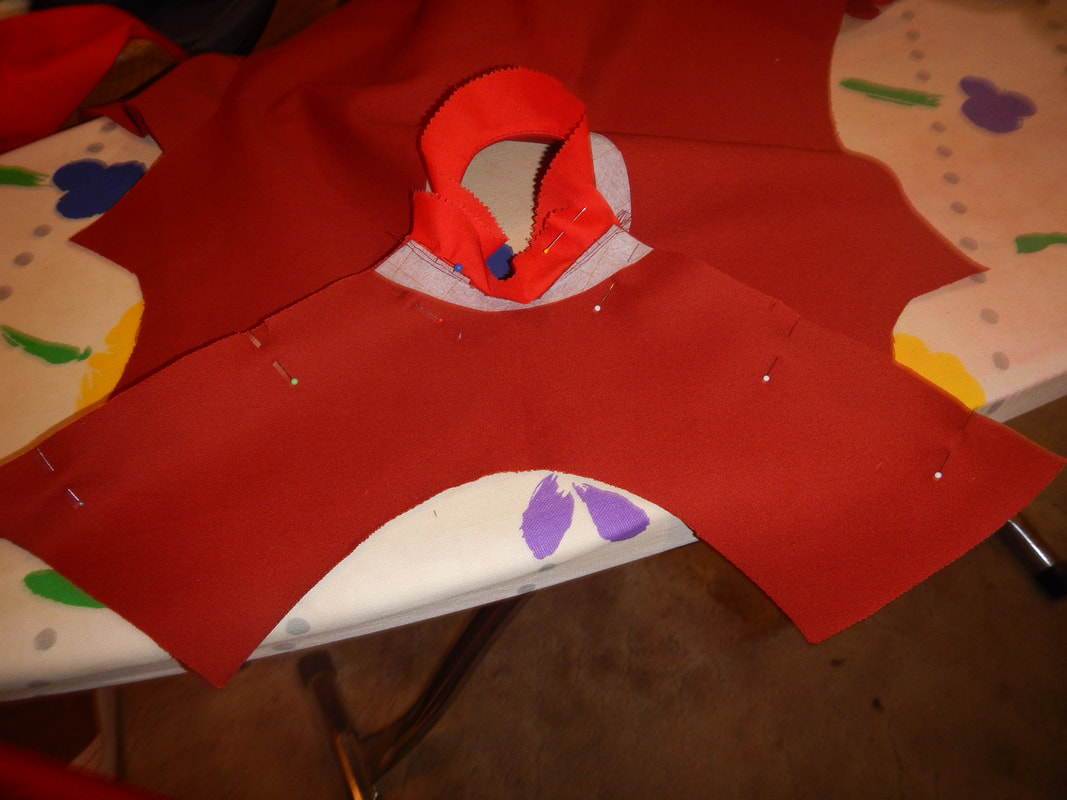
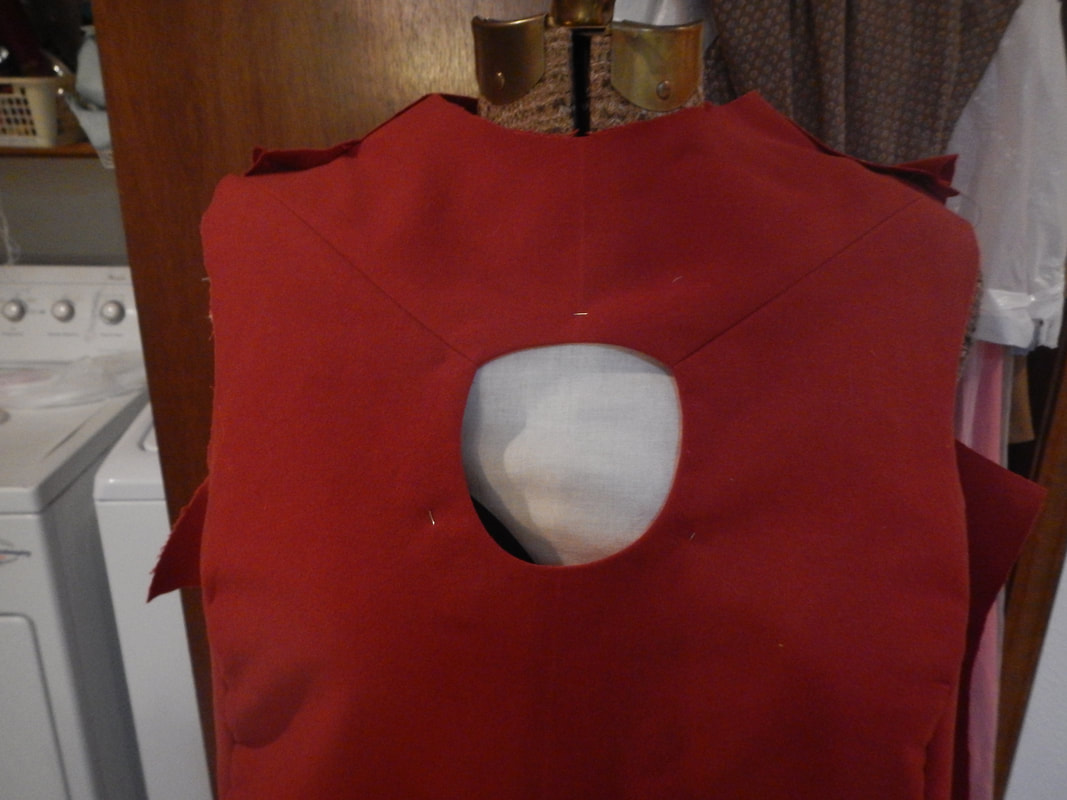
And here's how I attach the top yoke to the bottom:
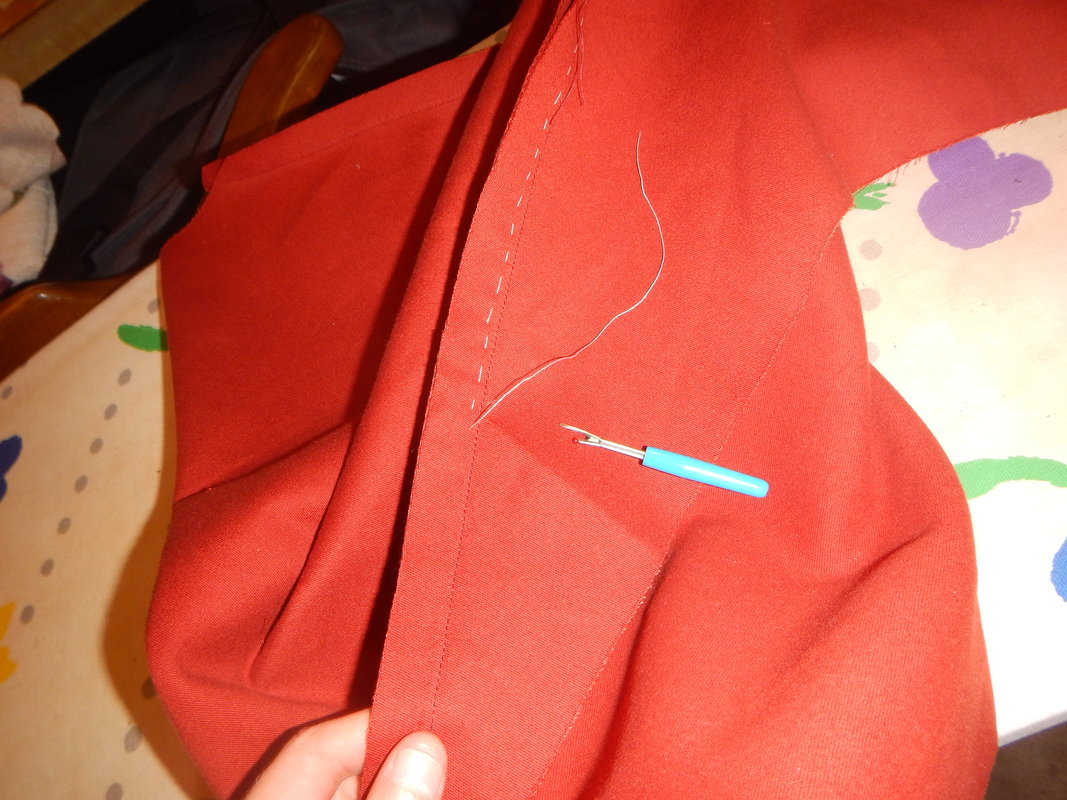
 The seams are sewn and facings pressed inward. I've pinned them in place for the nonce, but will eventually catch-stitch the edges to the twill. BASIC SEAMS AND FIRST FITTING The basic seams are the front panels together, back panels together, and shoulders, giving me a kind of smock to put on my client. I sew and serge them. Since the front seam over the bust is quite a sharp turn, I hand-basted it in place first, then sewed it, then serged it, which was slow, but better than trying to shepherd dozens of pins under the machine without breaking anything.
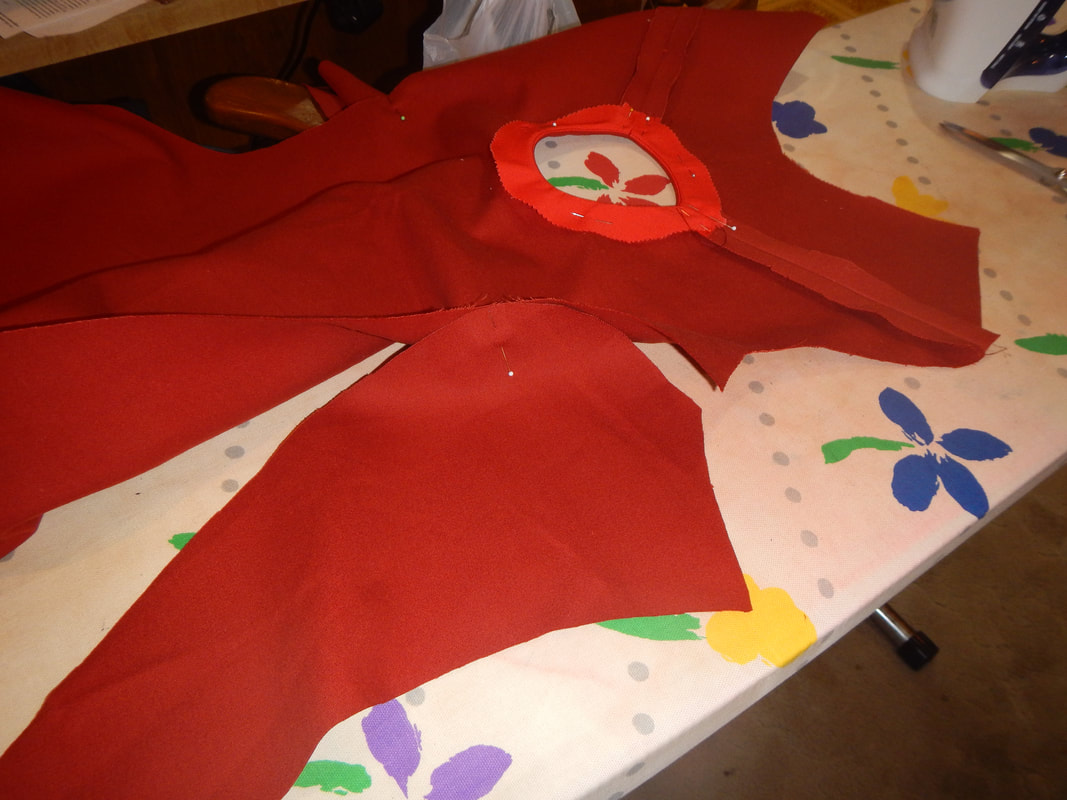
The first fitting enables me to pin the side and back seams to the right level of tightness. I pin while she is standing, then have her sit to make sure there is enough ease over the bottom. As it happens, my 5/8 inch allowance is perfect. While we're at it, I pin the hem up to make sure it's parallel to the ground all the way around. Then I unpin the back a bit at a time, opening the CB from the top and having her try to get out of it. This is how I figure out where to start the zipper so she can easily get in and out of the dress (a few inches below the widest part of the bottom). Finally, we place some bra cups, stolen off a thrift store bra, into the torso of the dress and adjust them to the right place, where I pin them to be tacked in later. CLOSING THE BACK
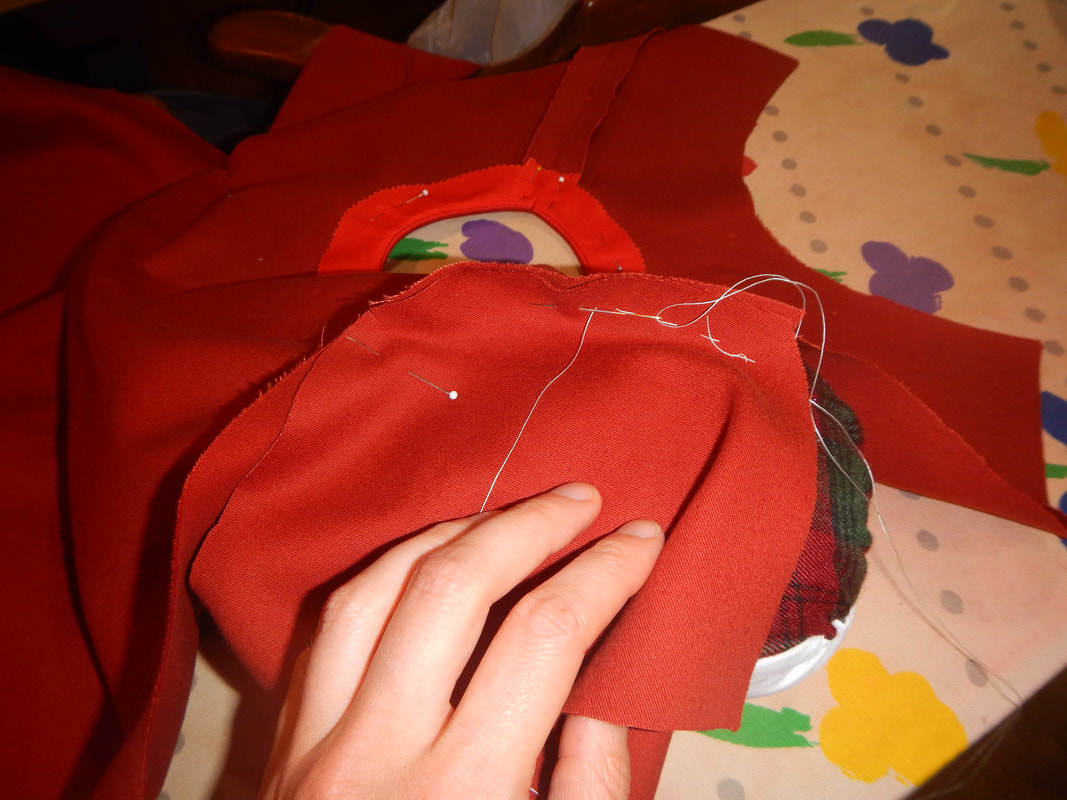
NECK AND ARMSCYES
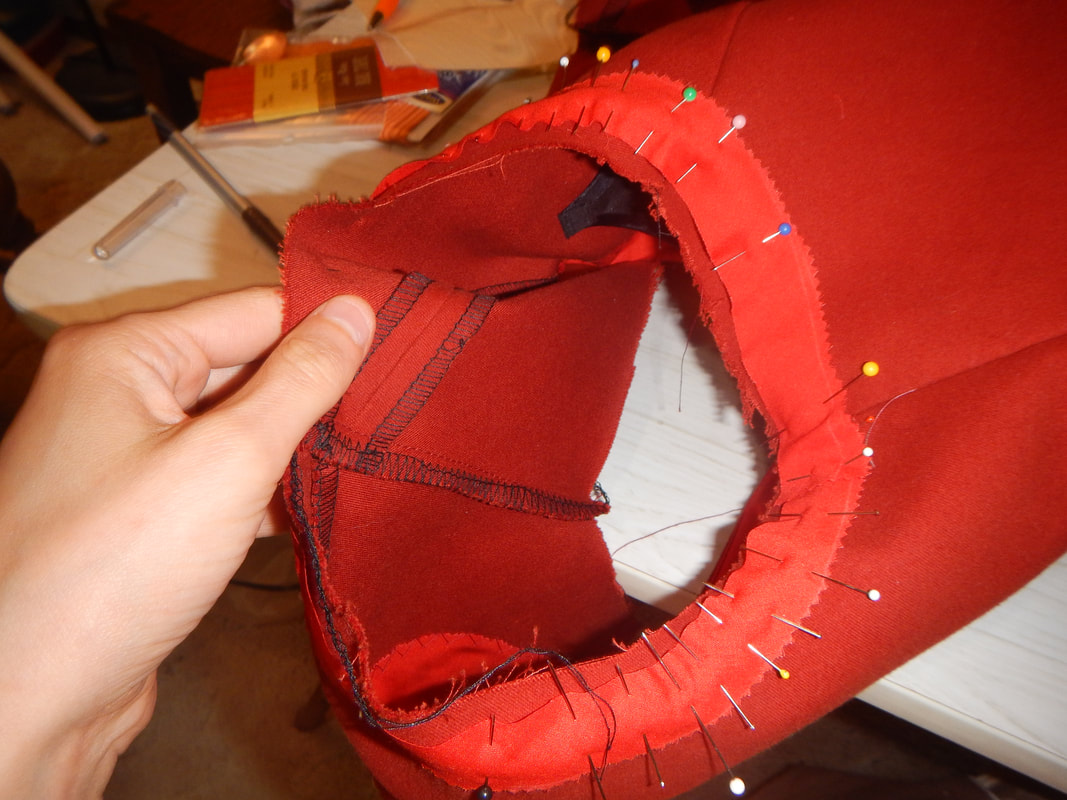 (In other news, geez my balance was terrible on that serging!) The neck got the same treatment. THE HEM Knowing C. will wear tights or leggings under the dress, I want to line it with something slippery, so the friction of dress on tights doesn't make the dress ride up when she walks. But lining fabric and time are not in the budget, so instead I use a satin blanket binding to face the hem, creating three inches of slippery stuff to do the job of a lining or slip. I have to hem it anyway, so this doesn't add to the cost. The blanket binding is a lavender that matches the apron front of the belt, so that's nice. 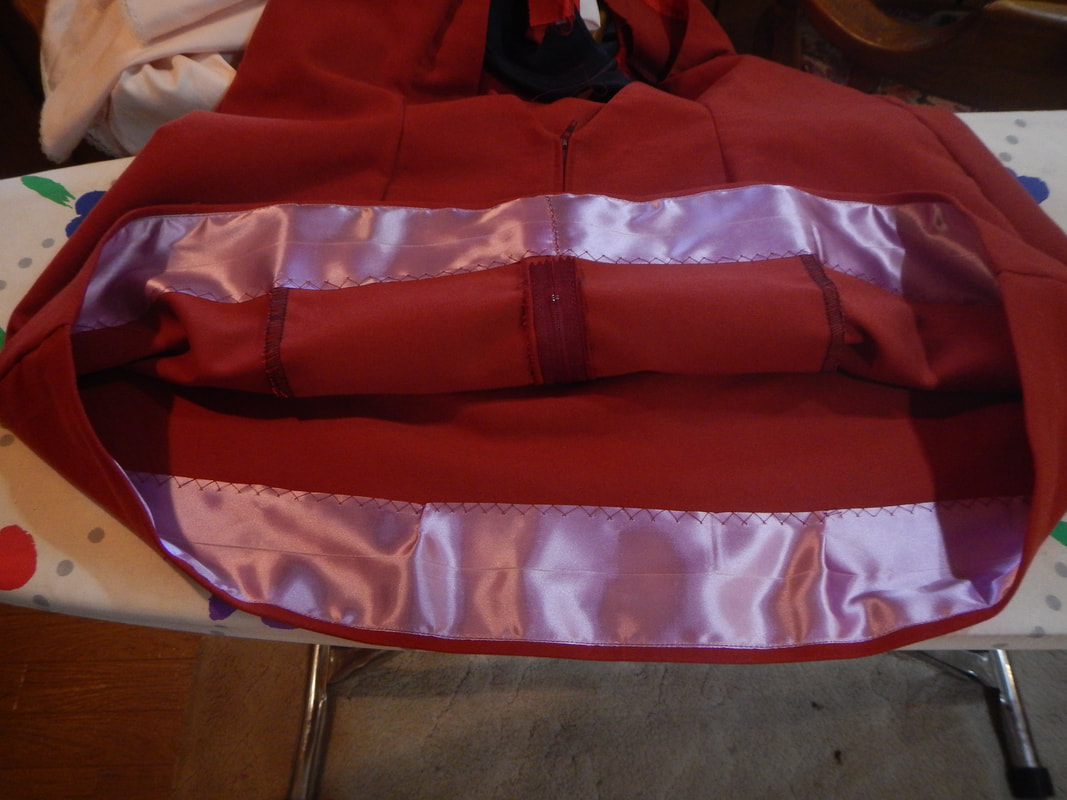 BONUS: this picture shows both the inside and the outside of the zipper. The accessories to the dress (apron/belt, gaiters) will be another post.
3 Comments
momsydoodle
10/22/2017 11:13:22 am
Any chance we can see her in the completed costume? It looks like it came out nice. :) I did ask my client to send me pics of her at Comic Con, since she would be in full costume with a group of friends (I was especially curious to see how she did her hair, since the cartoon character has a kind of silver flame hair-do), but haven't received anything yet. She did look hot in the outfit, though! The bra cups in the front held her cleavage just where it needed to be.
Lulu
10/22/2020 12:50:42 pm
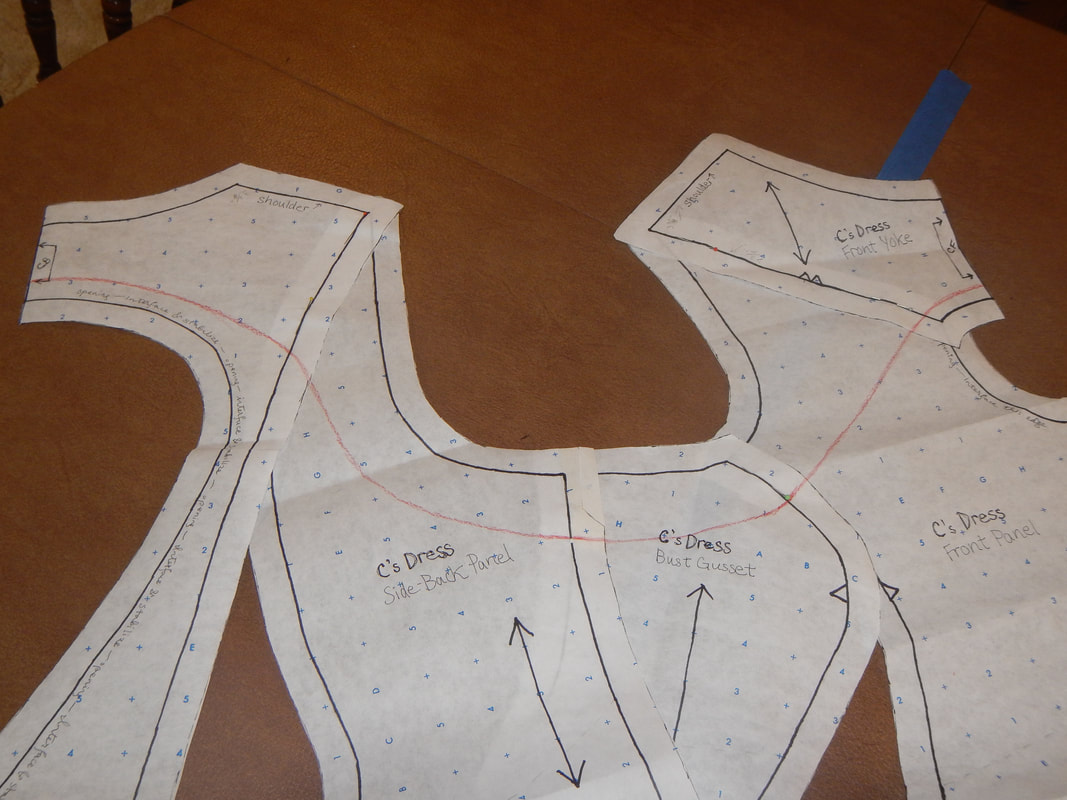
Would you mind sharing your pattern for the dress? I am making one similar for an infant. Same character but I don't believe I will need as much detail and my dress will not need room for bust Leave a Reply. |
Karen Roy
Quilting, dressmaking, and history plied with the needle... Sites I EnjoyThe Quilt Index Categories
All
Archives
March 2024
|

 RSS Feed