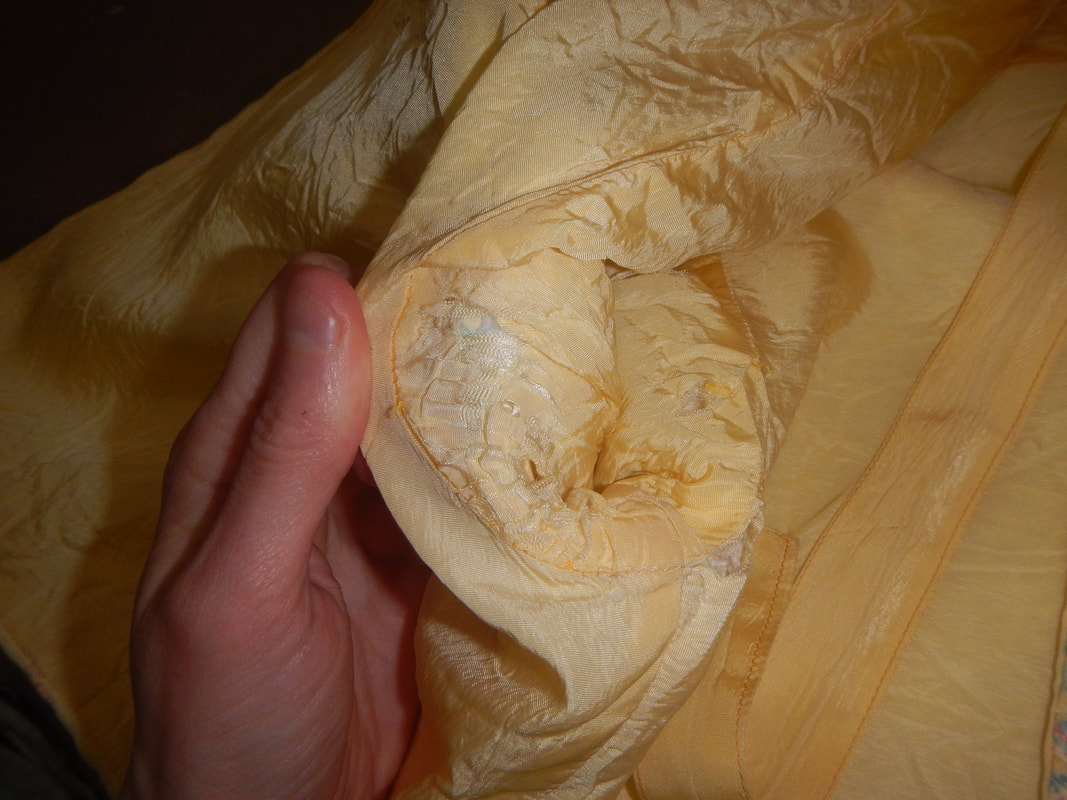
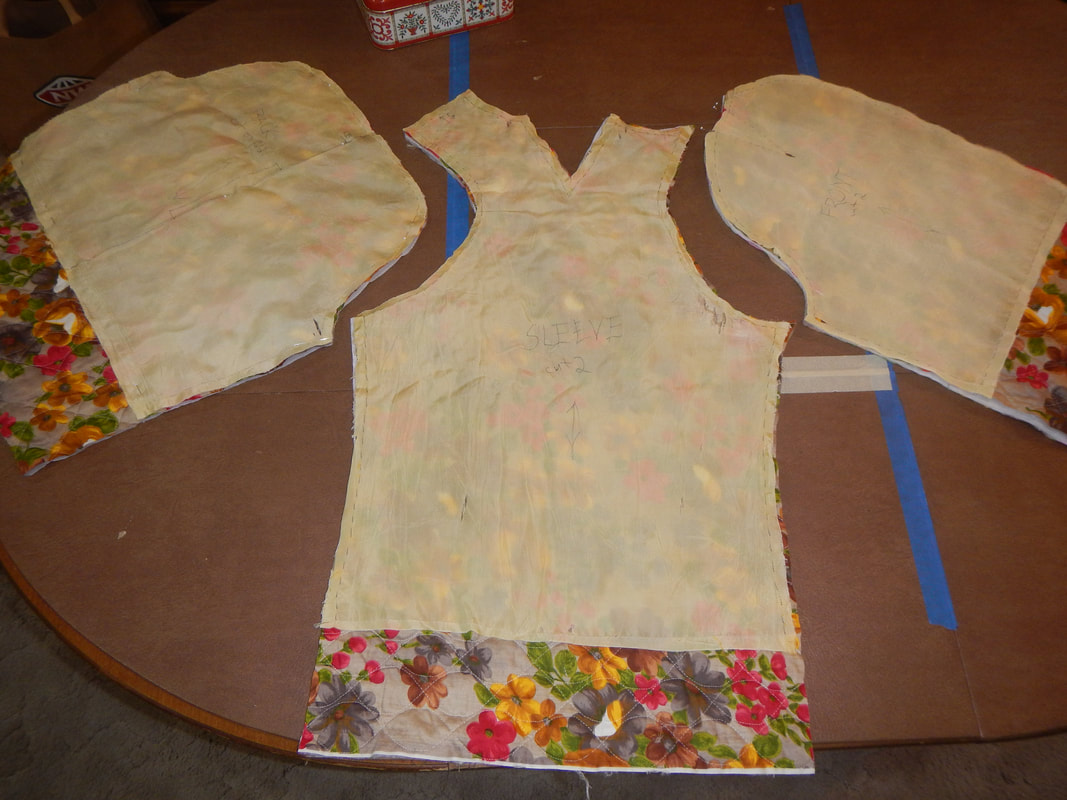
THE ORIGINAL Now, I do have a vintage pattern in my stash for bed jackets, but I like this extant one better for its interesting seam lines. In the front, the raglan sleeves become a yoke piece, and the panels hanging from the yoke are shaped with darts. On the top of the shoulders, darts shape the raglan sleeve, similar to how I altered the sleeve on my mantelet pattern. In the back, the raglan sleeves extend across the shoulders to make a yoke piece with a short Center Back seam from nape of neck to just above the shoulder blades. Below that is a rounded back panel sewn in on a sharp curve. Below I attempt to draw it: 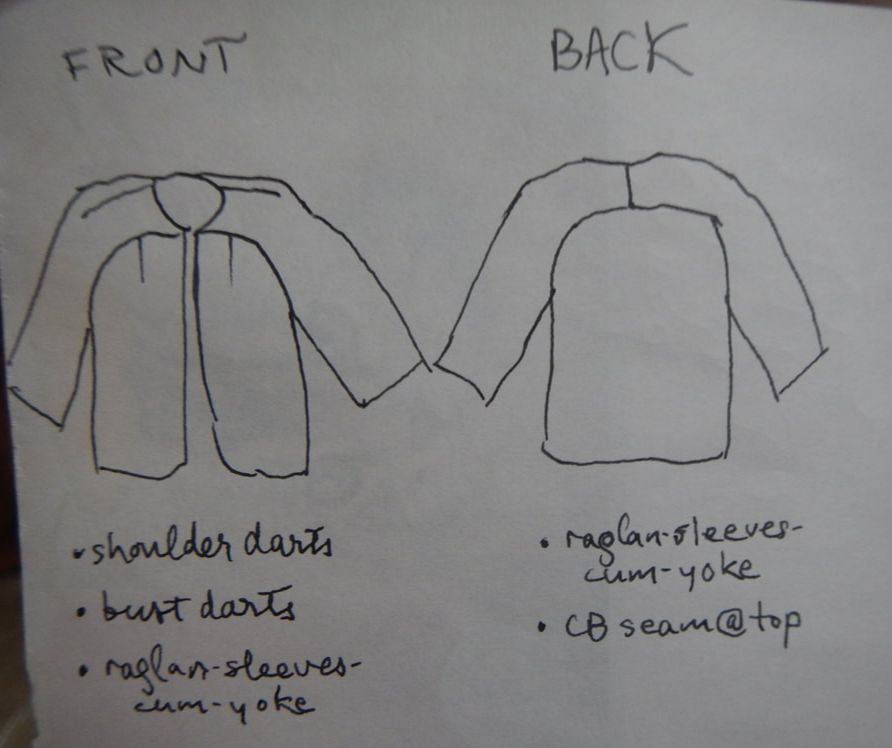 The shaped panels in front and back remind me of a Guy Laroche pattern put out by Vogue (V1577). I understand how they work, but I've never sewn anything like them, so I want to try! There are two things I don't like about the original: the sleeves are super short on me, and the torso is short as well. I don't know if that's a stylistic thing, though I can see how it might be... you might wear the jacket while sitting in bed or cooking breakfast, and the shortness suits both activities well: while sitting you can take it off and put it on easily, and while cooking you don't have to roll the cuffs out of the way. On the other hand, maybe it's just too small for me! Either way, I wish it were longer, and I can make it so in my version! Below, some pics of the wear and tear, and of the jacket disassembled.
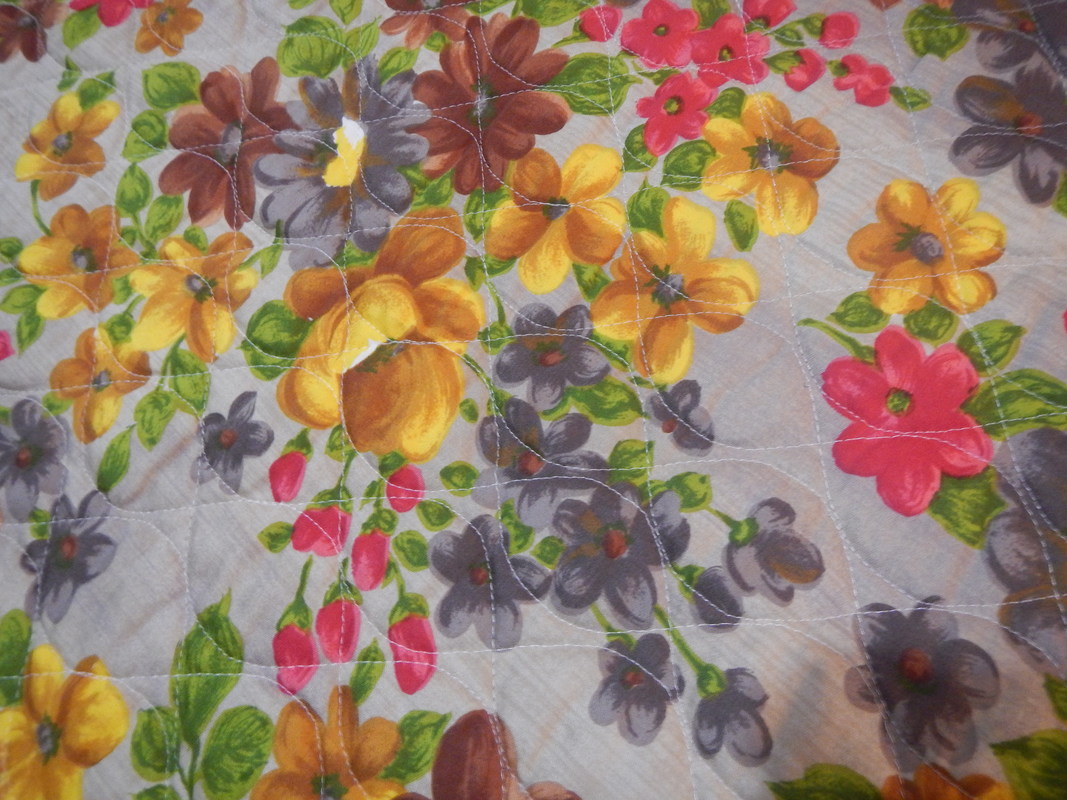
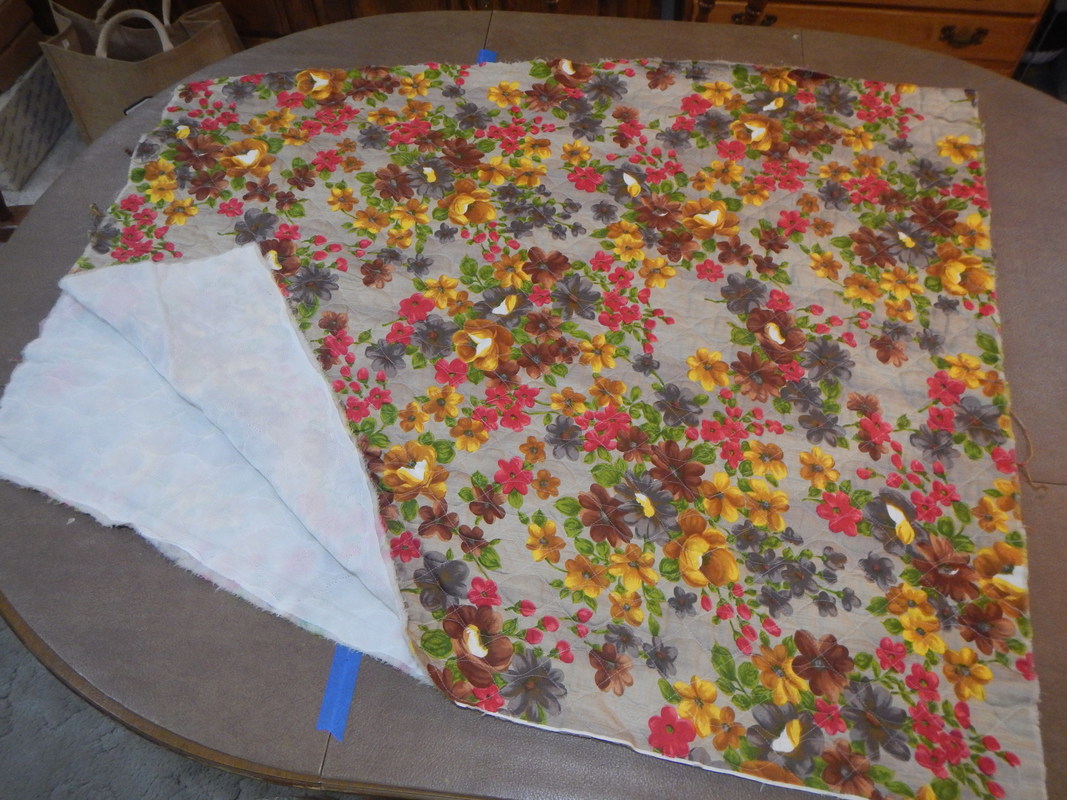
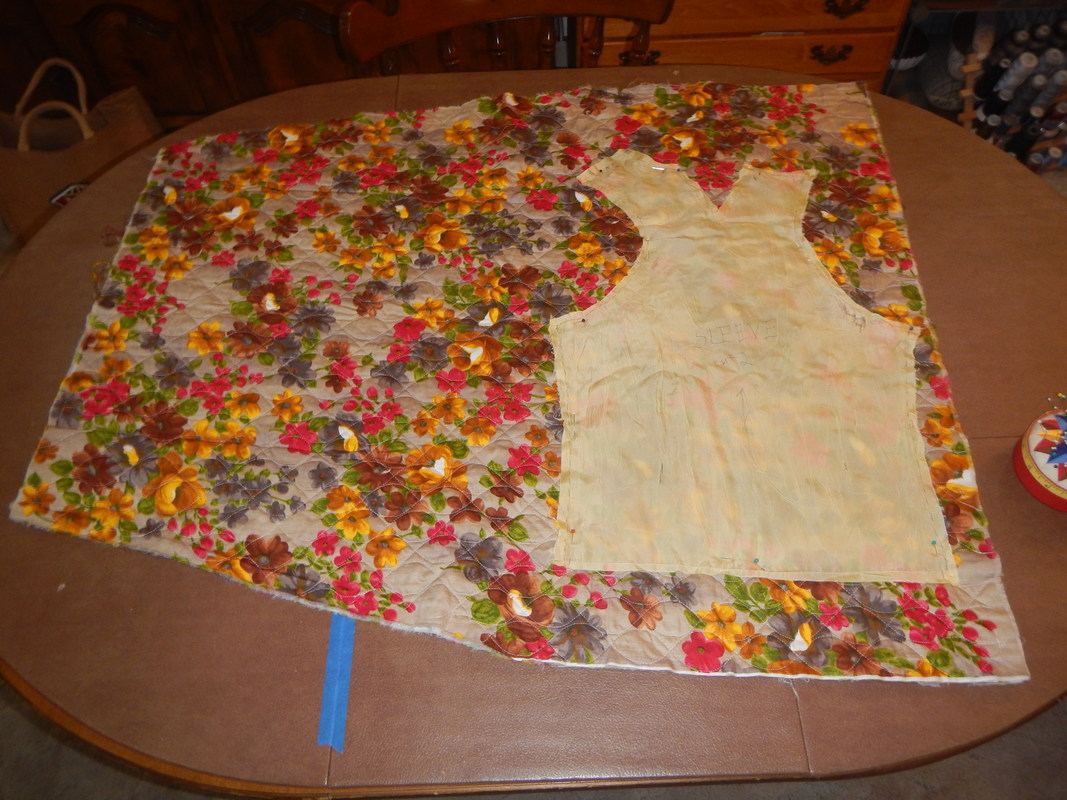
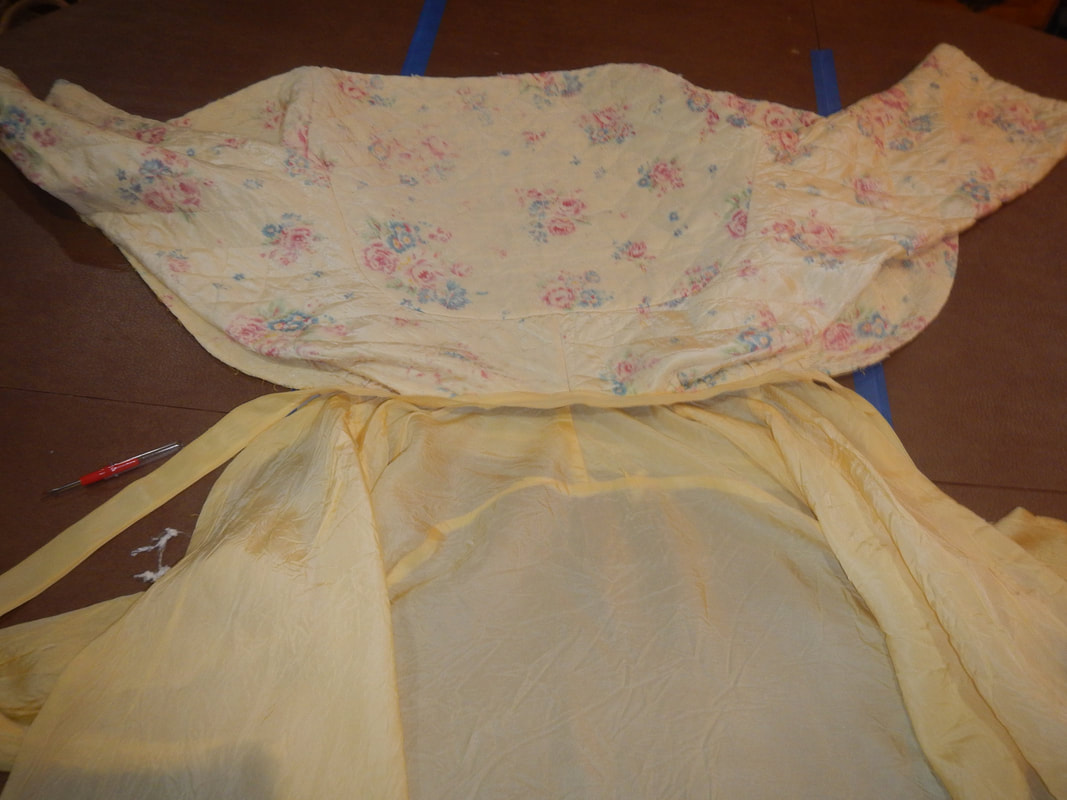 The whole thing was bag lined and turned through the neck, and then top-stitched closed with the tie. As I take it apart, I make notes on the order of seam assembly. Pretty Kitty holds the stray scraps down so they don't float away. 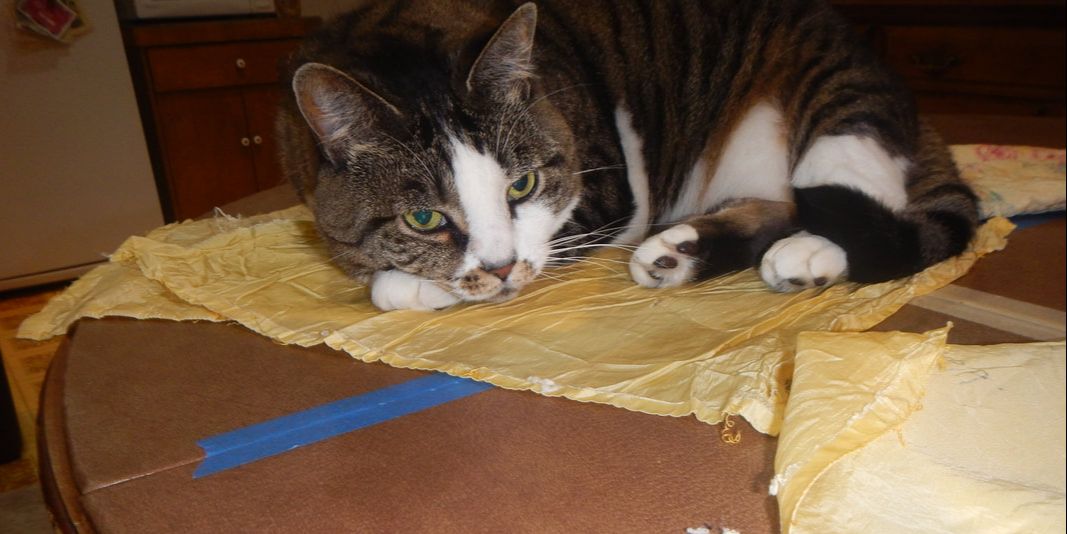 "What do you mean I could use a pillow instead? I'm comfy here!" THE PATTERN I use the lining pieces for the pattern, making notes on them with a fine-tip marker. Below, from left to right, you see the back piece (opened up, but you can cut on the fold, too), the raglan sleeve piece with a notch in it for the shoulder-top dart, and the front panel with its dart marked. The strip for the neck binding and tie is at the top, but I don't bother saving it, since I don't need a pattern for a long rectangle! 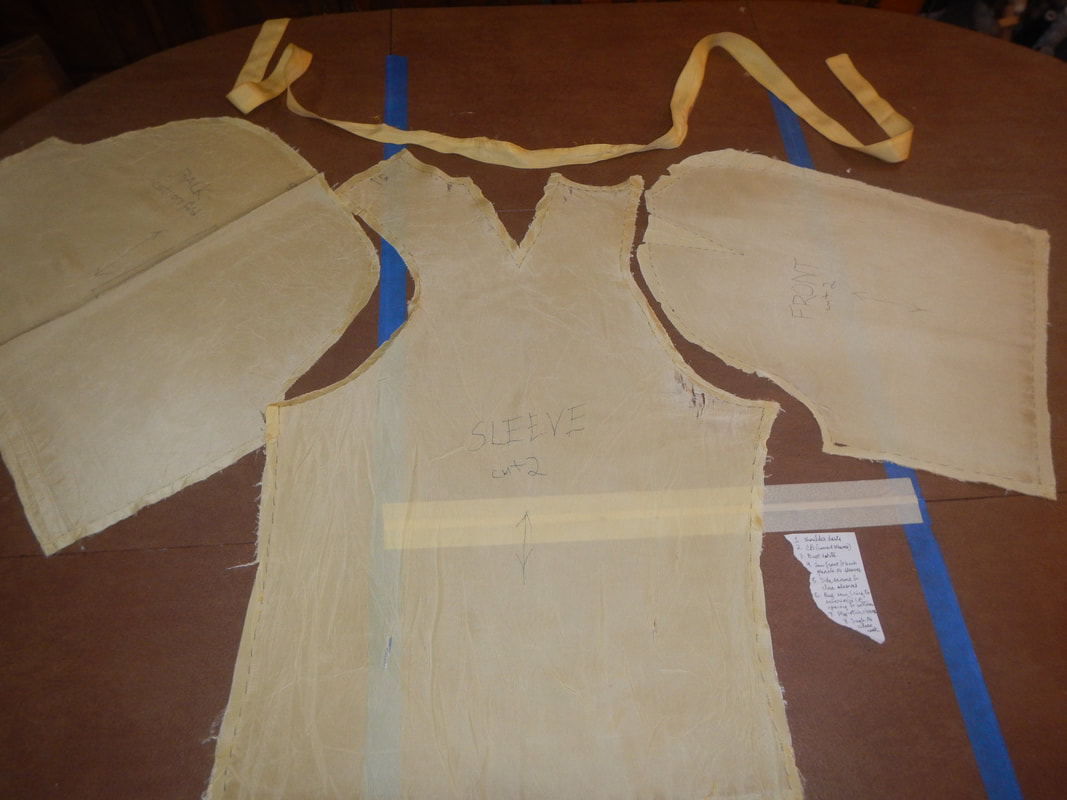 CUTTING OUT Remember the Great Inherited Stash of 2017? There was some bizarre seventies quilted fabric in there. It's grey and green with orange flowers, and was made into a floor length quilted skirt for some... bizarre seventies reason. (The seventies were an odd decade, fashion-wise.) But once I un-pick it, it has sufficient yardage for a new bed jacket!
When I lay the pattern pieces on the quilted fabric, I realize that the best use of it is to cut the sleeves cross-grain, using the wide bottom of the skirt pieces for that, then use the top pieces to get my front and back panels. I modify the pattern a little as I cut, giving myself longer sleeves and a longer torso, about a hands-breadth of extra fabric. (I used to think I always had to measure things to do it right, but I've come to find that not everything requires precision. For instance, while the curving seams of this bed jacket do need to be precise, or they won't ease into each other neatly, the sleeve length needs no more precision than to eyeball it. I just put on the original bed jacket, put my hand on my exposed wrist, and said "Oh, my whole hand fits there, so I'll add about a hand's worth!)
Even with the modified length, the yardage requirements are small. My lining fabric (a cream-colored crepe) is 60" wide, and I only need about 1 1/8 yard of it. If I were to make the shorter version of the coat, I could do it in less than a yard of 60" wide fabric. If I used a skinnier fabric, I might need more yardage because I wouldn't be able to lay the wide raglan sleeve next to the back-on-the-fold or the front panels. CONSTRUCTIONUsing my notes from earlier, I find assembly pretty simple. For the quilted layer and the lining layer, I do the following:
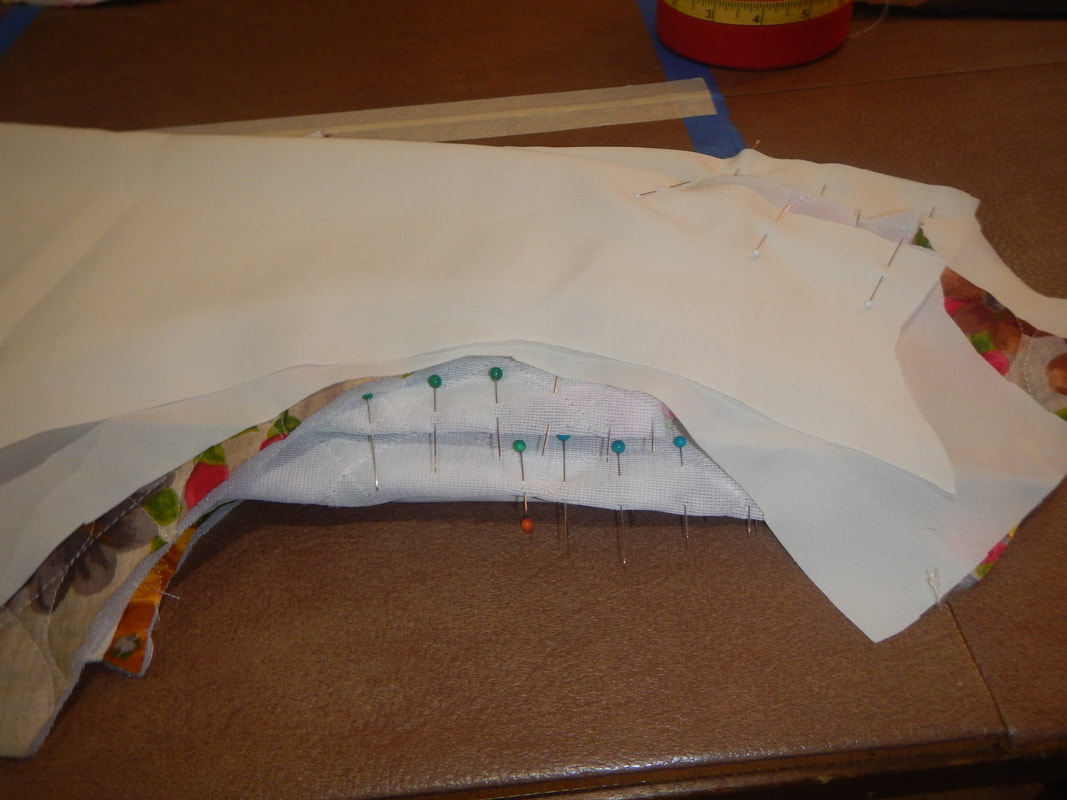
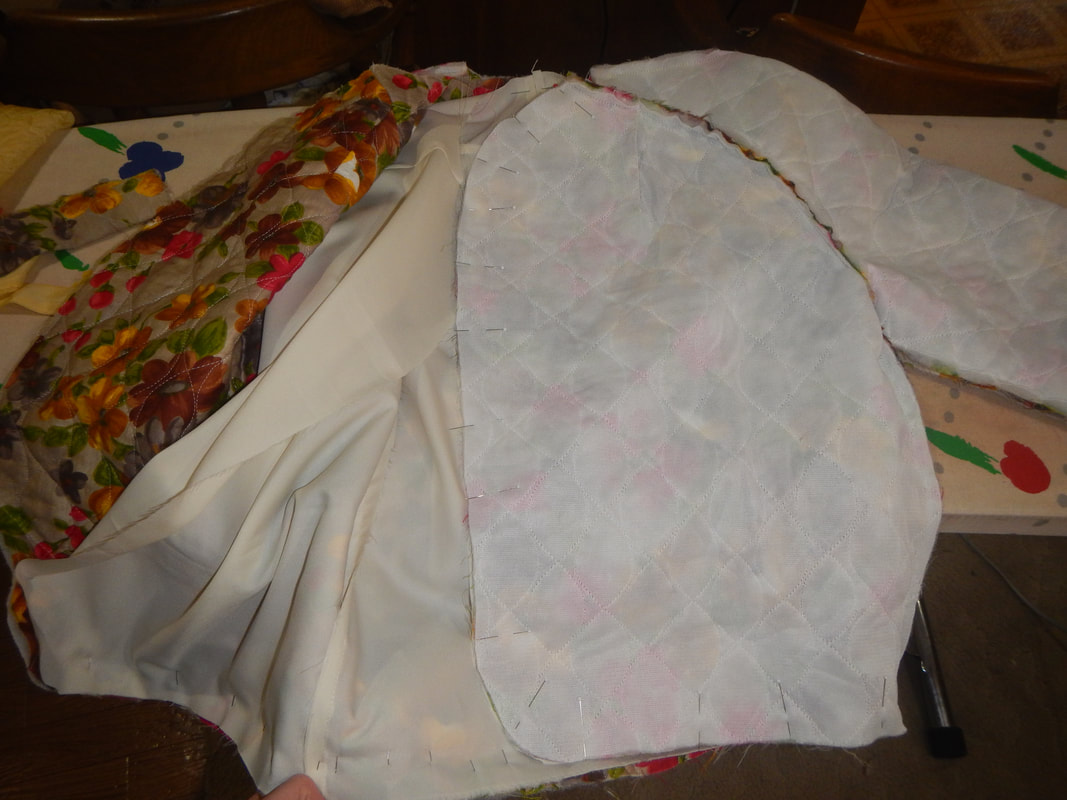
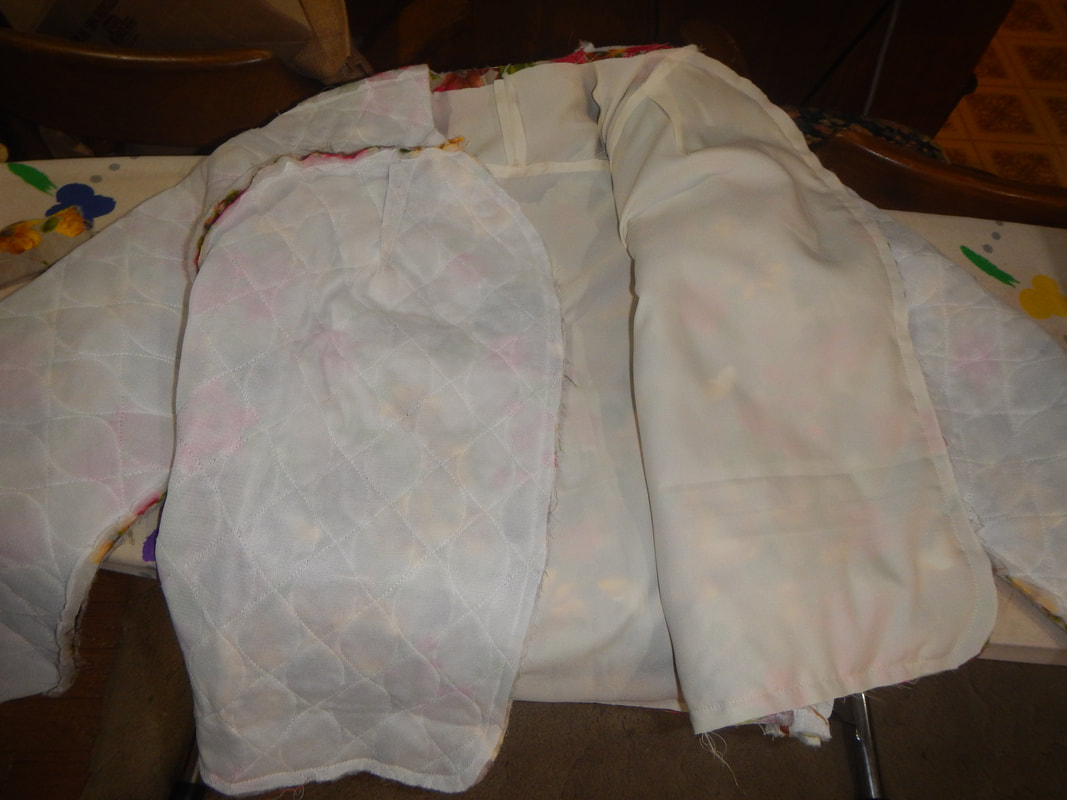
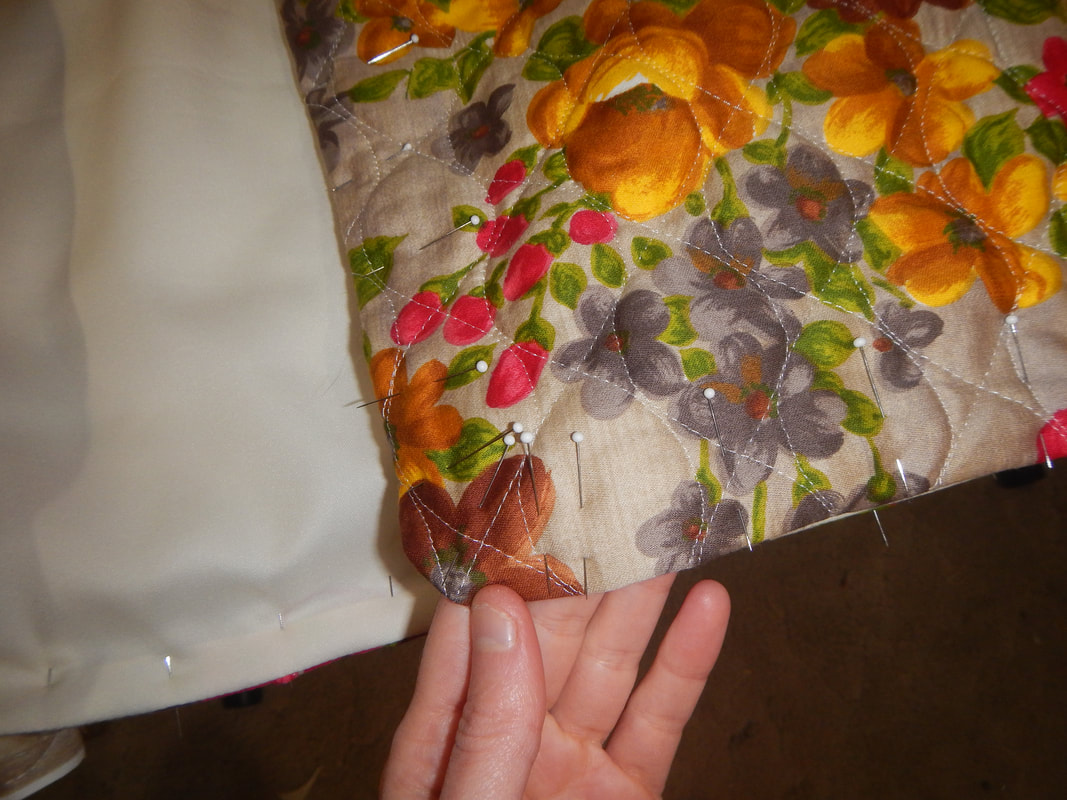
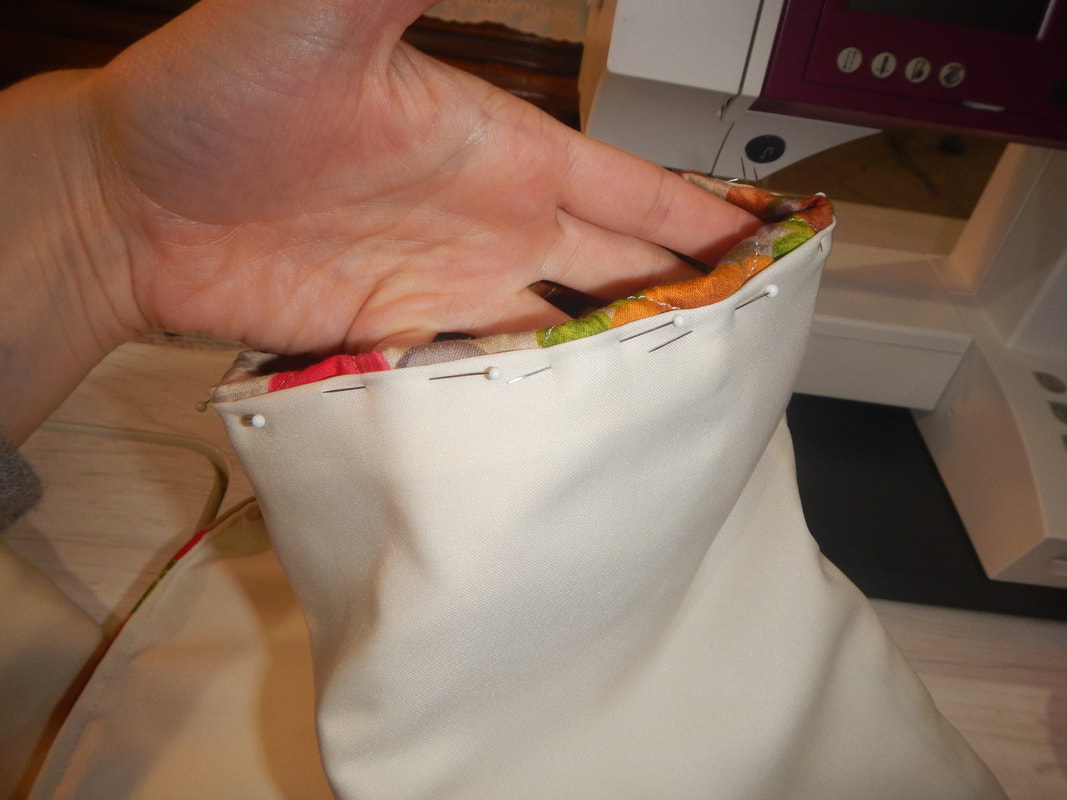
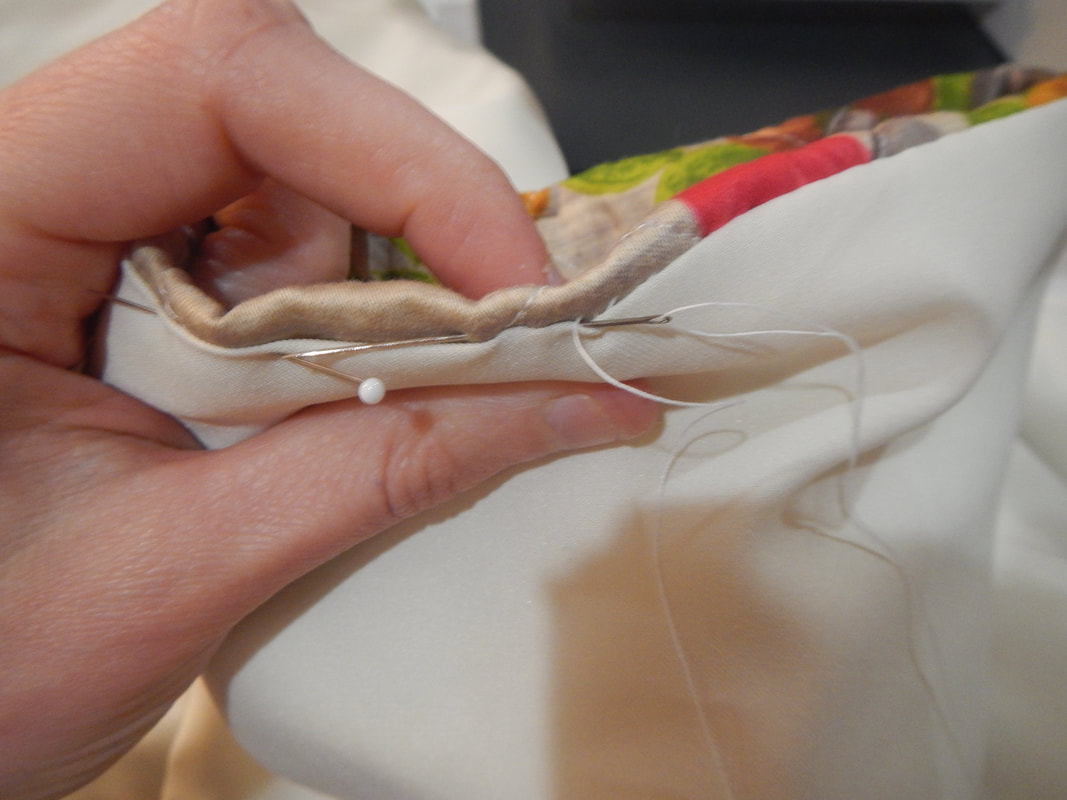
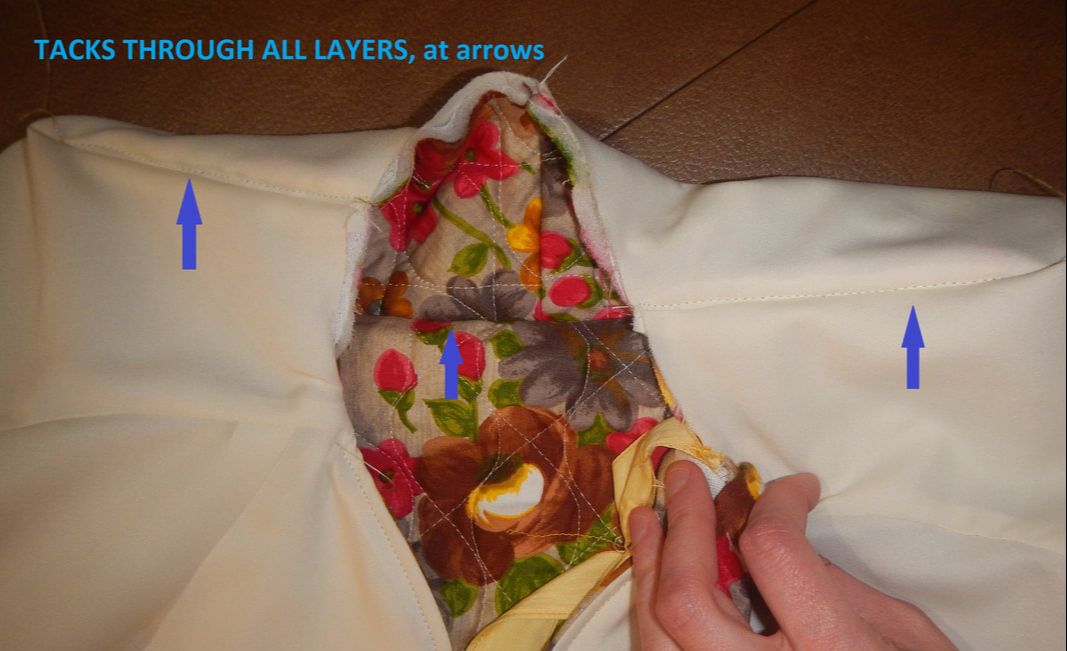
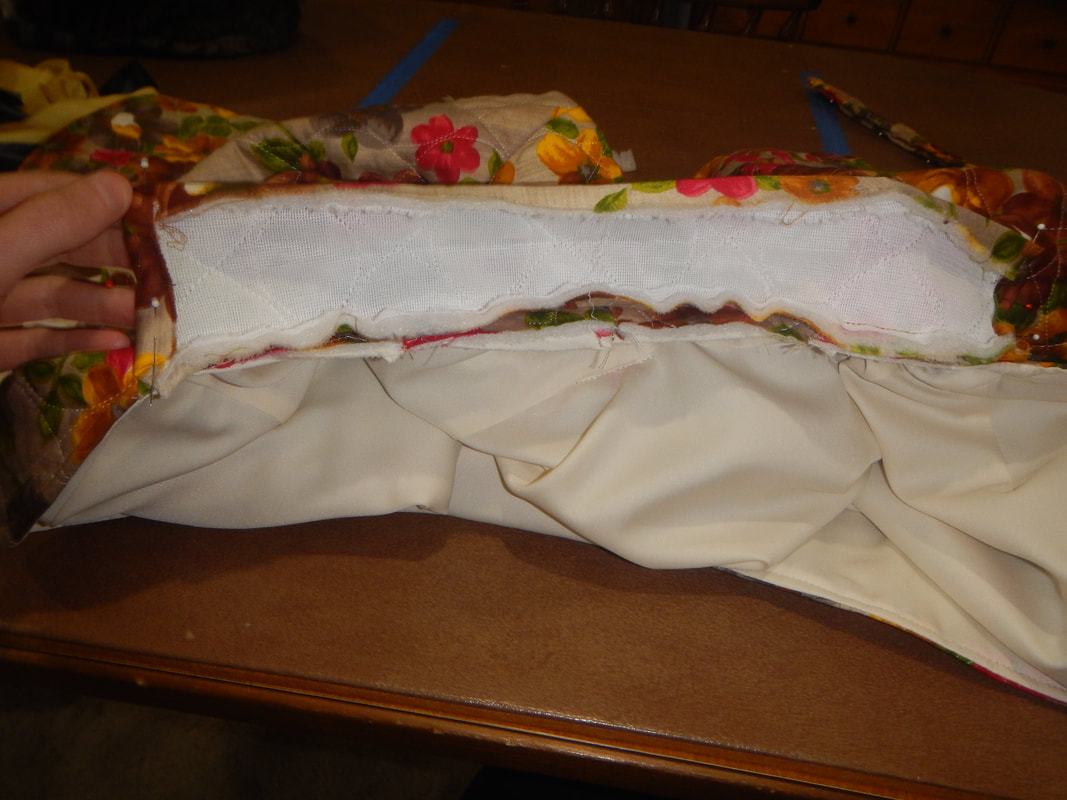
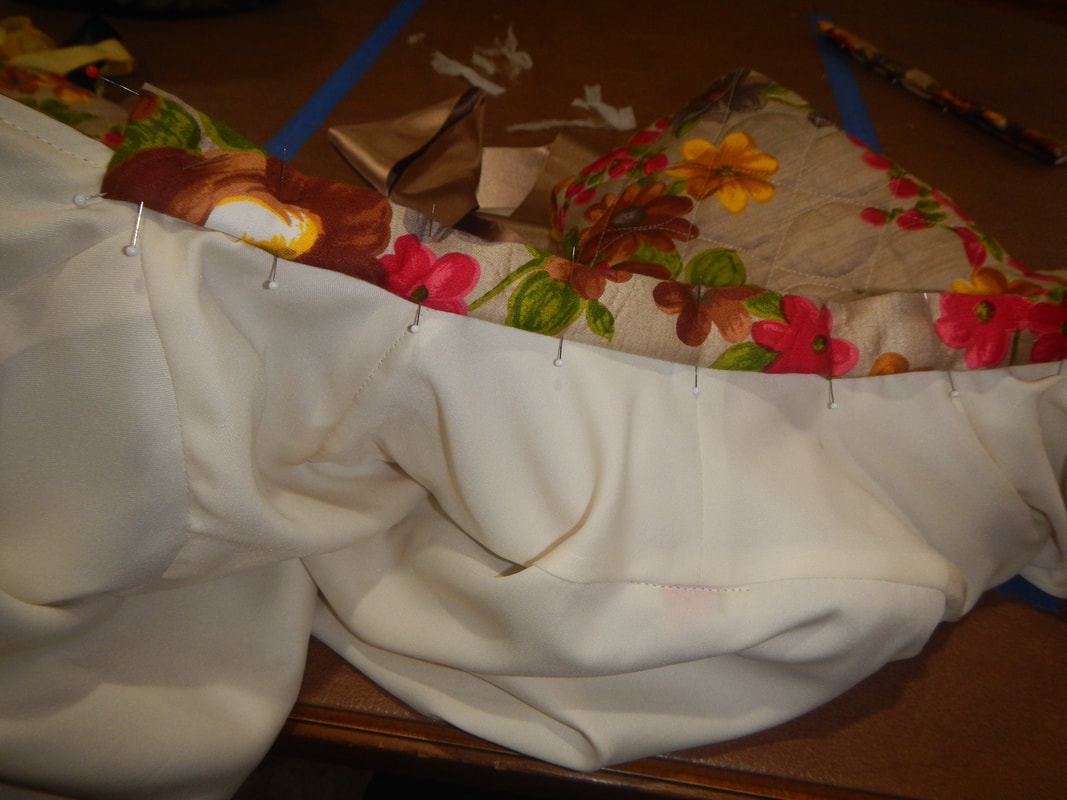
I use 3/8 inch seam allowances, because that's what the original had, and because I know all the seams will be enclosed in the end, so there's no need to finish them or anything. Sewing the curved seams of the front and back panels is a little tricky, because the quilted layers all want to bunch up. I find that lots of pins, careful tension as I sew, and Pfaff's Integrated Dual Transportation feed (built-in walking foot)* all contribute to a successful result. I get a few folds and have to un-pick and re-sew, but not too much. I don't iron my seams in the quilted fabric, because I don't want to flatten or melt the batting, but I do whip-stitch the CB seam allowances open to make them lie flat before attaching the back panel. At the last minute before lining the jacket, I round the corners of the front at the bottom, because I feel like a gentle curve matches the rest of the curvy construction lines better than the squared off points of the original. * I have no affiliation with Pfaff, nor am I being paid to advertise; I just love their IDT feed! HOW TO BAG-LINE A JACKET Bag-lining is lining a garment by sewing it inside out, like a bag, with one side of the "bag" being the exterior fabric and one side being the interior fabric. You sew as many seams as you can and still leave room to turn the "bag" right side out. Then you press and top-stitch as necessary to neaten the turned edges. This jacket has three edges that need finishing: the two sleeve openings, and the neck/front/bottom. I start by putting the lining and the quilted exterior right sides together, sleeves in sleeves, and pinning all the major seam junctures so the lining matches the exterior perfectly. The original had the sleeves slip-stitched closed after the rest was lined, but I'm not sure why... I think I can bag-line the whole thing, leaving only the neck open for turning. So I try. 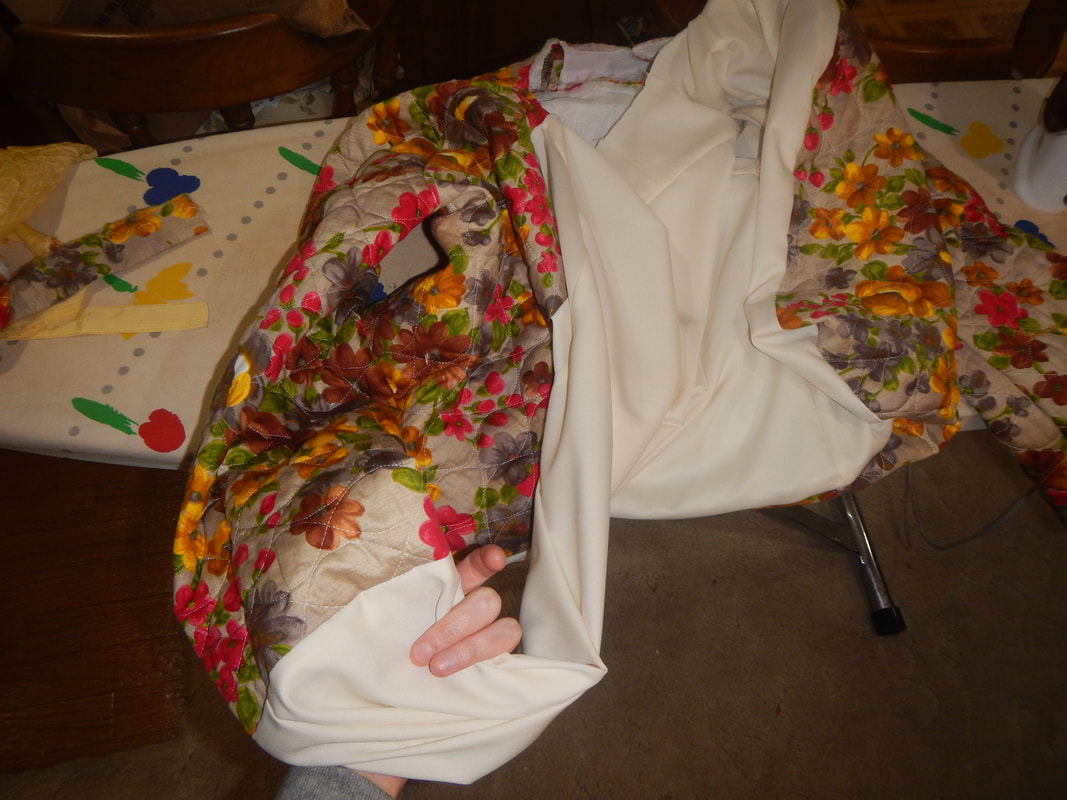 ha ha ha! That was a silly idea! Instead of a jacket fully lined, what I get is a jacket with the torso lined and the sleeves in a Möbius strip! Unwearable. So I un-pick the sleeve cuffs and determine to slip-stitch them closed as in the original. That mistake out of the way, here is how to correctly bag-line a jacket:
Slip-stitch the lining to the exterior. Using my machine, I top-stitch around the cuffs, too, because I want to.
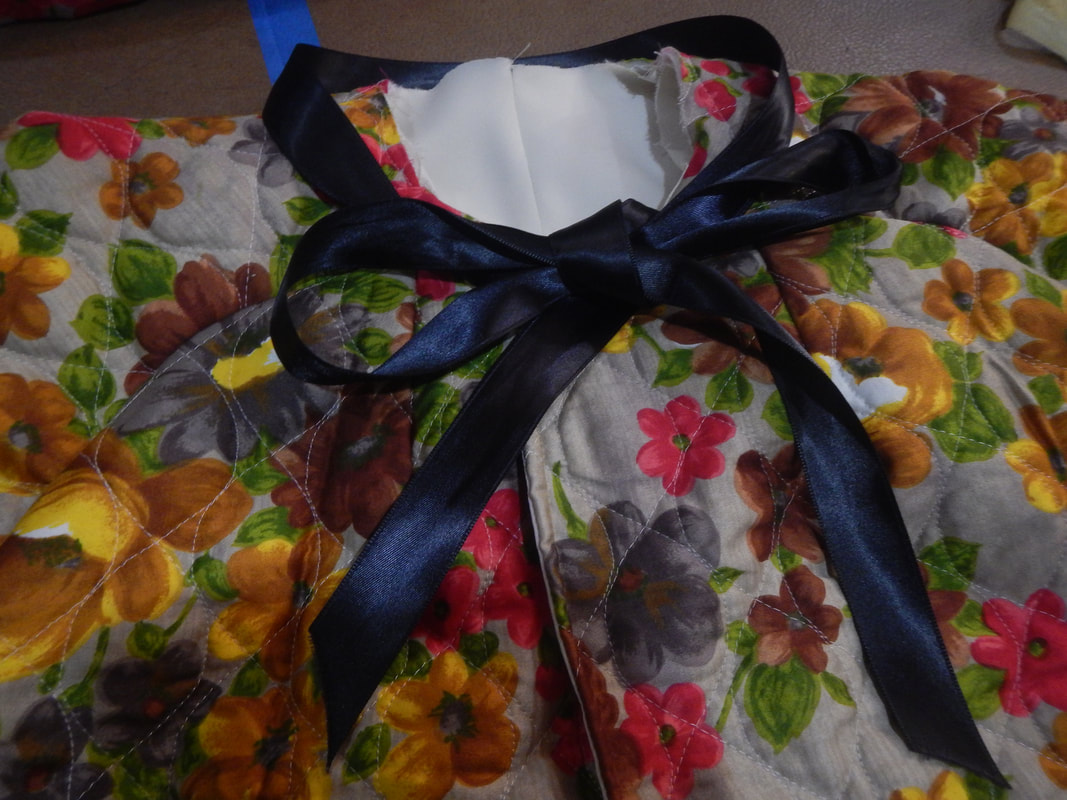
VARIATIONS If the jacket has set-in sleeves, you could, if you wanted, make the torso lining and sleeve linings separately, then bag-line the torso and bag-line the sleeves. Then when you turn it, you slip-stitch the armscye of the lining instead of the cuffs. I've seen that in a few of my tailored jackets, particularly if the lining looks like it's been replaced at some point! My Moss Brothers jacket has a gunmetal gray satin lining for the body, but random cream-colored stuff for the sleeves. In this case, the neckline was meant to be closed in the end with a ribbon, but if the neckline is simply finished like the rest, you could sew it entirely closed in the bag-lining stage and then use the un-sewn sleeve hole to turn the thing right side out. Depending on the nature of the materials, you may have reason to worry that over time the lining will sag and be longer than the exterior. You saw what I did, above, to forestall that. You could also stitch-in-the-ditch next to the side seams. Coco Chanel's famous jackets were made with loosely woven fashion fabric exteriors and lightweight silk linings, so she avoided the problem of sagging by actually quilting the lining to the exterior all over the place, in long straight lines that hid amidst the nubby weaves of the exterior! That attention to detail is what gives her otherwise soft jackets their neatness and structure. CLOSURE
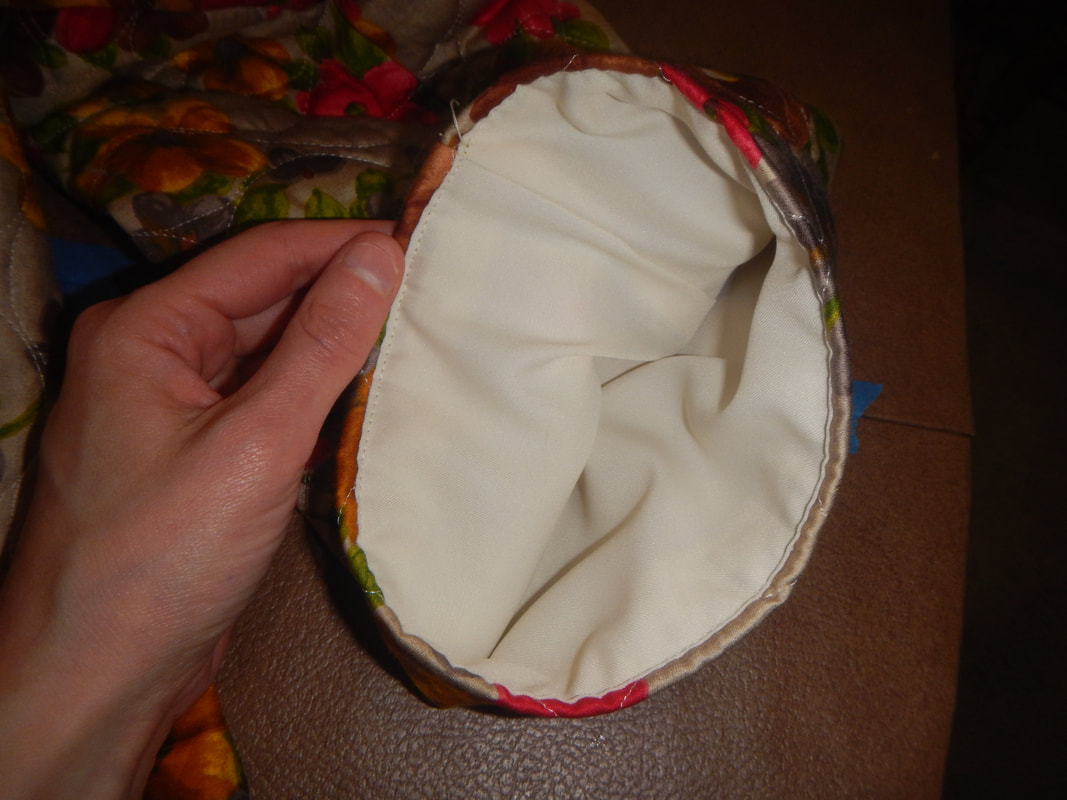
Below, you can see the stand-up collar half-sewn on by machine. Before turning the collar down, I trim away the batting from the seam allowances to reduce bulk. Then I slip-stitch the collar closed.
FINISHED!When it's finally done, I'm super pleased with my new bed jacket! The autumnal colors are perfect for this season, and the longer sleeves and torso fit me better than the original. Here's me, all ready for winter lounging in soggy old Portland! 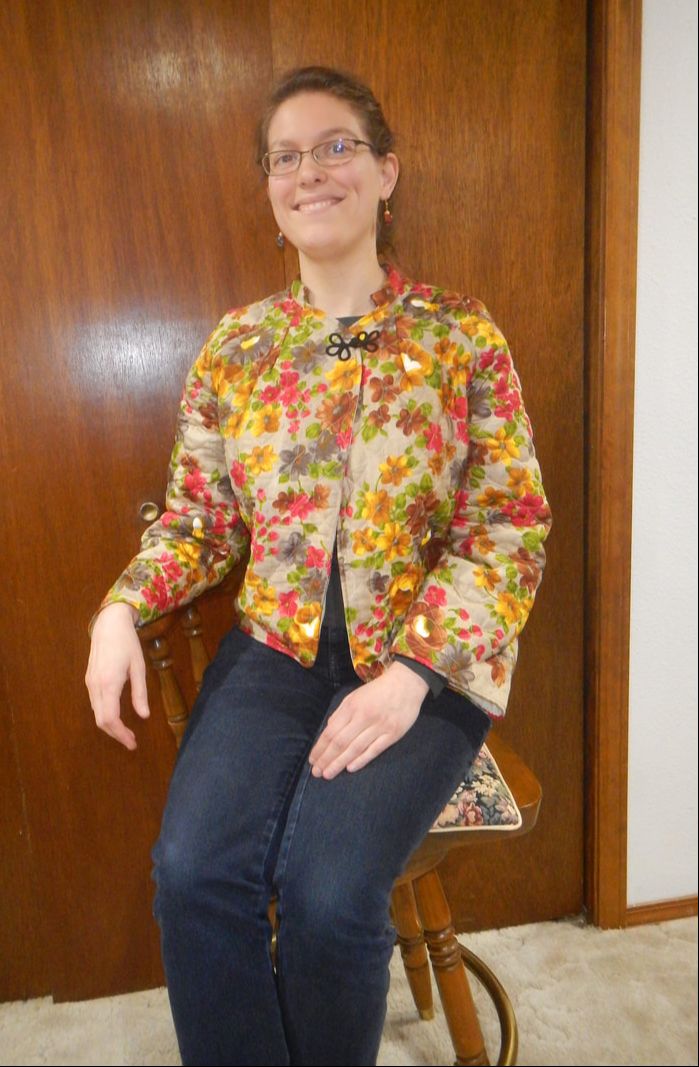
1 Comment
The Sister
10/9/2018 12:26:49 pm
You're too cute. And a little dorky..... I like this fabric a lot better. The bright colors complement your skin more than the pale yellow did (although you do look good in yellow, I think that last one was too faded), and brighten up your face. I also like to watch you learn new things! Good job! Leave a Reply. |
Karen Roy
Quilting, dressmaking, and history plied with the needle... Sites I EnjoyThe Quilt Index Categories
All
Archives
March 2024
|

 RSS Feed