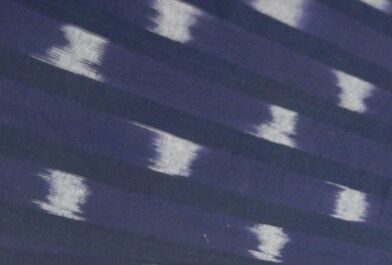
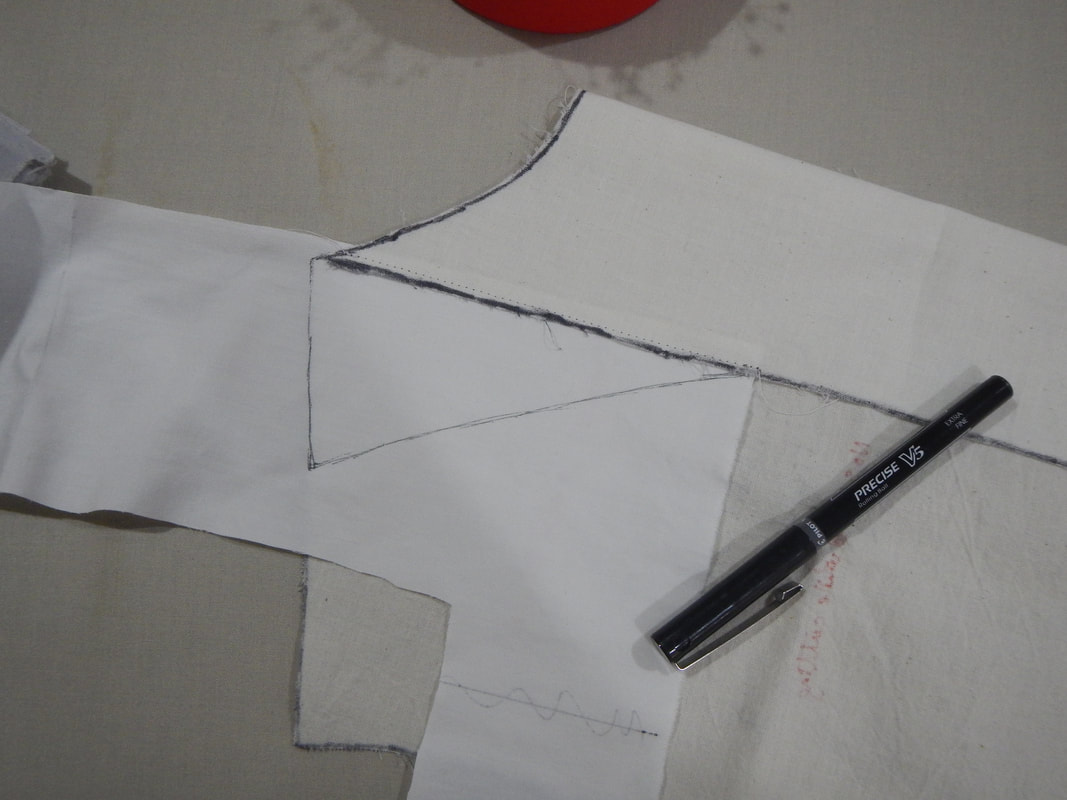
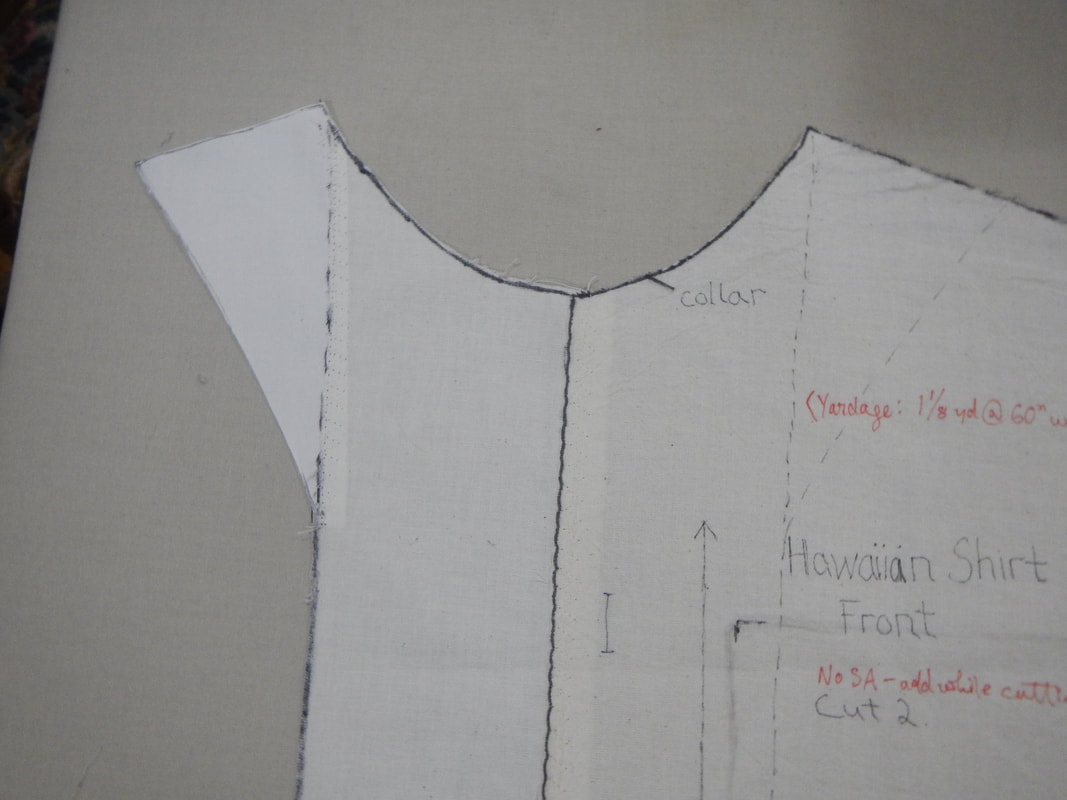
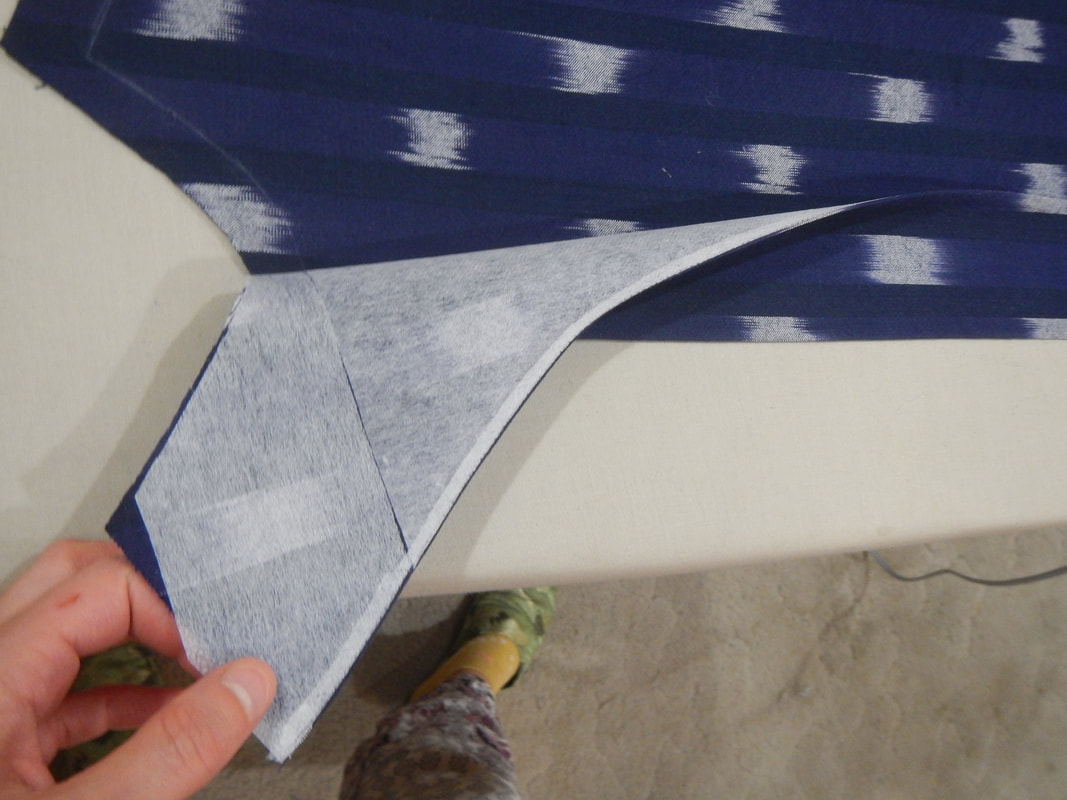
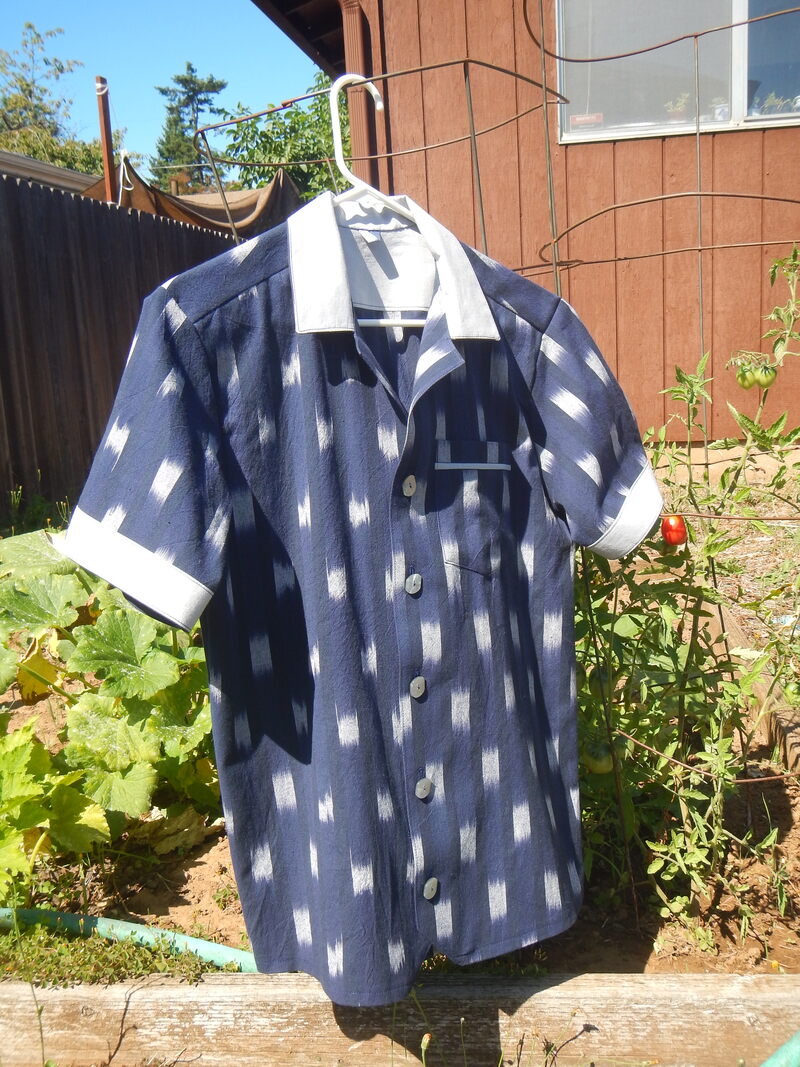
 When I saw an indigo-dyed cotton at the Mill End Store, I liked it a lot. This fabric is an ikat (say "EEE-kat"), which is a textile art I find fascinating. The basic design is as follows: the warp threads are arranged in stripes of solid color (black or deep indigo) and stripes of resist-dyed yarns. (Or maybe they're dip-dyed; I can't know for sure how they dyed them.) The dyed threads are dark blue and pale gray, and the gray spots alternate. The weft threads are both a solid color and a smaller diameter than the warp threads, so the warp-pattern really pops. So what'll I do with it? I decide to make another shirt for my brother! I mean, the one I just made him won't fill the box for shipping, so I might as well make another and fill the box! I wouldn't want to waste my shipping money! ;) FABRIC This cloth is part of Moda Fabrics' "Boro Wovens" line. Boro is a Japanese folk practice of mending and re-mending tattered textiles with patches and visible stitching. I find two plausible etymologies for the word: boro, written in hiragana as ぼろ, means "rag"; boroboro, written in katakana as ボロボロ, means "tattered". While western women of antiquity prided themselves on their invisible darns and patches, the Japanese prided themselves on neat regular stitches over visible patches. The irony of the Boro Wovens fabric I've chosen is that it's the opposite of actual boro. Actual boro is many tattered bits sewn together over time: a collage of repaired fabric shreds, whose beauty comes from its undesign. Moda Fabrics' beauty comes from careful planning and preparation, even before the fabric is woven! It is all in one piece, no patches or mends. Boro textiles are Japanese, and this cotton is made in India! Boro textiles are old, generations used. This fabric is brand new! And if this shirt ever tears or wears, I hope my brother will mend it: boroboro! PATTERN FIX Last time I made the shirt, I noted the following: I have become dissatisfied with the pointy wee tip of the foldover facing. I think I'll change that part of the pattern soon, to make it go all the way up and into the shoulder seam. That'll look better, more finished, on the inside. Thankfully, my pattern is made of muslin, which makes it easy to alter. I add some fabric to the fold-over facing, sew it on, and trace the shirt edge to get the new facing shape. The pointy tip is gone, replaced by a shape that fits into the shoulder seam.
CONSTRUCTION
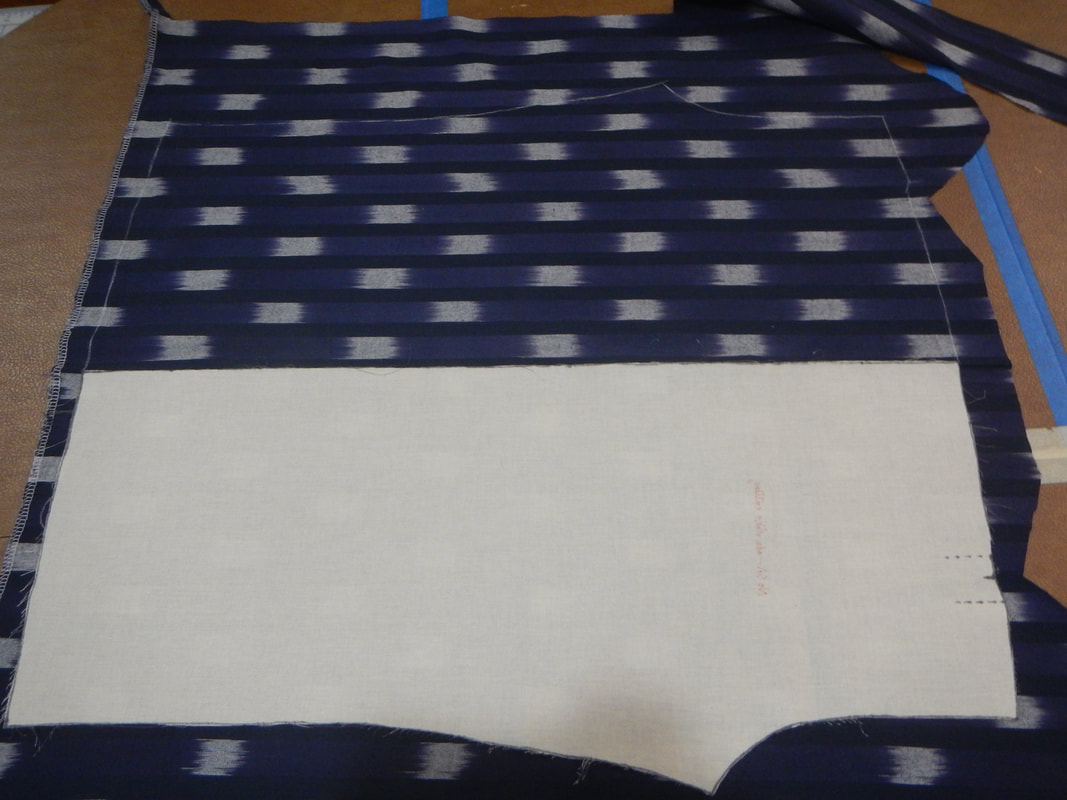
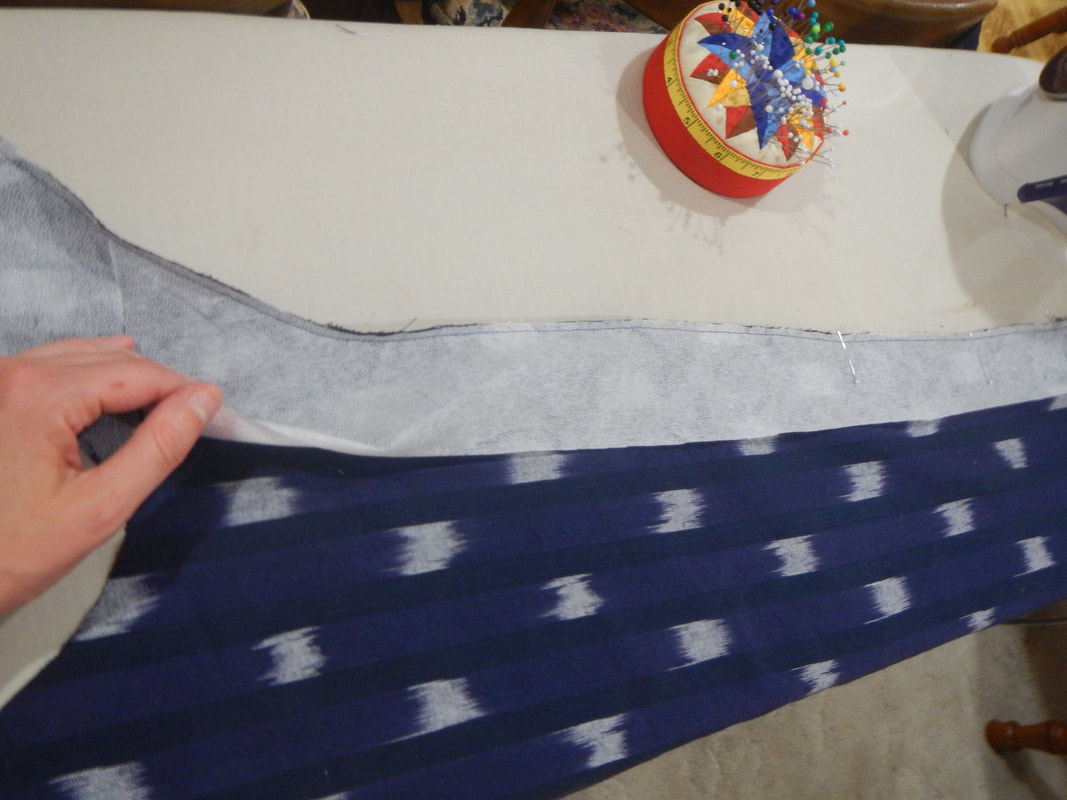
INTERFACING THE FACINGS
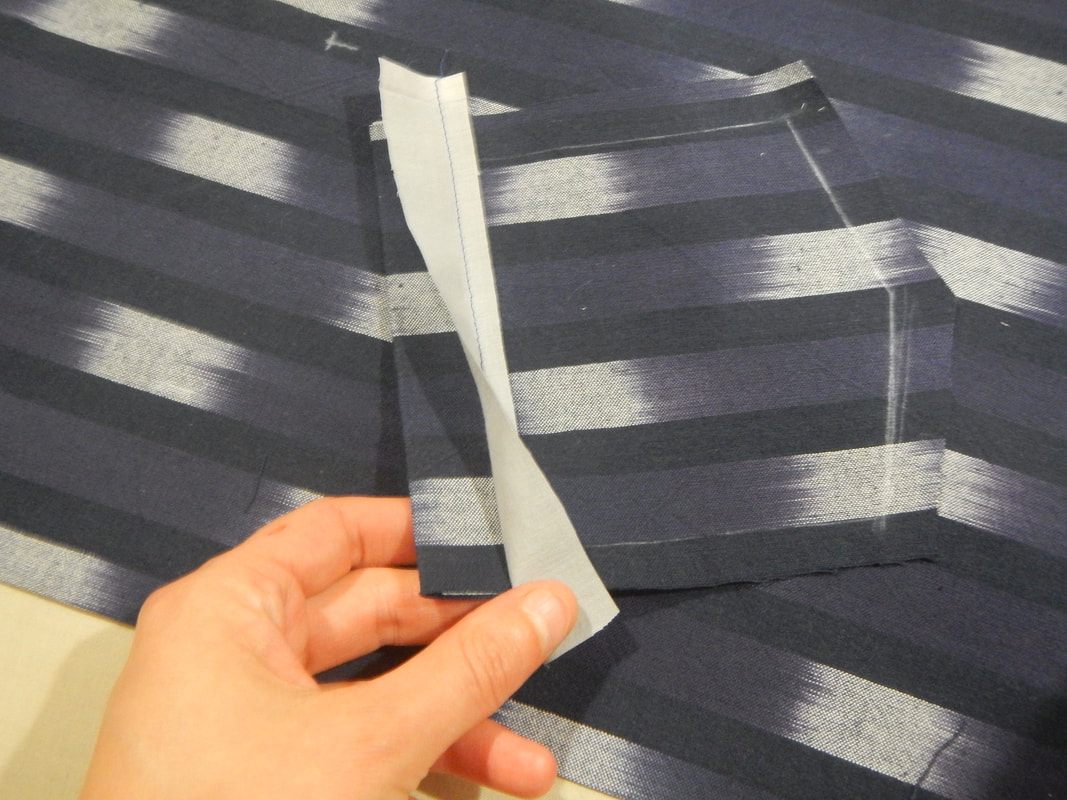
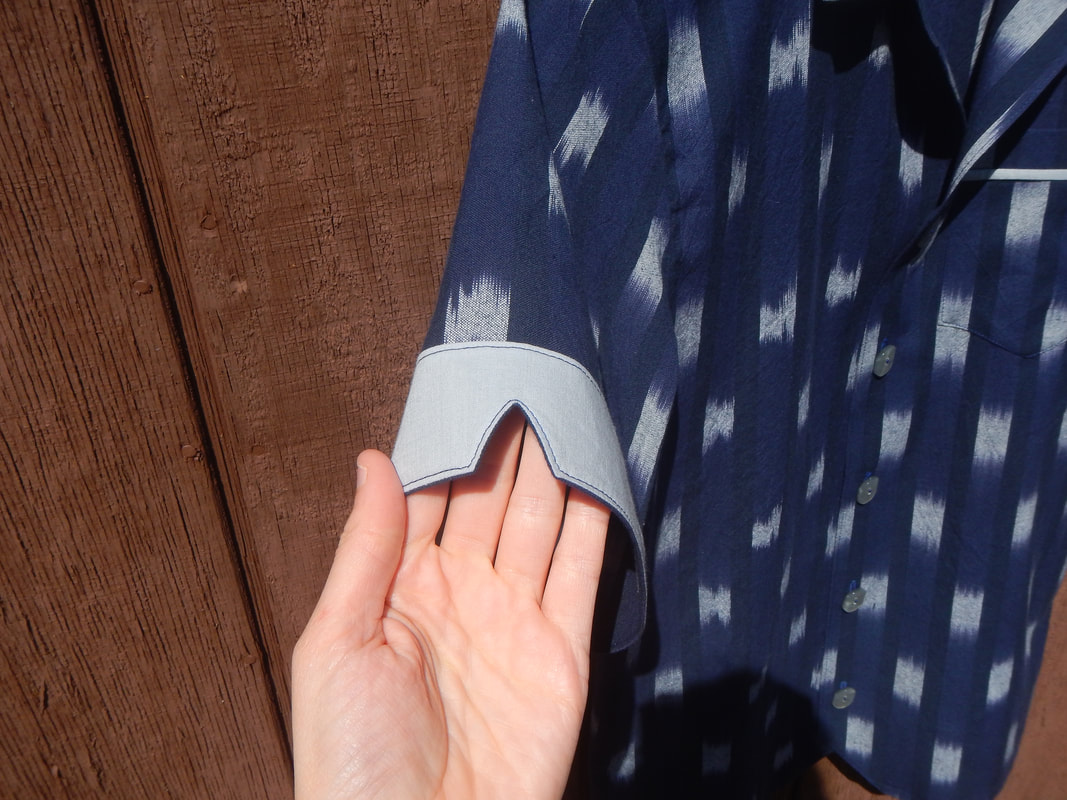
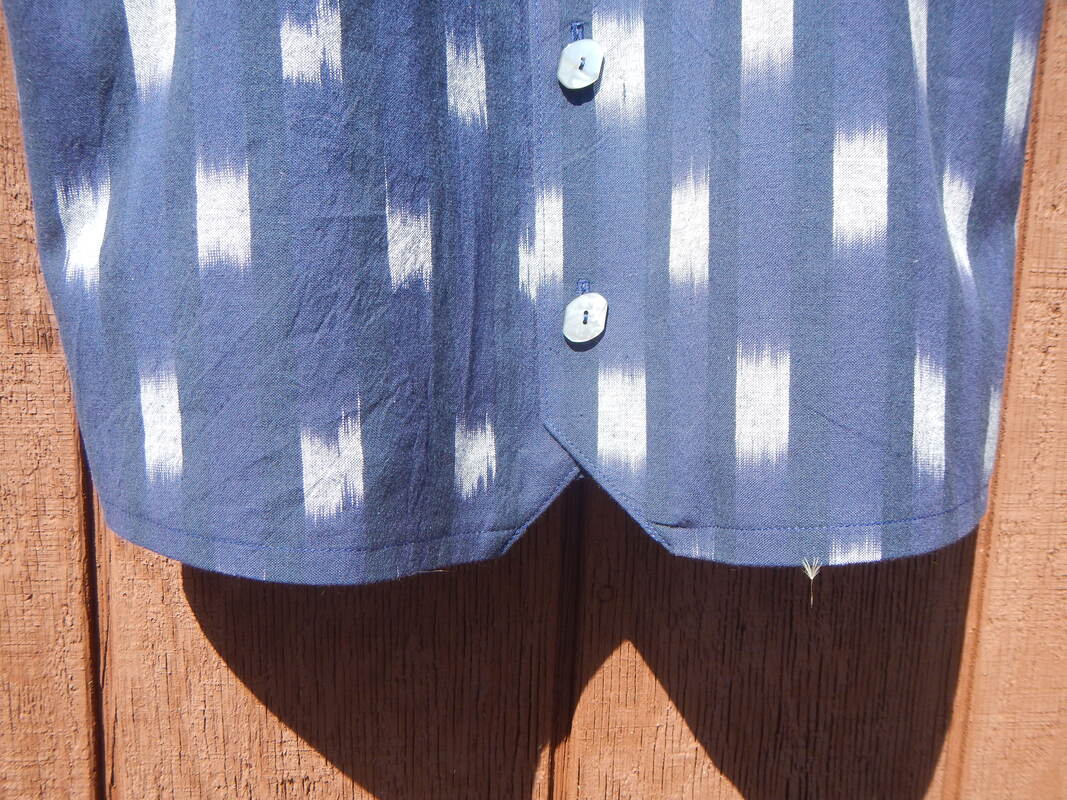
NOTCH MOTIF I put little notches in the cuffs (which are not really cuffs, just facings on the front!). Then, when I accidentally cut a hole while turning the bottom, I think to myself, "I guess I'll cut those corners too, and have a notch at the CF bottom"! Pretty slick, if I do say so myself! :D
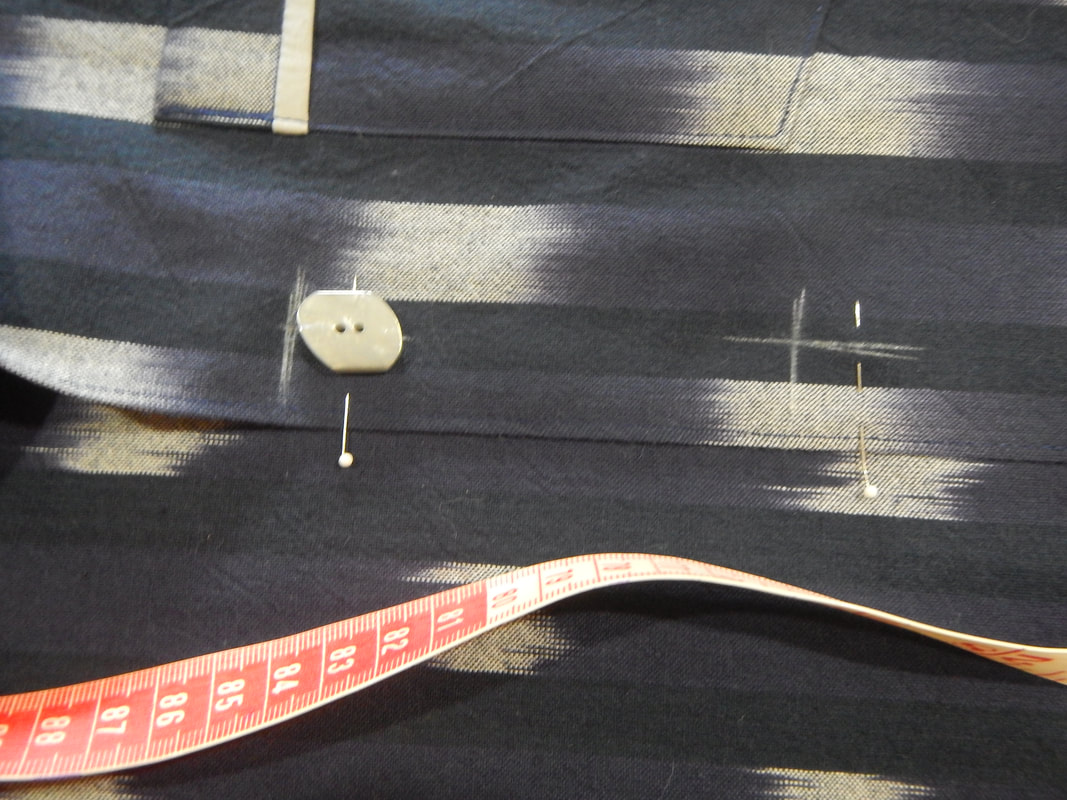
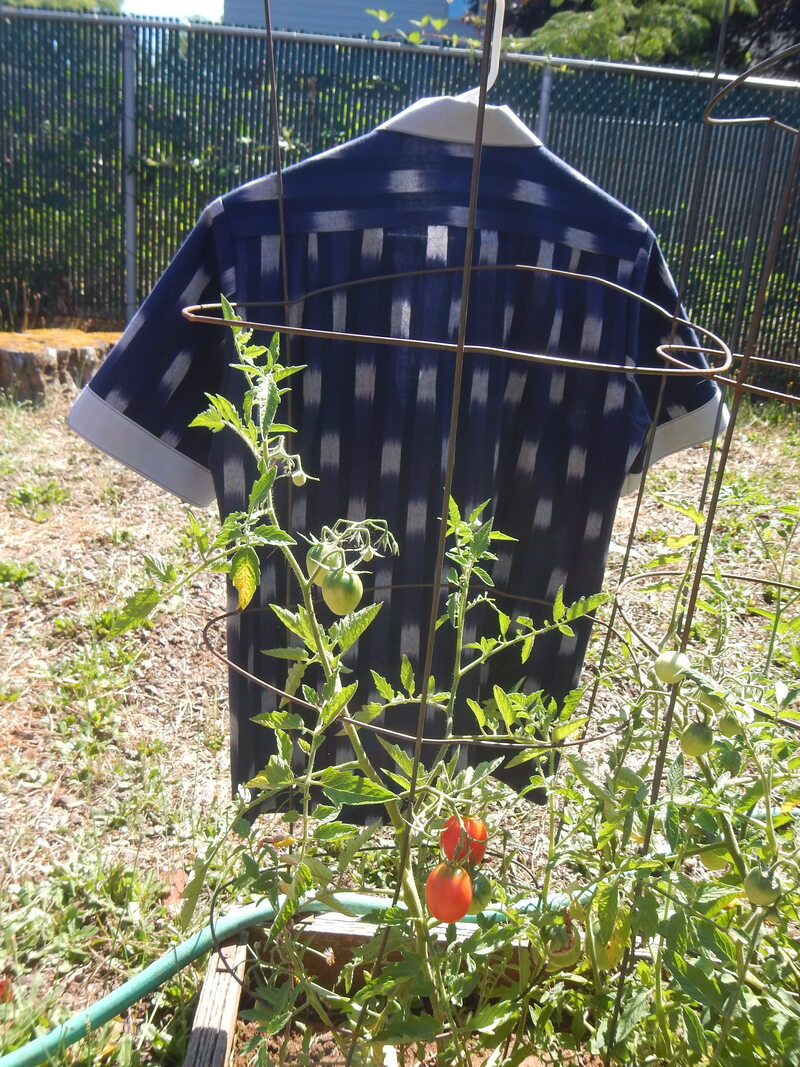
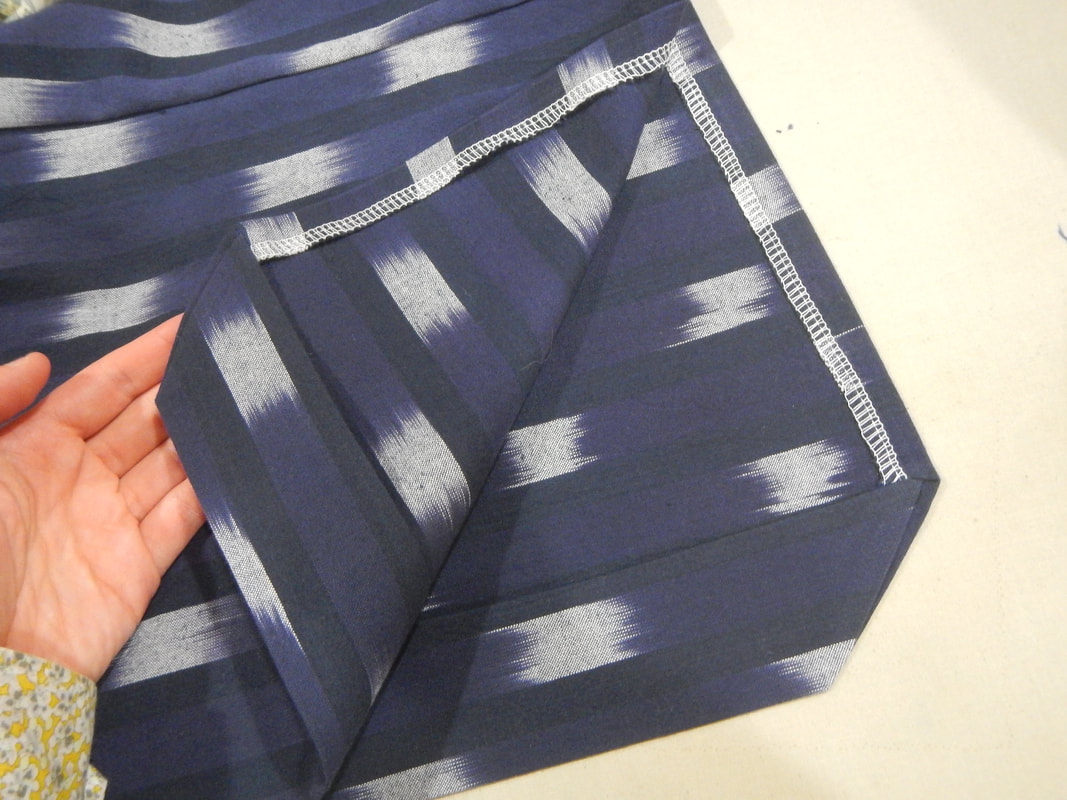 front facing and hem, INTERIOR LOCKER LOOP 'Cause why not? He might want to hang his shirt on a hook someday. (Is it called a locker loop when it's inside the shirt, or only when it's atop the box pleat on the outside back?) 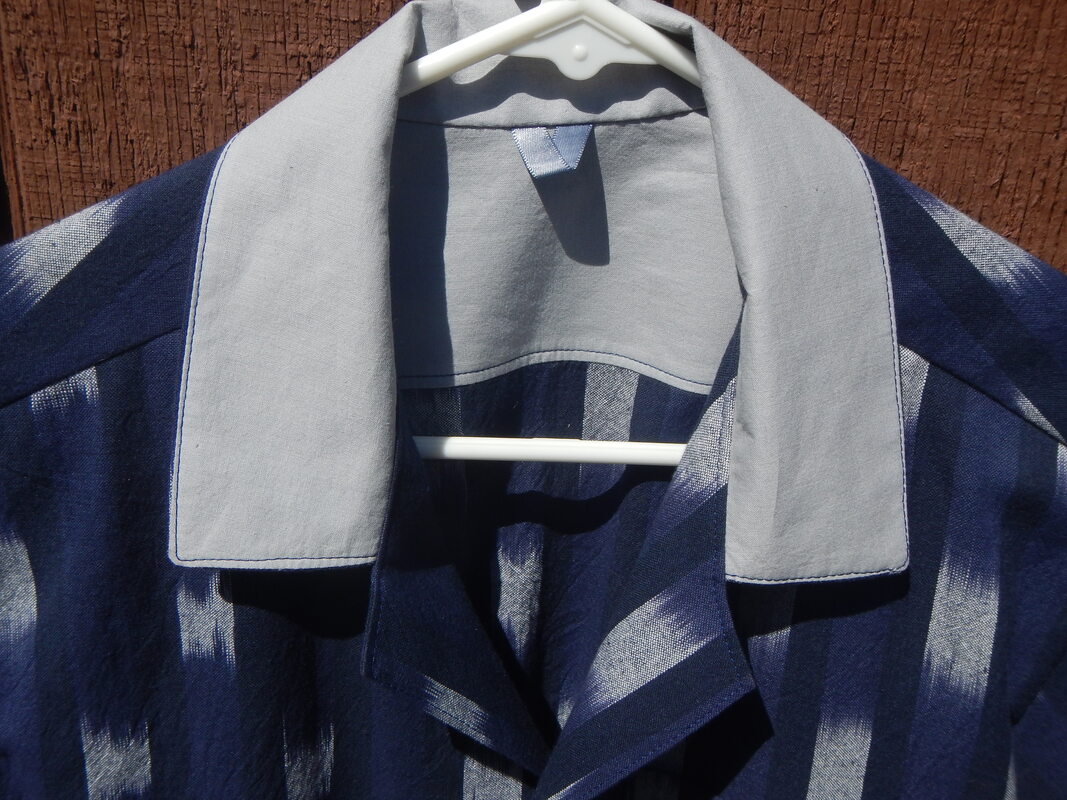 COST 2.25 yards of fabric @ $12.99/yard: $29.23 Buttons 1.60 x 3: $4.80 SUBTOTAL: $34.03 less 30% discount (-$10.21) TOTAL: $23.82 FINISHED!

2 Comments
The Sister
9/13/2019 01:58:23 pm
I laughed at your self quote. :-D This shirt is a nice, mature color; I like that you paired it with gray.
Andrew Ryan
9/17/2023 08:05:16 pm
Beautiful work, Karen. Leave a Reply. |
Karen Roy
Quilting, dressmaking, and history plied with the needle... Sites I EnjoyThe Quilt Index Categories
All
Archives
March 2024
|

 RSS Feed