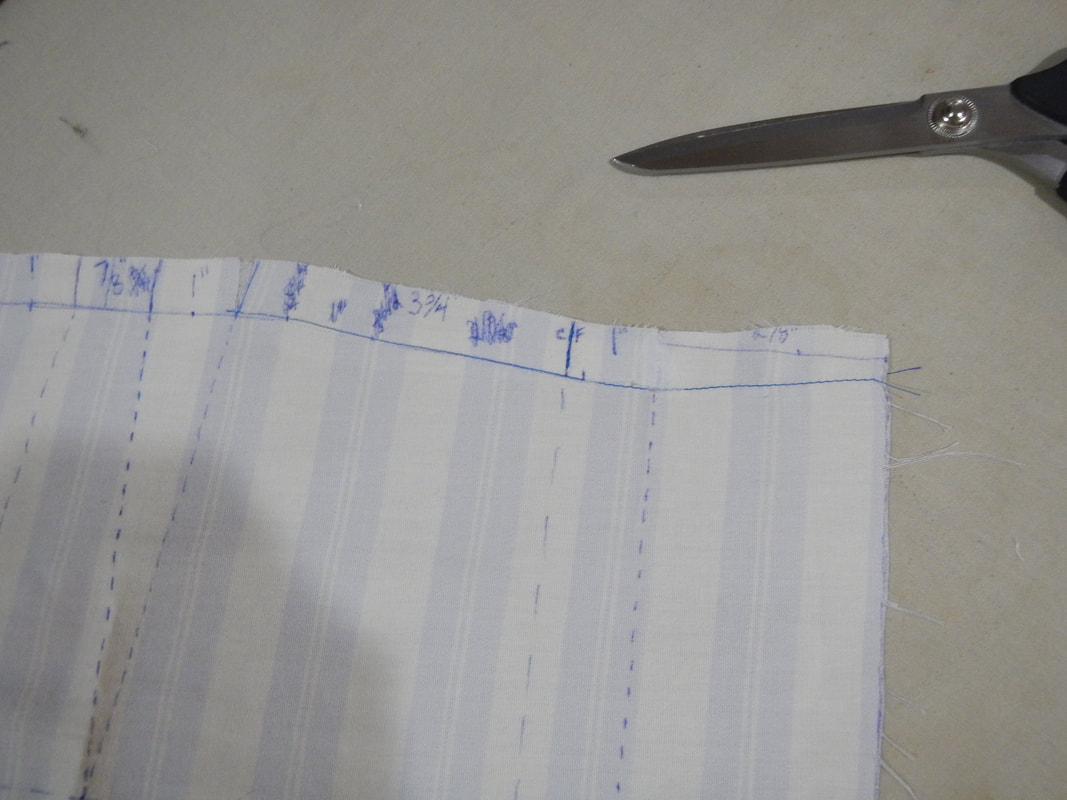
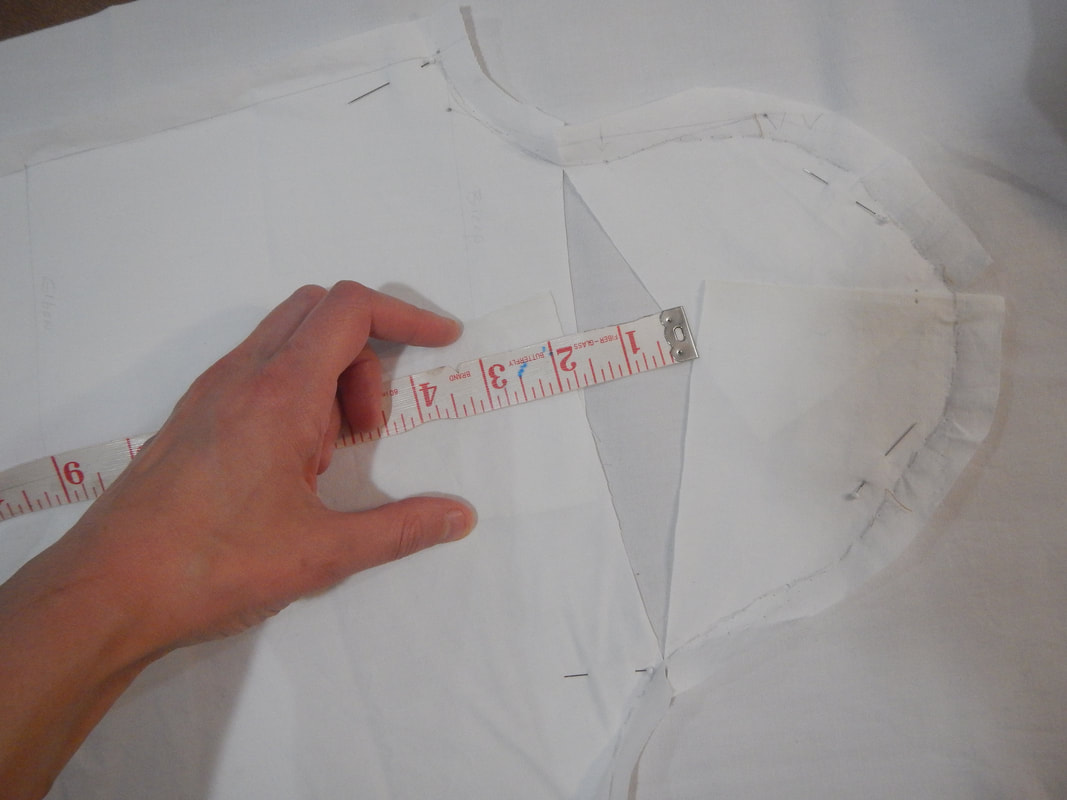
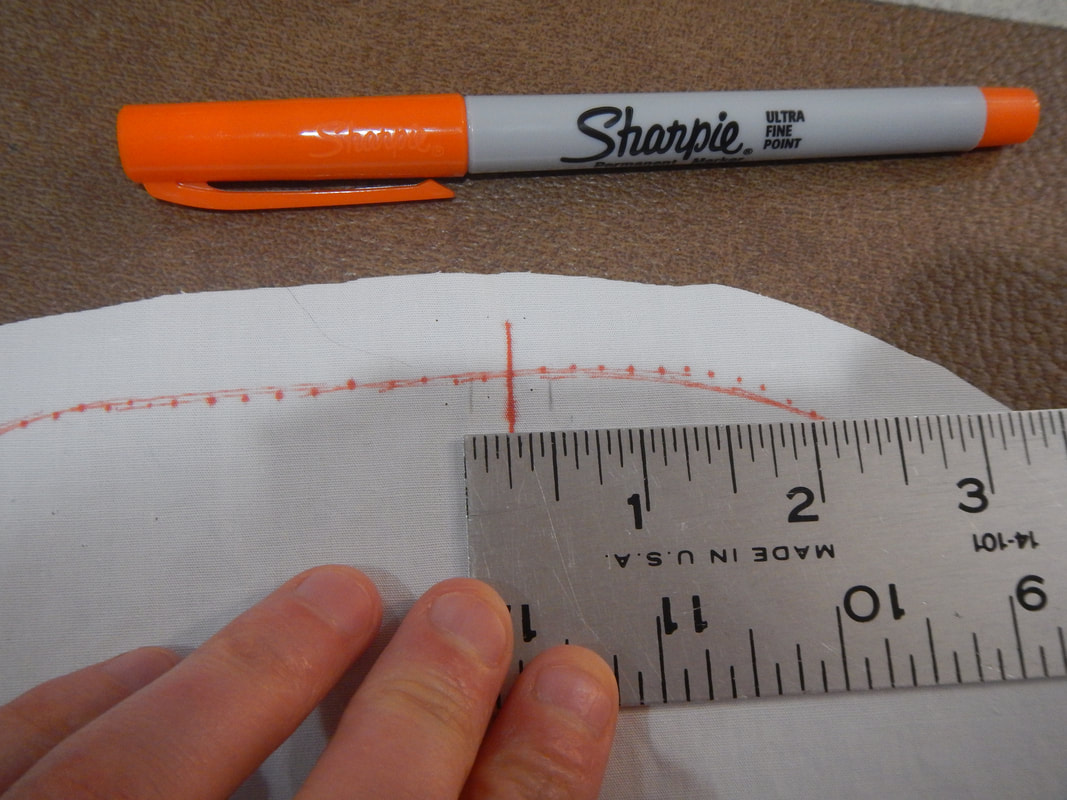
SKIRT ALTERATION I start with the skirt alteration. You may recall from my rub-off that I had trouble with the skirt and had to do a combination of rubbing off and measuring/drawing; in the end the skirt panels were drawn straight across, at right angles to the center front/back. The smiley-face lines over belly and bum say that I have to raise the skirt there, which means dipping the waistline down a bit on the pattern. In the picture below, you can see the front skirt panel pattern piece, which I have traced on an old sheet. There are no seam allowances on most of the skirt pattern piece... but the waistline DOES have seam allowances (where the measurements are written) because of how I drafted it by writing the measurements first and leaving them in there. Now I need to alter the seamlines, not the seam allowances, so I cut the seam allowance along the seamline going from Center front to the first dart, which is about where the smile lines start on the dress when I wear it. I call the stopping point my pivot point, because I'm gonna pivot the seamline from there. I snip the seam allowance of the pivot point to allow me to swing the seam allowance up and down, using just a few threads of the muslin as a hinge. 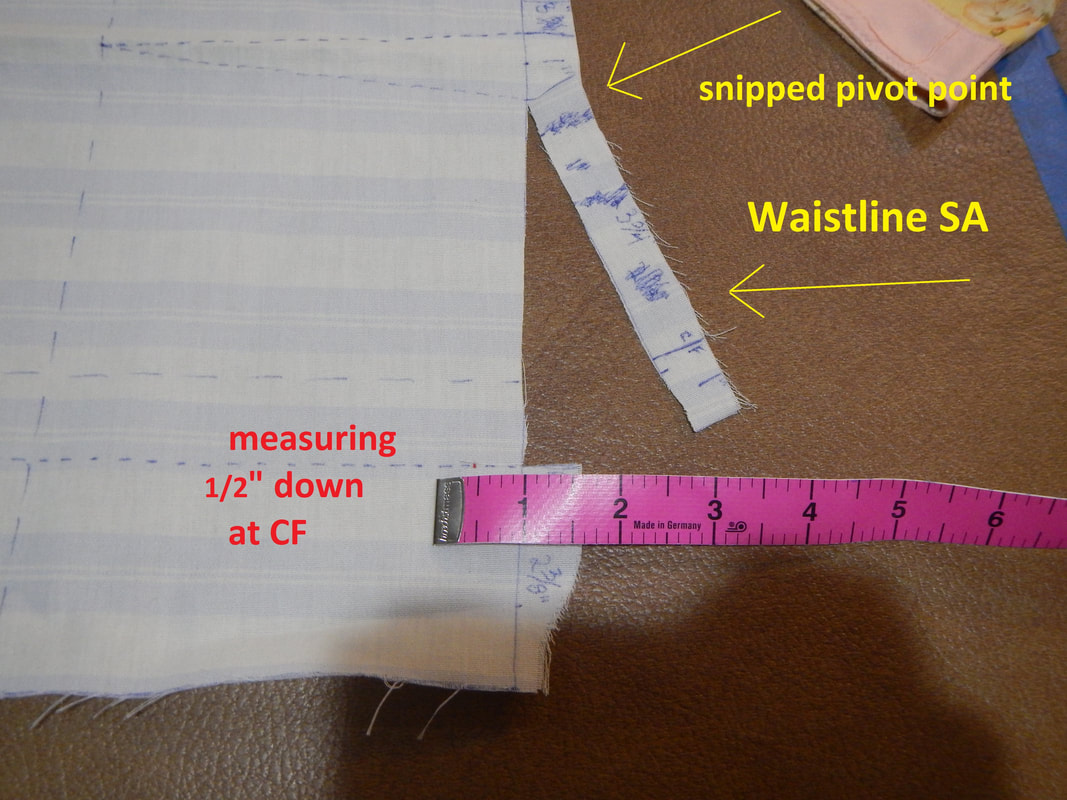 I measure down the CF line a half inch and mark it with a red dot (picture above). Then I pivot the seam allowance from the top down to the dot (pic below left). Notice how that opens up the pivot point a little? That's why I had to snip it there in the first step, so it could swing open in this step! The downward curving line is my new waistline. Now I just have to fold the facing part under and cut it to match (pic below right).
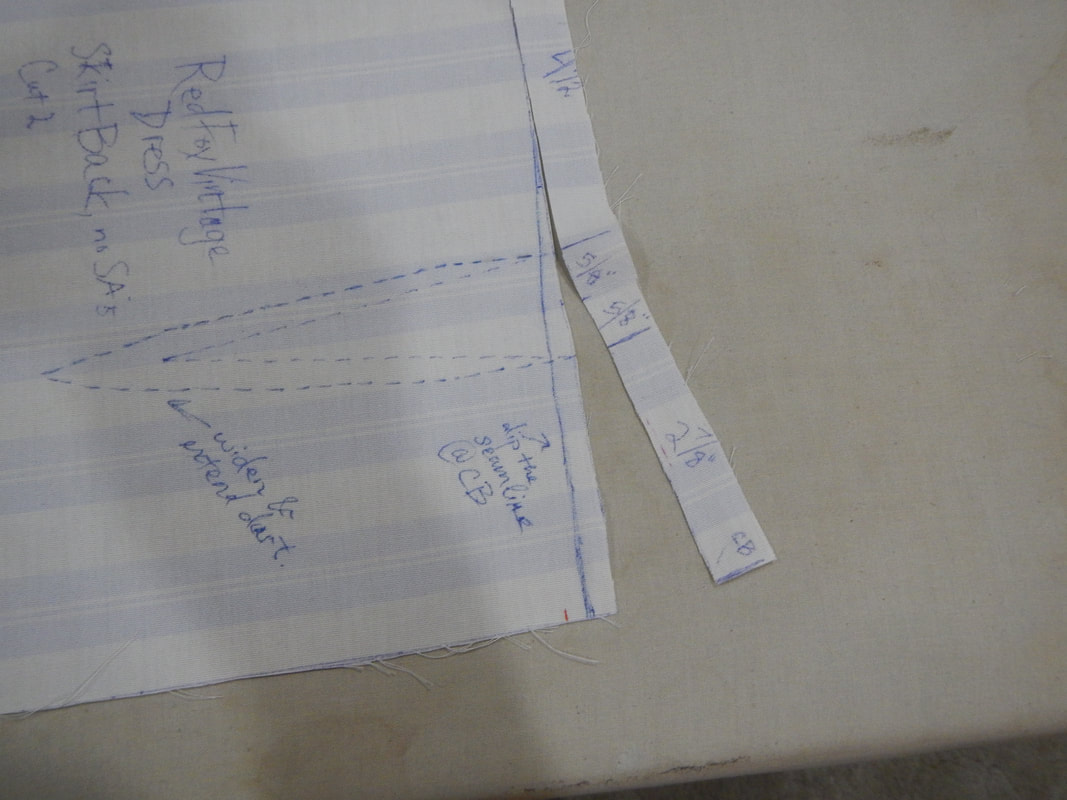
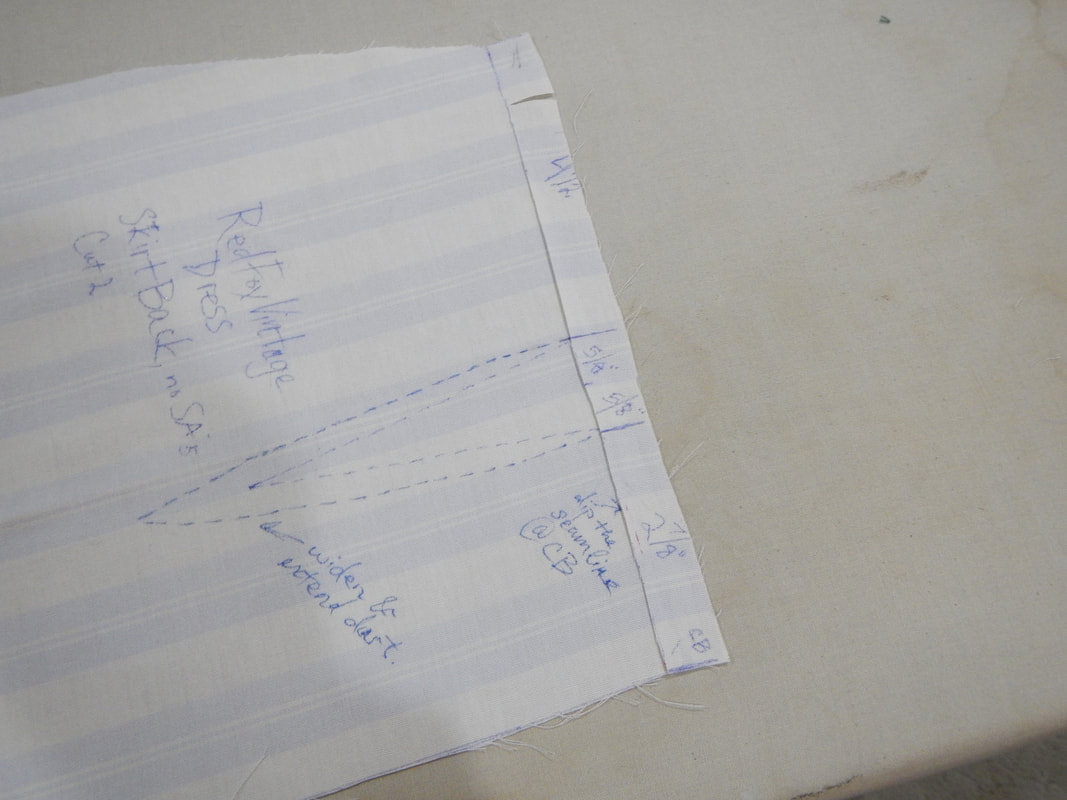
I do the same thing for the back:
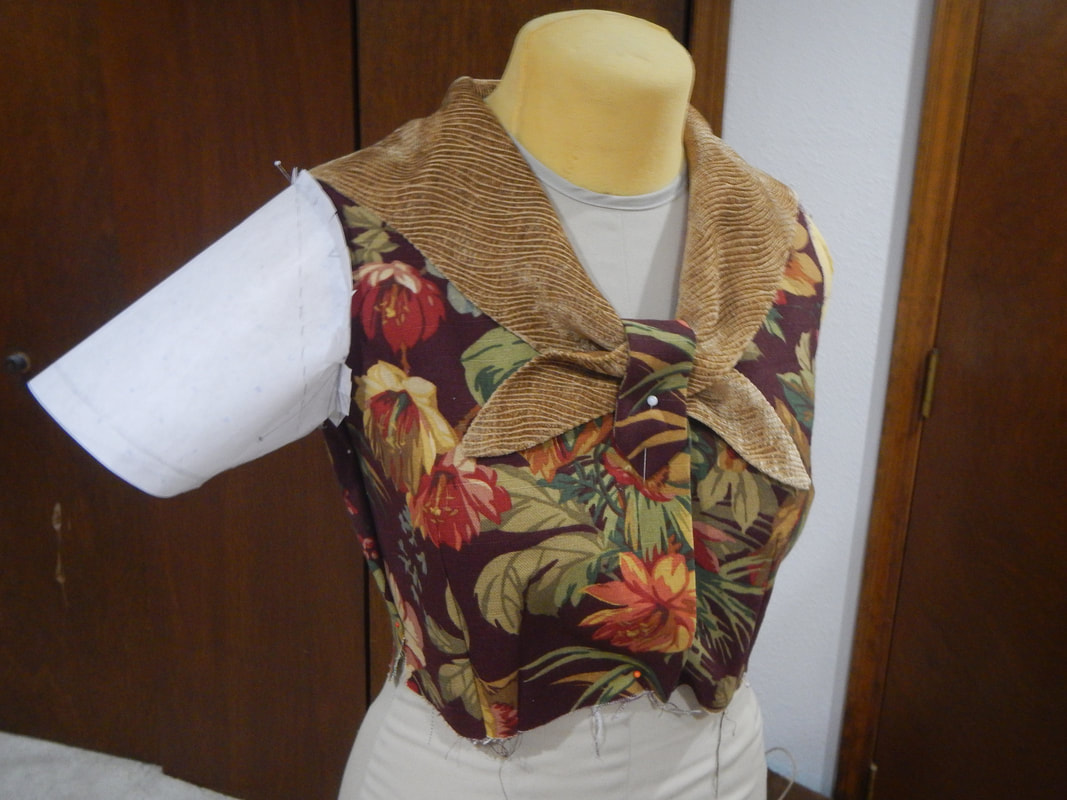
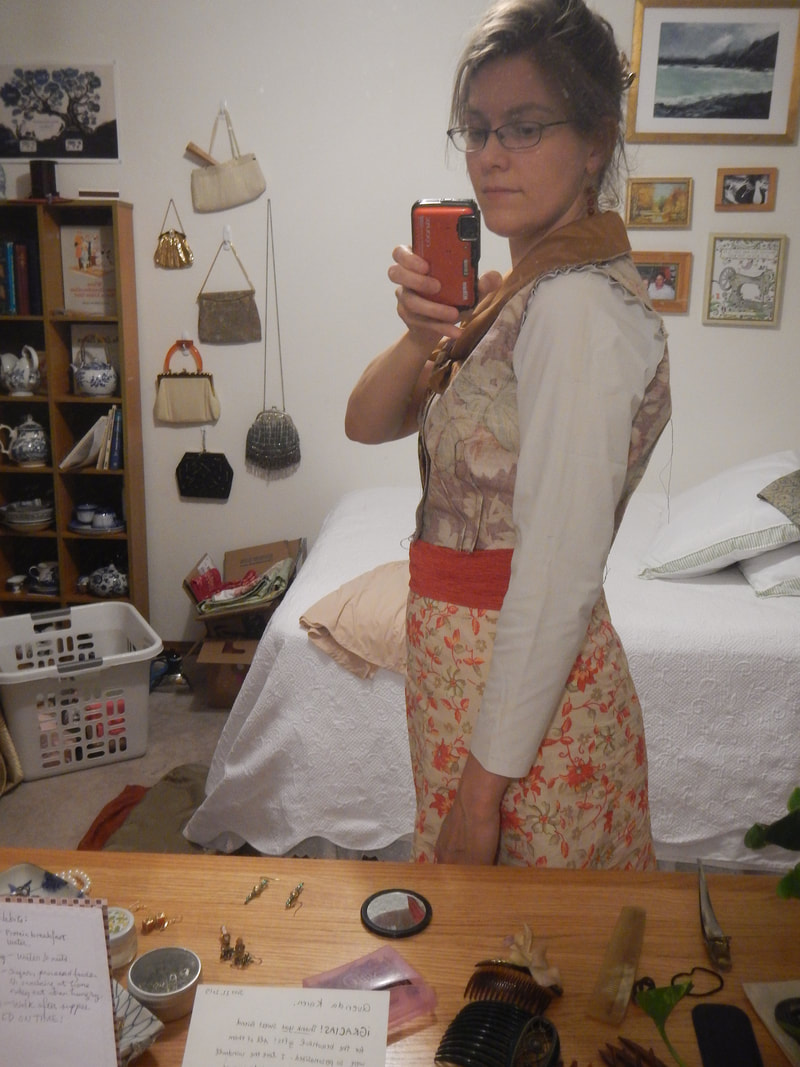
Et voila. SLEEVE SAGA The sleeves are a bit trickier. Look at this mess: 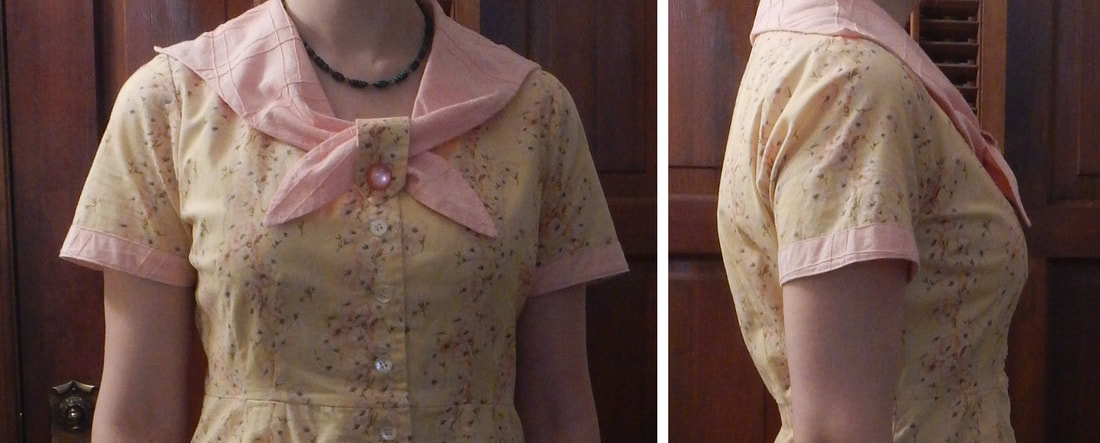 So from the front you can see the sleeve hem slanting upward from armpit to outside arm, instead of being level. There are corresponding crinkles from armpit to shoulder, indicating that the sleevecap is not tall enough (I think). From the side, we see extra fullness in the back sleevecap. As I experiment with fixing matters, I end up with three sleeves. So as not to confuse you, let me name them:
So, the pictures above show the original sleeve. My next attempt is to make a new one on a piece of paper, by tracing the armscye from the bodice pieces. The easy part is always the concave part of the armscye (the convex of the sleeve cap). But when the armscye curves inward on the bodice (outward on the sleeve), I never know at which angle to reverse the tracing. You can see the various lines in the picture below: I start with a really wide/shallow shape, pin it to the dress... not good. Try a different line... still not good.
Eventually, I get tired of this experiment and decide to draft a sleeve instead, using instructions from Threads Magazine. I end up with a symmetrical sleeve pattern, with a sleeve cap far too high and the wrong shape for the armscye: 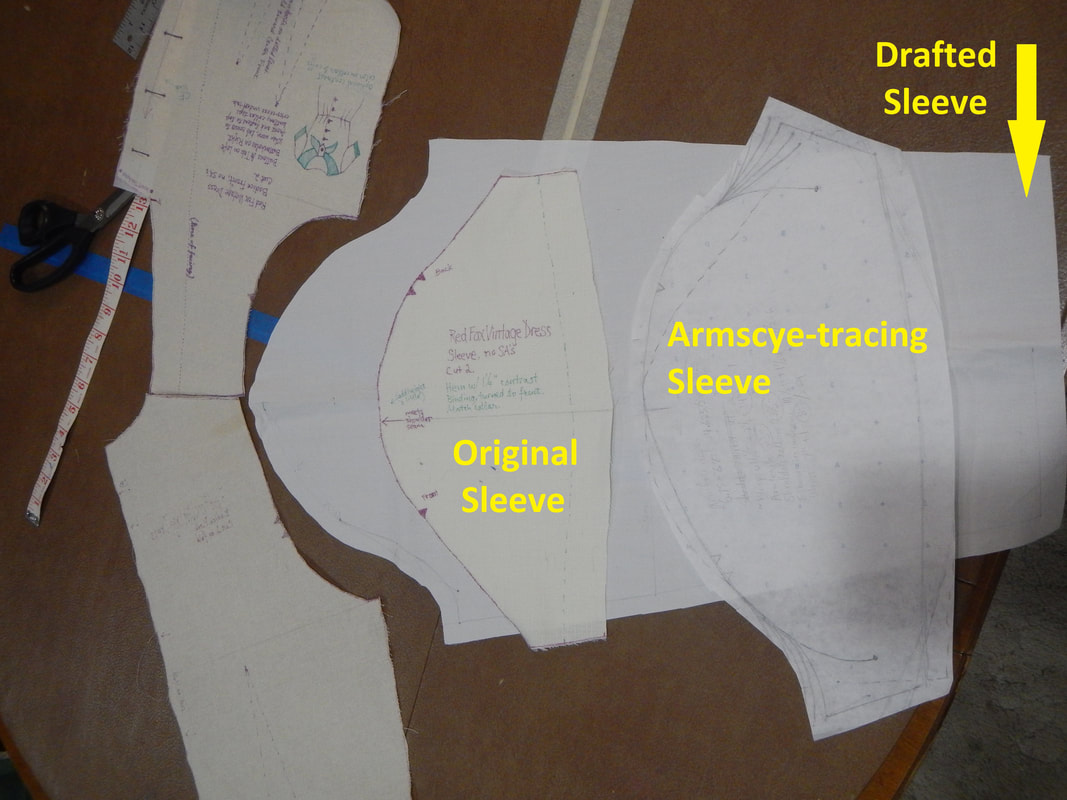 Alteration time again! I start by pinning the drafted sleeve to the dress, and realizing the sleeve cap is indeed way too tall. It would work if I wanted a bit of gathering on the top, but I don't, so I trim off a bit of it.
 And here's the next test:
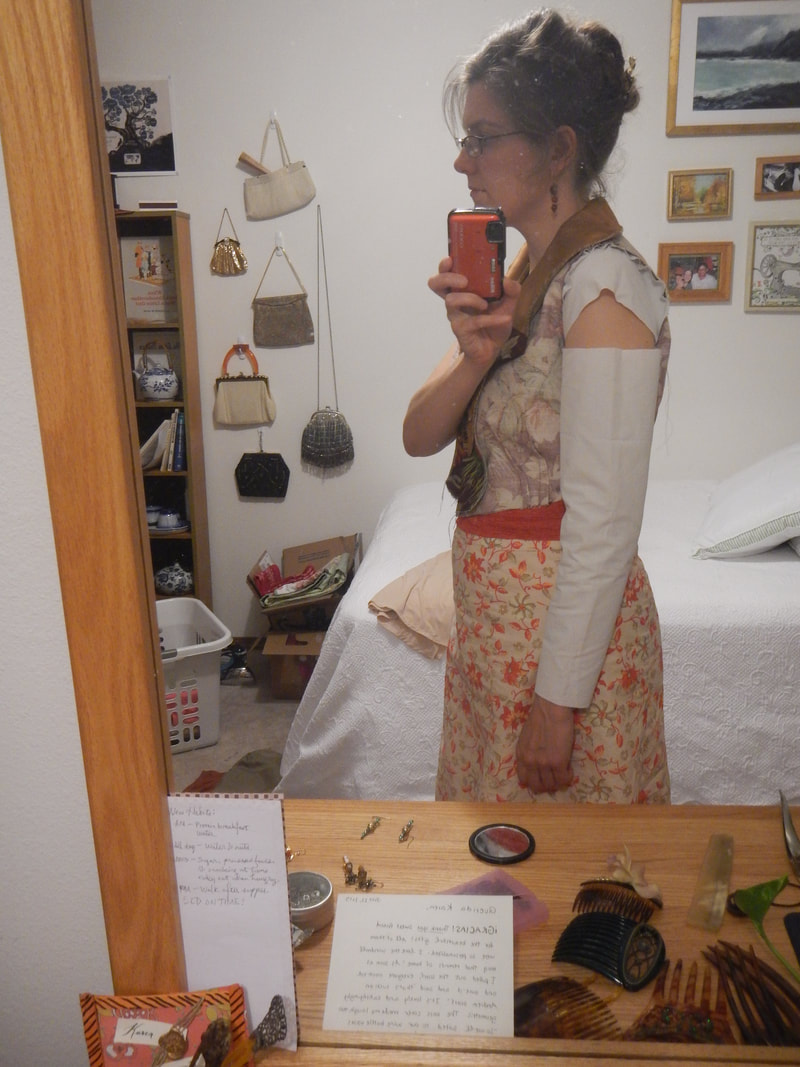
And, in case you can't tell that I'm going in circles, I have once again created a sleeve with the same problems as the original! There are crease-lines from armpit to shoulder-tip, and excess fullness in the back. I try to slash it to see if that helps:
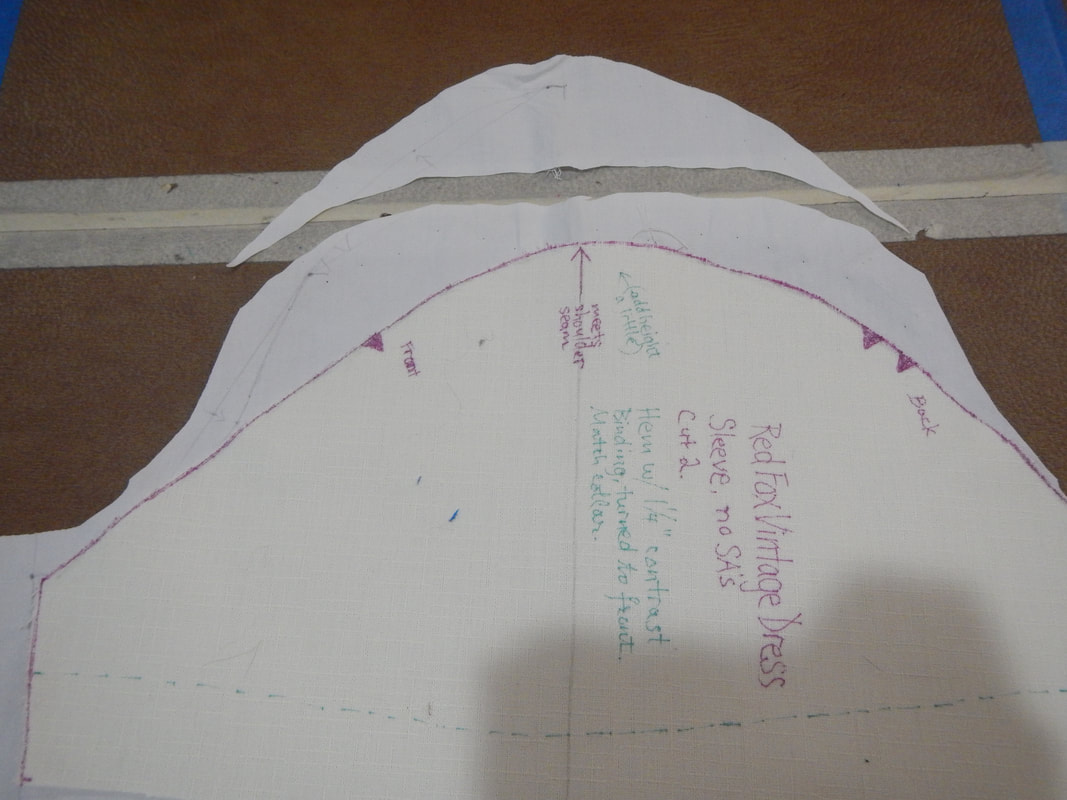
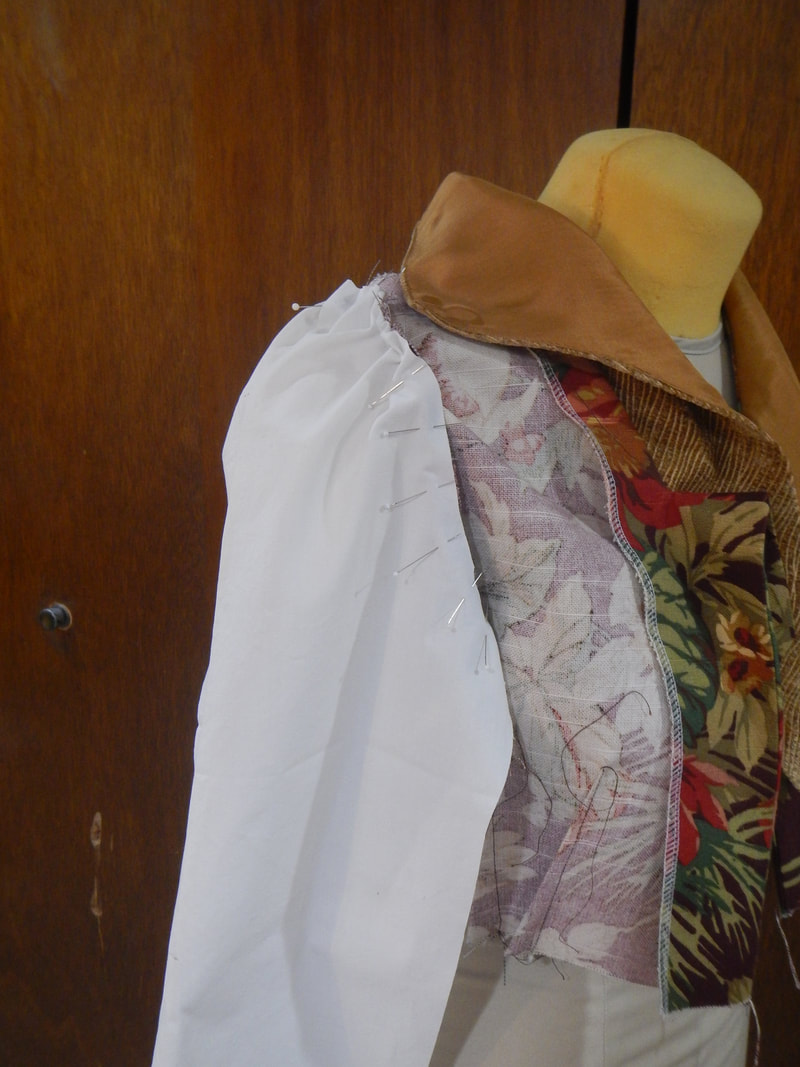
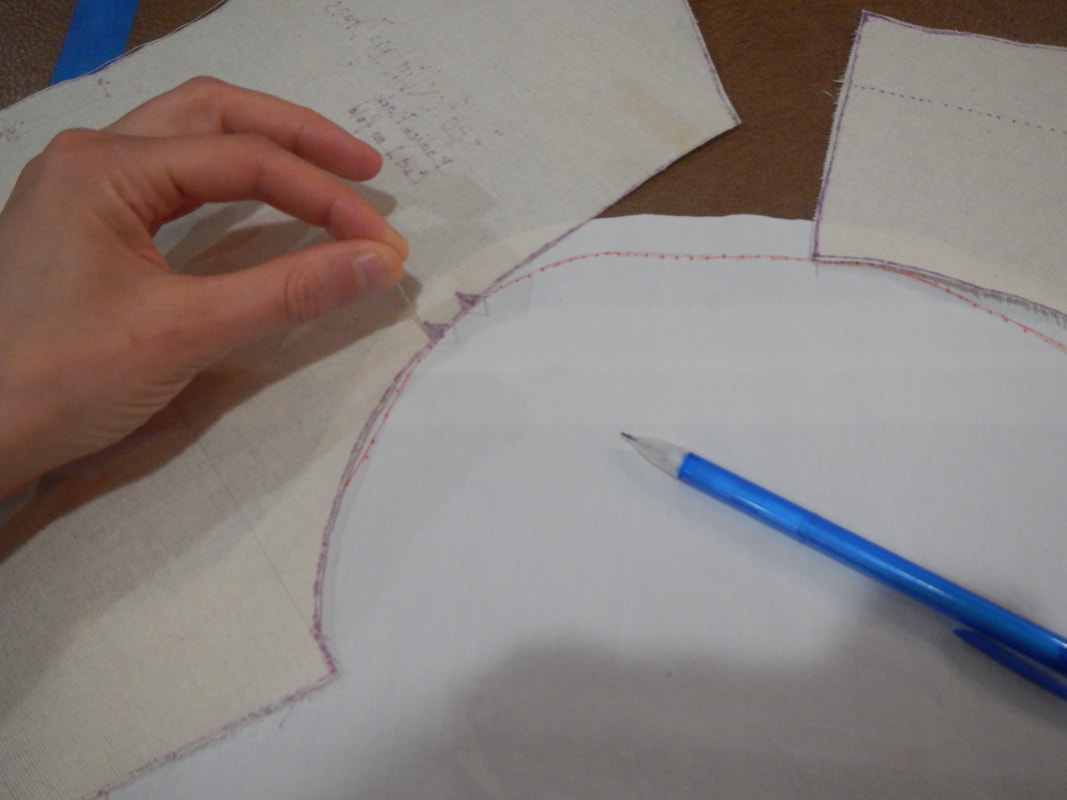
So I decide to slash at the armpit line instead of the middle of the sleeve cap, and when I open the vertical line, I allow the horizontal cuts to spread as well, making the sleeve a little wider all the way down: 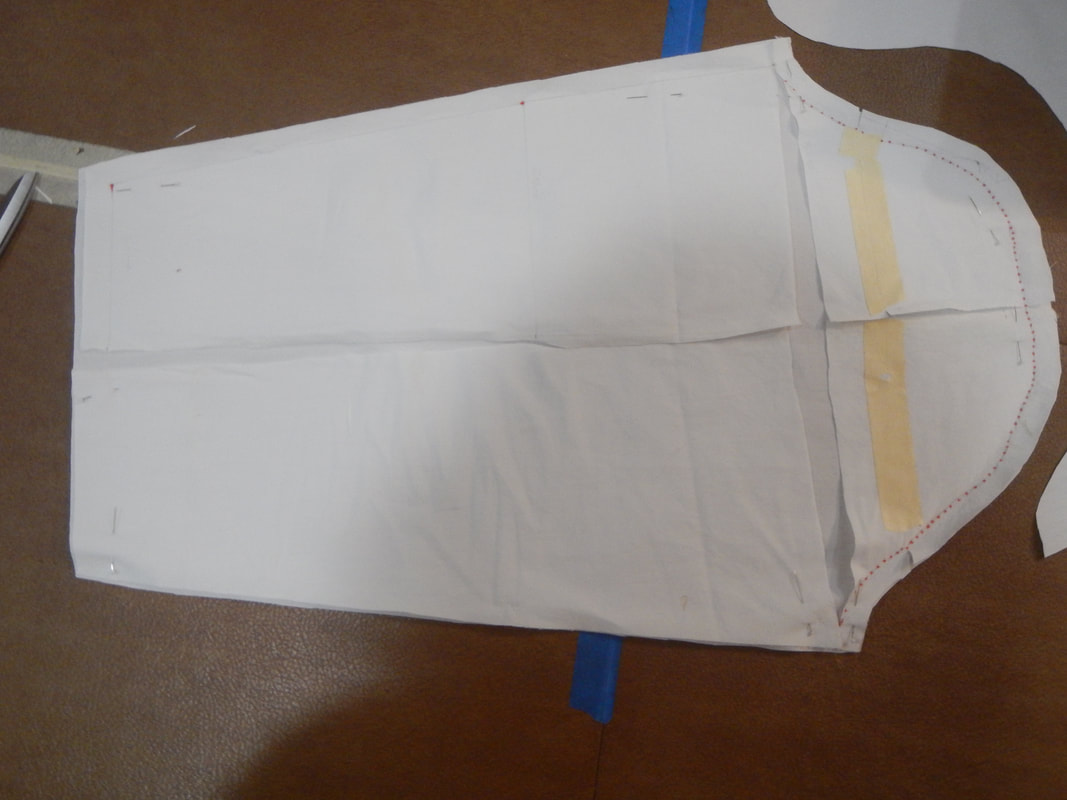 Kind of a messy sleeve cap, huh? Better go back to using the armscye of the bodice to trace the new sleeve cap on the newly drafted sleeve! I trace the armscye, then walk the seam from armpit to shoulder on each side. Because of widening the sleeve in the last step, I get two shoulder lines this way, and I split the difference between them and draw a new shoulder line. (I should disclaim that I am not trying to teach this method, since it's the result of my confusion, not my knowledge!)
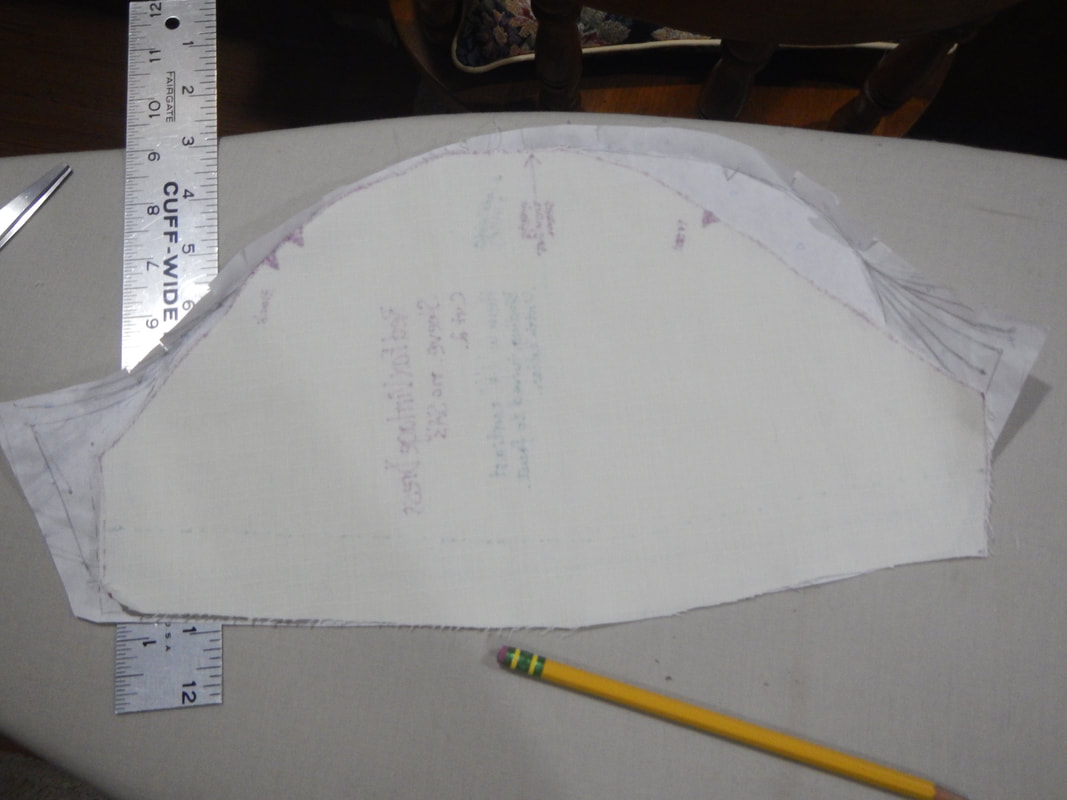
Here's the drafted sleeve post alterations: 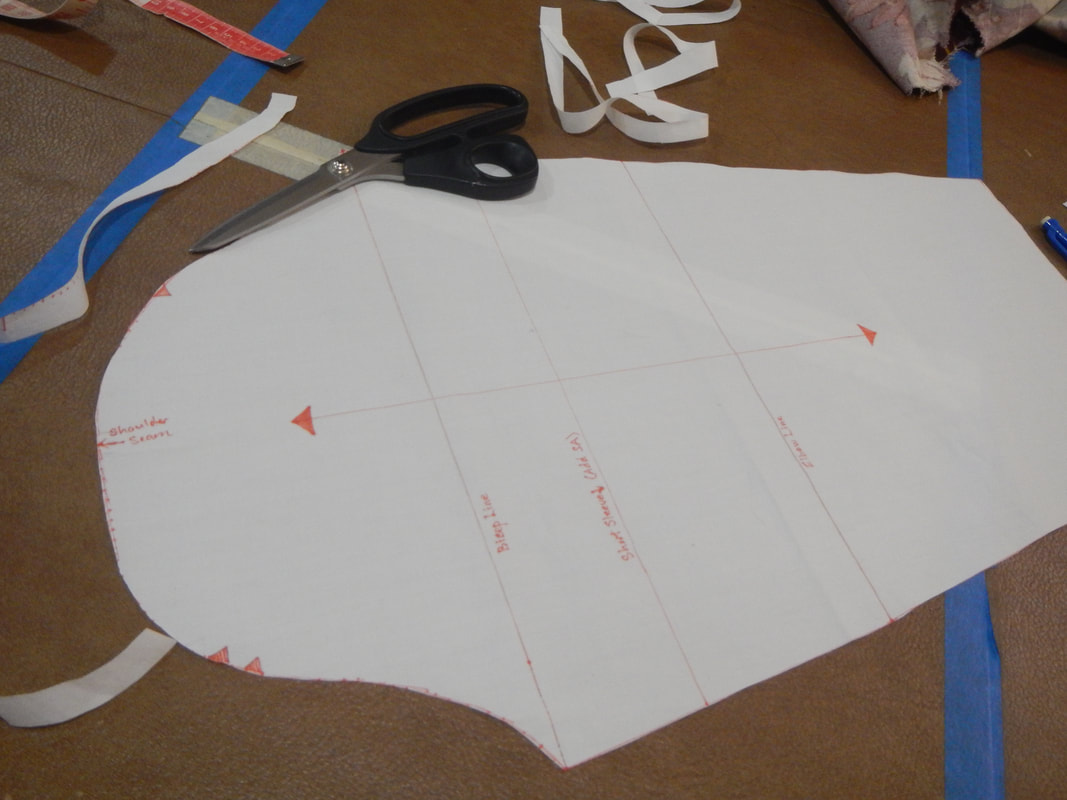 It looks like a sleeve, yes? I don't think I can get it much better, and I'm beginning to suspect part of the problem is the shape of the armscye/bodice it's supposed to fit in. Perhaps the original dress had shoulder pads. Shoulder pads might account for the strangely square shape of the back armscye, as well as the collapsed wrinkly look of the back shoulder now that the pads are gone.
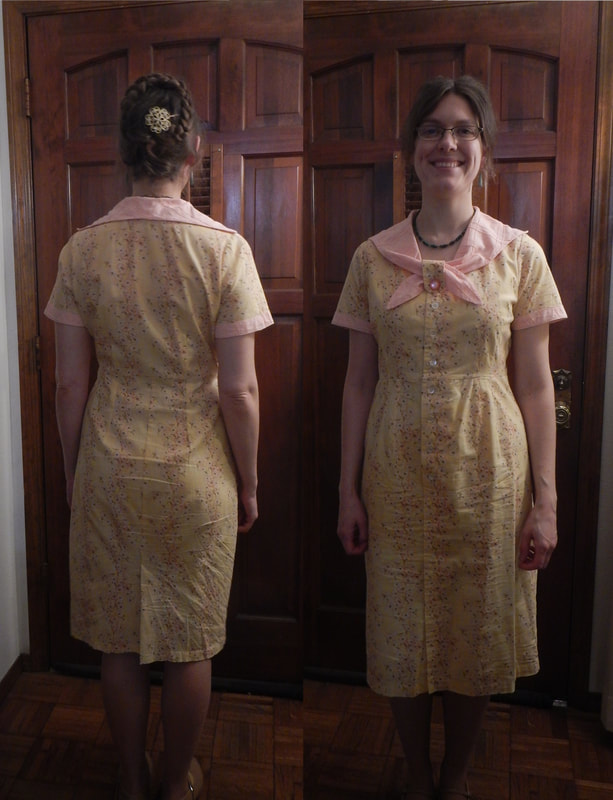
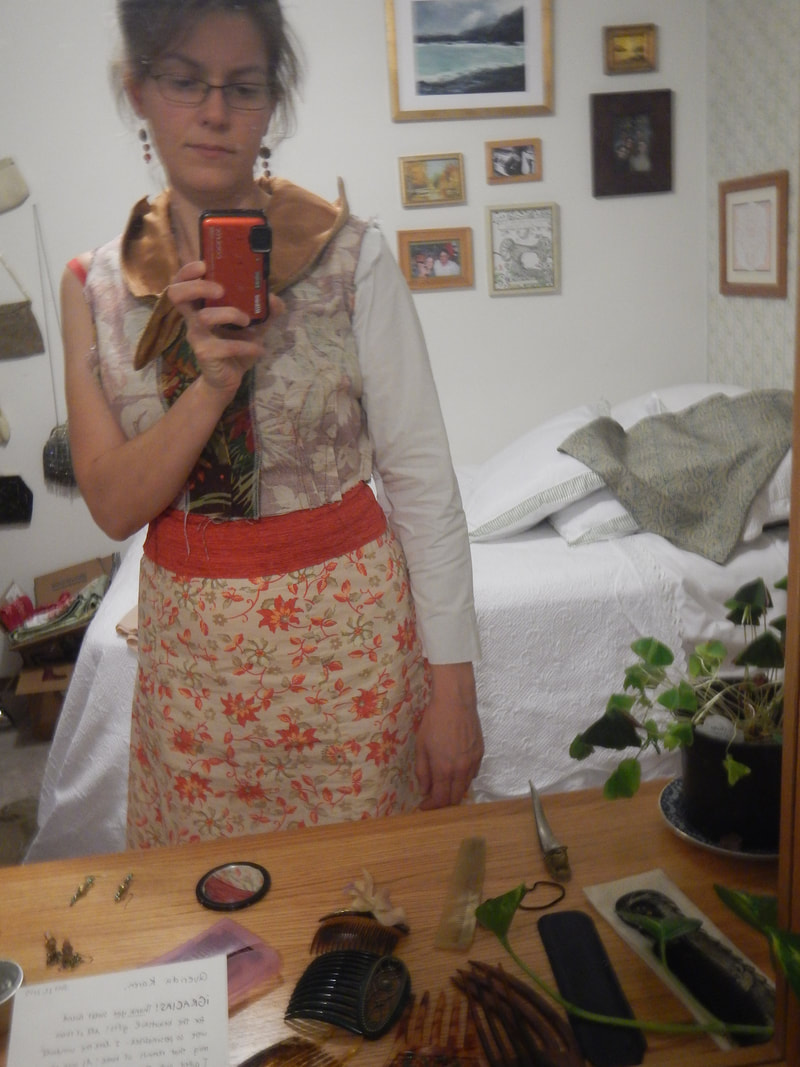
(I have an old friend who hates shoulder pads and cuts them out of any top that has them. I understand her anti-shoulder-pad feelings, but cutting them out when the shape of the bodice is designed to hold them, just makes the shoulders look sloppy.) The pattern is now ready for me to sew this dress again!
0 Comments
Leave a Reply. |
Karen Roy
Quilting, dressmaking, and history plied with the needle... Sites I EnjoyThe Quilt Index Categories
All
Archives
March 2024
|
 RSS Feed