|
* Karen opens door. It creaks, and a bit of dust swirls around her feet. Karen peeks in. * I haven't been here in a while. 2020 has been an interesting year for everyone. When the USA went under stay-at-home orders to try to stem the spread of Coronavirus, I spent a few months at home, sewing and relaxing and getting a much needed vacation. I blogged a bit, then, since I had new projects to share. But then I got a new job, and though I've been sewing, I haven't been blogging about it. There are two reasons for that. My silence can be partly explained by my increasing sewing skill. There was a time when I could make a whole blog post about a hem, but now I barely take pictures, and I find the write-up boring. When I was a beginner, I found plenty to interest me in talking about the basics. Now I'm more intermediate, I do the basics without thinking, and so I need to rethink how I approach my project diaries. For instance, I've really enjoyed sewing new shirts for my brother and sister, but not blogging about them. I've really enjoyed blogging about the Basque project because it's new territory, and I've got a lot to learn and a lot to say. Another reason for my silence here is that there's so much going on in my world, my mind, and my heart that I can't focus to write. I feel like I'm swept away in deep water, and I need to keep my nose above the swells. Later, when the waters shallow out, I can perhaps write about the parts of the experience that make sense to me. (Or maybe, as my sister reminds me when I'm months overdue in replying to her letters, I need to just write something and let go of the need to encapsulate my whole life experience in one place! The word "essay" means "attempt" or "trial", not "success" or "perfection", after all!) BACK TO THE BASQUE Anyway, here I am again, to update the Victorian Basque project. To recap: I have a cool antique bodice, circa 1880's; I copied the pattern by drafting and by draping. Assembly being complicated, I broke it down into six steps:
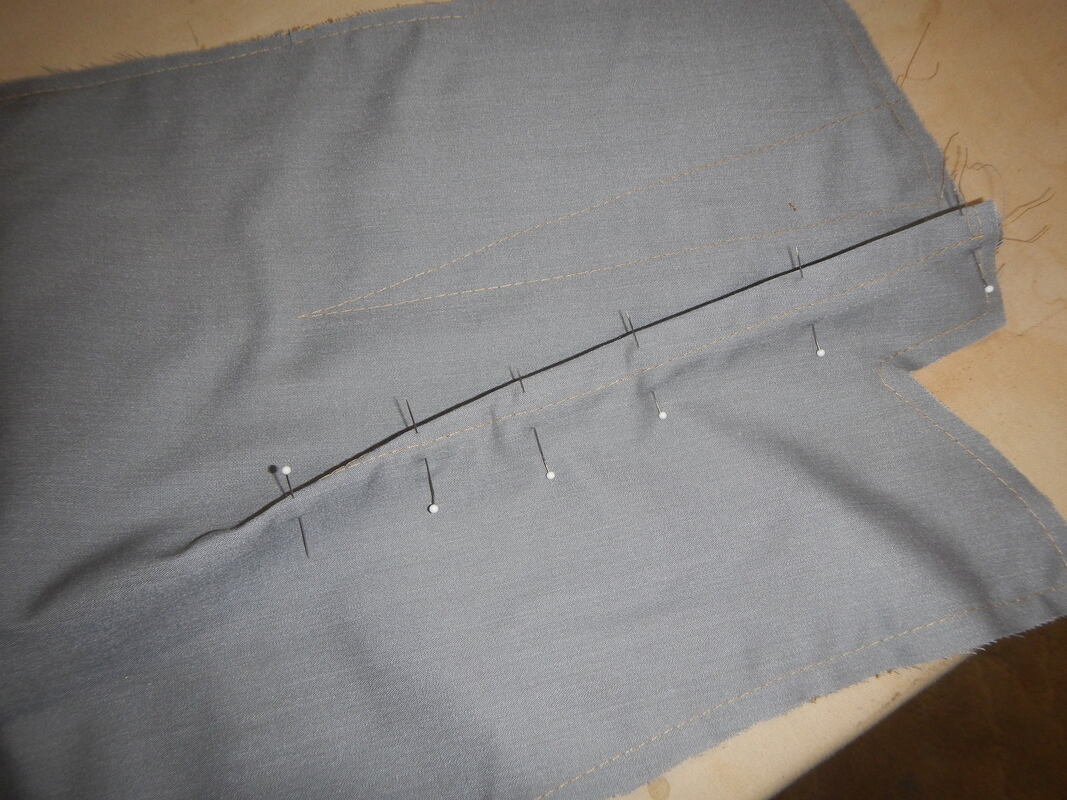
BODICE EXTERIOR Every bodice piece is cut out in both the poly-cotton plaid and a cotton shirting. I baste them together within the seam allowances, and treat the two pieces as one from there on out. Here are the front darts being sewn, then cut and pressed open:
Because I walked all the seams on the paper pattern while developing it, the bodice pieces now go together perfectly. Where the design takes a sharp curve, as at the waist, below, I have to clip seam allowances to get the seamlines to lie nicely together.
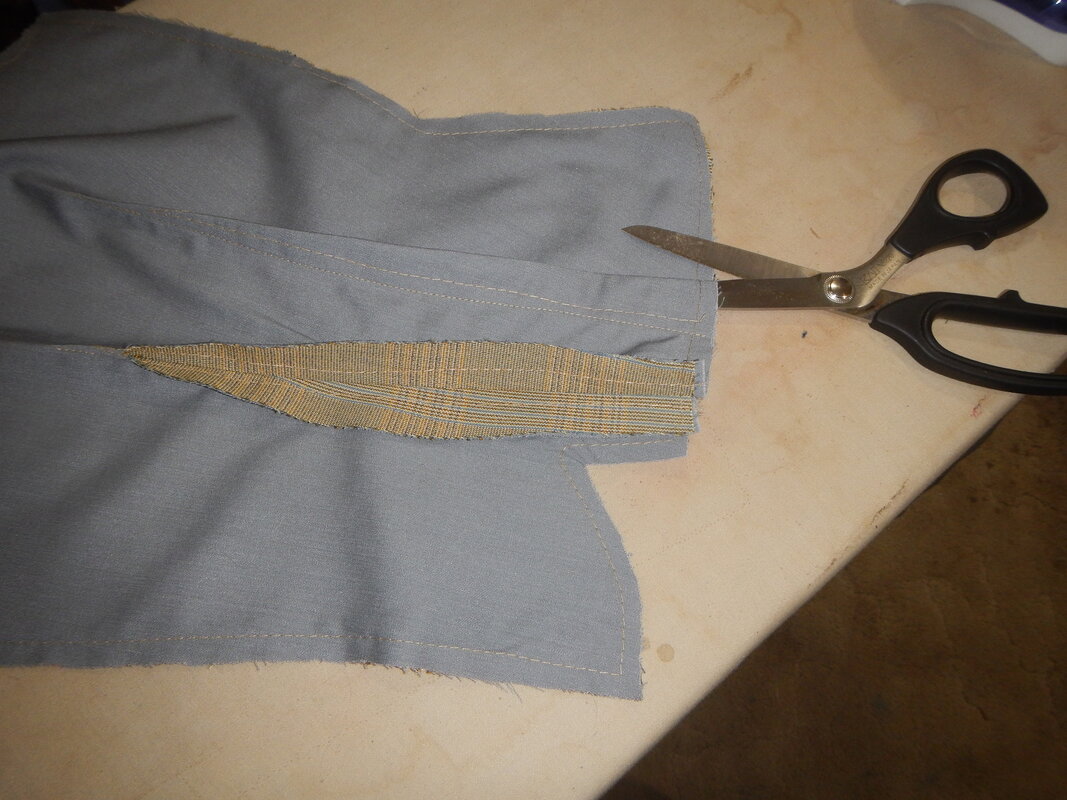
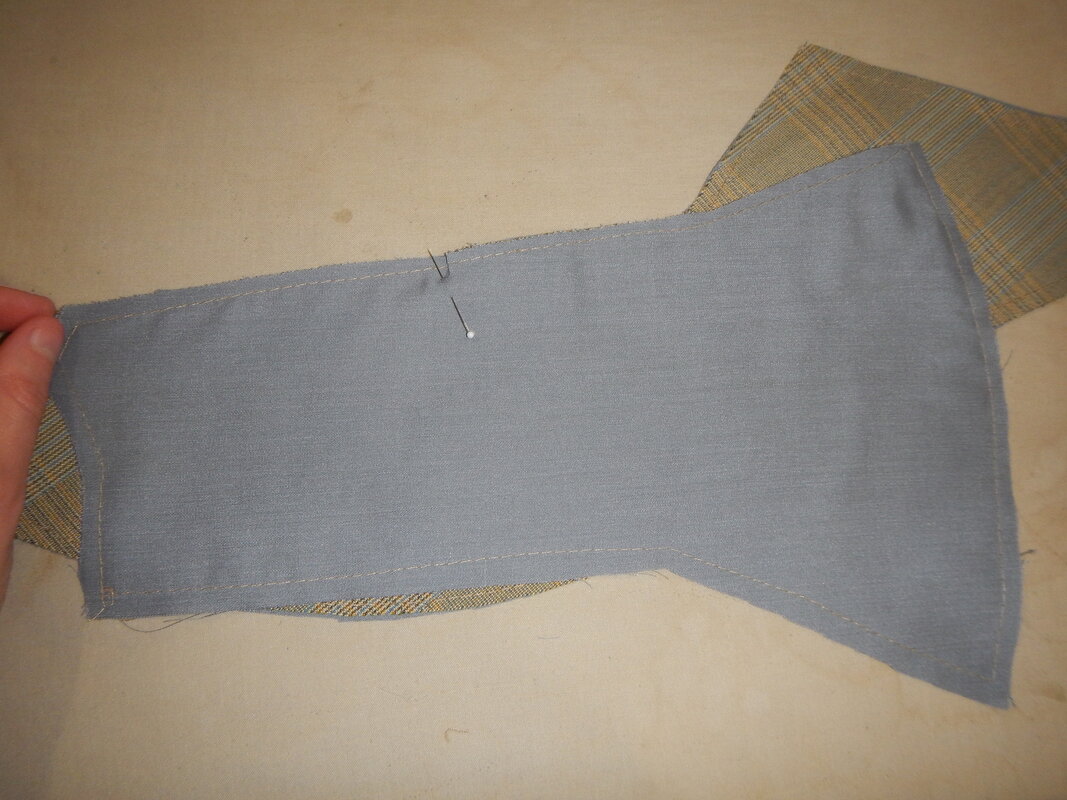
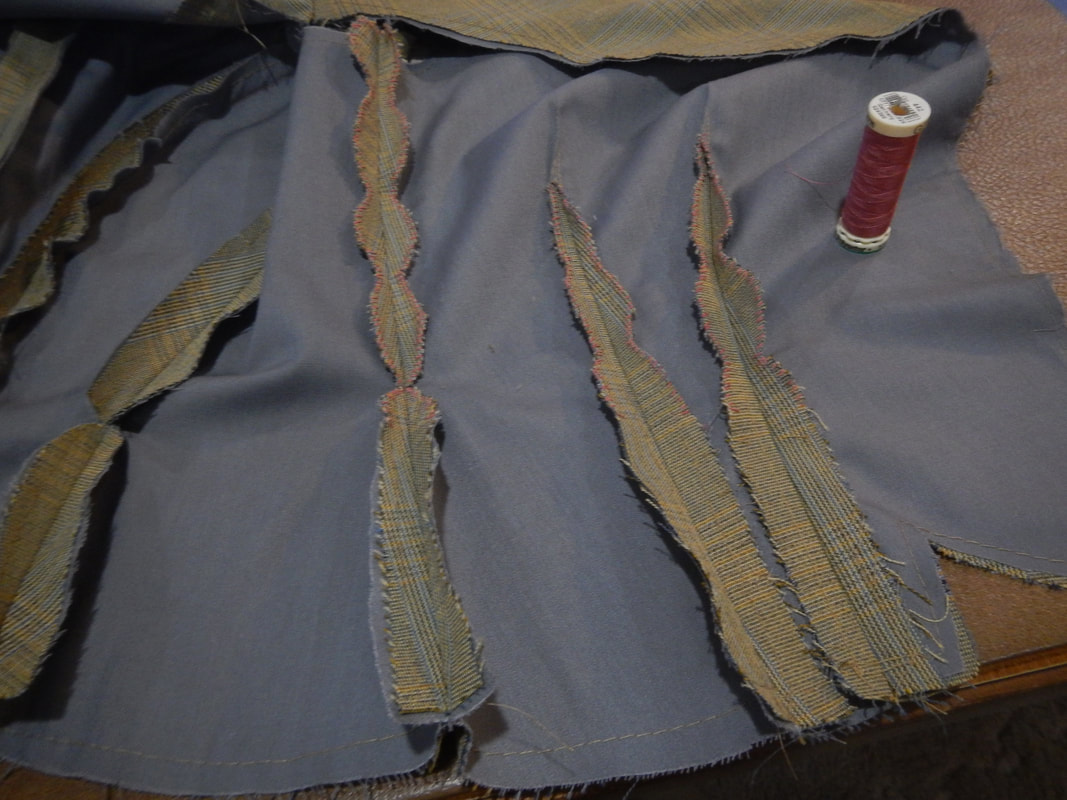
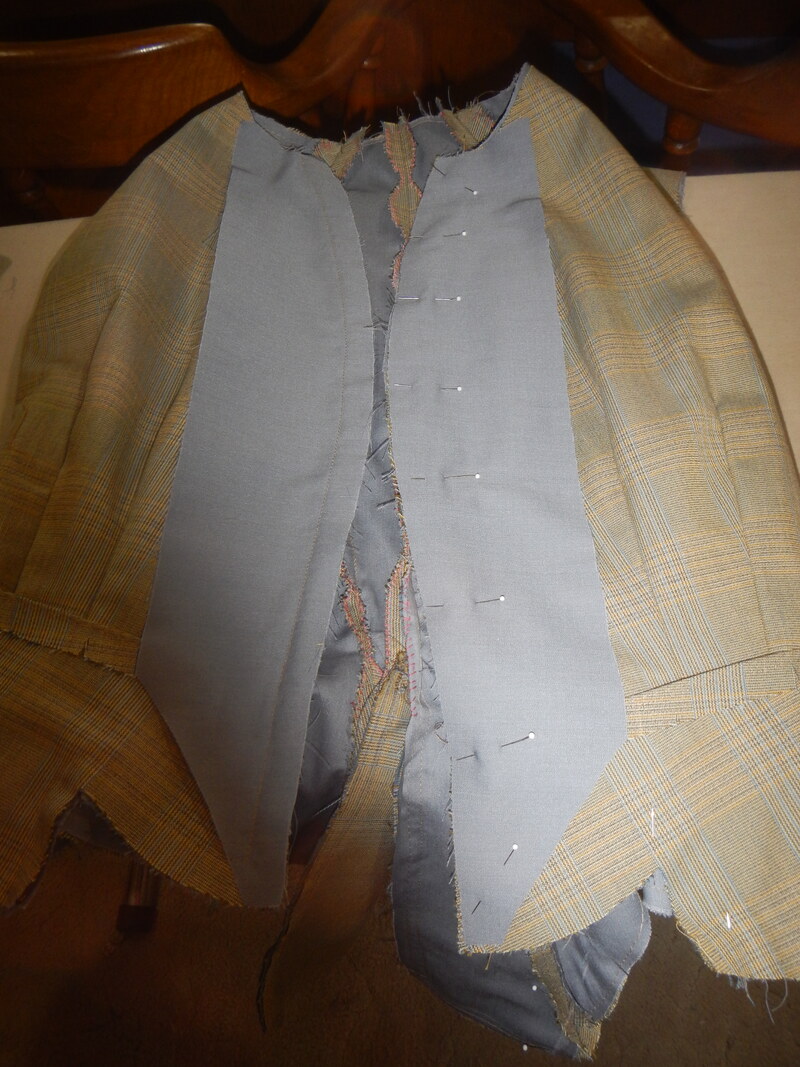
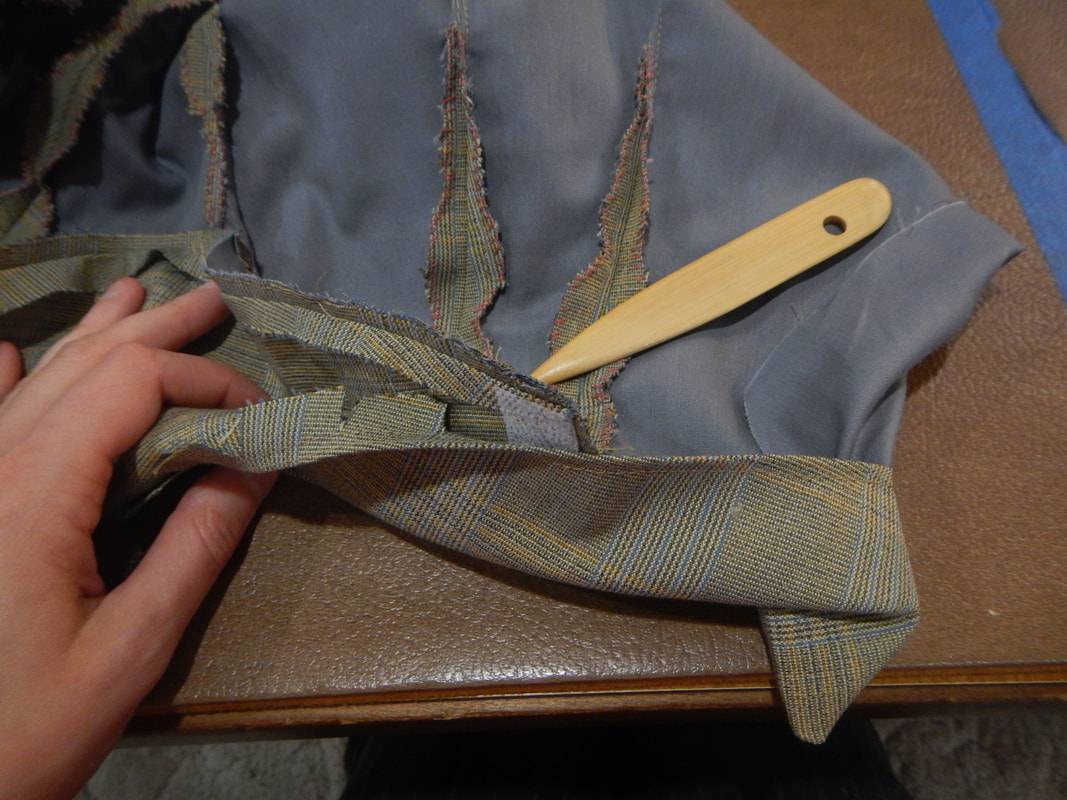
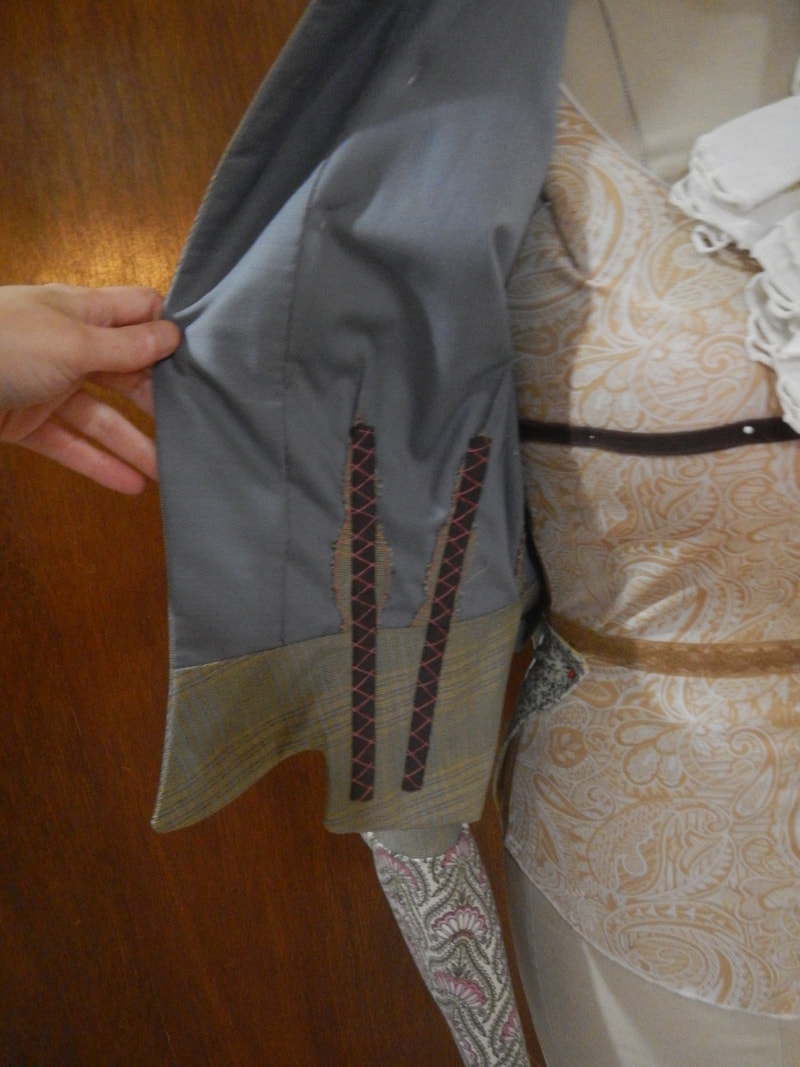
The plaid matches almost perfectly, and that tickles my perfectionist heart! 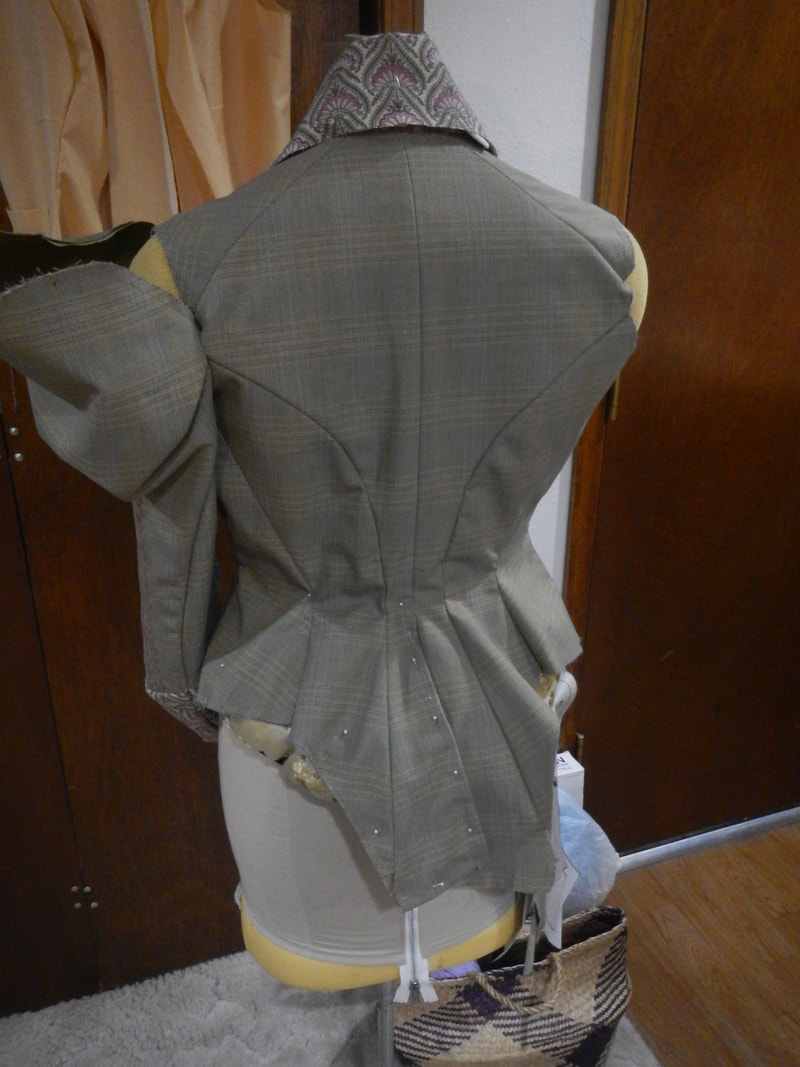 I have a neck-pillow pinned to Mimi's rump to simulate a bum roll! BODICE INTERIOR The interior is where all the work is done. Mimicking the original, I press every seam open. Then, like other extant bodices I've seen online, I trim the edges in a scalloped shape and hand-finish the raw edges with whip stitches. Then I tack the allowances down to the gray cotton to keep them from flapping about. Oh! Lovely!
A few things of note from this process:
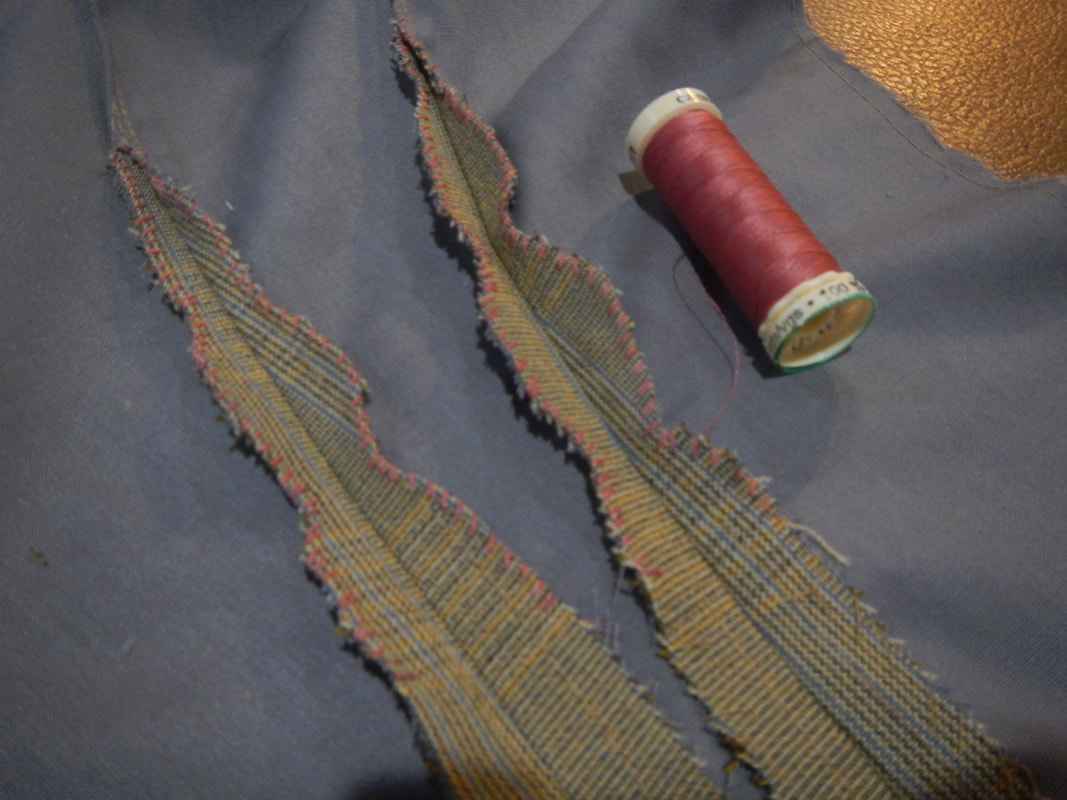
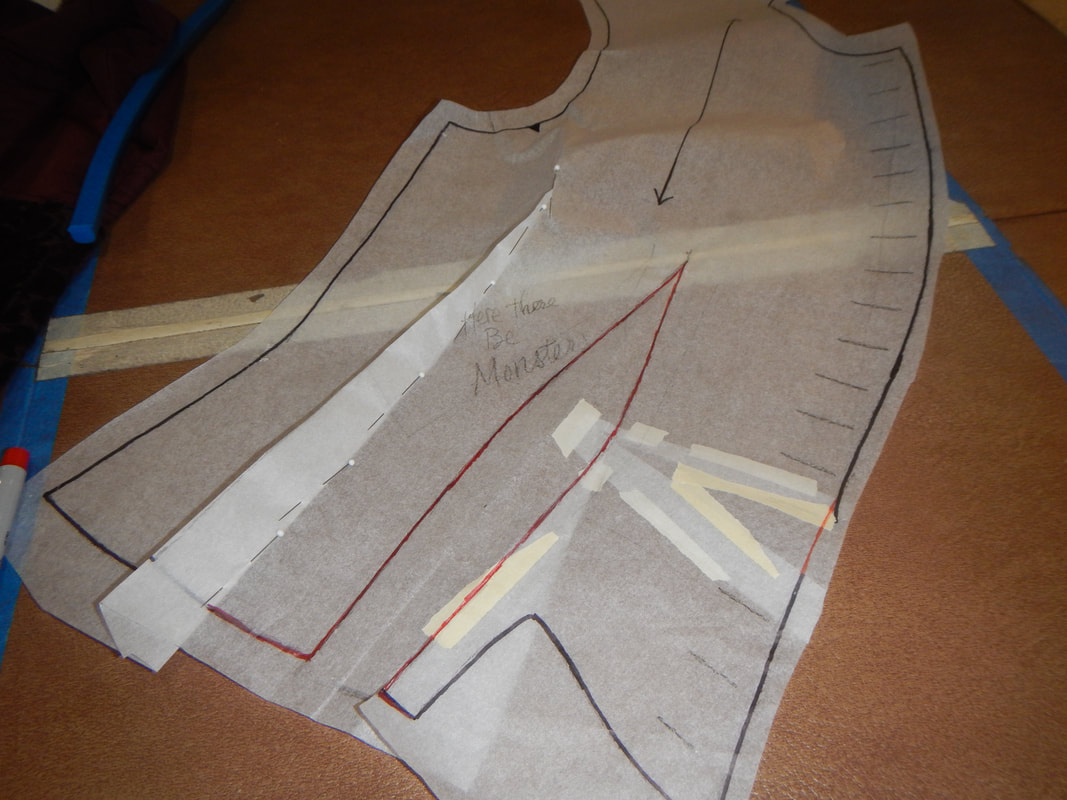
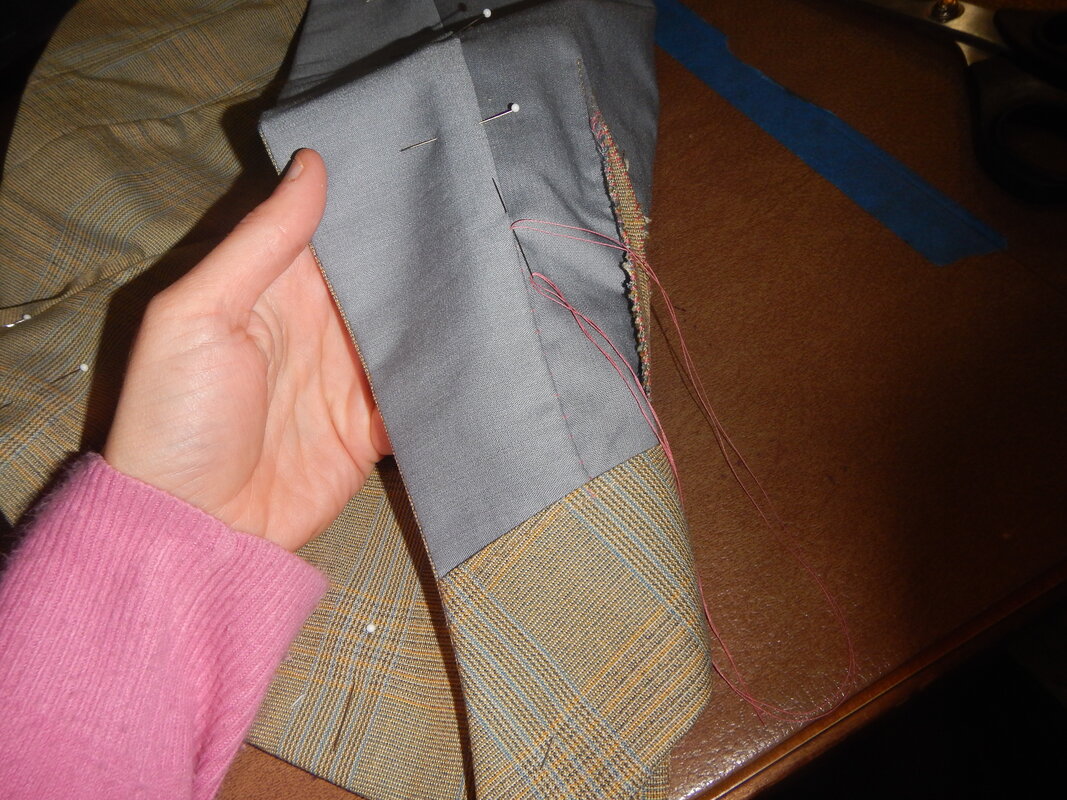
I don't want a plumb line for a Center Front, because it's not period, and I want to see how the period construction feels to wear. So now's my moment to replace the lost flare. Starting at the waistline, I draw a flared line out into the seam allowance, and then I sew along the chalked line. 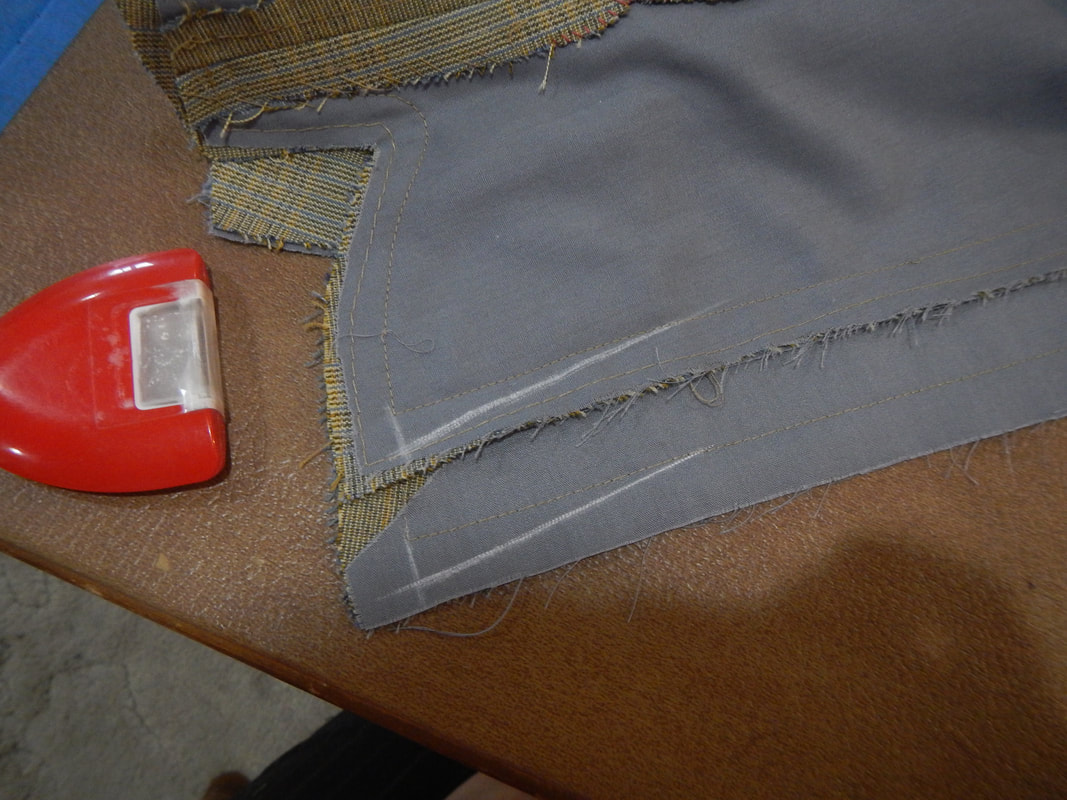 Ignore the stitched line at 5/8" fromt he edge. I sew along the chalked line and pick the first line of stitching out. The chalked line in my corrected flare below the waist! I use tiny scraps of iron-on interfacing to control the fraying edges of closely trimmed corners and to add stability to floppy bits: 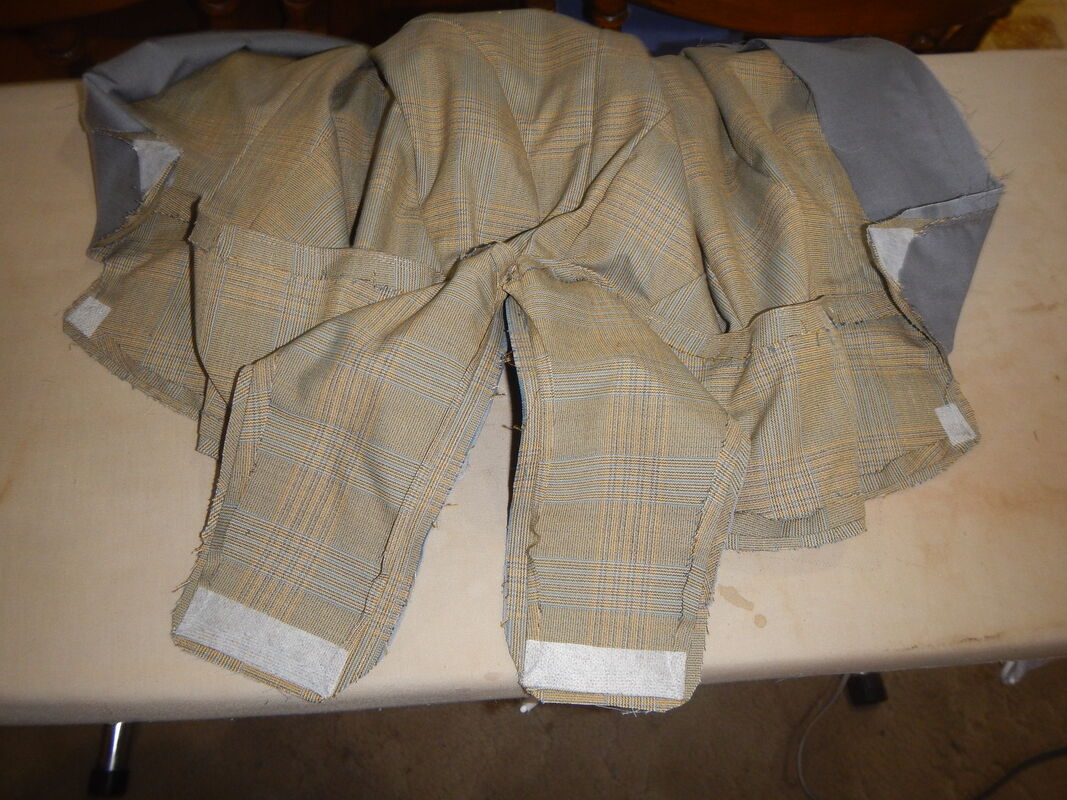 Hem facing on tails.
 Fits pretty well. The armscye is scrunching, but that'll all be seam allowance when I attach the sleeves. The side-back panels are scrunching, but it's too soon to tell if that's because of grainlines or because I haven't boned them yet. But wait--what's that? See those creases in the Center Front? That's what I get for having two boobs! What I need is a period-correct 1880's mono-bosom! Lemme just stuff the front a bit... 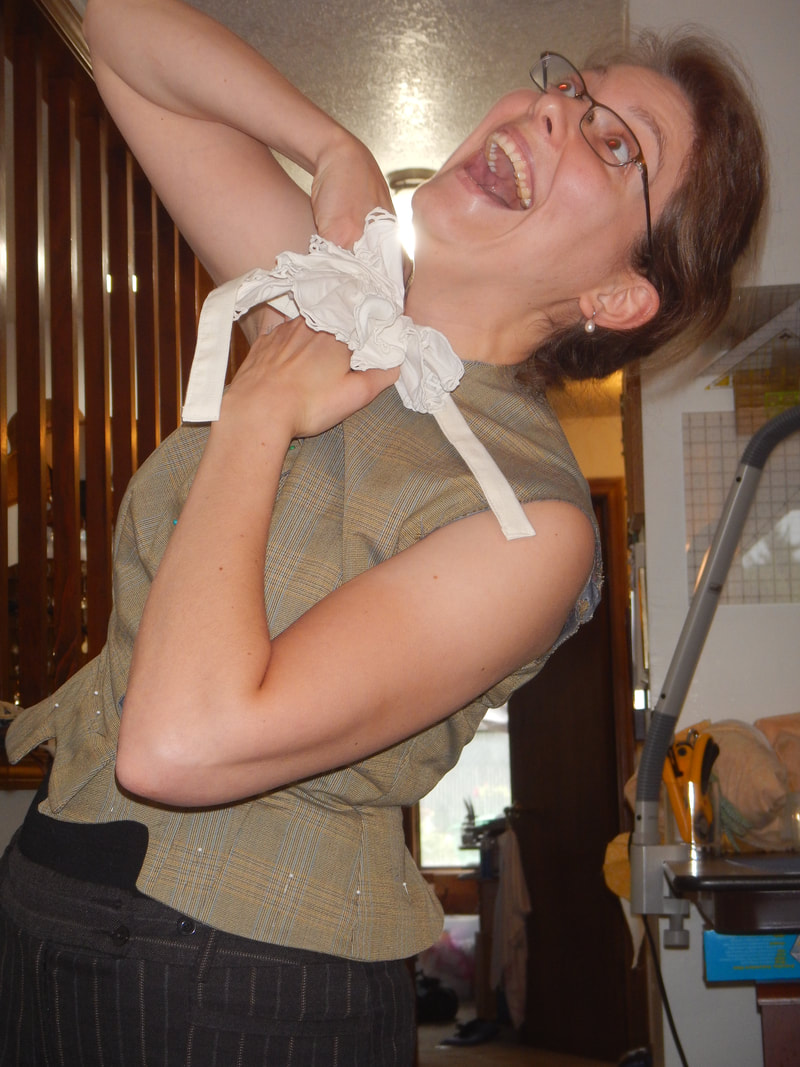 Ah, the classic Edwardian silhouette.
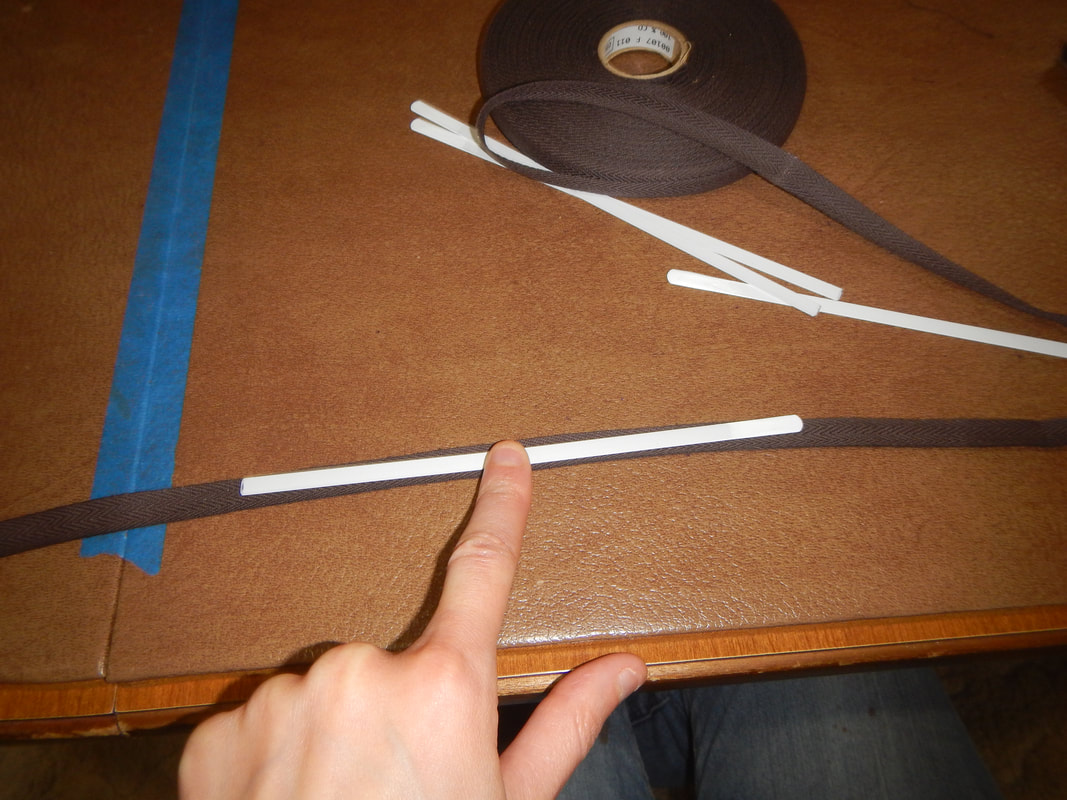
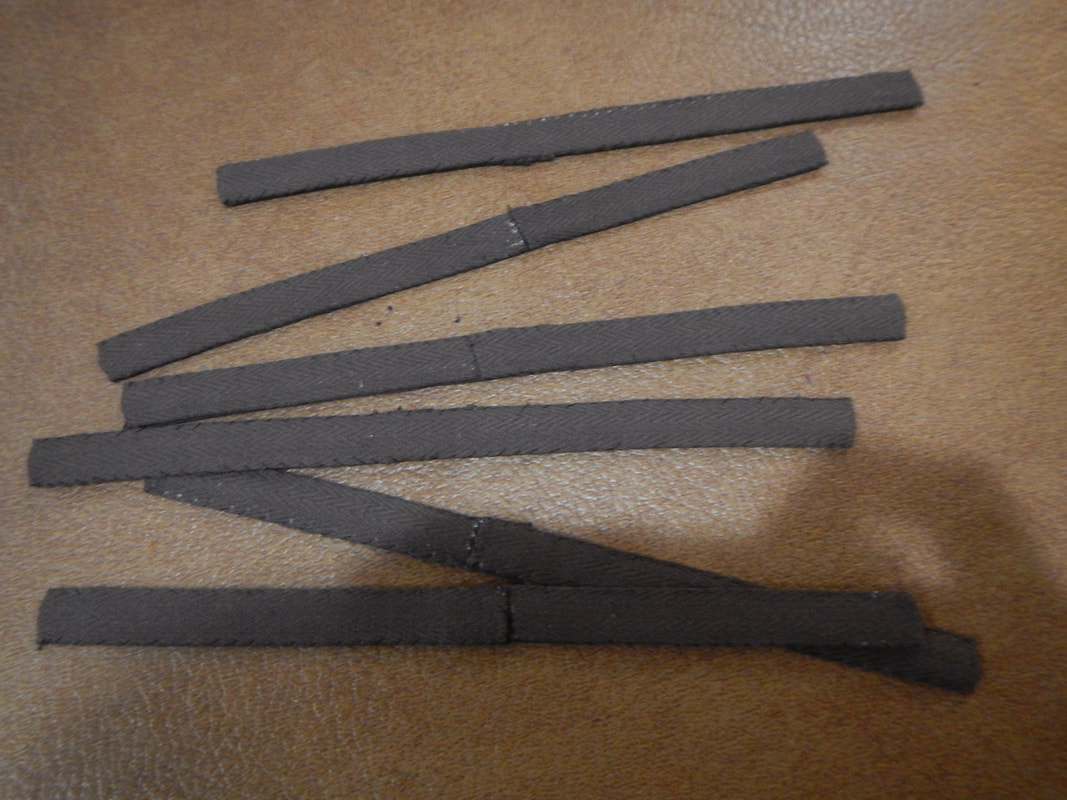
Next, I bone the bodice. For boning, I have some spring steel, which I cut to the right length and envelope in twill tape. I stitch the boning to the seam allowances using herringbone stitch, as in the reference garment.
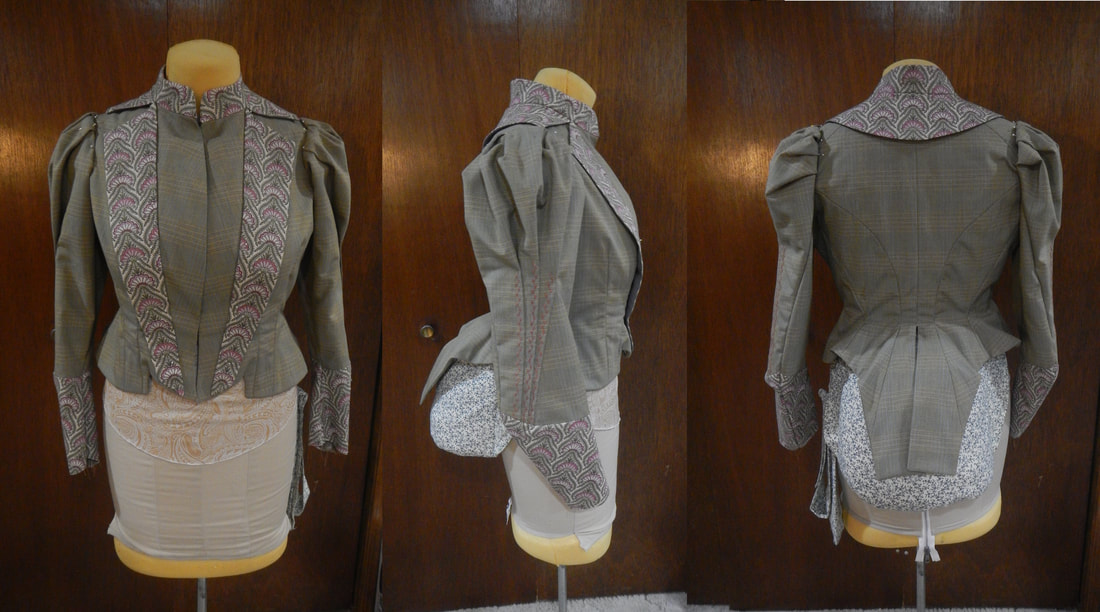
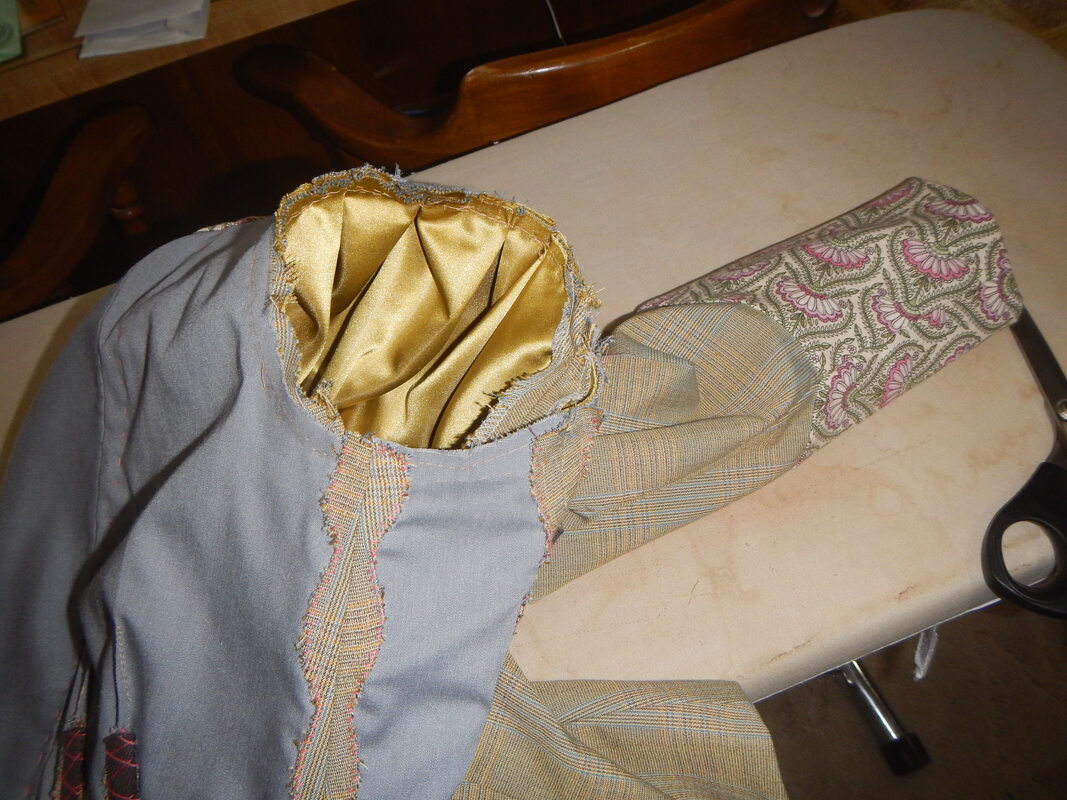
Attaching the collar is annoying and requires hand-finishing. Realizing I forgot to put the capelet on is a bummer. Unpicking the collar is frustrating. Attaching the capelet and resewing the collar another annoyance. But finally, it's done! 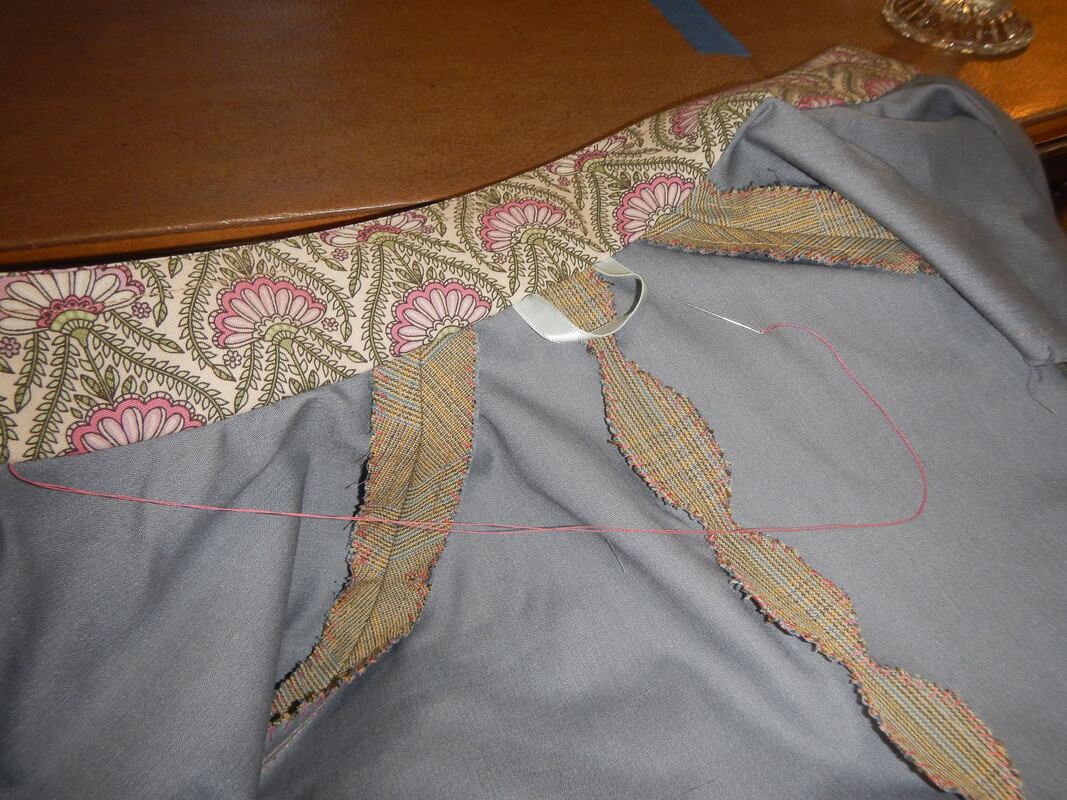 And with a locker loop! So the bodice exterior is just sewn together, with collar and capelet for contrast. The bodice interior is flat-lined, has a hem-facing, front facing, scalloped seam allowances, boning, and a locker loop. Maybe I should wear it inside out! SLEEVES TO BODICE
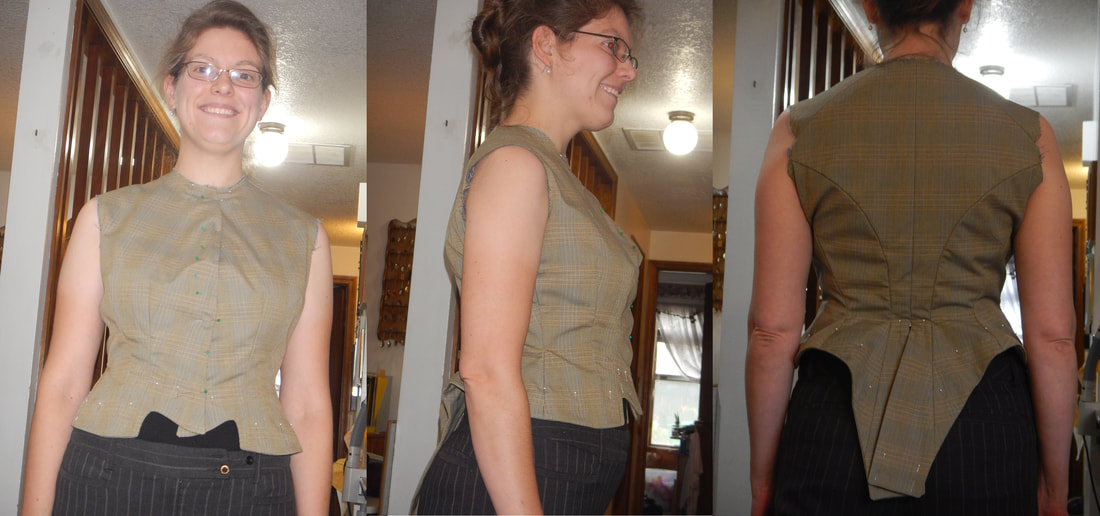
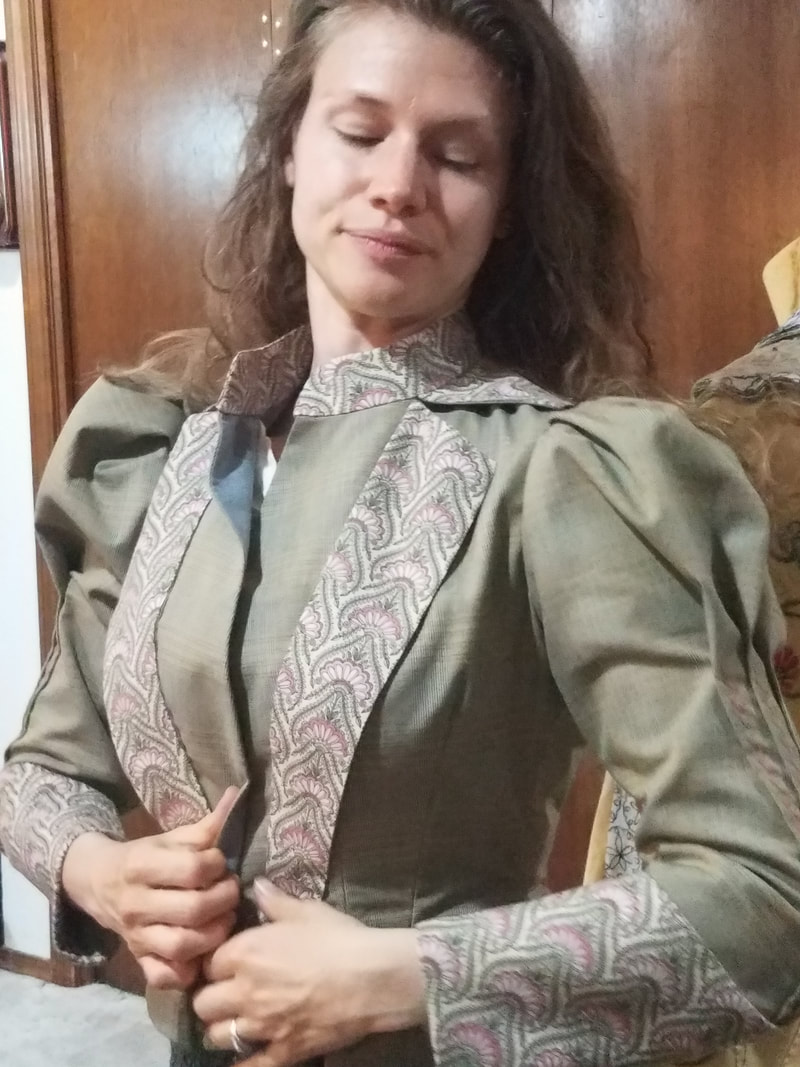
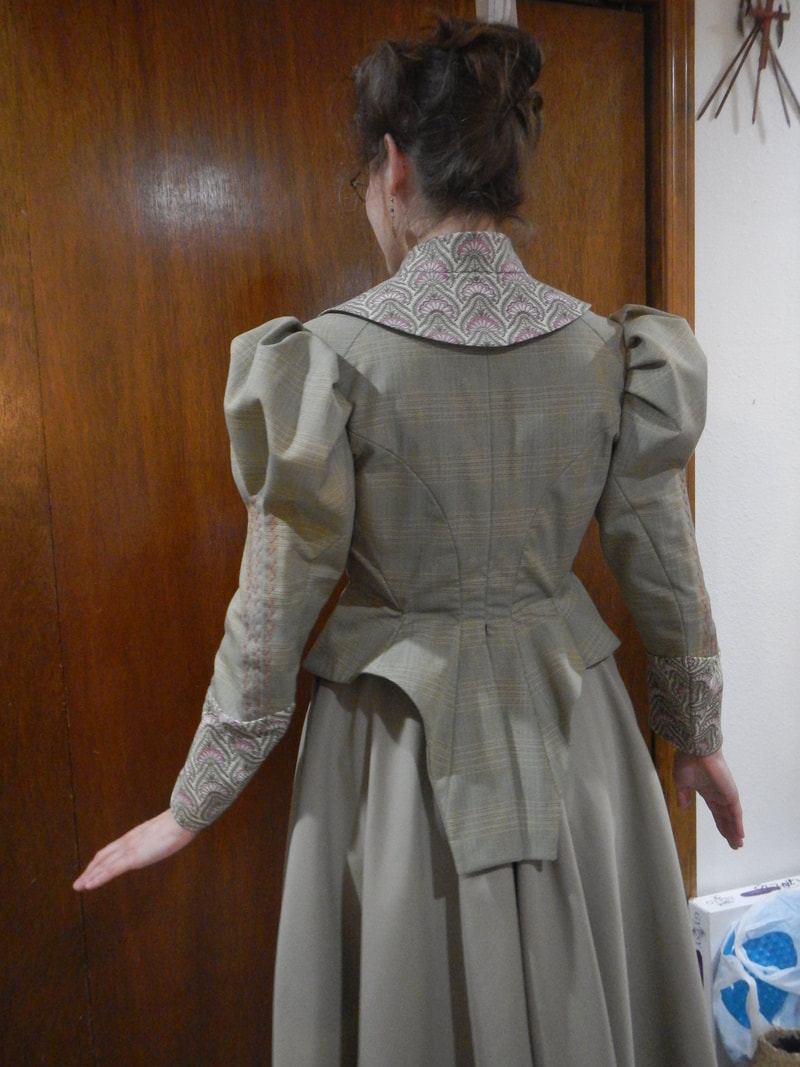
 sleeves pinned on the bodice: right side out. 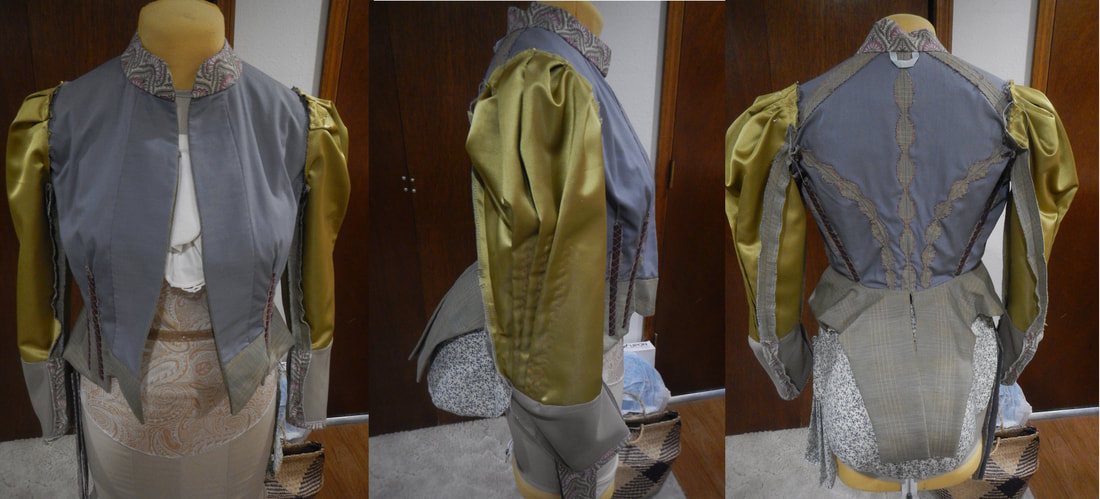 sleeves basted on the bodice: inside out. Then I try the basque on and swan around in it! The high and tight nature of historical armscyes makes it a bit tricky to get into... I begin to understand why people helping each other into and out of coats was considered polite way back when. It lingers as a gentlemanly affectation for a man to help a woman into her coat, but it's awkward nowadays because women don't need the help, and the man's "help" actually slows the process down because neither party knows how to do it. But with old fashioned clothes, designed to offer maximum range of motion with a close fit, donning them is tricky; I can see why a well-dressed man needed a valet and a lady a lady's maid.
BUTTONS? The only thing lacking to finish this basque is a set of buttons. But that's another post!
3 Comments
The Sister
8/31/2020 04:55:37 pm
Yay! I'm so excited to see this post! It's been a while since you updated the blog, and I'm glad that my regular visits to your site have been rewarded by this basque post! *squee!* I love it!
Carol Stober
12/28/2020 07:28:22 pm
I have finally seen your results of the remaking of the ‘top’ I sent you years ago. I had no idea it would be such a challenge & so complicated to recreate the pattern. WOW, you put a lot of time, effort & skill into making it & it shows! Absolutely lovely! Now how about making one for me? 😊 The one I sent you fit me perfectly - once upon a time (the one time I actually wore it out in public to a bridal show) but my measurements have changed some since then! Maybe if I ever meet ‘Mr. Right’ again, you could make my wedding dress? ❤️ You - T. Carol
Carol Stober
3/27/2021 02:17:45 pm
Karen, Leave a Reply. |
Karen Roy
Quilting, dressmaking, and history plied with the needle... Sites I EnjoyThe Quilt Index Categories
All
Archives
March 2024
|


 RSS Feed