|
One day I looked at my undergarments and said to myself, "Self," says I, "I need a new petticoat...!" I have several serviceable slips, one crinoline, and a vintage nylon petticoat, already. The vintage one is a joy to wear, a soft apricot color with a delightful froth of ruffles around my knees, but it's also torn and mended in many places, and is too long for a lot of my skirts. (Luckily, I know how to make it work.) The crinoline does its job, but without the lovely ruffles and softness I like. What's needed is something like the vintage one, but shorter, to wear with my shorter skirts. And I do have a stash that needs busting! So I dig around in my whites and pull out some white sheer curtain fabric, white lace from a wedding gown skirt, and white nylon tricot from an old nightgown. 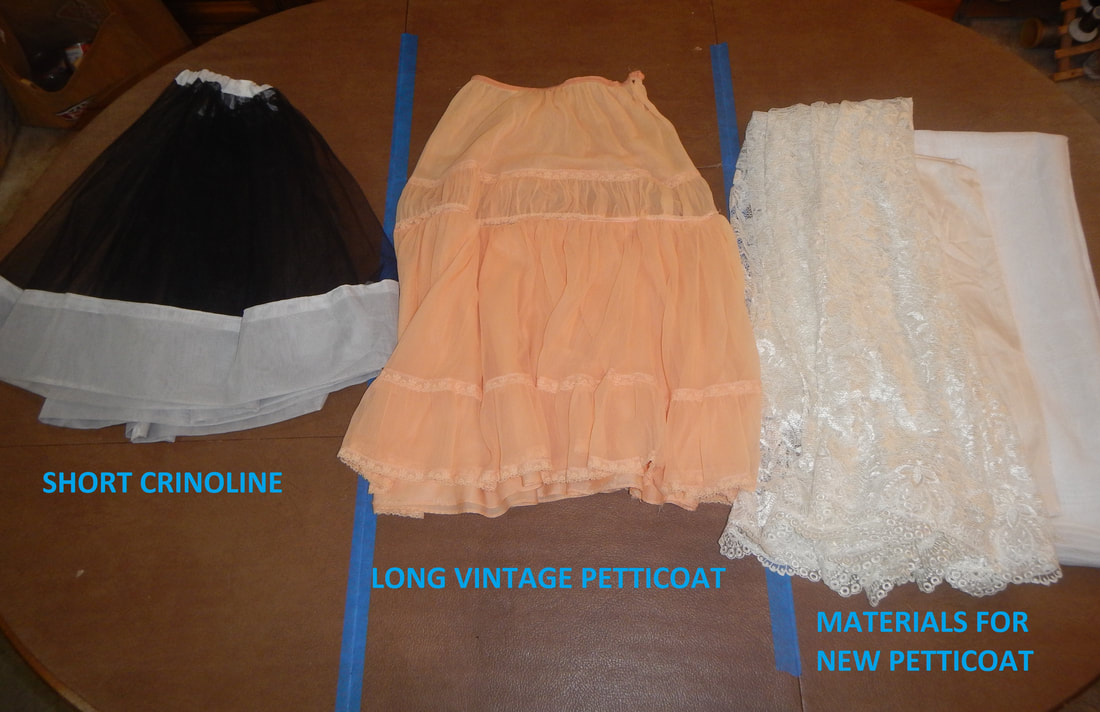 MATERIALS Since I want this petticoat to be slippery and nice feeling on my legs, I have chosen an inner layer of nylon tricot. Tricot (say "TREE-koh") is a kind of warp knitting, and nylon tricot is a favorite lingerie material because it doesn't hold stains, doesn't run, drapes nicely, and feels smooth. The sheer curtain fabric, a synthetic organza, I choose for its slightly stiffer hand, thinking it'll make the bottom ruffles more full. The lace from the wedding gown has seen other uses on this blog, where I re-purposed the bodice and where I made a bustier! This time I'll use the bottom of the skirt, to take advantage of the scalloped lace already sewn there. (You know my love of scallops and aversion to hemming!) Finally, I have some soft tulle, which I'll layer into the bottom ruffle between the lace and the organza, for fluff. CONSTRUCTION I don't need a pattern for this project. The only measurement I need is the width of my hips, to make sure the skirt is at least that wide at the top so I can pull it on! Below my hips, the hem circumference will grow with each panel I join to it, so there's no need to measure anything else.
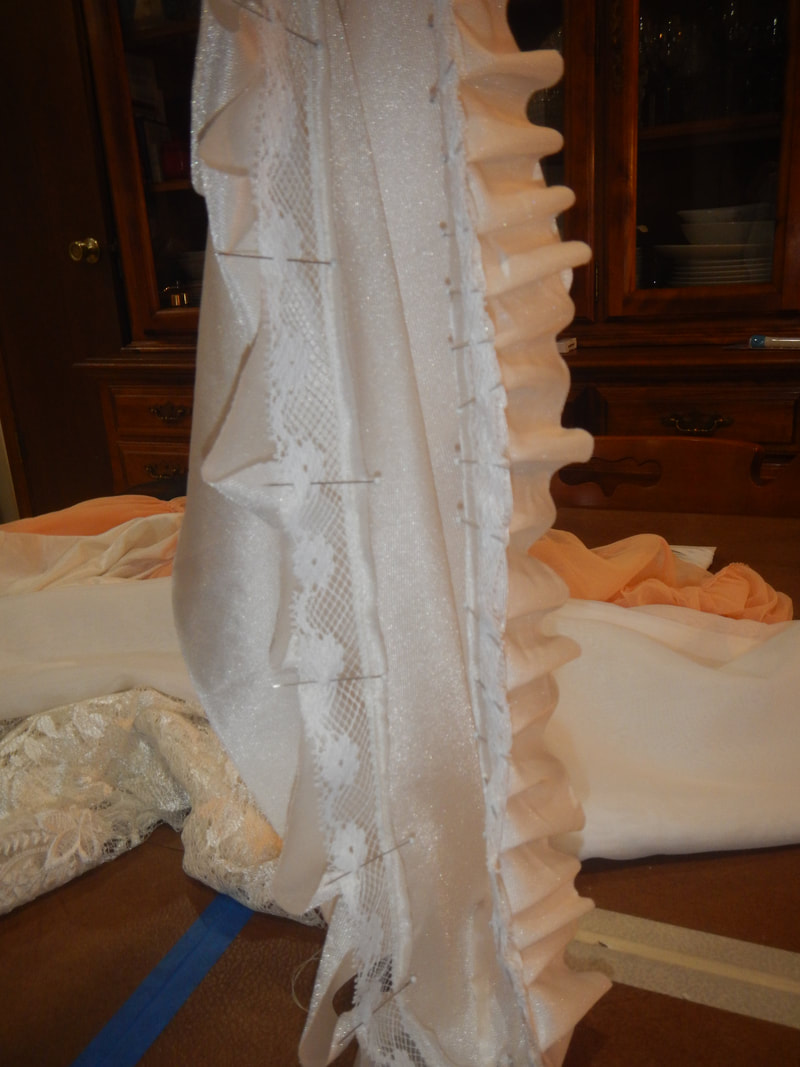
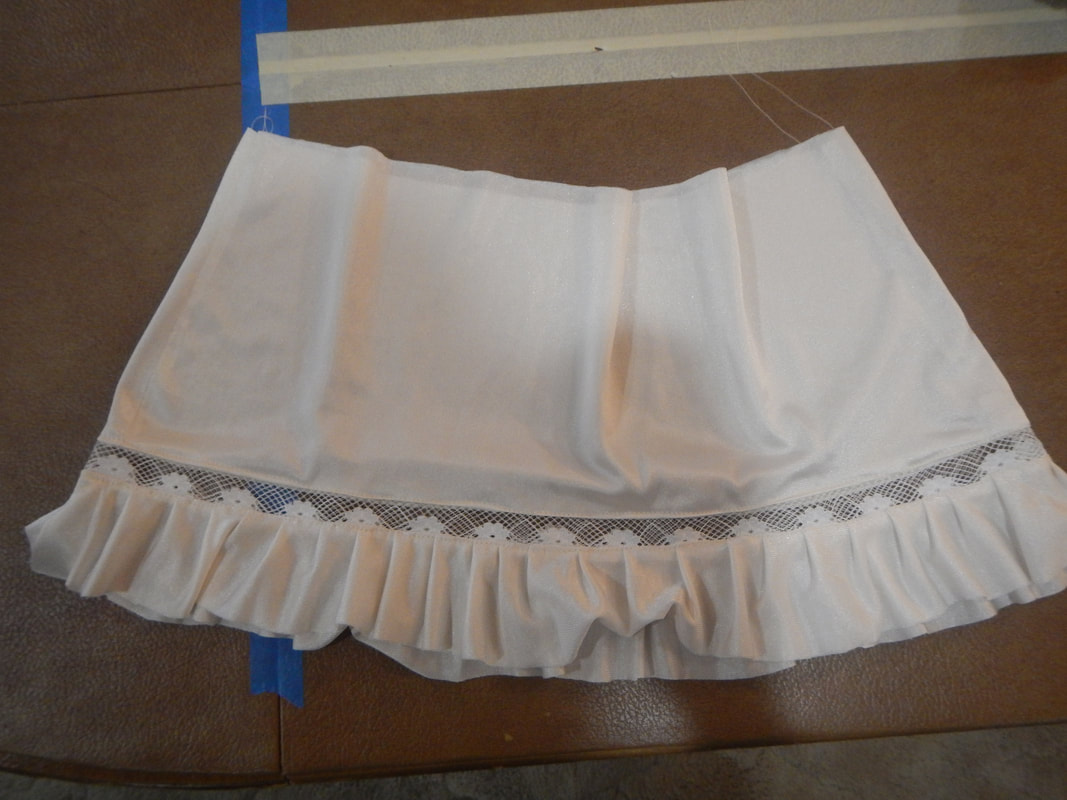
Or should I sew the side seams now, making a tube, and proceed with construction sewing more layers to the bottom of the tube? I opt for the second option, because I figure that's the easiest way to make sure my ruffles are evenly distributed around the skirt. Since I'm working from scraps, the ruffles will be as full as my yardage allows. Next, I put a length of lace at the bottom, sewing it to the outside of the tube, then flipping the raw edge under and top-stitching it in place. Where the lace joins itself at the side seam, I overlap motifs carefully and hand-stitch so it lies flat and attractive. 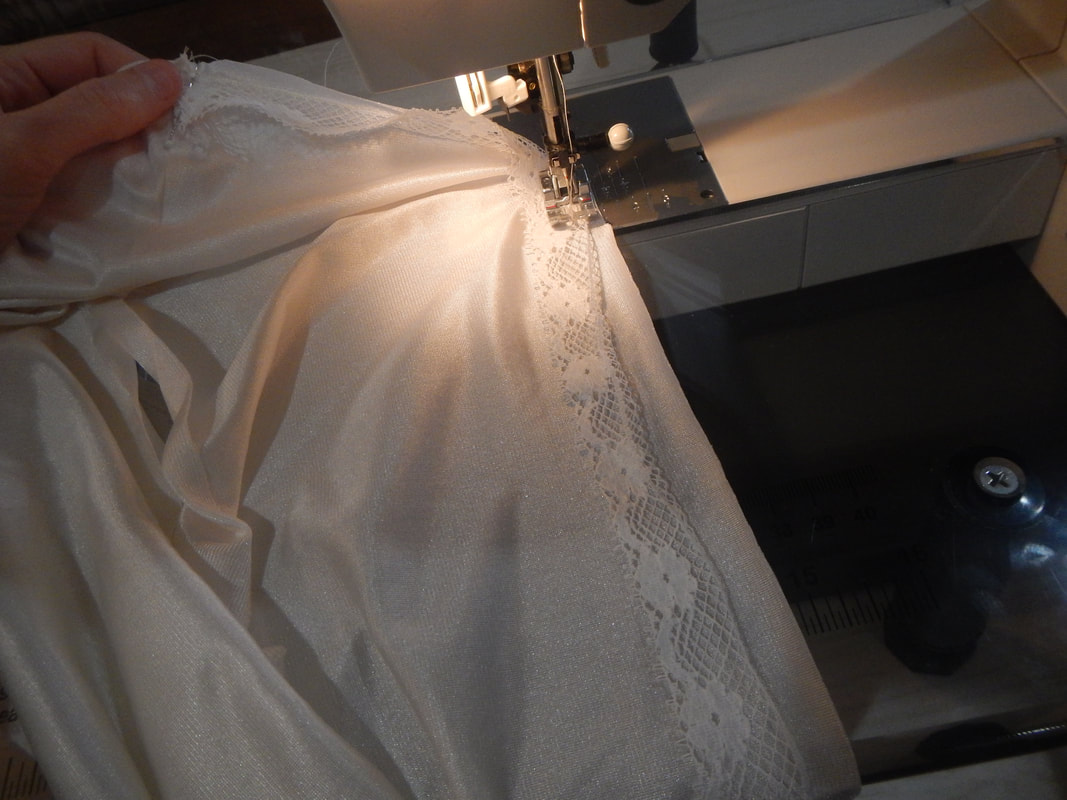 inserting the lace The next panel is a long skinny strip of nylon tricot, which I pleat to fit the lace.
Time for the bottom ruffle, which will be full. Here's two layers of tulle and one layer of lace on my ironing board. The tulle is longer than the lace at this point, but I'll trim it later, after it's sewn in.  lace and tulle layers on my ironing board So far the only raw edges I've had to deal with have been nylon tricot, which curls a little but doesn't run or unravel. But the bottom ruffle will have organza and lace, so I need to design this seam to protect those edges. I could use my serger, but then I'd have a serged seam on the inside of the garment, and I don't want that for this project; I want the whole thing slippery and smooth! So I go with a ruffle with enclosed seam allowances. 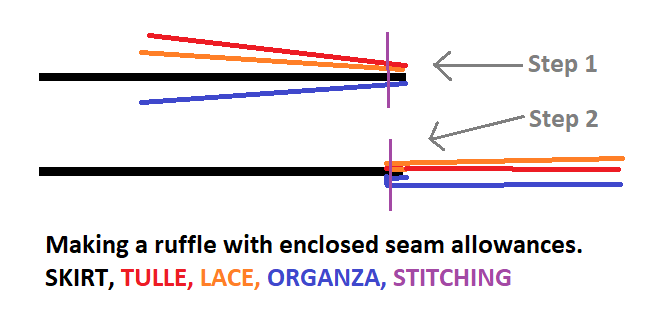 Hopefully this color coding makes sense! Actually, since the various layers get gathered and there a ton of pins to keep track of, I do it in three steps instead of the two I diagrammed. First, I sew the lace and tulle to one side of the skirt using 1/4 inch seam allowance; then keeping the lace and tulle in the same position I sew the organza lining to the other side of the skirt using a wider seam allowance, so the tulle and lace get re-sewn. Finally, I flip all the layers down and top-stitch to hold them down and secure the raw edges, too. 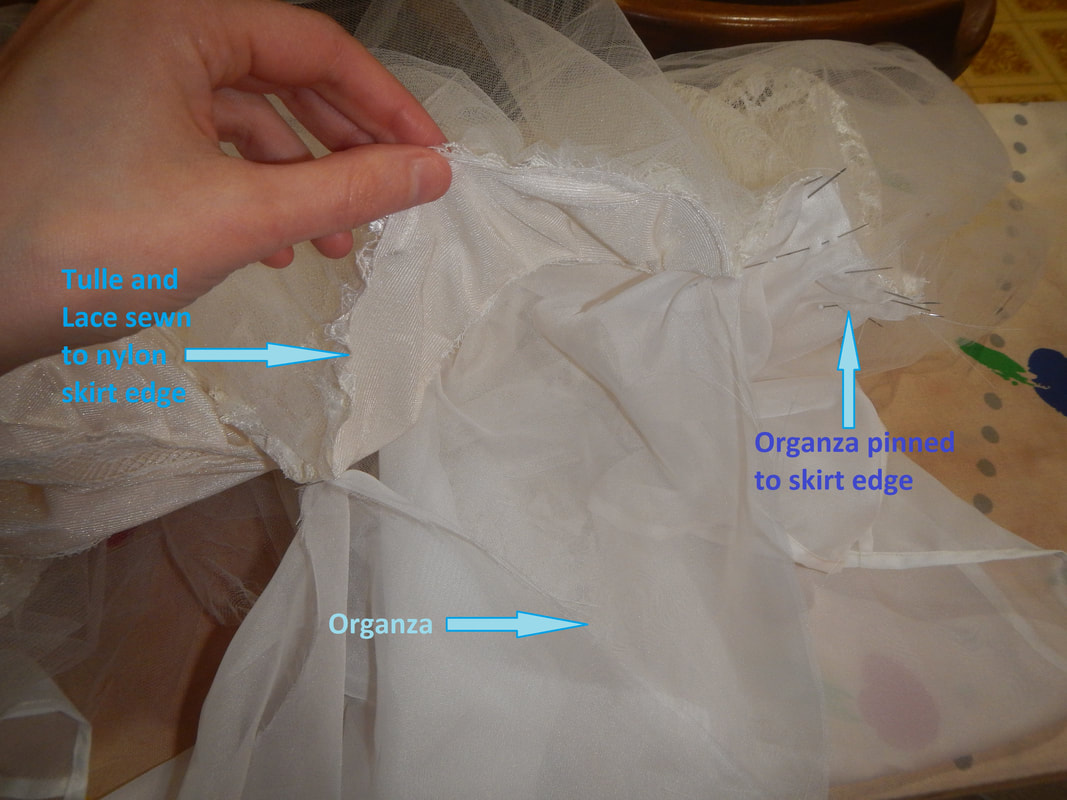 Now I know how long it is, I trim the excess tulle away and put an elastic waistband in the top. Done! I wear it the next day and swish around all pleased with myself. A few layers of ruffles to perk up my day... It's a blessing to be easily pleased, don't you think? 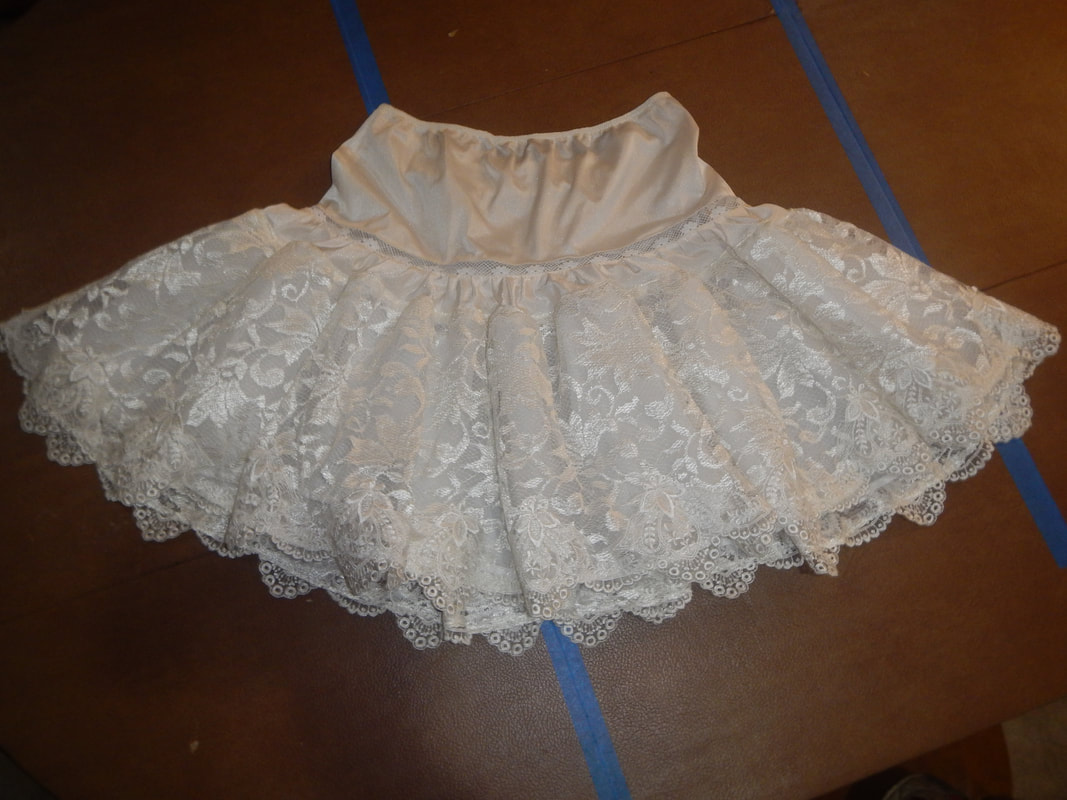
1 Comment
The Sister
5/16/2018 03:15:36 pm
This is too charming. Also, I rather like the "rising sun" pattern that emerged in the lace, and how it's like a tiny window all the way around! I'm sure the skirt feels delicious against newly-shaven legs, too. ;-) Leave a Reply. |
Karen Roy
Quilting, dressmaking, and history plied with the needle... Sites I EnjoyThe Quilt Index Categories
All
Archives
March 2024
|

 RSS Feed