WHAT'S A PARTLET? Throughout fashion history, women have exposed their bosoms, then gotten cold or modest and covered them up with separate garments. These smaller garments had the practical advantage of being easy to launder and press (compared to a whole shirt), as well using little fabric and so being a relatively easy and cheap way to change up your outfit. I say "relatively" because there's no limit to how much people will spend on how little fabric, to show off! The names of these garments vary by the time period. Nowadays, businesswomen wear faux camisoles that only cover their cleavage (they clip onto the bra straps), so they can easily take them off after work for an "evening look". In conservative religious groups and places, so-called "modesty panels" are always in vogue. In the 1970's, when layering was the style, people wore turtleneck dickies that had no sleeves or bodies, so they could put more shirts or sweaters on top without adding bulk. In the forties, dickies were in for everyone. Moving back on the timeline, Victorian women had chemisettes and engageantes under their dresses (not to be confused with plastrons atop the bodice); our Regency ancestors wore chemisettes, and the fichu preceded that in the Georgian era. In the Tudor/Elizabethan time, the garment was called a partlet because it was only "part" of a shirt: just the collar and shoulders, really. In earlier, Tudor, portraits, women were more modest: their hair was usually covered in a hood or veil, their bosoms often covered by partlets that looked like mini-capes outside the bodice or fully closed shirts inside the bodice. The front opening was usually vertical and not wide. The Elizabethan era was showier, and much more body-conscious. Women wore thinner veils, exposing their styled hair. Sometimes they wore hats. Their partlets might be sheer, and often closed at the neck but opened up below, to show their chests. Cleavage with the vertical crease between the breasts, such as we now fetishize it, wasn't admired, but full, high breasts certainly were. BLACKWORK STYLES As I look at Tudor and Elizabethan portraits, I see two distinct styles of blackwork embroidery. The first, earlier style is geometric, counted embroidery, and used for borders, cuffs, and collars. Because both sides of the fabric might be seen, the filled running stitch called the Holbein Stitch looks the same on both sides, making a reversible pattern. You see it on menswear and womenswear. My first attempt at blackwork, a ruffle, is reminiscent of this very Tudor look. Later, in the Elizabethan era, blackwork embroidery became more representational, with flowers and birds scrolling around the fabric much like crewelwork patterns would. The counted geometric patterns are preserved as filling stitches inside motifs. When the embroidery is done on thicker fabric, like a linen jacket, there's no attempt to make the wrong-side look the same as the right.
INSPIRATION
 Phoenix Portrait Detail, [Public domain], via Wikimedia Commons What I love: the triangle shape of the decolletage created by the partlet cutting in at angles, the detailed flowers in blackwork, the needlelace edging on the partlet and the chemise at the bottom, the sheerness of the linen. At the top, you can see a peek of the lace edging her ruff, which is reticella style. I wonder what the white sheer grid on top of the blackwork embroidery is... a layer of net? And are those lower two chains attached to her partlet? And I notice the blackwork motifs are cut off; I wonder if the fabric was embroidered first and then cut. That seems unusual, given how much work embroidery requires, but perhaps they were re-purposing existing fabric for new styles. MAKING MY PATTERN
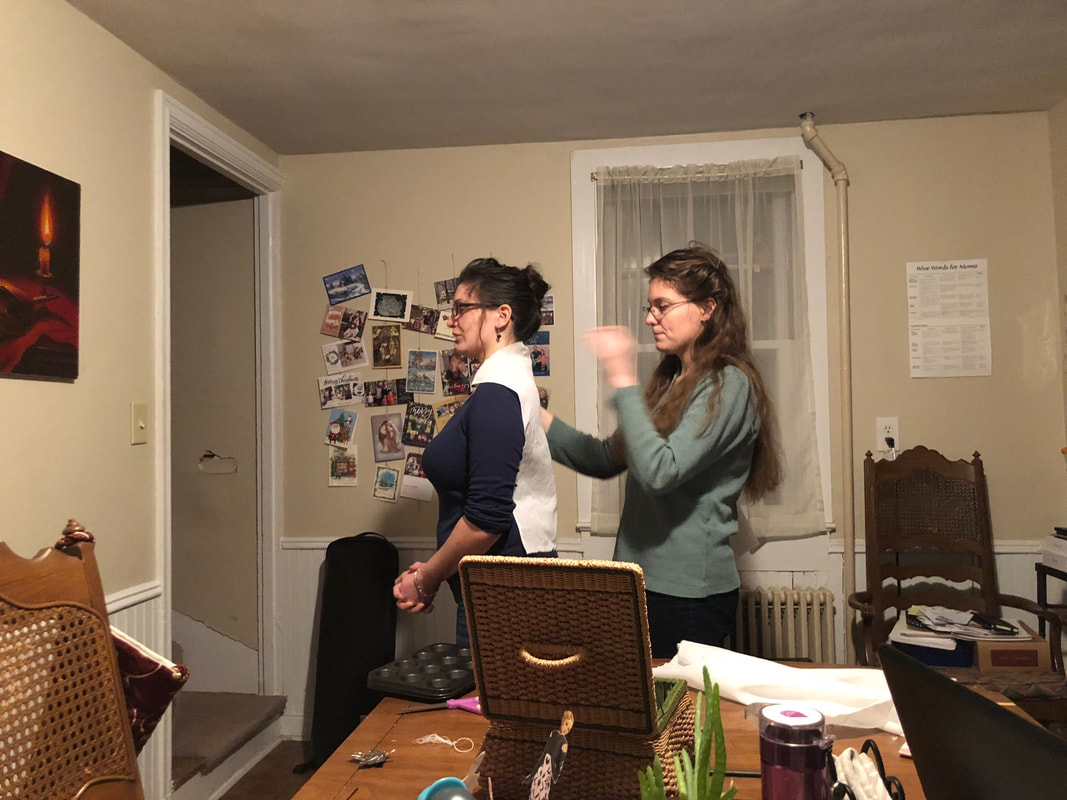
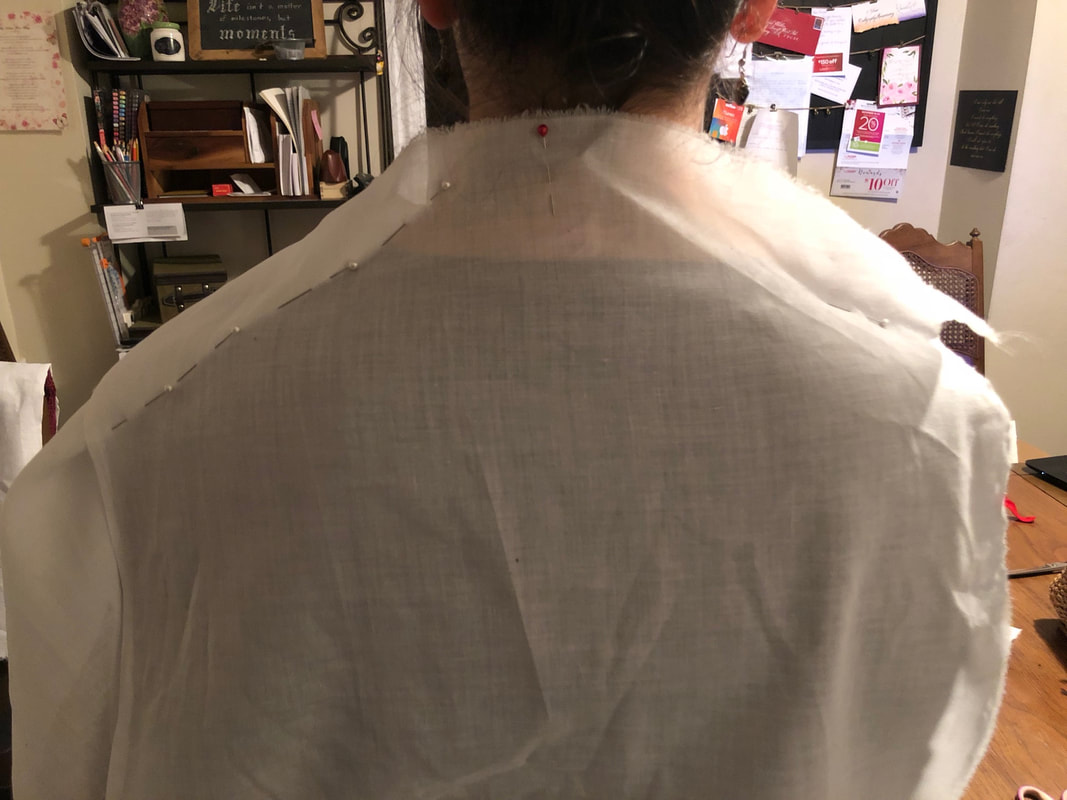
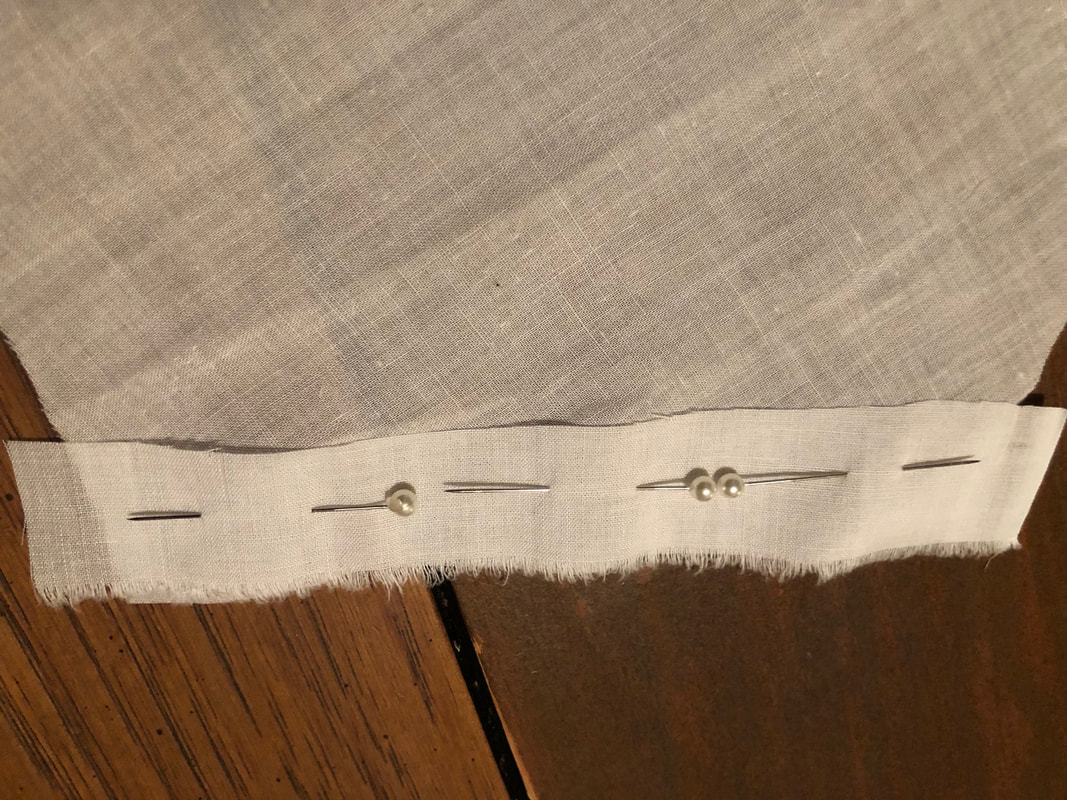
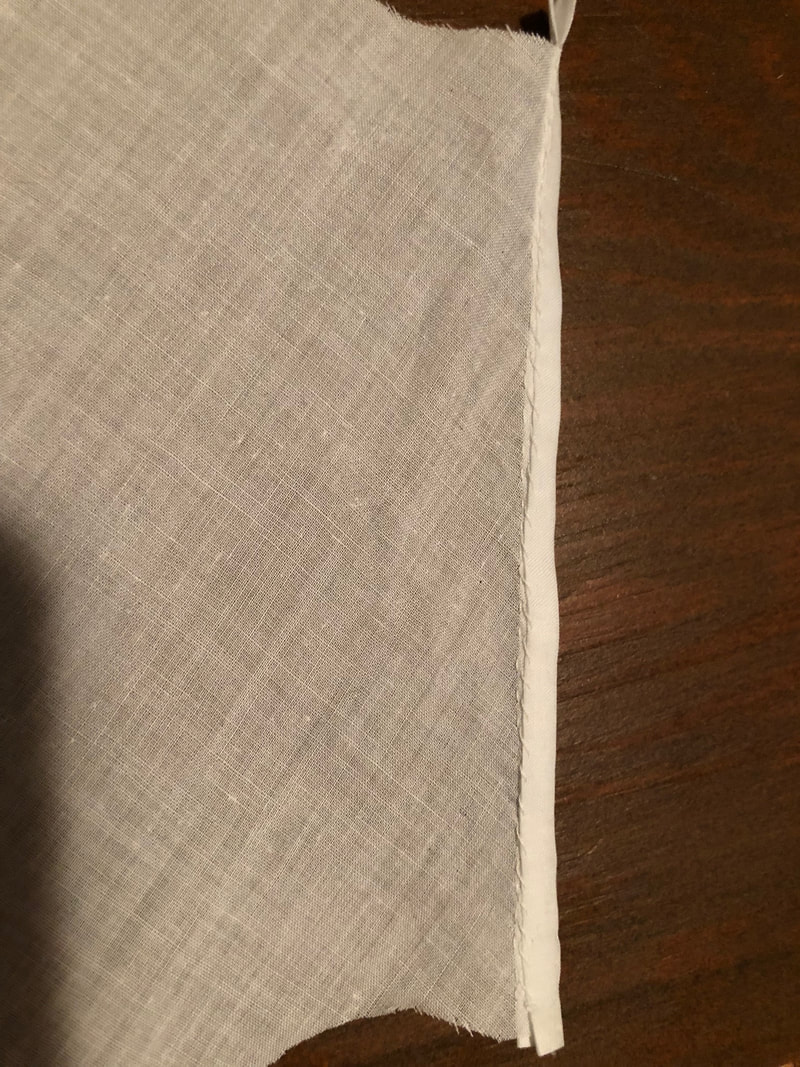
I start with a semi-sheer linen from my stash, which I rip into rectangles. My sister's back being much like my own, I drape a simple back piece on her and know it'll fit me fine. I set the shoulder seams back somewhat, so they won't show on the front when I wear it. Then for the front, I use the selvedged edge of the linen as the edge of the opening (so I can avoid hemming it!) and drape it slanty, to make the triangle opening I like:
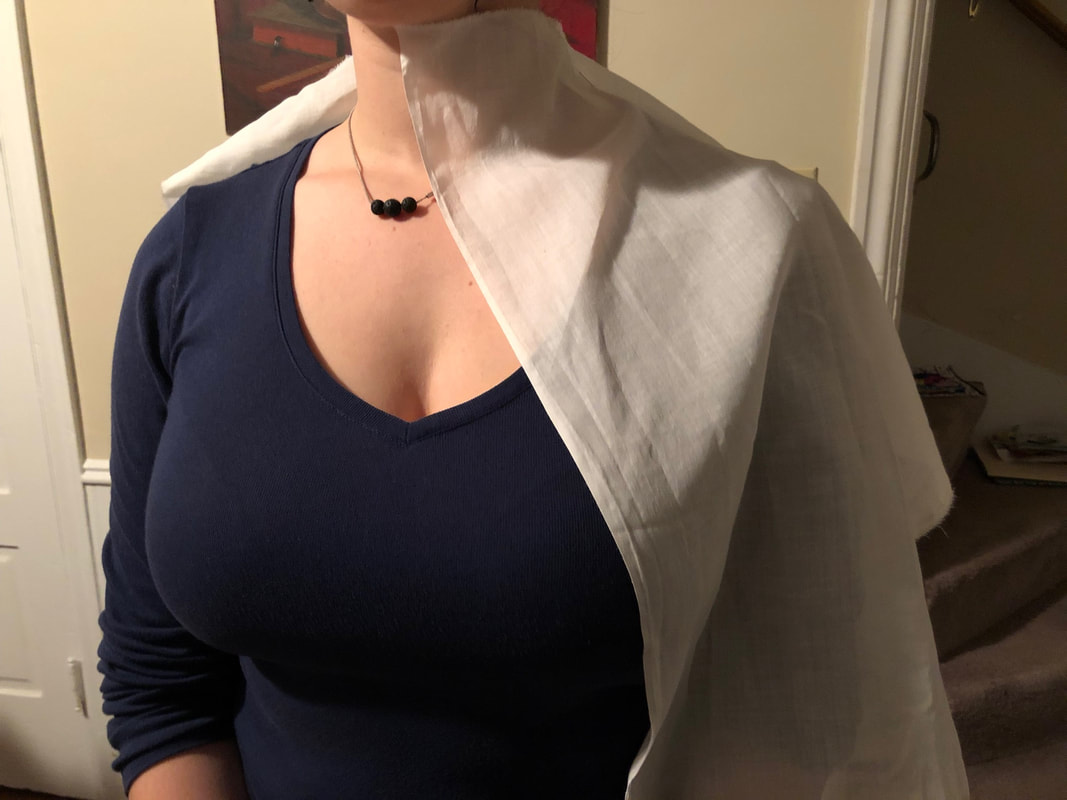
Notice on the front the collar rising up on the throat? That'll flip down into a revers (say it like "revere"). I pin the sides under her arm, and then try the partlet on my own body... the bosom is too big, as expected, but I just tug it tighter at the side and trim it, and it's perfect! The finished shape is still pretty basic, just a little slanty on the front pieces, with small edges at the bottom. I don't know if it's period correct, but I'm not aiming for perfect historical recreation in this project. (I do notice that my partlet's shape is similar to the shape of Lady Lynn Fairchild's partlet in this post about blackwork.) 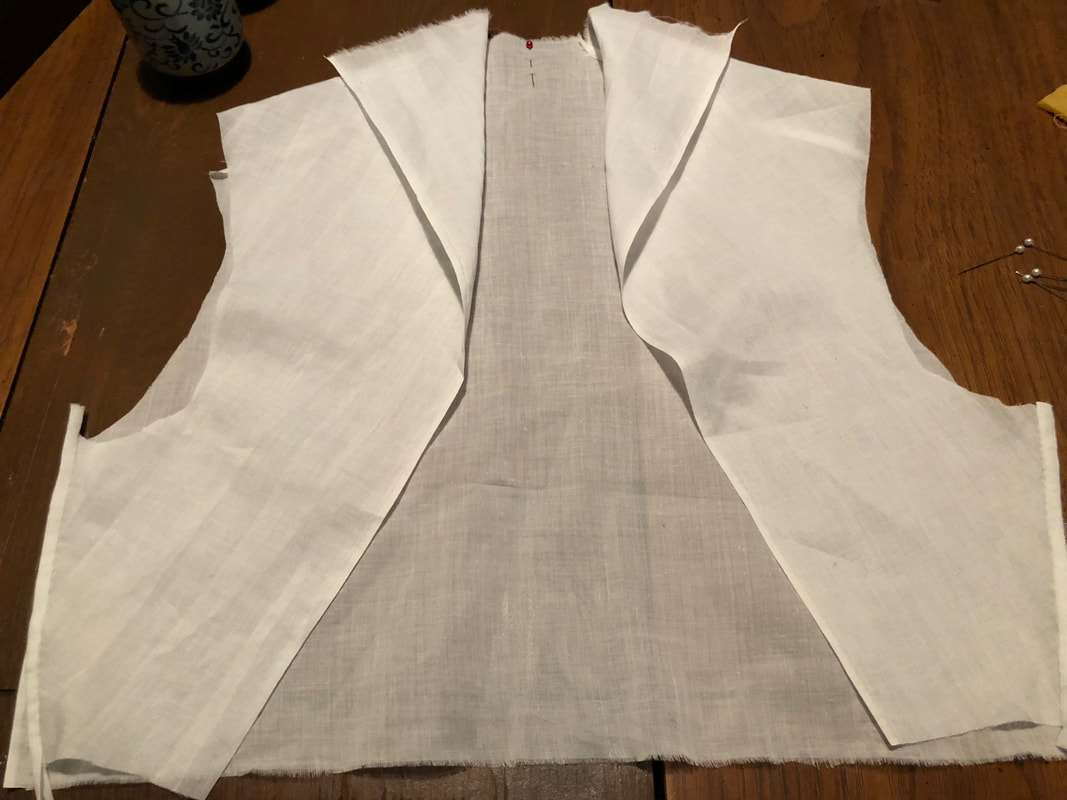 At this point, I need to hem the raw edges, make casings at the bottom for the drawstring, and figure out the collar treatment.
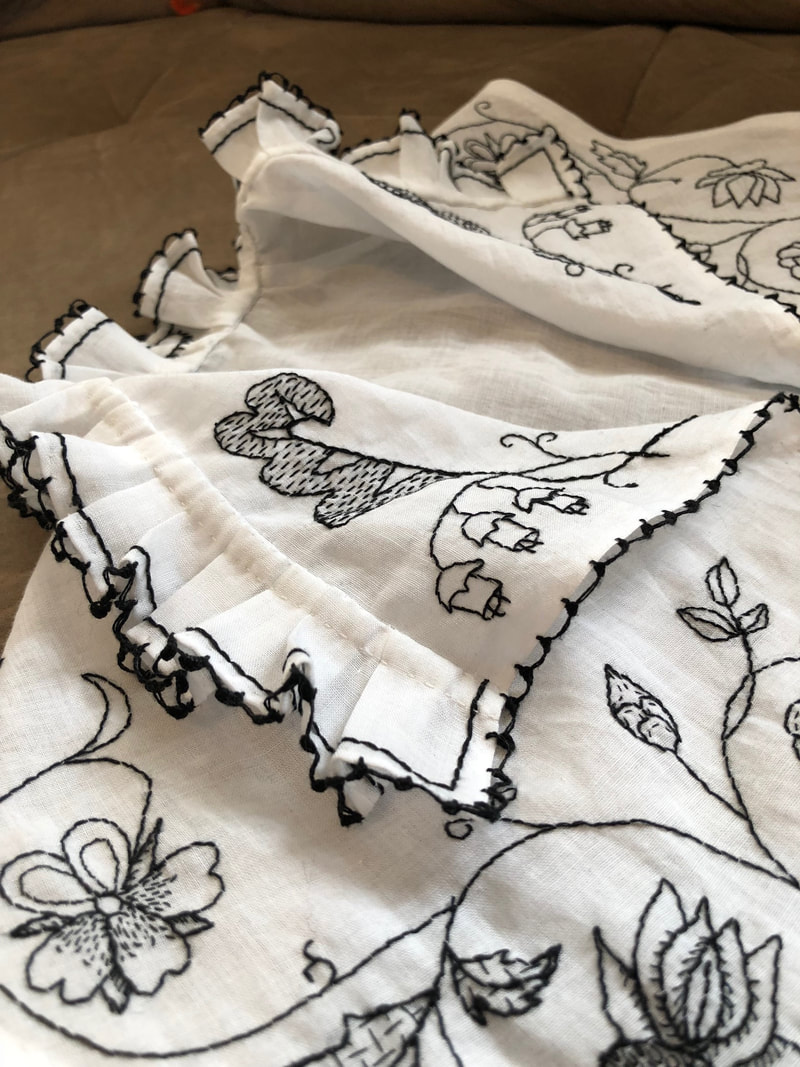
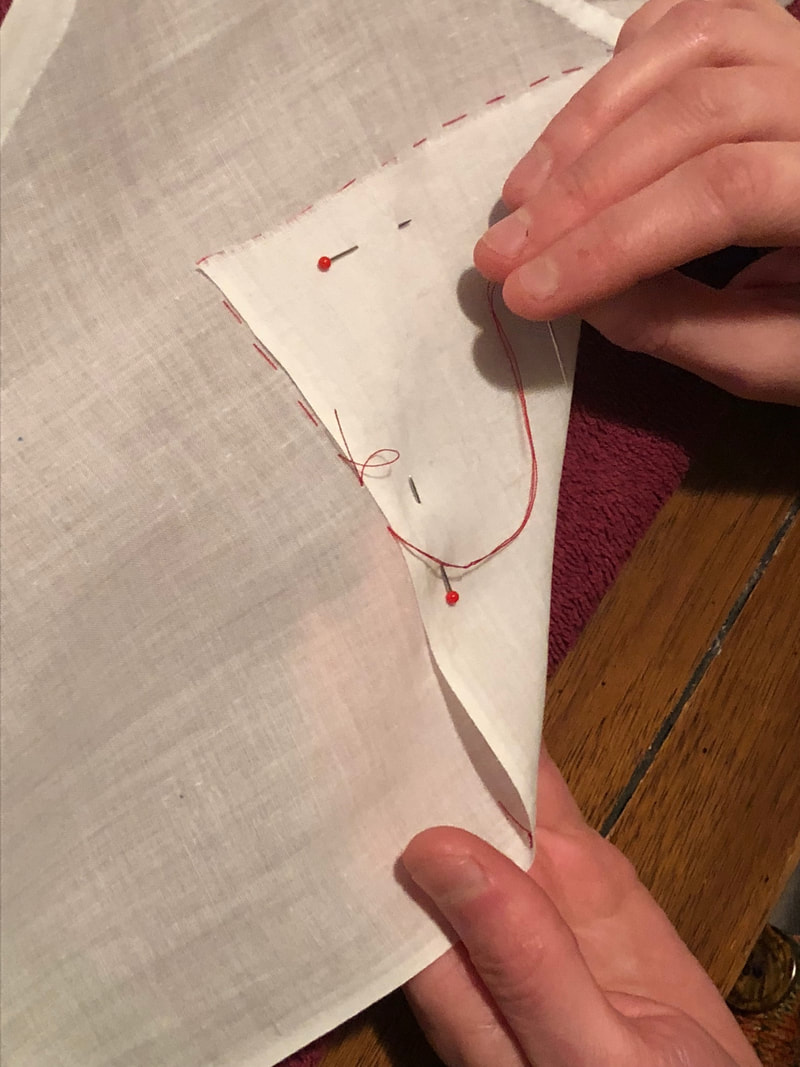
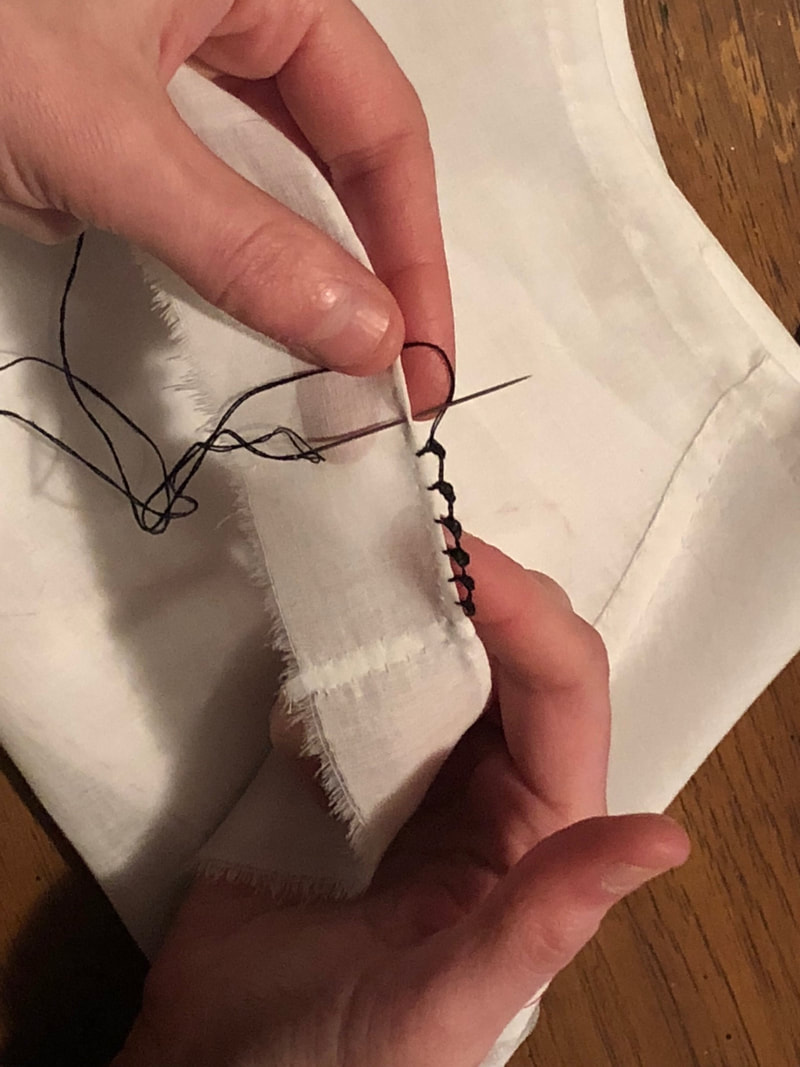
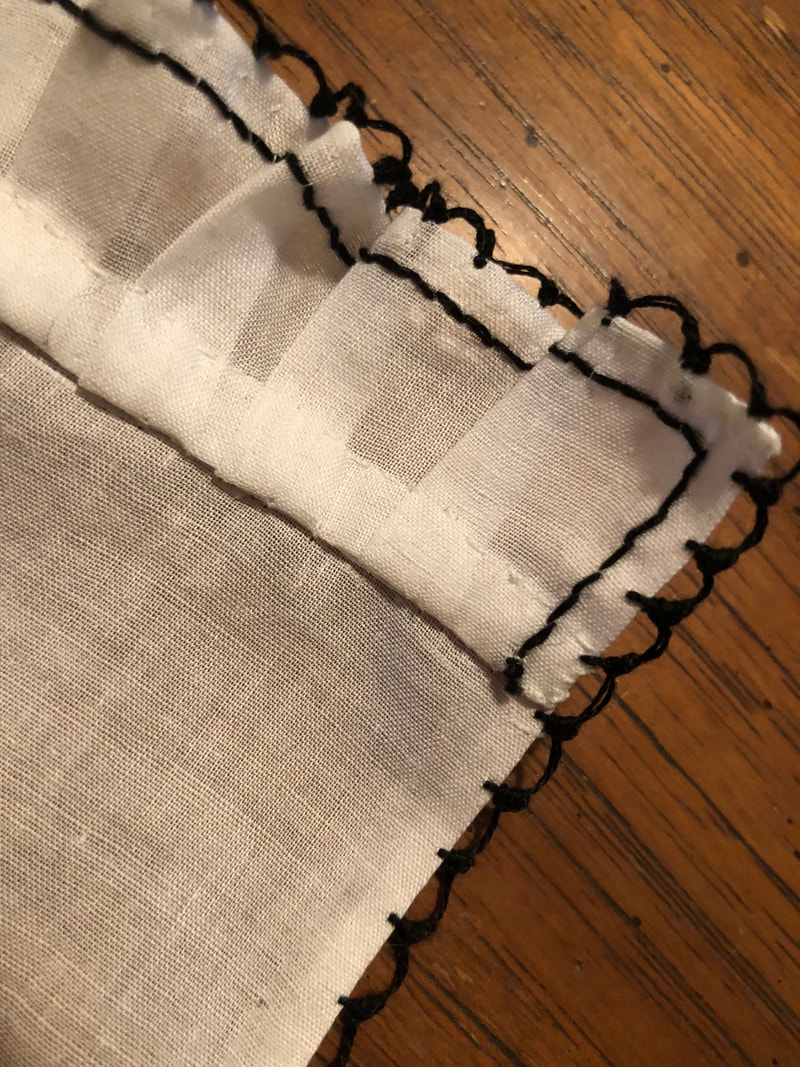
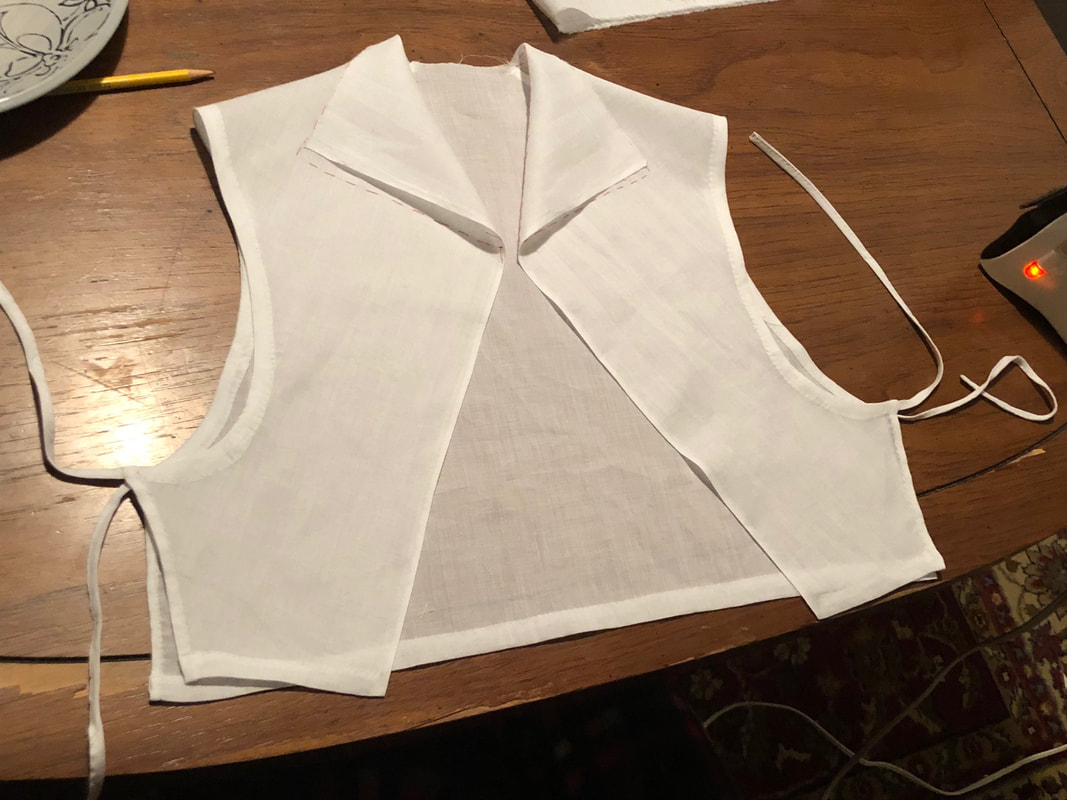 The finished partlet, pre-embroidery. EMBROIDERYBecause blackwork is meant to be reversible, and because the fabric is a little transparent, I start my embroidery by turning down the revers (say "reveres" when it's plural, though the spelling is the same as the singular) and using basting stitches in red thread to mark the place where they'll lie. I don't want to embroider under the revers, because I'll also be embroidering on top of them, and I don't want clutter; the red basting is merely a guide and gets removed in the end. Then I make a long narrow ruffle, hem it, and use black embroidery floss to edge it with what the Reader's Digest Complete Guide to Needlework calls a "shell edging". I sew and flat-fell the ruffle to the top of the partlet (using pleats because they appear more often in period portraits than gathers), and continue the edging down the front opening.
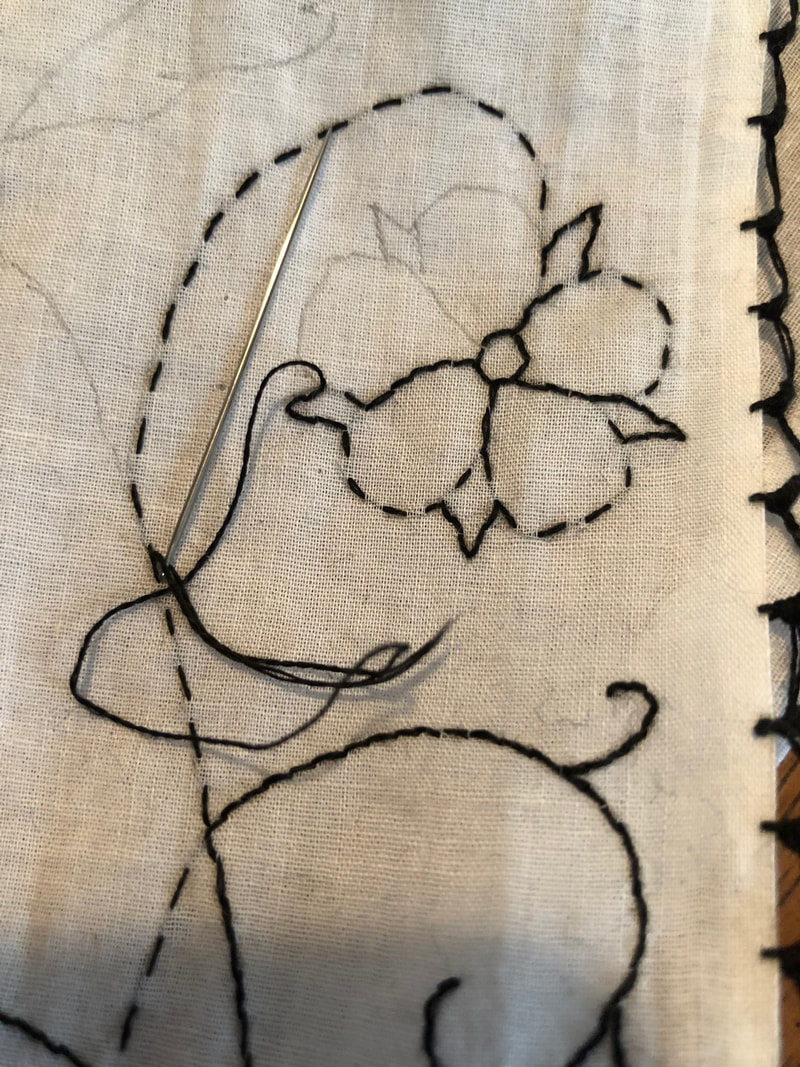
Next, my first blackwork flower! I draw it on paper, then trace it onto the linen with pencil. 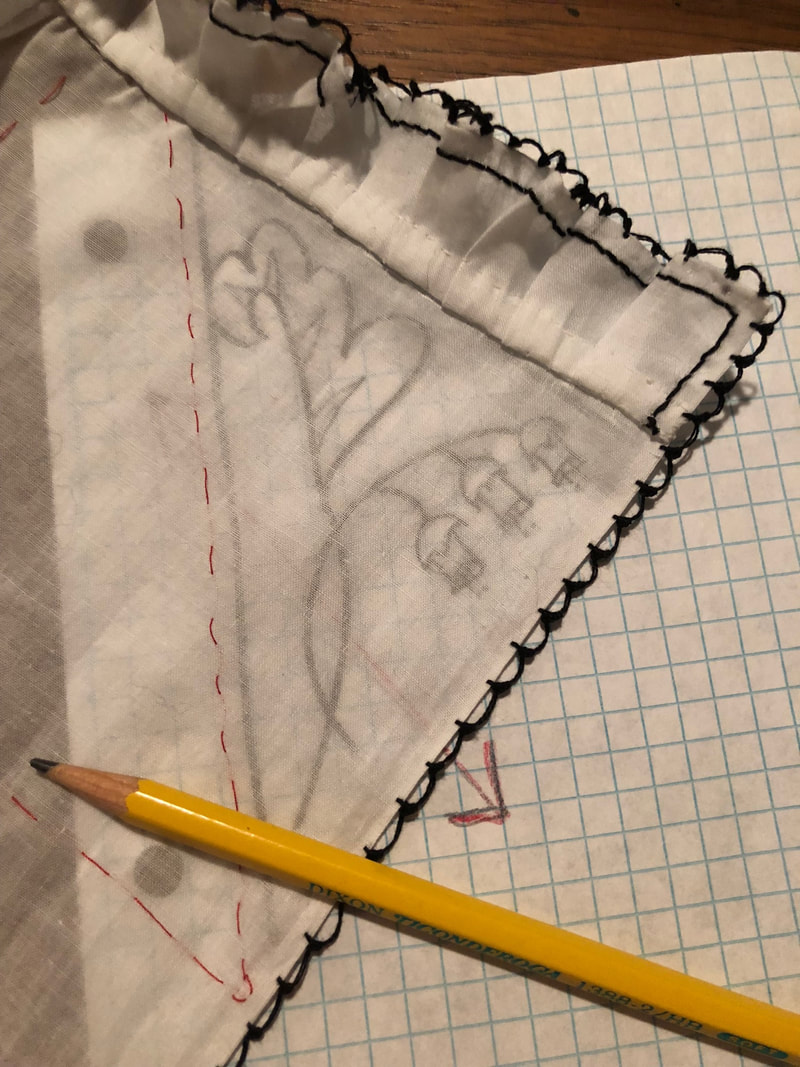 The simple reversible stitch used in blackwork is called the Holbein Stitch, after Hans Holbein the famous portraitist of the Tudor Era. I simply trace my pencil lines with running stitch, and then fill the running stitch on the return journey. With more complex patterns, a little planning and forethought goes a long way. For instance, in this pattern on the front panel, I start at the bottom, and work my way up. Every time there's a branching off the main line, I follow it, and when there's a branching off that line, I follow it. When I finally reach a terminal point, I turn and retrace my stitches back to the previous branch. It's hard to explain, but maybe the picture will help you see what I mean. A dotted line is running stitch, a solid one is running stitch that has been retraced: start at the bottom and follow the running stitch up, every time you see filled running stitches you know I went down that path and then retraced my steps.
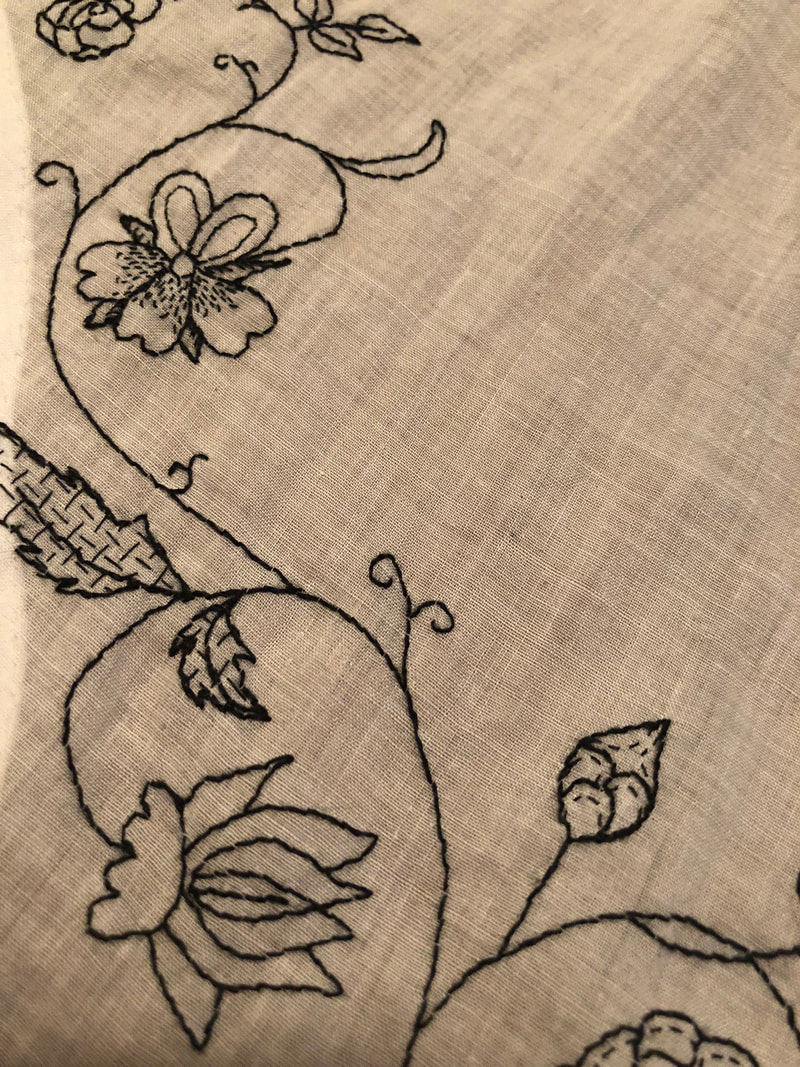
Circular figures, like flowers, are thus quite easy. The flower above is a rose, and the sepals, center, and spokes between petals all get outlined on the first go-around, and the return trip will fill in the outside of the petals. For the Holbein stitch, I use two strands of embroidery floss, which gives a nice dark line. But when the outlining is done, I switch to thinner all-purpose thread to add shading and details to the picture.
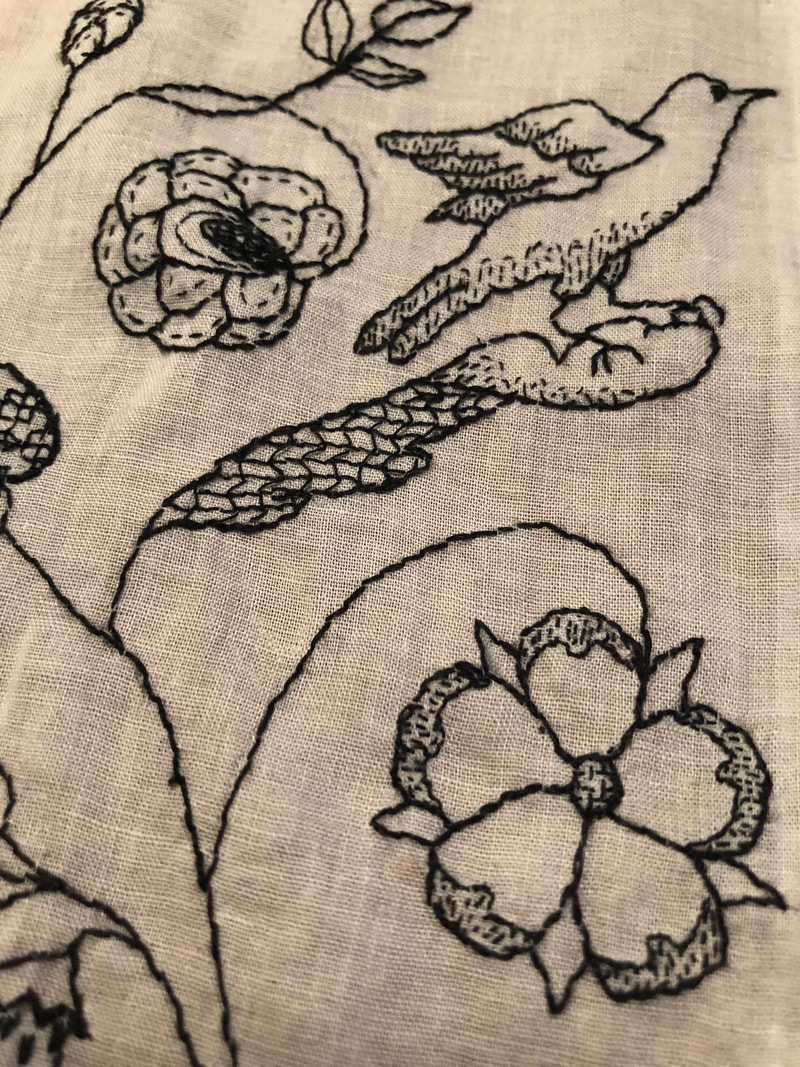
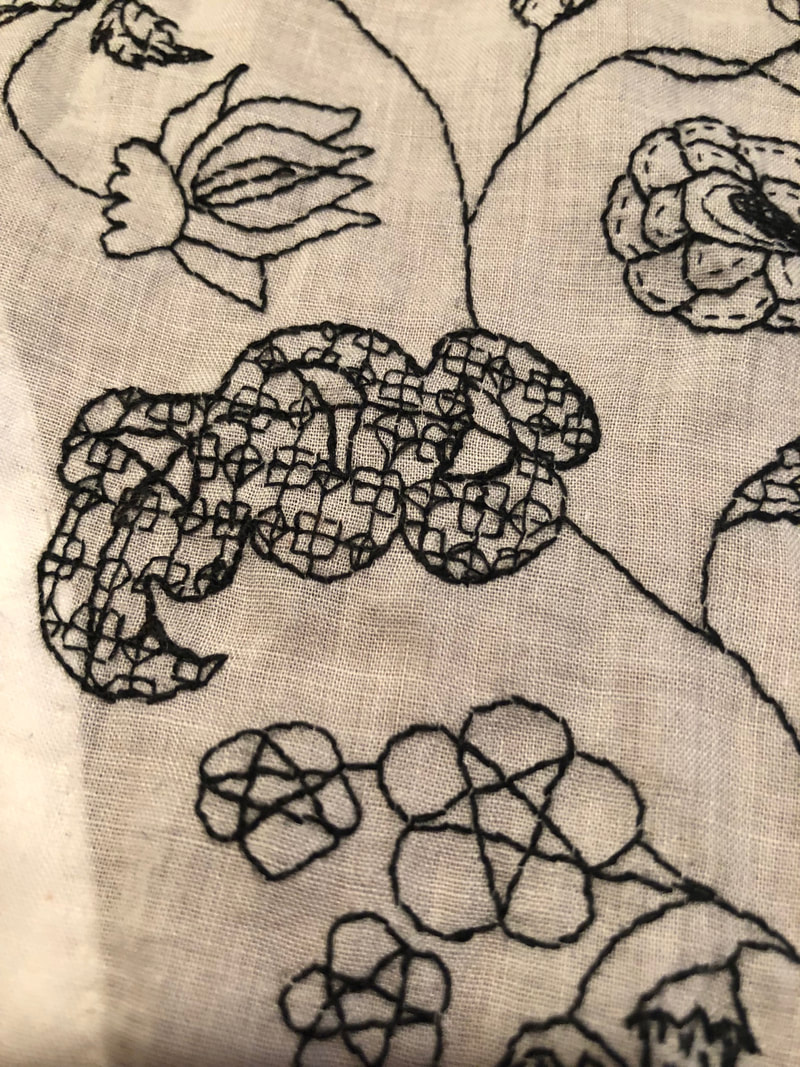
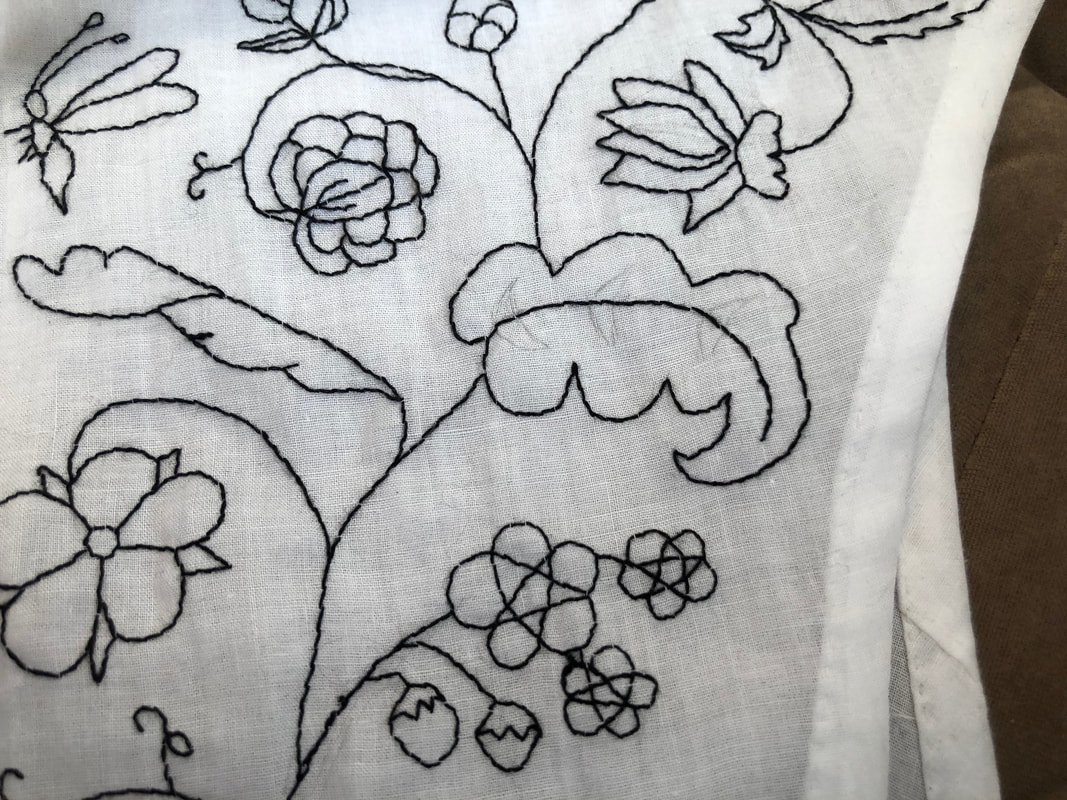
Where do I get my pattern? I draw it, after first looking at a lot of period portraits and blackwork on Pinterest. My method is to draw big swirls and curlicues, and then add a flower or something at the end of each line to fill the gaps. I take the flowers from the sources above and from the vaguely Persian designs on my sister's dining room carpet. I have a lot of fun with this process: both drawing and stitching the main motifs, and then filling and shading them, too. Here is the partlet almost done, with the left side all done and the right side merely outlined. 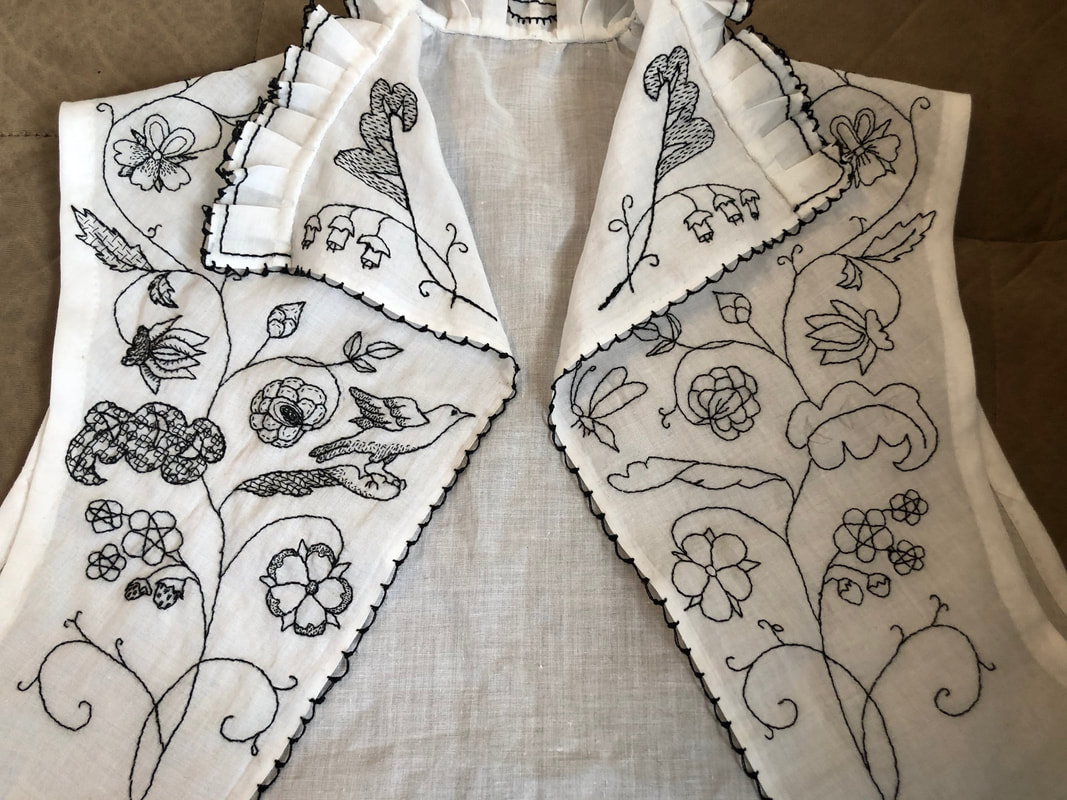 Dang, that's beautiful! One side has a bird and the other a bee, but other than that the outlines are mirrors of each other. I'll change up the filling stitches for variety. I copied the bird and the bee from an embroidered waistcoat in the collection of the Victoria and Albert Museum (museum # T.4-1935), from the 1620's. This close-up picture, in particular, was my inspiration.
STILL FINISHING IT I've taken the project to work to occupy my breaks. Though the back is still blank, I will leave it, for the moment, un-embroidered. (I don't know yet how this Modern-Elizabethan project will develop, and there's little point embroidering the back if it ends up covered by the next layer.) The final things my partlet needs to be wearable are a drawstring through the casings at the bottom and a discreet hook & eye closure between the bird and the bee.
3 Comments
The Sister
7/17/2018 09:42:04 am
I haven't seen this little ditty in a while. I forgot how charming the bird and bee are! I love how you added stippling-esque stitches to create shading and dimension. Good job!
KathrynnDunn-Saari
10/15/2023 09:36:48 am
how did you do that amazing lace edge? Trying my hand at blackwork and ran into your site. Wow.
Thanks for the compliment, Kathrynn! You're in luck, because I blogged about the edging specifically, here: https://www.robesdecoeur.com/blog/shell-stitch-a-needlelace-edging . Leave a Reply. |
Karen Roy
Quilting, dressmaking, and history plied with the needle... Sites I EnjoyThe Quilt Index Categories
All
Archives
March 2024
|


 RSS Feed