POCKET PATTERN Making a pocket pattern is not hard; there are only a few considerations: that it should be deep and wide enough for the hand; that the weight of anything put in the pocket should be borne by the waistband, not the side seam; and that the pocket should be folded toward the front of the skirt.
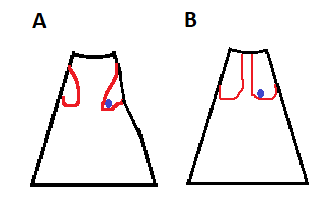
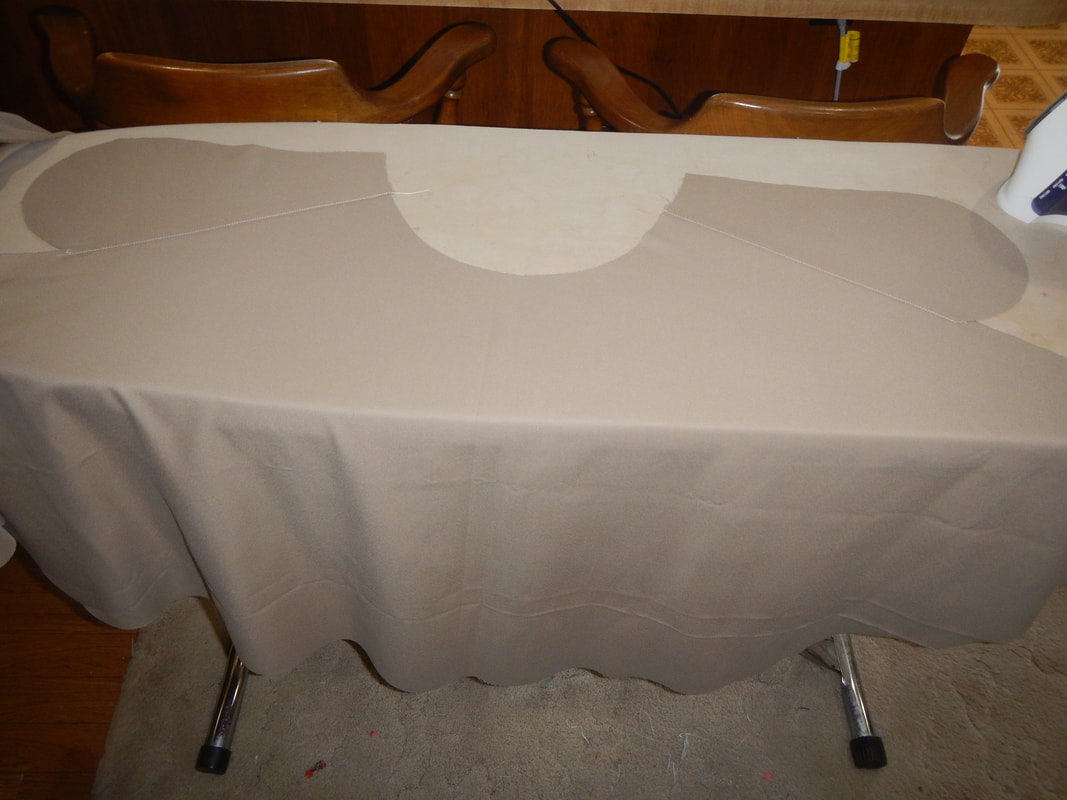
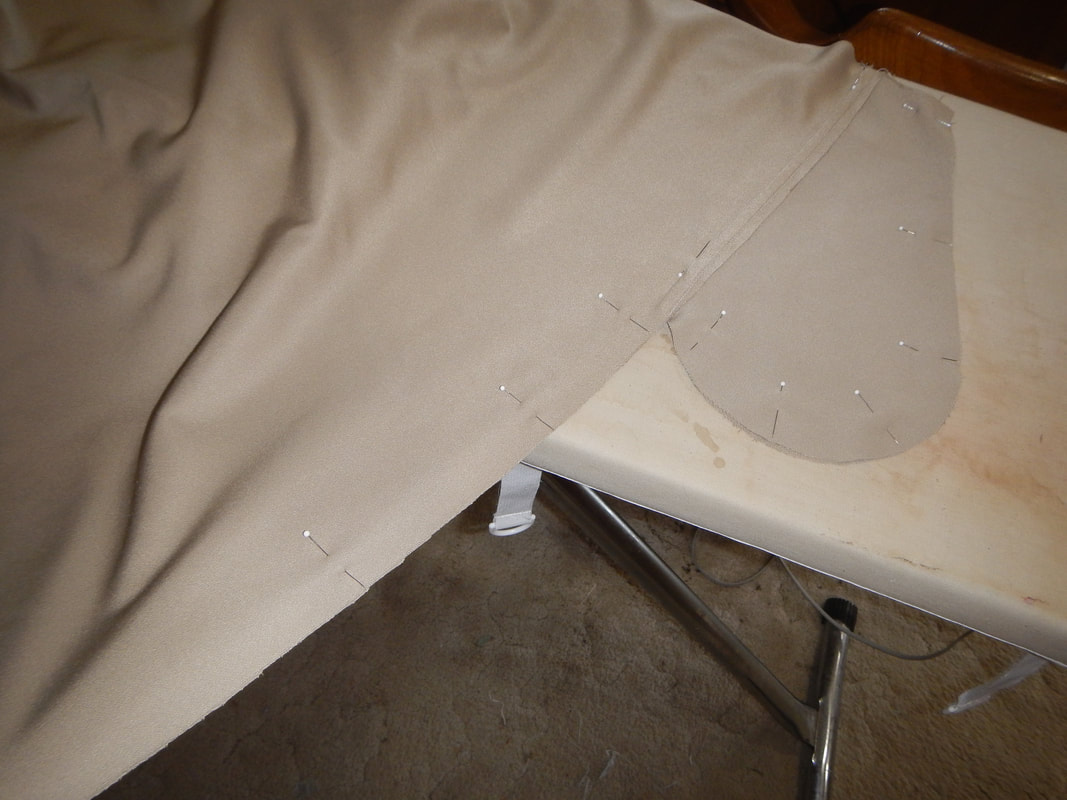
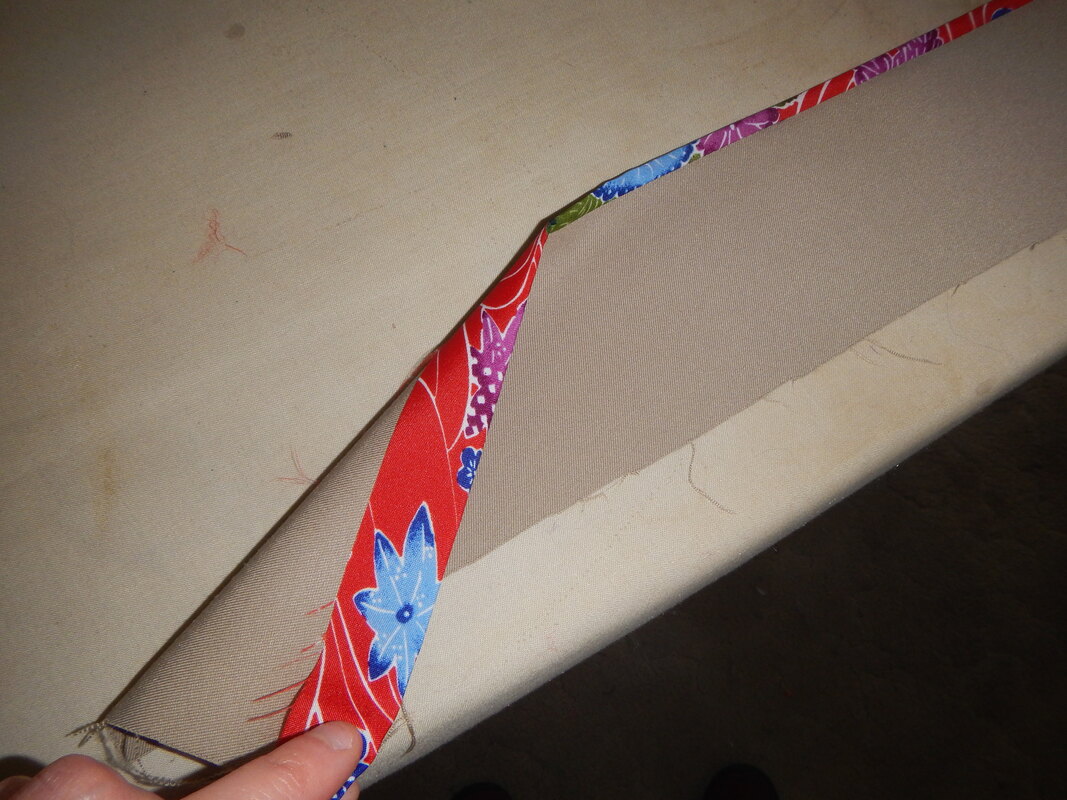
There's another problem with the pockets in skirt A: they flop back and forth in the skirt. When you go to put your hand in one, the pocket may be facing the back of the skirt, or hanging crumpled, so you have to shake it into position. In skirt B, when you sew the pocket into the waistband, you do so into the front of the skirt, so the pocket always hangs in its readiest position. In the picture below, you see the pocket pattern I draw for this skirt. Notice the grainline is roughly perpendicular to the waistline, so the pocket doesn't get deformed when it has weight in it. It's not perfectly perpendicular because I'm not perfect. 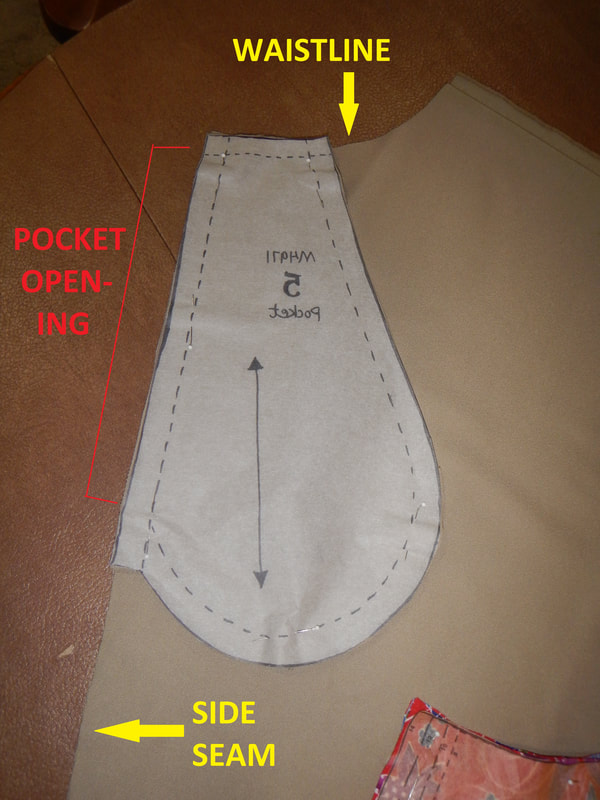 I sew the pockets to the front and back panels, pressing them away from the panel. Remember that the pockets sewn to the back panel will not roll or fold in the finished skirt; they continue their smooth journey around the hips. Therefore, I don't need to do anything further to them, though in this case I choose to top-stitch their seam allowances down for extra security from unraveling. The pockets sewn to the front panel do fold, at their seam, in order to lie within the front panel in the finished skirt. To facilitate that fold, I understitch the pocket seam, then press the fold in place.
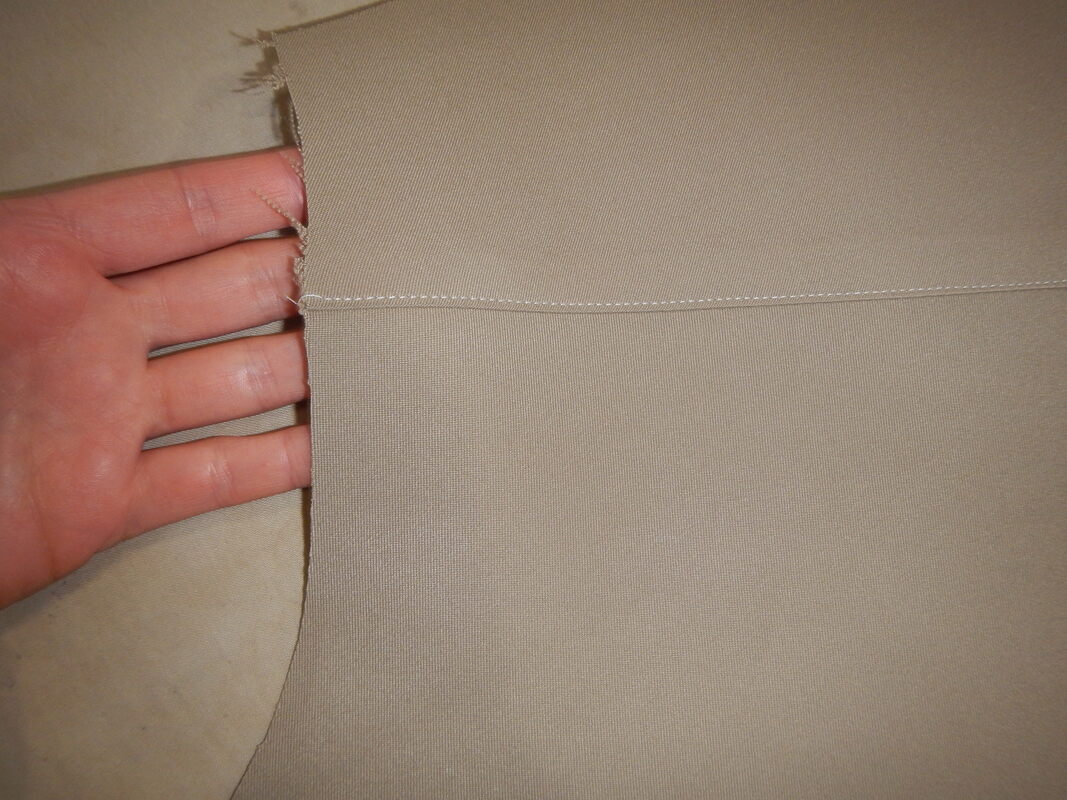
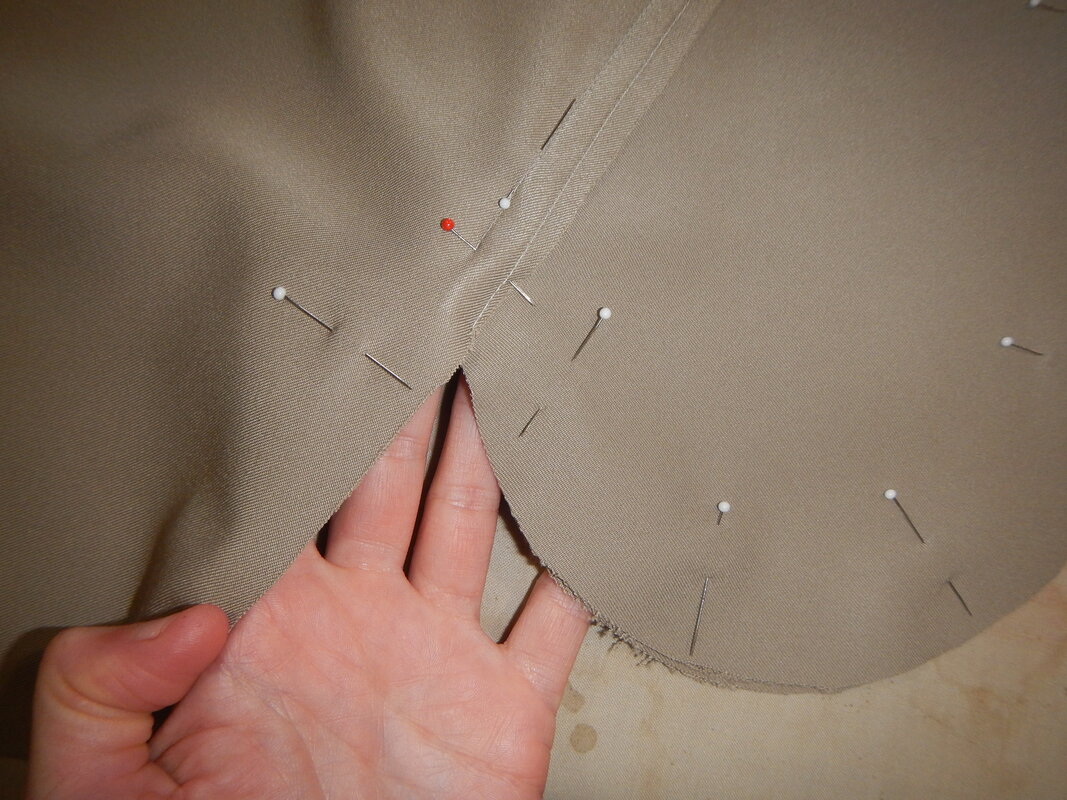
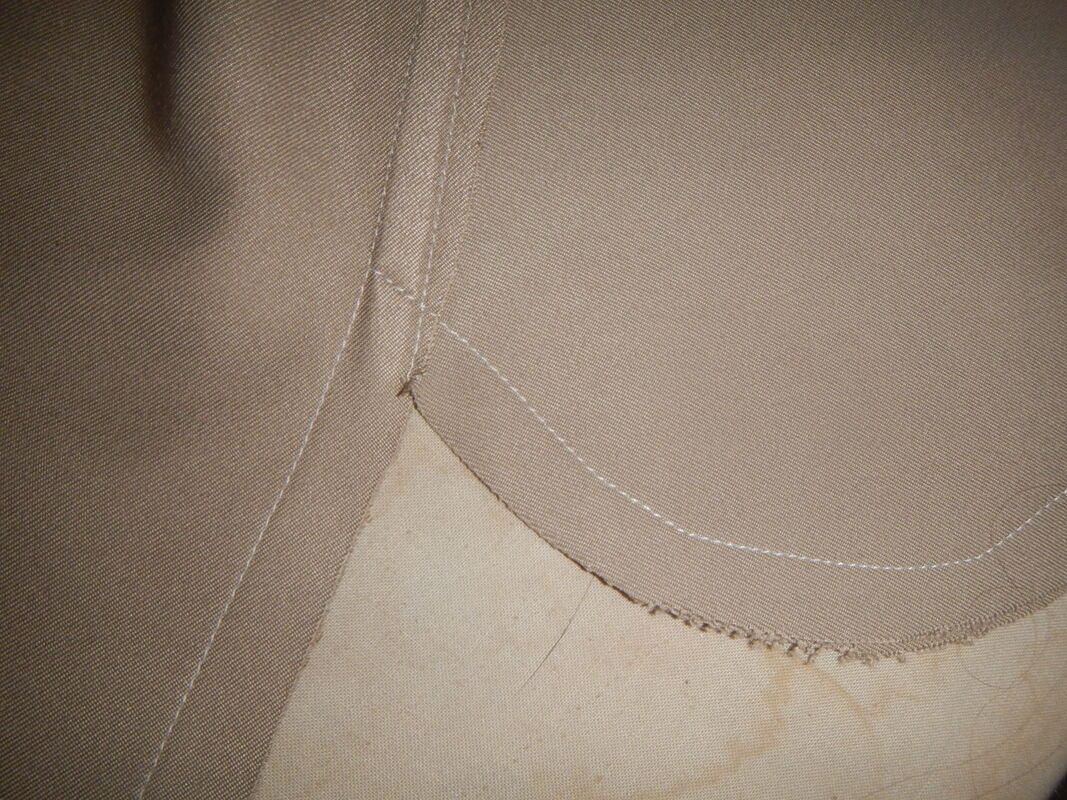
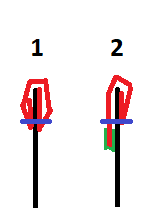
The bottom of the pocket opening, where the red pin was, is a stress point in the pocket. I like to sew over that section again to reinforce it. The way the pocket wraps around the front of the skirt pulls the seam allowances of the side seam to the front. Traditionally, side seams are pressed toward the back. If you want to be traditional, you can clip the seam allowance just below the pocket, and let the pocket go to the front and the seam allowances to the back. I do not mind pressing it all to the front, as long as it is tidy. 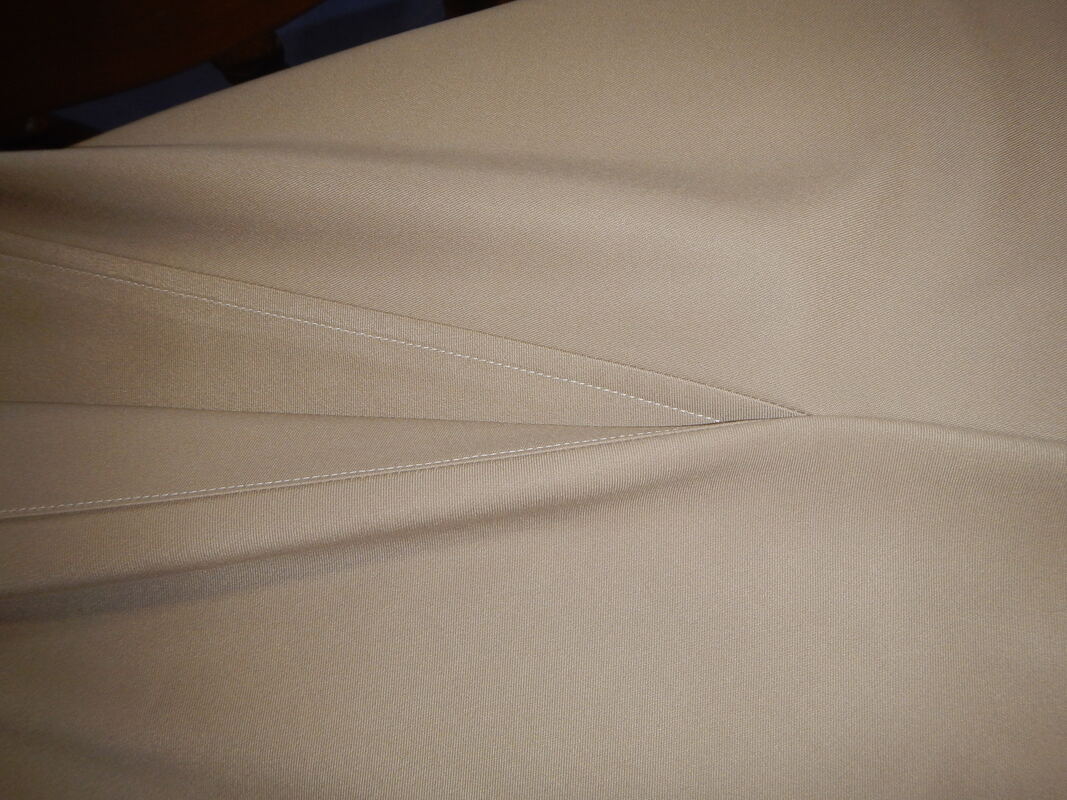 finished pocket opening HONG KONG FINISHED WAISTBAND A Hong Kong finish is when you sew a piece of fabric around the raw edge of something so that you don't have to turn that edge under to finish it. A classic example is using bias tape or Hug Snug seam binding to wrap the raw edges of your seam allowances, before pressing the seams open. For the waistband, the Hong Kong finish removes one layer from an otherwise bulky part of the garment. Ummm.... how about another clumsy Paint drawing to illustrate my meaning? Imagine that you're looking at two cross sections of waistbands. The vertical black line is the hanging skirt fabric.
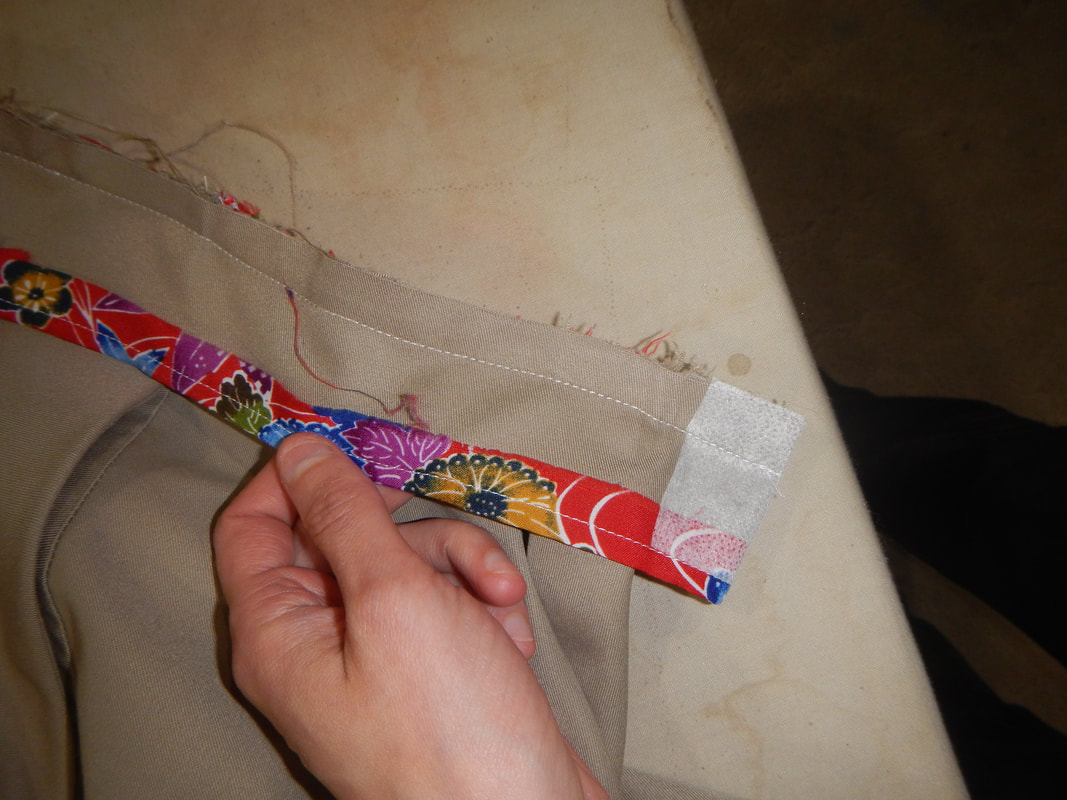
Number 2 is a waistband with a Hong Kong finish. The red line is the waistband fabric and the green line is seam binding. There are two lines of stitching (blue), one right under the other. The waistband is sewn to the outside of the skirt, wrapped around to the reverse side, and sewn down with stitch-in-the-ditch. The first line of stitching goes through two layers of fabric, and the second line of stitching goes through two layers of fabric just UNDER the first line of stitching. No unnecessary bulk. The last raw edge is bound with lightweight seam binding (green in the drawing), so it needn't get doubled under. I do this waistband with a Hong Kong finish for the sake of practice. I start by narrowing the waistband, because I want a skinny one. Then I bind one edge of the waistband and sew the band to the skirt.
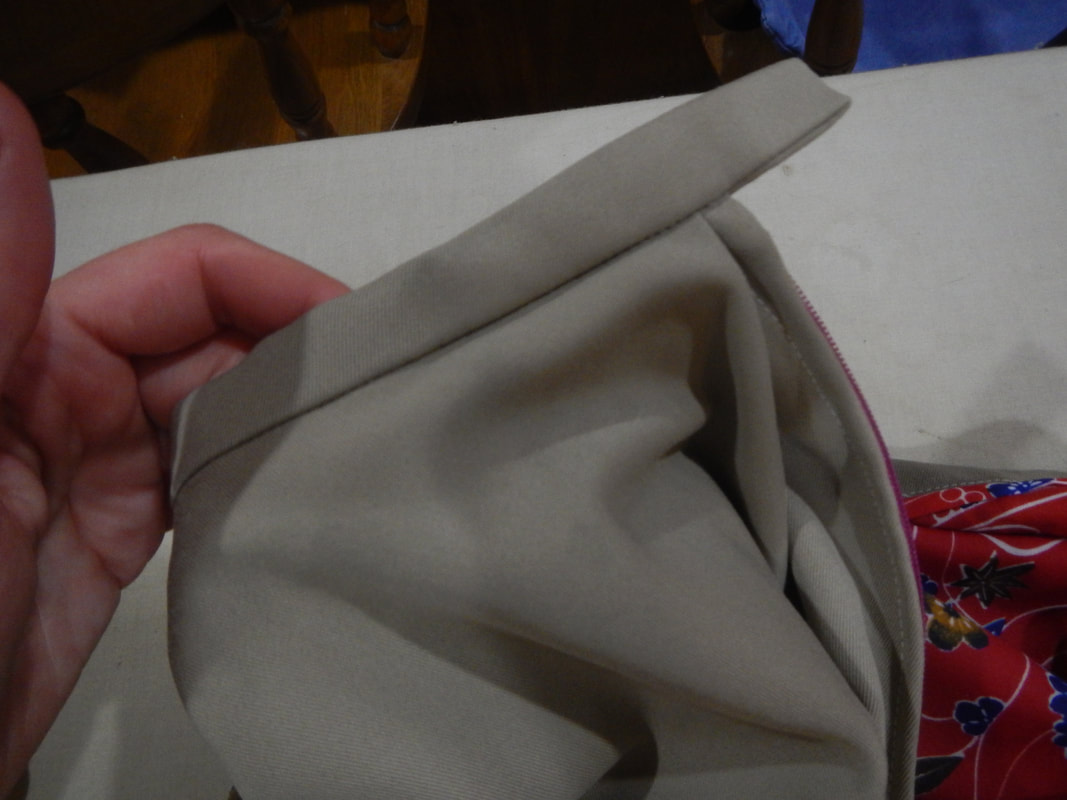
In the picture where the waistband is sewn on, above, there's a bit of iron-on interfacing fused to the end on the protruding end of the waistband. The bulk in the waistband-plus-skirt makes it thick, but the end that sticks out needs a little help so it'll be the same thickness as the rest. And here are finished pictures of the waistband, after I turn and stitch-in-the-ditch. The protruding flap gets hand-finished, and a snap sewn on it to close the top of the skirt, above the zipper.
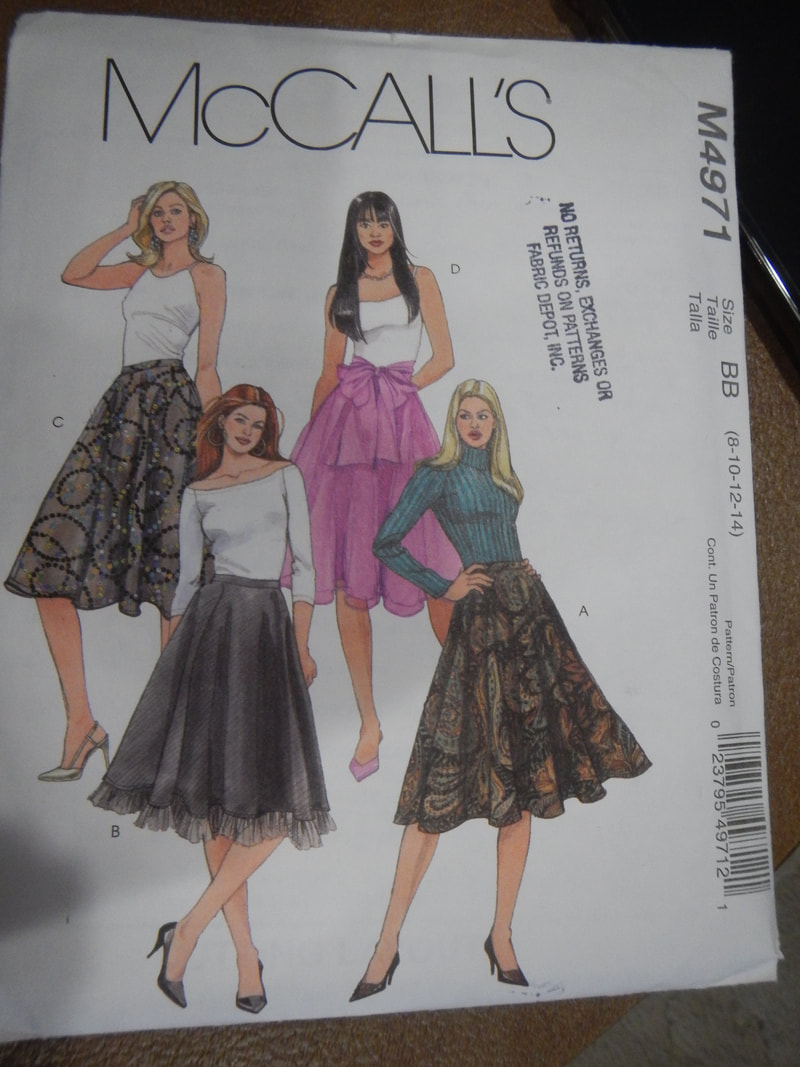
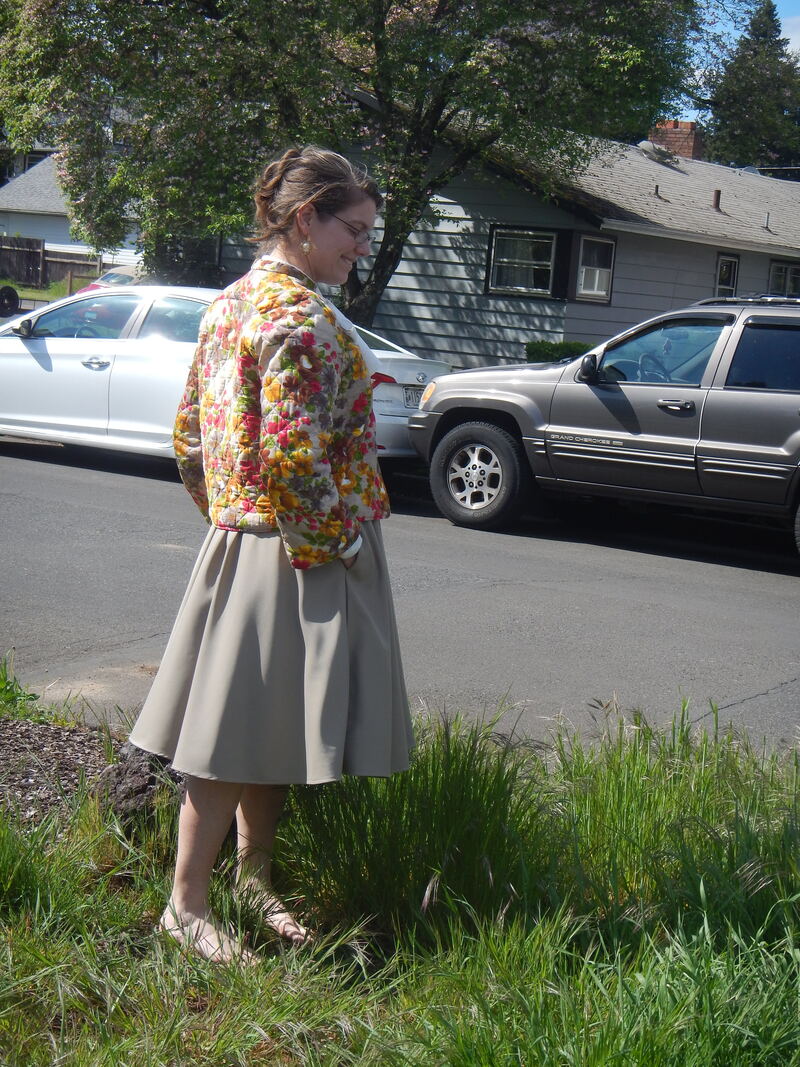
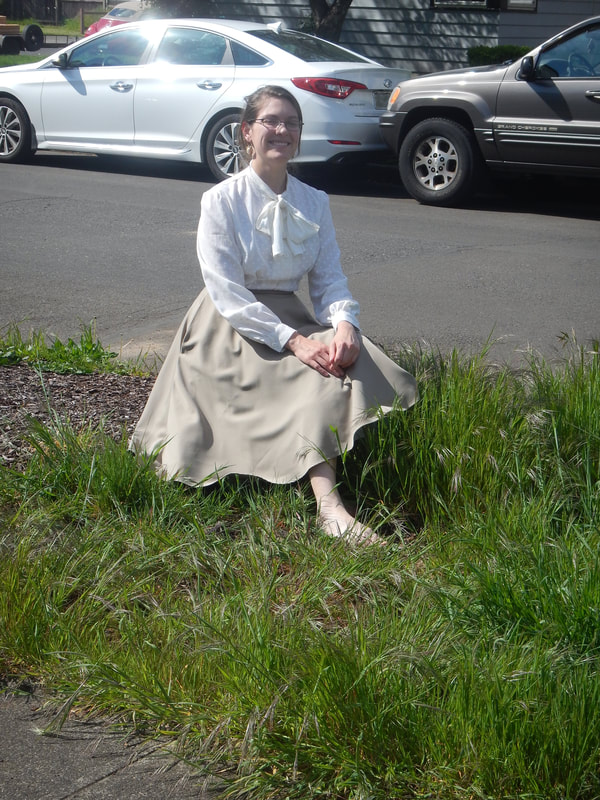
FASHION SHOW! Shirt: McCall's 9319 Skirt: McCall's 4971 Petticoat : thrift-store find Quilted Bed Jacket: vintage re-make Waistcoat: McCall's 7056 Archive Collection First step, put the skirt on with a tiered nylon petticoat for extra movement! No lie: it's absolutely magic how the petticoat makes the skirt better. Without the petticoat, the skirt just hangs there. And I know what you're thinking: "What, you want it should dance?" YES! And with the petticoat, it does! 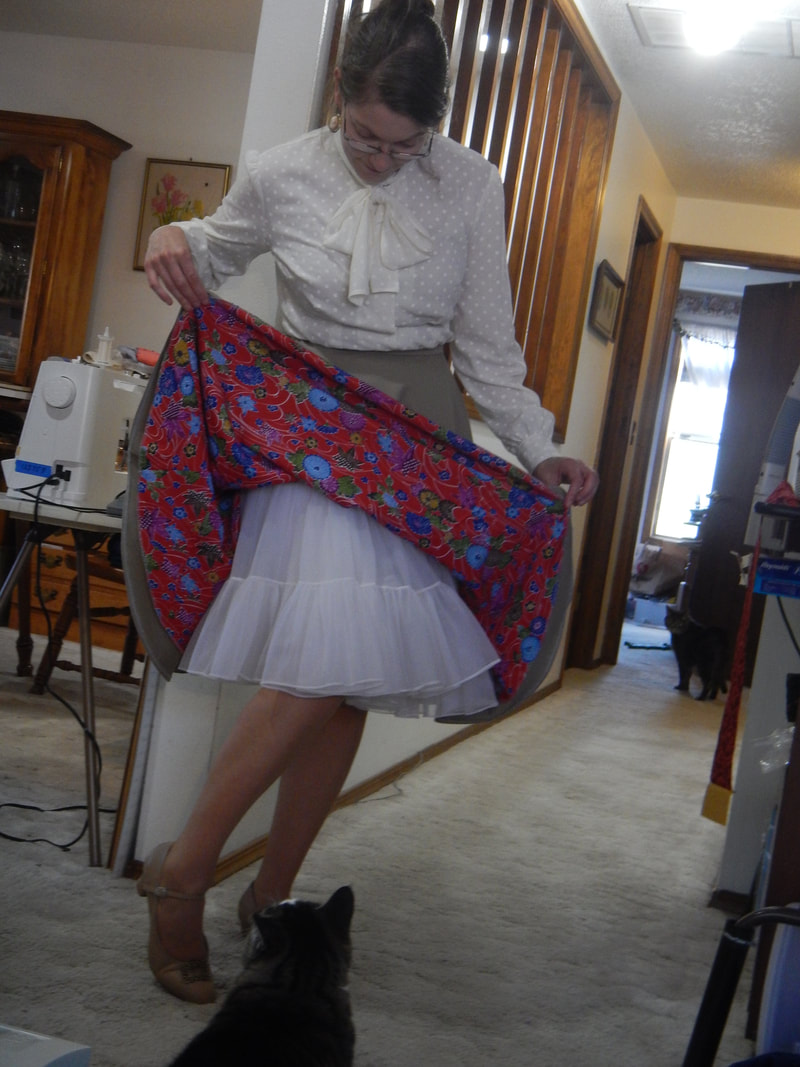 Two kitties photo-bombing this one! I LOVE the lining! It's such a fun pop of color when I put the skirt on. The skirt is like a day at the office, and the lining is like the cupcakes and streamers when your co-workers throw you a birthday party.
 [Not pictured: me spinning in circles saying "It twirls!" ] And here's a sneak-peek for you... an almost-finished vest I'll be blogging about soon. All it needs are buttonholes, but Boudica is in the shop for maintenance, so the buttonholes will have to wait, unless I take it into my head to do them by hand. 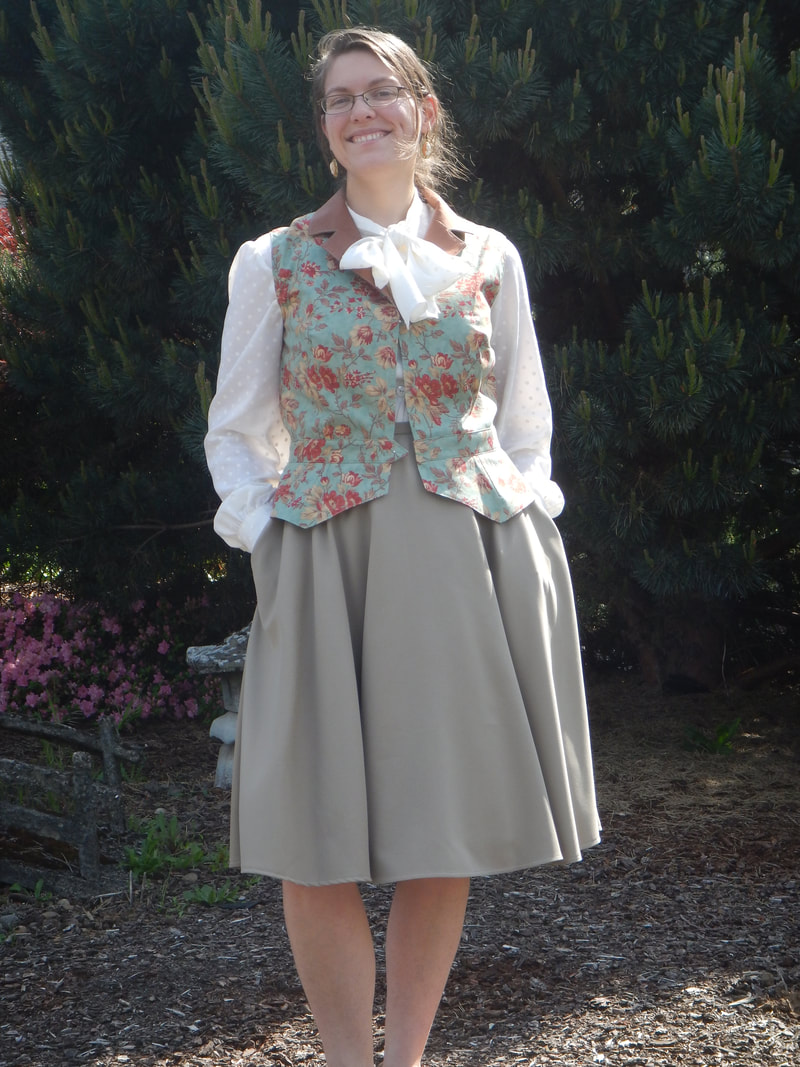 What decade would you say this outfit looks like?
3 Comments
The Sister
5/8/2020 08:33:53 am
Oh, what fun! I also like the surprise of color inside the skirt, and that it twirls! I especially like the print of the vest in your bottom picture; can't wait to see that all finished! Leave a Reply. |
Karen Roy
Quilting, dressmaking, and history plied with the needle... Sites I EnjoyThe Quilt Index Categories
All
Archives
March 2024
|

 RSS Feed